This week we have one new project sheet, and 4 updated sheets
Updates
This week we have one new project sheet, and 4 updated sheets
Updates
This week we have 3 new projects, a new jig and a revised project sheet.
Projects
Little Round Owl
Serviette Tray
Multi Part Finial
Jig
Updated Project Sheet
New project sheets again this week – we are really being spoiled for choice here.
A couple of new project sheets based on the demos, and a revision of Guilio’s Spoon Box
Club Meeting: 18 March 2020
Report by: Bill Alden
Tom showed us various boxes that he had made over the years of many sizes. Including a spinning top box which was an ancient game originating in the Middle East
The blank used for the Lavender Bottle was 20mm X 20mm and 120mm long was placed between centres. Tom used a “story stick” with the dimensions of each element of the bottle. From the Headstock end. 60 mm for the bottle 15mm for the 8mm spigot plug and 20 mm for the knob.
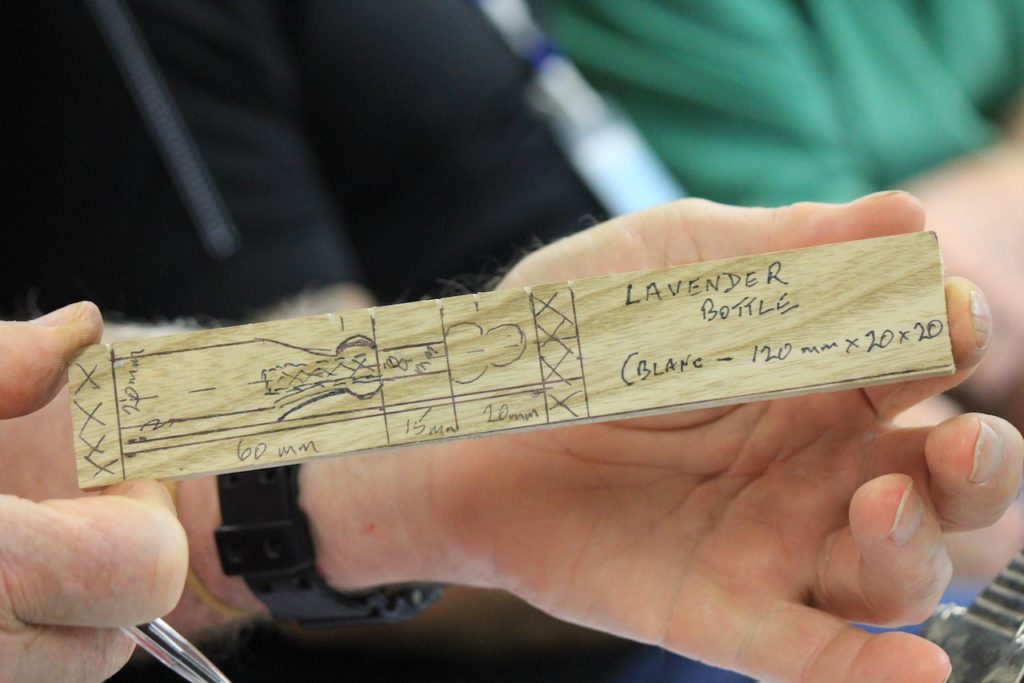
Leaving the bulk of the base square he shaped the foot and the neck of the bottle with a bulb at the top. The next 15cms were parted down to 8mm using parting tool and calipers. The lid was then shaped as per the photograph with a spindle gouge reducing the waste at the top for later removal.
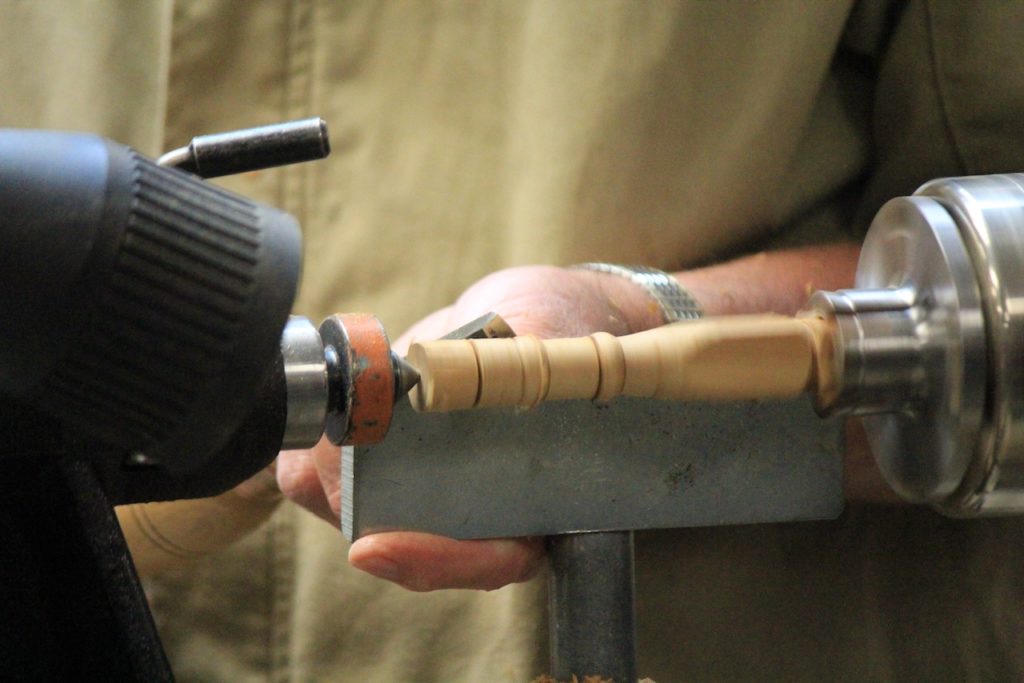
At this stage the bottle should be sanded and finished.
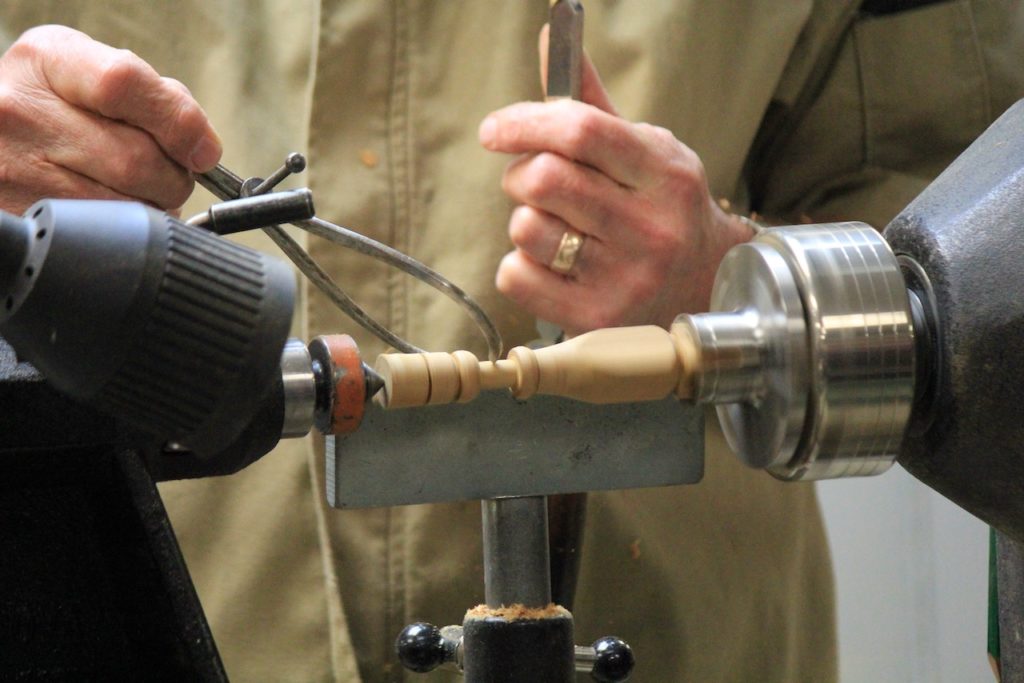
Hold the base in in a small set of jaws and centre using the steb centre. A 2 mm parting tool is now used to cut off the spigot. With an 8mm bit drill to a depth of about 25mm and fit the lid spigot into this hole . Tom used a round file and sandpaper to achieve a snug fit. It was noted that the spigot may be shaped more narrow where it meets the hole to assist fit. The lid can now be removed from the waste and final sanding and finishing done at this point. The spigot is sanded if necessary to ease the fit.
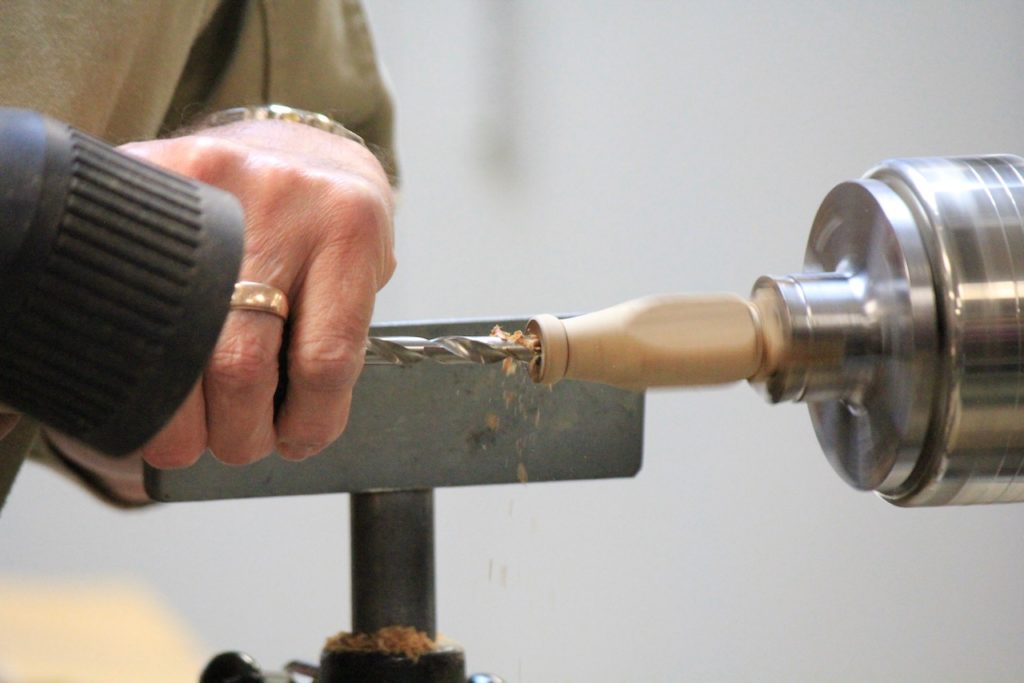
The base is now parted off and sanded on a sanding mandrel in a Jacobs chuck on the lathe or a belt sander. Finish with oil wax or lacquer as preferred.
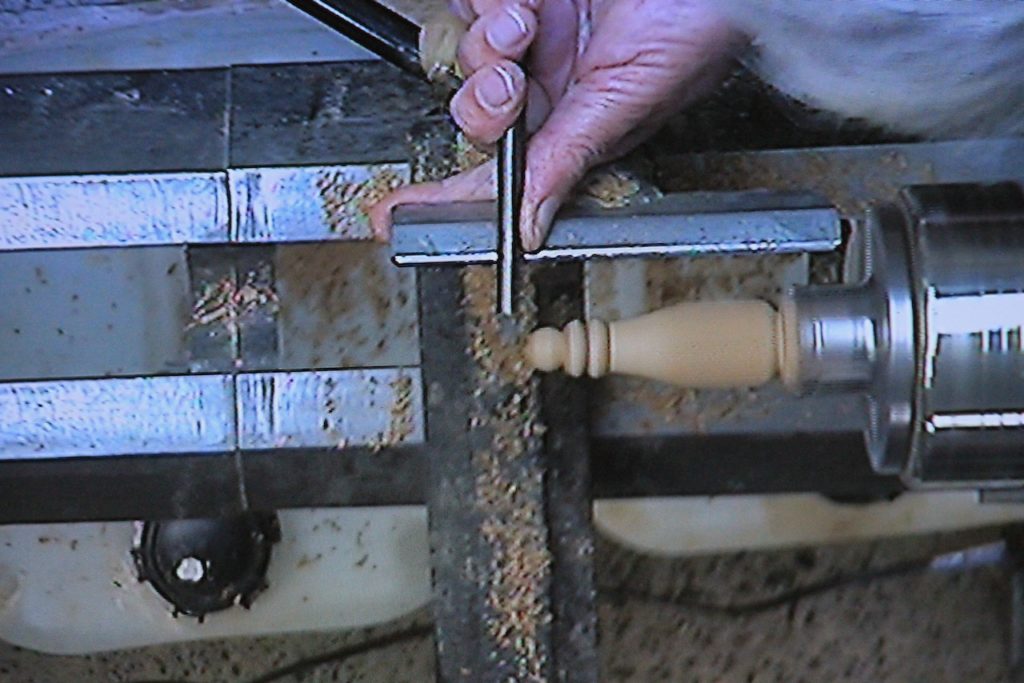
When ready to sell or gift pour no more than 2-3 drops of oil in the hole. This will permeate through the wood to perfume handbags, drawer or car, etc. Too much lavender oil can be overpowering.
Tom sells these with a small bottle of lavender oil in an origami box made from Calendar pictures. For instructions see https://www.youtube.com/watch?v=U8_uUz5__nk
Club Meeting: 11th March 2020
Report by: Bob Yandell
The “House Full” sign was up and Terry was at his best – humour, skill and knowledge for all present. The start was, as only Terry, the entrepreneur and entertainer could, an opportunity following the Covid-19 outbreak and subsequent shortage of toilet paper. We woodturners could meet the shortfall by providing toilet paper by supplying the leaf from Salanum maurtianum plant, better known as Woolly Nightshade or Tobacco plant which Terry observed was growing in plentiful numbers either by itself or in combination with our turnings and a few chemicals mixed together, compressed then peeled like a veneer and rolled. If you weren’t there you missed the business opportunity of 2020.
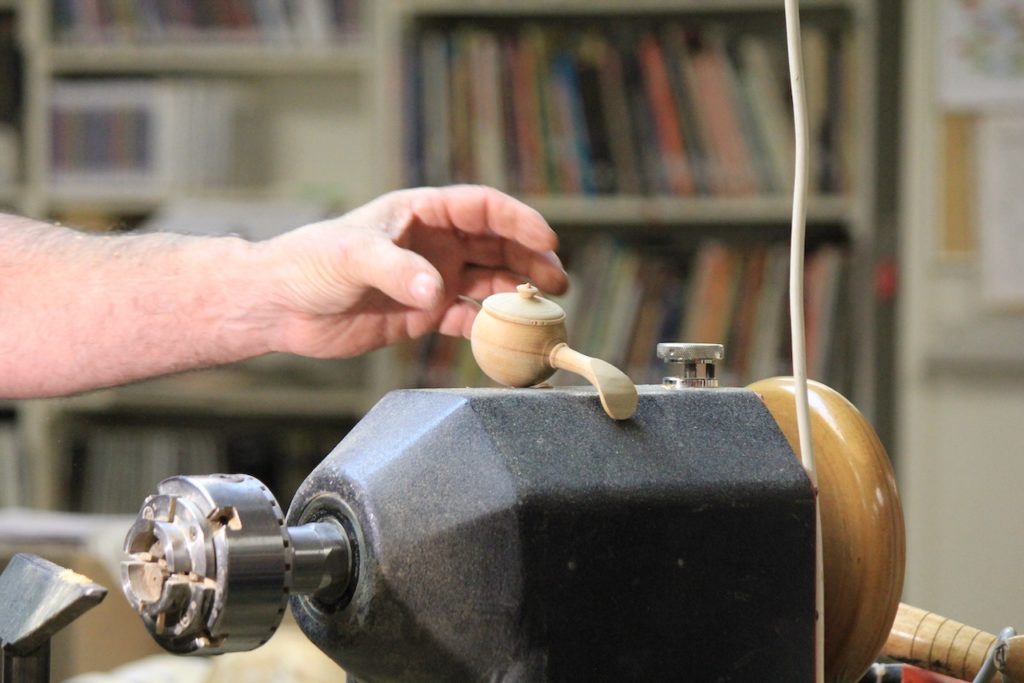
The actual demonstration began with Terry showing examples of spoons and his development of the concept into the lidded box. Spoons for a salt pig through spoons with long handles. (Refer Club projects sheets – Spoons for the basic concept).
Terry started with a block of Kauri 60x60x180mm. Hard woods are best used when making spoons. The block was mounted between centres and turned round. The final diameter was 53mm based on the internal dimensions of the sphere cutter being used and a 48mm spigot was put on each end. The lid section was parted off at 64mm. The box/spoon section was that left. At this point Terry informed that the length of the spoon was dictated by the swing over the lathe and a maximum length for the lathe was 400mm to which the allowance for the lid and spigots “X”mm is to be added.
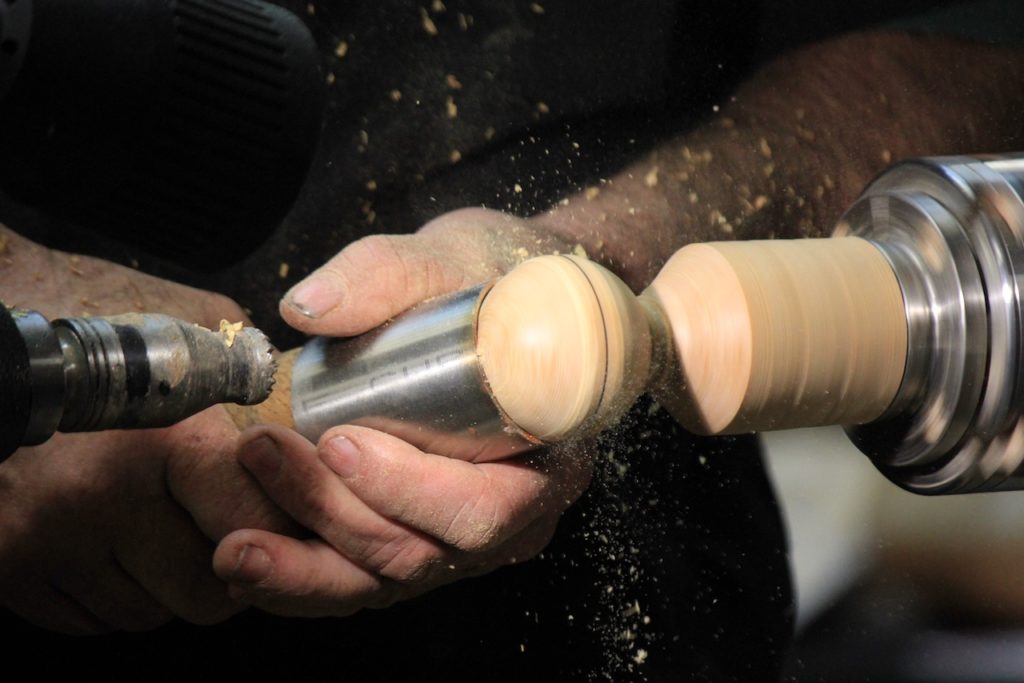
The Spoon/Box portion was mounted in the 50mm chuck; end cleaned up and a line defining the centre of the sphere clearly drawn, approximately 28mm in from the end, and a fainter line defining the sphere diameter marked. This latter line is where the handle starts and a cut on the lathe head side of the line, with the parting tool indicates the beginning of the handle profile and diameter. The distance between the line defining the centre of the sphere and the external diameter is divided into 4 equal parts(3 lines either side of the main line) because a sphere is formed from 4 flats( starting with the centre line being the beginning of the curve and end furthest from centre being the end of the curve and the beginning of the next and repeating until curve complete).
The sphere profile is refined gently using a pipe tool with the lathe running. This is a piece of tube with a handle fitted in one end that allows approximately half the diameter to extent, like a chisel tip, and is sharpened on the belt sander. The “roundness” is checked using bottle caps and until no gaps between wood and cap. Sand and finish.
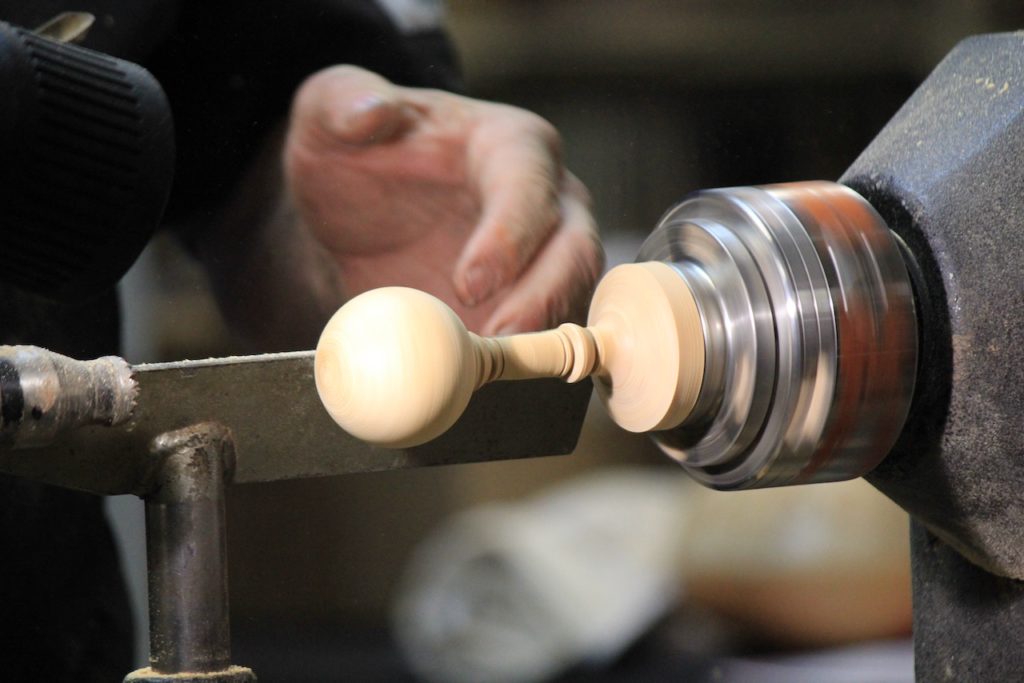
Complete the handle profile and part off. Texture, captive ring, may be pyrography – sand and finish.
The next stages require a jamb chuck and ideally a second chuck for the yet to be made lid.
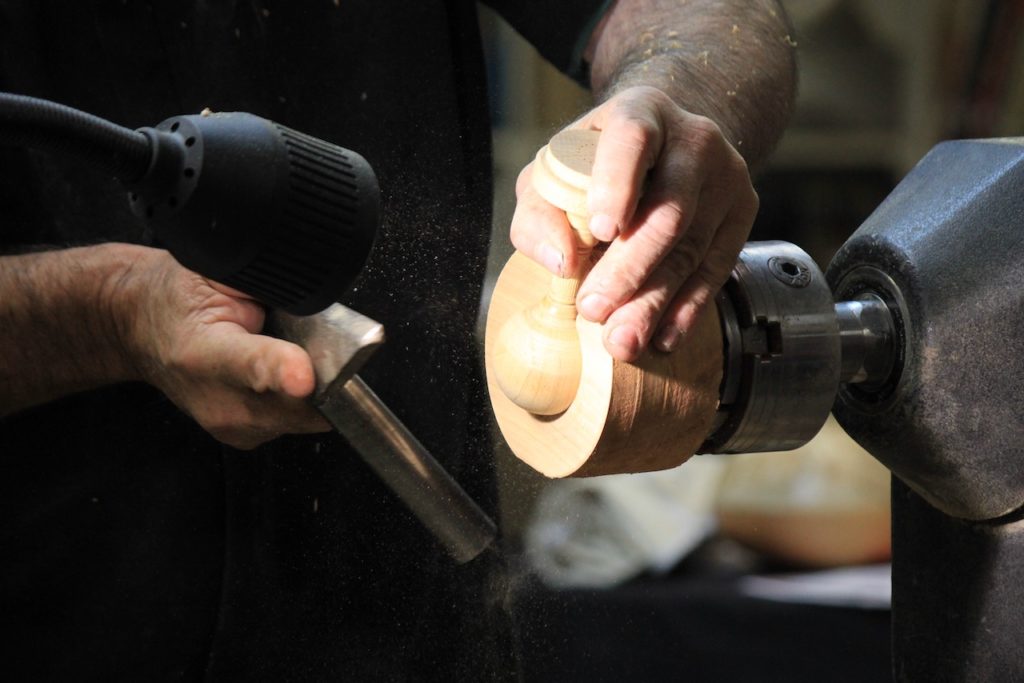
Making the box requires a jamb chuck mounted in 50mm chuck. The sphere plus handle needs to fit snuggly so handle is flush with face of the jamb chuck. Determine diameter with callipers or Vernier and mark face of jamb chuck and turn out always checking fit. It must be snug and firm. Cut a slot to accommodate handle. Terry used an Arbortec. Drill a hole from the side of the jamb chuck into the bottom to assist removal. Position the sphere in the jamb chuck to optimise the strength of the grain and visual appearance. Hot melt glue can be used to ensure no movement of the sphere. Mark the centre so a drill can be used to define the depth of the cavity of the box. The depth is the diameter id the sphere less wall thickness.
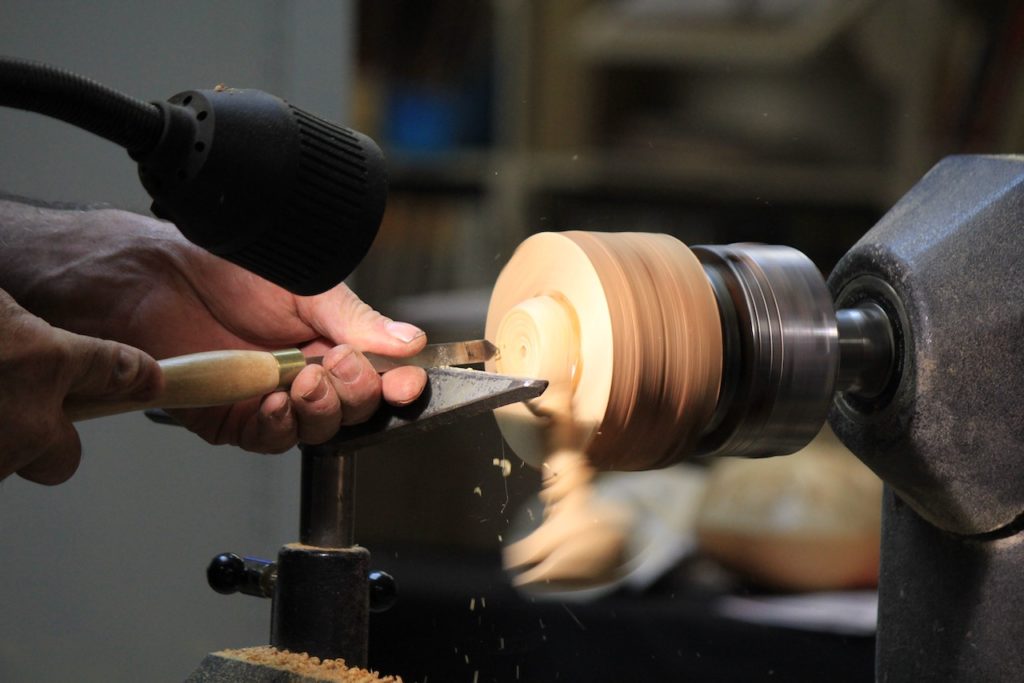
Cut the opening for the lid and hollow it and cut the rim to accept the top part. Finish all these surfaces. Terry used a cup tool and emphasised the need to rub the bevel. He also used a scrapper in a circular motion, like the hand on a clock to maintain the inside of the sphere.
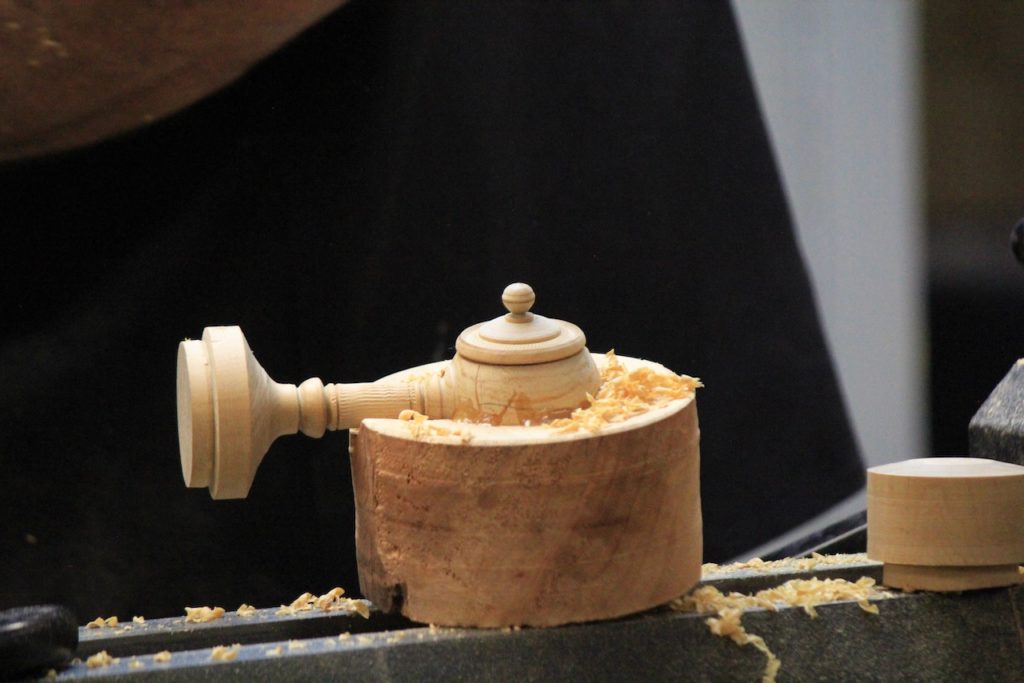
Next stage was the lid using the piece set aside at the beginning. The face is cleaned up and the internal hollowed so that the curve is a continuation of the internal curve of the box. There is sufficient wood so Terry was able to develop the external profile so it matched/complimented the box. This is where a second chuck is of value as you can produce the lid and then fit it to the box to finish the top albeit a finial, knob or handle. Complete the handle profile and part off. Texture, captive ring, may be pyrography – sand and finish.
By Dick Veitch
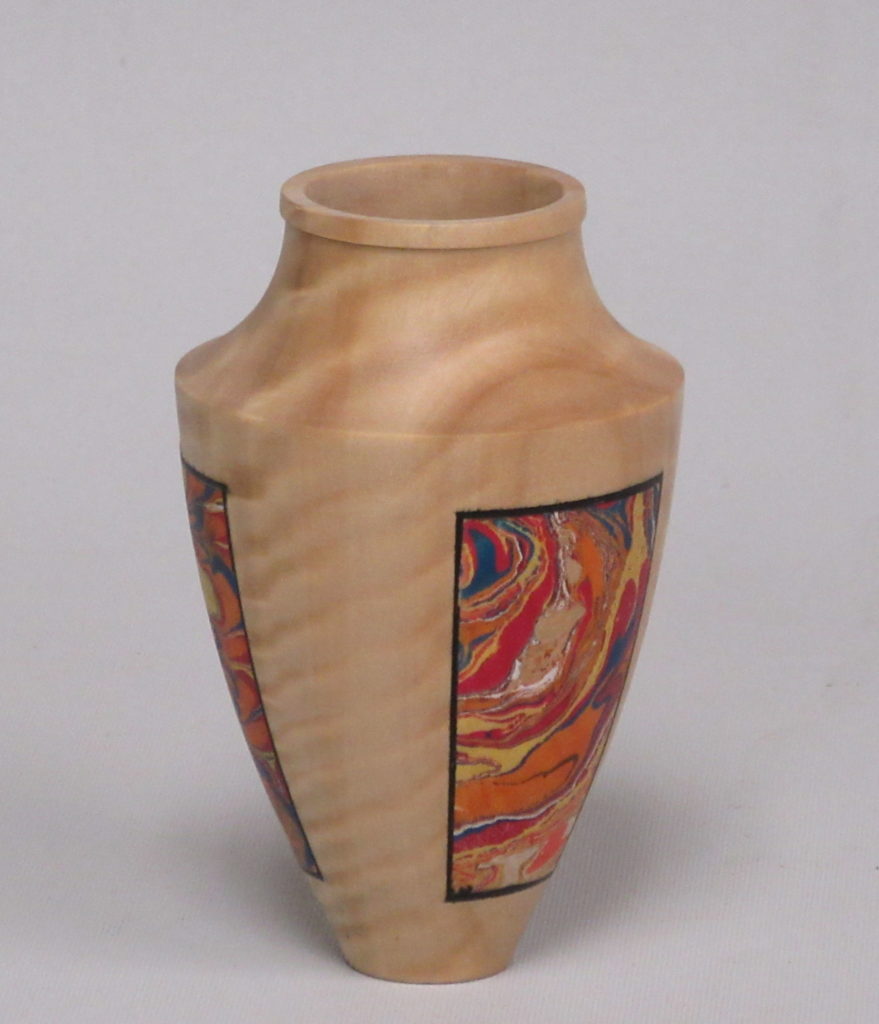
Despite marbling being a craft practised since the 12th century we still don’t have a precise recipe on how to do it. It has, however, been part of the NAW National Certificate in Woodturning since its inception. In the training books we find a recipe that works – but, it seems, not well enough for many to use marbling as a frequent enhancement of their woodturning.
When Walter Wager, from near Tallahassee, offered us a marbling demo I was a bit ho-hum. He included a copy of his marbling report to the American Woodturner journal. Nice pictures, nice work, and yet another recipe requiring the mixing of spoonsful of this with quarts of that to make up gallons – probably US gallons. There also was a statement about “pure” this and using distilled water. A little web search established that I could buy distilled water in the supermarket and I could order in pure methylcellulose and pure alum.
That suggestion of not using our chemical-laden town water and not using wallpaper paste (methylcellulose with unknown additives) made great sense. Please do visit us, Walter.
To prepare for his visit I worked my way through many recipes to make up an alum solution and the methylcellulose size needed to float the acrylic paint needed to create the marbled effects.
Now, bear in mind that there are marbling kits available in some New Zealand stores and online – they all work, but most are designed for one-person use. We were going to have ten, or more, people wanting to put marbling on their choice of wood. The National Certificate in Woodturning also needs to cater for more than the single user. So, getting information on the important ingredients is necessary.
The important wood preparation is firstly to choose a dense white wood, turn it, sand it, and apply alum to the wood – just keep the items small please? That meant that most arrived with eggs, egg cups, a wig stand foot and little bowls but, as always, one had to arrive with an item that challenged our biggest dipping dish!
Any acrylic art paint is supposed to work – true, most do – but, as a rule, the cheaper the paint the coarser the granules within the paint.
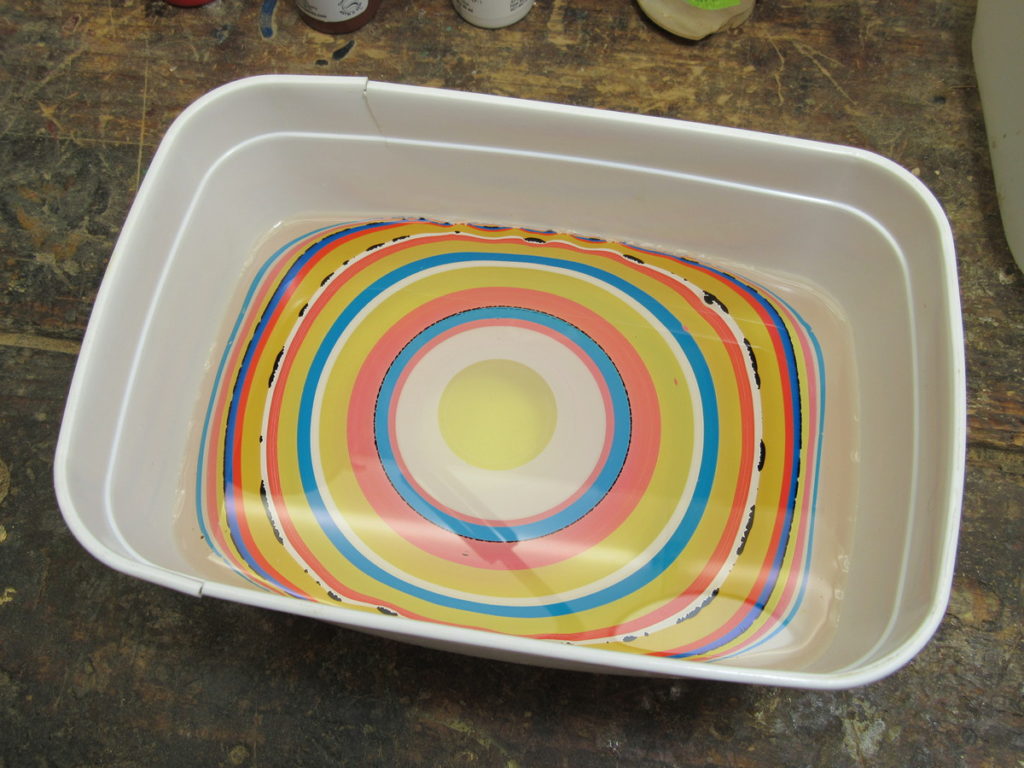
Next challenge is to get a nice pattern of paint floating on the surface of the methylcellulose size mixture. Amongst the crowd at Walter’s hands-on afternoon we had some fairly basic acrylics, tubes of quality colours and some of the Golden High Flow Acrylic mentioned above. Most of those had to be thinned with water (or, later, more paint added) so that the paint would float on the surface of the size. Some spread more readily than others. Some colours of the same brand spread well when used alone but then either would not spread when placed over other colours or would spread madly and push everything aside.
Our choice now is Golden High Flow Acrylic. Ok, appears to not be cheap but only a few drops are needed for each marbling action. This paint has a fine and consistent texture and is available in more than 50 colours.
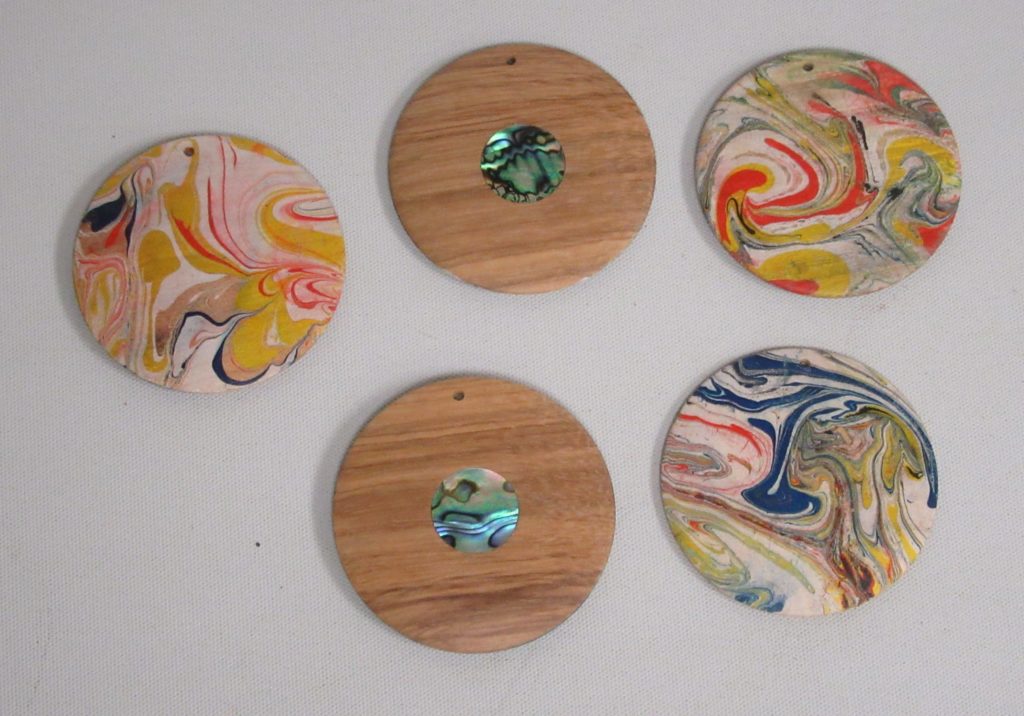
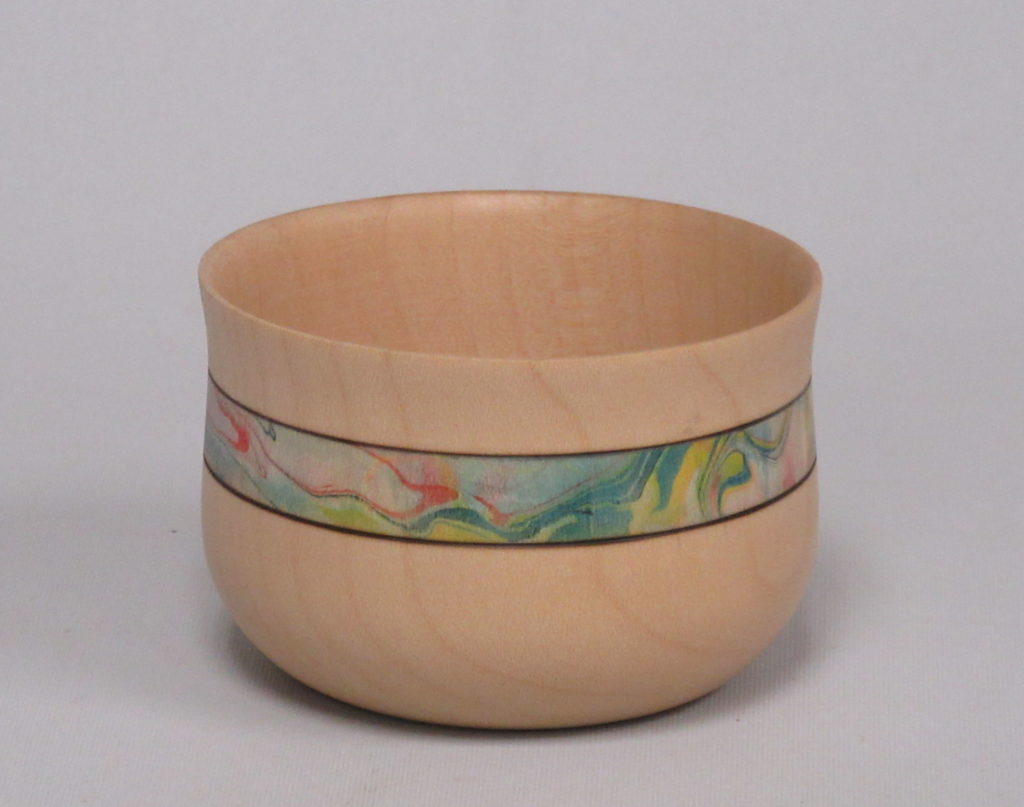
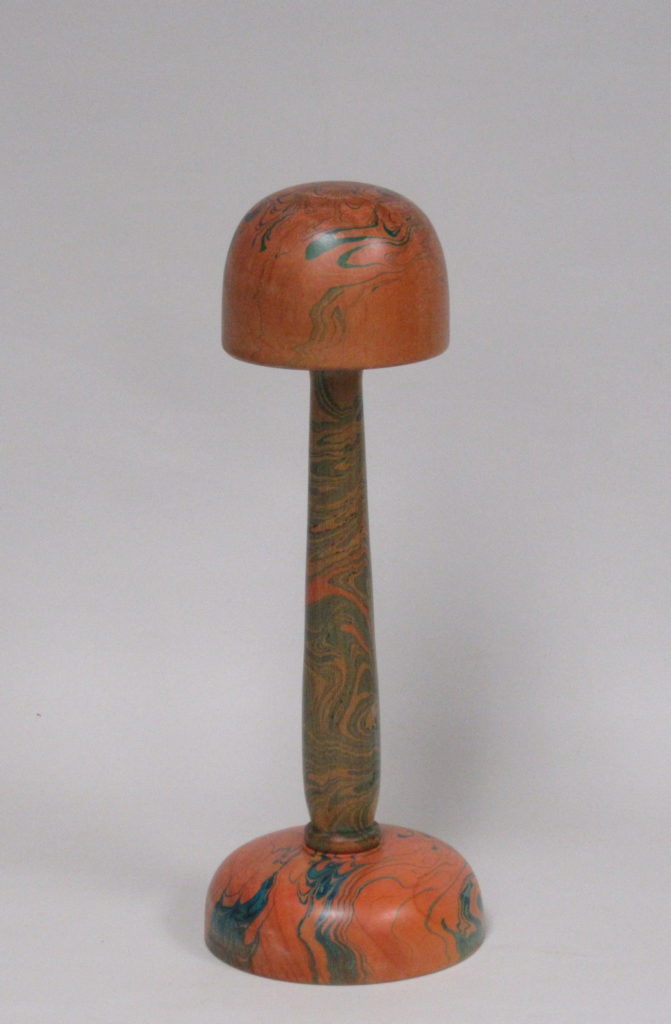
Obviously, putting drops of colour sequentially at the centre of a bowl results in rings of colour. You can have these rings of colour on your wood or take a comb and stir it a little. Then dip the wood in. Rinse it off and let it dry. When thoroughly dry put a finish over it.
Club Meeting: 4th March 2020
Report by: Cathy Langley
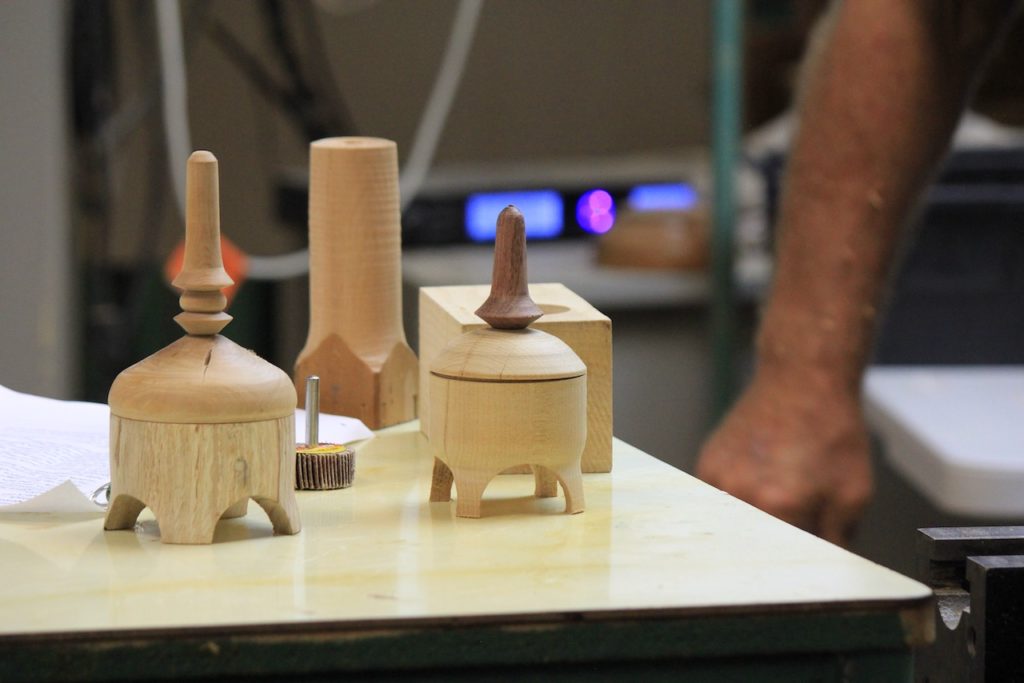
Garry Jones’ version of this term’s “lidded box” theme was a small jewellery box for storing women’s rings (both under and above the lid) with four feet and a finial providing elegance. Garry had brought a number of finished examples illustrating a range of possible designs.
He started with a block of timber 70 x 70 x 150 cm, emphasising that the blank needs to be exactly rectangular so that the feet are equally spaced. On each side of the blank, he had drawn a line 40 cm from one end for the lid, and had marked the centre point of the longer end on each of the four sides. At these points, he had drilled a 40mm hole into each side, meeting in the centre and creating what would eventually become the space between the four feet.
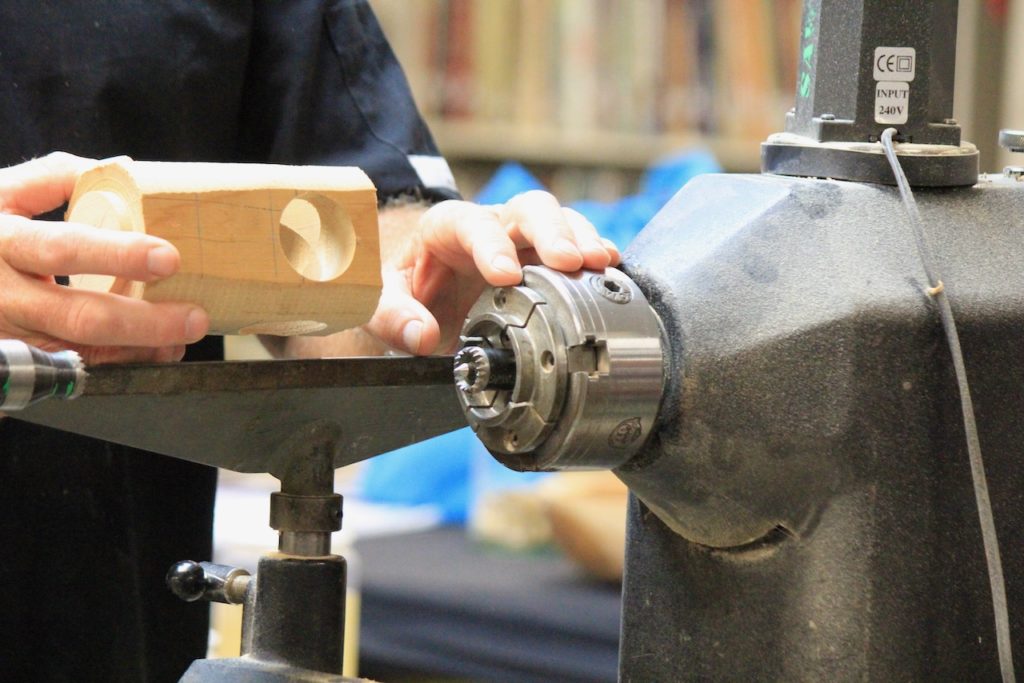
Using a steb centre in the chuck, he created a spigot on each end, remounted the blank with the holes at the headstock end. He marked a line just beyond the holes on the side toward the lid section, to indicate where the bowl shaping would begin. He then turned the lid section to a cylinder and shaped the bowl and feet, with a narrower diameter where the line had been drawn earlier to indicate the base of the bowl.
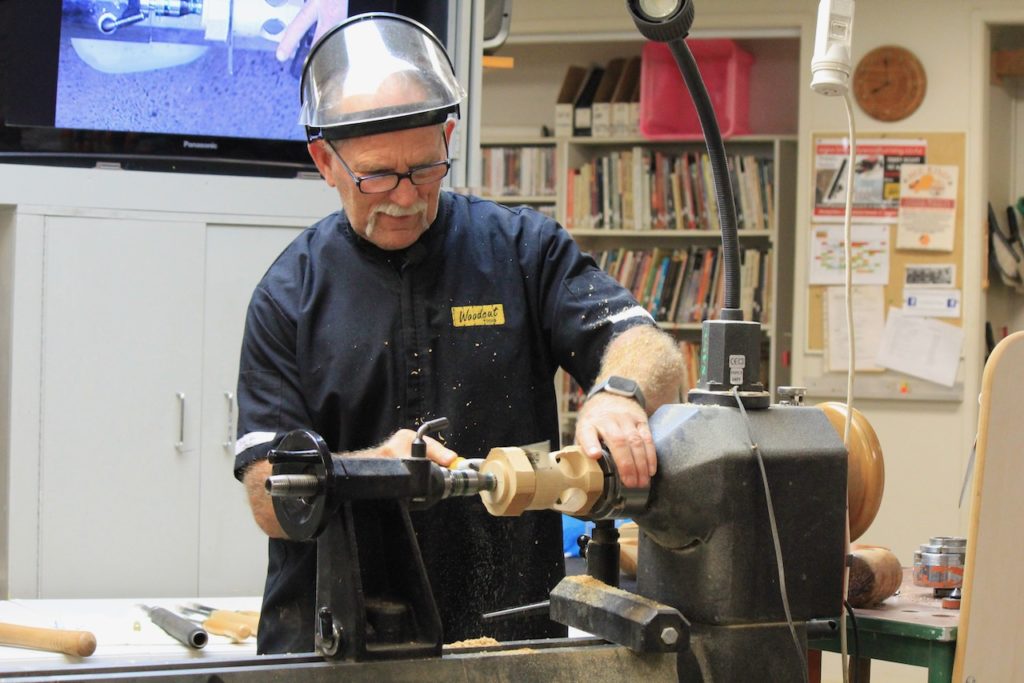
The next step was to part off the lid section and hollow out the interior of the box. Garry used a Rolly Munro mini-hollower to leave a raised “finger” in the base of the bowl to hold the rings. Garry then faced off and designed the rim of the bowl as for any other lidded box. He left the sanding and finishing to our imaginations (except to suggest that the edges of the holes be smoothed with a flapper wheel in a drill) and parted off the blank, separating it from the spigot at a point that cut into the bottom edge of the pre-drilled holes to separate the four feet.
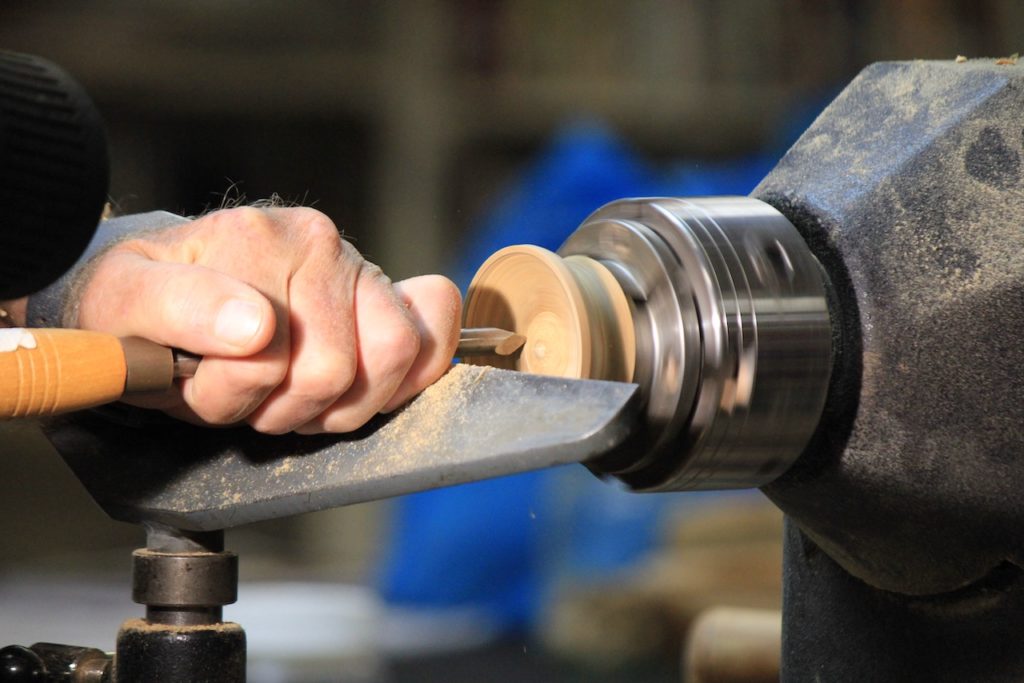
The next-to-last step was to mount the lid section in the chuck, face it off, and hollow it. (Garry suggested that a dimple could be left in the inside of the lid with texturing applied around it, as he had done in several of the examples of finished ring boxes that were passed around.) He presented the base of the box to the mounted lid several times to ensure a good (and fairly loose) fit, and then completed the outside of the lid, leaving a spigot at the headstock end which could either be turned as the handle for lifting the lid, or as a 10mm (or just under) dowel over which a finial could be glued into place.
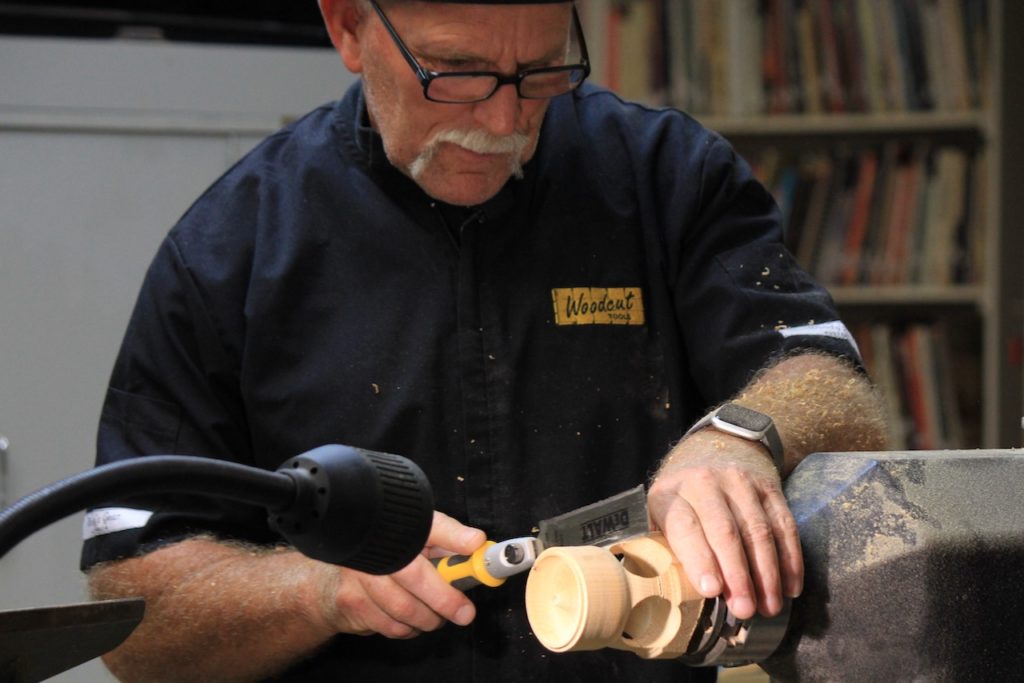
The final step is optional. Several of Garry’s examples had a finial on the box 50-80 mm long with an approximately 25mm base, narrowing to 12-15mm at the top, to hold additional rings. If you decide to do this, mount a 40 x 100 mm blank of similar or contrasting wood, drill a hole 10mm in diameter and about 10 mm deep, bring up a live centre in the tailstock, and shape he finial. Finish and part it off, and glue it over the dowel at the top of the lid.
Beautiful!