Club Meeting: 11th March 2020
Report by: Bob Yandell
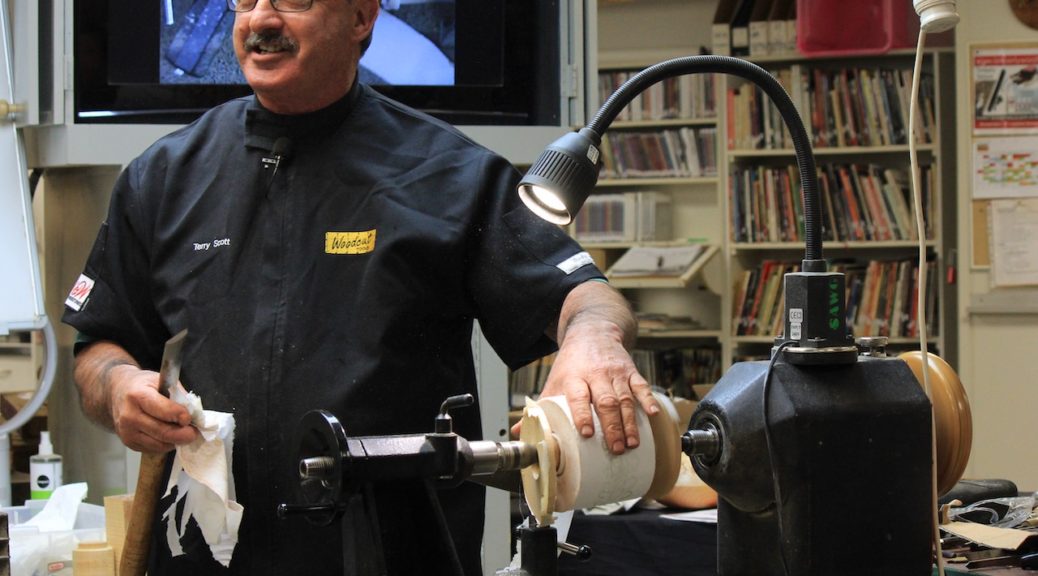
The “House Full” sign was up and Terry was at his best – humour, skill and knowledge for all present. The start was, as only Terry, the entrepreneur and entertainer could, an opportunity following the Covid-19 outbreak and subsequent shortage of toilet paper. We woodturners could meet the shortfall by providing toilet paper by supplying the leaf from Salanum maurtianum plant, better known as Woolly Nightshade or Tobacco plant which Terry observed was growing in plentiful numbers either by itself or in combination with our turnings and a few chemicals mixed together, compressed then peeled like a veneer and rolled. If you weren’t there you missed the business opportunity of 2020.
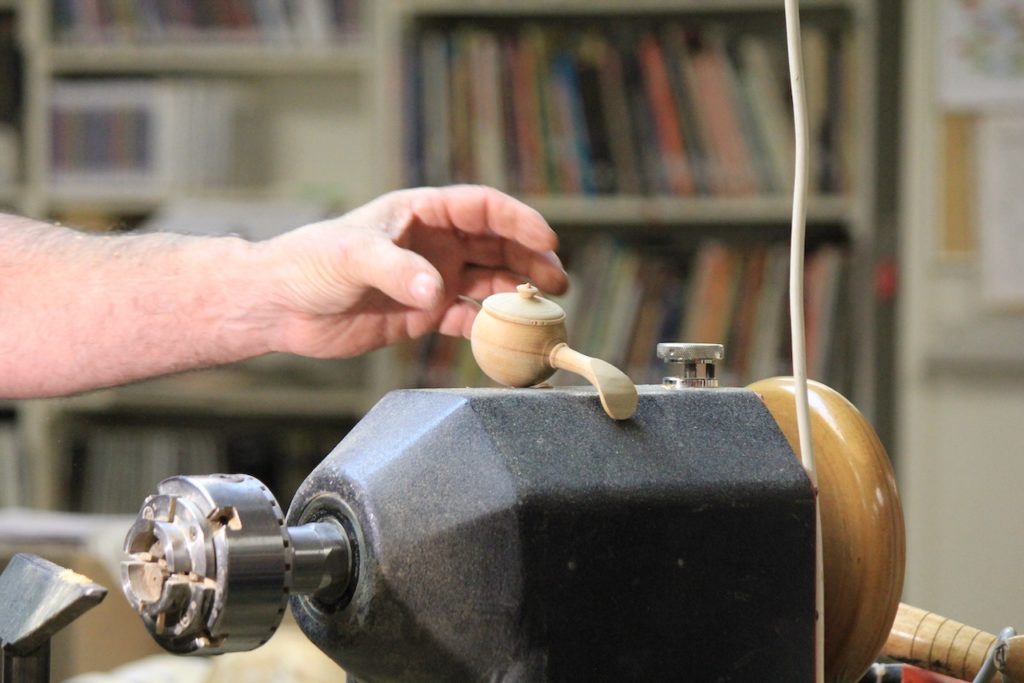
The actual demonstration began with Terry showing examples of spoons and his development of the concept into the lidded box. Spoons for a salt pig through spoons with long handles. (Refer Club projects sheets – Spoons for the basic concept).
Terry started with a block of Kauri 60x60x180mm. Hard woods are best used when making spoons. The block was mounted between centres and turned round. The final diameter was 53mm based on the internal dimensions of the sphere cutter being used and a 48mm spigot was put on each end. The lid section was parted off at 64mm. The box/spoon section was that left. At this point Terry informed that the length of the spoon was dictated by the swing over the lathe and a maximum length for the lathe was 400mm to which the allowance for the lid and spigots “X”mm is to be added.
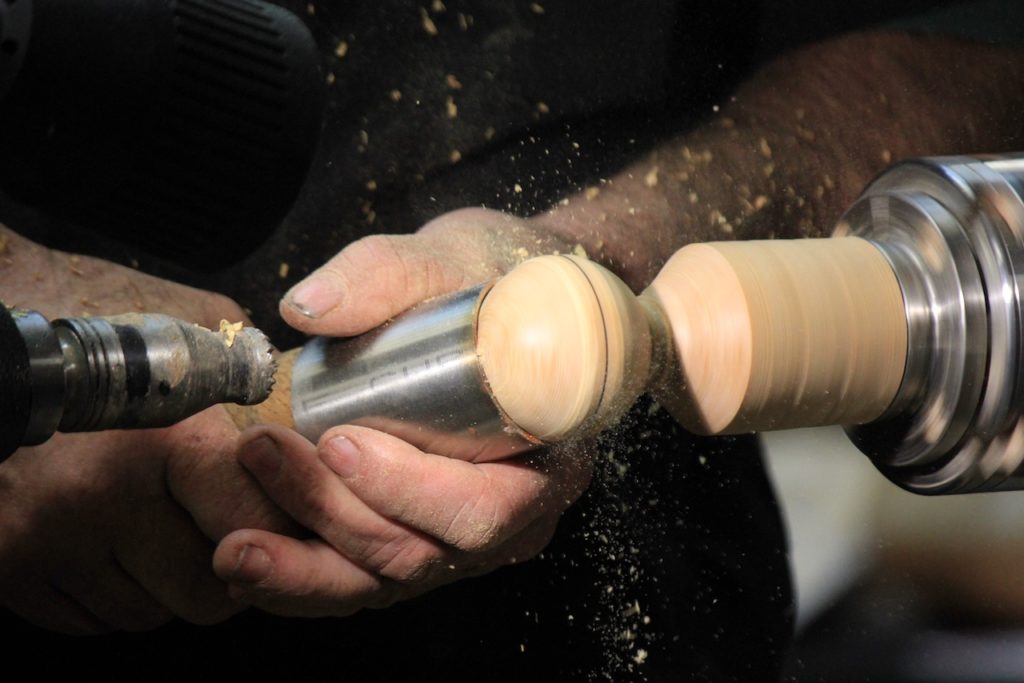
The Spoon/Box portion was mounted in the 50mm chuck; end cleaned up and a line defining the centre of the sphere clearly drawn, approximately 28mm in from the end, and a fainter line defining the sphere diameter marked. This latter line is where the handle starts and a cut on the lathe head side of the line, with the parting tool indicates the beginning of the handle profile and diameter. The distance between the line defining the centre of the sphere and the external diameter is divided into 4 equal parts(3 lines either side of the main line) because a sphere is formed from 4 flats( starting with the centre line being the beginning of the curve and end furthest from centre being the end of the curve and the beginning of the next and repeating until curve complete).
The sphere profile is refined gently using a pipe tool with the lathe running. This is a piece of tube with a handle fitted in one end that allows approximately half the diameter to extent, like a chisel tip, and is sharpened on the belt sander. The “roundness” is checked using bottle caps and until no gaps between wood and cap. Sand and finish.
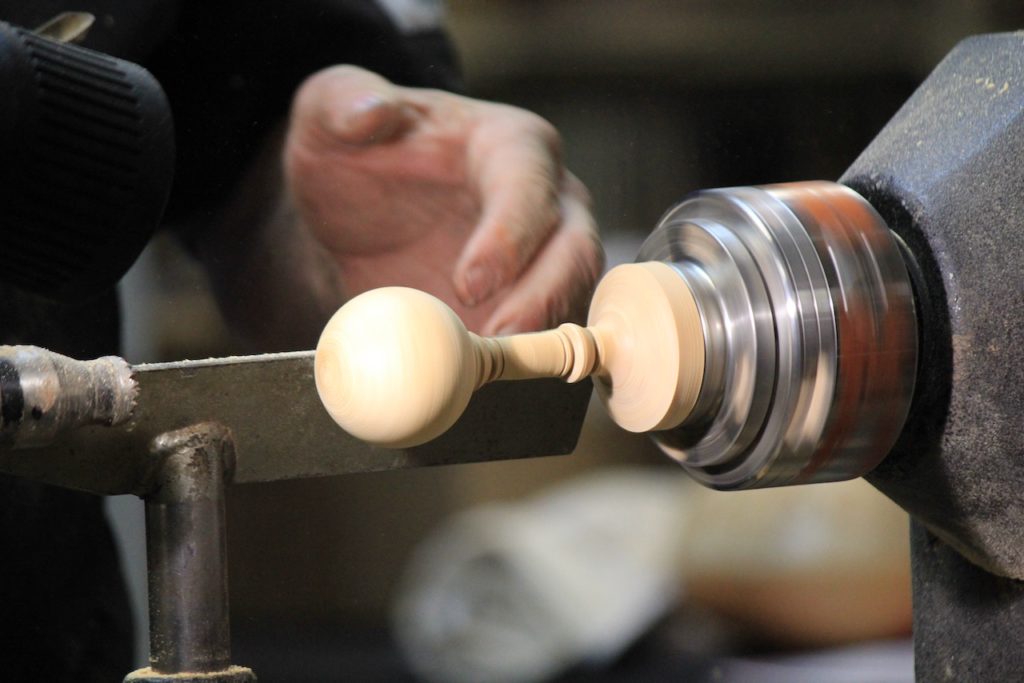
Complete the handle profile and part off. Texture, captive ring, may be pyrography – sand and finish.
The next stages require a jamb chuck and ideally a second chuck for the yet to be made lid.
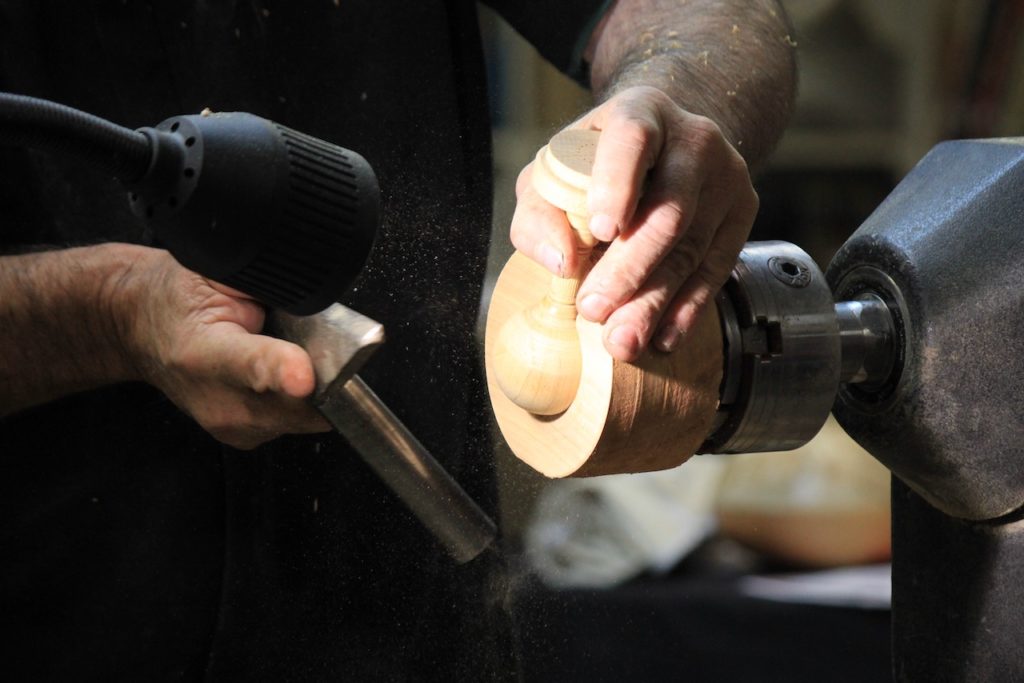
Making the box requires a jamb chuck mounted in 50mm chuck. The sphere plus handle needs to fit snuggly so handle is flush with face of the jamb chuck. Determine diameter with callipers or Vernier and mark face of jamb chuck and turn out always checking fit. It must be snug and firm. Cut a slot to accommodate handle. Terry used an Arbortec. Drill a hole from the side of the jamb chuck into the bottom to assist removal. Position the sphere in the jamb chuck to optimise the strength of the grain and visual appearance. Hot melt glue can be used to ensure no movement of the sphere. Mark the centre so a drill can be used to define the depth of the cavity of the box. The depth is the diameter id the sphere less wall thickness.
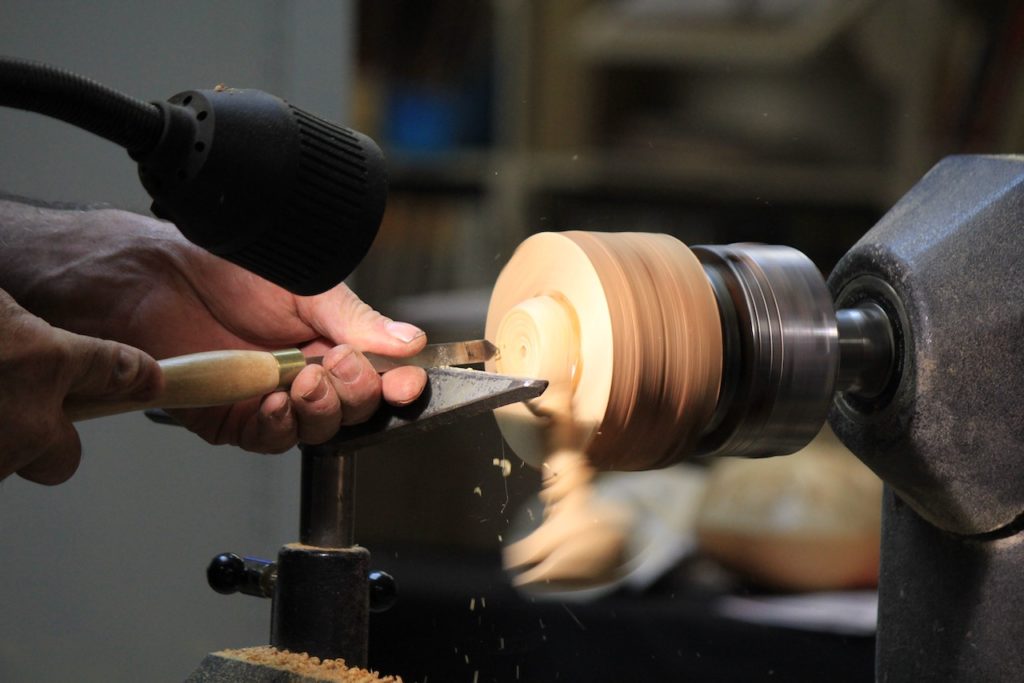
Cut the opening for the lid and hollow it and cut the rim to accept the top part. Finish all these surfaces. Terry used a cup tool and emphasised the need to rub the bevel. He also used a scrapper in a circular motion, like the hand on a clock to maintain the inside of the sphere.
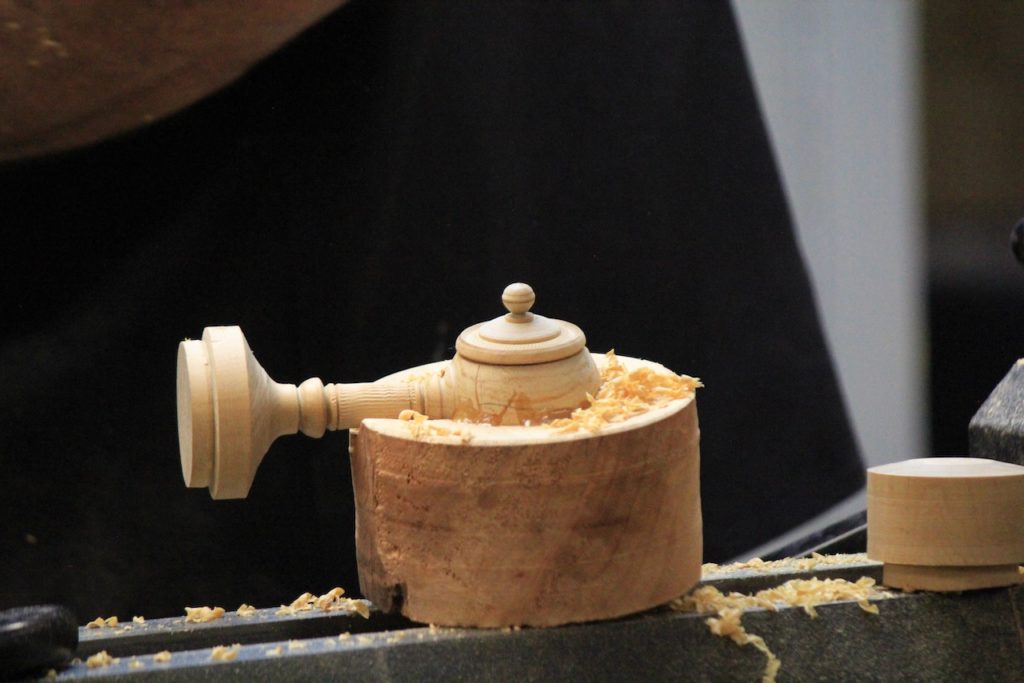
Next stage was the lid using the piece set aside at the beginning. The face is cleaned up and the internal hollowed so that the curve is a continuation of the internal curve of the box. There is sufficient wood so Terry was able to develop the external profile so it matched/complimented the box. This is where a second chuck is of value as you can produce the lid and then fit it to the box to finish the top albeit a finial, knob or handle. Complete the handle profile and part off. Texture, captive ring, may be pyrography – sand and finish.
