All posts by Webmaster

Kevin McFall – Reduced to Tears

Club Meeting: 23 September 2026
Report by: Kevin and his AI Helper

Overview

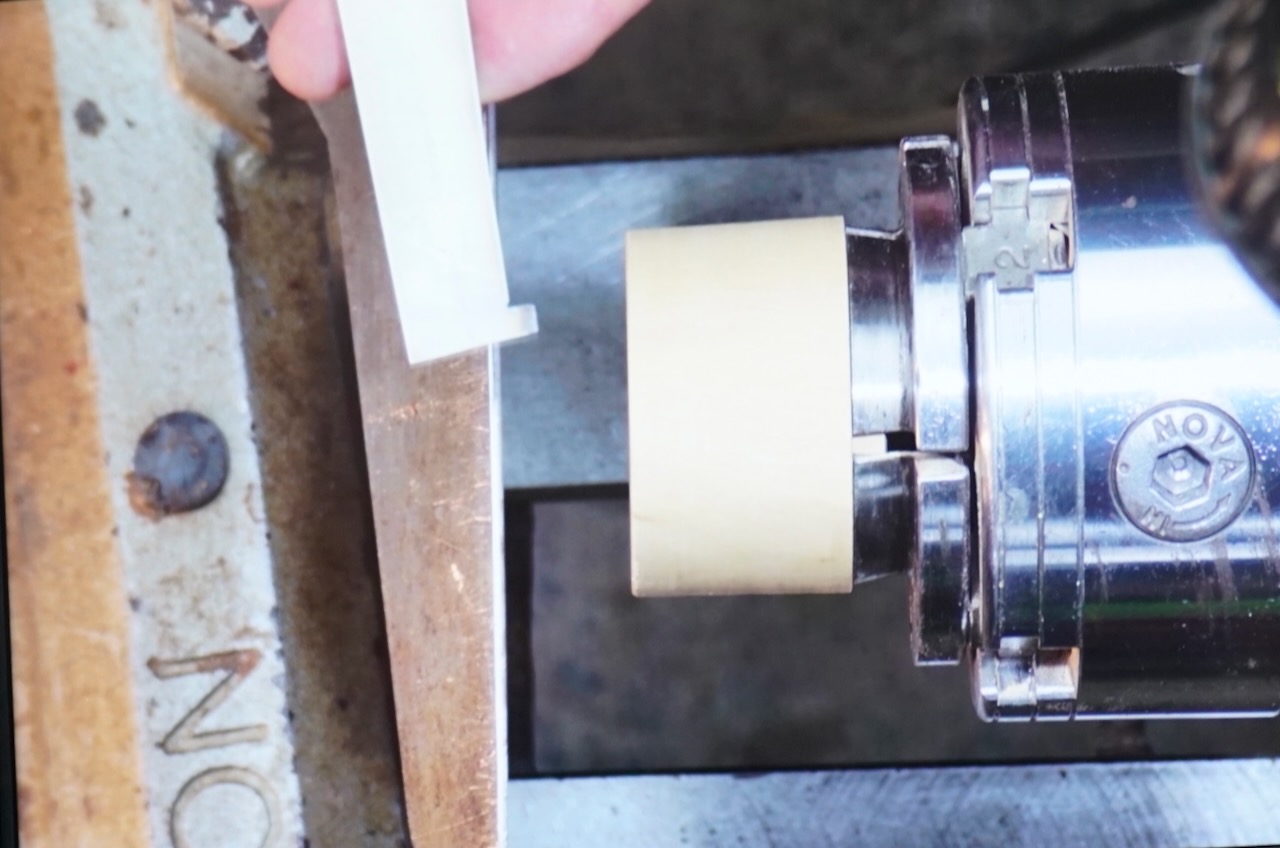
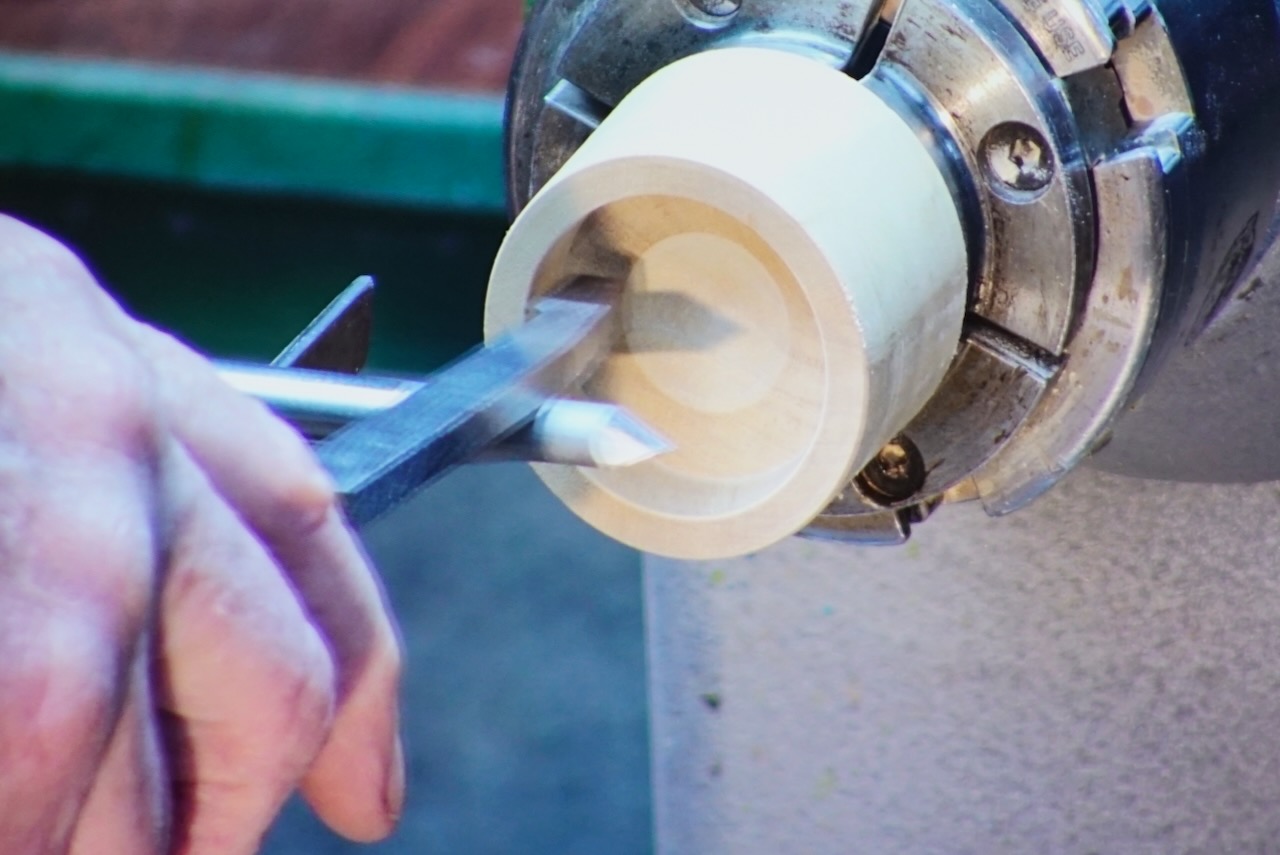
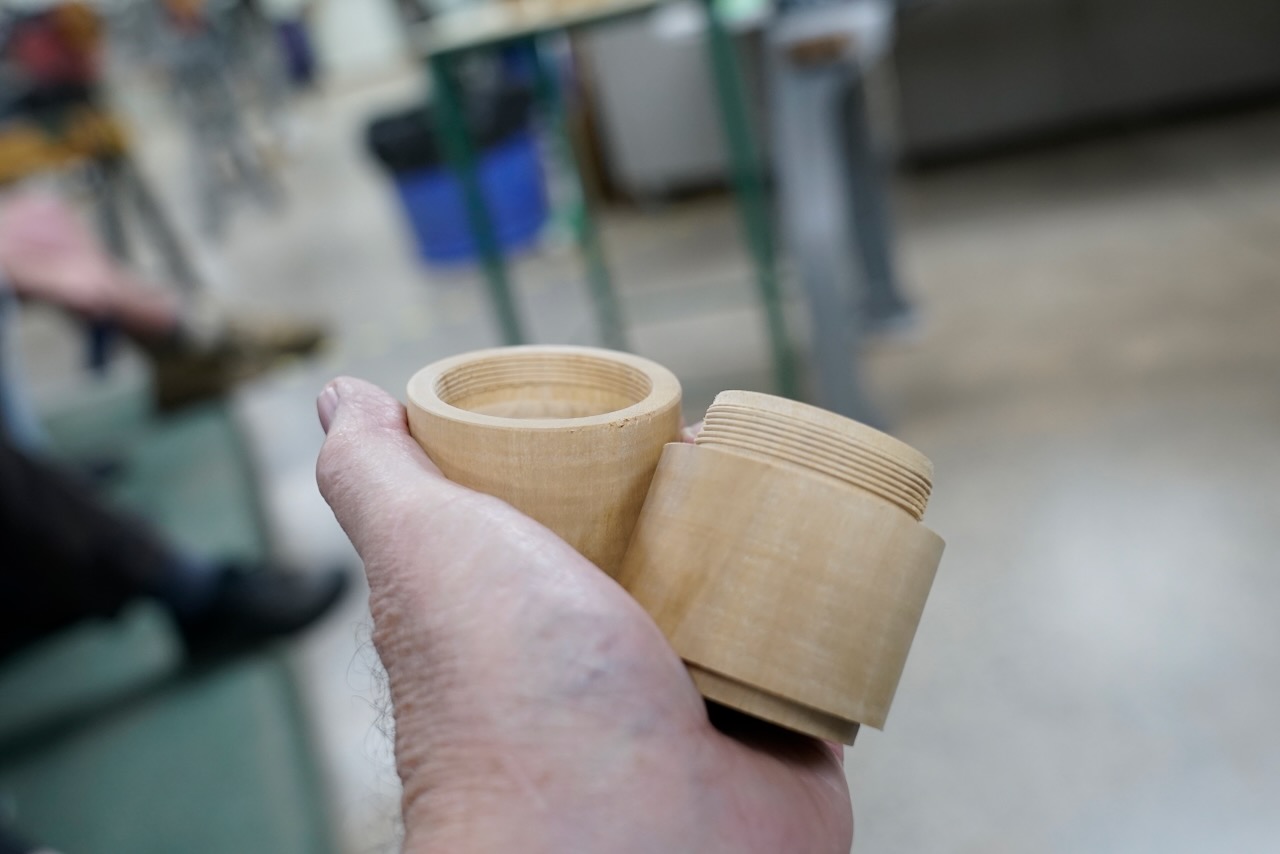
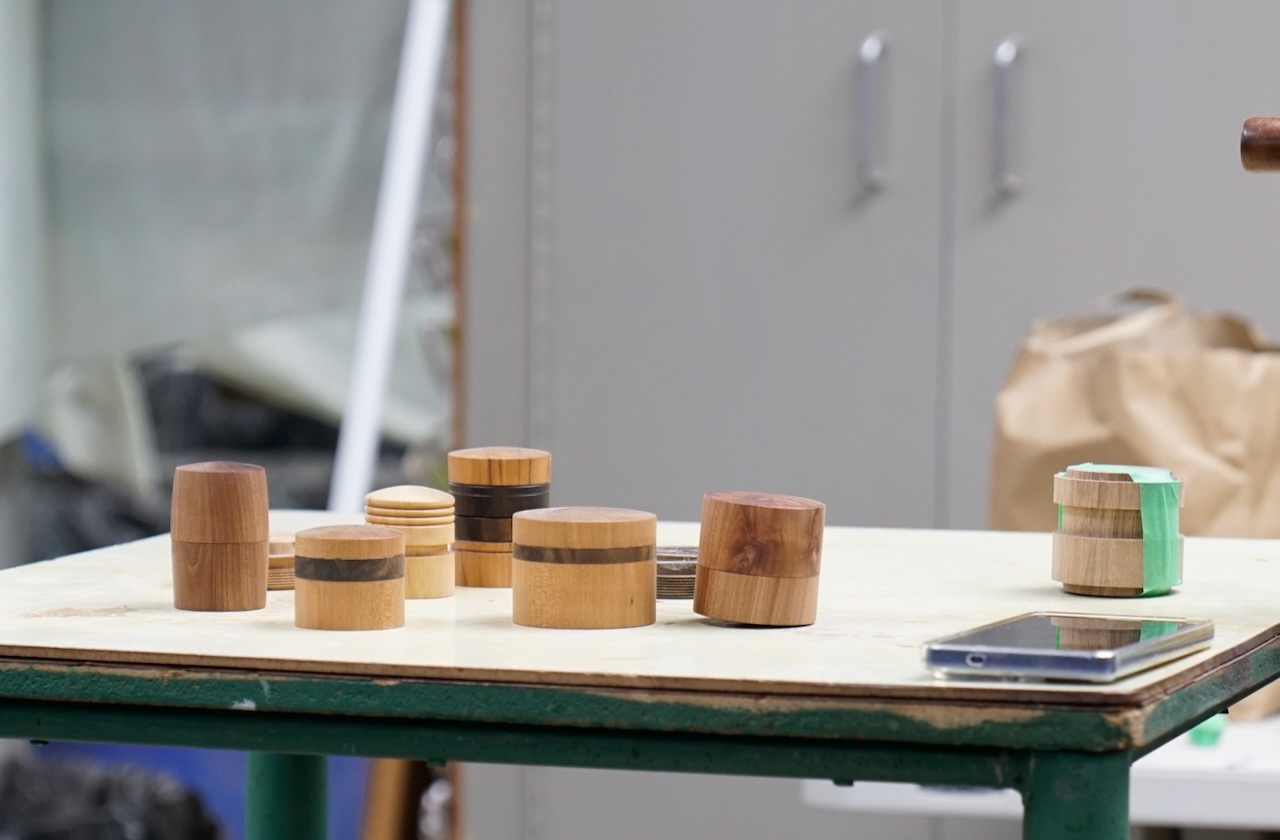
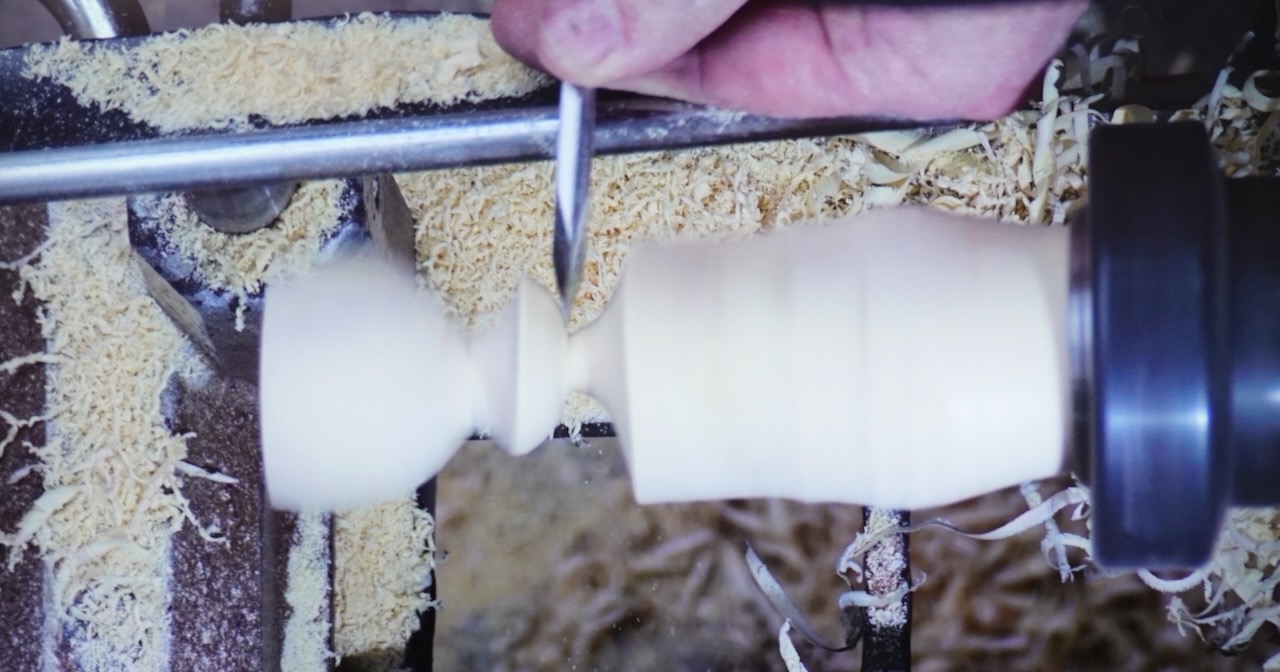
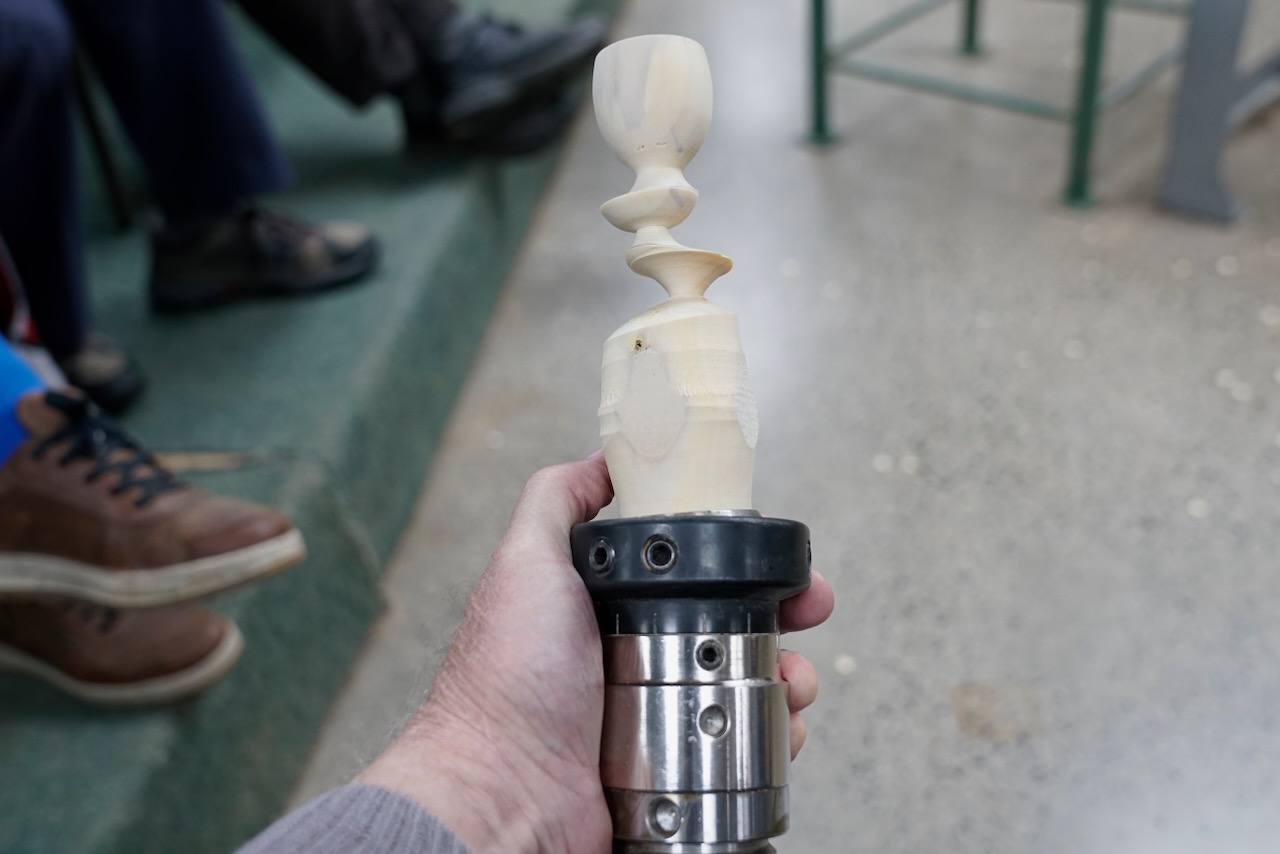
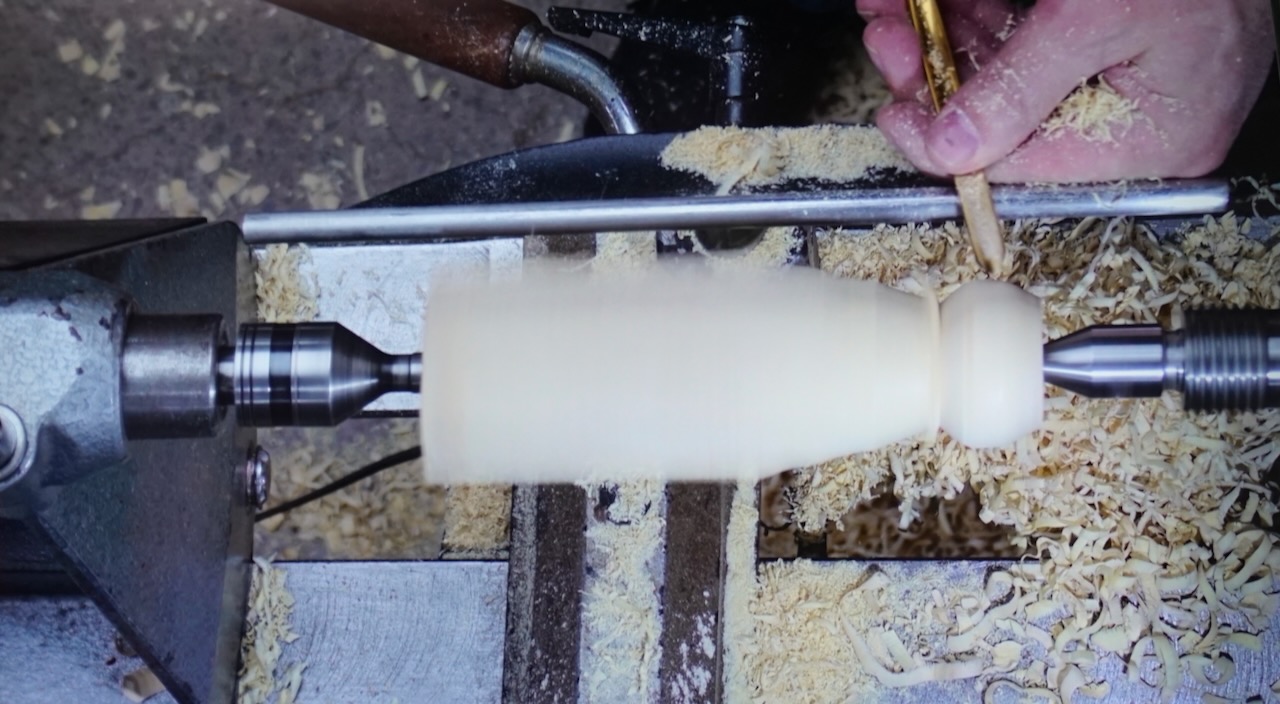
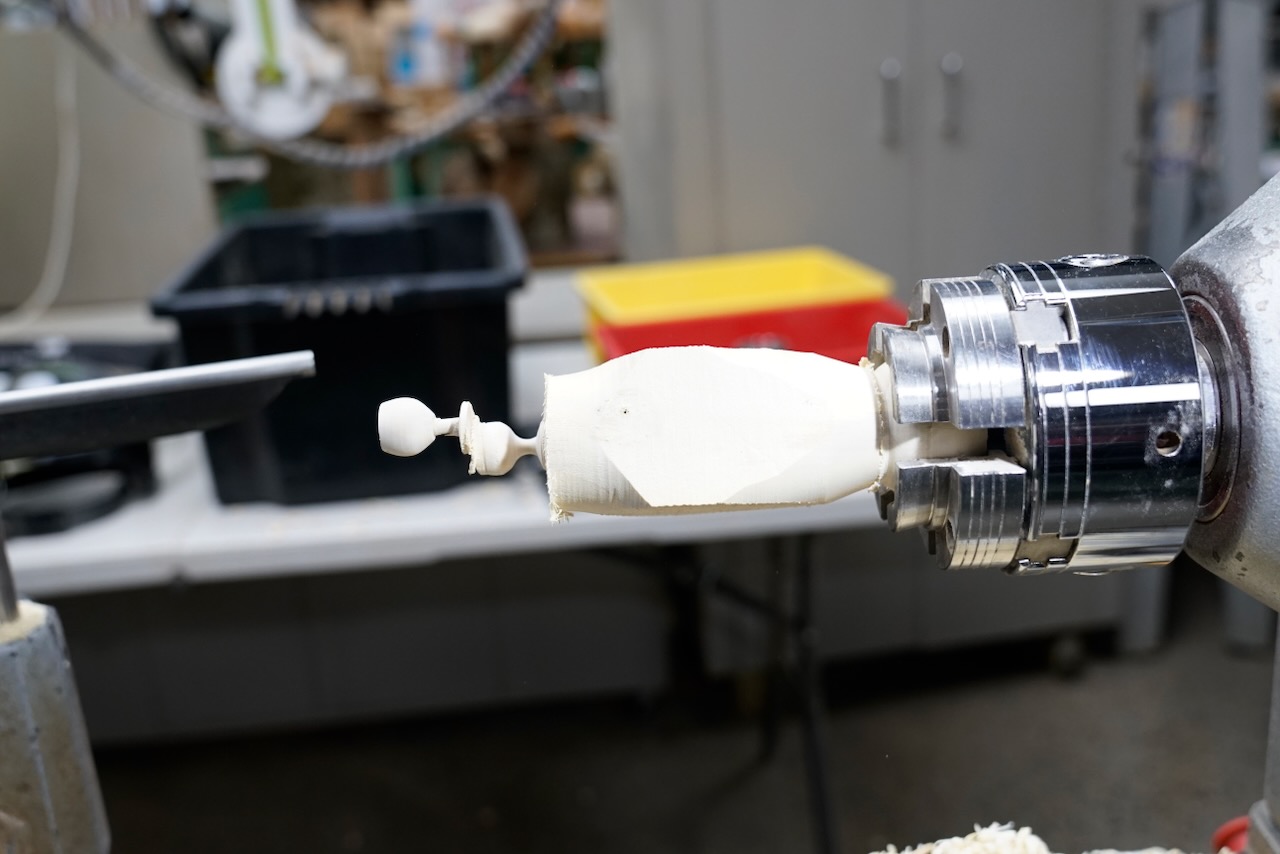
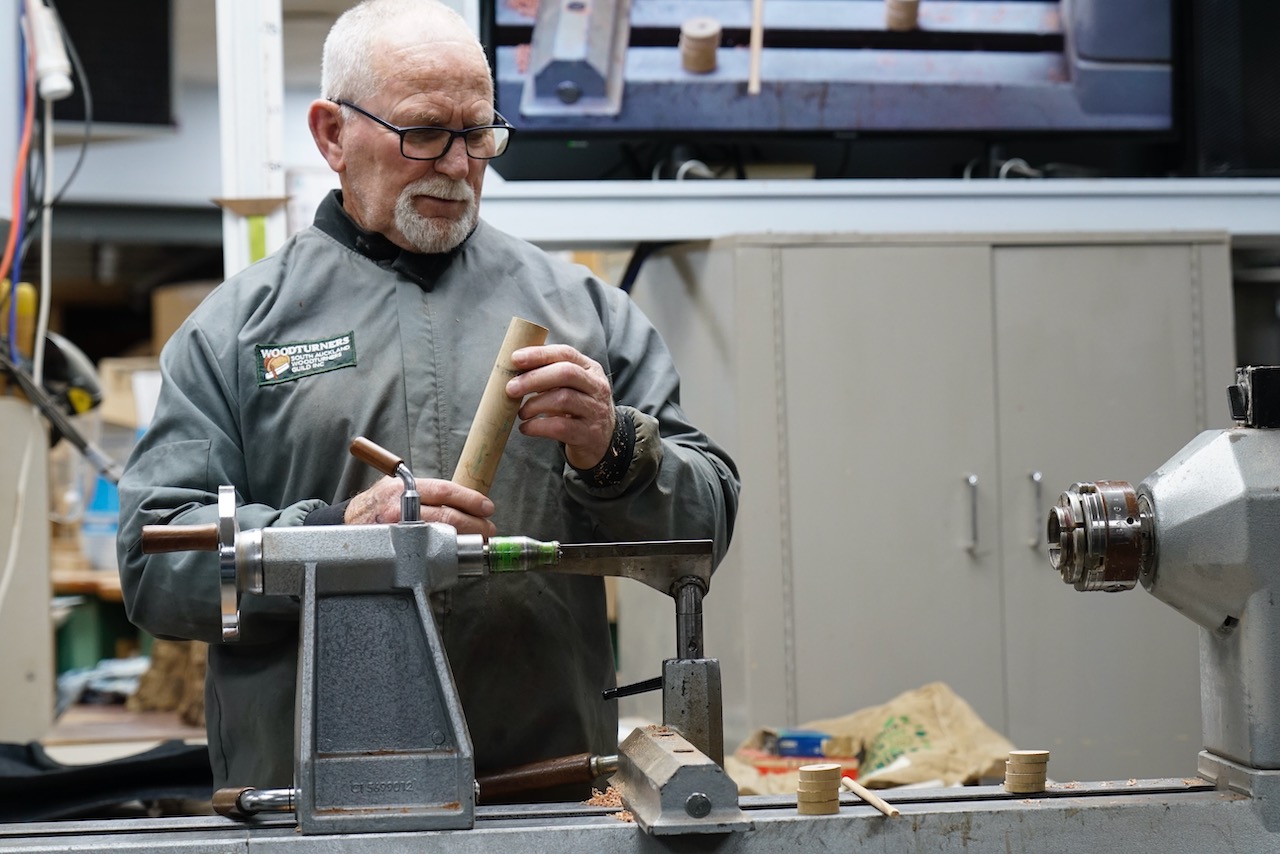
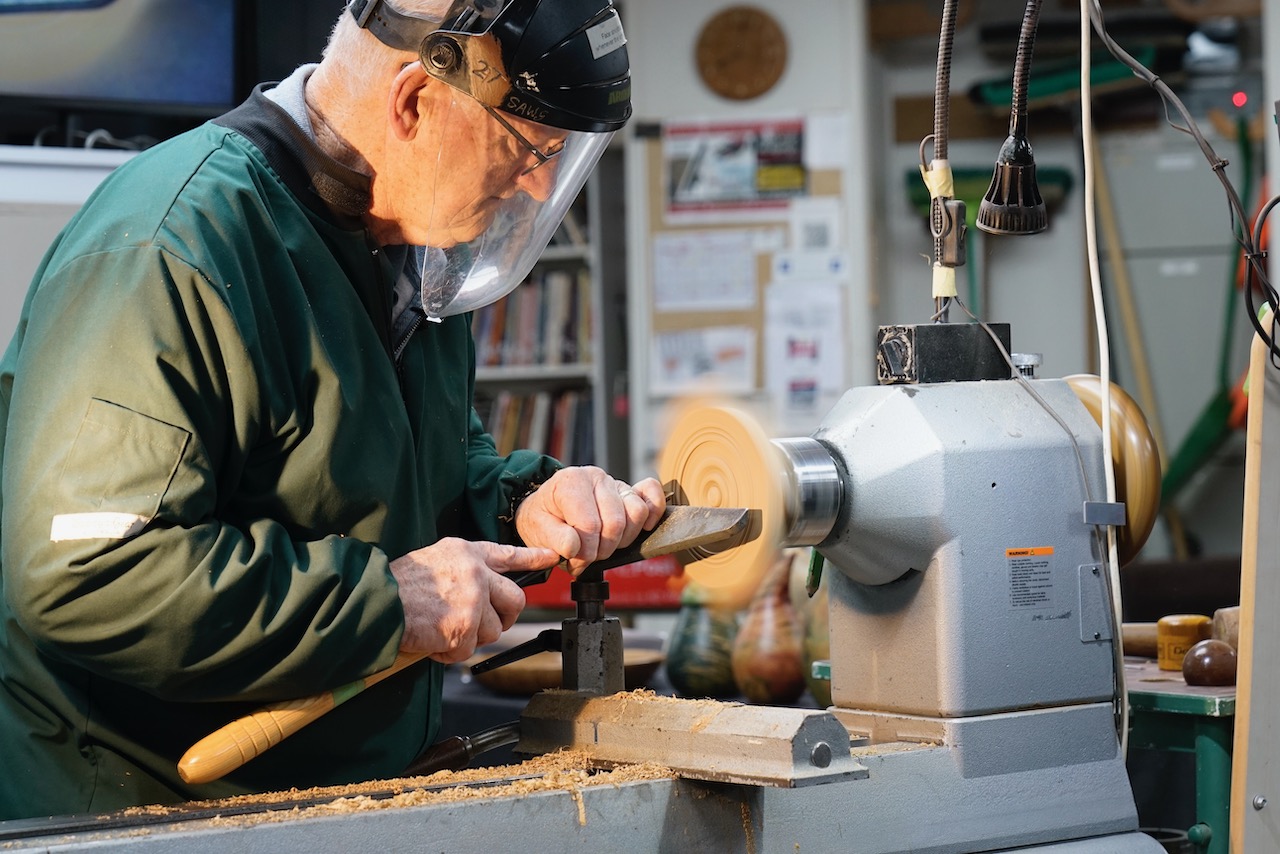
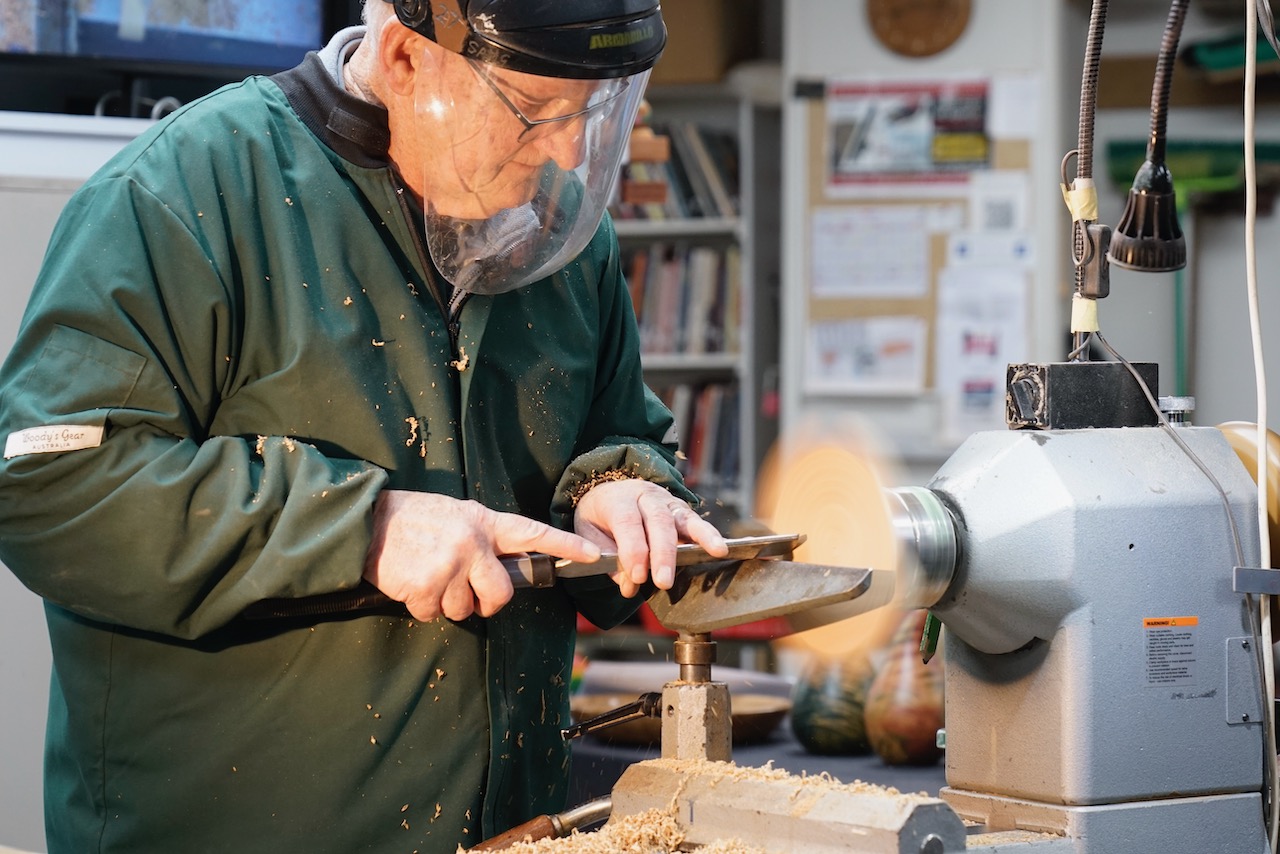
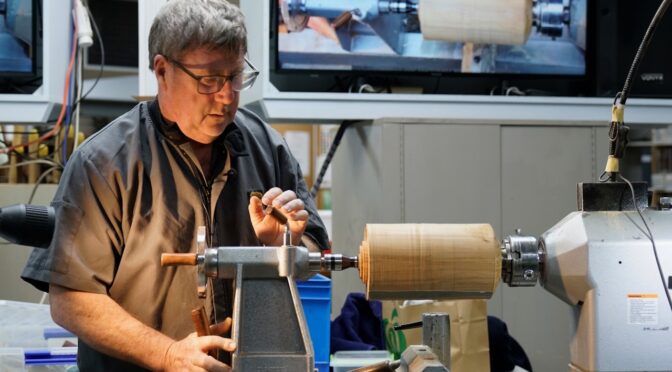
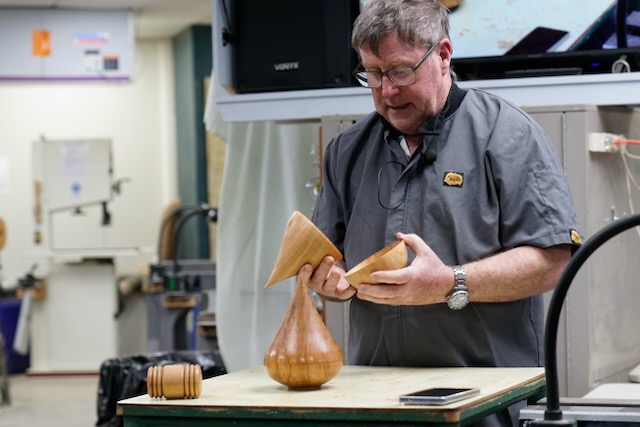
Kevin’s first demo for the club covered turning a two-piece, lidded box in a teardrop (or “onion”) profile, turned long-grain from a single blank and split apart partway through so the grain continues to match across the lid and base once reassembled. He brought along several earlier practice pieces — including one in Rimu and one in an unknown wood — to show the shape at different stages and discuss what had gone wrong along the way, before demonstrating the process live on a fresh blank. Time ran short, as is common for a first demo, so the piece shown was left partly refined rather than fully finished — the notes below combine Kevin’s own written process notes with what was covered live, including a couple of useful suggestions from the floor.

Materials & Tools

ItemNotes
Chucks100mm and 75mm 
Step centres (drive & live)Used at both ends for initial mounting between centres — sized to suit the blank
Tailstock chuck mountA second chuck mounted via a Morse taper adaptor in the tailstock, used to keep the lid and base aligned before fully separating them
Spindle roughing gougeFor initial rounding of the blank
Spindle gougeFor shaping the teardrop profile
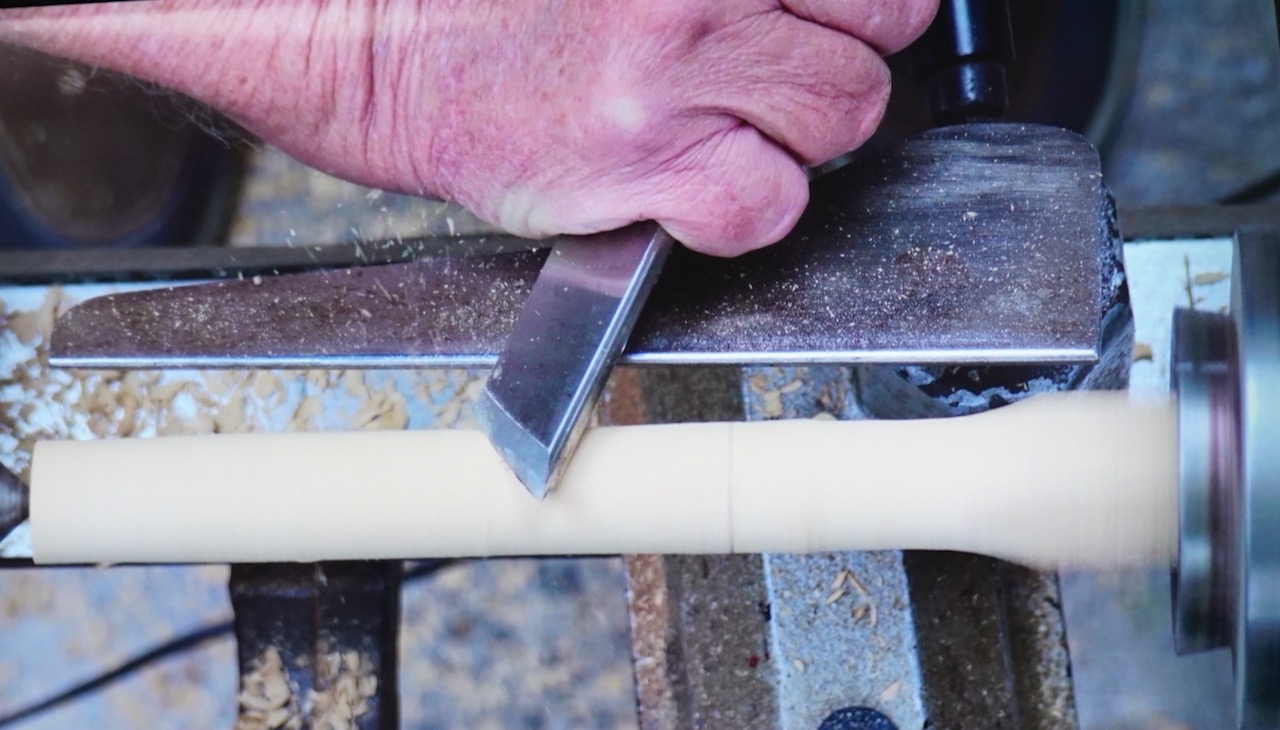
Thin parting toolUsed for the critical cut separating lid from base — a thin kerf helps the grain line up better once rejoined
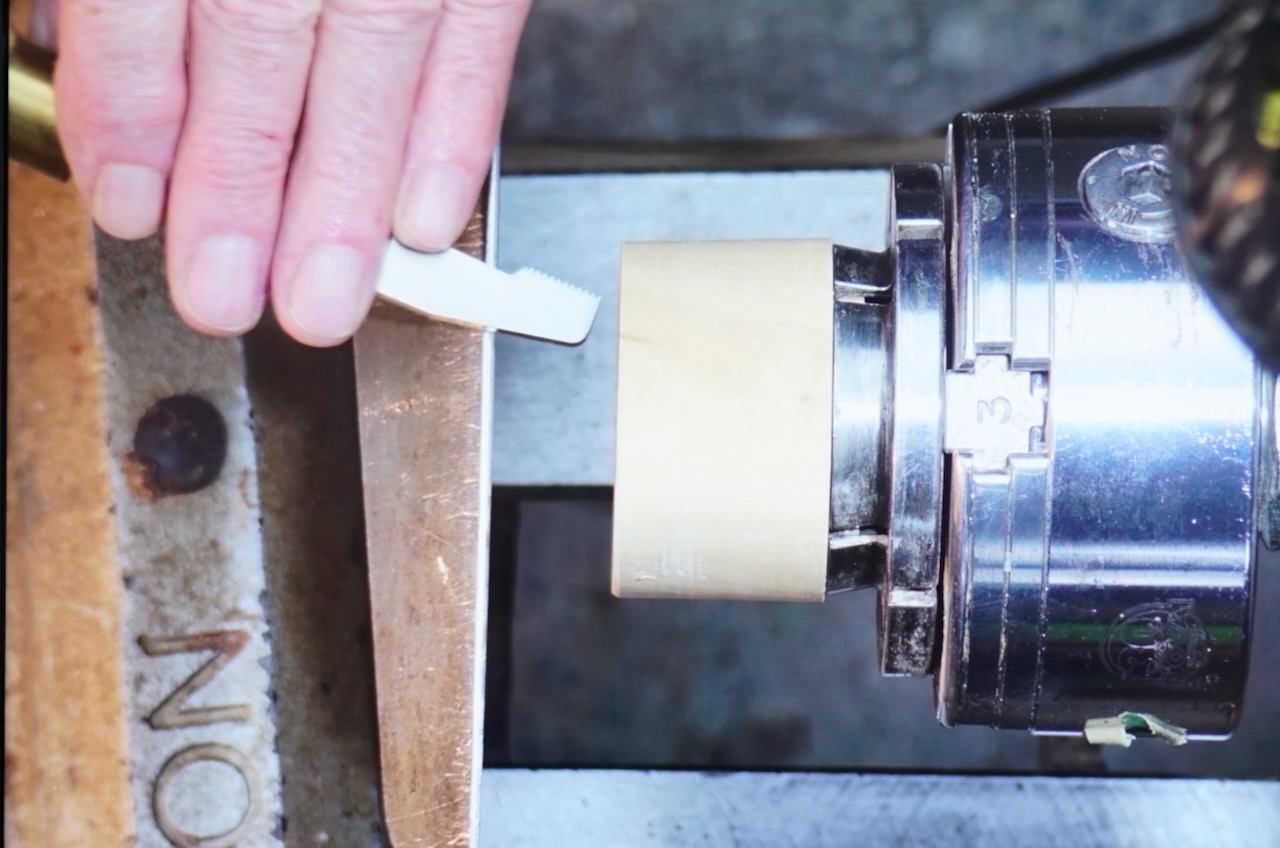
Flush-cut / pull sawA Japanese-style saw with no set on the teeth (cuts only on the pull stroke), used to finish separating the two halves once the parting tool can’t safely go any deeper
Jacobs chuck + Forstner bits (35mm)For boring out the centre of the lid before hollowing
Outside callipersFor matching diameters between lid and base
Masking tapeUsed both as a marking guide on the tool rest, and to hold the lid and base together for final shaping and sanding
SandpaperThrough to 320 grit

Design & Proportions

Timber is used long-grain, with end grain at the top and bottom of the finished piece. Before starting, size the blank so the finished piece will end up at roughly 130–150% of the blank’s diameter — for example, a piece meant to finish around 130mm at its widest point wants a blank close to 195mm long overall, plus about 20mm extra at each end to leave room for spigots.

“Measure twice, cut once, and panic quietly the whole time.”

The high point of the teardrop’s curve (the widest part) should sit at roughly one-third of the way along the finished length, not counting any separate foot.

Method

Mounting & Roughing

  1. Mark the approximate centre at both ends and make a small indent with an awl to seat it between centres.
  2. Mount between centres using a step drive centre at the headstock and a live step centre at the tailstock, sized to suit the blank. Make sure everything is firmly locked up.
  3. Round the blank down to approximately the diameter wanted for the widest part of the finished box.
  4. Turn a spigot at the tailstock end sized to suit the chuck that will hold the base. Reverse the piece — that end into the chuck, the other end supported on the live centre — and turn a matching spigot on that end too (this end can go in a smaller chuck, since it’s eventually turned down to a point).
  5. Put masking tape on the tool rest and mark the top, bottom, and high-point positions on it as a cutting guide — marks made directly on the spinning wood tend to disappear too easily to rely on.

Shaping the Profile

“Turning a circle is easy. Turning a teardrop is just a circle with an identity crisis.”
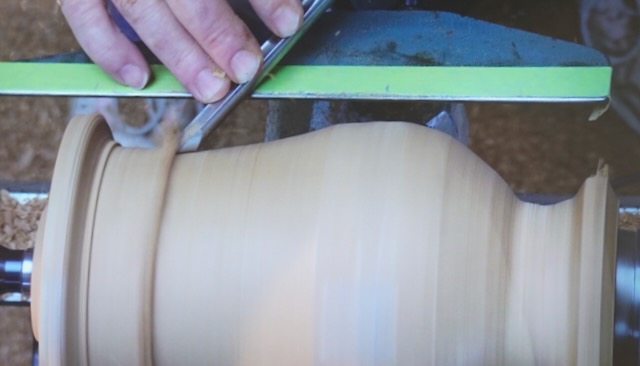
  1. Shape the base end first, including a fairly steep taper near the spigot down toward the foot’s finished diameter — a parting tool can establish this diameter early on.
  2. Shape the upper part of the teardrop, checking the profile from above regularly and using the tool rest marks as a length guide. Bring it to the rough final shape, but stop short of a fine point — enough thickness needs to remain here to keep the piece securely held in the chuck while the inside of the lid is later hollowed.
  3. Sand the outside smooth through to 320 grit before separating the two halves.
Separating Lid from Base

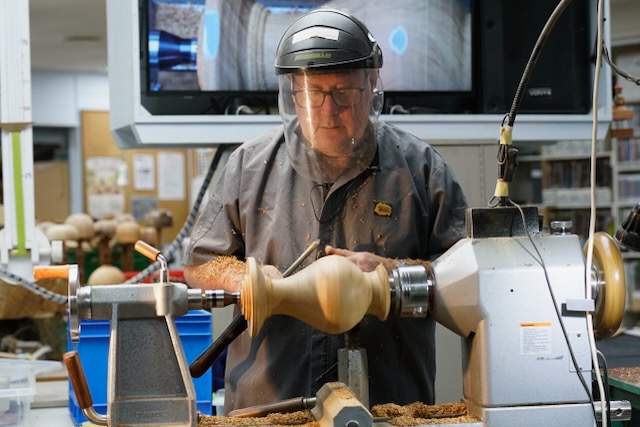
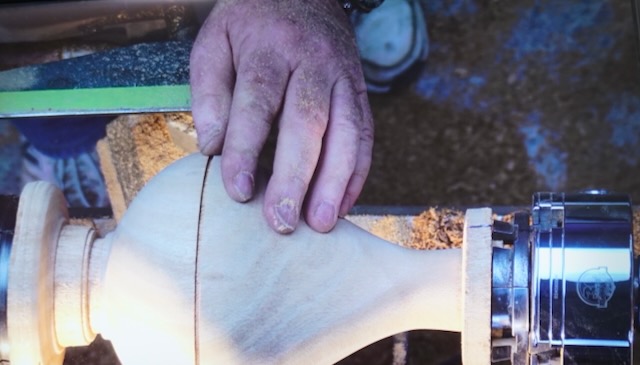
  1. Mark the separation point and begin parting through with a thin parting tool — a thin kerf helps the grain match up better once the two halves are rejoined later. Part in only as far as is safe (the tool gets hot, especially fine ones), then stop the lathe and lock the chuck.
  2. Finish the cut with a flush-cut/pull saw, rotating the piece by hand and sawing in from different points around the circumference until the two halves are nearly separated.
  3. Before fully parting through, mount a second chuck in the tailstock (via a Morse taper adaptor), bring it up to the piece, and tighten it onto the still-attached section. This keeps the lid and base captured on their own chucks and correctly aligned relative to each other, rather than risking them coming apart out of true.
  4. Cut through the remaining connected wood, then remove the lid (still on its chuck) from the tailstock, followed by the base and chuck from the headstock — swap the lid onto the headstock in its place, keeping each half mounted on its own chuck throughout.
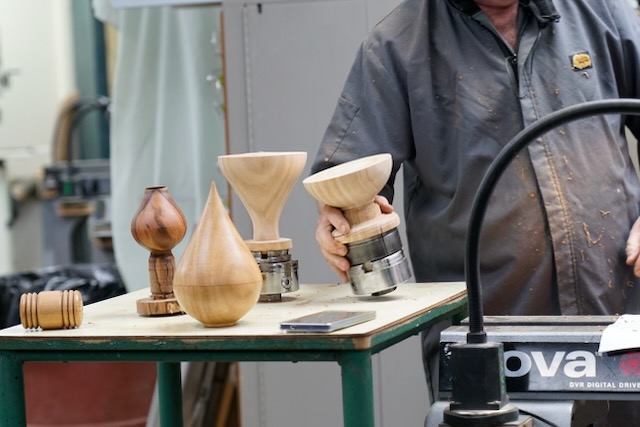
Hollowing the Lid

  1. Using a Jacobs chuck and an appropriately sized Forstner bit in the tailstock, bore out the centre of the lid. Measure the target depth from the outside first, and make sure the bit’s diameter stays well within the piece at that depth given the final outside shape.
  2. Turn a small registration recess just inside the outer edge of the lid — about 1–2mm in and roughly 1mm deep. This recess is used later as a fit-testing template when turning the matching recess into the base.
  3. Turn out the rest of the lid’s interior to the desired wall thickness, rounding over the flat left by the Forstner bit to follow the intended inside profile.
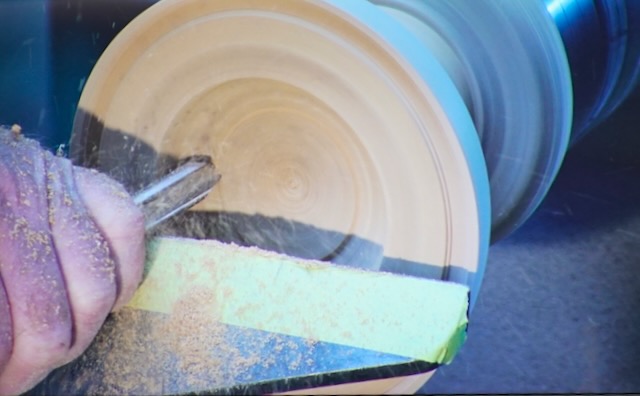
Hollowing the Base to Fit

  1. Mount the base and hollow the interior with a parting tool, working from the centre outward in small cuts, leaving the outer 4–5mm untouched initially.
  2. As you approach the edge, cut a matching recess to the same depth as the one turned in the lid, stopping the lathe frequently to test the fit of the lid directly against the base.

“The hardest part of a box is making a lid that fits. The second hardest part is pretending it fits on the first try.”

  1. Once satisfied with the fit, sand the inside to 320 grit, taking care not to round over or damage the rim.

Rejoining & Finishing

  1. Refit the live steb centre in the tailstock, bring the lid and base together, and tighten gently. Do a final light sanding pass around the join, since a small amount of material is inevitably lost during parting and rejoining.
  2. Wrap masking tape around the joint to hold the two halves together securely for the final shaping — position it so it won’t lift or catch while spinning.
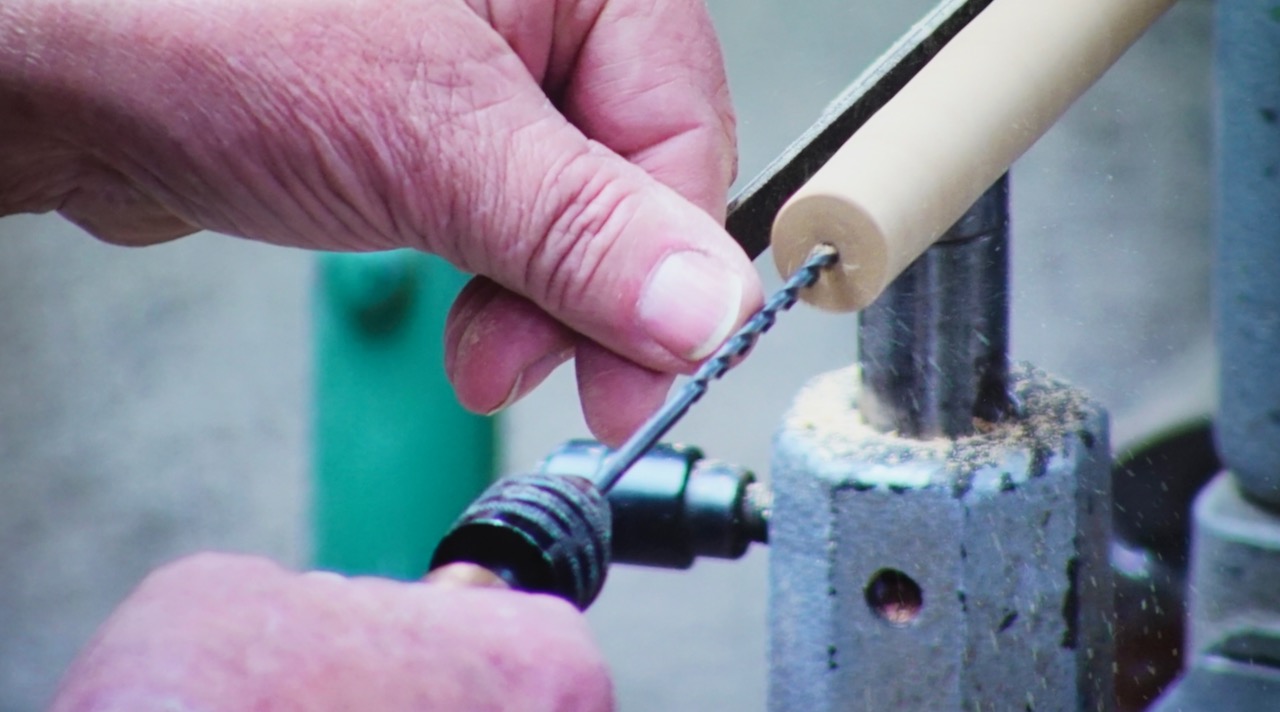
  3. Turn the final point at the top down as far as practical, then remove the tailstock. Drill a small hole in the remaining waste wood at the tip and use it as a jam-chuck point to support the piece while finishing the very top and completing all outside sanding and your chosen finish.
  4. Remove the tailstock and lid, then part off the base from its chuck to complete the piece.
Tips From the Floor

  • For a more consistent curve, a shop-made template of the lower “sphere” portion of the teardrop can be held against the piece as a guide while turning — useful since eyeballing a smooth, continuous curve (rather than one with a flat spot partway through) is genuinely difficult freehand. The same template idea, used as a thickness gauge, can also help keep the wall an even thickness on the inside.
  • To make grain matching between lid and base easier without losing extra material at the join: rather than cutting the lid down further to form its recess, part the initial separating cut a little deeper (10–15mm), then glue a separate internal ring into the lid at that point to form the fitting recess instead. This avoids sacrificing another 3–4mm of matched grain purely to create the lip — worth trying on a future piece.

Wood Selection Notes

  • Long, thin sections near the top of the teardrop are easy to turn too thin without noticing — one earlier pōhutukawa attempt ended up too fragile at the top as a result.
  • Macrocarpa gave repeated trouble in practice pieces — prone to splitting, and small surface knots often hid larger, more disruptive knots just beneath the surface once turned into.
  • Rimu performed well and was used for both a practice piece and material discussed on the night.
  • A certain amount of loss to splits, knots, or mistakes is normal and expected — as Kevin put it, that’s simply where firewood comes from.
Notes

As a first demo, this one was always going to be ambitious to finish in the time available, and it was left partly refined rather than fully complete on the night — entirely normal, and well received by the room. A good candidate for a short follow-up demo once the internal-ring and template ideas above have had a chance to be tried out.

Notes compiled from the presenter’s own prep notes and a recording of the demonstration.

A project sheet of a Teardrop Box using a alternate process is available on the SAWG website.
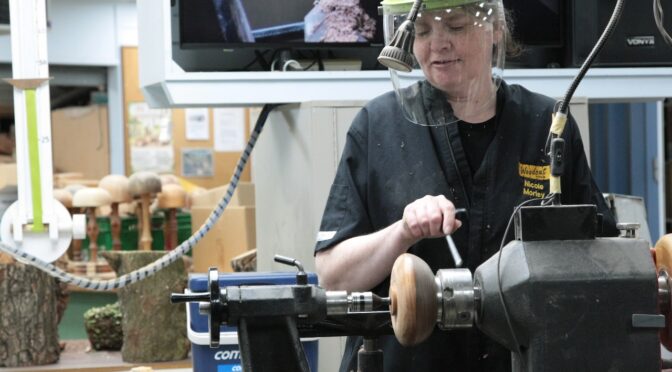
Nicole Morley – Mystery Project

Club Meeting: 16 September 2026
Report by: Eoin Jury

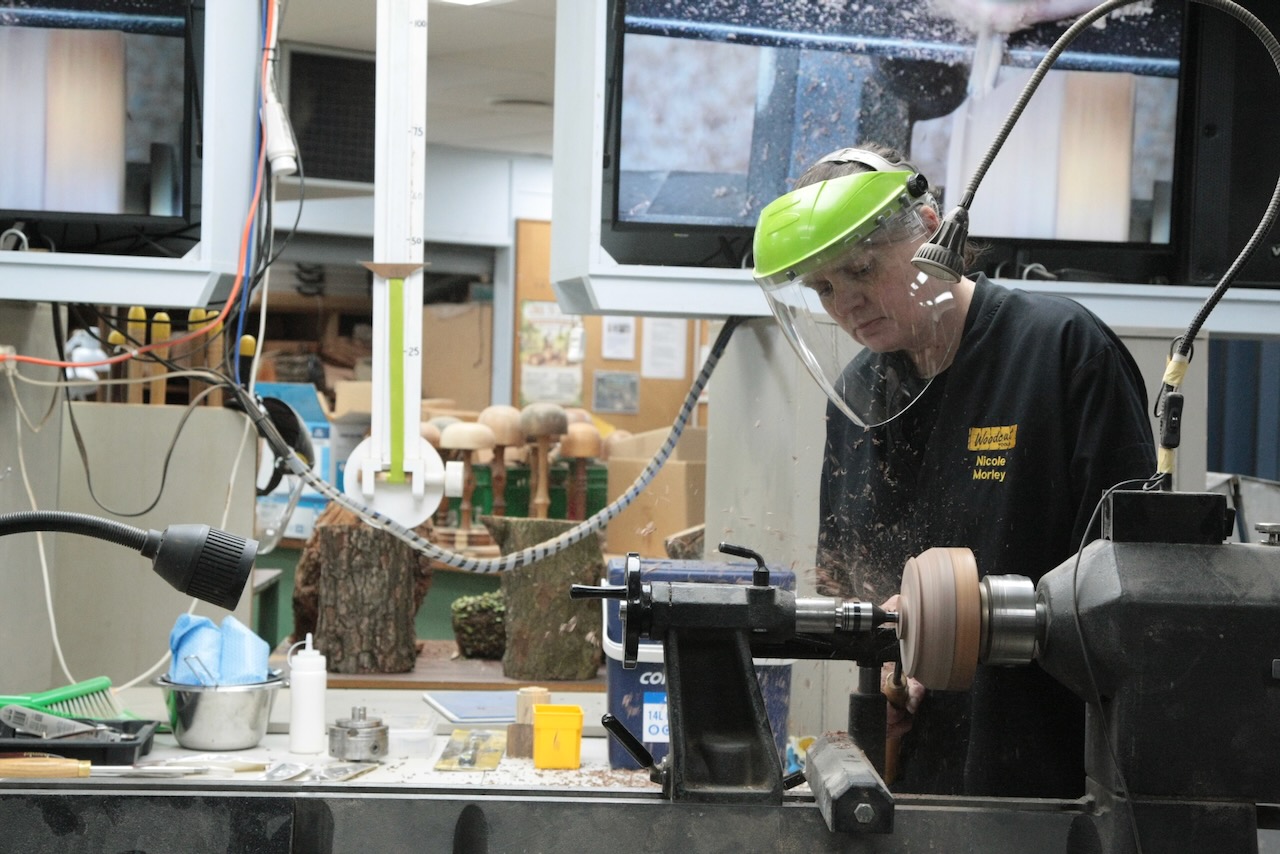
Nicole’s mystery project begins with two blocks of wood, one about 40mm thick and the other 50mm thick, both turned down to about 160mm diameter with a spigot added to each. Put each piece in your chuck and flatten the face. They are then glued together with the spigots facing out. The wood type is optional, but in this case includes expensive wood purchased from Rosenfeld Kidson purloined from mum’s collection!

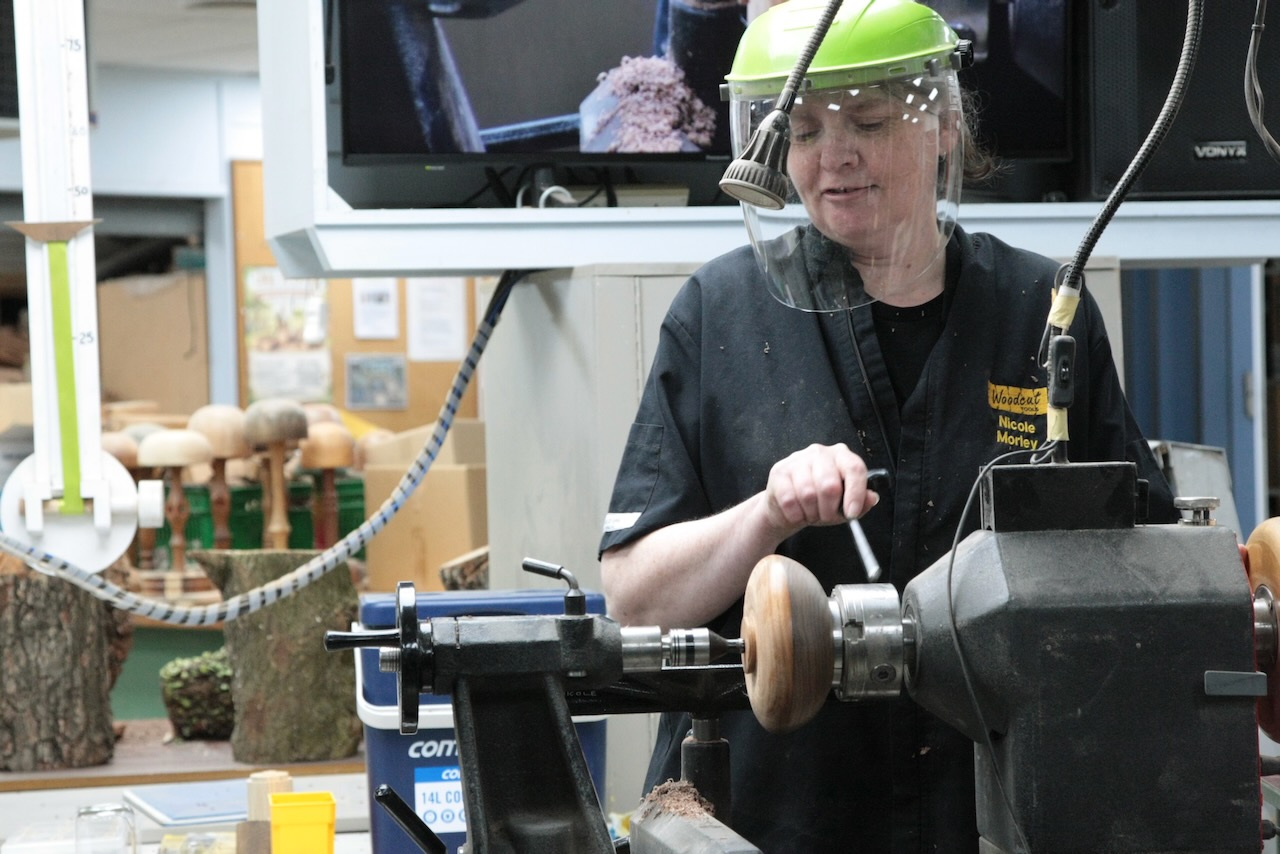
The shorter end is secured in the chuck, and lines marking 75 and 80mm diameter are made on the face, and then the face is rounded off from the join in the pieces through to just outside the 80mm line. The tailstock is disengaged so the spigot can be removed and a hole put in the centre with a 26mm Forstner bit, around 20mm deep.

Nicole then cut a groove with the parting tool around 5mm deep between the 75 and 80mm lines and rounded off the centre to the groove. The piece is removed from the chuck and the chuck replaced with one that can grip the piece by the 26mm hole just created. Now the bottom can be rounded off and spigot removed. With the bottom rounded and sanded, a light pencil line is made to mark 50mm from centre. This circle is divided with six equal sections and every second marked for drilling holes.

Now a 20mm square piece of wood about 80mm long is put into the chuck and rounded off. The dowel is marked at 10mm, 40mm and 55mm from end.

The end is rounded off from the 10mm mark to end. Between the 40mm mark to the 55mm mark, the piece is machined down to 8mm, then the portion in the middle is shaped down in a curve leaving a slight ridge at 40mm, then parted off at 55mm. Two more pieces the same are made.

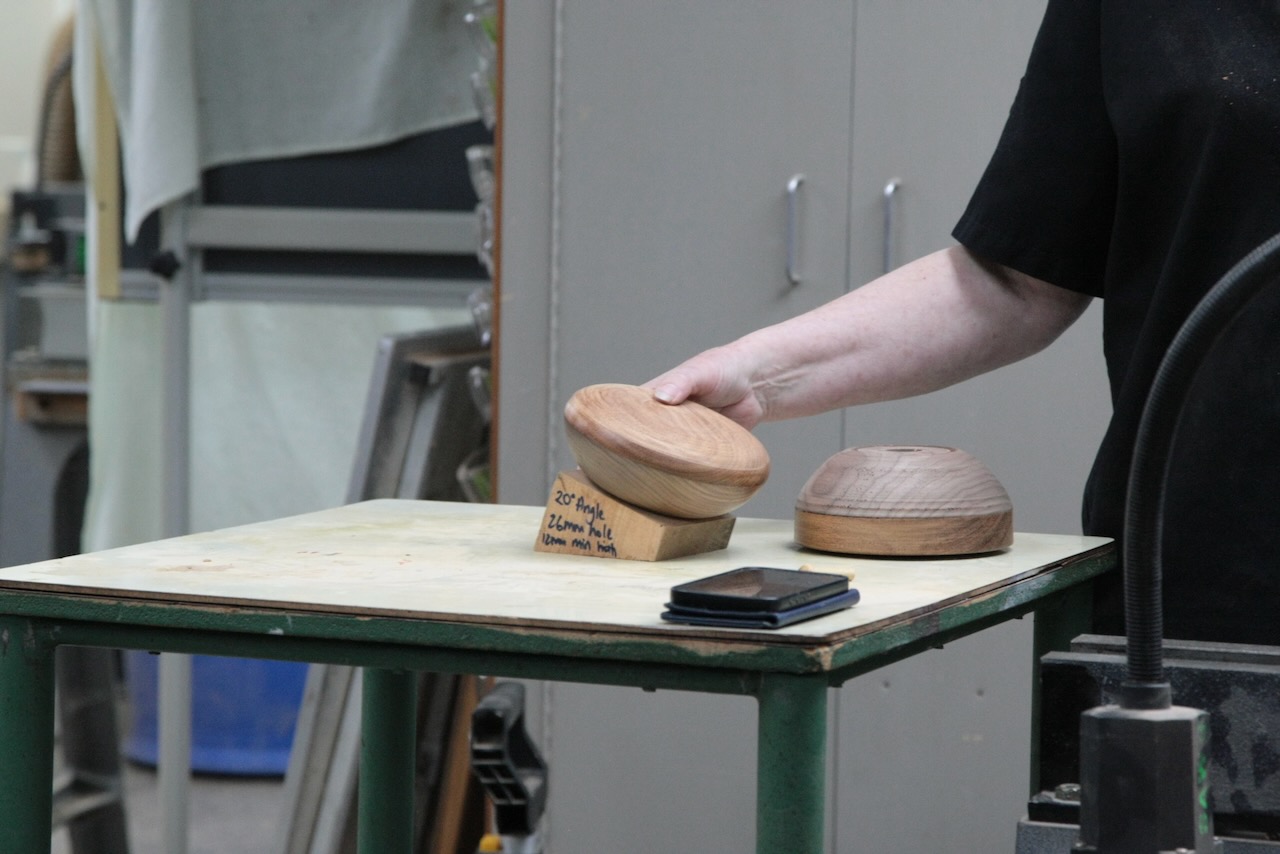
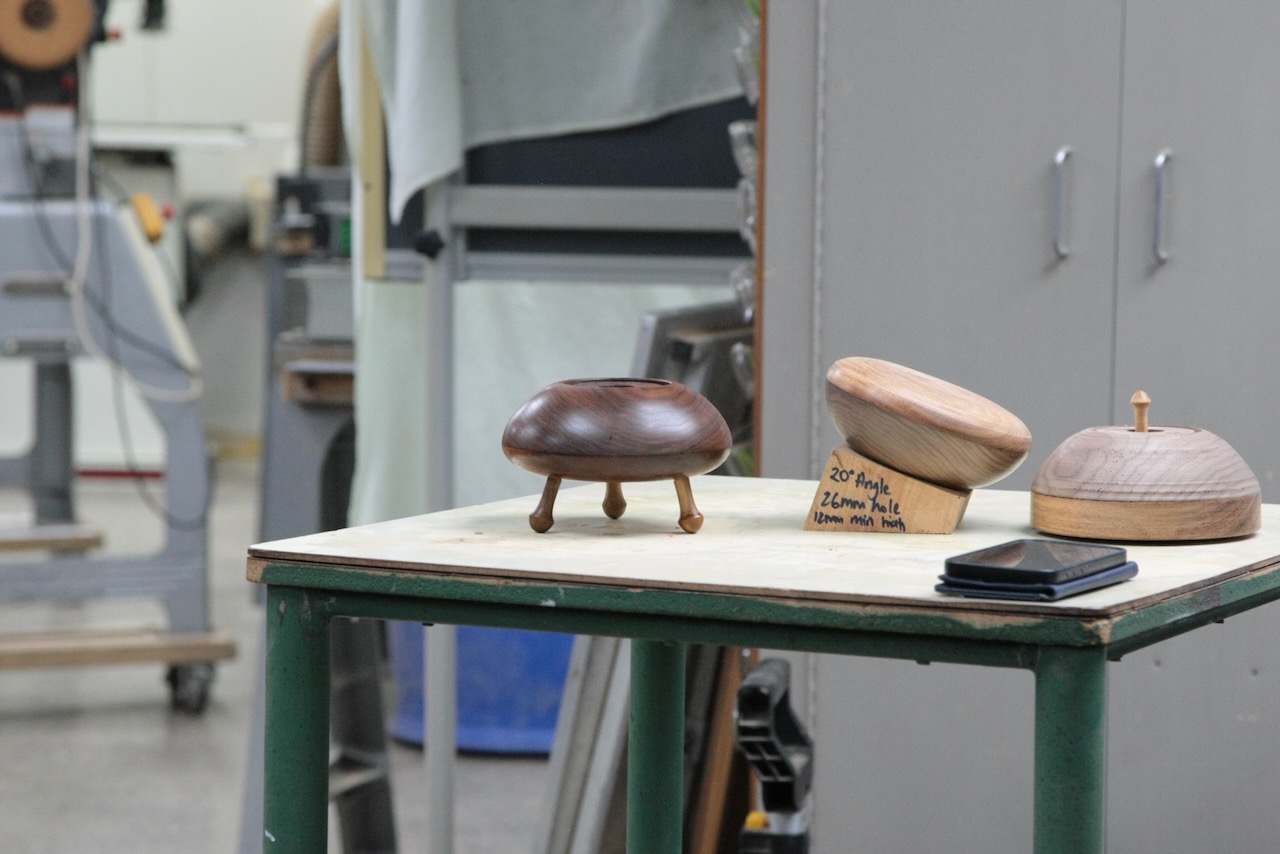
Nicole made a jig out of a block of wood with a 20˚ tilt on the top face and a 24mm dowel in the middle.  The piece is put on the jig, base side up and a 10mm wide hole using a w-point wood bit is drilled in the drill press at every second mark to make 3 holes. (Depth of 20mm) The small dowels made in the previous step are inserted and it has legs!

A piece of pine approximately 120mm x 50mm is turned down to 40mm, then the portion from 60mm to 75mm is turned down to 24mm. Nicole rounded off the end and added some shaping to the middle part, sanded end and parted off at 75mm.

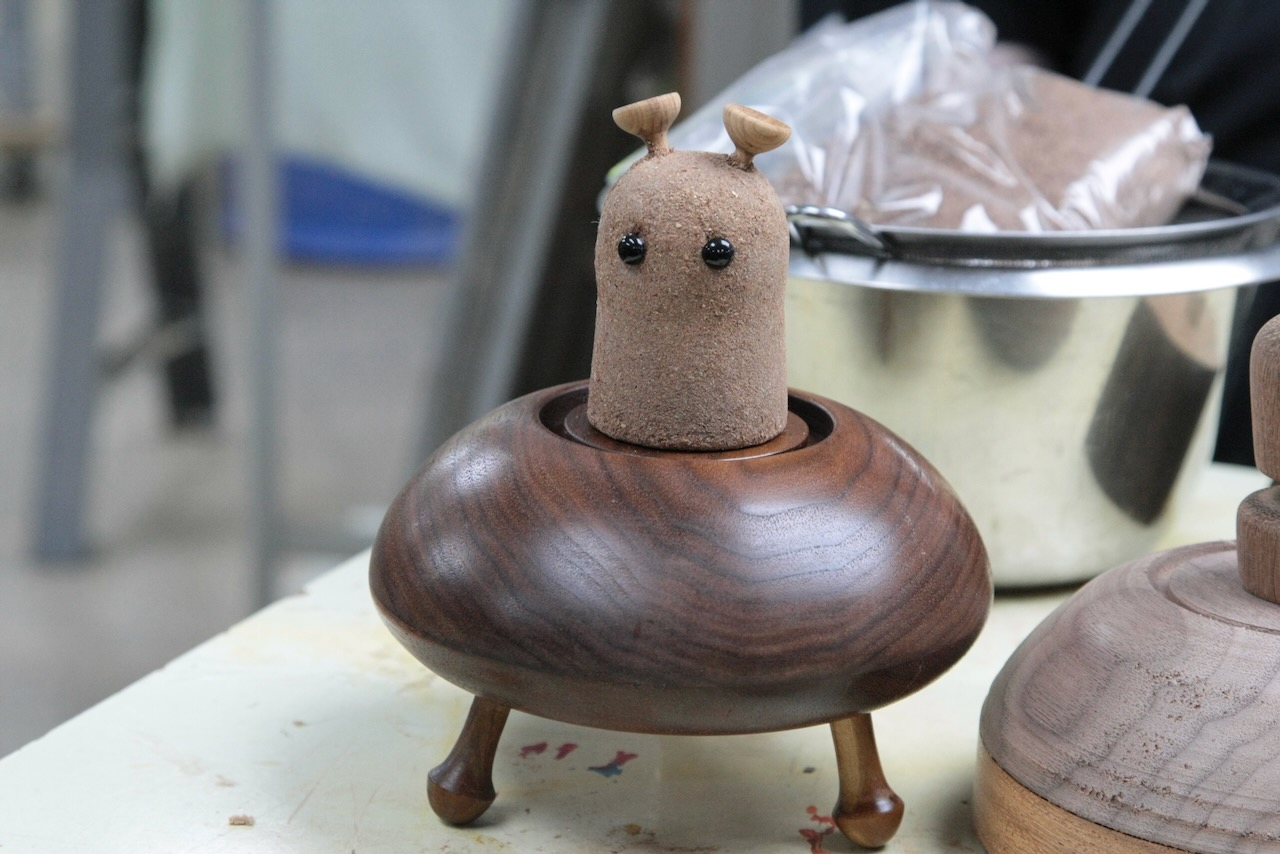
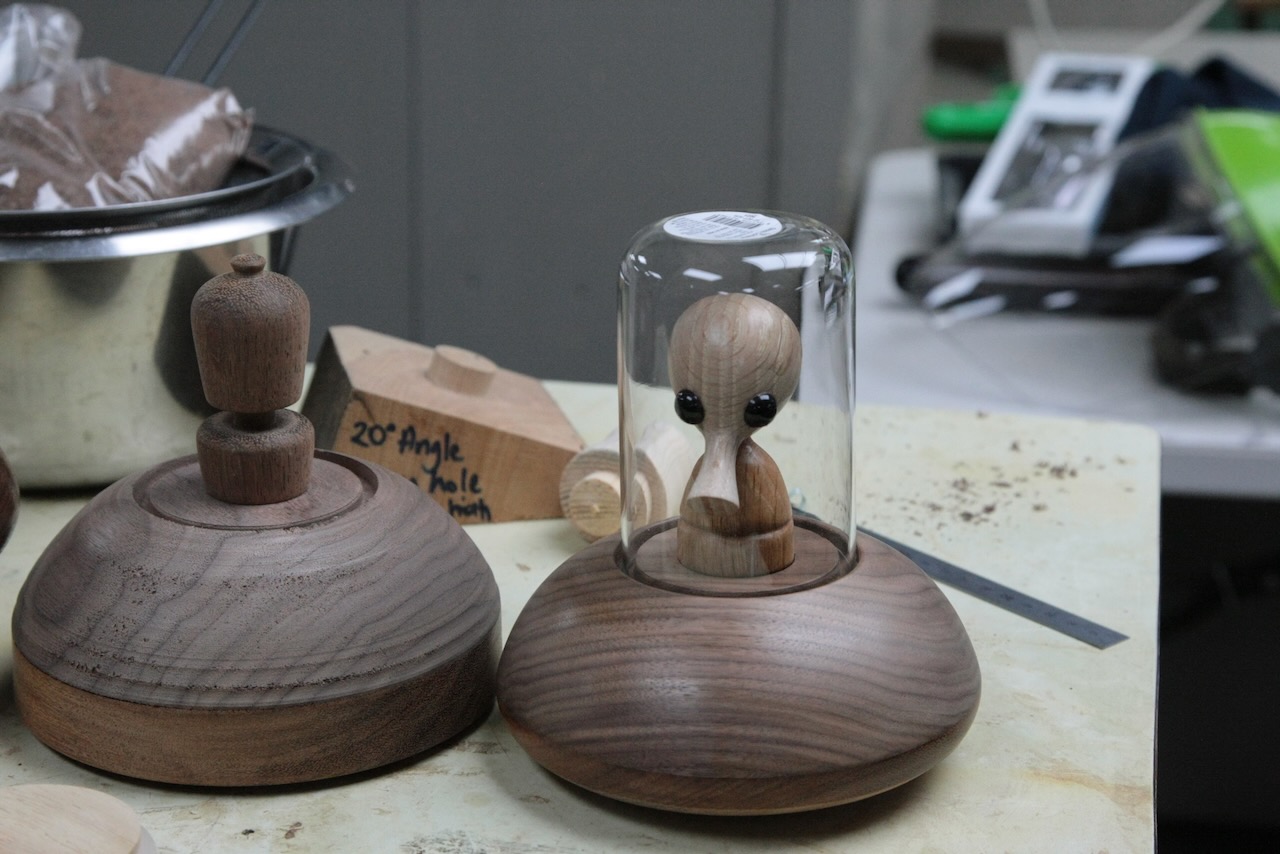
Nicole had some sawdust that she had sifted, by applying PVA to this piece, she could coat it with sawdust, and draw some eyes. This piece goes into the top hole of the  main part (with legs), a small glass jar (purchased from Kmart) is inserted into the top groove  and voila, we see a flying saucer!

Nicole also had some variations of the alien she had made earlier.

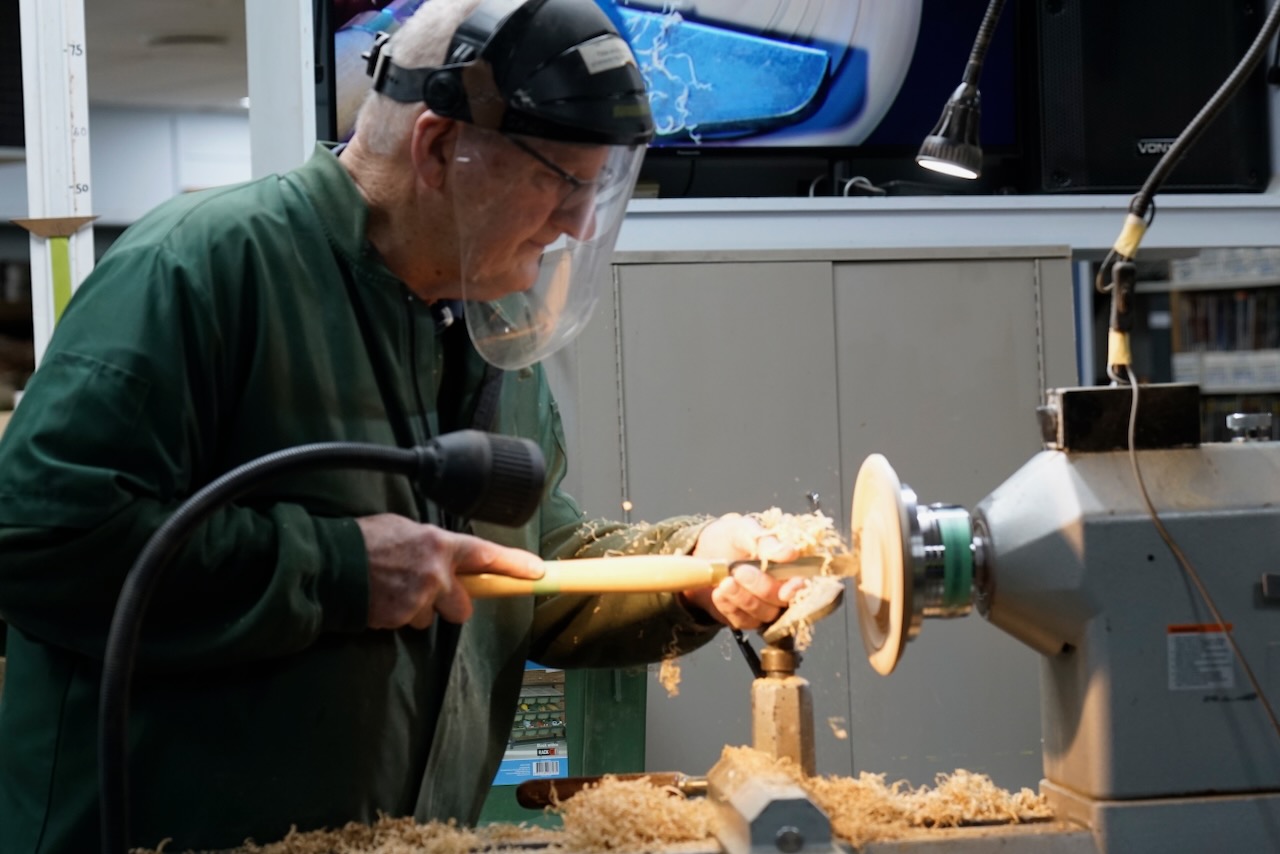
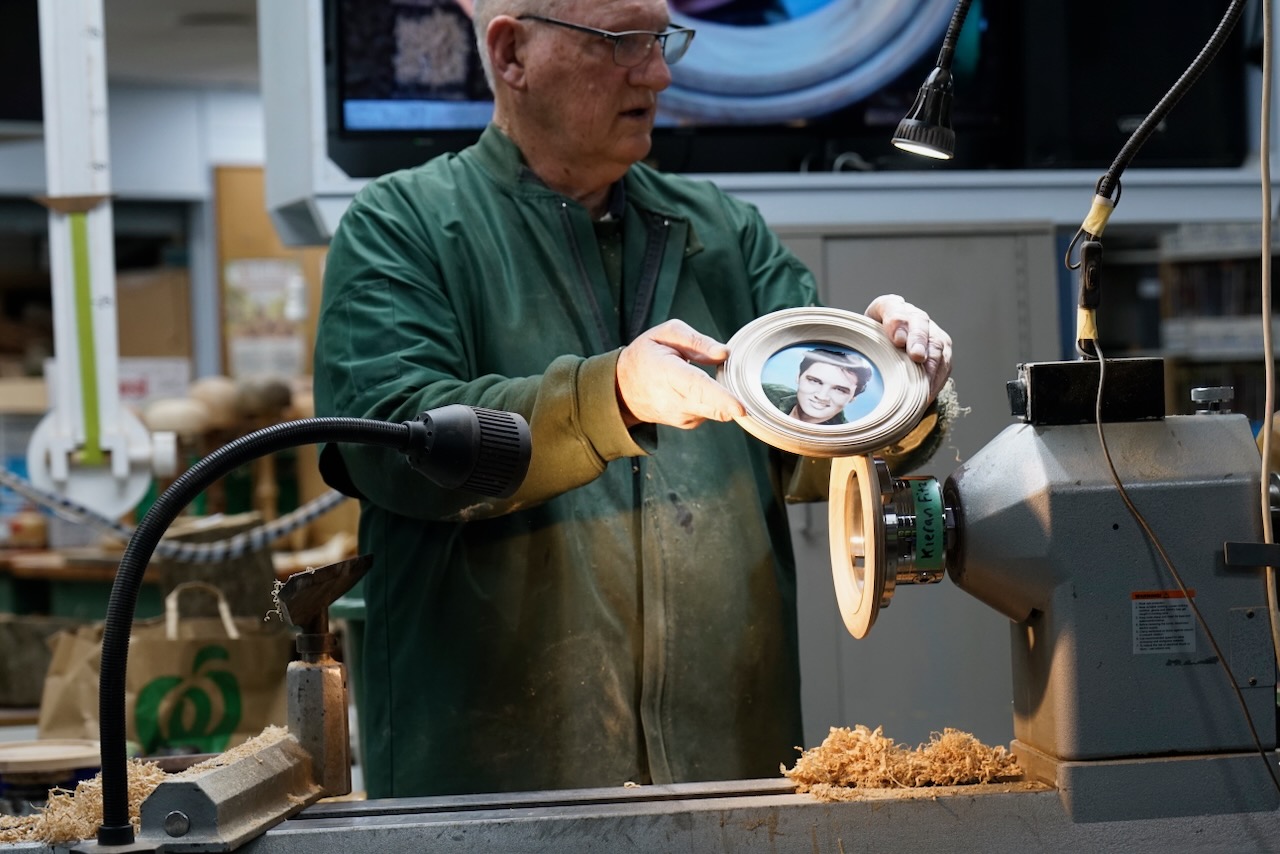
Kieran FitzGerald – Thread Chasing & Photo Frame

Club Meeting: 9 September 2026
Report by: Kevin the ai guy

Overview

Kieran split this demo in two. The first half was an honest, in-progress look at hand thread chasing — a notoriously difficult technique he’d been practising for weeks without fully mastering, shared candidly warts-and-all rather than as a polished method. The second half was a quick, satisfying photo frame project, adapted from an earlier decorative “picture frame” plate design, included specifically so the demo finished with something complete.
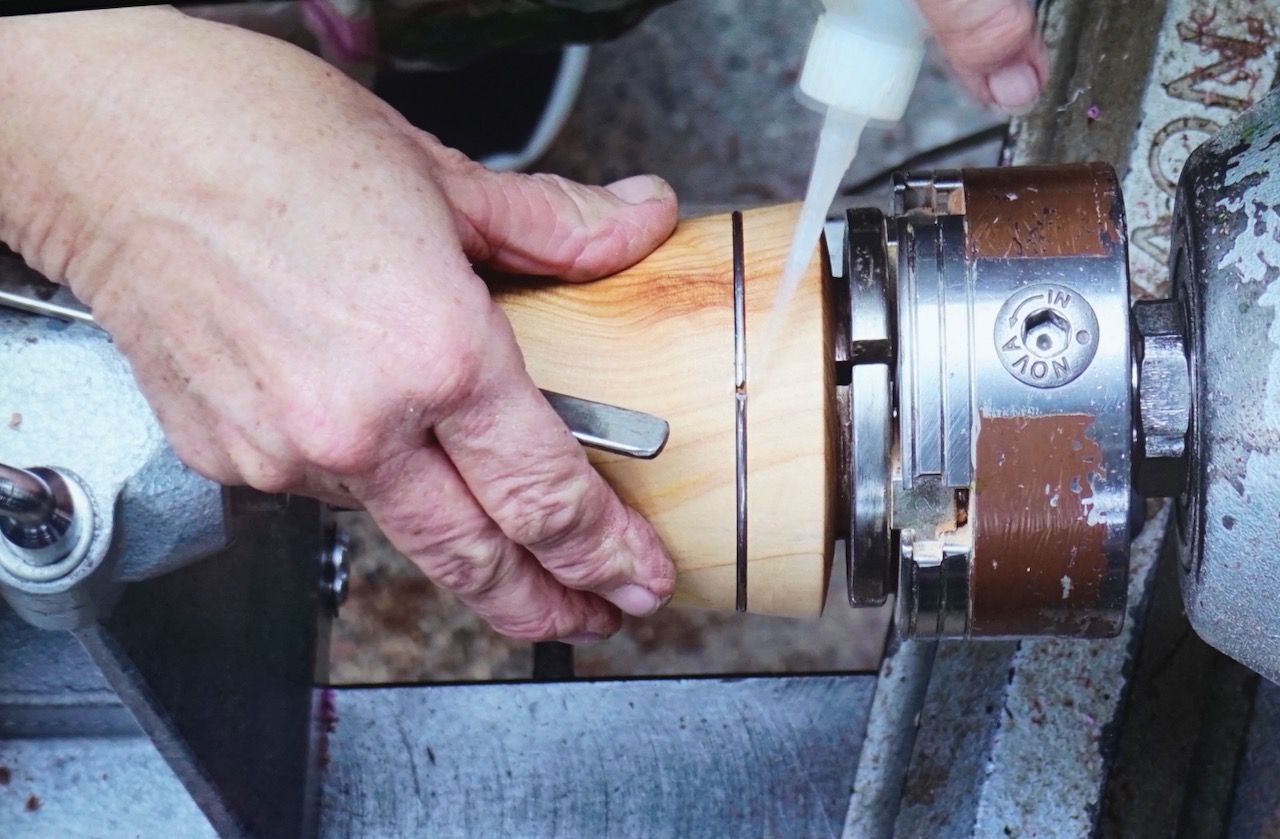
Part 1 — Thread Chasing (Experimental)

Hand thread chasing cuts a screw thread directly with a handheld chasing tool rather than a jig. Kieran was upfront that after weeks of practice, results were still inconsistent — useful context for anyone tempted to try it expecting quick success.

Tools & Materials

ItemNotes
Chasing tools (male & female)Carbatec sells sets in 10, 16 and 20 TPI (threads per inch). 10 TPI is very coarse/aggressive and generally too large for a small box; 20 TPI is very fine; around 16 TPI was suggested as the best all-round choice for box-sized work.
Recess toolCuts a clearance recess at the back of the piece so the chasing tool can be withdrawn before hitting the headstock end — without it, continuing to cut simply tears out the finished threads.
Hook tool / arm rest (optional)Hooks over the main toolrest to give extra leverage pulling the tool into the cut. Kieran doesn’t own one and manages without, but noted it as a legitimate aid.
Diamond fileUsed to sharpen the chasing tool — hone only the top face. 
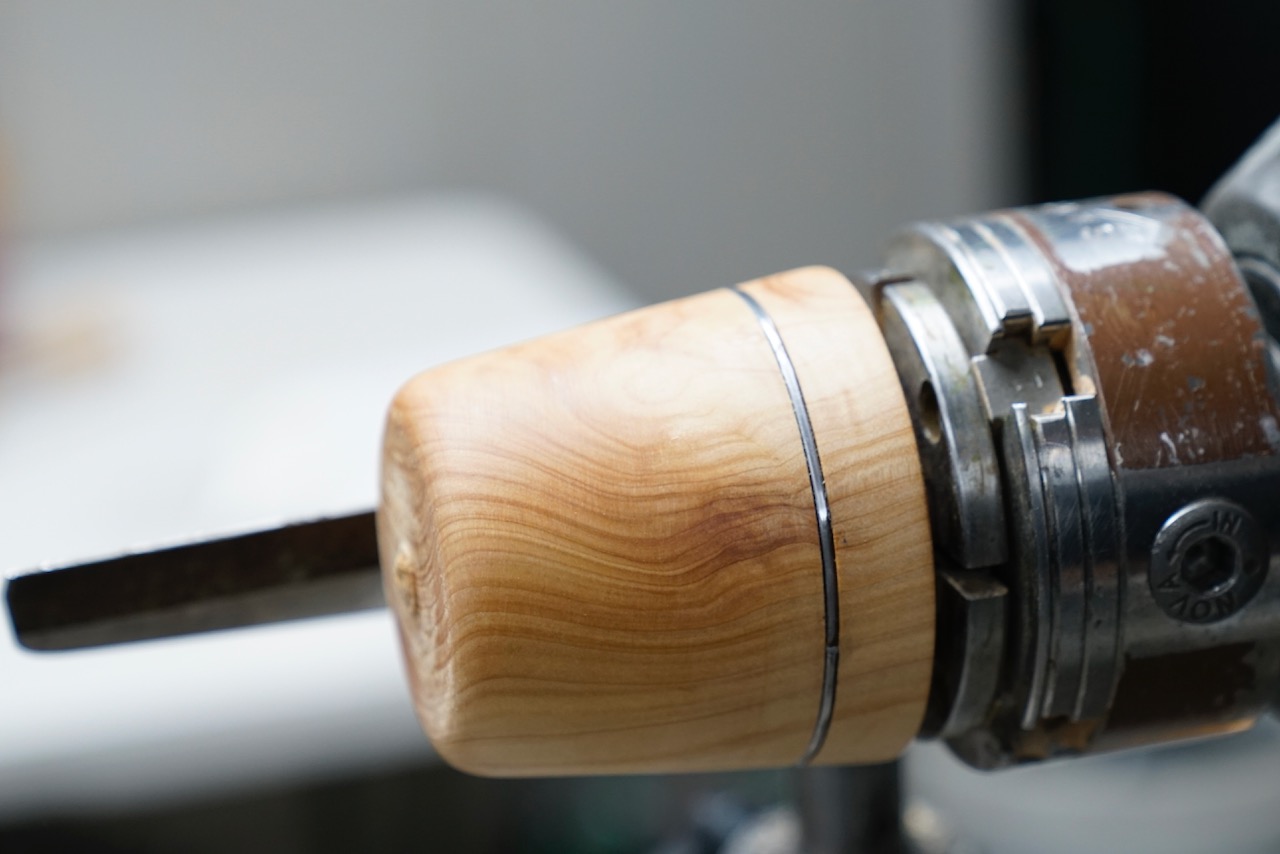
Wax / Ondina oilApplied to the thread to help the tool slide rather than grab. CA glue is sometimes suggested to stabilise chippy grain, though Kieran hasn’t found it especially effective.
TimberNeeds to be hard and very straight, tight-grained. Trialled on the night/at home: swamp rātā, pōhutukawa, olive, titoki, camellia and black maire, all with mixed or partial success. Boxwood is considered the gold standard overseas but isn’t readily available in NZ. No NZ native timber has been reliably, repeatedly thread-chased by club members to date — puriri is considered the most promising candidate but still hasn’t been cracked.

Technique

  1. Cut a slight chamfer on the leading edge of the piece first — this helps the chasing tool engage cleanly when starting the first thread.
  2. Enter the cut at roughly 45 degrees and begin the first thread, then gradually rotate your hand/the tool handle around as you cut subsequent threads, until the tool is running parallel to the lathe bed once the full thread length is cut.
  1. Cut a recess at the back of the threaded section before you get there, using a parting/recess tool — this gives the chasing tool somewhere to be withdrawn to once it reaches the end, avoiding tear-out.
  1. Work at a low, consistent speed (around 280 RPM was used on the night) — speed affects how quickly the piece draws the tool in, and a comfortable, repeatable speed matters more than a specific number.
  2. Listen as much as you watch — you cannot see thread breakout happening while the lathe is spinning, but a change in sound (a distinct “clunk”) is a reliable sign it’s occurred.

  1. The female (internal) thread is harder to cut successfully than the male (external) thread.
  2. To size a male thread to fit an existing female one: cut a test rebate at the front of the male piece until it just fits inside the female threads, then estimate and cut down to the matching depth, checking for a light “witness mark” appearing on the tenon as a sign you’re close to the correct depth.

Honest Assessment & Practical Notes

  • Kieran estimated it takes roughly 200 repetitions to build the muscle memory this technique relies on — it was described as requiring total concentration of sight, sound and touch simultaneously, more so than any other lathe operation he does.
  • Even with a well-suited timber, success is far from guaranteed on any given attempt — treat early results as practice, not a reliable process yet.
  • A 6mm-long thread section can mean roughly 20 turns to fully engage — too many for practical use.
  • Matching grain pattern between a threaded lid and its box is trial and error: screw the two pieces together fully, note how far the grain is out of alignment, remove that amount from one piece, and repeat until it lines up.

Part 2 — Photo Frame (Quick Finished Project)

Adapted from an earlier decorative “picture frame” style plate design, reworked into a functional photo frame. Made from a piece of recycled shelving timber on the night, though any suitable timber will do.

Roughing & First Mounting

  1. Sand one face flat and mark the centre, then mount it against a glue block using a few dabs of hot melt glue — sufficient to hold it securely for light truing work.
  2. Round the blank, working until the visible “shadow” cast by an out-of-round edge disappears, then continuing until any remaining flat spots are gone.
  3. True up the face — it typically won’t be far out.
  4. Mark and cut a dovetail-profile recess sized to fit your scroll chuck jaws, using a parting tool followed by a small skew to form the dovetail angle.
  5. Cut a small cove or relief detail on the back edge— it makes the finished frame easier to pick up off a flat surface.

Second Mounting & Front Design

  1. Remove from the glue block and remount by gripping the dovetail recess directly in expanding scroll chuck jaws (or press onto a shop-made jam chuck if you don’t have matching jaws) — either holds the piece securely and centred for front-face work.
  2. Measure or eyeball from the back to locate where the chuck jaws finish, and scribe a circle marking the section that will later be removed to create the photo opening.
  3. Divide the front face into two zones — an inner section and an outer border — to create a “picture frame” effect.
  4. Turn the inner section as a shallow half-cove; treat the outer section more like a bowl’s rounded rim.
  5. Leave a detail line between the two zones to visually separate them.
  6. Check the remaining wall thickness in the recessed area with outside (figure-eight) callipers — around 3 mm looks good.

Creating the Photo Opening

  1. Use a parting tool to remove the centre section.  Reduce the lathe speed to around 500 RPM before breaking through.  Work gently to avoid breakout on the back of the frame.  Any breakout that may occur will not be visible anyway.

Finishing & Assembly

  • If the cutting technique is clean, very little sanding is needed at this stage — as little as two to three minutes in the demo.
  • Insert your photo from the back with a cardboard backing piece, then secure with small push pins (inexpensive T-pins from a craft/hardware store), pressed in by hand and lightly tapped home with a hammer.
  • For hanging: the simplest option is a small tack in the wall using the natural recess in the back of the frame. Or a standard D-ring picture hook can be fitted into the back instead.

Overall this is a genuinely quick project — roughly half an hour from a rough blank to a substantially finished frame, with only a couple of minutes’ sanding on top given clean tool work throughout.

Overlapping Offset Bowls from a Single Burl Blank – Terry Scott

Club Meeting: 2nd September 2026
Report by: Eion Jury

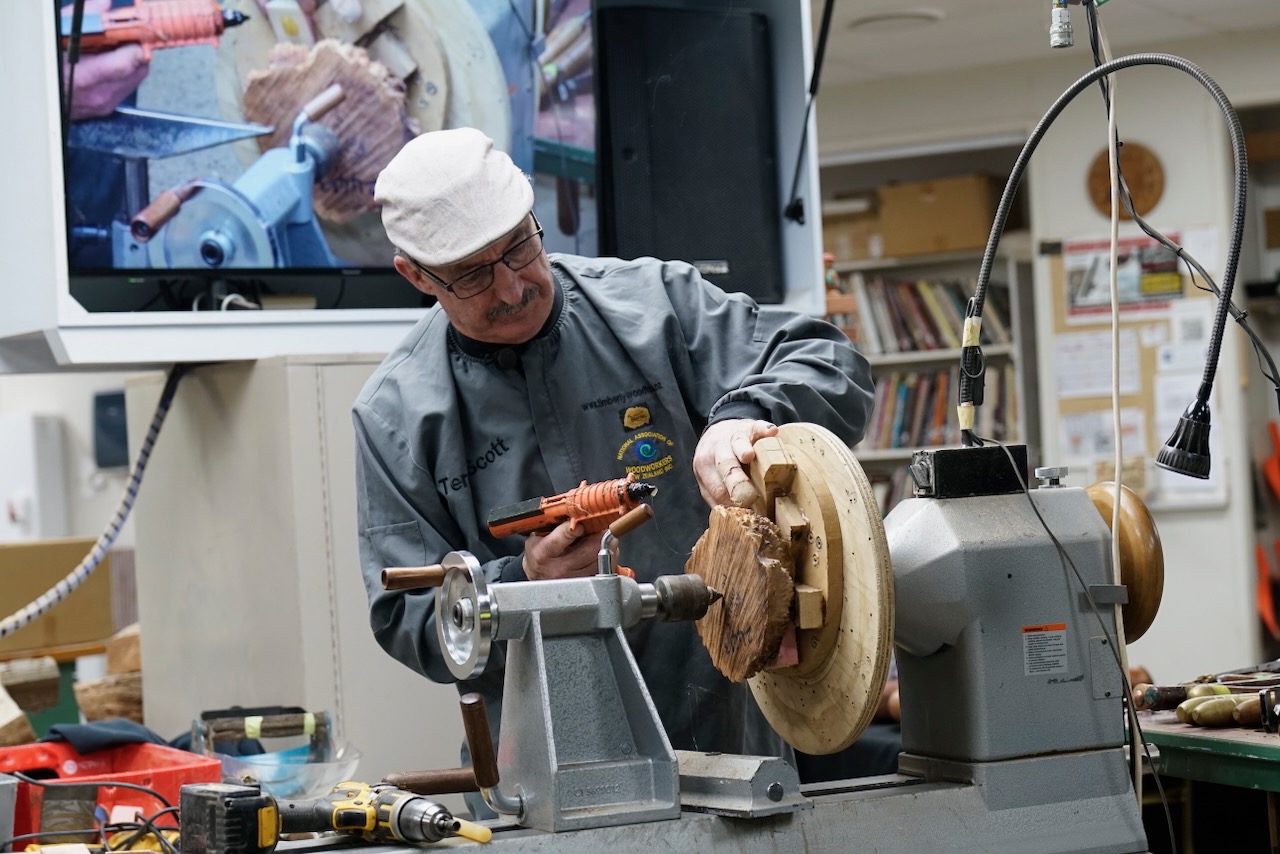
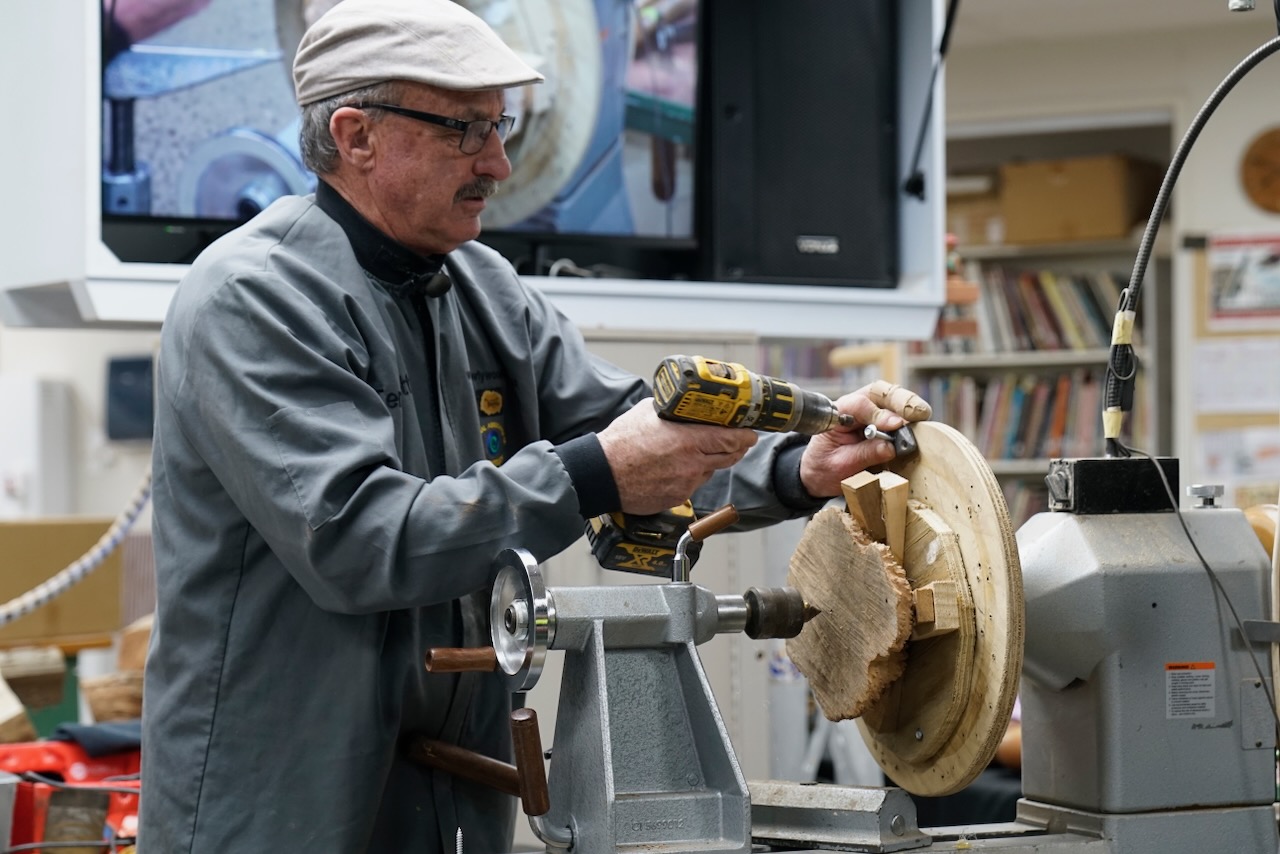
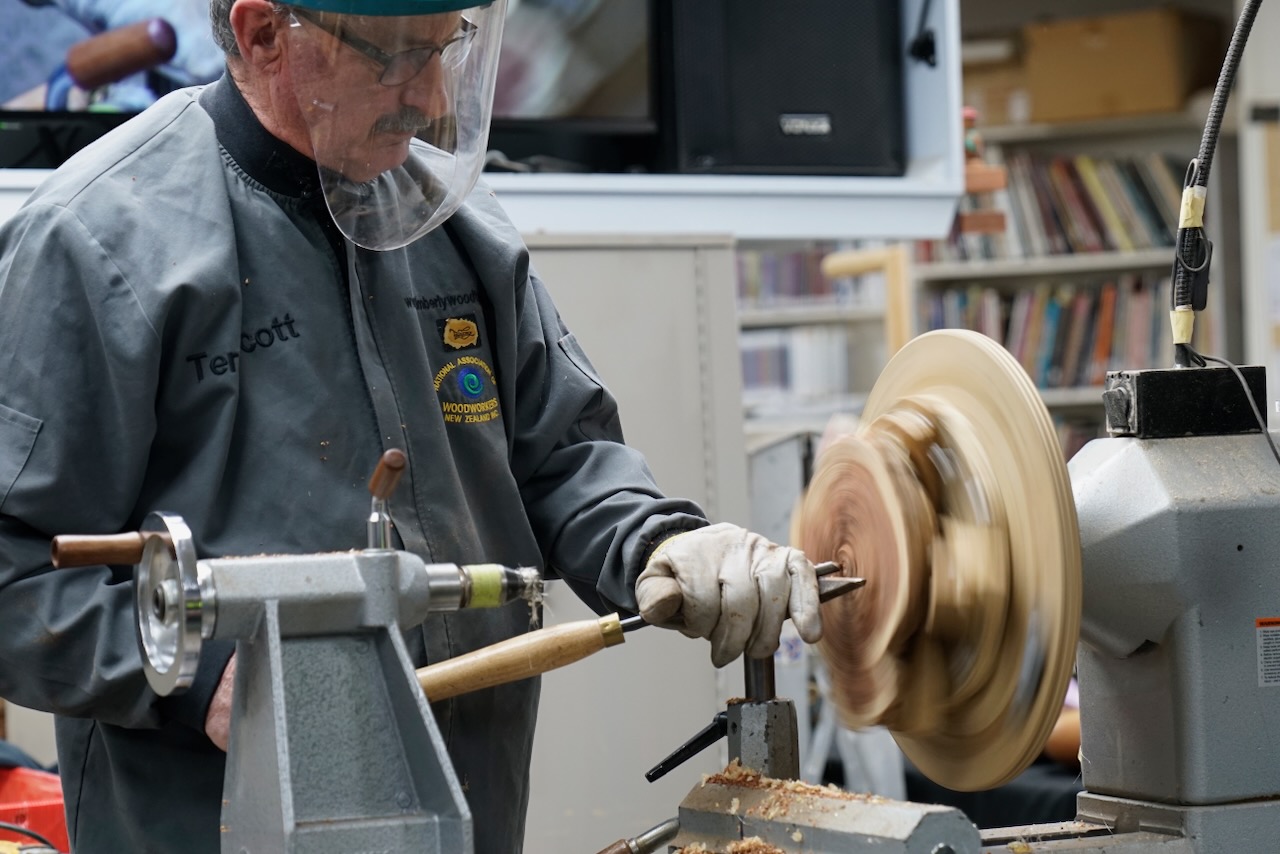
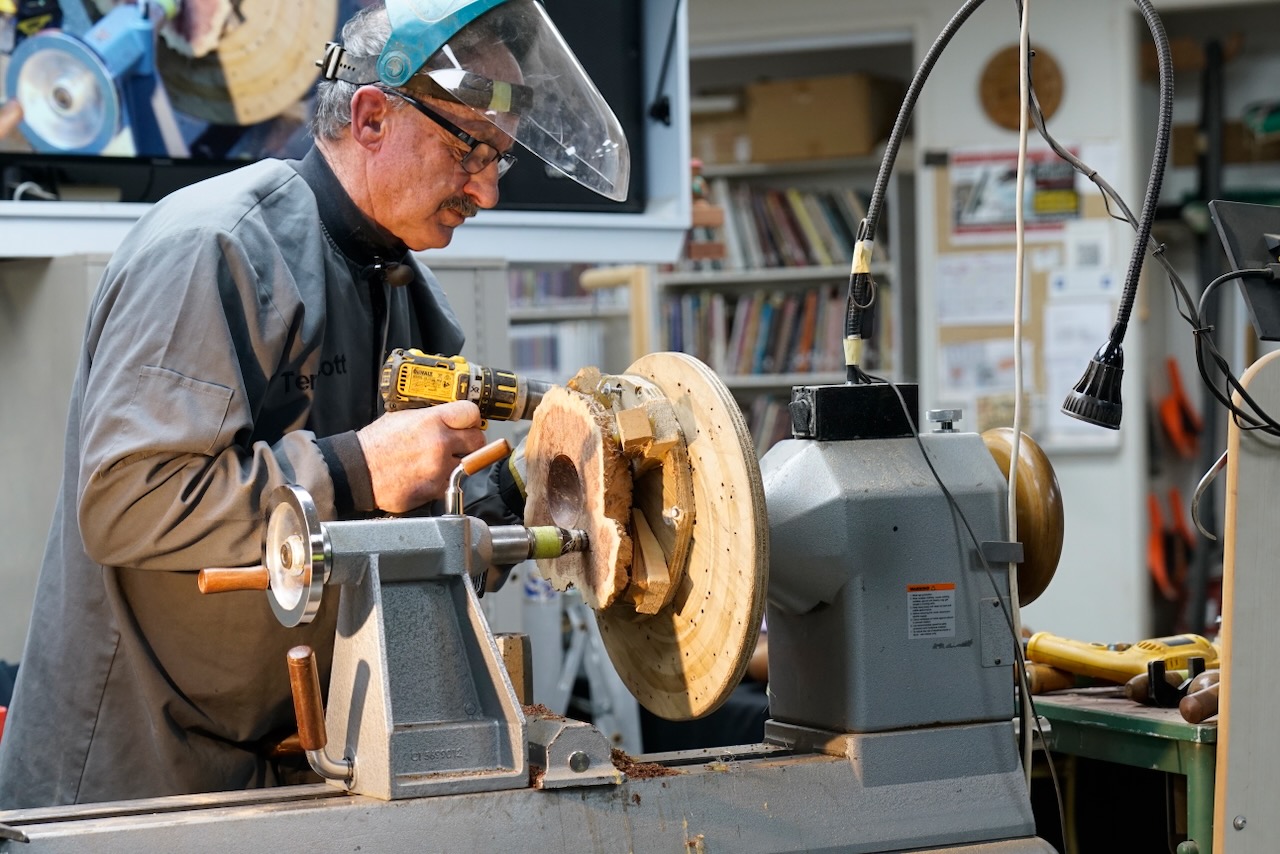
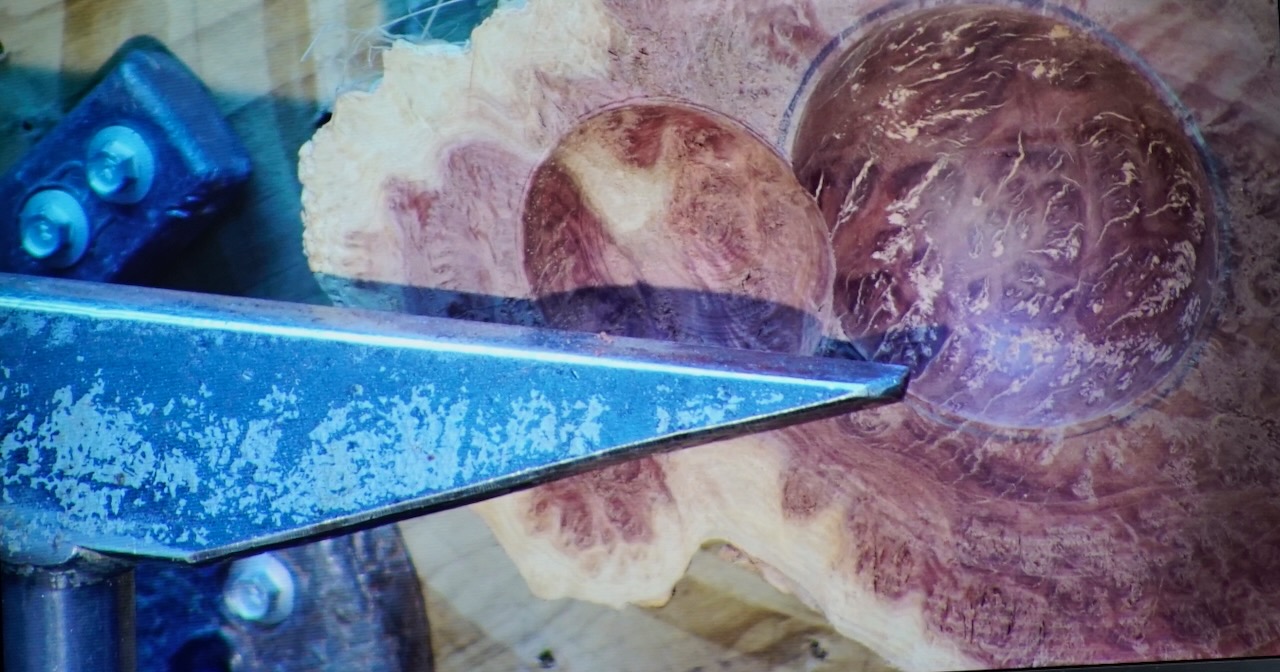
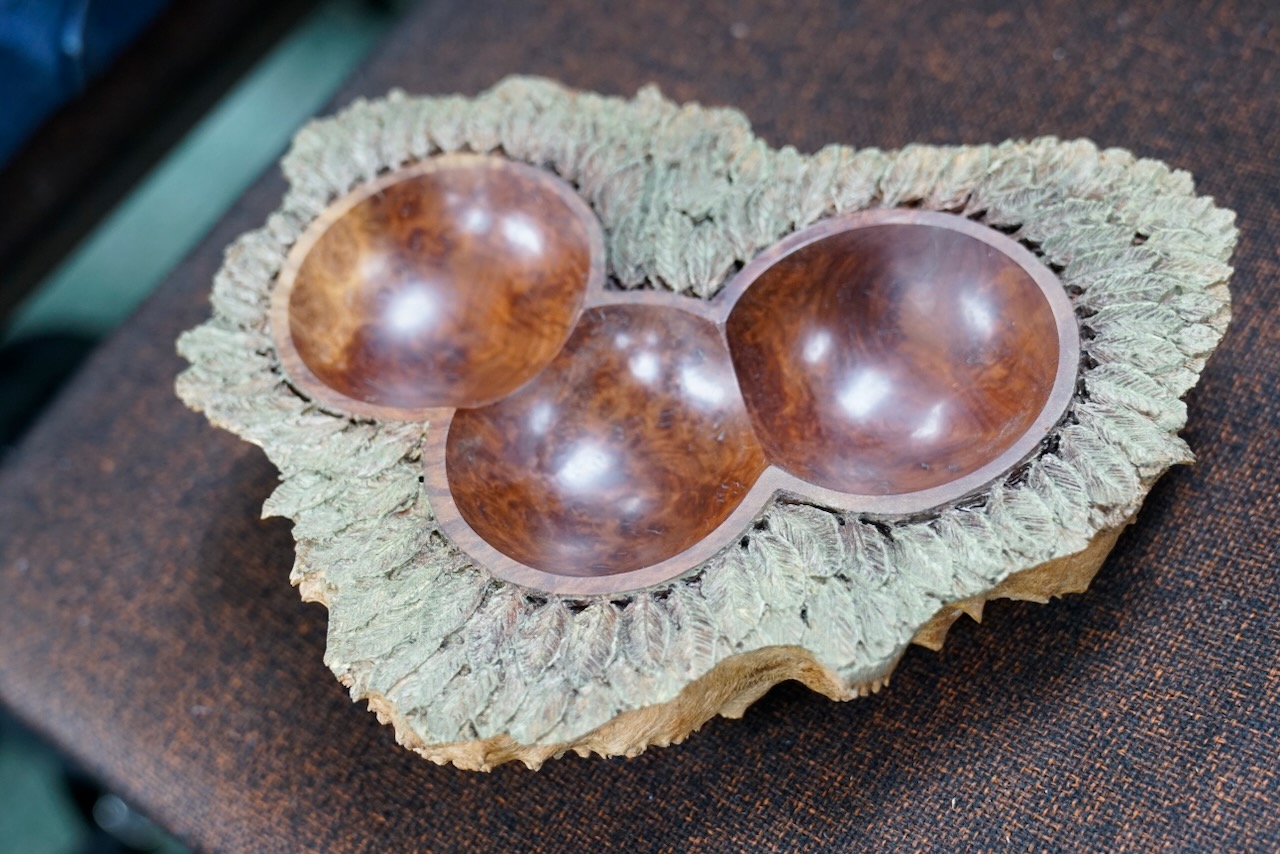
Terry Scott delivered a masterclass in creative burl turning, showcasing the signature technique he has refined over many years of woodturning— producing several overlapping, offset bowls from a single burl blank. The result is a sculptural, multilayered form that reveals both the raw exterior and the spectacular inner structure of Australian burl timber.

Understanding Burl Timber

Terry began with an explanation of what a burl (or burr) actually is: a tree’s response to stress or injury, where dormant buds erupt into chaotic, swirling grain. This can be triggered by insect damage, animals rubbing against the trunk, fire, or repeated pruning.

The burls used on the night were Red Mallee and coolabah, sourced from the Northern Territory — a region where land clearing for agriculture means burls are often removed as a byproduct. Red Mallee in particular is prized for its intense figuring and colour.

Importing these burls is not for the fainthearted: both Australian and New Zealand authorities require extensive paperwork, and once they arrive, they must be heat treated, leaving them hard as stone.

Why This Technique Exists

Terry shared the story that sparked the development of this method: a customer wanted a raw Red Mallee burl displayed with the natural edge facing upward. Terry realised he needed a way to turn only one side of the burl while preserving the untouched exterior — leading to his nowdistinctive approach of singlesided, overlapping bowl turning.

The result is a piece that allows viewers to enjoy both the rugged natural burl and a “lenslike” window into its inner beauty.

Mounting the Burl — The Real Challenge

Turning heavy, irregular burls requires ingenuity and patience. Terry’s setup included:

  • A large flywheel disc mounted on a faceplate.
  • The burl wirebrushed clean to ensure good glue adhesion.
  • The plywood “slide” was attached to the disc using screws around the perimeter.
  • Wedges inserted to level the face, secured with industrial hotmelt glue (famously purchased at a SAWG silent auction!). Domestic glue guns work, but the mounting surface must be preheated with a heat gun.

Once the bowl positions were planned — typically offset by half the bowl diameter with around 10 mm overlap — the burl mount was pressed against a plywood faceplate (preferred over MDF because screw holes don’t raise fibres).

The tailstock was brought up, wedges adjusted, and the mount screwed firmly to the faceplate. Finally, lead counterweights were added until the assembly was balanced.

Cutting the Bowls

With the burl balanced and secure, Terry demonstrated the cutting sequence:

  1. Flatten the face at low speed.
  2. Use a skew chisel to mark the bowl’s perimeter — creating a crisp barrier.
  3. Switch to the bowl gouge, beginning at the outer edge with the flute at 10 o’clock, rotating to 2 o’clock as the cut approaches centre.
    • Stay on the bevel at all times.
    • Coming off the bevel near the thin “wing” sections risks a catch and destroys the crisp intersection line.

4. Maintain a true spherical shape — mismatched curves cause wobbly intersection lines.

5. Finish with a shear/negative rake scraper, ground like a skew for a safer, cleaner cut.

6. Sand with the lathe stopped to preserve the crisp overlap lines.

Each bowl requires the mount to be unscrewed, repositioned, rebalanced, and cut again.

Finishing & Embellishment

Once all bowls are complete, wedges and glue can be removed with a heat gun — or left in place if further carving is planned. Terry discussed several finishing options:

  • Leave highly coloured or figured burls plain so the timber speaks for itself.
  • Add carved or pyrography scored borders to create a picture frame effect.
  • Use rotary carving bits for fine sculptural detail (accepting that burr bits are consumables).
  • Negative rake scrapers — originally adopted from Australian turners — excel in burl work and are now widely available.

 Notes & Tips from Terry

  • The technique works on plain timber too — burl simply adds drama.
  • Shallow overlapping rings or craters can mimic the effect without full hollowing.
  • Practise cheaply on long straight stock (e.g., fence posts) using a scroll chuck with two jaws removed.
  • Advanced variation: a centre hollow form intersected by another bowl — still experimental.
  • These burls are remarkably stable and can even be blowtorched while wet without cracking.
  • To release the finished piece from the backing board:
    • Heat gun softens glue, or
    • Freeze the assembly — frozen hotmelt glue becomes brittle and pops off cleanly.

Terry’s Philosophy

Terry emphasised the importance of developing a personal signature rather than copying techniques directly. His decorations in combination with the turning style was something he hadn’t seen elsewhere when he began — and it has since inspired others.

Ian Connelly – Offset/Wobble Chuck

Club Meeting: 19 August 2026
Report by: Jacqui Oxenbridge

The journey all started at Turnfest this year with Len Mengel’s demo showing alternatives to wobble chucks.

Other inspiration came from Eli Avisera with his turned wine bottle and balance glasses and Radek Teterycz’s extreme turning where most of his work is done on the lathe – worth a look on Facebook or Instagram.

Part one of the demo will be showing the use of Colin’s Vicmarc Eccentric Chuck with a 40mm cup chuck and ball. He also has a separate ball (gimbal) that can attach to a Faceplate.

To use the “eccentric chuck” we first need to shape a taper that will fit in the ball/gimbal but not bottom out in the chuck. The gimbal can be moved inside the cup chuck when the appropriate grub screws are loosened off. Note: the blank is held in only by friction.

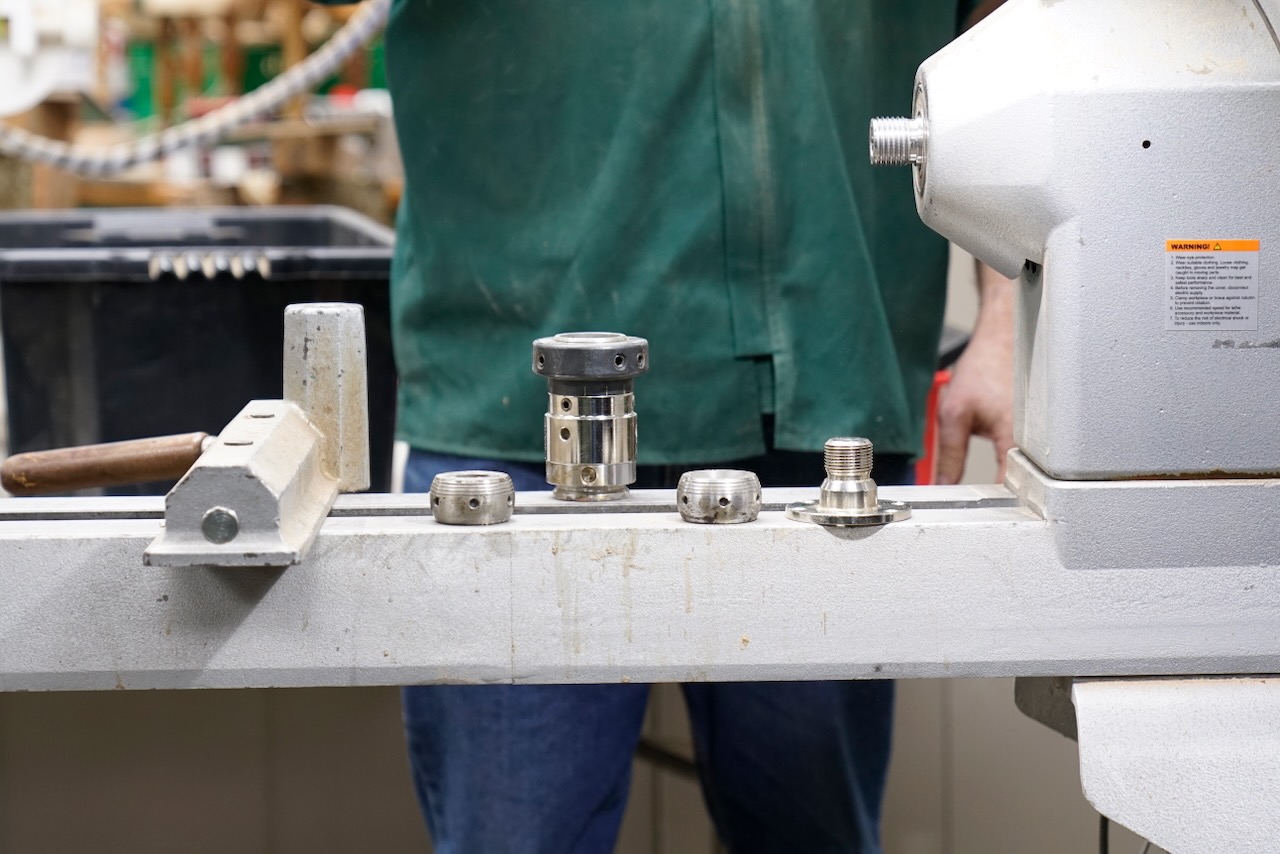
The chuck is a little confusing with multiple grub screws requiring different Allen keys. Some are marked with a line – these have a pin on the end which can go through corresponding holes in the ball to hold it in position when it is square (straight). The other grub screws are flat and tighten the chuck to the outside of the gimbal at various positions when turning off centre.

Place the blank between centres – using a smaller drive centre with a Steb live centre so if have a catch the mini drive centre point does less damage to the blank.

Round off the blank sufficiently that a taper can be made. To help ensure the taper is going into the ball/gimbal square, and how far in the taper has gone, can draw lines on the blank.

Push the taper in to the chuck/gimbal. If too large, turn more off the taper. Use a mallet to seat the blank tightly.

Tighten up the grub screws on the chuck to secure the gimbal.

Put the chuck on the lathe – note that the chuck has a dedicated thread.

Bring up the tailstock, begin to shape the blank.

When the tailstock is removed to true up the end, and as you hollow the end grain with a spindle gouge to make the goblet REMEMBER to avoid aggressive cuts across the blank as it is relatively easy to pull the blank out of the chuck.

Once the goblet is hollowed, if desired, it is possible to use the tailstock in the hollow to stabilise the blank while cutting the outside shape of the goblet/stem/foot. Use a skew and spindle gouge to shape.

Ideally, you will know what shape you want to make before you start turning – it can be helpful to have a photo or drawing of your intended shape.

Once the goblet is complete, carefully sand and finish it as it is difficult to recentre the piece once you start off centre turning.

Now loosen off the screws on the chuck that are holding the gimbal in place so that the blank can be shifted. The movement is small and it is important to check that the base of the goblet is over the centre of the next section that will be turned. To check, move to where you think it should be, tighten 2 screws in the chuck to the gimbal and rotating the blank, draw a line to allow you to approximate where the centre will be. Once in the correct position tighten all the grub screws holding the gimbal in place.

Start to turn but before going too far, check the pencil mark again. There must be some of the pillar remaining to support the top cup. Adjust the position if required.

Working away from the goblet bring the next section into round. Use a spindle gouge and skew to remove surplus timber in the grooves. Once the desired shape is complete carefully sand this section only – do not attempt to sand the 1st goblet.

Repeat the process moving the blank, checking where centre is, turn the section – ideally keeping the diameter of each shape the same, sand.

Two things are important for success – your tools are very sharp and the timber has a straight grain and low tendency to split. Gingko was a good choice.

Sorby also have a Wobble Chuck which uses standard 50mm jaws. In this chuck the piece in the jaws rotates so changing the angle of the piece. The angle can be repeated so that less guesswork is required as to where to move the blank. This also has a worm screw to retain the work, or the screw can be removed and the faceplate attached to larger blanks.

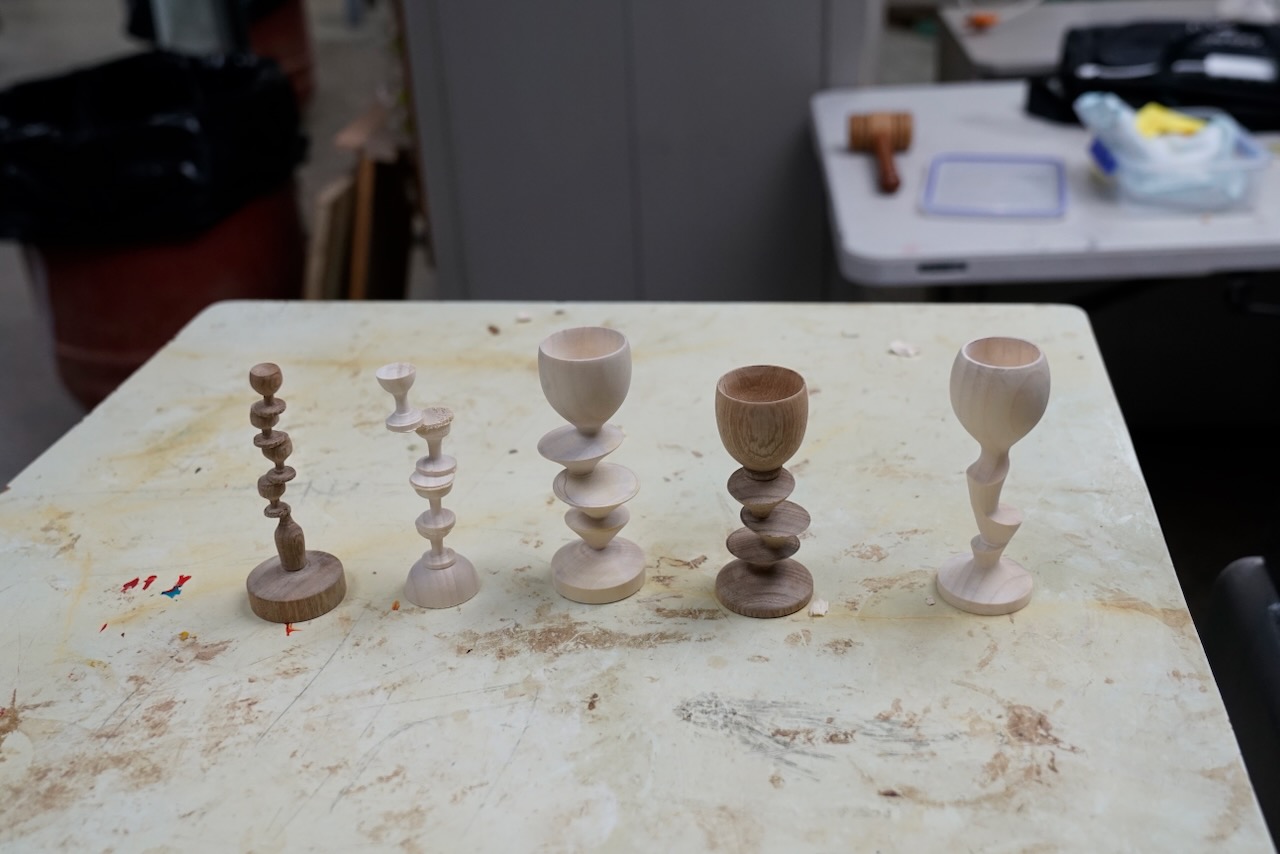
Part two of the demo will be making stacked cups without a wobble chuck.

Mount the blank between centres, round off part of the blank. Turn a hemisphere (ball) on one end of the blank – this does not need to be super accurate but does have to have clearance so that it will fit into a set of jaws. For the demonstration used Nova 35mm spigot jaws with the serrated teeth for a powerful grip on the blank.

Put the turned ball into the spigot jaws. Can now adjust the position of the blank (ball and socket rotation).

The first time the blank is moved off centre it is possible to use the live centre in the tailstock to show where centre is to measure the offset. An alternative that could be use would be a laser pointer in the tailstock.

Start shaping the blank with a spindle gouge or for quicker bulk removal can use a skew or parting tool. Cut the length required for the first cup, continue until you get to the final diameter of the cup before start shaping the stem to avoid breaking the top off the cup! Once have shaped cup, stem and base – sand – very carefully.

Note: it is very important to have good light, contrasting colours on the lathe bed can be helpful.

Finish the top surface of the next section (closest to the headstock) before moving on to the next goblet.

Tilt the blank (tiny offset only). Where two “offsets” meet they will be angled at each other.

Use a pencil mark to work out approximately where centre is – needs to be under the existing cup. As with demo 1 – begin to cut but then check and reposition if necessary.

Tidy up the excess under the goblet foot with a skew or parting tool cutting in very carefully at an angle.

Aesthetically it is best to replicate the height of the goblets – could use a vernier to check.

Round off the same length tip to base as the first goblet then with a small spindle gouge or thin parting tool, shape the next goblet. Sand before changing the offset.

Repeat until you run out of blank, it breaks or you’ve got a piece you like!

Julie Gannaway – Filling Cracks & Inlay Techniques

Club demonstration — Wednesday 12 August  |  Presenter: Julie Gannaway (North Shore Woodturners / NAW)

Overview

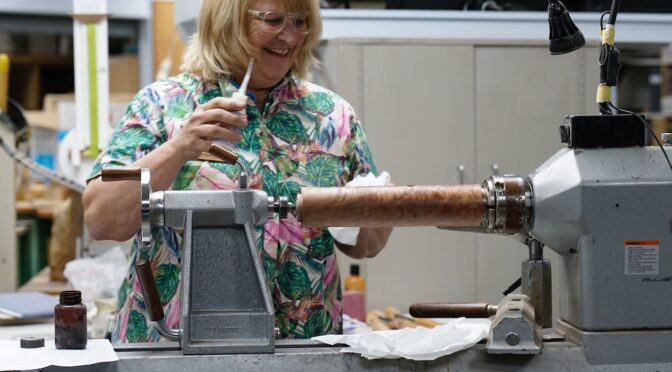
Julie ran through a range of simple, low-cost ways to fill cracks and voids and to add decorative inlay to turned pieces — from everyday coffee grounds through to metal powders, coloured micro-pigments, and inlaid wire. The session was explicitly framed as experimentation rather than a single “correct” method: several techniques shown had mixed results on the night, which Julie treated as useful material in its own right. Samples up to ten years old, including well-used cheese boards and outdoor pieces, were passed around to show how each technique holds up over time.

Materials & Tools

Material / ToolNotes
Ground coffeePerked coffee, ground extra fine on a second pass — cheap, dark brown, works with most timbers
Cyanoacrylate (super glue)Fast-curing; used to bind coffee, metal powders and wire; toxic fumes — ventilate and avoid sanding without a respirator
5-minute epoxySlower cure, doesn’t generate heat like super glue — better suited to heat-sensitive powders (e.g. aluminium) and bigger voids
Metal powdersBrass, aluminium, copper and turquoise (turquoise available in a couple of grit sizes plus a fine powder)
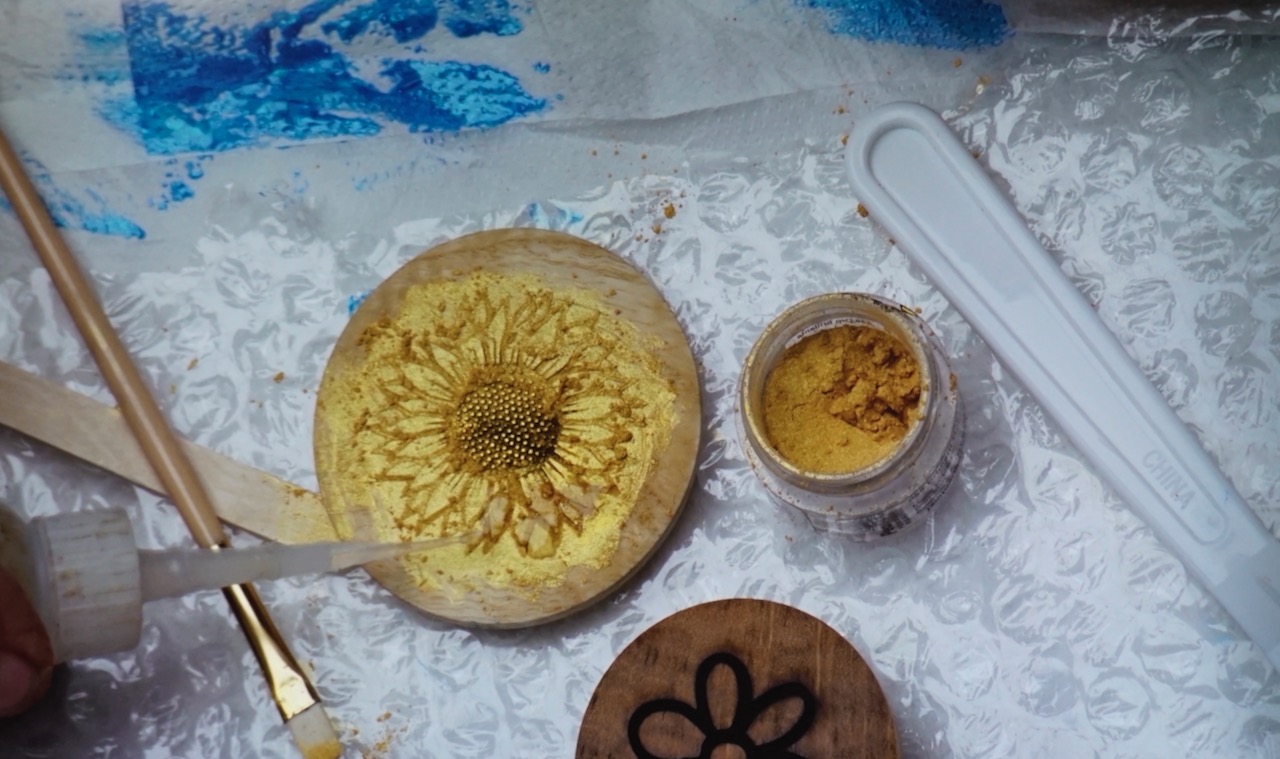
Micro/mica powdersFine-pigment powders (craft/hobby suppliers, e.g. Carbotex) in a wide colour range, used in pyrography or laser-engraved grooves
AcetoneKeep on hand as a safety item — releases super glue from skin/tools
Application toolsFine-tip applicator nozzles that come with super glue bottles; a cocktail stick or similar for working powder in (not fingers); insulin-style syringes for very fine, controlled super glue application; a small paintbrush for moving micro-powder
Wire (for wire inlay)Solder wire or copper wire, in a couple of thicknesses
Parting tool(s)Sized to match the wire thickness being inlaid

General Safety Notes

  • Super glue fumes are toxic — work with adequate ventilation.
  • Wear a respirator when sanding filled/inlaid pieces, particularly with metal powders.
  • Use a stick or similar tool to work powder into glue — not fingers, both to avoid gluing yourself and due to toxicity.
  • Keep acetone close by to free glued fingers/tools if needed.
  • Seal the surrounding wood before applying super glue — unsealed grain will wick the glue and leave visible stain lines.

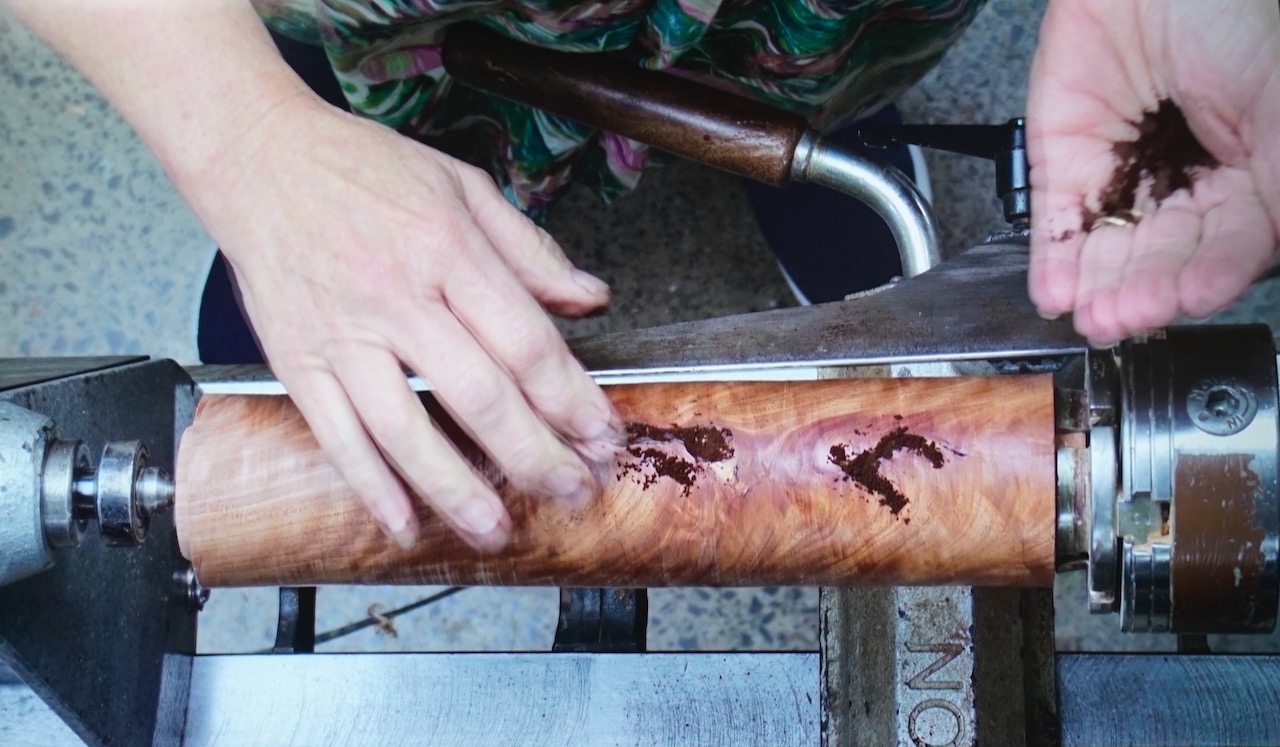
Technique 1 — Filling Cracks with Coffee

  1. Seal the wood around the crack first — unsealed super glue will stain and telegraph through the surrounding grain.
  2. Use finely ground coffee (perked coffee, run back through the grinder for an extra-fine grind). The dark brown tone suits most timbers.
  3. Pack coffee grounds into the crack, then apply thin cyanoacrylate (super glue) through a fine applicator tip, letting it wick down into the grounds.
  4. For bigger voids, pack with sawdust first, then coffee on top — coffee is cheap enough to use generously regardless.
  5. Avoid accelerator sprays where possible — they can trap voids under the surface that only show up once you turn back into the fill.
  6. Once cured, rub over with a finger — this grinds the coffee finer still and helps you feel out any remaining fine cracks.

Black-tinted super glue (available from club suppliers) is a simpler alternative to coffee on dark timbers and can read as natural grain. On lighter woods the coffee’s brown tone was generally preferred.

Longevity: samples shown included a cheese board with a ten-year-old coffee-filled crack, still sound after years of use and washing — provided the filled area isn’t load-bearing/structural, as timber movement can eventually reopen a crack regardless of fill.

Technique 2 — Metal Powder Inlay

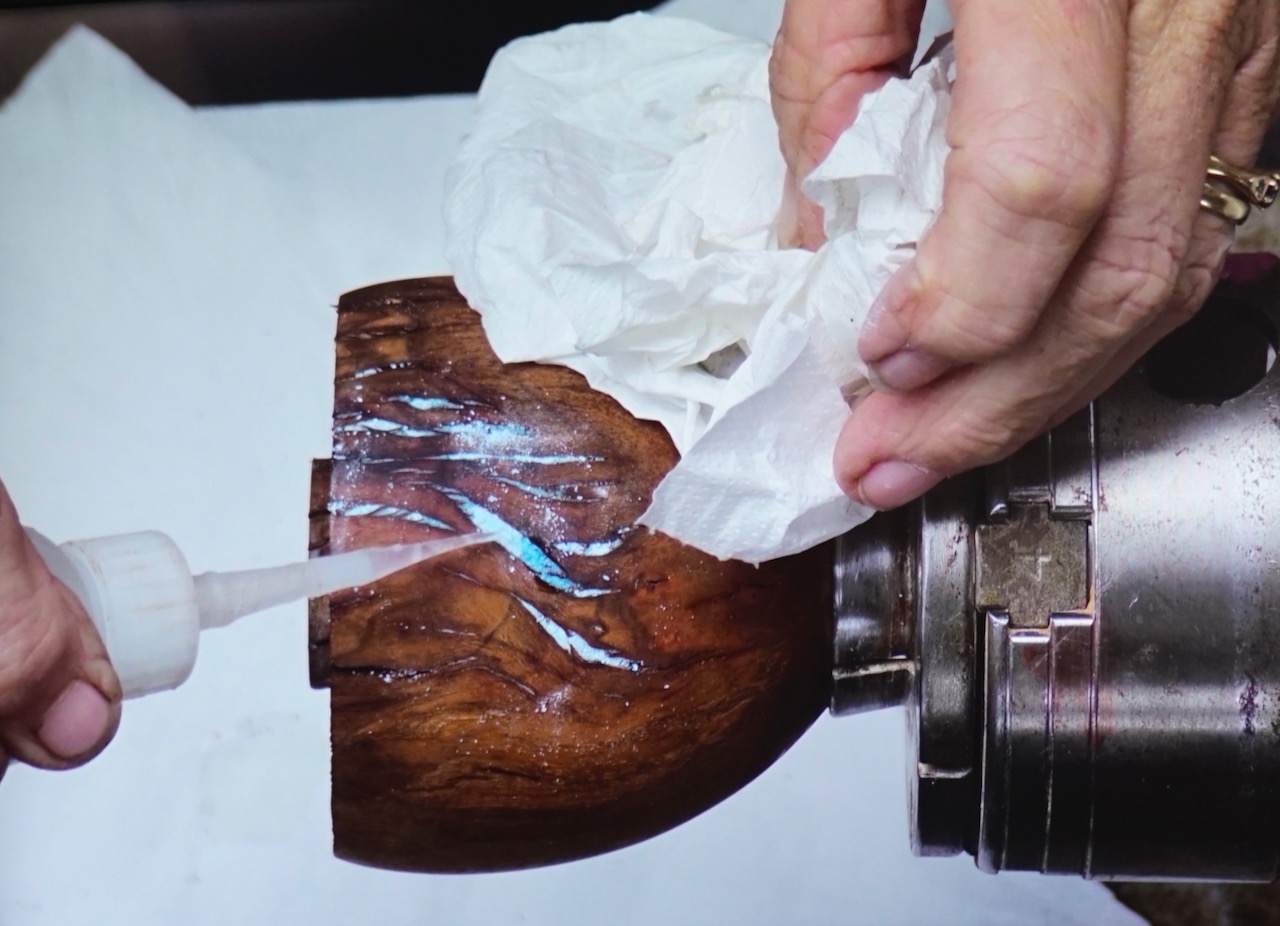
  1. Available powders: brass, aluminium, copper, and turquoise (turquoise comes in a coarser grit and a fine powder — grit can be used first to fill bulk, with powder used to fill remaining gaps).
  2. Applied the same way as the coffee technique — pack the powder, then feed in thin super glue.
  3. Apply in thin layers rather than all at once. Powder applied too thickly can leave a hardened surface film with loose, uncured powder still trapped underneath.
  4. Caution with aluminium and pewter powders specifically: cyanoacrylate curing generates heat, and can exceed the melting point of these metals, leaving a dull, oxidised finish instead of a bright metallic one. Five-minute epoxy (which doesn’t generate heat) is a better binder for these two powders.
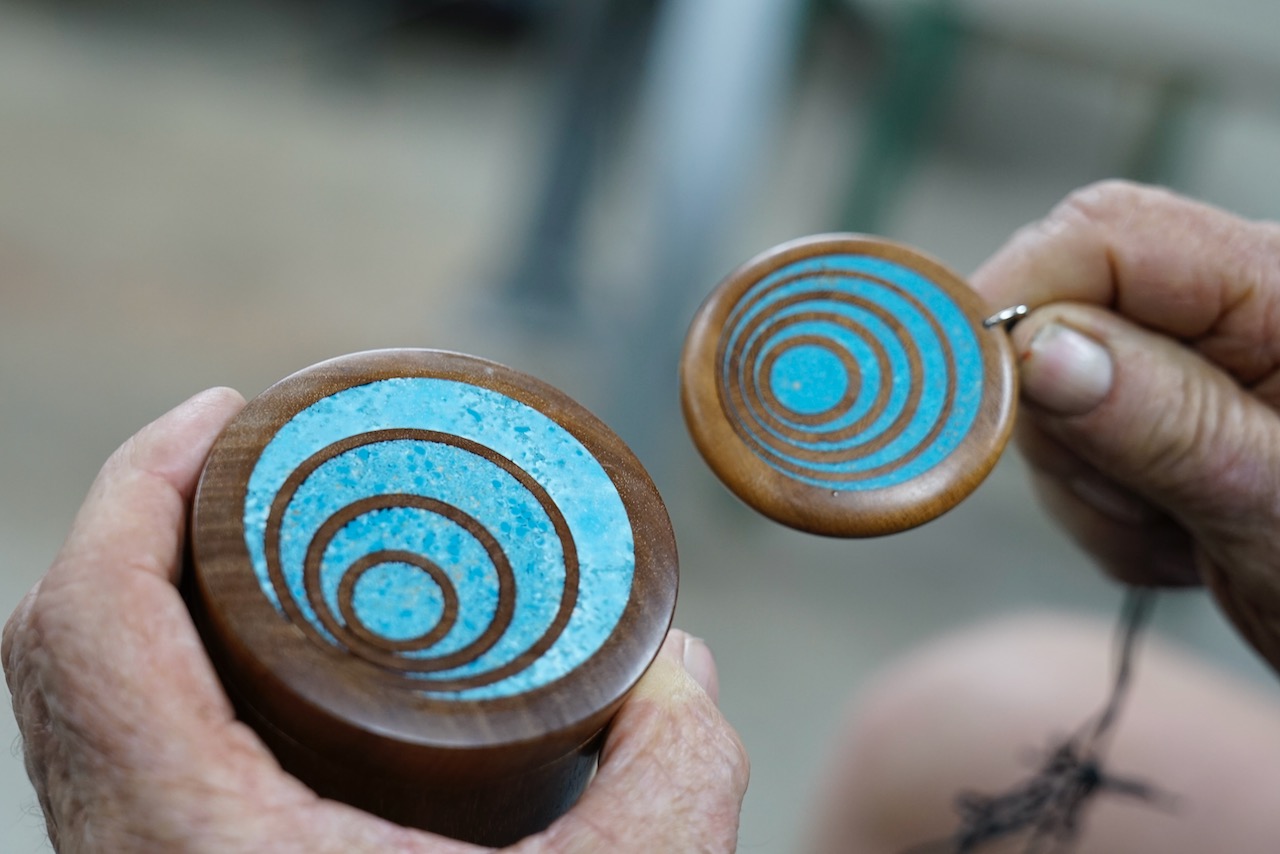
  5. Copper and turquoise powders were shown as reliable, attractive fillers for burl voids and fissures — examples included a filled burl disc used as an inset panel and a decorative box lid using mixed turquoise grits.

Technique 3 — Micro-Powder (Mica) Inlay in Engraved Grooves

  1. Cut fine decorative grooves using pyrography, or have a pattern cut with a laser engraver (settings — speed, heat, power — need adjusting per timber species).
  2. Fill grooves with coloured micro/mica powder (a wide colour range is available from craft/hobby suppliers).
  3. Bind with either super glue or 5-minute epoxy — both were demonstrated side by side for comparison. Epoxy was found generally easier to control and better suited to larger fills; super glue suited smaller, finer work.
  4. A small paintbrush is useful for moving and placing micro-powder precisely, since it’s very fine and prone to going everywhere.
  5. For very controlled, fine application of super glue (rather than a full applicator-tip stream), an insulin-style syringe gives much finer, drop-by-drop control — useful for filling narrow grooves one ring/section at a time without overflow.
  6. Where a design has multiple colour zones, mask off completed sections before adding the next colour, or work from the centre outward, to avoid muddying colours together.
  7. Once cured, sand back carefully — excess glue/epoxy on the surface cleans up easily, but avoid sanding through the full depth of shallow grooves.

Julie noted this technique is still a work in progress in her own practice — several samples shown had inconsistent results (air bubbles in epoxy fills, colours bleeding between sections), included deliberately to show realistic outcomes rather than only best-case results.

Technique 4 — Wire Inlay

  1. Select wire (solder wire or copper wire both work; two thicknesses were shown).
  2. Measure the wire’s thickness — this determines the groove size needed. Cut the groove slightly bigger and deeper than seems necessary, as it typically needs to be more generous than expected.
  3. Cut the groove using a parting tool sized to suit — have a couple of parting tools of different widths on hand to match different wire gauges.
  4. Seal the wood before gluing (as with the other techniques).
  5. Lay the wire into the groove with super glue, working it in with patience — the first section takes a moment to tack down, after which the rest follows more easily.
  6. Once glued, peen/hammer the wire to spread and flatten it into the groove, fully filling the channel; a smooth file can also be used instead of a hammer for a flatter, more finished face.
  7. Trim any excess length once secure, then true up on the lathe.

Durability: Julie’s original outdoor coffee table inlay pieces lasted roughly eight years outside before the surrounding timber eventually cracked — notably, the wire itself stayed firmly in place the entire time.

Variations mentioned: twisted wire (by hand or with a drill for a tighter, more even twist) for a decorative pattern; aluminium powder can be used to dress/fill a slightly proud joint in the wire before final finishing.

Closing Notes

  • None of these techniques are presented as the only or “correct” way — Julie encouraged experimenting and adapting them to individual style and the piece at hand.
  • Keep a small dedicated box of filling/inlay supplies near the lathe so a crack encountered mid-turning can be dealt with immediately rather than becoming a separate trip/session.
  • Bringing imperfect or “failed” examples to a demo was called out as valuable — seeing what goes wrong is as instructive as seeing a finished piece.

Dick Veitch – Santa Claus is coming to Town

Club Meeting: 5th August 2026
Report by: Matthew Brown

There was a good turnout at the club to see what our resident Kris Kringle was going to demonstrate. With a little model Santa Claus placed at the end of the presentation table, plus a box of secrets, Dick started the demonstration.

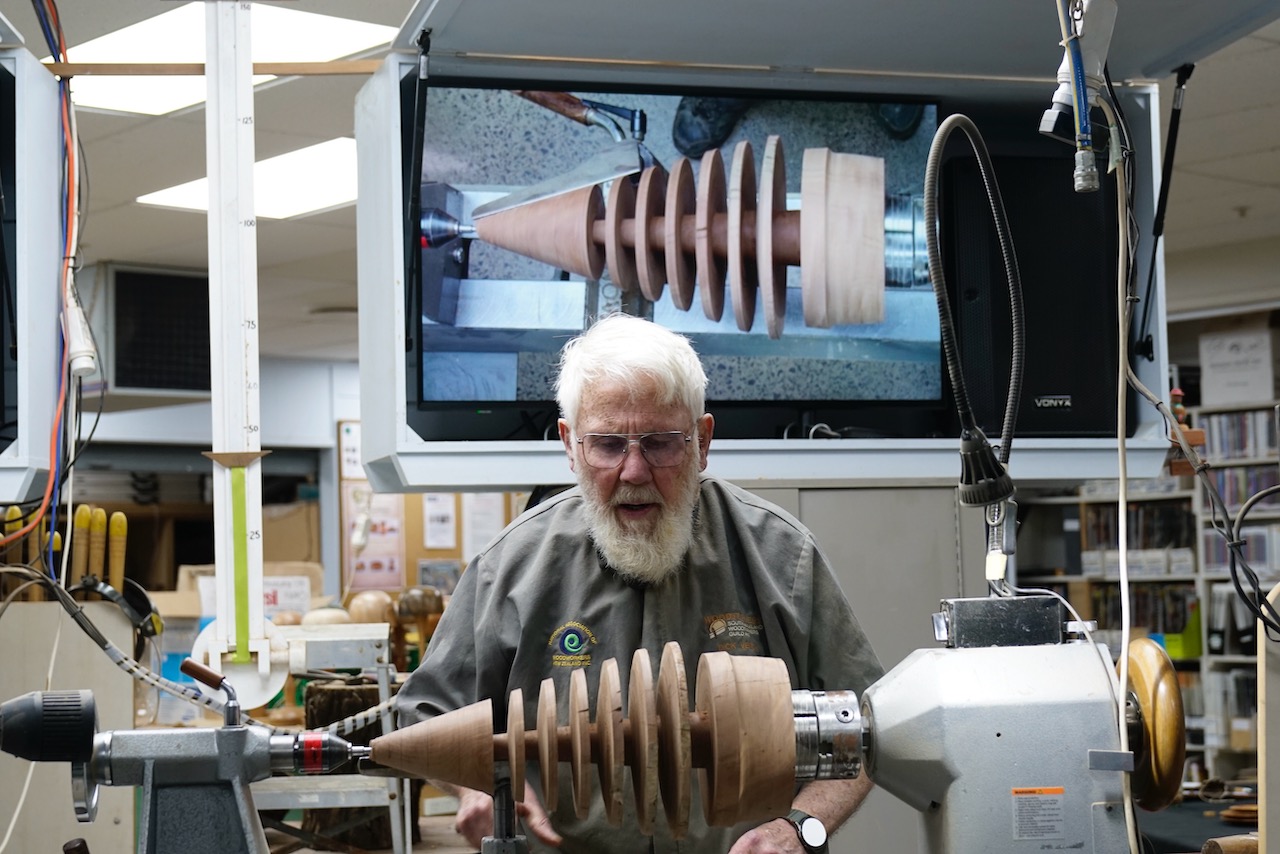
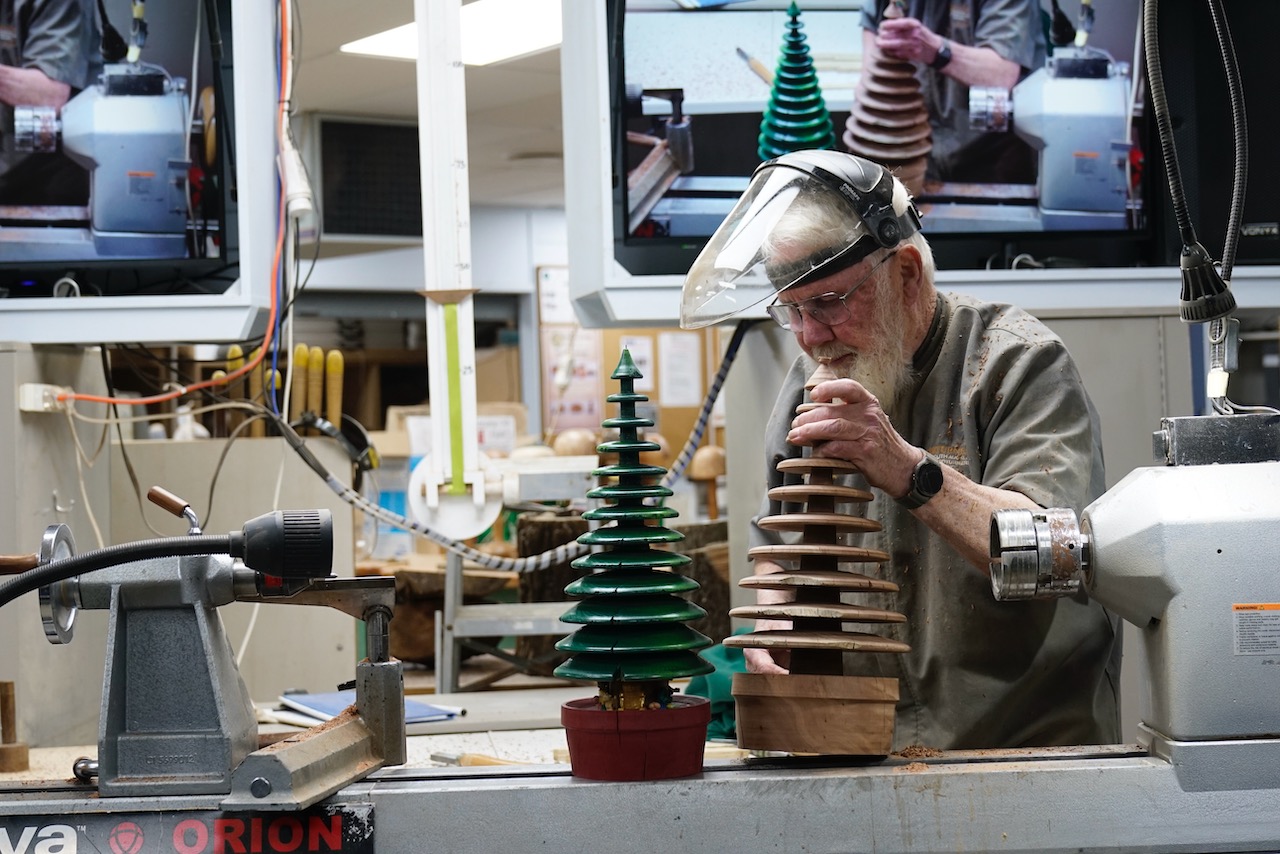
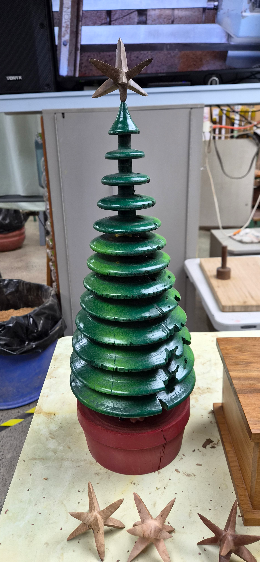
He revealed his 70% pre-turned Christmas tree made of pohutukawa. Approximately 400+-mm x 250mm at the base in size, he commented this wood was particularly hard, and it had given him a good work-out of about 5 hours to get it to this level. The Christmas tree already had it’s base, plus 6 of the branches leaving just the cone at the top awaiting its last few layers. 

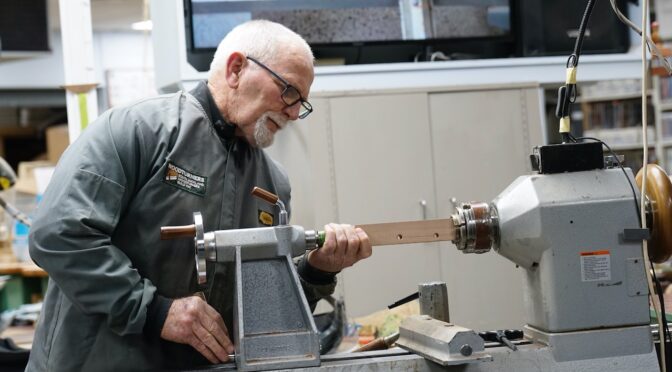
He mounted the base into a 100mm chuck and into a live centre in the tailstock. Using a parting tool and starting at approximately 800 RPM, increasing the speed once he had confirmed it was stable. 

Note the central trunk of the tree reduces in diameter with each layer as it nears the tip of the tree. He angled the parting tool rather than cutting straight in at 90 degrees to create a chamfered effect to each individual branch layer.

He turned an additional 3 layers of branches using the parting tool, but the top was turned to a fine tip using a bowl gouge, but leaving the recess in the tip. Using the same gouge, he rounded over the rims of the individual layers, adding to the effect. 

Remembering back to our Blue Peter watching days, Dick pulled the classic “here’s one I made earlier” move as a finished example was brought out on display. It was complete with 2 tone spray-painted green branches, a red base and what looked like presents and elves under the tree, it even had fairy lights too! 

Making an 8 Pointed Star:

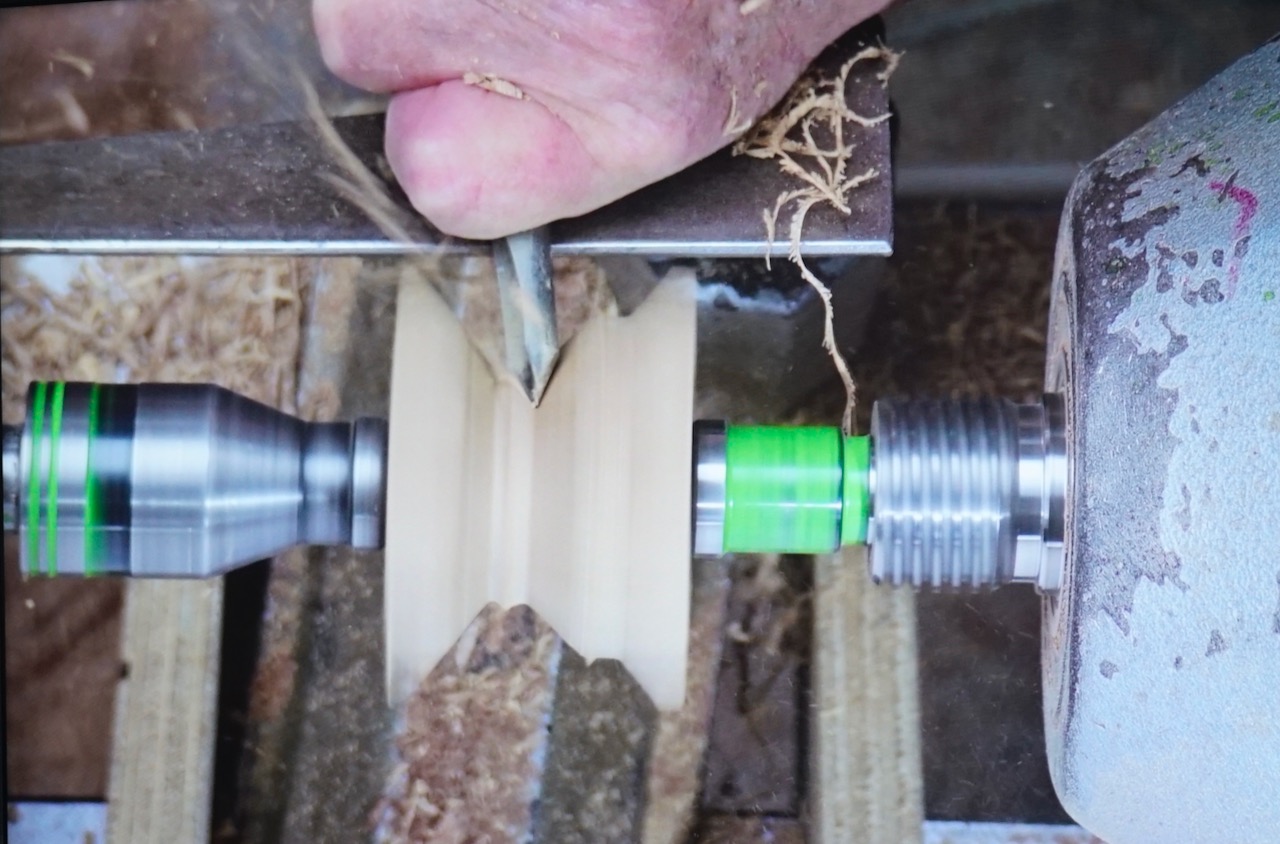
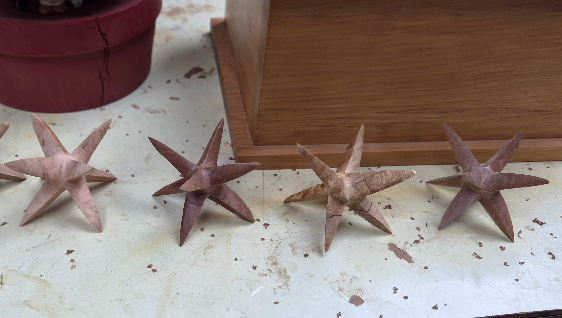
Dick took out a 50mm cube and marked it as precisely as he could, the centres and mounted it on a spur drive and used a Sorby drive steb centre on the tail stock using the pre-marked holes. The plan is to create a V shaped cut, dead in the centre of the cube, leaving an approx 22mm shaft. Accuracy is crucial so Dick brought out a handy clipboard/bookrest type of jig with a V printed to scale on a piece of paper that was positioned behind the piece. He positioned it directly in his line of sight as a reference point as he turned the V shape using a spindle gouge at 2000rpm. When asked by Terry, Dick advised that it didn’t really matter if you turned it end grain or cross grain first.

Once the first V was completed you could see a rudimentary 4 points, now the trick to make the other 4.

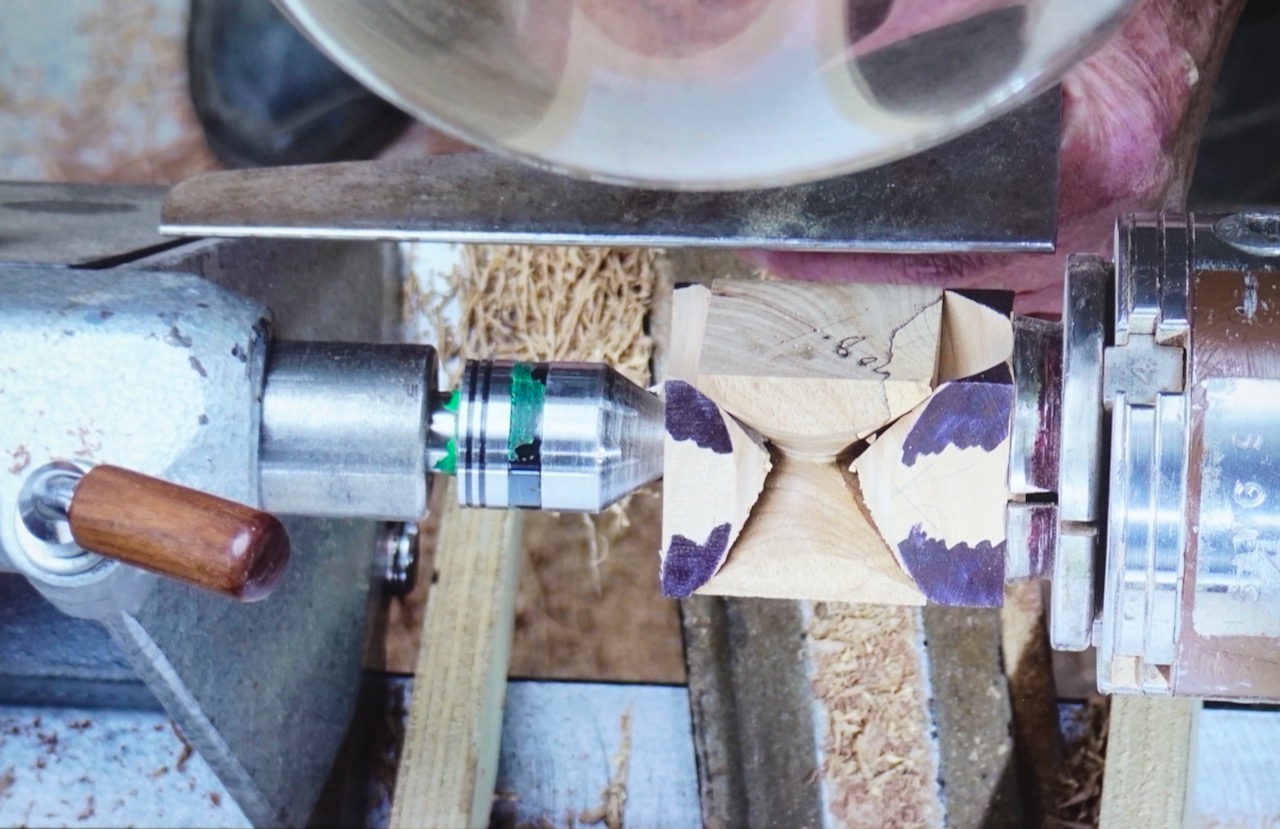
Dick showed us that he had brought 2 pieces of timber that had convex shapes sanded into the ends of each piece, that mached the V shape cut in the cube. The cube was turned 90 degrees on its axis, and held firmly between the centres by the aforementioned drive blocks, and the next V was turned again being careful to maintain the same centre and depth of the V as the first one. Once that was done, rotate the axis once again and repeat the V cut to create the last points of the star.

The accuracy of marking the centres and maintaining the same depth of the V’s became more apparent when turning the last V cut in the 3rd axis as a few tips of the star were lost as they became finer and more delicate. Once again, Dick produced another “here’s some I made earlier” moment from his “magic box,” presenting multiple stars for our inspection.

One of the stars took pride of place, mounted at the top of the Christmas tree in the recess left in the tip.

Another great demonstration, thank you Dick, and there’s plenty of time for everyone to get practising for Christmas!

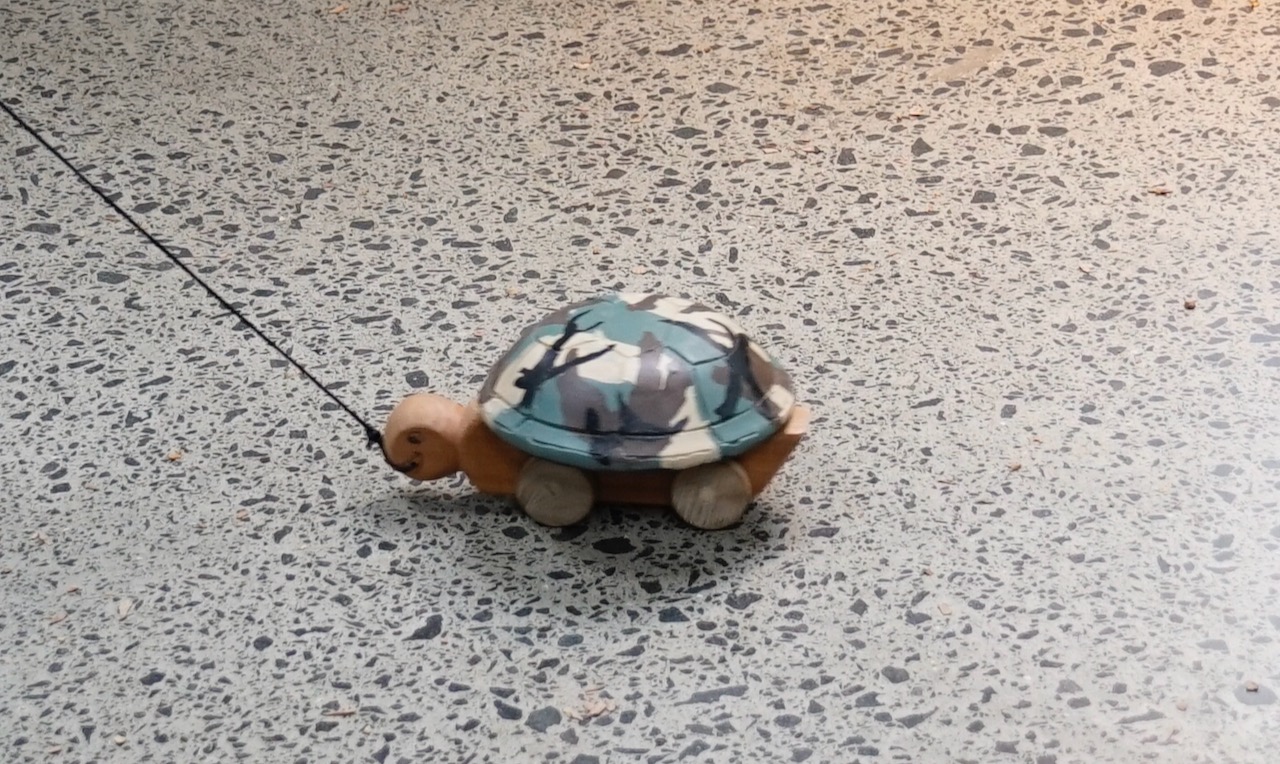
Gary Jones – Turning a Tow Along Turtle

Club Meeting: 29th July 2026
Report by: Jacqui Oxenbridge

I’m not sure there is much value in doing a report as the project sheet is very comprehensive, but here it is.
Project Plan: https://sawg.org.nz/sawg/wp-content/uploads/2023/04/Turtle.pdf

Requirements:

150 x 150 x 40mm blank for the shell

40 x 30 x 200mm blank for the body

50 x 50 x 100mm blank for the wheels (or cheat and get 40mm dowel)

Making the body:

The height of the turtle body is 40mm, width 30mm and length approximately 200mm but if your blank is a bit shorter you can adjust the length of the tail.

Mark the centre on one end of the body blank, the other end will go in a chuck.

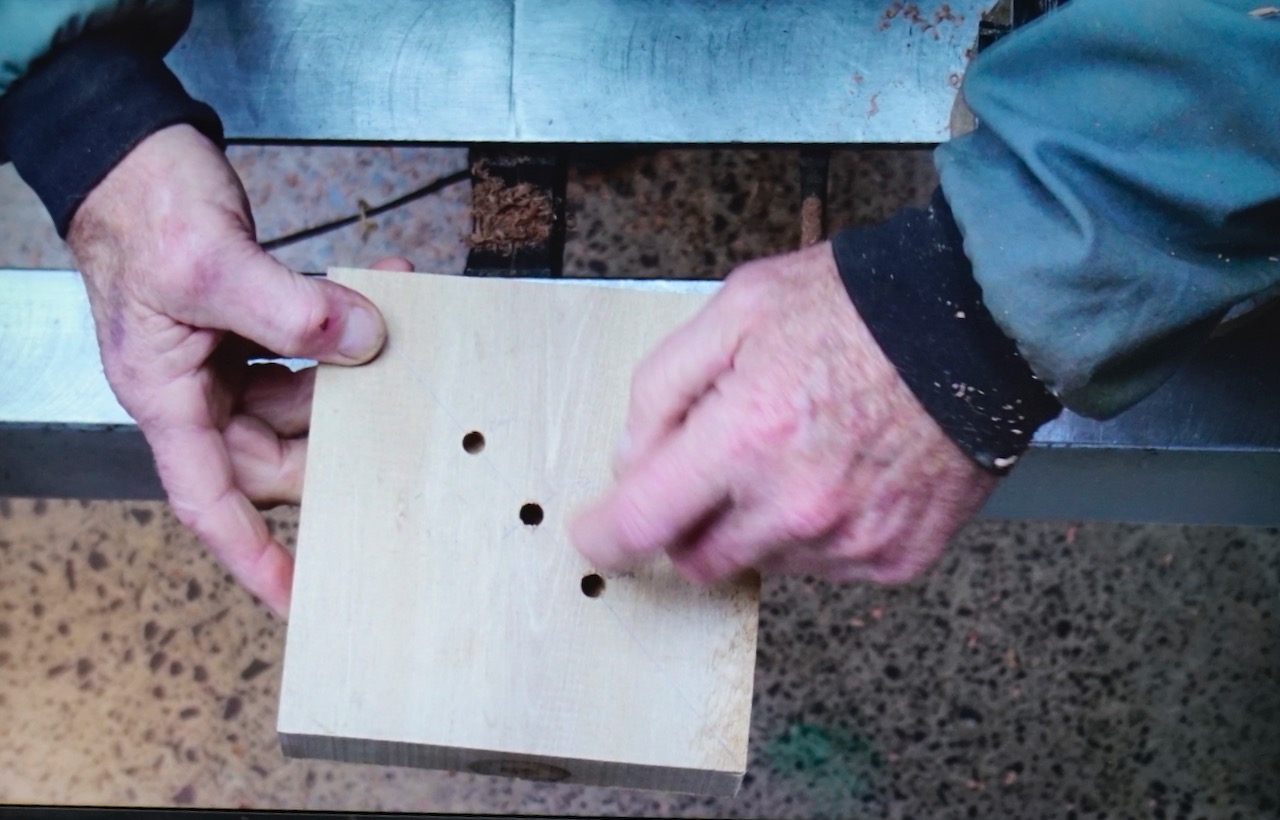
Using a drill press (or guide to ensure your holes are vertical) drill two 8mm holes in the centre line of the top of the body (that is the 30mm width) for the dowels that will hold the shell. These should be at least 10mm deep. Position the first hole 50mm from the tail end and the second a further 60mm in (110mm from the tail end) – see project sheet.

Now drill two 9mm holes for the axles. These are on the side of the body 45mm from the tail end then add 70mm to the next hole (115mm from the tail end). The holes should be centred at 10mm from the base – see project sheet.

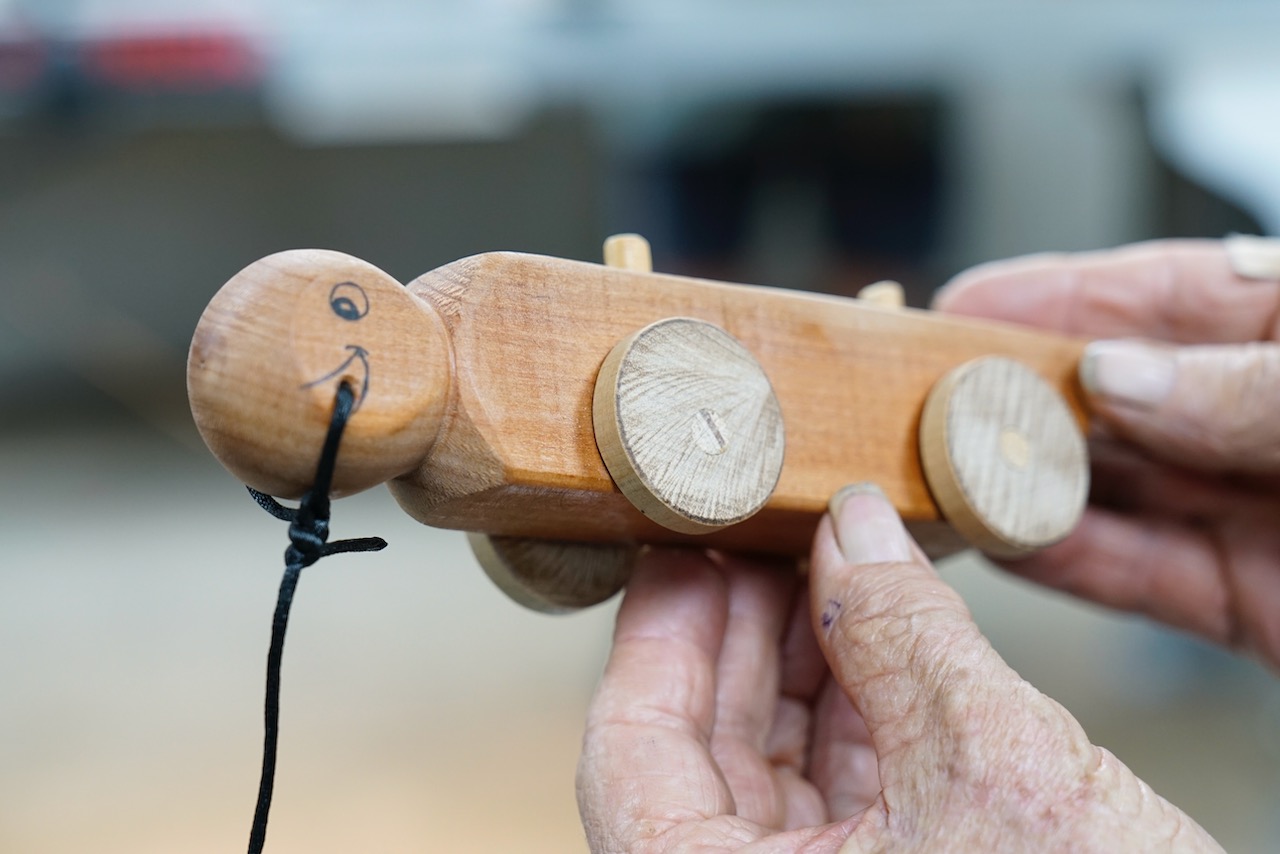
Now mount the tail end in the chuck. Bring the tailstock up to the centre mark on the head end, tighten the chuck and turn the head round – leaving the sides flat for the eyes, mouth and to put the pull cord through. Turn the shoulders. Remove the tailstock to finish shaping the head. Paint or draw on the eyes and mouth and drill a hole for the string. This is towards the front of the base of the head – see project sheet.

Use a bandsaw or Japanese saw to shape the tail.

Push the 8mm dowel into the two holes on top of the body and cut off approximately 10mm above the body to attach the shell. Add the pull string and secure (important that no parts can come off for a child to swallow).

Wheels:

Either use the 50mm x 50mm blank and turn it round or use the 40mm dowel. Mount in a chuck (turn a spigot if using square blank) and dress the end of the wood then sand. Bring up the tail stock and part off an 18mm wide wheel. Sand the parting on both sides. Repeat three more times.

Note: if you want to add “tyre treads” using an embellishing tool, this should be done before parting the wheels.

Mark the centre on each wheel (if using red Nova centre finder, use the 45o side as 90o side doesn’t work). Now offset each hole by a couple of mm so the turtle will wobble as pulled along – see project sheet. Using the drill press drill an 8mm hole through the offset point at 90o angle. Sand. Paint if desired. Put axle through the body and glue on the wheels at each end.

Shell:

Find the centre of the blank. Mark a diagonal line through the centre and mark 30mm either side of the centre for the dowels. 

Drill an 8.5mm hole in the centre for a screw chuck. Drill 8mm holes for the dowels to hold the shell to the body.

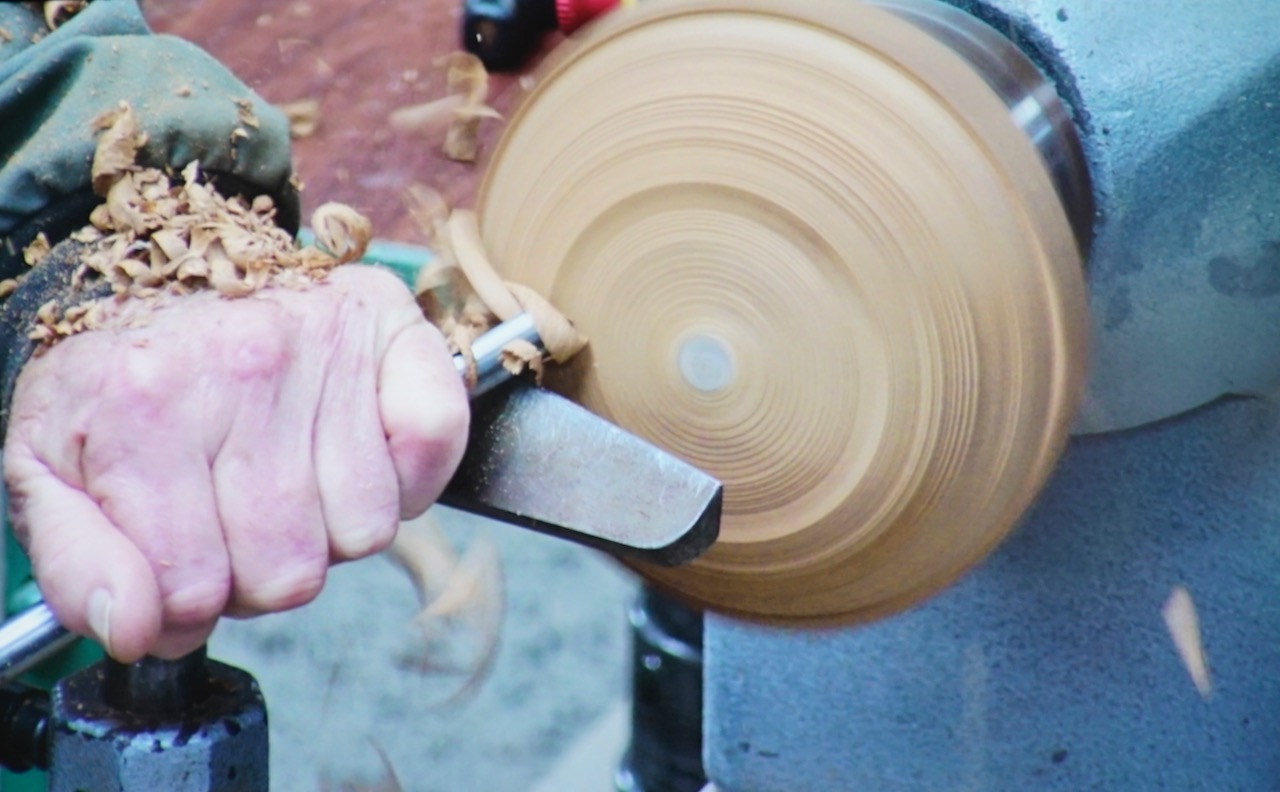
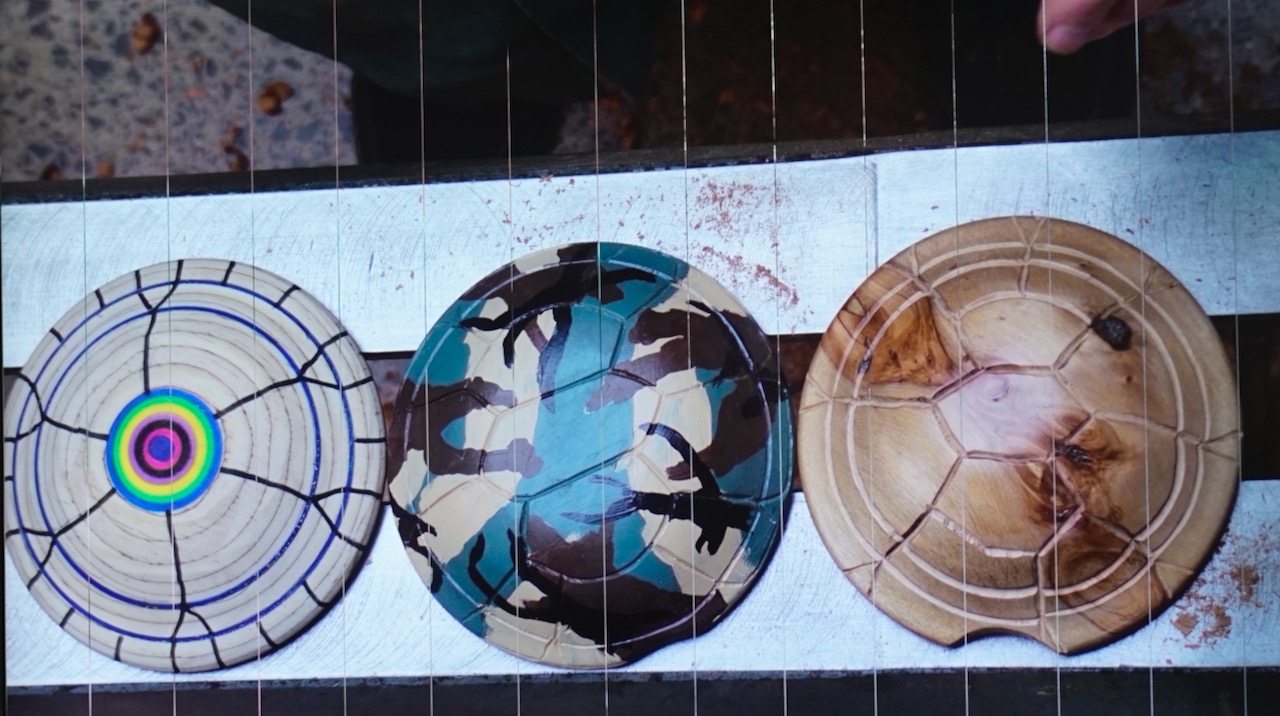
Round the blank, turn into a flying saucer shape. Undercut slightly. If you wish you can remove a portion of the edge (in line with the dowel holes) so that the shell sits nicely over the head. Sand. Now the shell is ready to draw, carve or pyro a turtle pattern on top (can get a pattern from Pinterest). 

Put the shell on to the dowels and once happy with it, glue the dowels into the shell and the body.

Bryan Mawhinney – Adaptations on a Simple Pen

Club Meeting:  22 July 2026
Report by:  Kieran FitzGerald

On a cold winters evening, on a train bound for nowhere, I met up with   ……  oops, wrong song.

On a cold winters evening, too cold for the two Jims, the Ngatea bus trundled into Papatoetoe and unbundled its scruffy load.  No gun totin’ gamblers these, just hard livin’ turners from the hinterland folks call the Hauraki Plains, a low lying flat countryside where the fog nourishes everything and the sun struggles to send its rays to the cold earth.  

Bryan steps down from the bus, hefts his toolbox from the boot and carries it into the clubrooms. The audience waits in wonderment and anticipation, because although Bryan is listed as the demonstrator for the evening, he has not disclosed what he is about to do.  “It’ll be an easy cleanup” he announces.  For Bryan is going to demonstrate the project called “Simple Pen” on the SAWG project pages.  But wait, there’s more – for Bryan will add some novel and creative features to improve the basic pen.  Lets get under way.

Some informal chatter preceded the demo, as members discussed the use of pens in the visitors packs, pens as complementary gifts, the origins of the pen tradition, and the tricks played on former member Rex H.  The casual talk set the tone for a boisterous and fun demonstration.

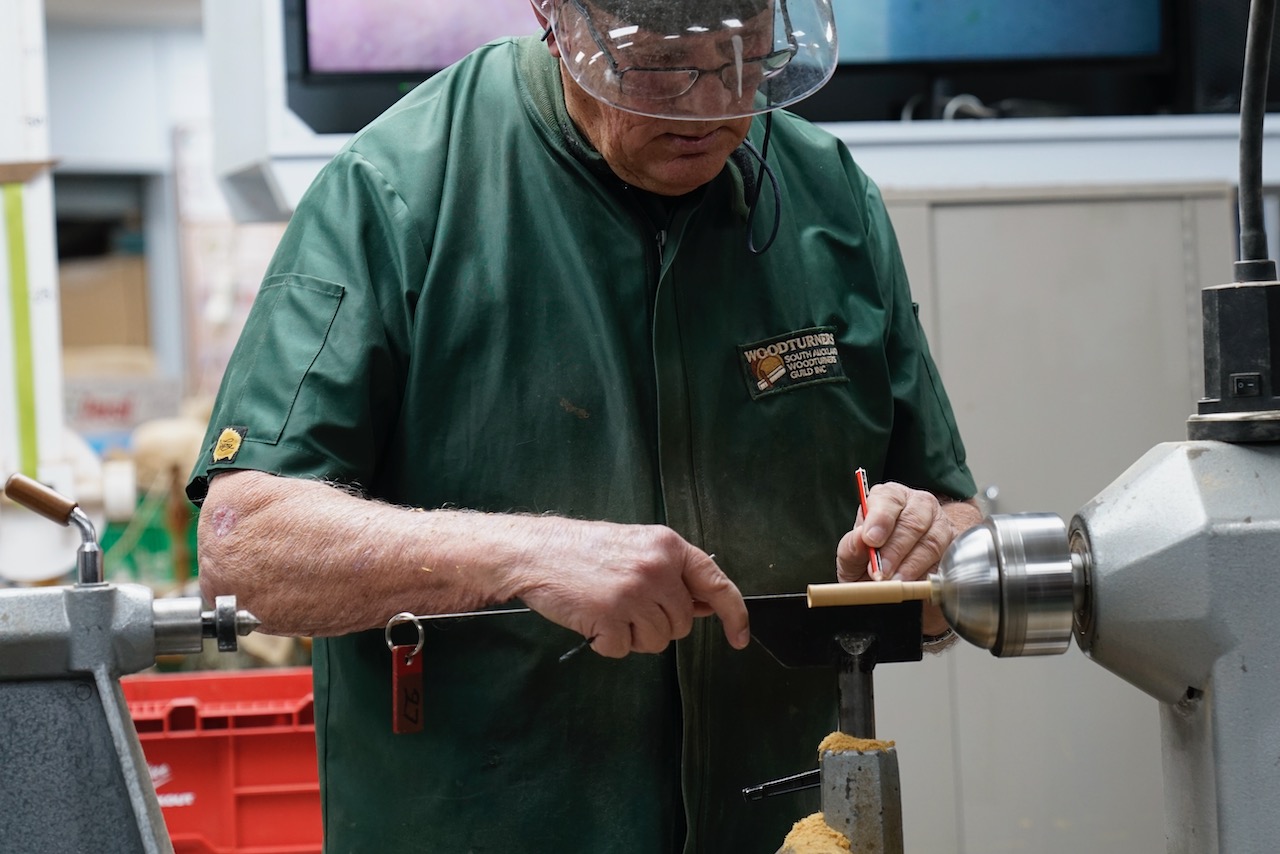
Bryan started with a blank which looked to be about 20 x 20 x 220.  Just guessing here.  It was slim enough to be held securely in the centre of a 50mm chuck.  Bryan brought up the tailstock and knocked the corners off the blank with a spindle roughing gouge.  He jacked up the speed and rounded it down to near finished size with a skew.  The length of the pen will be approx. the length of the refill plus about 10mm.  Without turning off the lathe he turned the speed down to about 1500 and gently withdrew the tailstock.  It is important that the piece continues to run true.

The next step is the tricky part and the key to a successful pen.  With a long series 3.5mm handled drill make a hole down the length of the blank which is slightly longer than the refill.  About 130mm should do it.  The drill will be very inclined to wander off centre as it follows the grain of the wood, so hold it parallel to the bed and on centre, and push it gently in just a few mm at a time before withdrawing to remove the swarf.  Doing it by hand is easier and more successful than using a Jacobs chuck.  Then drill a 4mm hole into the first 10mm of the wood to accommodate the shoulder just beyond the nib of the refill.  This will hold the refill securely.

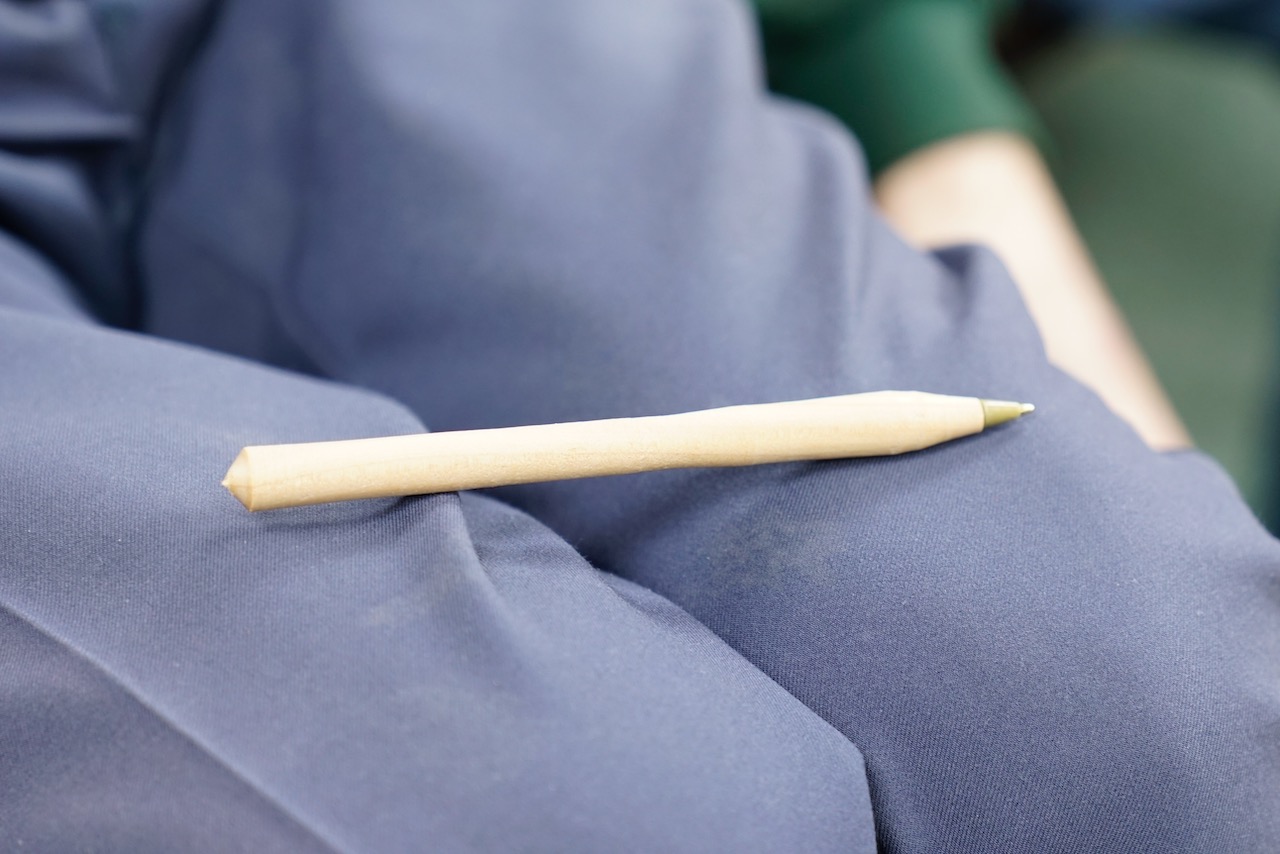
To complete the turning, Bryan took a 4mm drill bit and put it into the Jacobs chuck backwards, and brought up the tailstock again.  The drill bit slots into the hole and holds the blank nicely. (An alternative is to use a 4mm pop rivet as described on the project page, but Bryan reckons his way is better.)  Turn the pen down to its finished shape, sand and part off.  Insert the refill, put a finish on, and that’s your job done.  But here’s where Bryan added extra oomph by showing us several ways of enhancing the concept of a simple pen.  These certainly raised the bar.

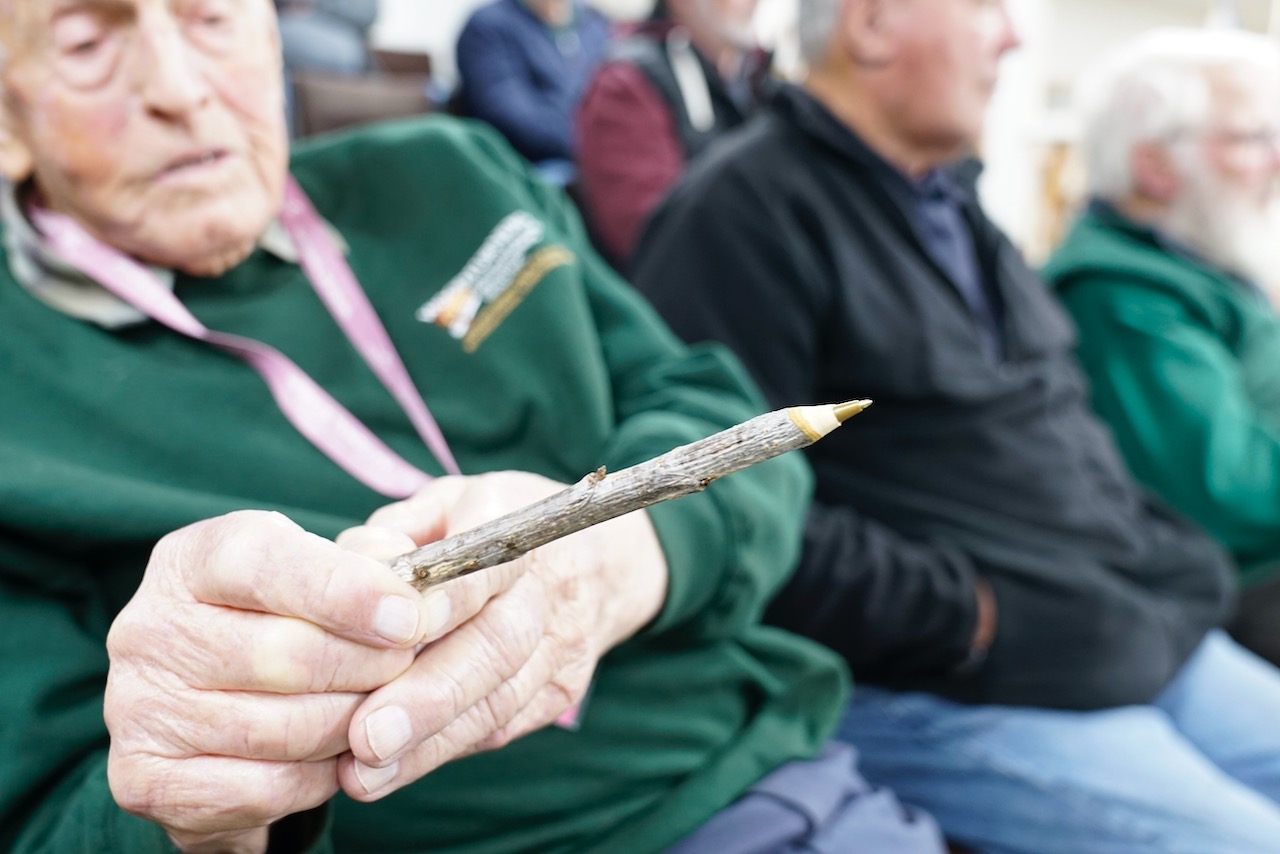
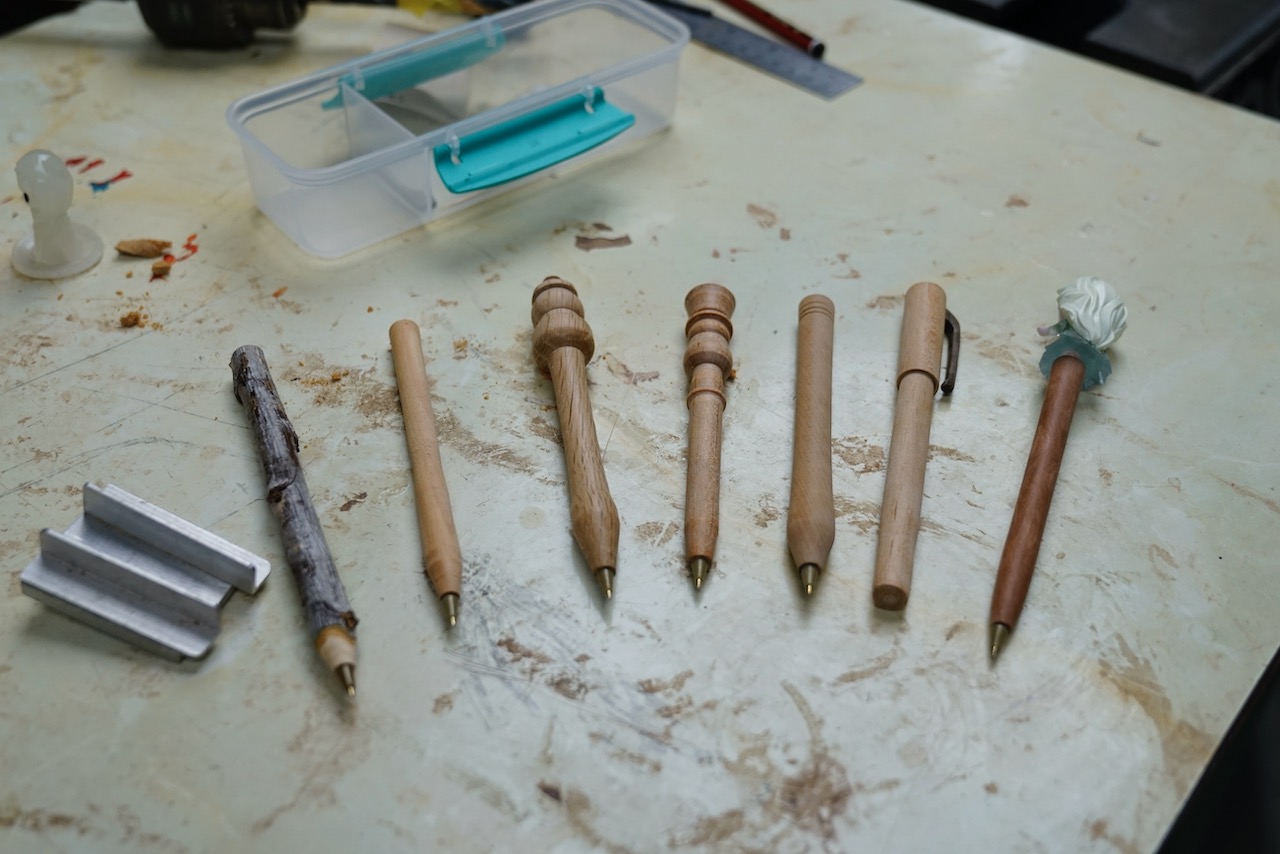
First off, he passed around several pens which he had previously made, and these were totally original.  Number 1 was a pen made from a small branch of apricot tree and it still had all the bark and growth nodes.  It was very cool.  Next up was a figure of a man with a hat turned into the end of the pen, and painted.  Anyone would love that.  There were a few pens with different designs turned on the end, and even a pen with a Woolworths giveaway figure on the end.  Bryan was very excited about that one. “It was free!”

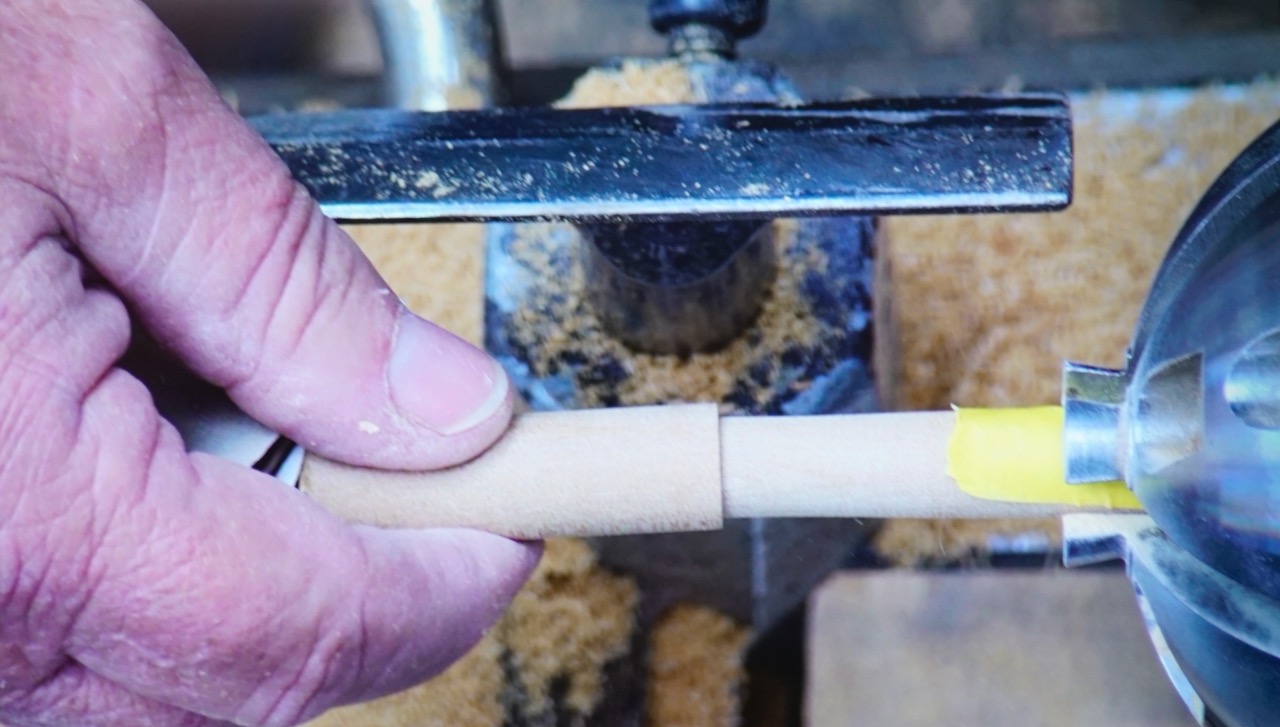
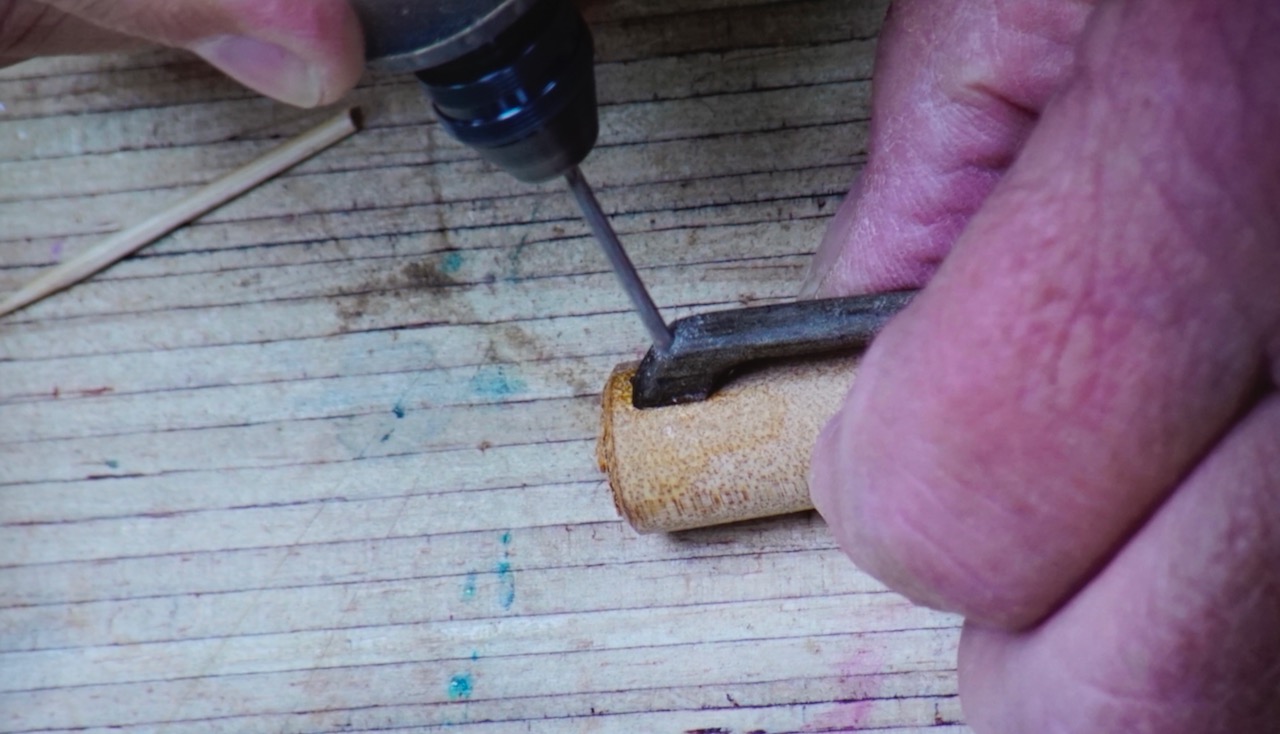
To cap it off (note the pun), Bryan demonstrated how to turn a cap for the pen he had turned.  Taking the parted offcut, Bryan turned it around and slotted it in the chuck.  He made an entry hole in the end with a gouge, and then drilled in about 40mm with an 11.5mm drill (use a drill sized to match the diameter of your pen).  With the live centre in the tailstock just kissing the end of the blank, Bryan turned it down to a thin wall of approx. 1 – 1.5mm.  He parted it off at about 50mm.  Next he test fitted it on the pen – it required the pen to be re-inserted in the chuck and carefully sanded down til it fitted smoothly.  Then he superglued on a clip that he had already fashioned, and secured it with a pin made from a toothpick.  The end result looked really classy and lifted the basic pen to another level.

This was a very enjoyable demo with a lot of crowd involvement and laughter.  Bryan generously gave away 5 packs made up of the long 3.5mm drill bit and a bunch of refills.  These all went to some of the newer turners with a hope that they will enjoy making pens and perhaps make some for the club’s visitors packs. Bryan also donated a handful of refills to the club.

Thanks Bryan, we enjoyed that a lot.

Kieran Fitzgerald – Square Plate with Embellishment

Club Meeting: 24th June 2026
Report by: Jacqui Oxenbridge

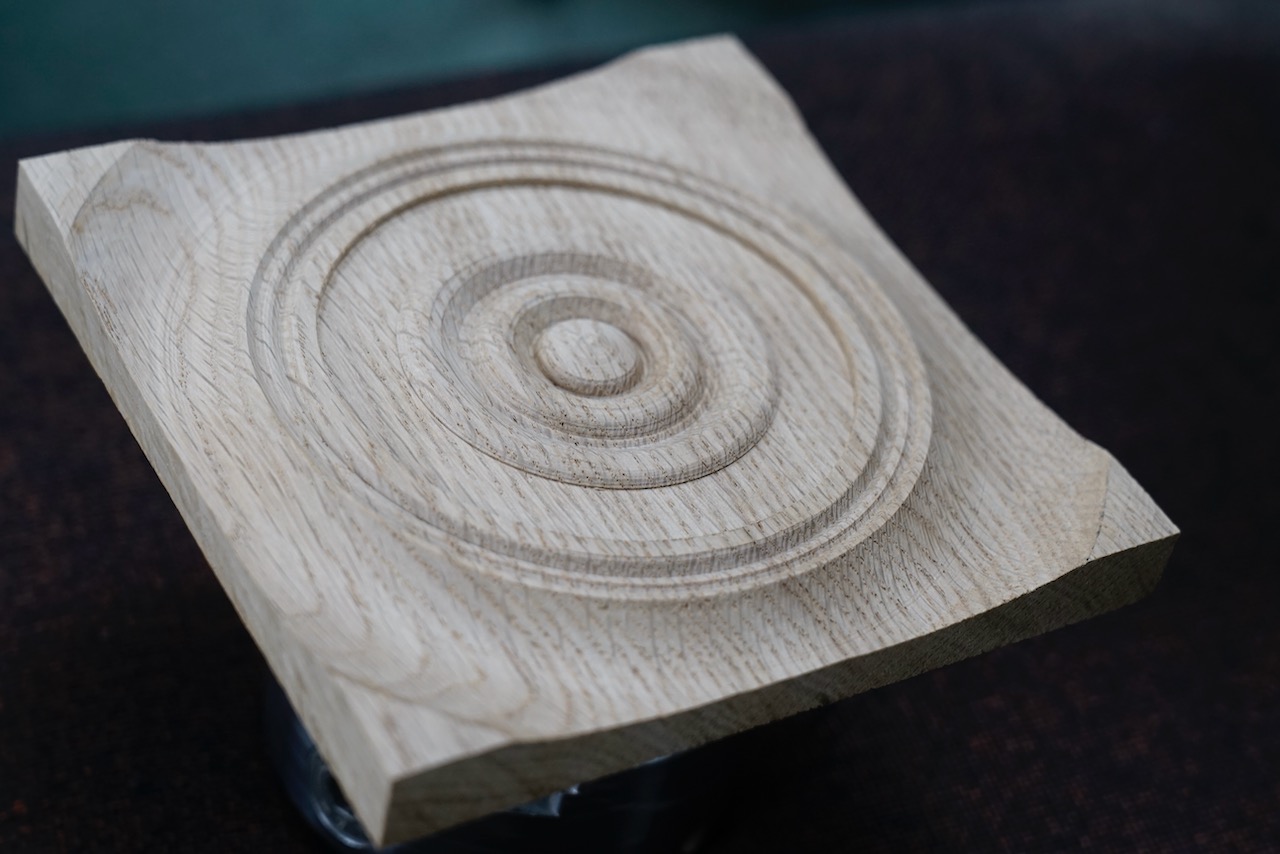
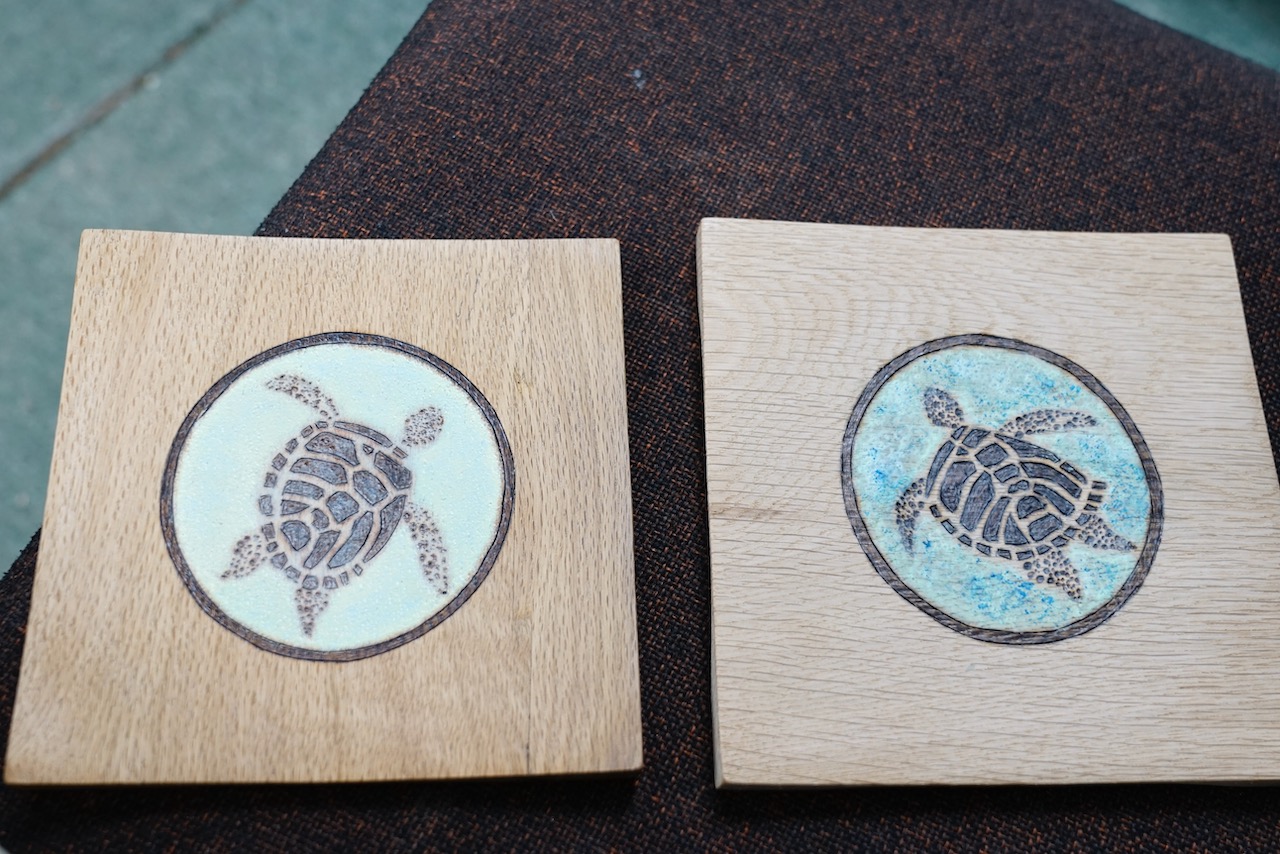
The plate has a lot of detail on the base, 4 feet on the corners and then the top can be embellished with pyrography, acrylic paints, pencils. A square or round border can be added to frame the art, or the art can extend outside part of the border.

The turning on the base varies depending on whether a tenon or recess is used. For a recess often use a 100mm chuck but 50mm also works.

All pieces have a lacquer finish.

Start at the table saw, cut squares from 20mm board approximately 170 x 170. Check for blemishes and decide top and bottom. Mark the centre on the bottom with an awl. Roughly sand the top to provide adhesion for the glue.

Mount a round glue block approximately 100mm diameter in a 50mm chuck. Face off the front of the glue block.

With the live centre in the previously marked centre hole on the base, bring up the tailstock to secure the board hard against the glue block.

With a hot glue gun hold the board in position with 5 large blobs of hot glue. For best results ensure the glue is very hot when applied and is allowed to cool thoroughly.

The tail stock is not required.

When the glue is dry, face off the bottom of the blank – use a draw cut to ensure the bottom is flat – particularly all 4 corners which will form the feet and must be flat. Tool rest is low, handle is low.

Now lift the tool rest to work on centre and make the base slightly concave so only the feet will sit on the table. Need to go from the very outside so need to eyeball the corner and push cut to the centre.

Use calipers to mark out for the recess – tool rest on centre, measure 97mm to fit 100mm chuck.

Mark the inside edge of the feet.

Grab a pencil and decide on the decorations for the base, mark the cut lines for domes and beads. If lines are to be erased later, use a soft lead like a 6B.

Drop the tool rest, cut the dovetail recess – initially with a parting tool – 2 to 2.5mm deep and approximately 10mm wide. Cut dovetail with homemade scraper tool – hold the handle slightly above horizontal to make the dovetail.

With a 35o bowl gouge, start at the centre shaping domes and beads across the centre of the plate. Width and position can be quite random.

Outside this embellishment need to cut away any excess timber to form the 4 feet which must be proud – check this before proceeding.

Now use a round nose scraper to refine the concave area working towards the outside of the base.

Sand this area (hand sand on lathe). Note that oak is quite coarse, so you do not need to be so fussy with grain.

Use a heat gun to soften the hot glue and remove the waste block from the plate.   Remove glue from the glue block so can reuse it.

Remount the piece on a 100mm chuck using the recess on the bottom.

Note: if using a recess this can weaken the piece so care when removing wood around it.

Check the front is flat – it is important that each corner is at the same height. Use a draw cut to make the front true if required.

Carefully start at the corner, cut a concave shape with a bowl gouge. If you leave the centre in this gives a visual guide as to how thick you are getting at the edges. Aim for 4mm thickness between the feet.

Remove the centre excess, clean up the surface with a scraper.

Sand – either with an electric drill and mandrel with lathe turning or it may be necessary to sand with the lathe stationary. Recommended to sand to 240 then a light touch with 320 grit before pyrography to make it easier to apply burn patterns.

If you want a round frame for the art, draw this in now with pencil using the lathe. For a square frame place plate flat and eyeball with a ruler and pencil.

Remove from the chuck and sand the edges.

The detail on the back is the first embellishment, the second is the drawing.

Choose your image. If it is a photo it can be helpful to divide the image into quadrants so when you draw on your plate you can retain perspective.

Mark the quadrants on the plate (within the frame) then draw the shape with soft lead pencil.

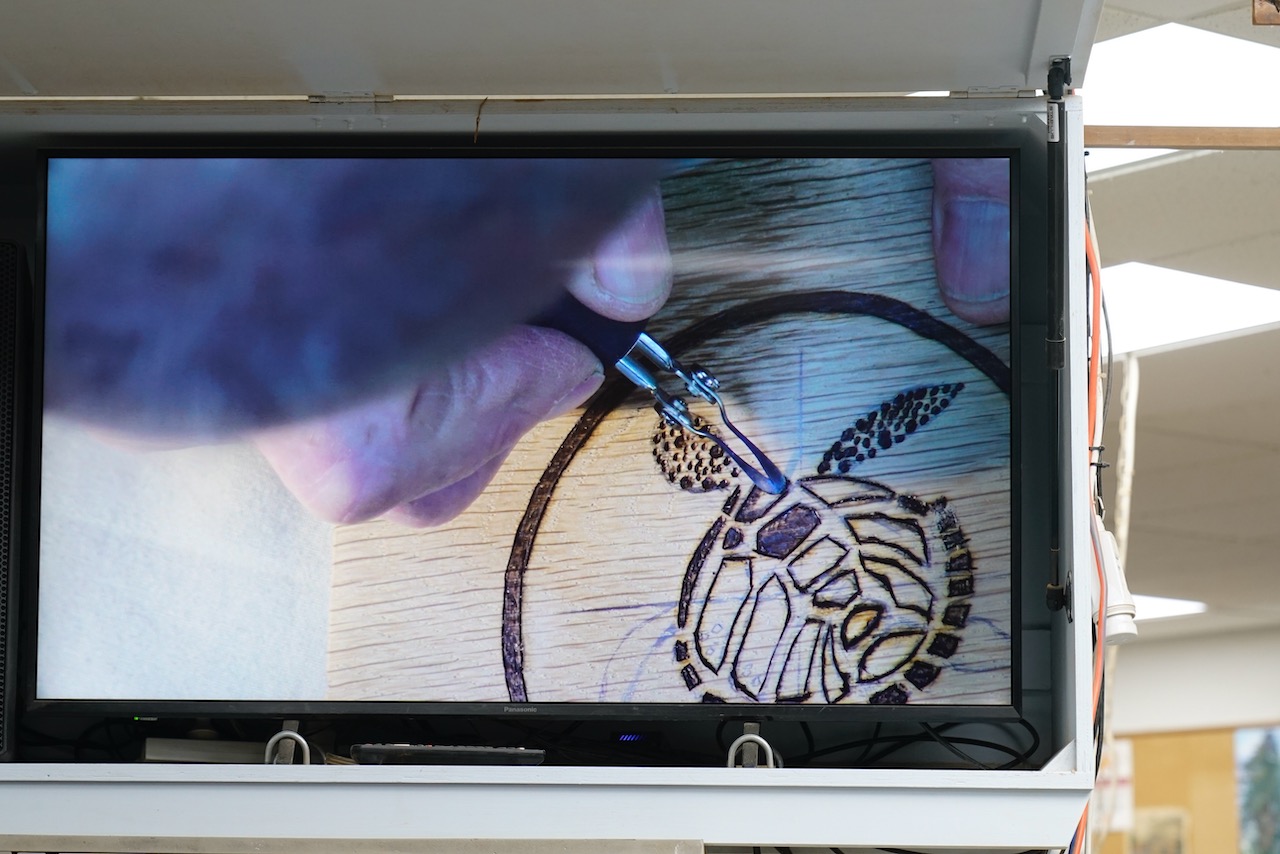
Using a pyrography pen, follow the pencil lines.

Kieran uses a Razertip burner which doesn’t burn as hot as the Burnmaster but is suitable for finer art. Can use a rice bag to stabilize the piece. For straight lines uses a medium size rounded skew or rounded knife point nib.

Pyrography lines do not need to be exact.

Draw the burner nib in towards your hand.

Hot tip is cutting in to the wood which helps stop the shading nib from going over the line in a later step.

Change to a writing or drawing nib and make a series of dots moving along the pencil line initially then fill in the centre.

Change to a spoon shader nib to fill in shapes – can use a swirling motion or dab the nib. To darken, just go over the area again.

Any overburn can either be sanded away or removed with nail polish remover.

Rub out any pencil markings and bush the rubbings away before colouring.

For the sea Kieran used 2 colours of acrylic paint (purchased from $2 shop) cream and teal. Blend the colours to get the shade you want, apply with a damp sponge – this gives a texture to the finish. If there is excess paint, over lines etc, remove with a damp cotton bud. Dry (to speed up process can use a heat gun). If the cover is splotchy, recoat when dry.

For the turtle body make a white wash with white paint and add water from a spray bottle to get very dilute paint. Using a clean sponge, dab it over the turtle to have an overall painted look while retaining the “character” of the turtle. Dry the white wash.

Now can dab on another colour over the water section – Kieran used deep blue mixed with white to subdue the intensity. Dab on with a damp sponge, spread the colour around to make it look like water.

Coat with 30% gloss lacquer.

Once piece is lacquered and dry you can go over the surface with 0000 steel wool but NOT on any coloured areas.