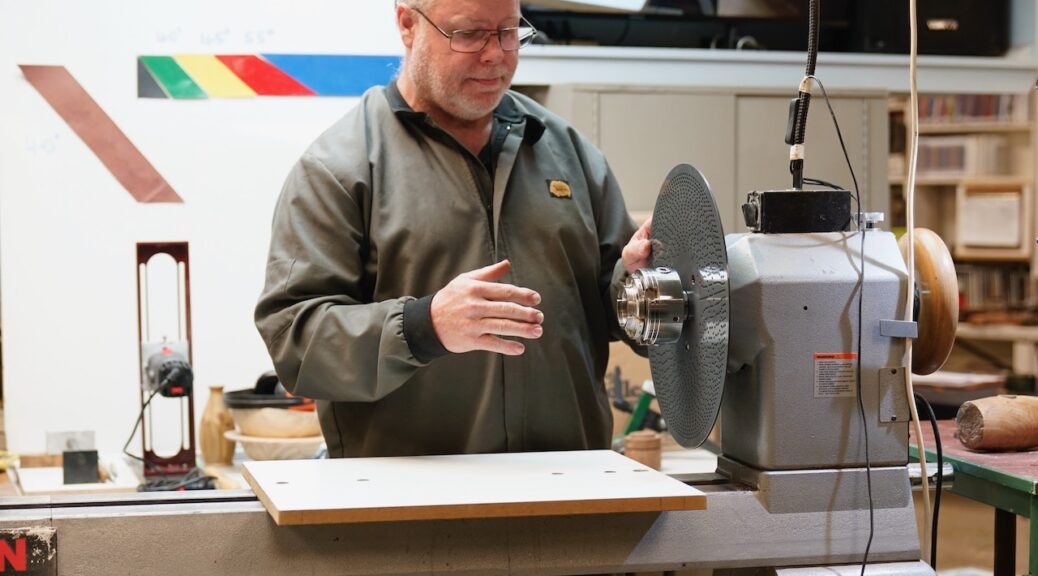
Club Meeting: 3rd April 2024
Report by: Bob Yandell
The ‘More Jigs’ demonstration stems off the back of the demo which Jon did last year where he demonstrated a threading jig which he built. In tonight’s demo Jon demonstrates three more jigs which he designed and built to assist in his journey as a woodturner.
Having an engineering background the jigs were well thought through and constructed. Whilst some of the jigs will be beyond the skill set of members to replicate, the principles of each jig demonstrated are useful for the viewers.
Jon stated that he was in a predicament. He volunteered to do the demo last year as he had built some of the jigs. But all demo nights were full so he was given tonight’s date. He was unaware of the ‘Art Deco’ term theme until this year, and none of his tools or jigs are built in an art deco style. He apologised to the audience and said that unfortunately he will be keeping art deco to a minimum in this demo.
Spigot/tenon marking
Jon first highlights the issues (and limitations) of tenon marking using calipers, as taught in the Introductory Course. This includes the potential of the right hand leg touching/catching the spinning wood, which could pull the calipers out of your hand. That can be quite scary for new turners. Also, trying to mark a tenon when the tailstock is up is always challenging.
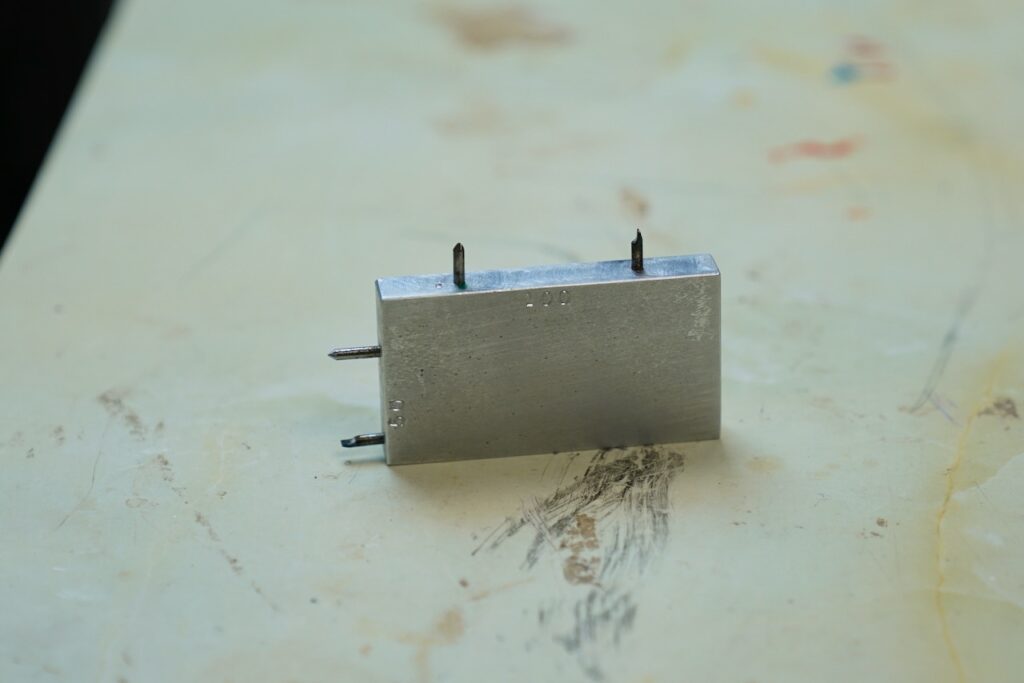
Jon then showed his homemade tenon marker. The jig was made from aluminum but it can be made from anything that is of hard material. This could be things like industrial formica or some hard timber such as a piece of kwila decking. There are two tenon markers on the jig, one for 50mm jaws and the other for 100mm jaws. Each marker has two pins, one sharpened to a point which engages with the centre of the work piece, and the other shaped like a vertical line which does the actual tenon marking. Jon used 2mm drill bits for the pins as these are high speed steel and they will last a long time.
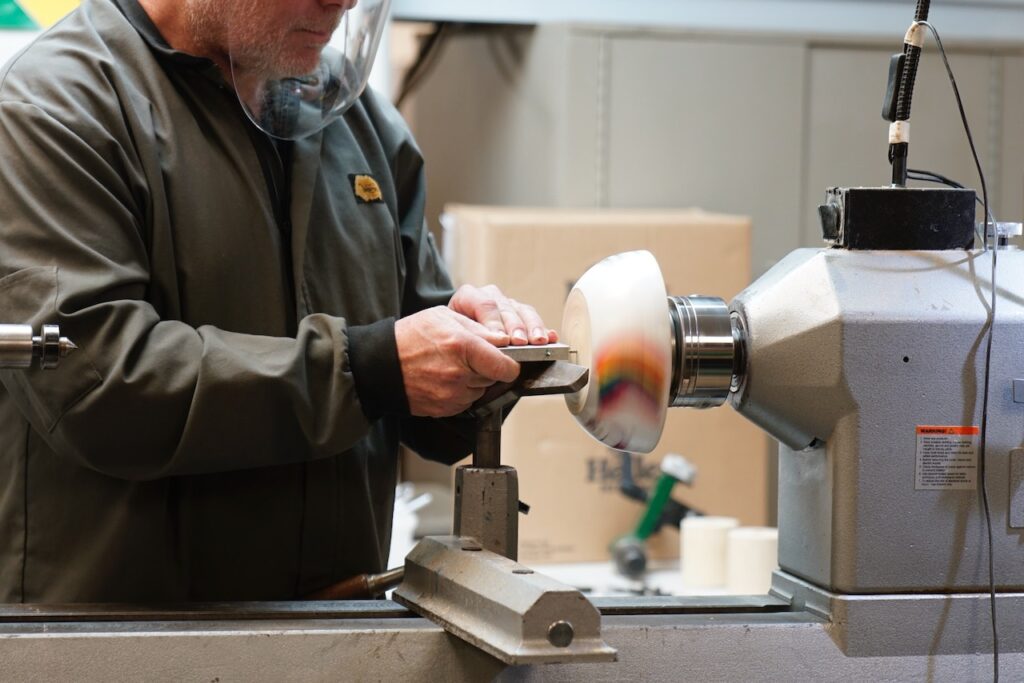
He demonstrated the jig on a bowl painted by his daughter Nikita. To define the tenon on a bowl blank you must first mark the center of the base. This is achieved by either using the point of the skew or by bringing up the tailstock and making a dimple with the live centre. Jon then proceeds to mark tenons for 50mm and 100mm jaws on the workpiece
But wait! That was a bit too easy. Any homemade jig could be used to easily mark a tenon when the tailstock is out of the way. But what happens if the tailstock is up and it cannot be removed, like when turning between centres? Well Jon has built-in a solution for that. Jon has strategically placed the 50mm pins in specific positions. The marking pin is a certain distance from the edge of the jig. Jon explains that the jig can be held flush on the side of the tailstock quill, and a spindle can be marked very easily with the tailstock engaged on the workpiece. He shows the process and the tenon marking is bang on size.
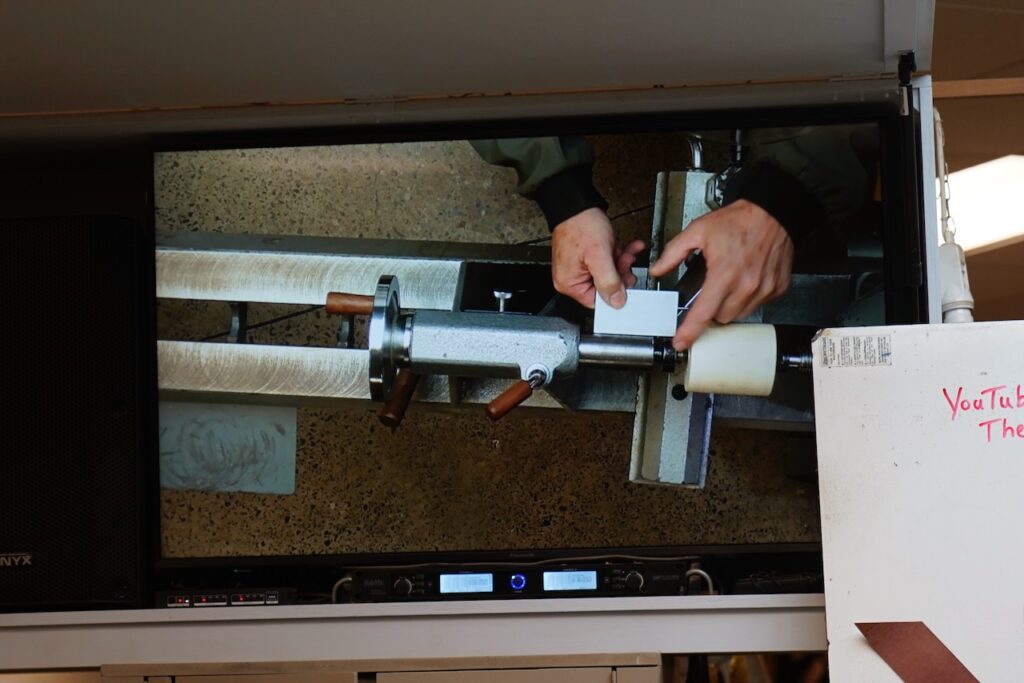
Lastly Jon shows a method of tenon marking which is by far the easiest and you don’t even have to build a jig. By simply shaping the point of a flat pencil (similar to what we have on our lathes), so that the lead is a little offset, the pencil can be used in the same way as the jig (held against the side of the tailstock quill), to mark a tenon. Again the size is measured and it is bang on.
Fluting jig
The starting point is the installation of a table on the bed of the lathe for the fluting jig to slide on. The table was 18mm MDF but similarity stable and flat material would work. Jon had secured a steel plate the width of the gap on the bed to which he had locking latches at each end. These are designed to be tightened from the top with countersunk bolts and no spanners or sockets are required to be held underneath.
Jon then installed an indexing system onto the lathe. The indexing system consists of an indexing plate and a selector arm. The indexing plate has a number of holes in concentric rings around the plate. Each ring of holes allows for numerous indexing configurations. There are over 1300 holes in the indexing plate, which took three days to make. Because of the flush headstock bearing design of the Nova lathe, he placed a 1mm washer between the indexing plate and the bearing on the headstock. This stops the indexing plate from binding on the bearing.
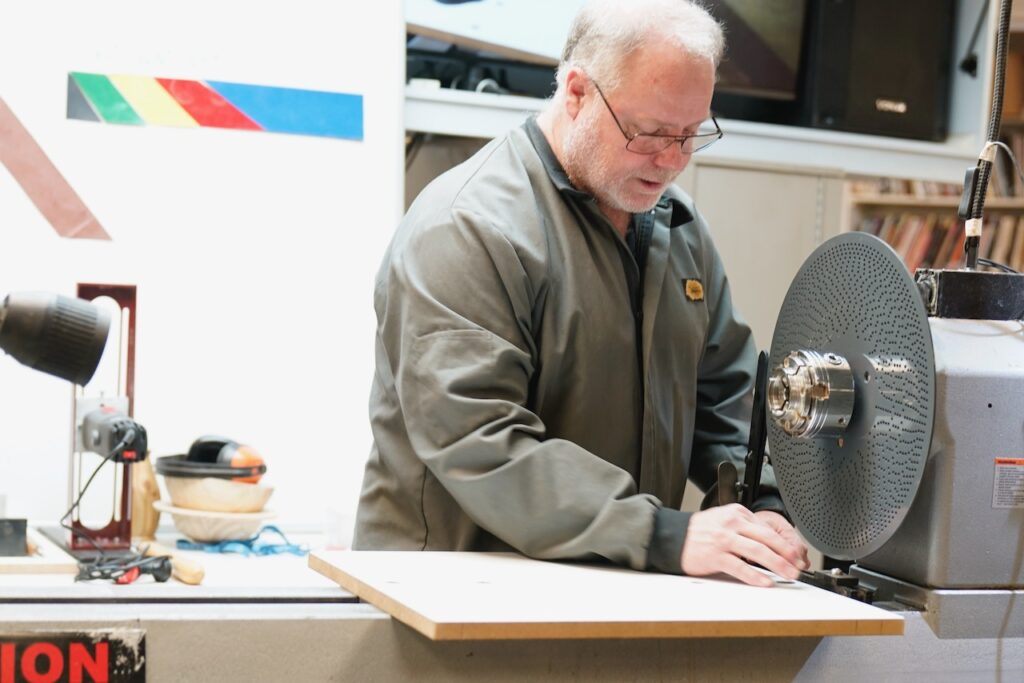
The chuck, 50mm, was then installed and tightened to lock the indexing plate in place. The demo wood was mounted and the power to the lathe was turned off, for safety reasons. The indexing selector arm was also installed.
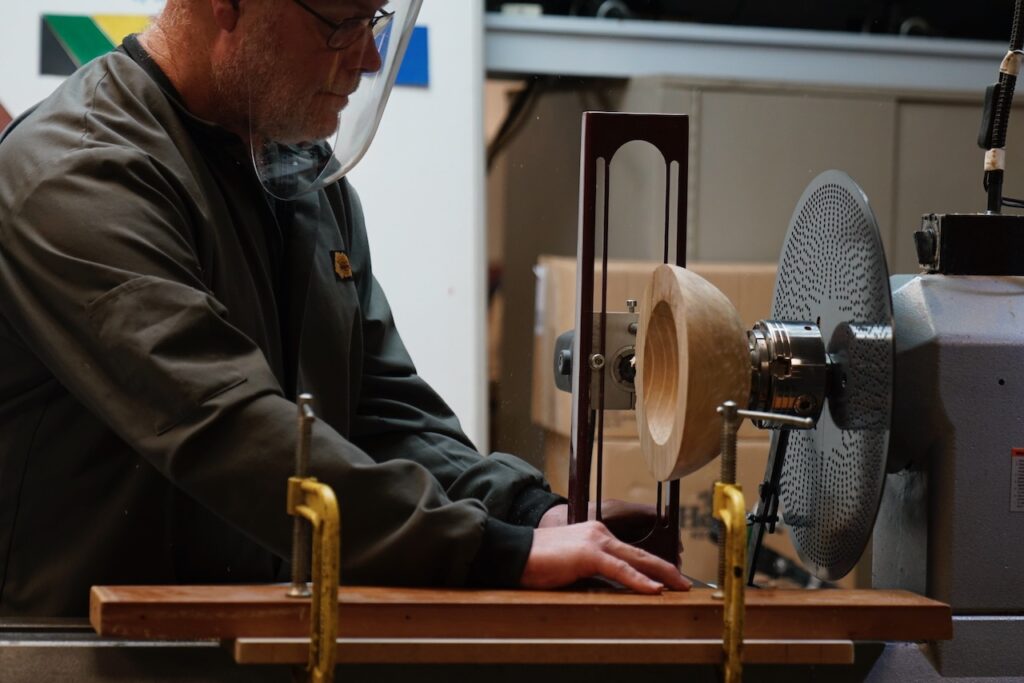
The fluting jig was designed from the Paul Howard fluting jig. Jon designed and built a frame to support and allow vertical positioning of a trim router. The base is made from 10mm thick plate which minimises the jig from tipping. There is also a Polyethylene (PE) base underneath the steel plate to allow easy movement without resistanc
In the demo Jon showed two types of fluting processes. First he used a ½” cove router bit and cut flutes around the outside of a bowl. Because of the shape of the bowl, the flutes start deep on the top edge then fade out down the side of the bowl for a pleasing effect. The number of flutes was calculated by dividing the size of the router bit into the circumference of the bowl. This gives the number of flutes side by side, but in the demo
Jon indexed the workpiece so that the flutes were spaced out with a ½” gap between the flutes. There are many different combinations so it is up to the person doing the fluting to do what they want for their particular workpiece.
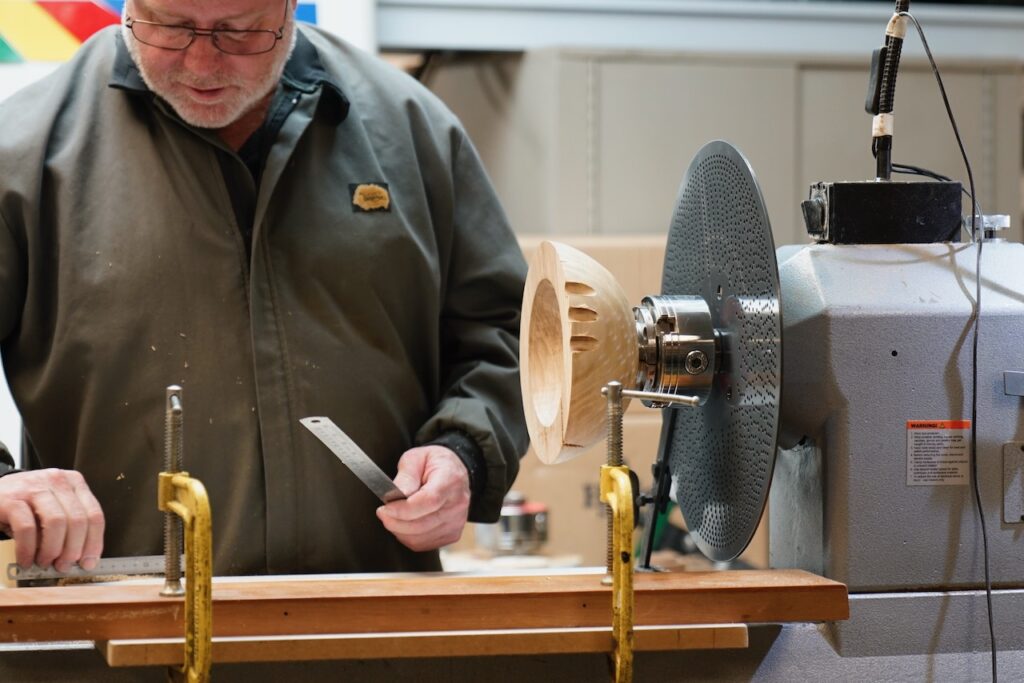
The depths of the flutes were controlled by mounting a fence to the table. Then Jon used thin metal rulers as spacers between the jig and the fence so that the full depth of the flutes can be cut in several passes by removing one ruler at a time. This reduces tear out and burning of the workpiece.
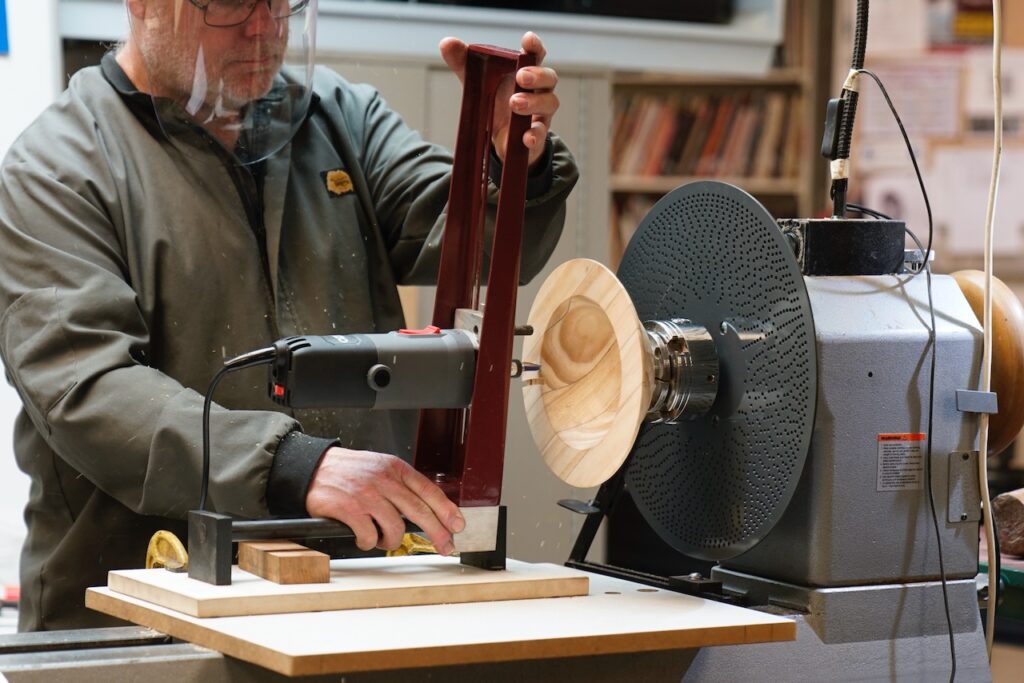
For the second type of fluting Jon removed the top part of the jig from the heavy base and fitted it to a hinge base that he built. The hinge base allows for arc cuts across the rim of a bowl. For this operation the jig is clamped in position parallel to the bed. Jon had pre-turned a sample workpiece where he cut 4mm grooves into the underside of a wide rimmed bowl. A 6mm straight router bit was installed into the router and
Jon demonstrated cutting arc style flutes in the top of the rim. This produces a lattice type effect. In the style of Dick Veitch magic, Jon pulled pre-turned finished samples of both the outside fluting and the lattice work out of a box so that they could be handed around. This demo showed two ways to flute with the jig, but if you use your imagination, there is so much more that can be done with the fluting jig.
Bowl from a board jig
Commonly referred to as a ‘band saw bowl’, making bowls from flat boards is a great way to use thin boards that you would otherwise not use. Rings are cut from the board and glued together into the shape of a bowl. This demo required a board that is flat. A waste block is attached to the center of the board and a tenon is cut into the waste block so it can be mounted into a chuck.
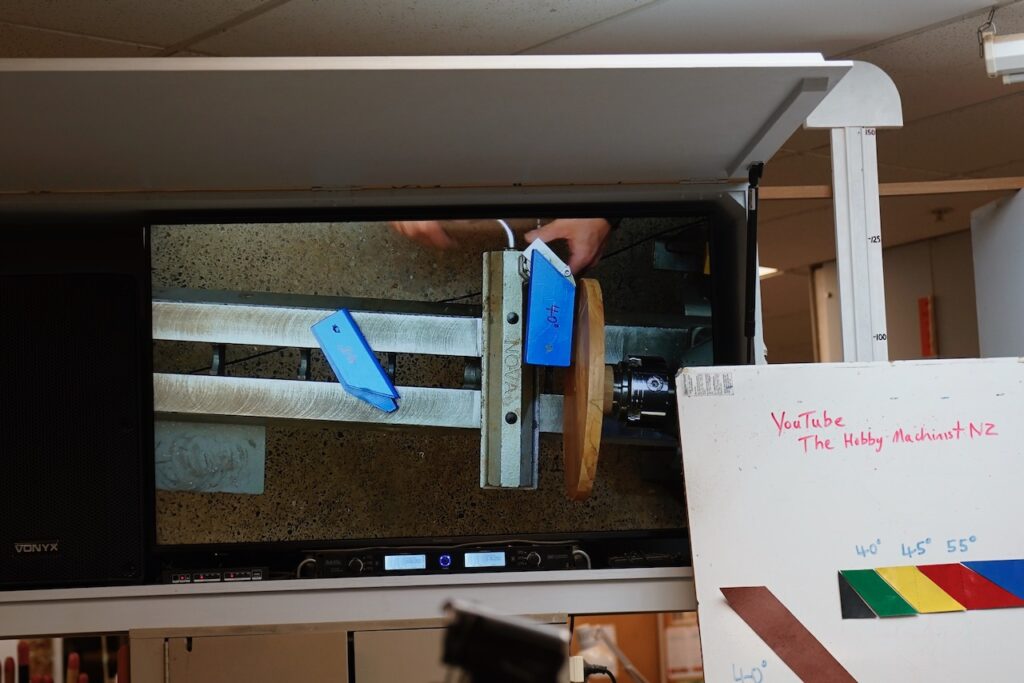
Jon has built a jig for cutting the rings from a flat board. Unlike a band saw bowl, the rings are cut out in one complete piece and there is no cut in the ring. There are three parts to the jig, the tool rest, the parting tool and the angle blocks. The tool rest fits into the banjo. It has been designed to hold the blade on the parting tool straight so that parting can be completed accurately at a specific angle. The parting tool was homemade from a thin parting blade from an engineers lathe. The angle blocks are used to set the desired angles when parting. There are five angles that can be used – 35, 40, 45, 55 and 60 degrees.
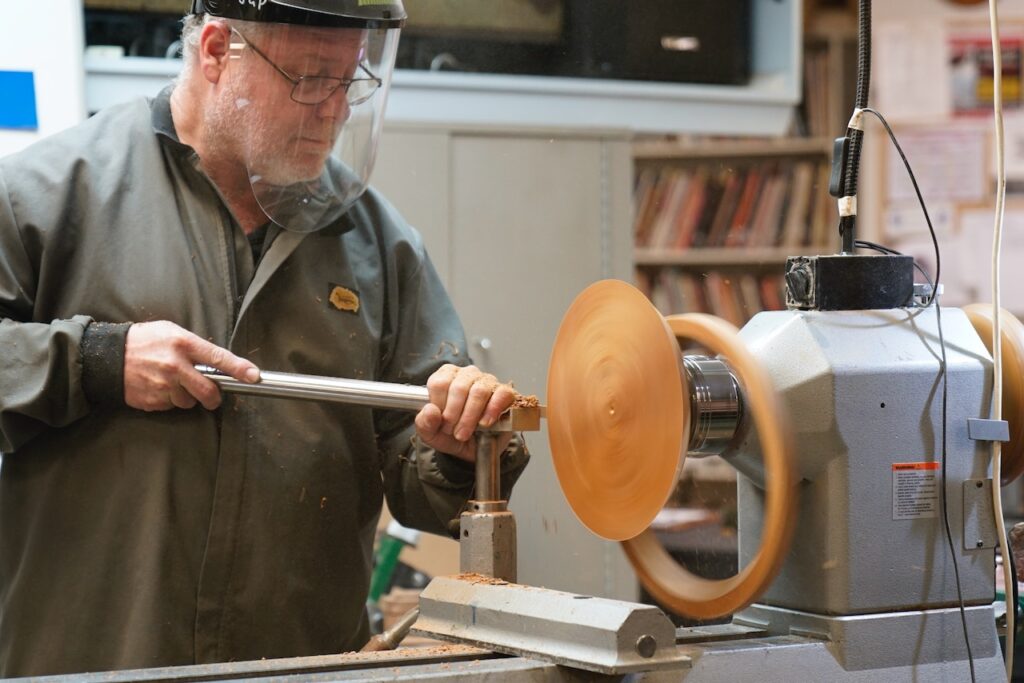
In this demo Jon used 40, 45 and 55 degrees for the cuts. A line is marked in from the edge of the board by the thickness of the board. So if the board is 18mm thick, the line is 18mm in from the edge. The parting tool is set to 40 degrees and the first ring is cut. It is important to not push the tool hard and to go slowly when you start to cut through to the other side. This reduces tear out. Once the ring is cut it detaches from the board and spins around on the chuck so you have to be quick on the stop button on the lathe. The ring cannot come off so the chuck is removed from the lathe to release the rin
To work out the position for the second cut the inside of the first ring is measured and then drawn onto the remaining of the board. This time the parting tool is set to 45 degrees and the second ring is cut. The same process is used to work out the position of the third cut. This time the parting tool is set to 55 degrees and the ring is cut.
There are four pieces in total, 3 rings and the rest of the board which is still mounted in the chuck. The rings are then stacked on top of each other to form a bowl shape. Because Jon used different angles, a natural “curve” of the bowl can be seen. This also provides more wood material for further shaping when the bowl is turned. The rings are glued together, and once dry, the final bow can be finish turned.
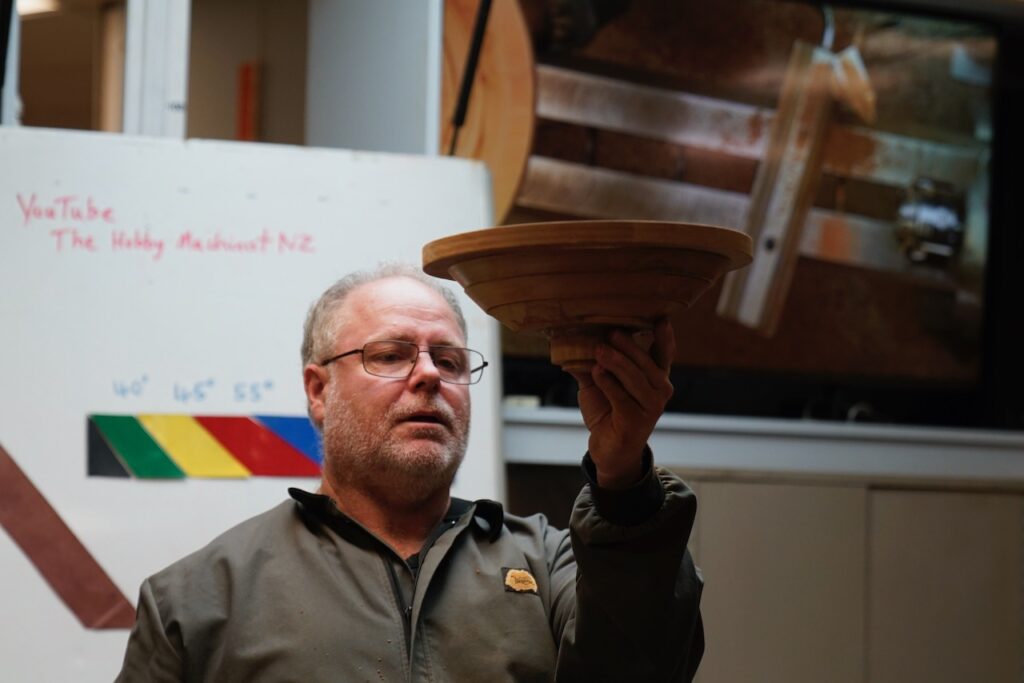
Jon showed some finished items and explains why he used the different angles. In layman’s terms he used CAD (cardboard aided design) on the white board to show how the different angles work with each other to provide the natural bowl shape. He also showed a CAD model where all of the rings are cut to 40 degrees. This results in a bowl with straight sides which looks a lot like something from the art deco era. With that Jon pulls another finished item from the box and says, “Ladies and gentlemen, a bowl from a board in the style of art deco”.
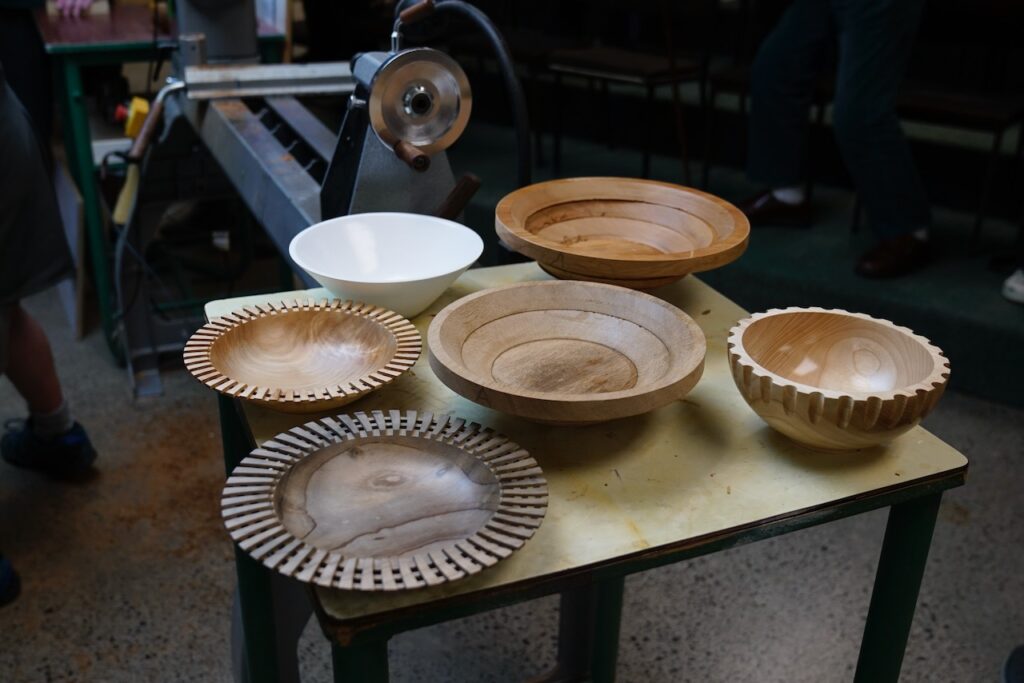
Most of Jon’s jigs including the threading jig can be seen on his YouTube channel. Go to YouTube and search for The Hobby Machinist NZ.
