Club Meeting: 8 June 2022
Report by: Bob Yandell
Janet began with a background on her experience and knowledge of craft, specifically needlework and quilting which gave us an understanding of where the understanding of colour and multi media we see in work originates. Her journey to wood turning via second hand shops buying wood bowls and the like upon which she applied her pyrography skills and understanding of colour and texture to create saleable items.
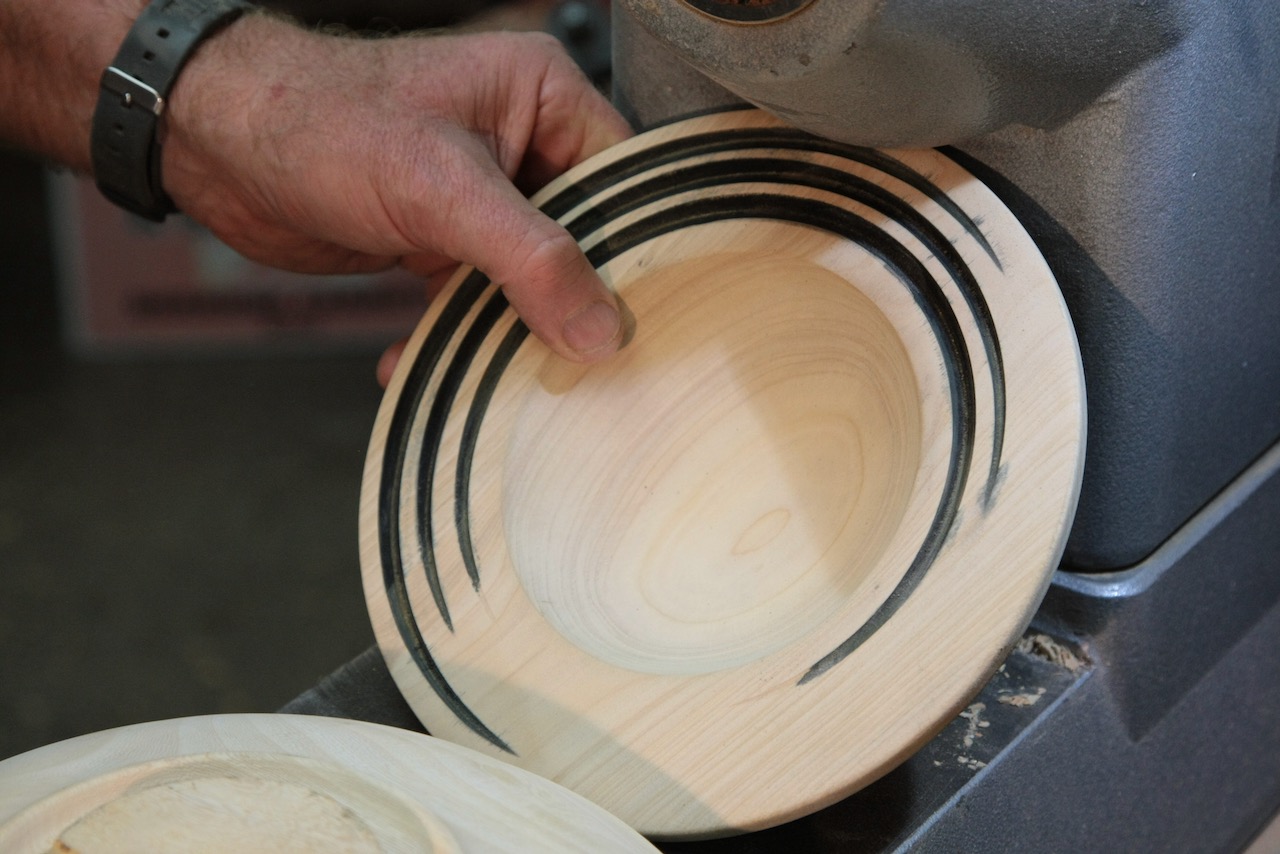
The demonstration that followed was thinking of the square, rather than outside the square which is generally what we wood turners do making bowls, and Janet showed us examples of 3 blocks, original 40 x 150/200/250 approximately, had been turned by fellow turners Colin Mitchell and Denise Donovan, into a profile of a hip flask/Gordons Gin bottle with a longer neck. These items, whilst nice in profile, were plain and unappealing, become the canvas for Janet’s creative mind. Don’t sand beyond 320 – 400grit as if the surface is too smooth the colours will not adhere properly.

Janet then tabled many examples of what can be achieved through the use of carving, pyrography and the addition of colour and other mediums, such as felt.

The following are some of the key points Janet showed and whilst not in the order presented will be of assistance and guidance for us in turning a plain piece of wood into a colourful item.

- Plan what you are going to do
-Create a drawing either by tracing onto lunch wrap or free hand onto lunch wrap. You keep this image for future use. Indicate the colour you want on the original and use this as a reference. - Put another layer of lunch wrap which you have put pencil rubbings on so you have a “carbon paper “ between your drawing and the wood. Inked Carbon paper is not recommended as the ink can stain the wood and will not be able to be removed.
- Burn the outline of the image with a pyrography pen using 20 gauge wire. The width and depth of the burn dictated by the image you are looking for. Burning prevents colour bleed whereas a black sharpie will not.
- Application of colour is by using U-Beaut Concentrated Non Toxic Water Dyes. You require very little and Janet showed a board with concentrate on one side and beside it the colour at 50% and it clearly demonstrated how little you need. Wear gloves. Remember to put the lid on as it stains. You can premix and store. Carefully shake before use and then use the product on the lid first as it will probably be sufficient.
- Take your time and use a clean brush with a fine point. Use a tooth pick for fine detail. Cotton buds are also an option. Clean water for each colour. Multiple applications when dry will intensify the colour
- Alcohol based stains can be made using “Sharpies” purchased from Whicoulls as original rather than copy sharpies have a more concentrated pigment.
= dismantle the sharpie and take out the sleeve of ink and put it in a plastic container 60 – 100ml and then add Isopropyl Alcohol, 90%, and shake and leave it to defuse the concentrate. The resulting product is more translucent than water based products.

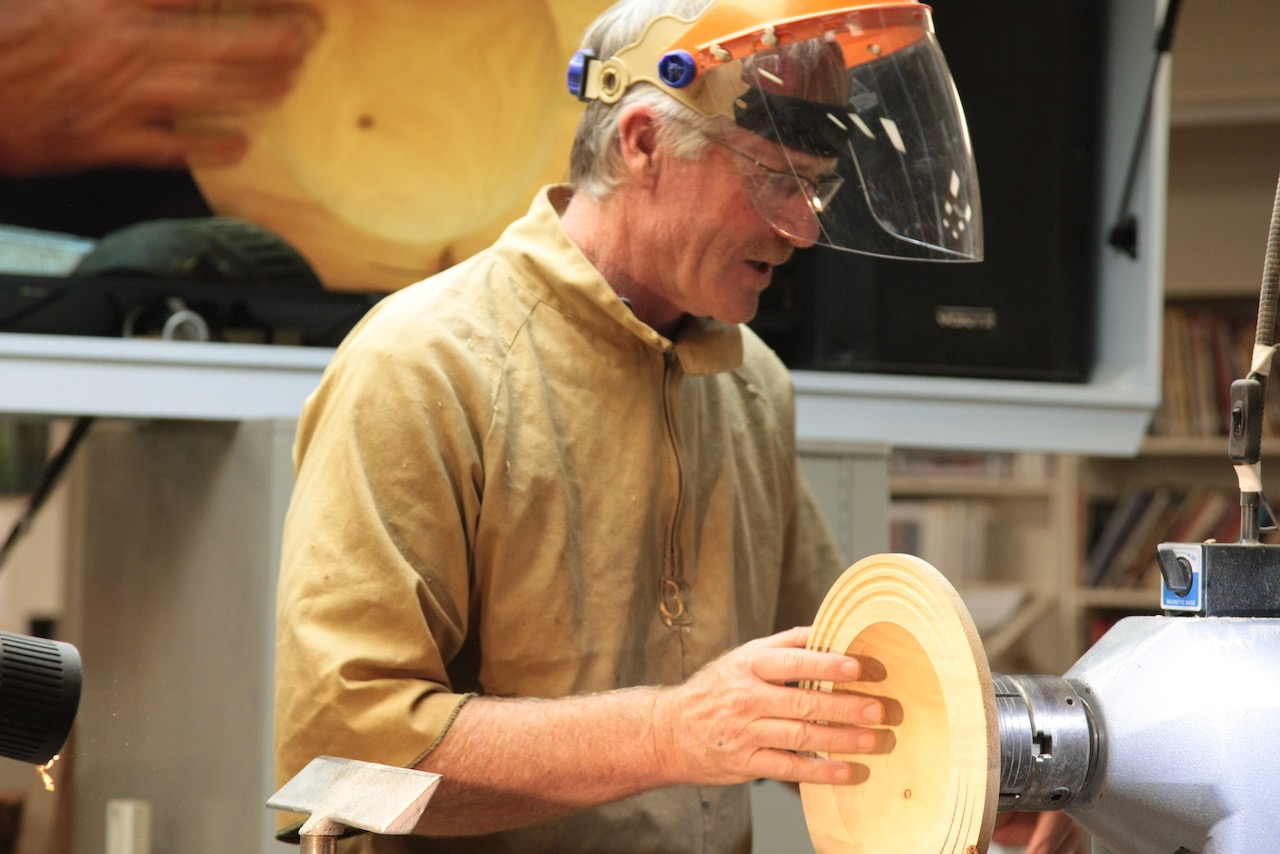
Bruce Wood then demonstrated the process of turning the bottle shape that Janet has been using for her decorating.