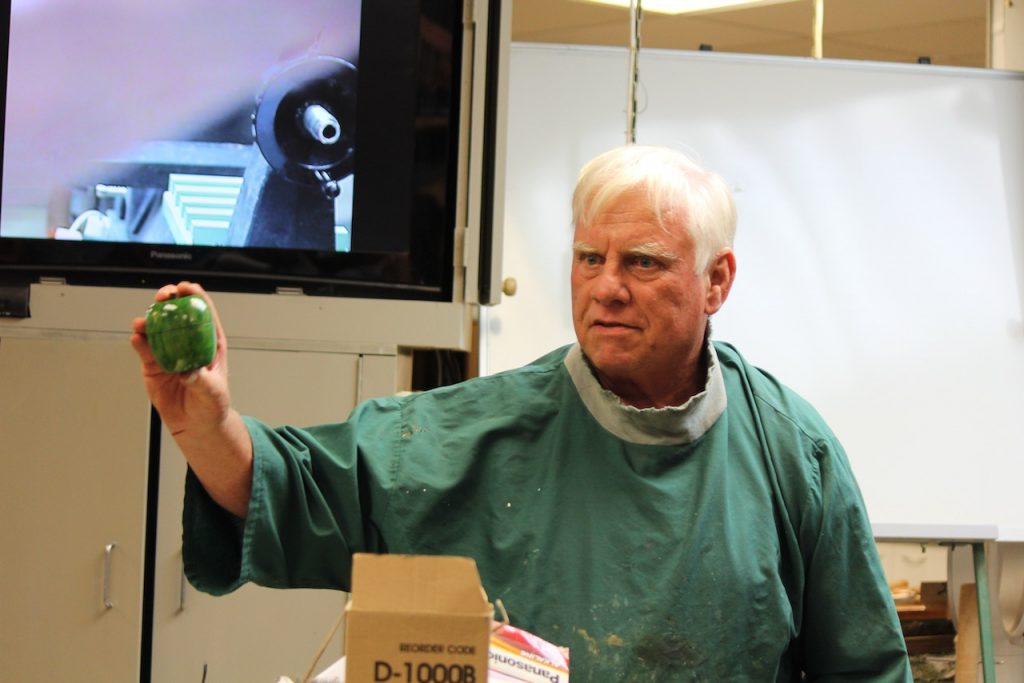
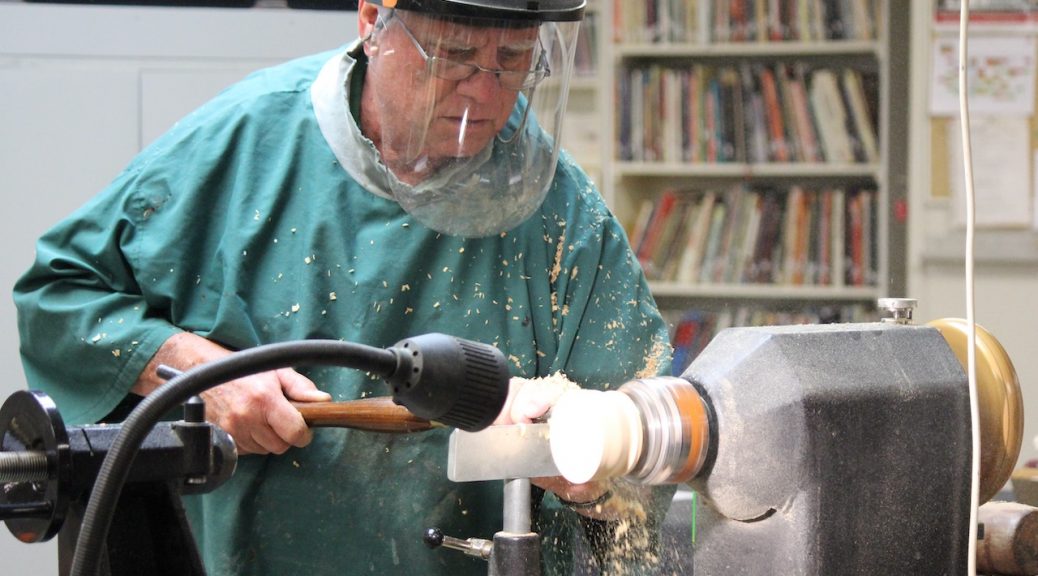
Club Night: 5 Feb 2020
Report: Bob Yandell/Strett Nicolson
Material
Grain can enhance the result.
Plain straight grain needs to be given a lift just as too much figure has its own difficulties. Material of choice Macrocarpa as it is stable and grain lends itself to natural wood colour or dyes.
90 x 90 x 110mm, ideally has faces at right angles.
1. Square off ends and turn a 48mm x 10mm spigot on both ends and take off square edges thus reducing chance of splintering off and cuts i.e. just a radius.
2. Lock and mark middle point between spigots and decide which will be the lid and which will be the box based on grain and mark accordingly.
3. Cut through using the Bandsaw. You now have 2 pieces
a. The Lid
b. The Box
Mount the Box in the 50mm chuck and square off face.
1. The rough shape of the base of the apple the curve begins about 20% down from the squared off face and end at the spigot.
2. Cut the tenon approximately 4mm in from the outside edge using the Parting Tool to a depth of 6mm approx. Start the internal wall so overall thickness is roughly 10mm.
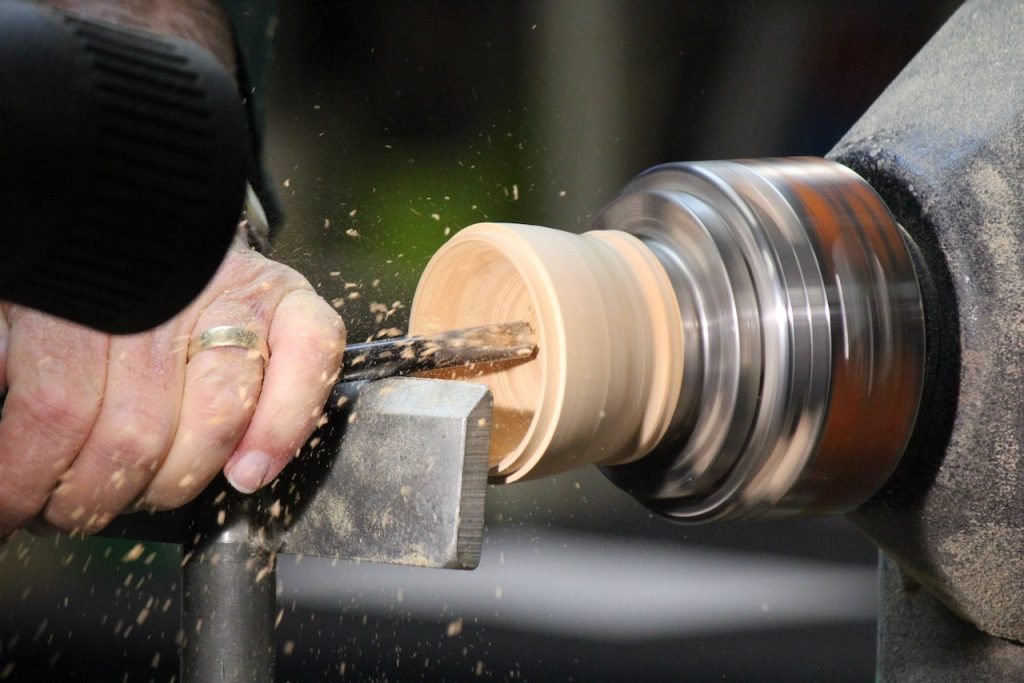
3. Hollow out using 10mm Bowl Gouges (35 and 55), Hollowing Tools and Scrappers assist. Check the depth, you must not go into the spigot. Sand and finish inside and apply sanding sealer.
Mount the Lid in the 50mm chuck and square off face.
1. The rough shape of the top of the apple the curve begins about 20% down from the squared off face and end at the spigot.
2. Mark the size of the diameter of the tenon using dividers.
3. Carefully cut the mortise to a depth of approximately 4mm using the Parting Tool to a depth that will allow you to check the box fit(Tenon is 6mm). Check fit often. Not too tight – you cannot put wood back. Start the internal wall so overall thickness is roughly 10mm
4. Hollow out using 10mm Bowl Gouges (35 and 55), Hollowing Tools and Scrappers assist. Sand inside and apply sanding sealer.
Mount the Box in the 50mm chuck using expansion mode
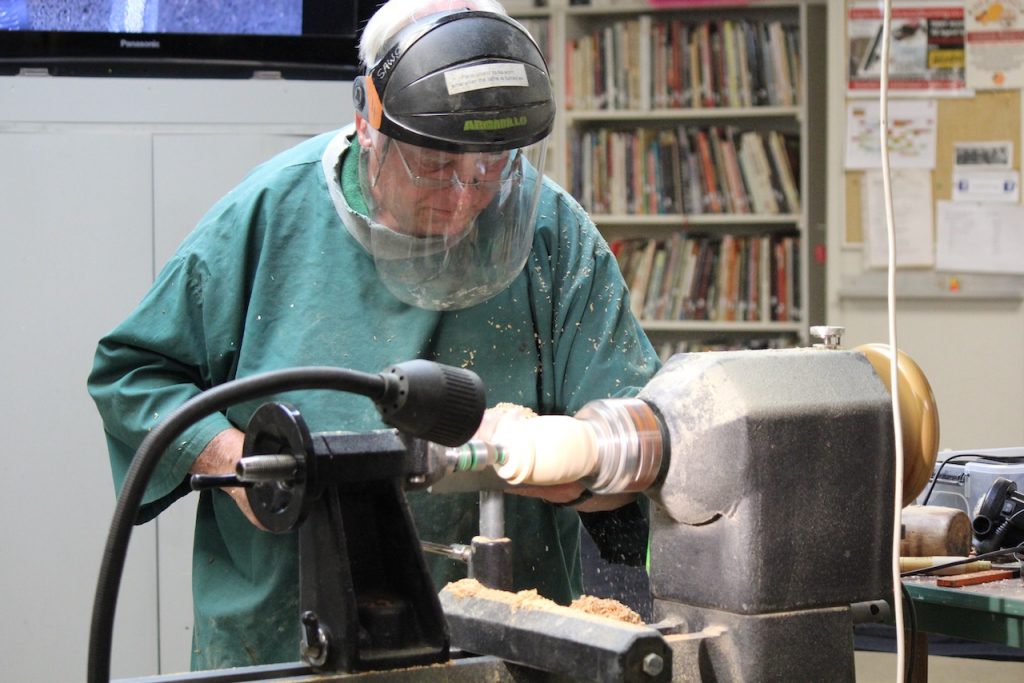
1. The rough shape of the base of the apple the curve begins about 20% down from the squared off face down removing the spigot to an acceptable diameter for the base of the fruit(40mm) then turn in to create the hollow at the base of a fruit.
2. Sand and finish
Mount the Lid in the 50mm chuck and square off face.
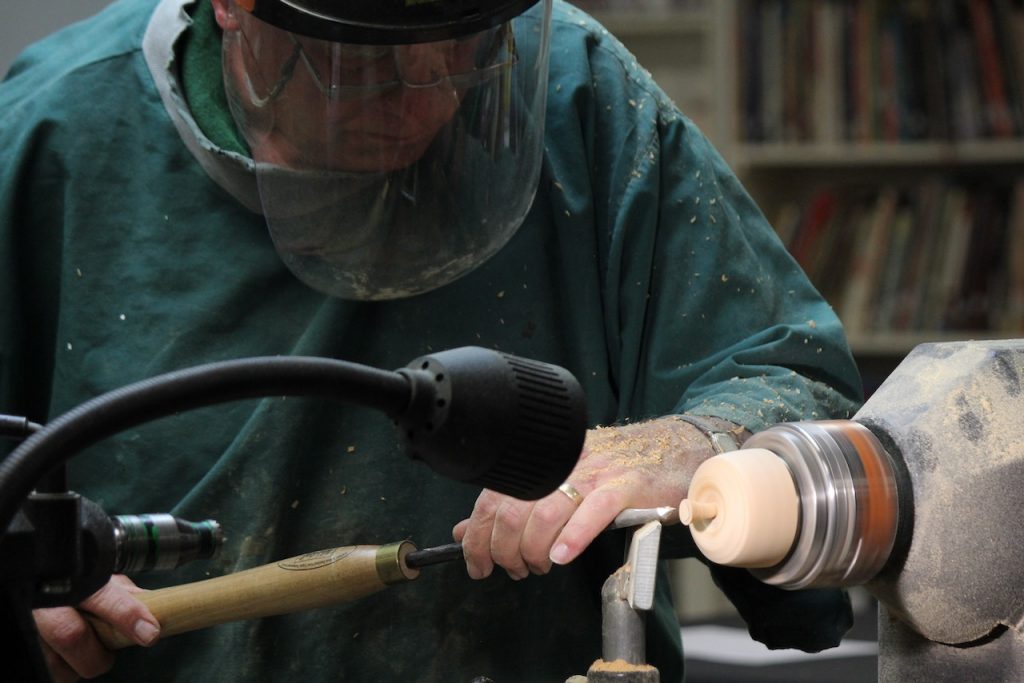
1. The rough shape of the top of the apple the curve begins about 20% down from the squared off face down removing the spigot to an acceptable diameter for the top of the fruit(50mm) then turn in to create the hollow but leave a 5mm spigot to create the stalk of a fruit. You can use an actual stalk.
2. Shape stalk, sand and finish.
