Category Archives: Reports

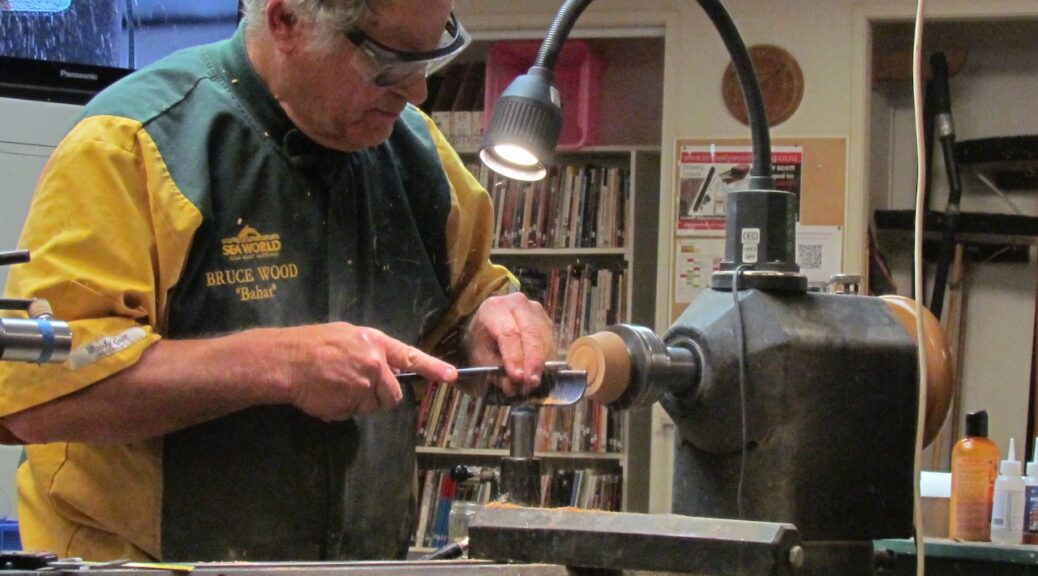
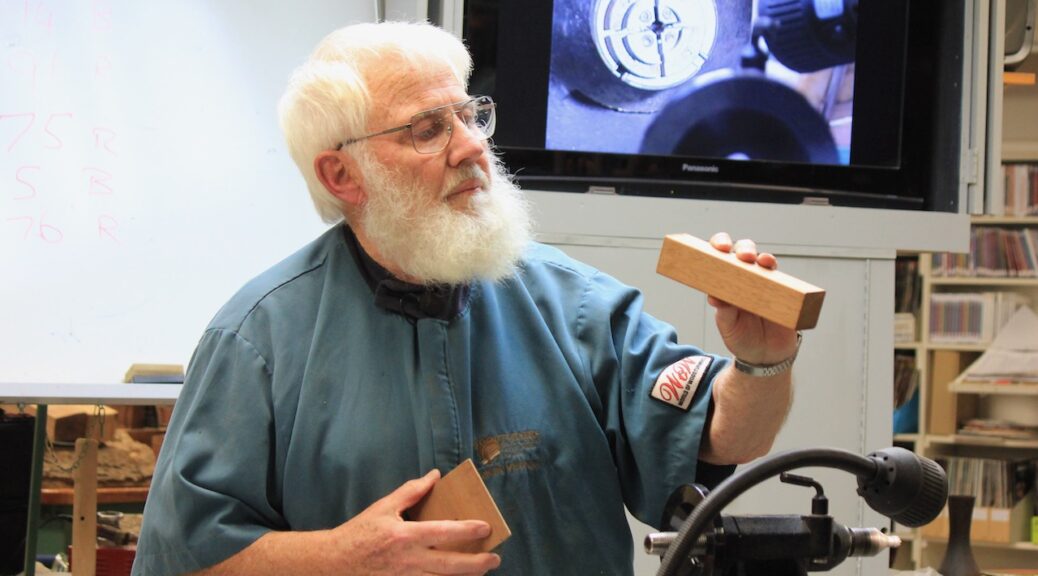
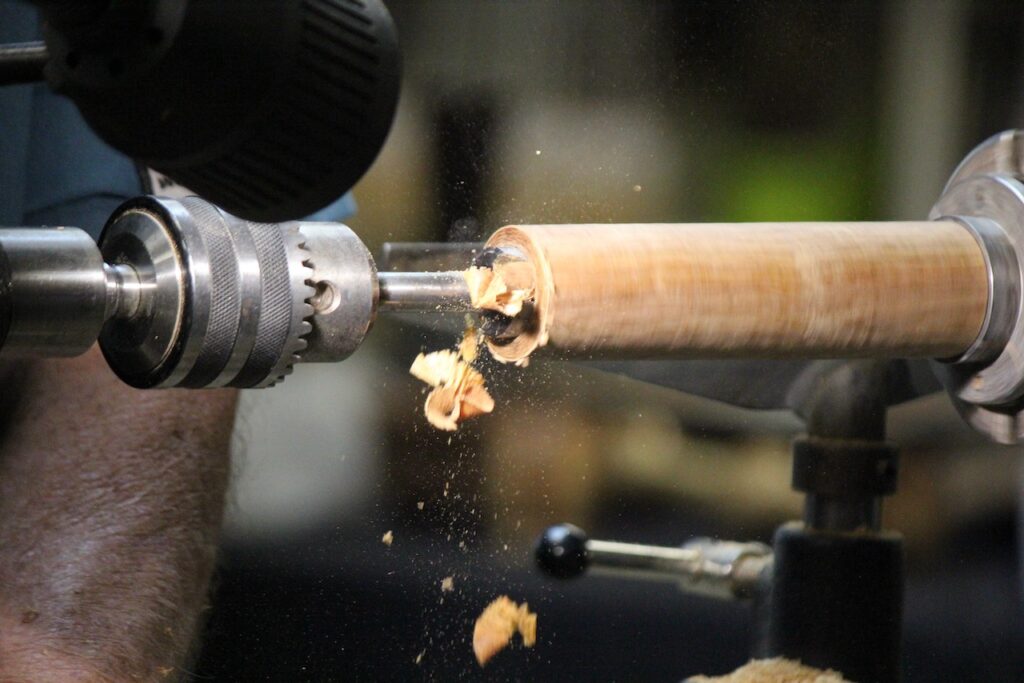
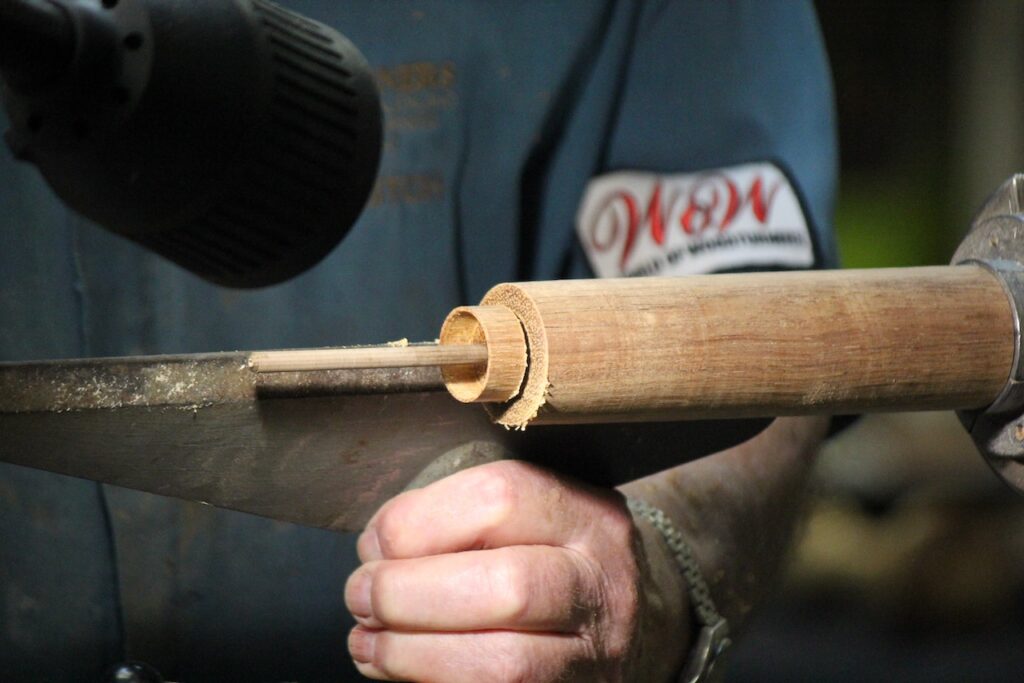
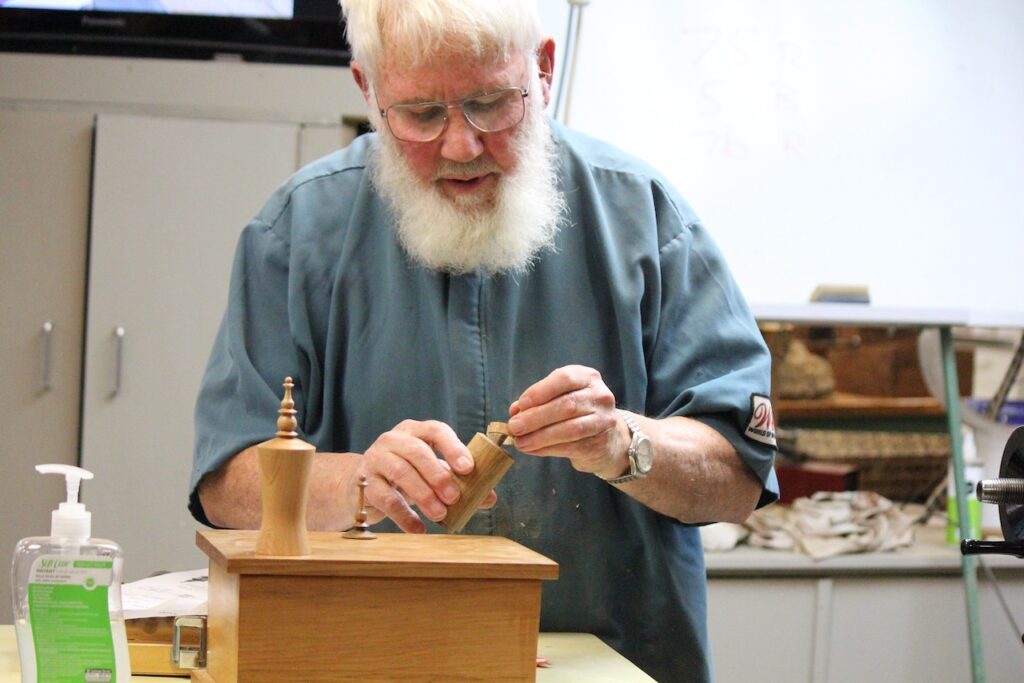
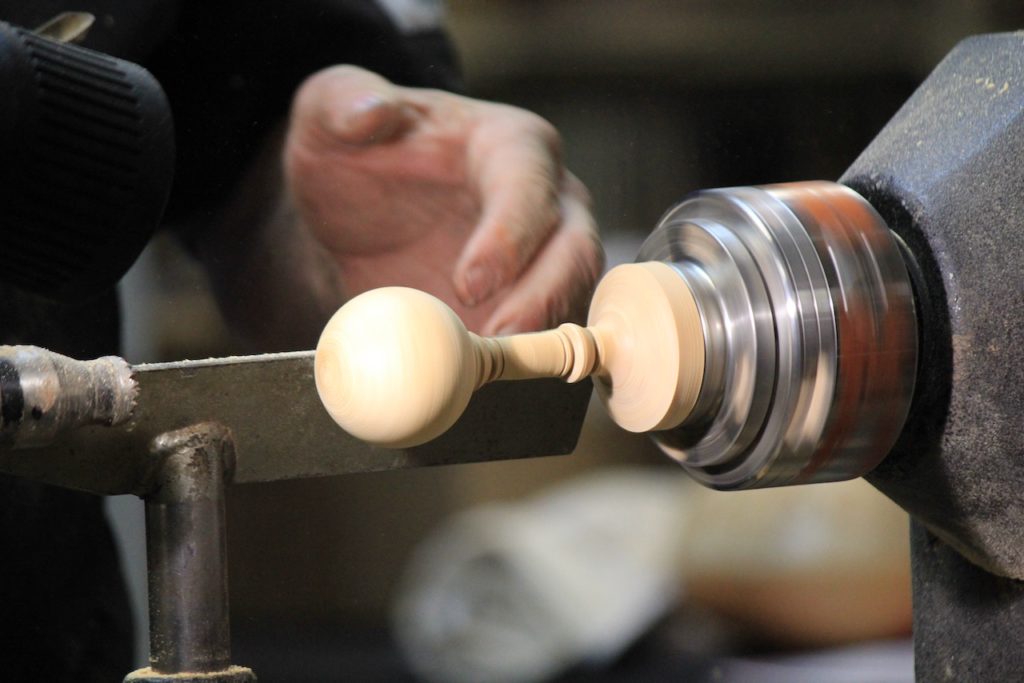
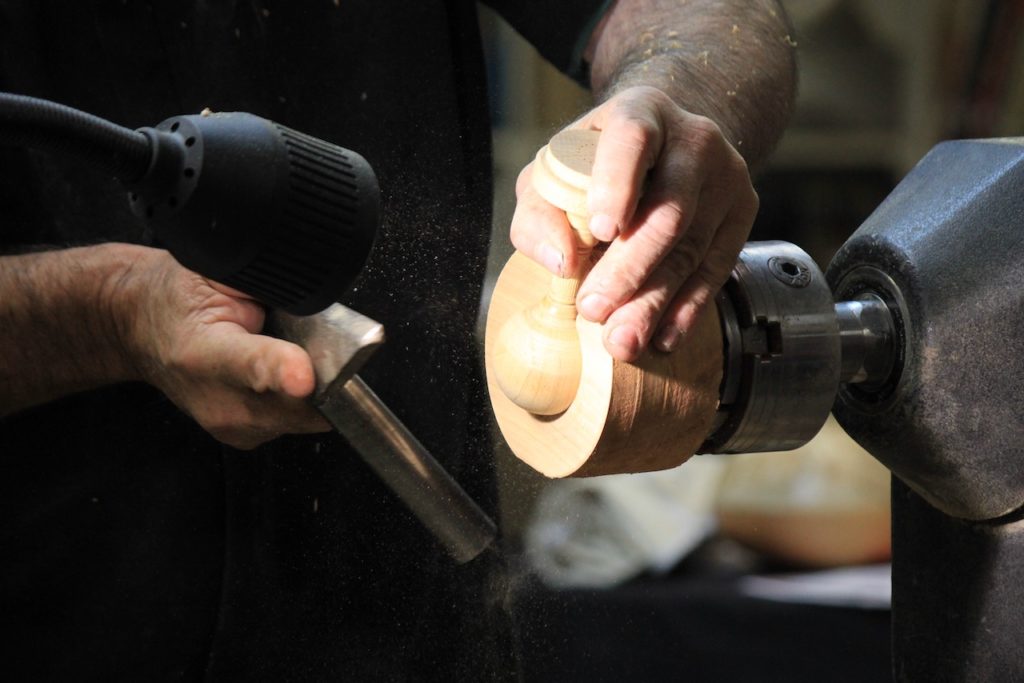
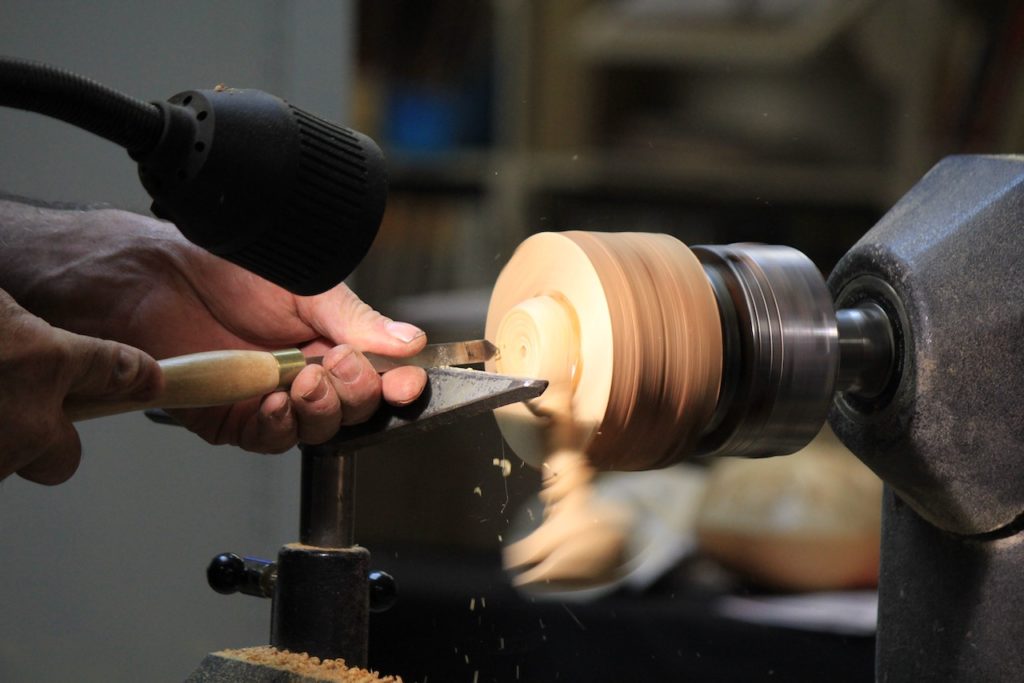
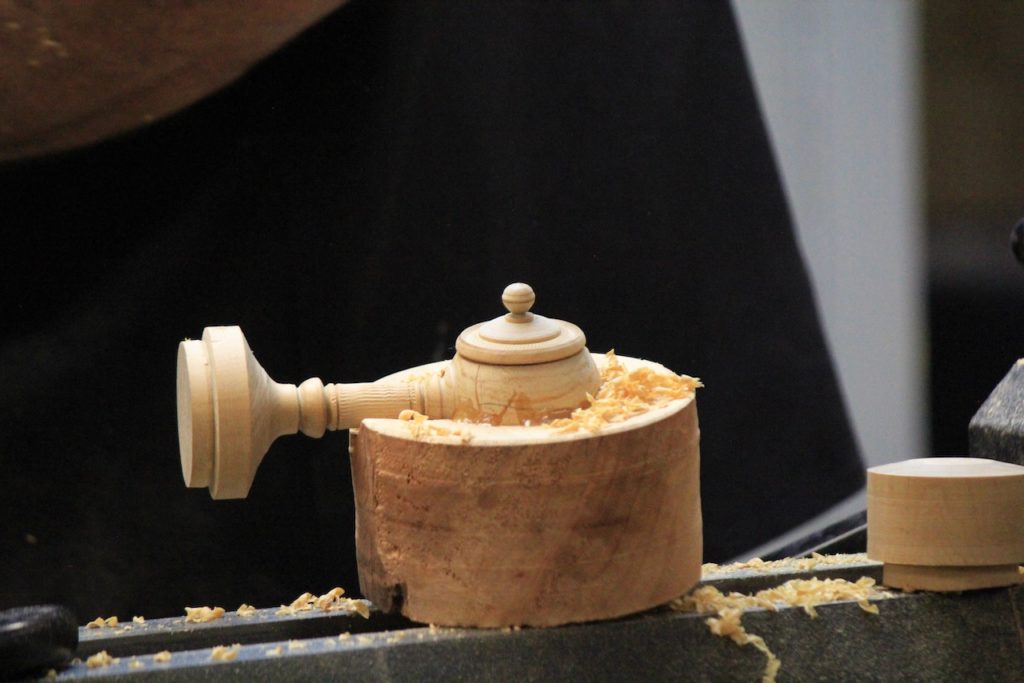
Bruce Wood – Guilio Box

Club Meeting 24 June 2020
Report by : Janet McDonald

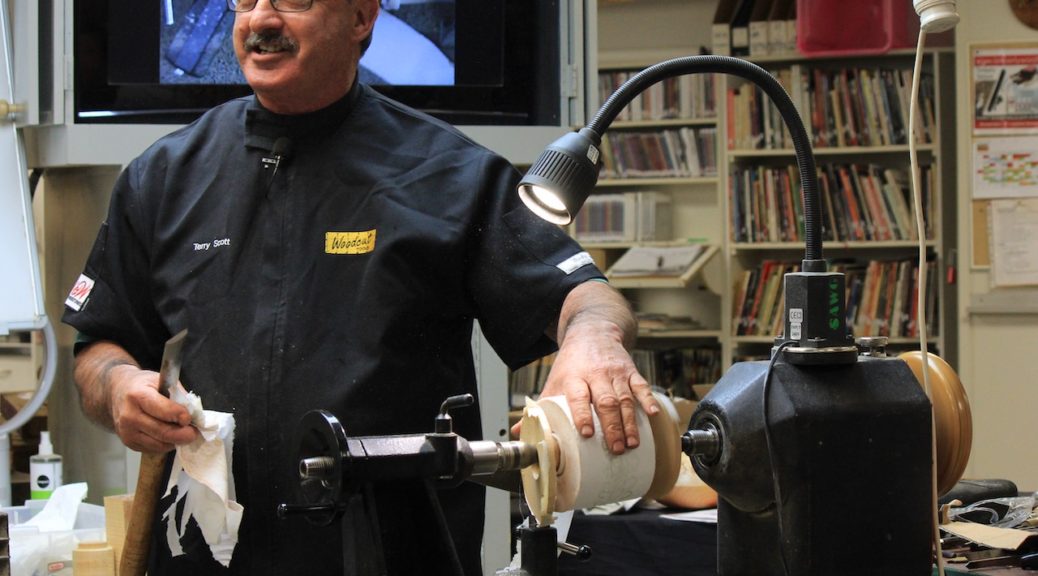
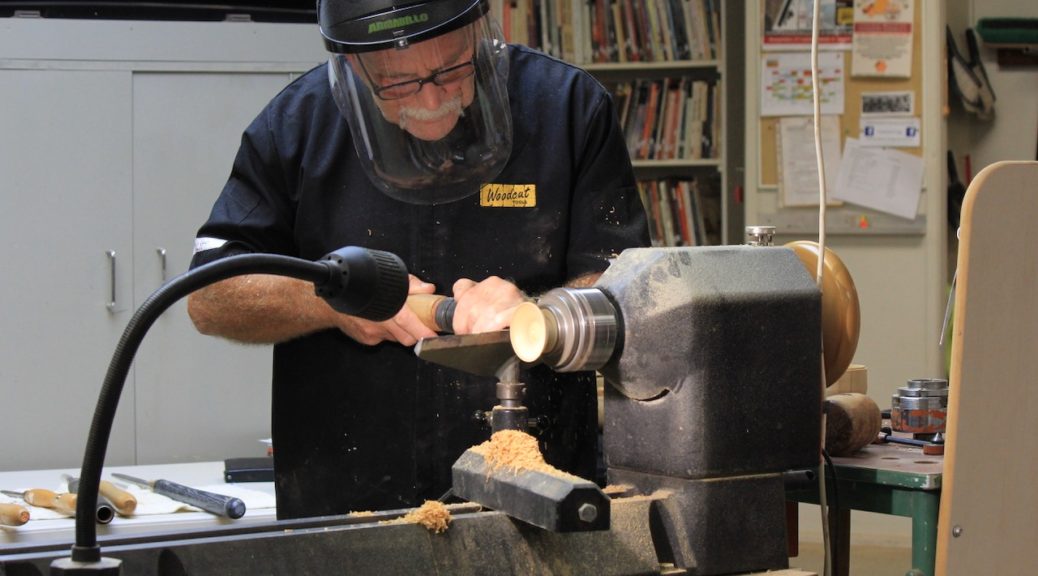
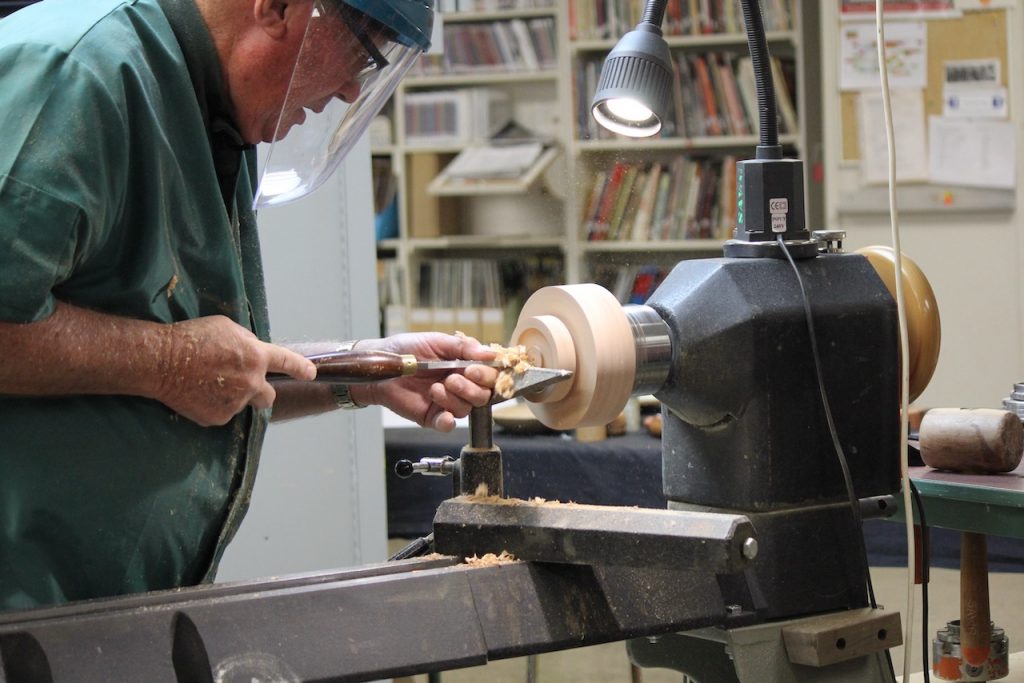
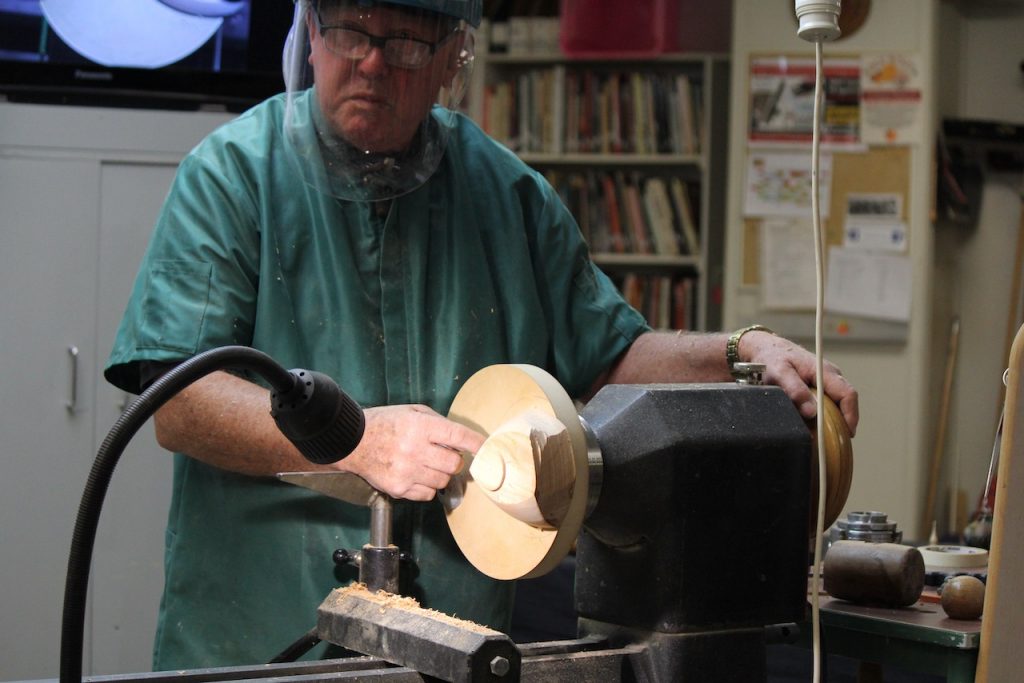
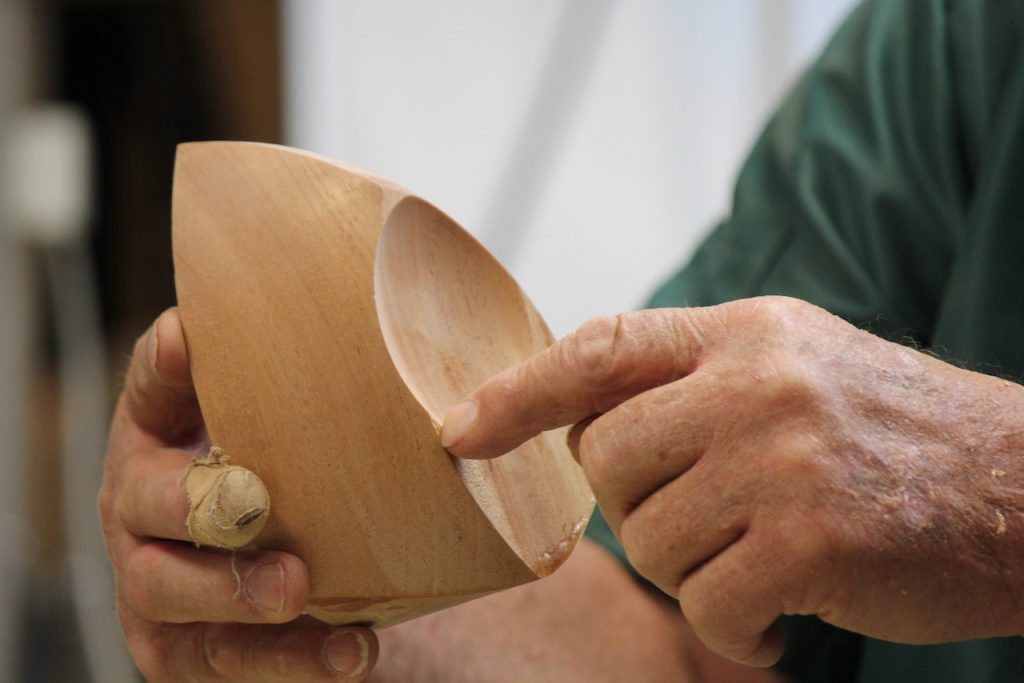
The 24th June 2020 Bruce Wood gave a great Demonstration of an Offset Box. Bruce followed the project sheet in our website of a project Guilio Marcolongo is well known for. So in this report I will not reinvent the wheel by giving you the box instructions, but leave a link to the website project instructions. https://sawg.org.nz/sawg/wp-content/uploads/2020/03/Guilios-Burl-Top-Box.pdf

But in among the demo Bruce reminded us of lots of general woodturning things to help achieve a great look.

  1. If you are using callipers for measuring wood; round off the ends of the metal pincers slightly so the tips don’t grab the wood.
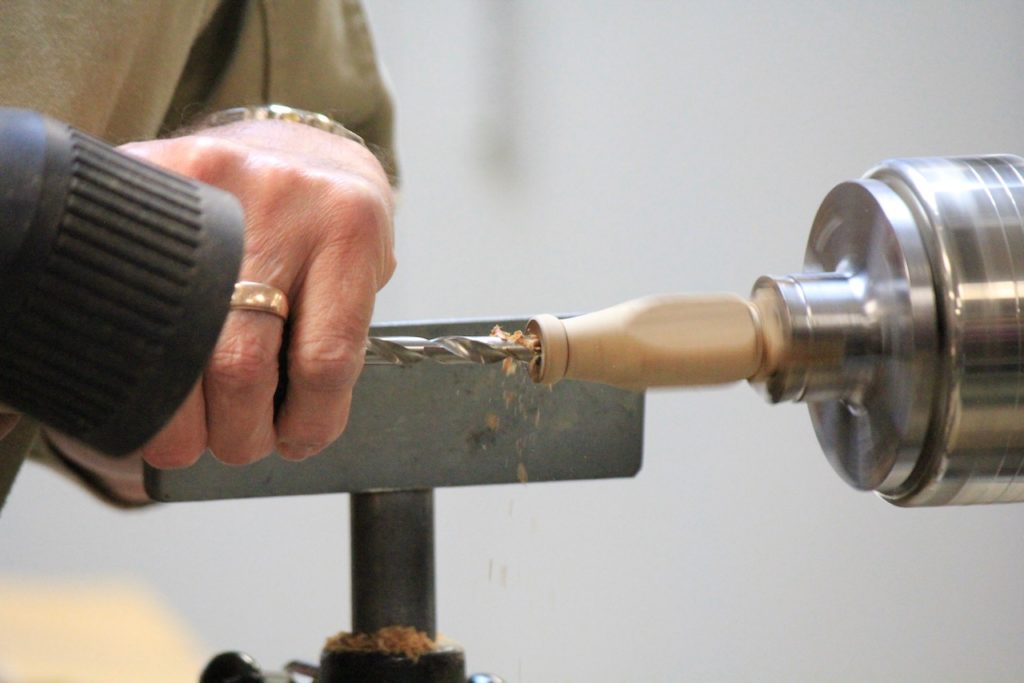
  1. You can find a chart for suggested speeds for using a forstner bit on the lathe in our website: https://sawg.org.nz/sawg/wp-content/uploads/2019/04/Drill-Speed.pdf
  1. Bruce showed us how he used his “Digital Tailstock/Drill Press Measurer”. You can follow the instructions here to make your own: https://sawg.org.nz/sawg/wp-content/uploads/2020/06/Tailstock-Measurer.pdfhttps://sawg.org.nz/sawg/wp-content/uploads/2020/06/Tailstock-Measurer.pdf
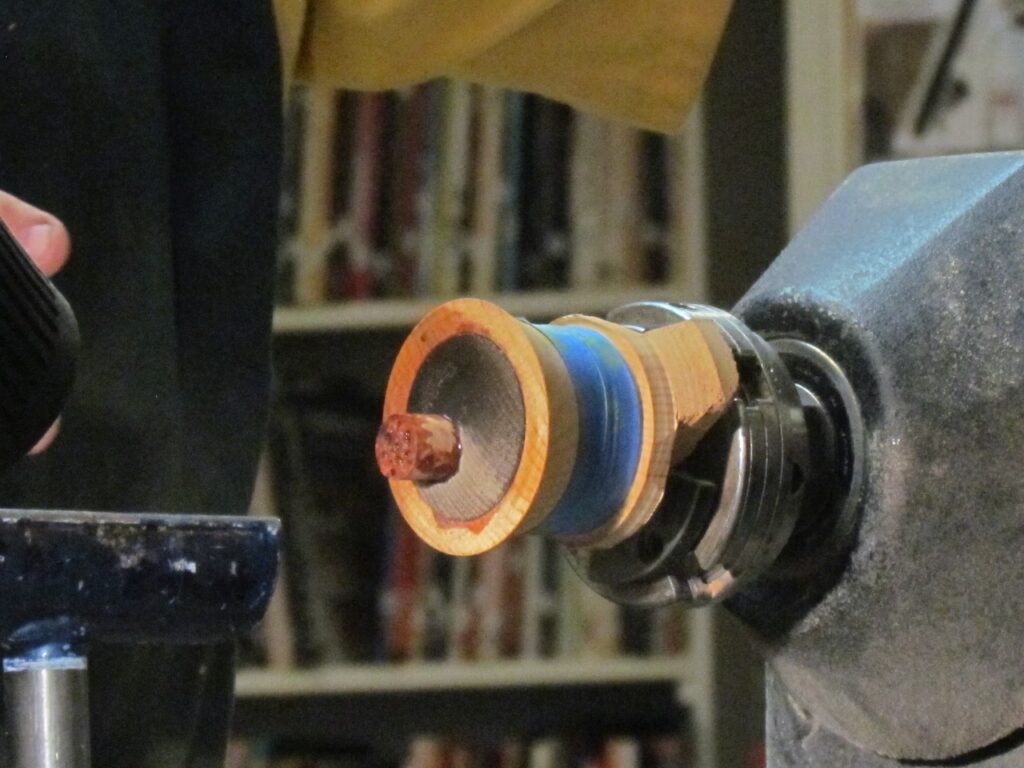
  • Being the professional turner Bruce is, he showed us it must be ok to accidently drop 11 things on the floor during a demo.
  • Use a fine wire brush on your sandpaper to unclog it and get more life from it.

Bruce used Ondina Oil to wipe over his turned wood just before sanding. This stopped a cloud of dust cloaking the front row of spectators. Read more about this oil here: http://www.timberlywoodturning.co.nz/products.php?product=Woodturners-Sanding-Oil-%7B47%7D-Shell-Ondina-Oil-15-%252d-1-litre-
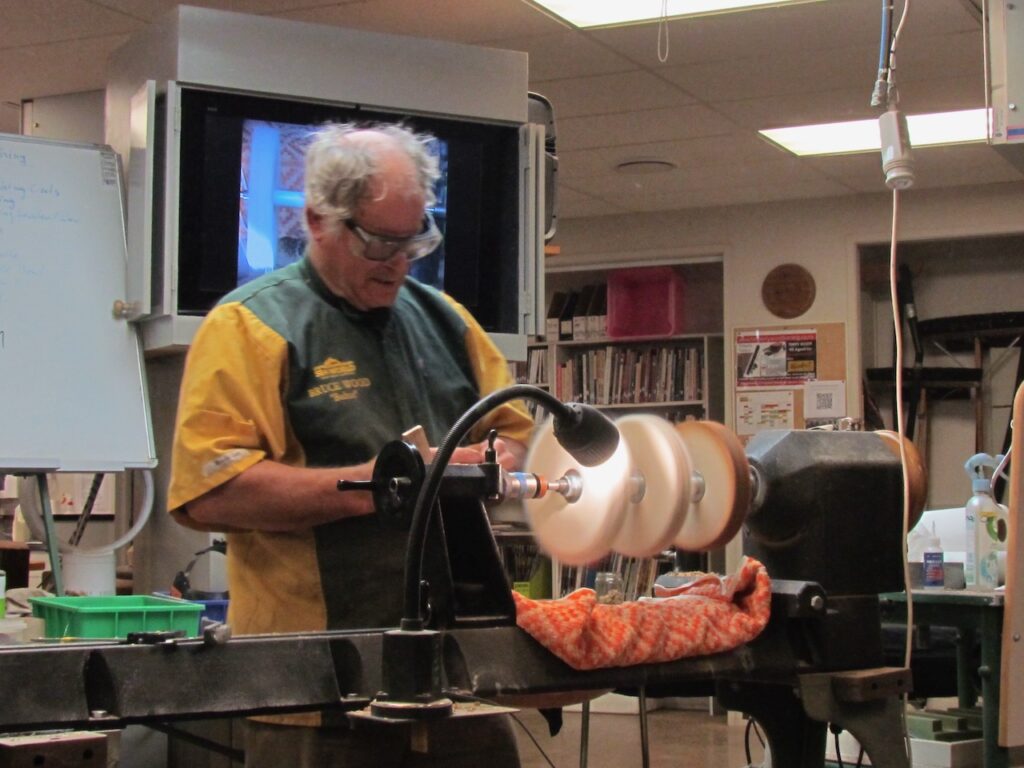

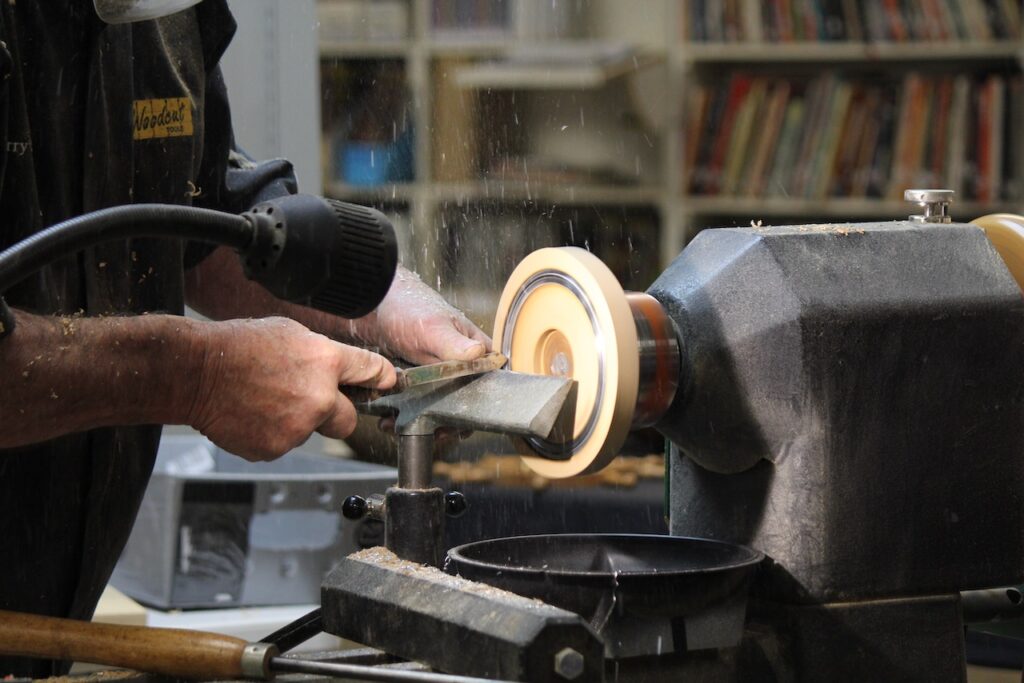
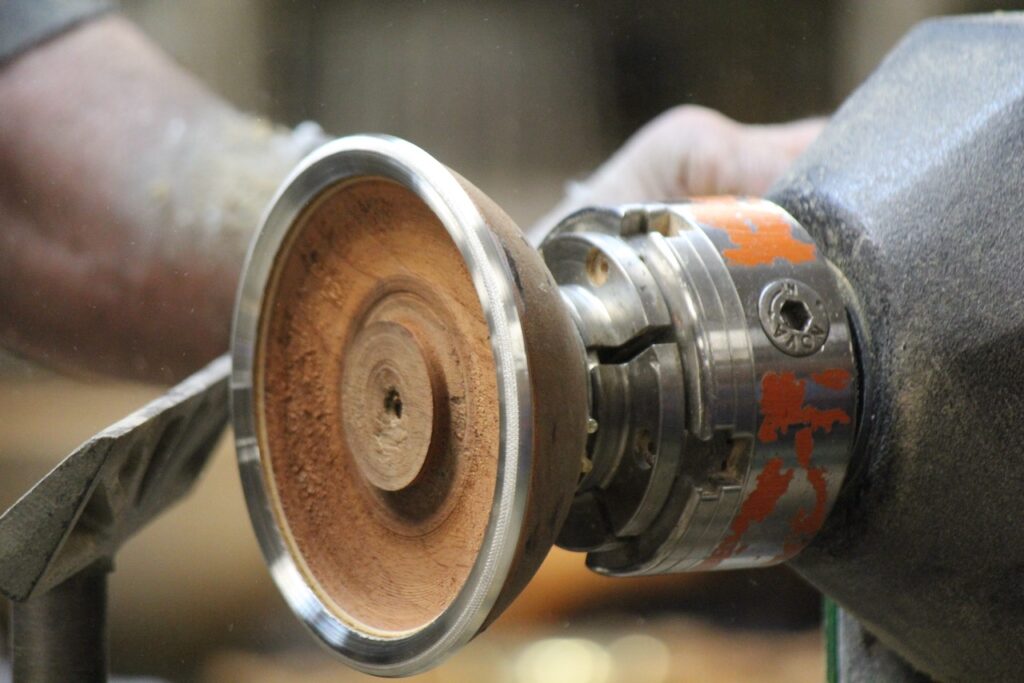
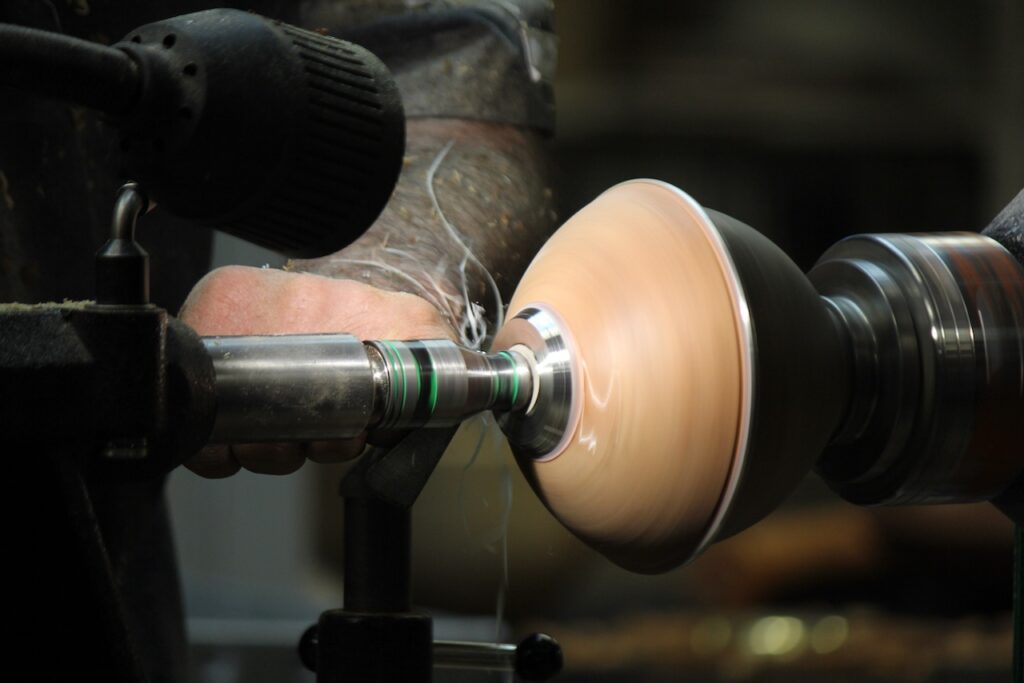
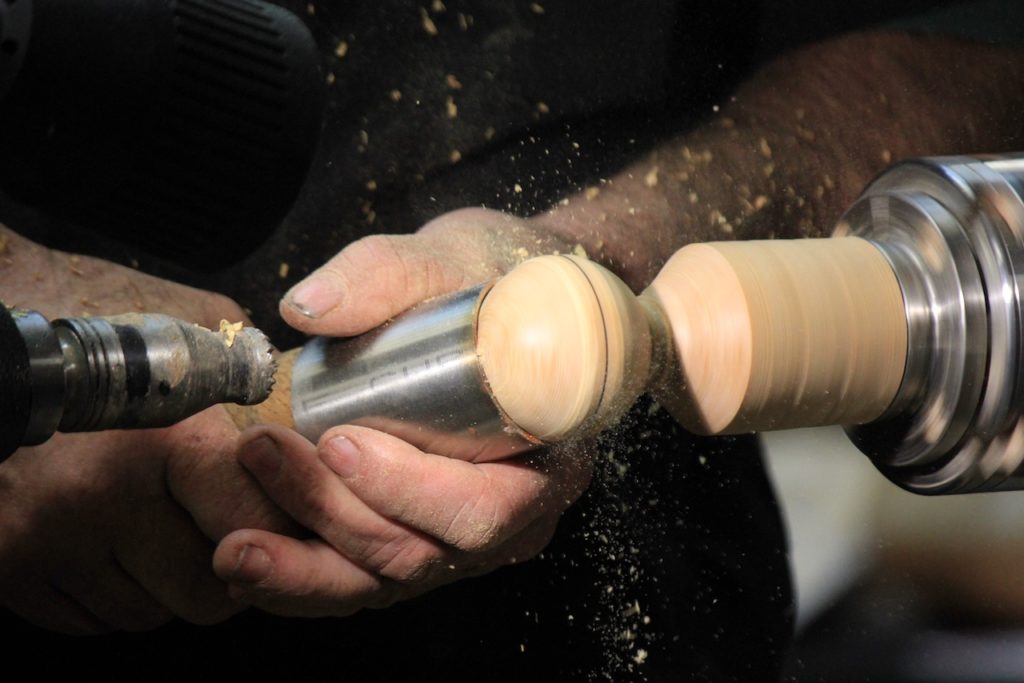
When using buffing wheels on your lathe it is easy for your turned object to fly out of your hands. So Bruce laid a folded towel over the lathe bed, so if the object flew it would not get dented on the lathe bed.
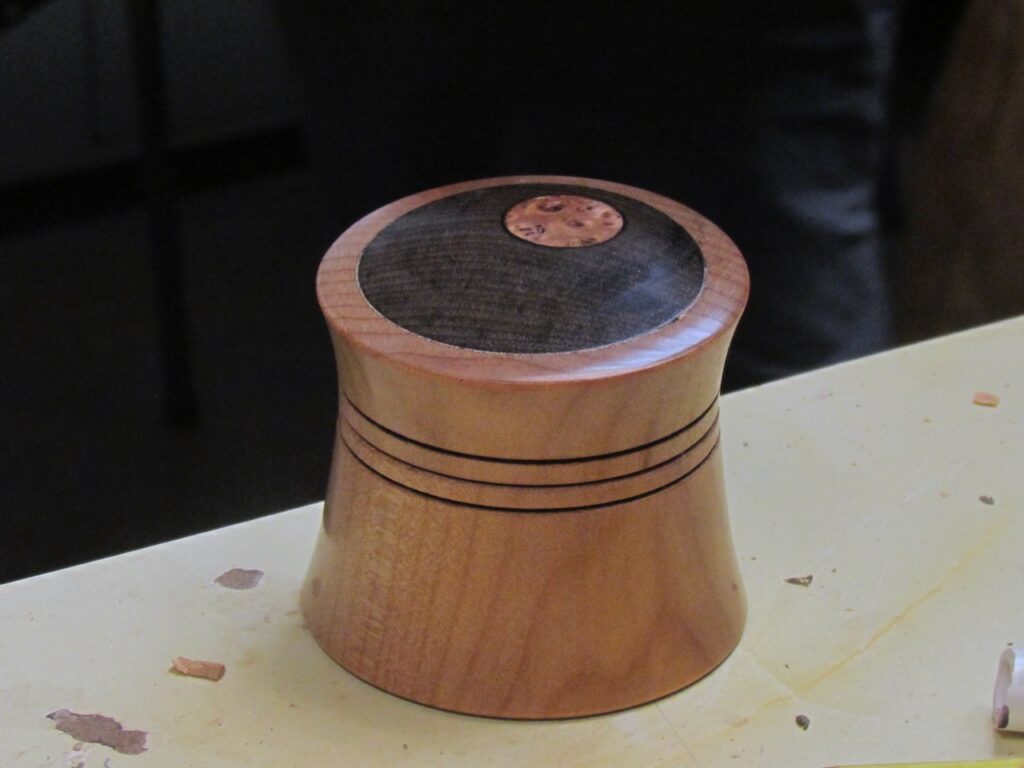
 

Warwick Day – Made of Stone

Club Meeting: 17 June 2020
Report by: John Young

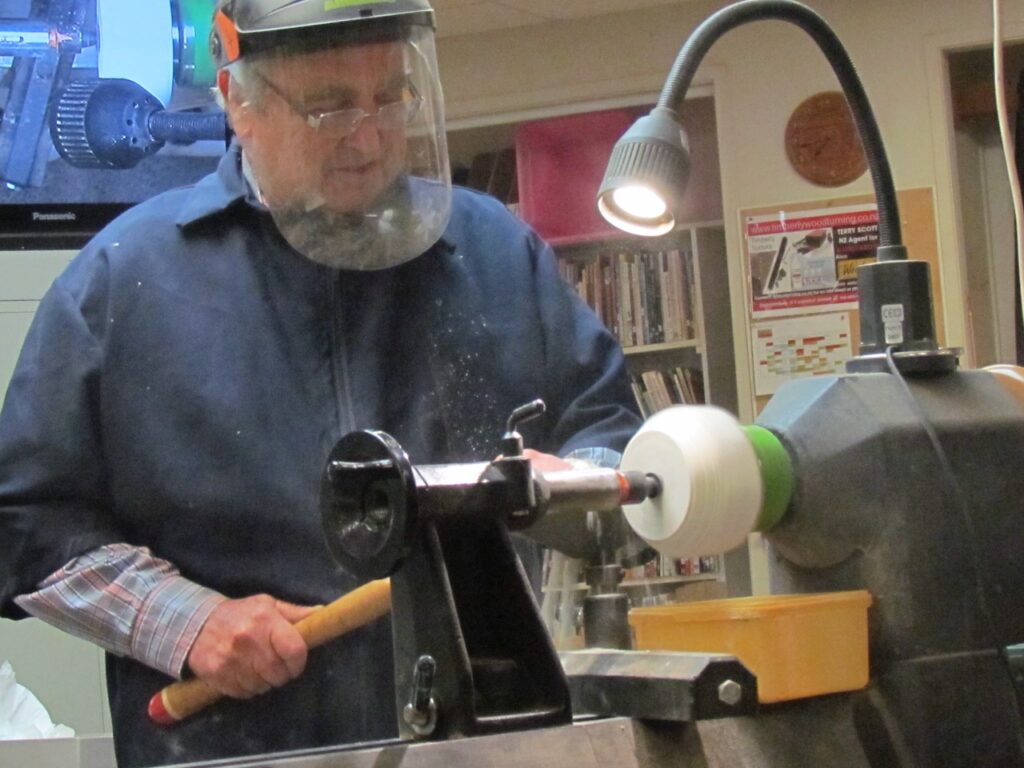
Another fascinating demo by Warwick, choosing this time to make a lidded box from stone.

Inspired by a small Malachite bowl he had picked up on his travels through Russia, Warwick had made a few small boxes with stone inserts in the tops. Not fully satisfied, he decided to make a box entirely from stone.

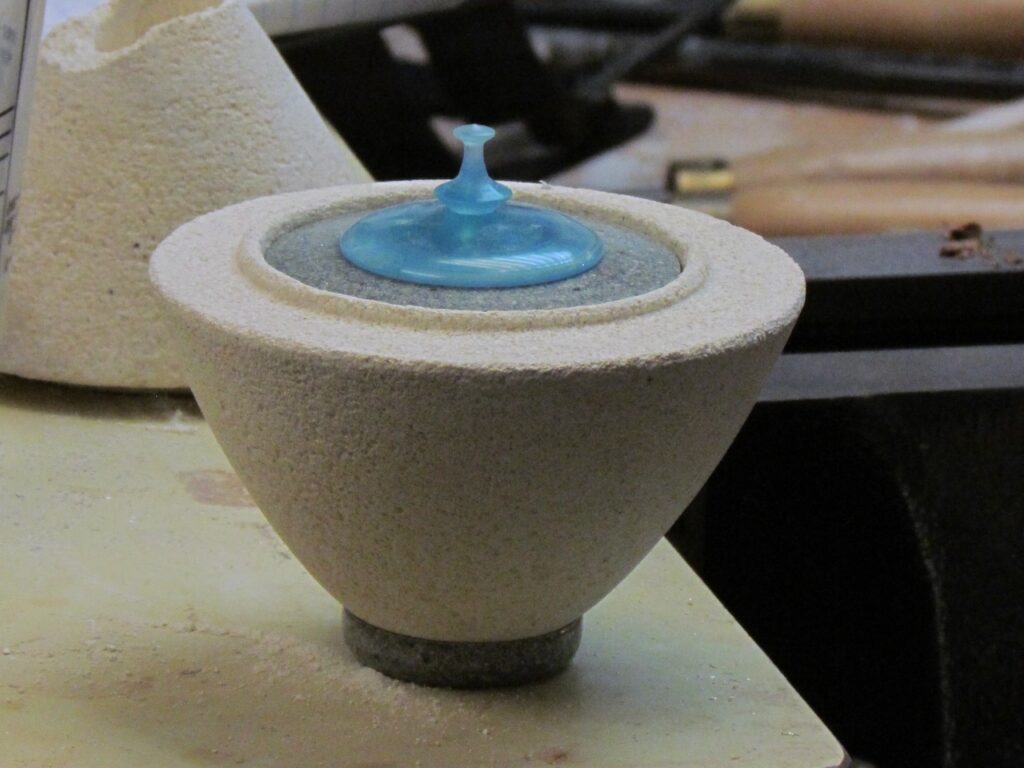
Hence his demo of a lidded box from Oamaru stone, with resin/stone lid, finial and base.

Oamaru stone is a very soft, creamy white stone, with a hardness of 2 on the Mohs hardness scale. (Diamonds by comparison, have a hardness of 9, while fingernails have a hardness of 2.5).

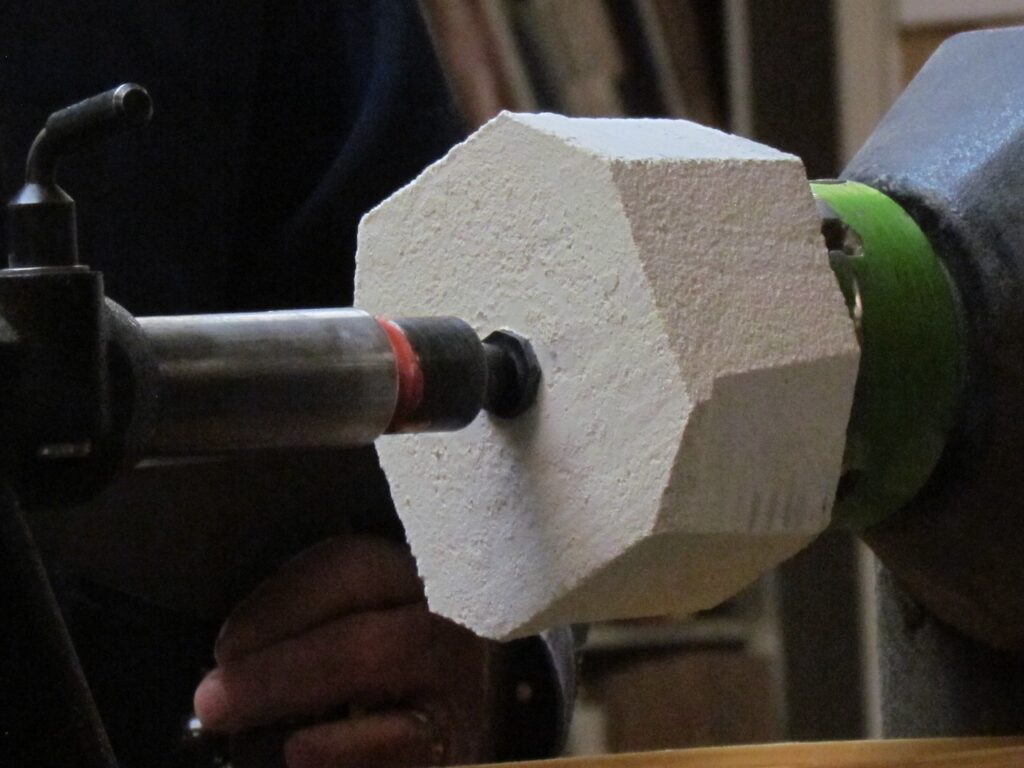
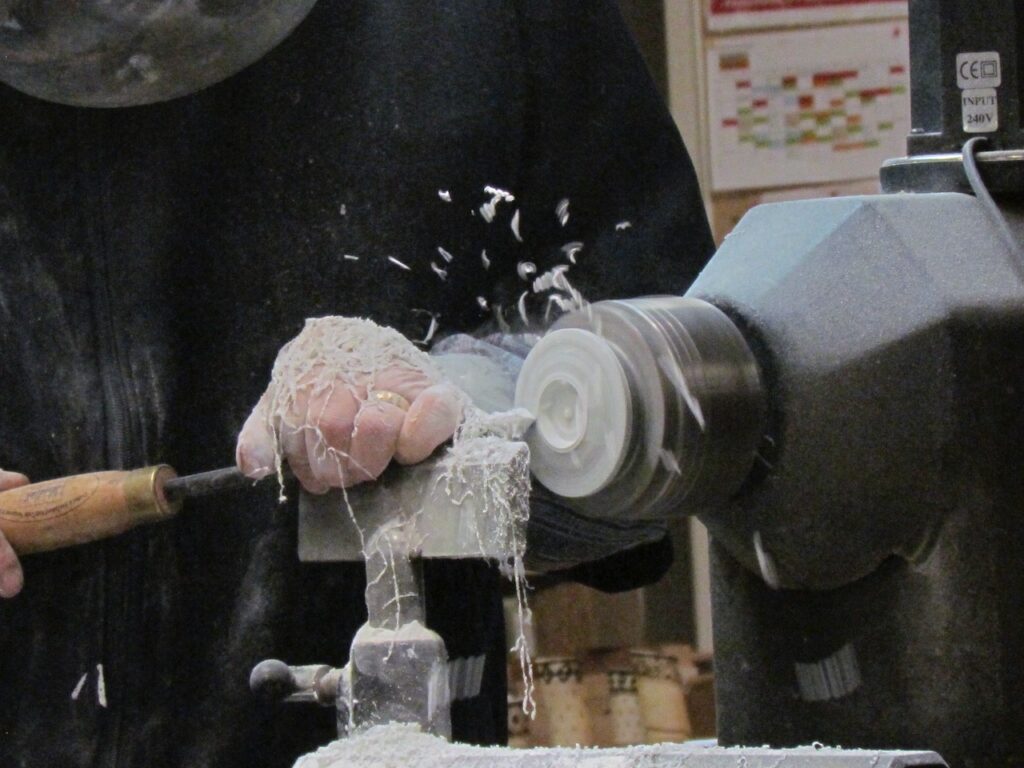
Warwick started with a square blank of the white stone. The corners were chopped off with a cheap saw from Bunnings. A hole was drilled in the top, so it could be mounted onto a set of pin jaws. The outside of the box would be shaped first.

A cup chuck was used on the tail stock to help steady the piece. (A steb centre or piece of wood could also be used as an alternative, to help hold it in place)

Thin pieces of rubber were used on both sides of the stone, to help hold the slippery stone in place. Foam rubber can also be used in the jaws to help prevent cracking.

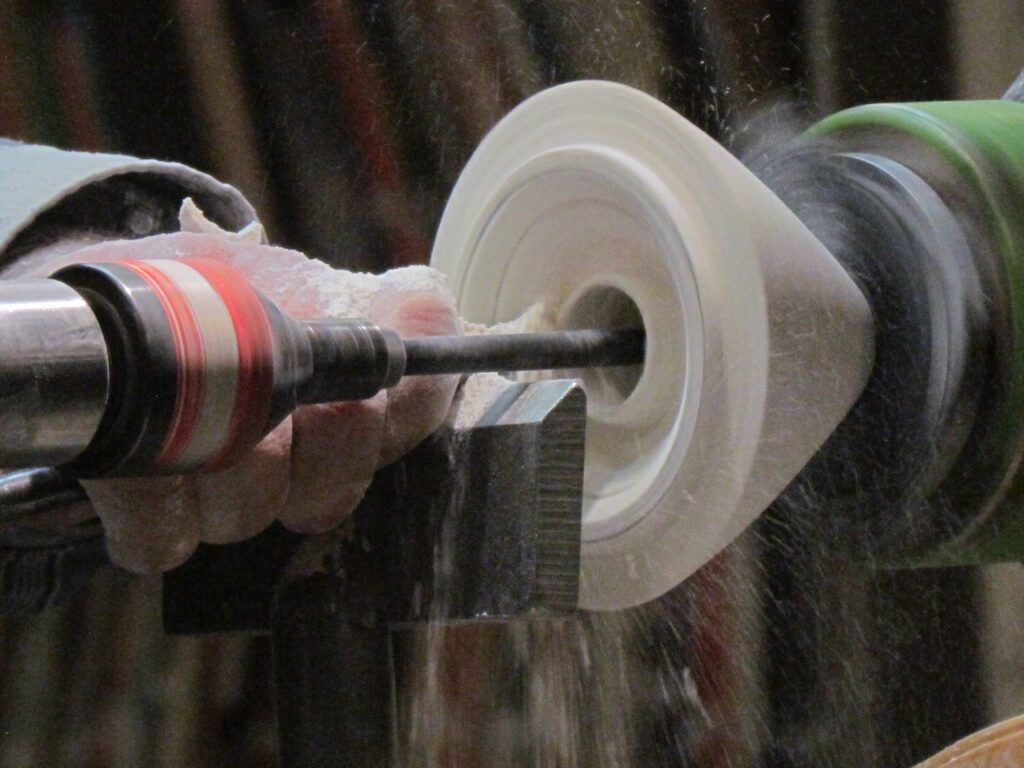
The stone was turned at a slow speed, and normal woodturning gouges were used. Containers were placed under the lathe to collect the dust, which would be used later for the lid.
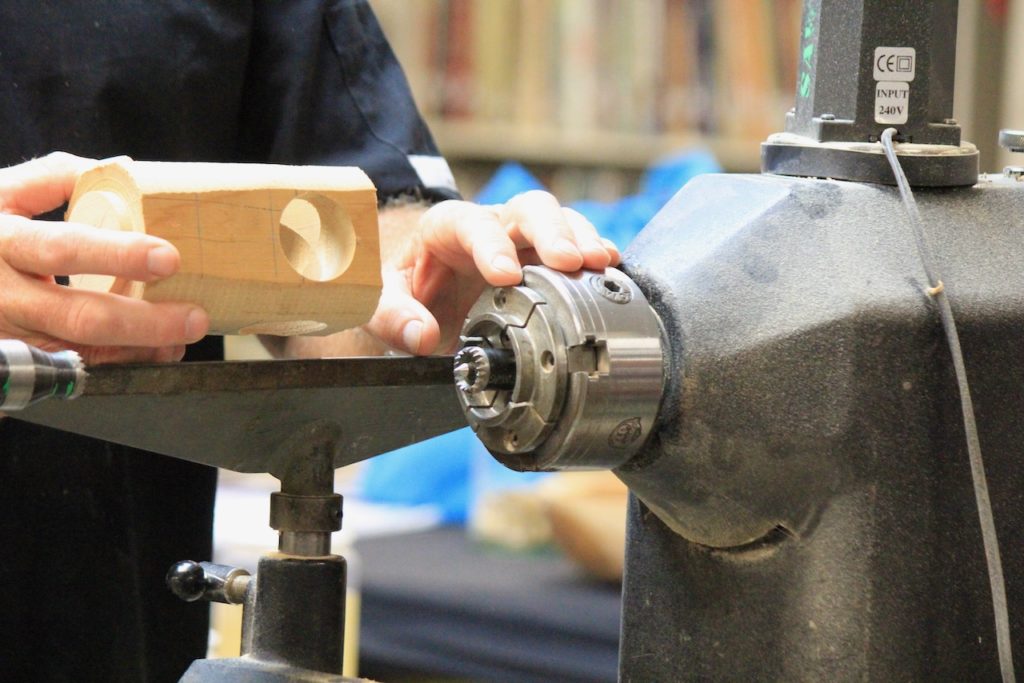
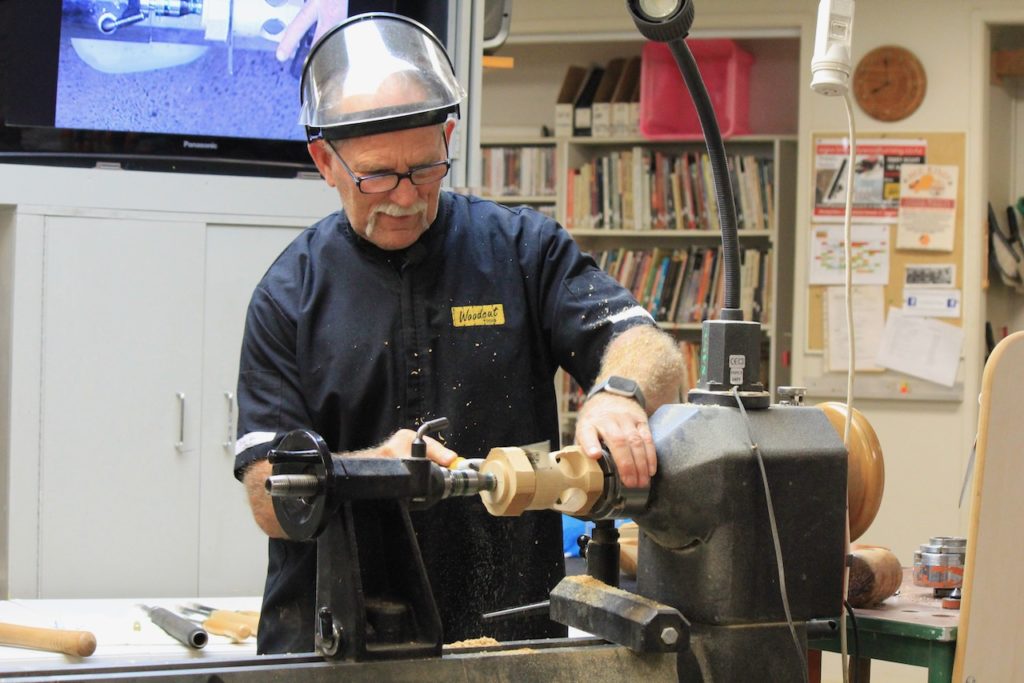
Large plumes of dust were created, which according to Warwick is “good to breathe in” (???). He went on to claim returning soldiers from WWI (Or WWII?) would be sent to work in the Oamaru mines, and the dust would help “neutralise the poison in their lungs”. Some interesting history from Warwick…
Once the outside shape was achieved, a light sand of 100 grit paper was enough to smoothe it out. Before turning it around, a forstner bit was used in the tail stock to drill a hole in the bottom of the box.

The box was turned around and remounted. A long thin centre of Warwicks own creation was brought up in the tail stock for additional support. The top rim was then shaped to receive a lid and the inside hollowed out.

Tile grout sealer was sprayed on the outside to seal the stone, preventing dust from coming off and to avoid staining the white surface.

For the top, a kitchen sieve was used to sift out the fine powder. To this was added colouring (artificial rock), and then clear resin. Three separate batches of the coloured rock/resin mixes were made. One for the top. A second for the finial, and a third for the base.

These were set in a shallow bath of ice water to keep them cool while the resin set. As these would normally take many hours to set, Warwick had some of these pre-prepared blanks made in advance.

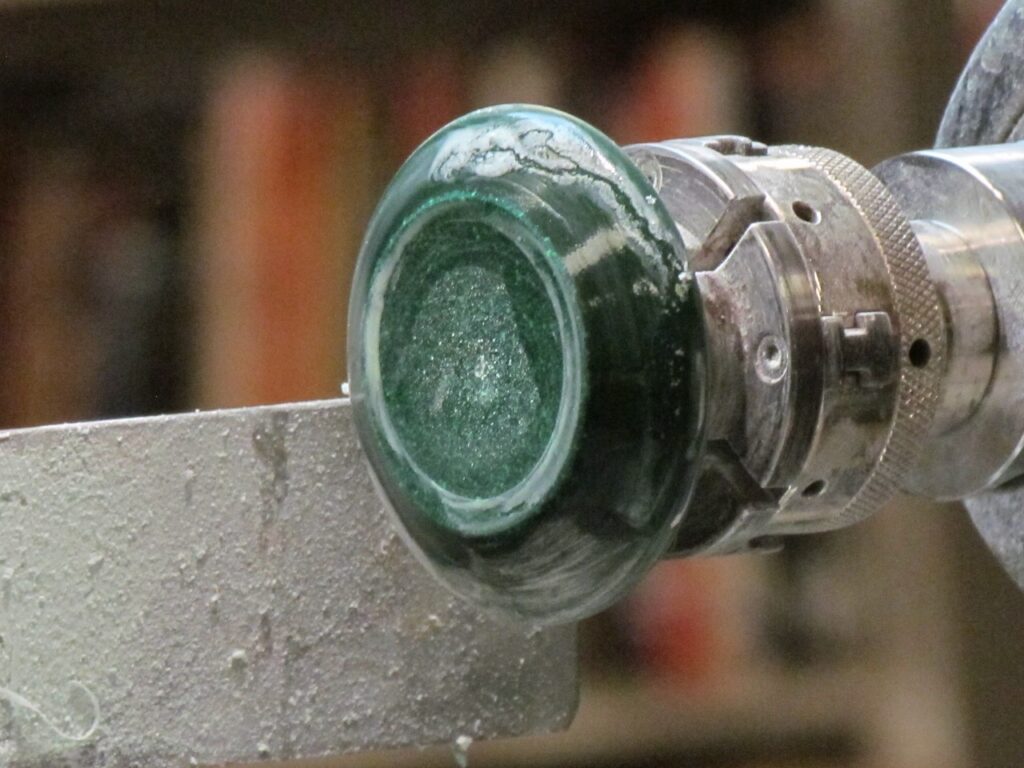
The lid was mounted in a 50mm chuck. This was an easier material to work with, although the sanding resin can be harmful to your health. Warwick had an answer to this, which was to use wet sandpaper to prevent dust, creating a better finish and to help cool it down. After he had turned the shape he wanted, he began the long sanding process. From 120 grit up to 600, then micro mesh pads up to 2000 grit. EEE was used, followed by carwax polish.

The bottom is created in the same way, and both are affixed to the stone with clear silicone glue.

The final product was very impressive, as were his previous efforts which he displayed.

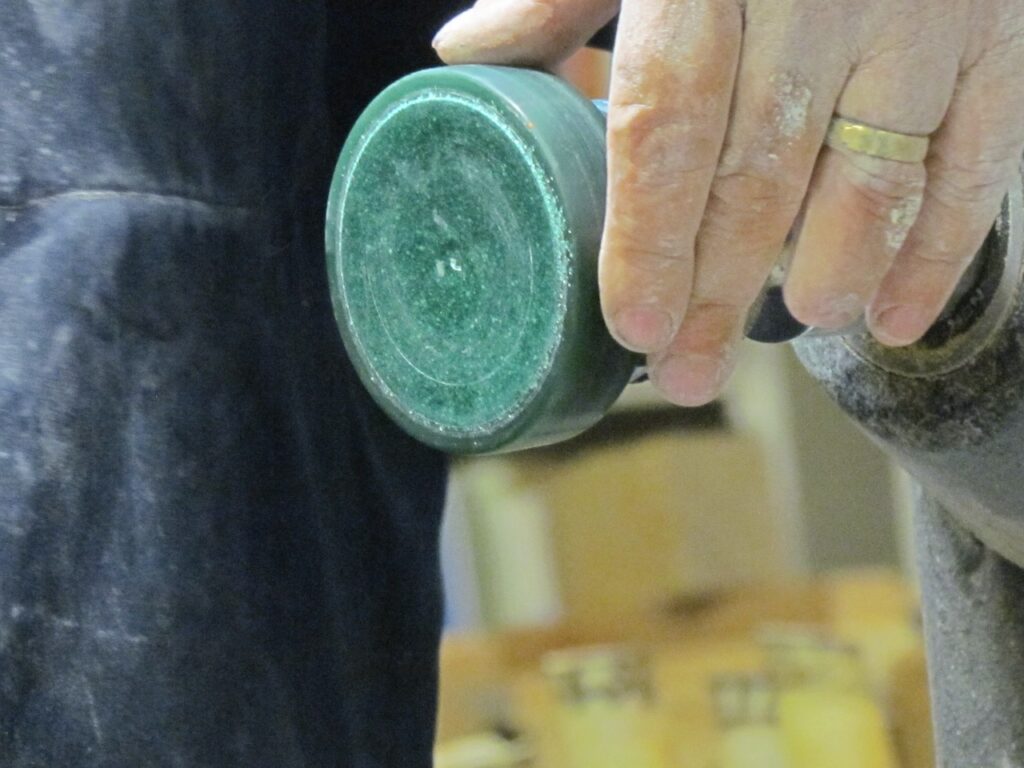
Warwick did a further brief demo in turning a “greenstone” lid. For this he mixed some Jade powder he had purchased, with resin in a 50:50 mix. If there is not enough resin in it, it becomes too hard to turn. While this material is tough on the chisels, it scrapes well. Sanding is done with Carborundum sandpaper, which has a hardness factor of 8. Slightly higher than the greenstone hardness, which is seven.

He exhibited an impressive lidded box he had made with it, with a brass insert and malachite pebbles inlaid.

Some in the crowd were disappointed it wasn’t a hunk of pure greenstone, but Warwick told them he would need diamond edged chisels for that!

Thank you Warwick for another fantastic demo!

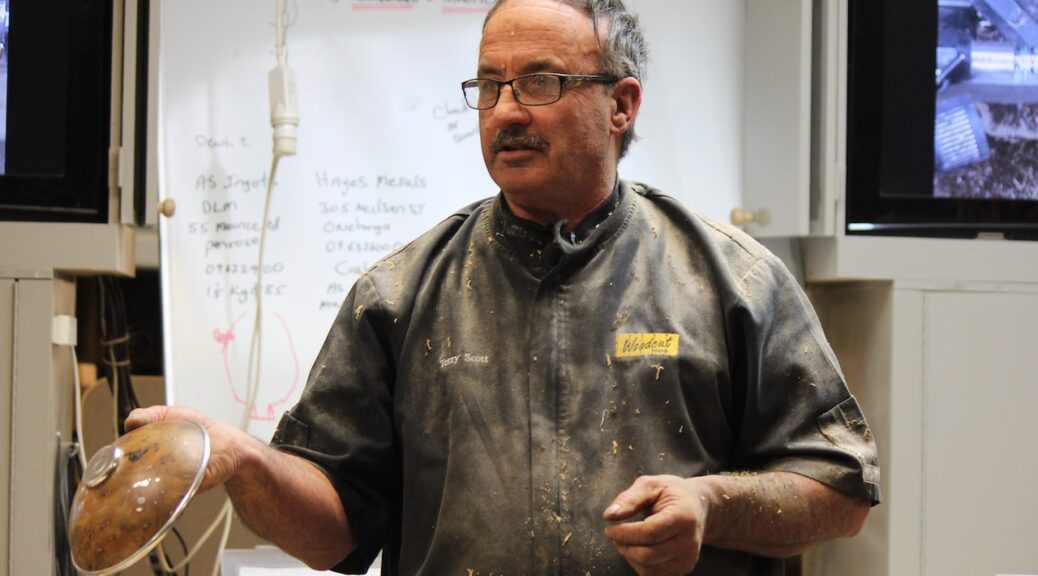
Terry Scott – Pewter

Club Meeting: 10 June 2020
Report by: Rio Davies

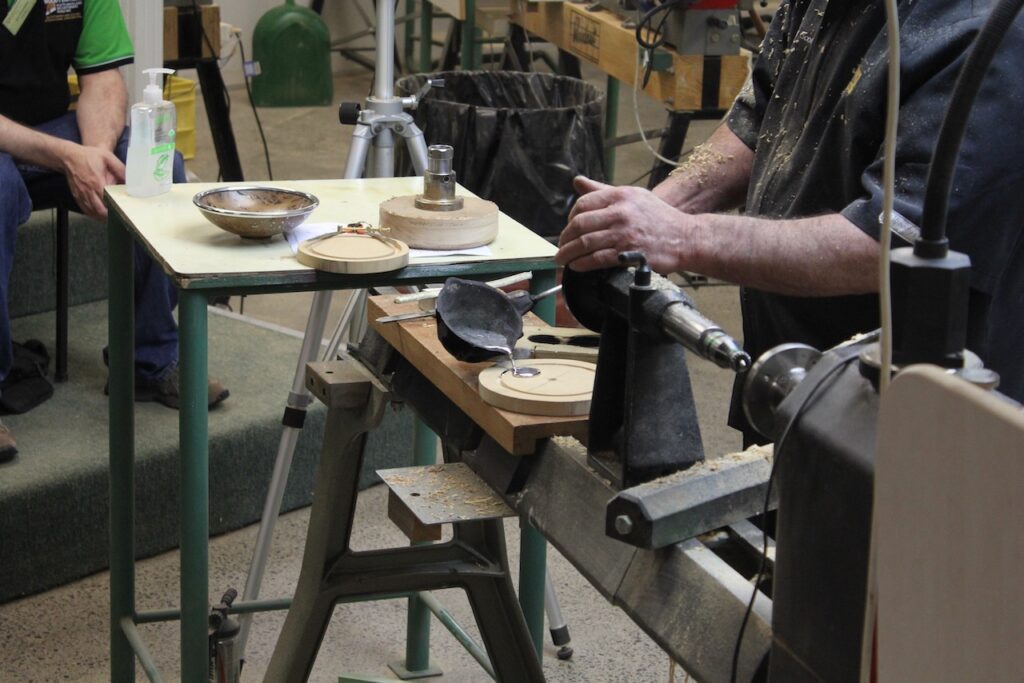
 Terry had pre-poured the pewter into grooves in timber to make rods; easier to work with.

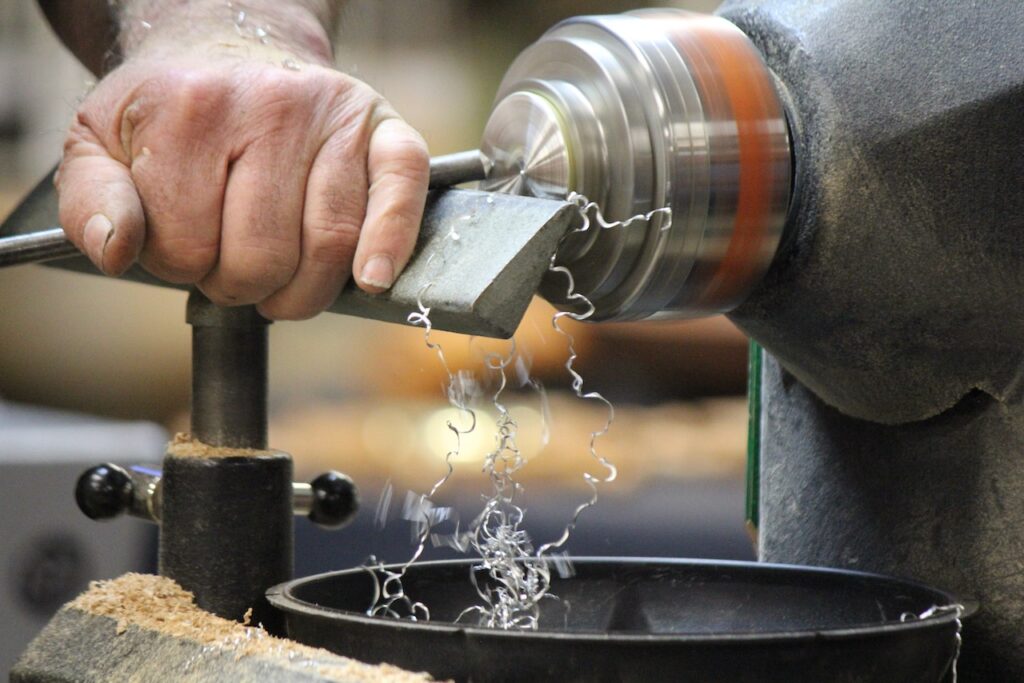
Pewter turns like butter but will scratch easily.

2nd hand pewter from op shops melted down can be ok, but old stuff will contain lead, whereas it is no longer added to new pewter.

Making the base- Use a forstner bit in plywood to make a round mold.

Pewter has a low melting point, a solder iron is no-good however.

Rim – groove with rebate; measure your outside perimeter on blank.

For molten pewter, jimmy a metal spoon onto a long stick, stir to remove slag. If left in will make the pewter brittle from air voids. It will stop skimming off slag when it’s ready.

Pour into base mold and rim, Keep continuous even pouring till it crests.

Running it under cold water will weaken it so allow it to cool naturally.

When melting do not let it boil. It will burn the timber and will react with resin in the wood when poured directly into your bowl. Sparks and flames ensue.

Diluted pewter containing lead will also make flames.

To release from mold, sometimes sawing of the wood will be needed.

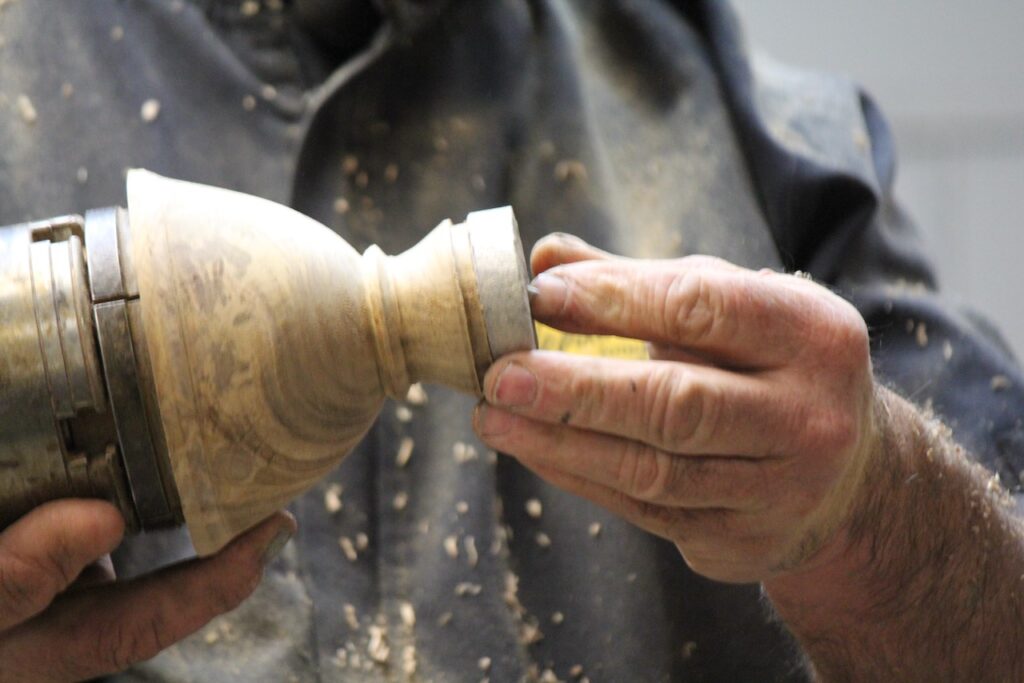
Terry demonstrates turning a bowl, cutting spigot (54mm), proceeds to make the mess he promised not to (10/10).

For base, cut rebate for pewter to key onto, 3mm, not too deep so you don’t lose the bottom from the inside.

Remove from chuck.

‘New turners can’t imagine a concave curve’, isn’t that always the way.

Plywood backer behind the pewter base disc in the chuck.

Levels pewter, knocks over his shavings bowl.

Cut corresponding rebate in pewter.

Turning the tenon, flat or slightly concave is ok.

Turning the rim, add spigot. Chattering that can be heard is the pewter moving in the mold, can use superglue to hold it.

Check rebate depth is the same on both sides.

Back to bowl. To avoid going back-and-forth buy a second lathe (but only from Terry of course).

Match rim to bowl with calipers.

To glue use 24hr araldite  , quicker setting (5 min) is ok to get turning sooner but not as strong.

Use tape on the chuck to avoid gluing the jaws shut (Terry has extras of course).

Turn away wood on top to reveal Pewter rim, round and tidy.

Pewter embellishes nicely, a leather punch will work and can accent with Indian ink in the grooves.

Terry uses a texturing tool.

For sanding, 400 through to 2000.

Don’t use Danish oil- black comes off pewter into the wood.

Turning inside of bowl, finish rim first because the heat from the glue can move it.

Sand inside w/ 240 grit, through to 400.

Use jam chuck to reverse bowl, Terry uses next bowl to hold it however, turn RPM down.

Cleaning the base pewter, pronounce concave of the base to remove weight.

Tidy and sanding exterior of the bowl.

Warned to use mask with mahogany as the dust is sharp and dangerous to inhale.

The base foot pewter can scratch easy but won’t need polishing like silver.

Completed.

Dick Veitch – Toothpick Holder

Club Meeting Demo : 3rd June 2020
Report by Graeme Mackay

An excellent demonstration highlighting the need to work through process and sticking to measurements, measuring again and checking that measurement. Dick Veitch followed the Project Sheet for this small functional item, with several components.

As usual Dick came up with some simple solutions, some quick marking answers and developed a fun project. A good chance for new turners to think through process, work out the operation off the plan and apply the required actions. A good example was the use of the Bryden centre finding tool.

The side title to this project could actually be the drilling project and/or Jacobs chuck use. The Turner is required to use the Vernier callipers and check the diameter of the Forstner and/or Brad point drill bits. This included the simple straightforward sharpening of the Forstner cutting blade. The age-old question of checking out your tools before use was quite apparent. It may be a 16 mm Forstner bit, however, when check the diameter was 15.85 mm. A small discrepancy that could totally fail up the pop-up movement.

Dick demonstrated that keeping to the sequence was key to this little project. Possibly one should say sequence and correct depth. Marking the depth on the drill bits was a good value-added action. Simple, straightforward and easy to do with a bit of tape. There was a timely reminder that dual speed is important. Check the charts. Ensure that the shavings are coming off an even basis. The correct speed means cutting rather than skidding.

Although a functional item, once the components were completed, there was plenty of design space for getting the best looking form. Choosing the appropriate type of wood will help get clean fine-grained services that allow the pop-up mechanism to work.

A good learning project.
The project sheet is on the SAWG site and is easy to follow. Further, provides a good plan reading and/or process organisation exercise.

Tom Pearson – Lavender Bottle

Club Meeting: 18 March 2020
Report by: Bill Alden

Tom showed us various boxes that he had made over the years of many sizes. Including a spinning top box which was an ancient game originating in the Middle East

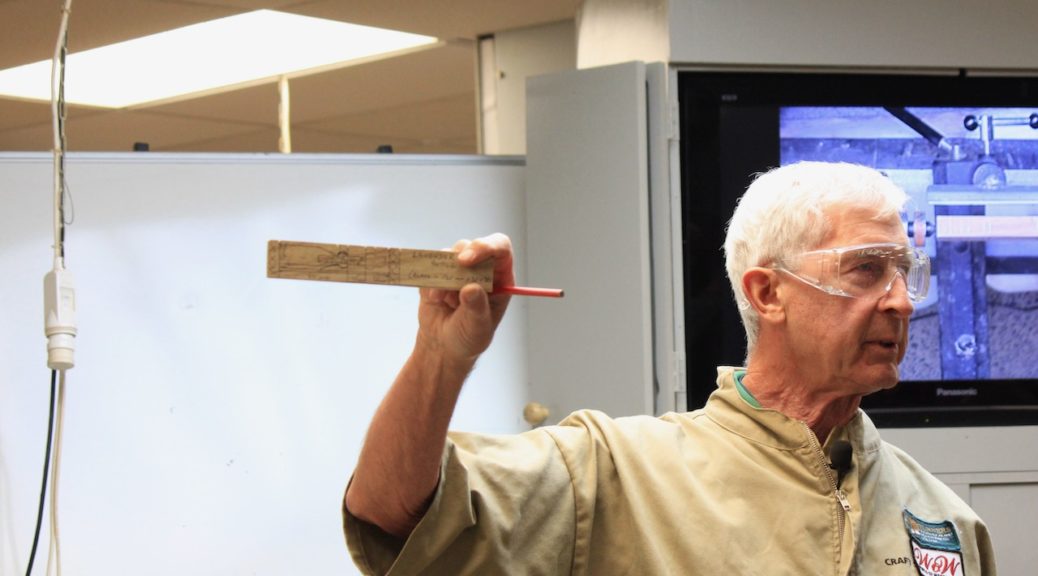
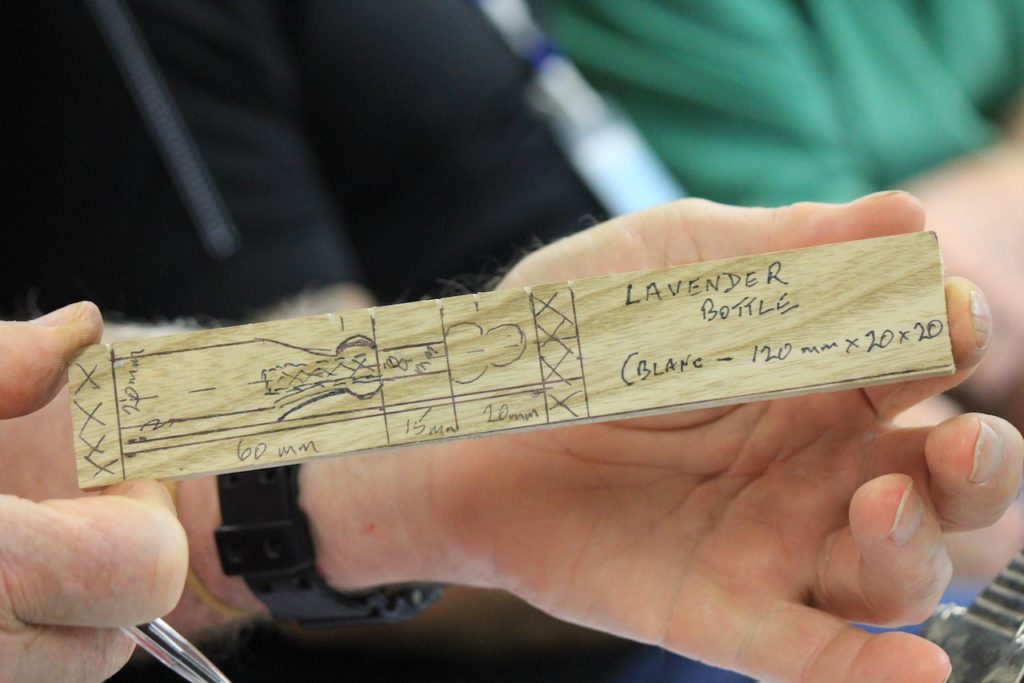
The blank used for the Lavender Bottle was 20mm X 20mm and 120mm long was placed between centres. Tom used a “story stick” with the dimensions of each element of the bottle. From the Headstock end. 60 mm for the bottle 15mm for the 8mm spigot plug and 20 mm for the knob.

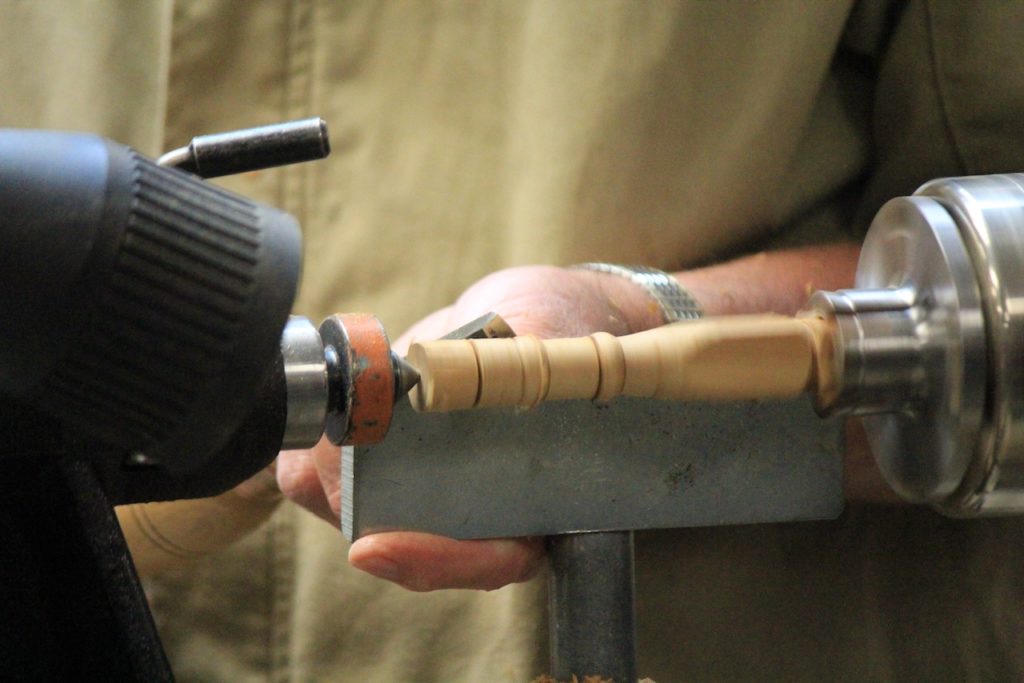
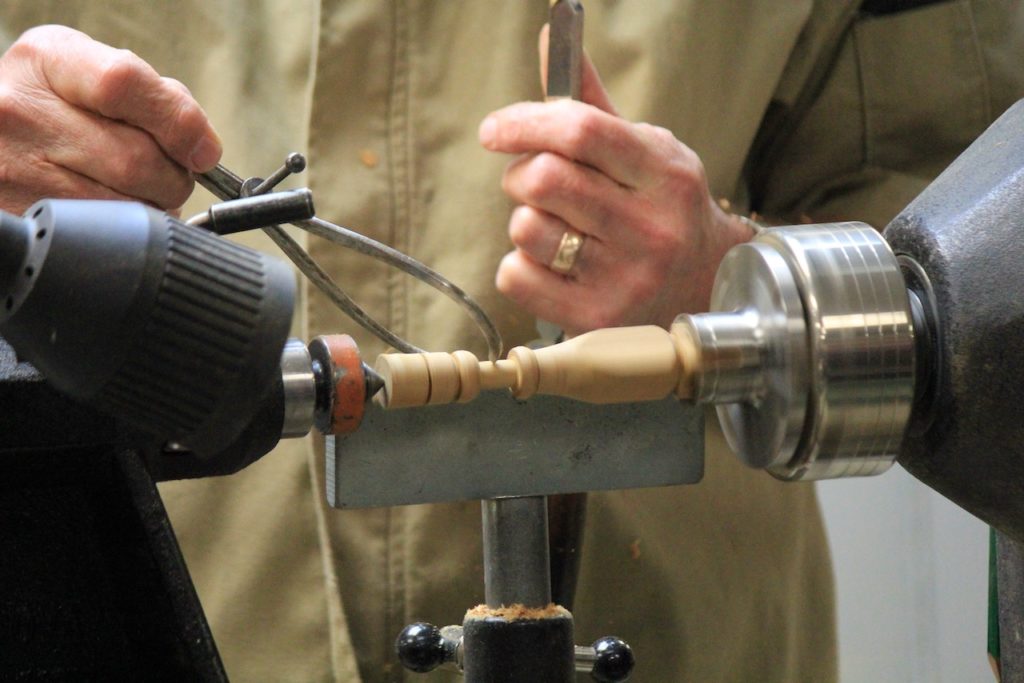
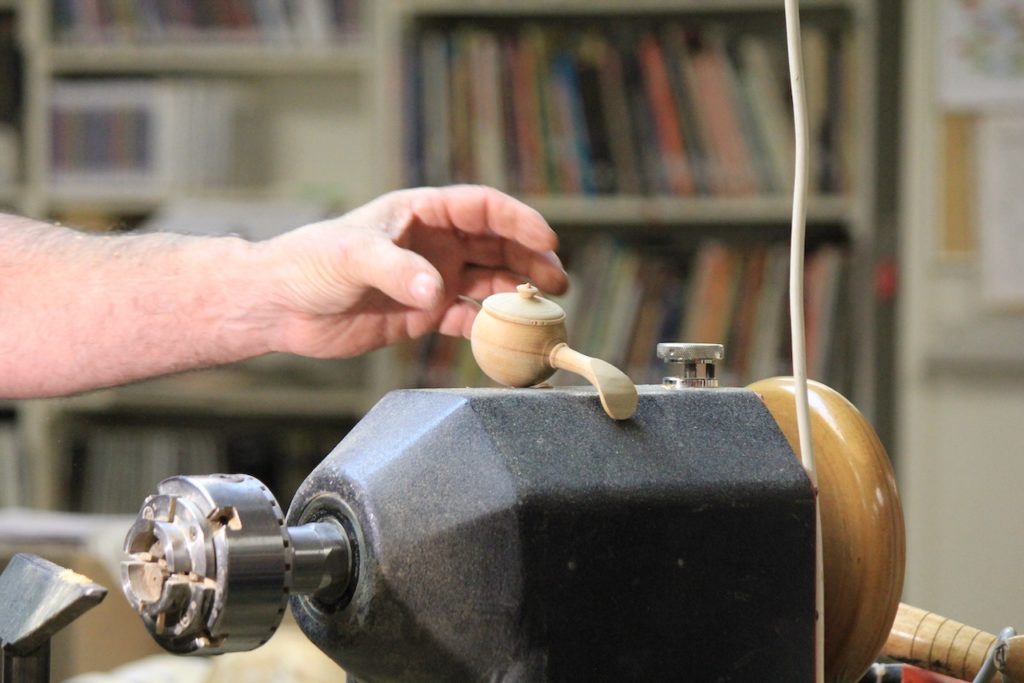
Leaving the bulk of the base square he shaped the foot and the neck of the bottle with a bulb at the top. The next 15cms were parted down to 8mm using parting tool and calipers. The lid was then shaped as per the photograph with a spindle gouge reducing the waste at the top for later removal.

At this stage the bottle should be sanded and finished.

Hold the base in in a small set of jaws and centre using the steb centre. A 2 mm parting tool is now used to cut off the spigot. With an 8mm bit drill to a depth of about 25mm and fit the lid spigot into this hole . Tom used a round file and sandpaper to achieve a snug fit. It was noted that the spigot may be shaped more narrow where it meets the hole to assist fit. The lid can now be removed from the waste and final sanding and finishing done at this point. The spigot is sanded if necessary to ease the fit.

The base is now parted off and sanded on a sanding mandrel in a Jacobs chuck on the lathe or a belt sander. Finish with oil wax or lacquer as preferred.

When ready to sell or gift pour no more than 2-3 drops of oil in the hole. This will permeate through the wood to perfume handbags, drawer or car, etc. Too much lavender oil can be overpowering.

Tom sells these with a small bottle of lavender oil in an origami box made from Calendar pictures. For instructions see https://www.youtube.com/watch?v=U8_uUz5__nk

Terry Scott – Spoon Lidded Box

Club Meeting: 11th March 2020
Report by: Bob Yandell

The “House Full” sign was up and Terry was at his best – humour, skill and knowledge for all present. The start was, as only Terry, the entrepreneur and entertainer could, an opportunity following the Covid-19 outbreak and subsequent shortage of toilet paper. We woodturners could meet the shortfall by providing toilet paper by supplying the leaf from Salanum maurtianum plant, better known as Woolly Nightshade or Tobacco plant which Terry observed was growing in plentiful numbers either by itself or in combination with our turnings and a few chemicals mixed together, compressed then peeled like a veneer and rolled. If you weren’t there you missed the business opportunity of 2020.

The actual demonstration began with Terry showing examples of spoons and his development of the concept into the lidded box. Spoons for a salt pig through spoons with long handles. (Refer Club projects sheets – Spoons for the basic concept).

Terry started with a block of Kauri 60x60x180mm. Hard woods are best used when making spoons. The block was mounted between centres and turned round. The final diameter was  53mm based on the internal dimensions of the sphere cutter being used and a 48mm spigot was put on each end. The lid section was parted off at 64mm. The box/spoon section was that left. At this point Terry informed that the length of the spoon was dictated by the swing over the lathe and a maximum length for the lathe was 400mm to which the allowance for the lid and spigots “X”mm is to be added.

The Spoon/Box portion was mounted in the 50mm chuck; end cleaned up and a line defining the centre of the sphere clearly drawn, approximately 28mm in from the end, and a fainter line defining the sphere diameter marked. This latter line is where the handle starts and a cut on the lathe head side of the line, with the parting tool indicates the beginning of the handle profile and diameter. The distance between the line defining the centre of the sphere and the external diameter is divided into 4 equal parts(3 lines either side of the main line) because a sphere is formed from 4 flats( starting with the centre line being the beginning of the curve and end furthest from centre being the end of the curve and the beginning of the next and repeating until curve complete).

The sphere profile is refined gently using a pipe tool with the lathe running. This is a piece of tube with a handle fitted in one end that allows approximately half the diameter to extent, like a chisel tip, and is sharpened on the belt sander. The “roundness” is checked using bottle caps and until no gaps between wood and cap. Sand and finish.

Complete the handle profile and part off. Texture, captive ring, may be pyrography – sand and finish.

The next stages require a jamb chuck and ideally a second chuck for the yet to be made lid.

Making the box requires a jamb chuck mounted in 50mm chuck. The sphere plus handle needs to fit snuggly so handle is flush with face of the jamb chuck. Determine diameter with callipers or Vernier and mark face of jamb chuck and turn out always checking fit. It must be snug and firm. Cut a slot to accommodate handle. Terry used an Arbortec. Drill a hole from the side of the jamb chuck into the bottom to assist removal. Position the sphere in the jamb chuck to optimise the strength of the grain and visual appearance. Hot melt glue can be used to ensure no movement of the sphere. Mark the centre so a drill can be used to define the depth of the cavity of the box. The depth is the diameter id the sphere less wall thickness.

Cut the opening for the lid and hollow it and cut the rim to accept the top part. Finish all these surfaces. Terry used a cup tool and emphasised the need to rub the bevel. He also used a scrapper in a circular motion, like the hand on a clock to maintain the inside of the sphere.

Next stage was the lid using the piece set aside at the beginning. The face is cleaned up and the internal hollowed so that the curve is a continuation of the internal curve of the box. There is sufficient wood so Terry was able to develop the external profile so it matched/complimented the box. This is where a second chuck is of value as you can produce the lid and then fit it to the box to finish the top albeit a finial, knob or handle. Complete the handle profile and part off. Texture, captive ring, may be pyrography – sand and finish.

Garry Jones – Ring Box

Club Meeting: 4th March 2020
Report by: Cathy Langley

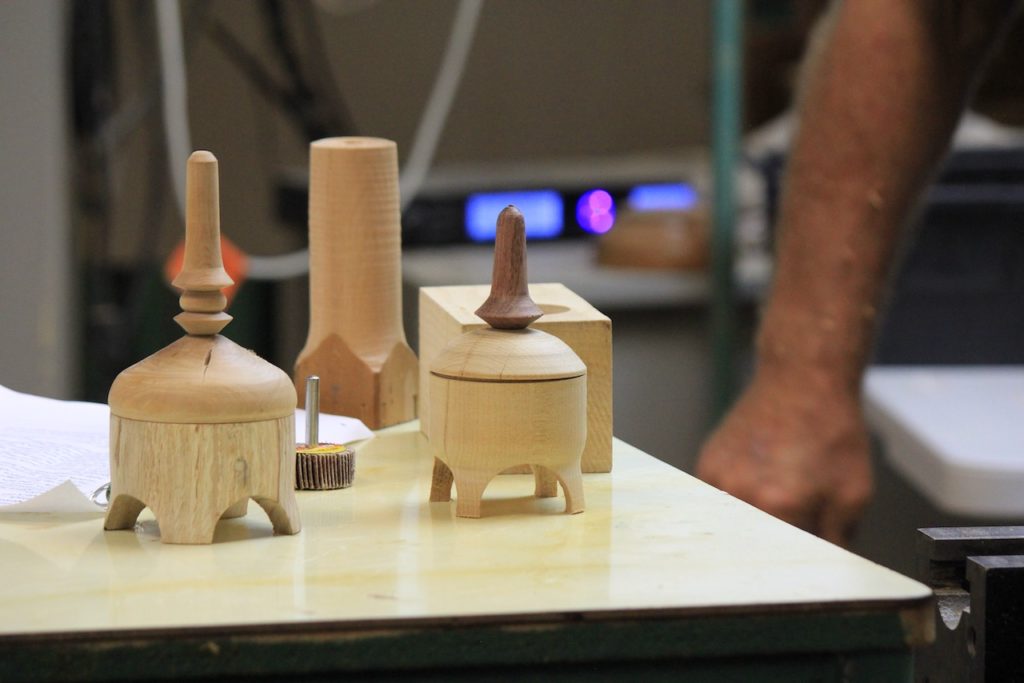
Garry Jones’ version of this term’s “lidded box” theme was a small jewellery box for storing women’s rings (both under and above the lid) with four feet and a finial providing elegance. Garry had brought a number of finished examples illustrating a range of possible designs.

He started with a block of timber 70 x 70 x 150 cm, emphasising that the blank needs to be exactly rectangular so that the feet are equally spaced. On each side of the blank, he had drawn a line 40 cm from one end for the lid, and had marked the centre point of the longer end on each of the four sides. At these points, he had drilled a 40mm hole into each side, meeting in the centre and creating what would eventually become the space between the four feet.

Using a steb centre in the chuck, he created a spigot on each end, remounted the blank with the holes at the headstock end. He marked a line just beyond the holes on the side toward the lid section, to indicate where the bowl shaping would begin. He then turned the lid section to a cylinder and shaped the bowl and feet, with a narrower diameter where the line had been drawn earlier to indicate the base of the bowl.

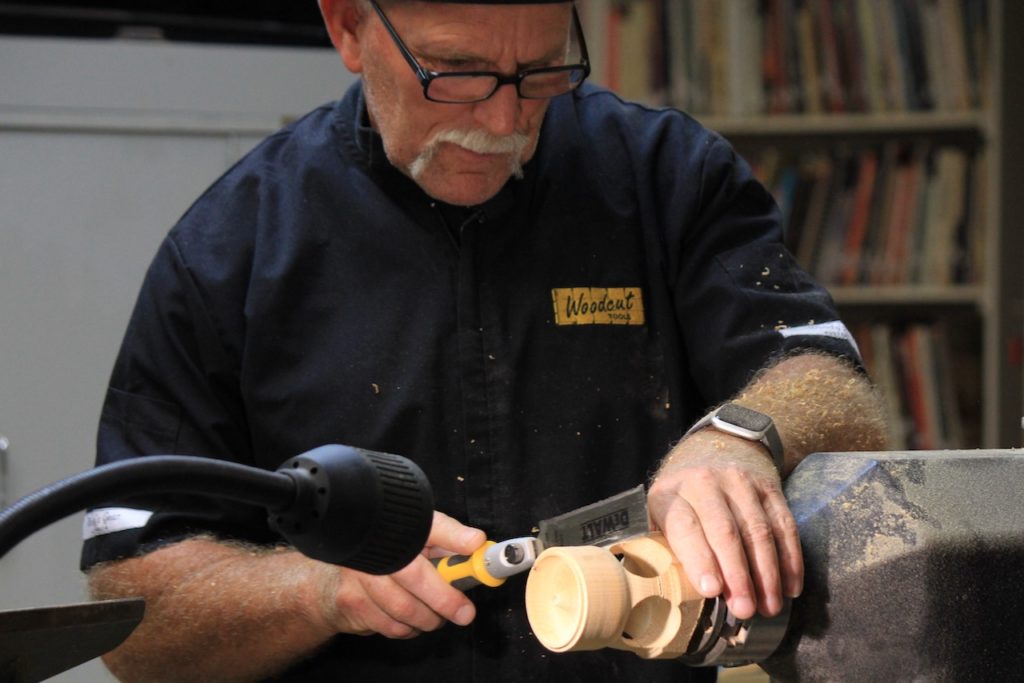
The next step was to part off the lid section and hollow out the interior of the box. Garry used a Rolly Munro mini-hollower to leave a raised “finger” in the base of the bowl to hold the rings. Garry then faced off and designed the rim of the bowl as for any other lidded box. He left the sanding and finishing to our imaginations (except to suggest that the edges of the holes be smoothed with a flapper wheel in a drill) and parted off the blank, separating it from the spigot at a point that cut into the bottom edge of the pre-drilled holes to separate the four feet.

The next-to-last step was to mount the lid section in the chuck, face it off, and hollow it. (Garry suggested that a dimple could be left in the inside of the lid with texturing applied around it, as he had done in several of the examples of finished ring boxes that were passed around.) He presented the base of the box to the mounted lid several times to ensure a good (and fairly loose) fit, and then completed the outside of the lid, leaving a spigot at the headstock end which could either be turned as the handle for lifting the lid, or as a 10mm (or just under) dowel over which a finial could be glued into place.

The final step is optional. Several of Garry’s examples had a finial on the box 50-80 mm long with an approximately 25mm base, narrowing to 12-15mm at the top, to hold additional rings. If you decide to do this, mount a 40 x 100 mm blank of similar or contrasting wood, drill a hole 10mm in diameter and about 10 mm deep, bring up a live centre in the tailstock, and shape he finial. Finish and part it off, and glue it over the dowel at the top of the lid.

Beautiful!

Colin Wise – Offset Lidded Box

Club Meeting:26 Feb 2020
Report by: Murray Wilton

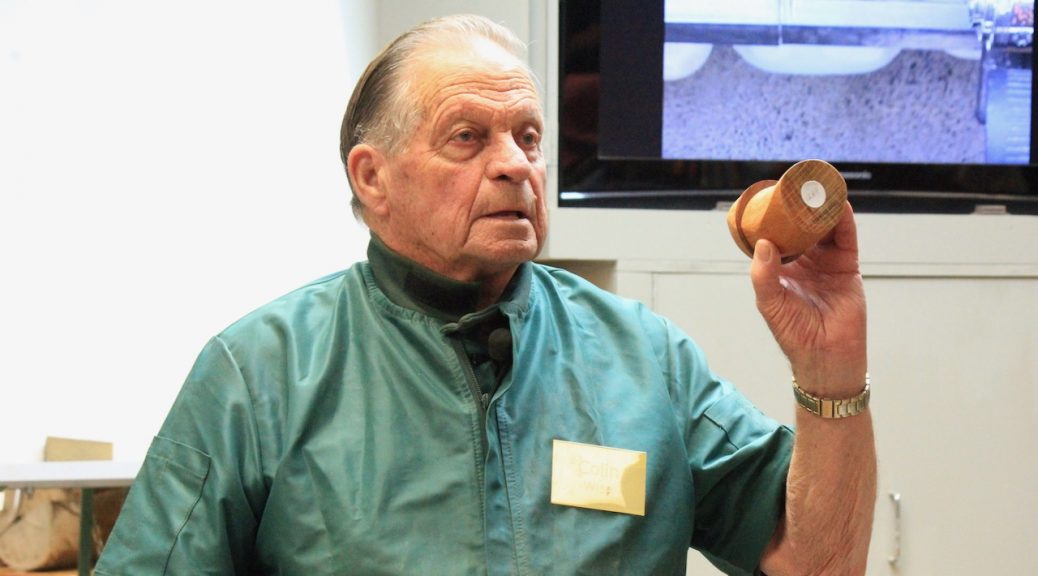
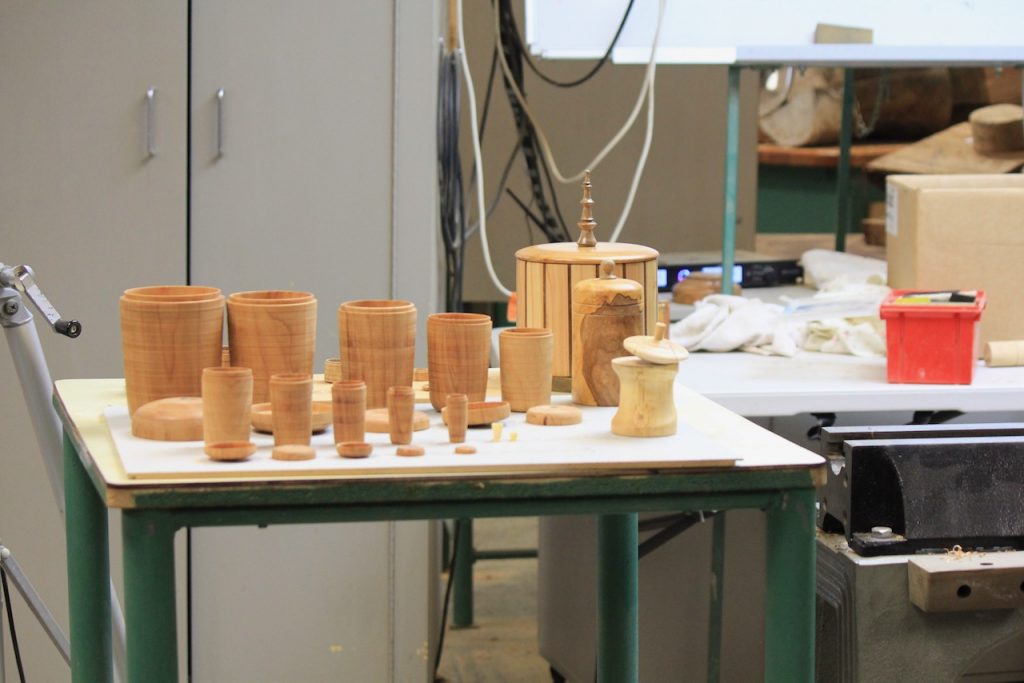
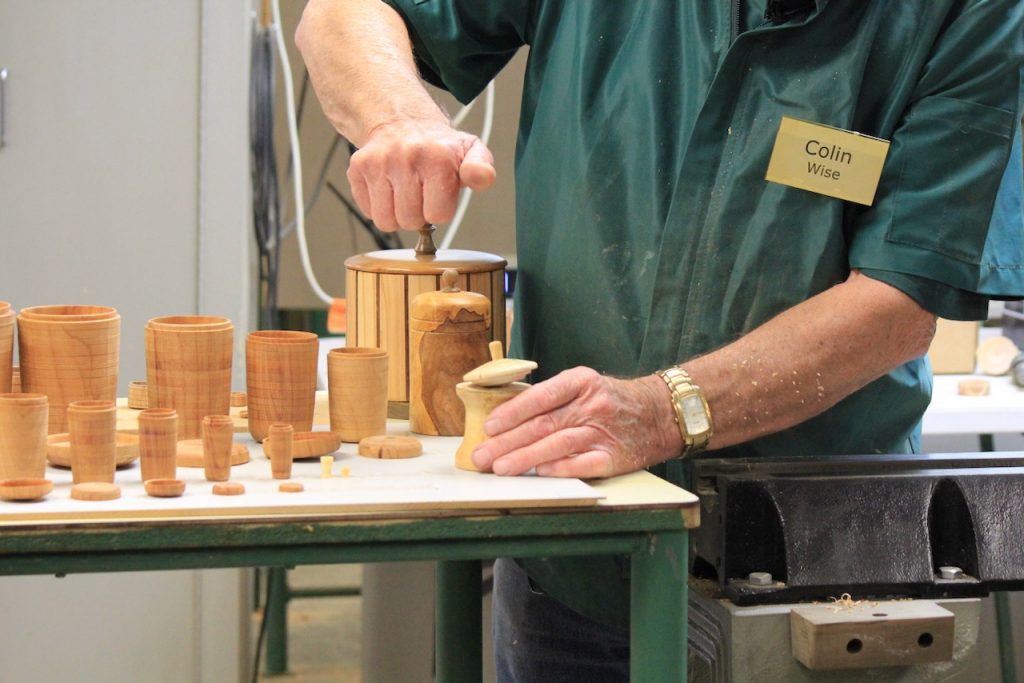
Colin opened his demo by displaying a range of lidded “boxes” he has made over the years. There was a set of 7 boxes, each one smaller than the next so they could be stacked to fit into the next largest box. Like Russian dolls. Apparently the world record for the number of boxes that can be made to stack in this way is 33. Terry has managed to get up to 17. Can anyone meet the challenge and beat that? The walls have to be so thin that turning must be done carefully with accurate measurements. Colin made his septet of boxes early in his turning career. He also revealed a sample of the finished product he was aiming to turn this evening and showed off a square box beautifully made from laminated timbers.

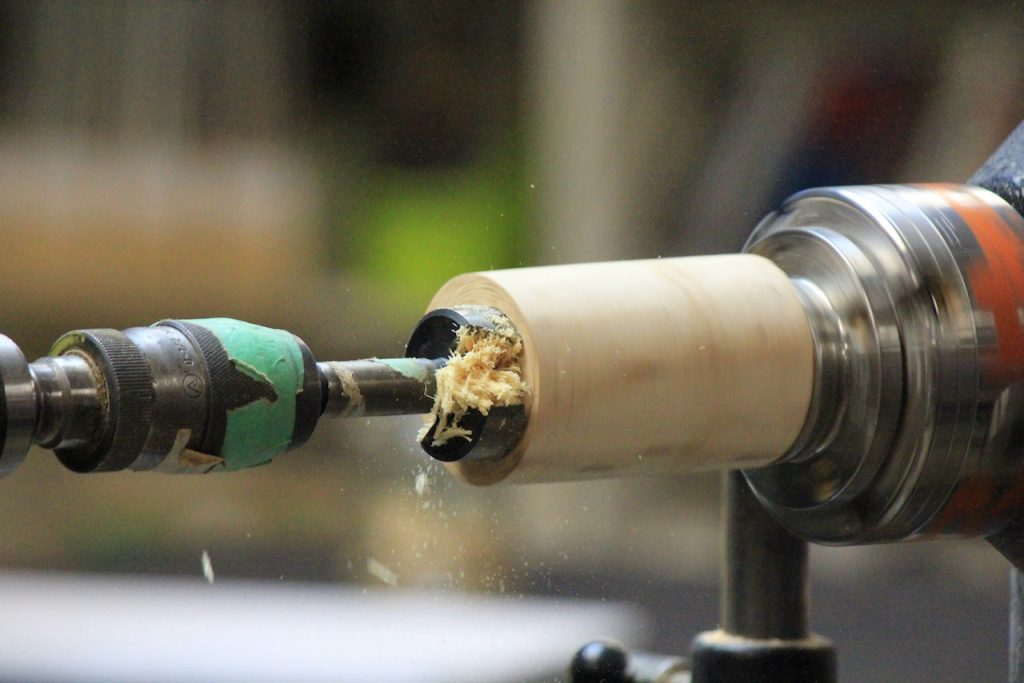
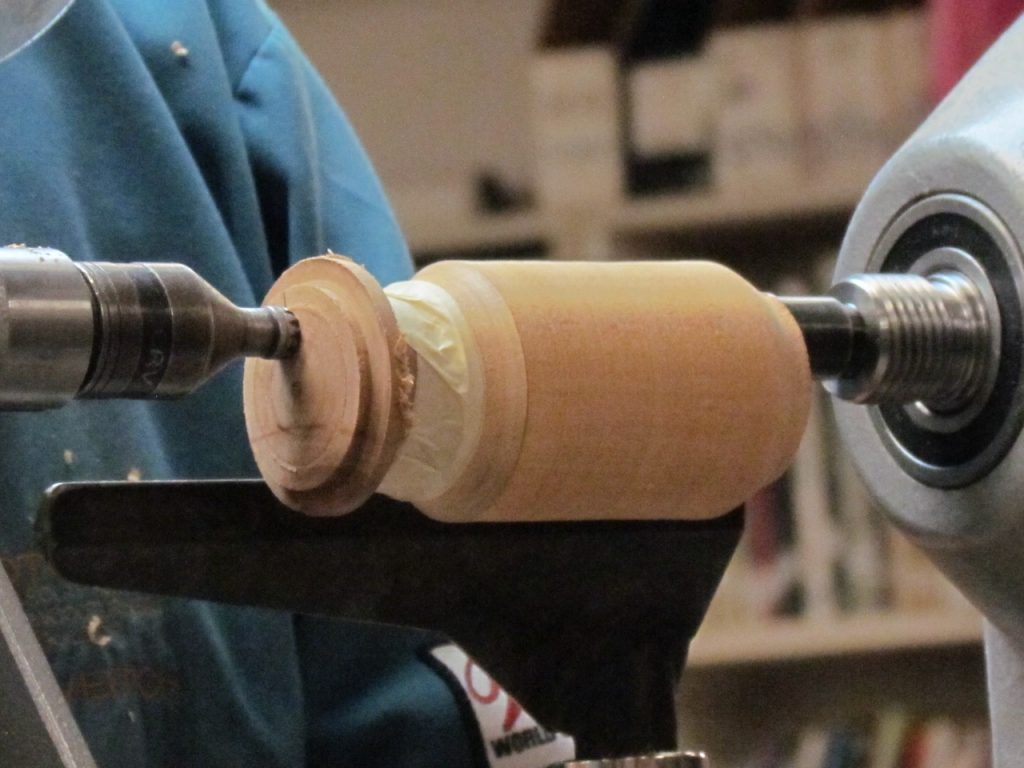
Colin’s demo started with a block of bird’s-eye pine, about 60 mm square and 180 mm long. He had previously rounded off the block and cut an off-set spigot in one end about 6mm from the true centre of the box, with the equivalent marking at the other end for holding with a steb centre at the tailstock end. With the block held by the offset spigot, he drilled a hole with a 32 mm Forstner bit, drilling slowly to avoid burning and ensuring the depth was sufficient to leave a box bottom about 5 to 8 mm thick. Drilling avoids having to do any hollowing.

[HANDY TIP No. 1: Colin uses boelube on the drill to keep it moving and avoid burning. Always drill slowly with Forstner bits and frequently extract from the hole to clear shavings.]

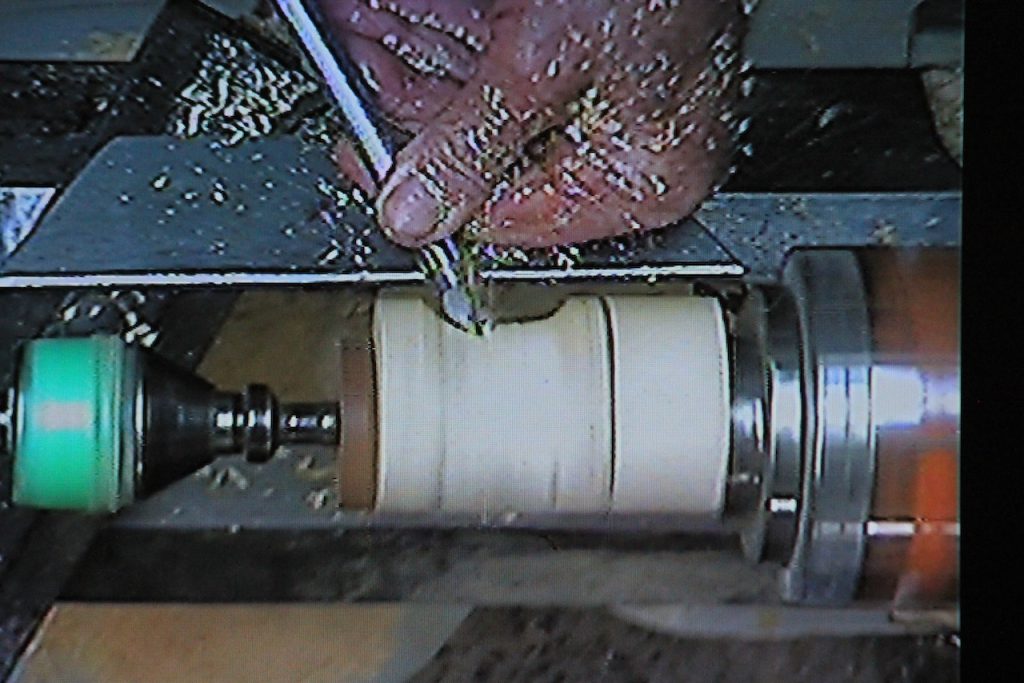
Once the desired depth is reached Colin marked that level on the outside so later he would know where to part off the lid of the box. He also marked the position of the curves he wanted to apply to the box. Next the box is de-mounted and a plug inserted in the hollow (top) ready for shaping and to give the box its unique (but not altogether beautiful) off-set shape. Now the block is re-mounted in the off-set spigot with the steb centre holding the off-centre mark at the tailstock end marked in the plug. The shaping must be done carefully with frequent checks to ensure the cuts are not encroaching on the 32 mm hole. If this happens the box will become a sieve.

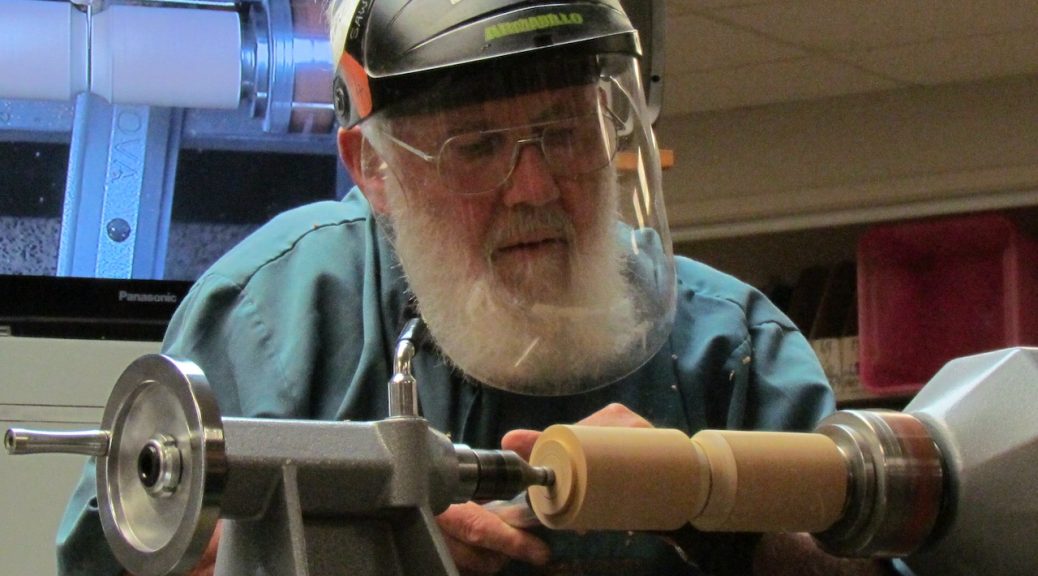
[HANDY TIP No. 2: Off-set turning can be hazardous if anything goes wrong, so make sure you wear the full face guard and keep fingers clear of the unevenly spinning work piece.]

The box is demounted again and mounted in the real centre ready for parting off the lid. Before completing the cut, turn the rebate in the top of the box ready to take the lid. Also do any finishing work needed at this stage because once the lid is parted off it won’t be possible to do this.

After parting off the lid Colin completed shaping it to the desired form and cut the rebate to fit the box opening.

[HANDY TIP No. 3: When turning shapes, rebates, etc., to fit other shapes and rebates, keep checking for a good fit as you go along. Very easy to take off too much and lose a tight fit.]

Colin shaped the lid as a spinning top with a short handle to enable the top to be spun in a small notch cut in the bottom of the box. To do this he first shaped the bottom of the top (meaning the spinning-top), then turned it round in the chuck to finish the “top” of the top! If you get my meaning.

Great demo from another of our turning gurus. Many thanks Colin.

— Written up by “Club’s Most Consistent Volunteer Reporter” Murray Wilton

Dick Veitch – Spire Box

Club Meeting: Wednesday 19th February
Report by: Emma James-Ries

This week we were treated to a demo by the one and only Dick Veitch. He started off by talking about the latest Teknatool Nova Orion lathe, kindly loaned by Carba-Tec. Dick was very impressed with this version, asides from the secret Tailstock compartment which held centres. Otherwise, if you’re looking to upgrade your lathe, this model won’t disappoint.

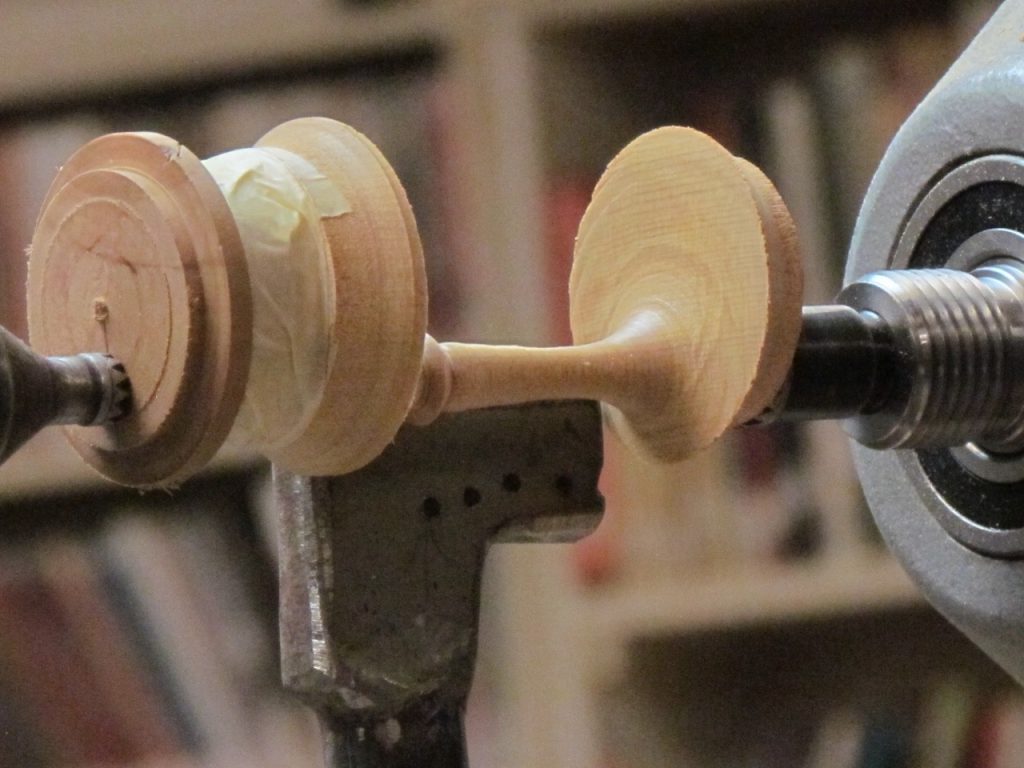
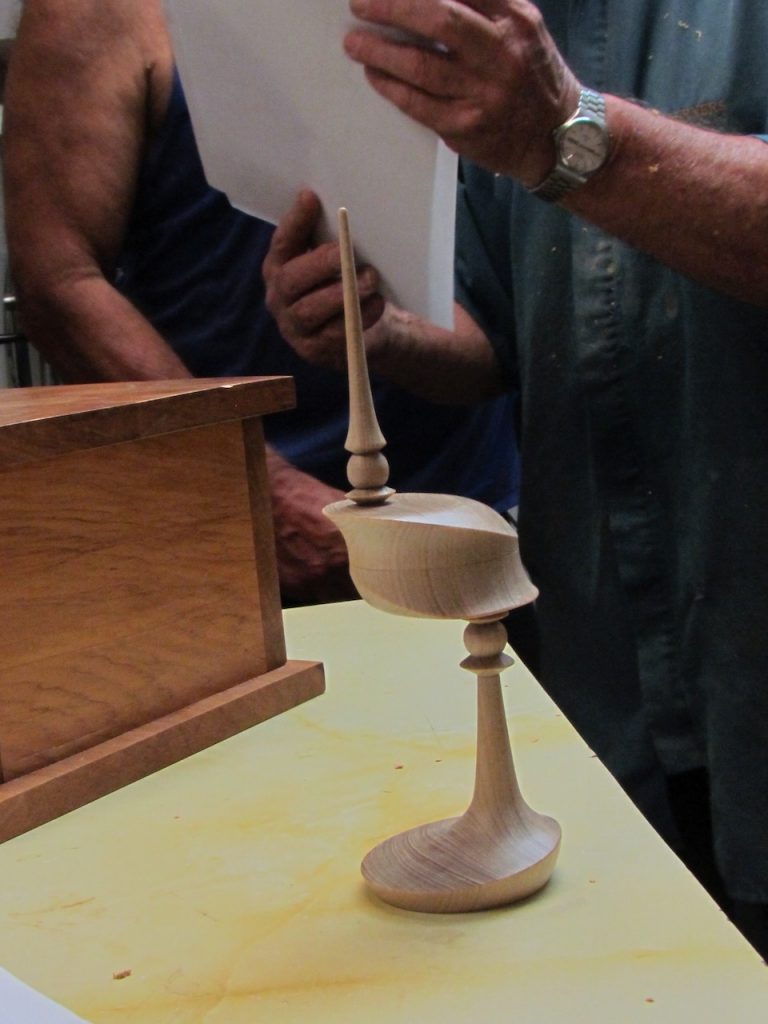
Moving on to the nights project, Dick chose to turn a Spire Box, which was made with multi-centres. It is import to choose a strong grained wood for this project. Taking a piece of wood with dimensions 220mm long and 70mm square, mount on the lathe and round off to 60mm diameter. Once round, cut the curve of the outside of the foot of the box. Then cut a cove in the centre down to 51mm. Now part this cove down the middle and set the spire part aside. Dick then went on to hollow out the lid part of the top section of box. Setting that aside, he hollowed the bottom part of the box to fit the lid. It was at this point that Dick realised he needed to stand on a platform to properly hollow the box, as the new lathe was fractionally too high (it was on a small plinth). Always important to remember to be at the right height for turning to avoid unnecessary strains and pains.

After that was complete, he put both parts of the box together and remounted on the lathe, to recut the curve in the centre. Once cut down to 48mm, mark the centre points on each end. Dick then went on to explain that while making this project, he encountered problems when turning the shaft of the base and the finial on top. This was because the off set body of the box was too heavy for the shaft to bare once it was turned thin. To counteract this problem, Dick made a jam block that fitted neatly into the box to reduce the off-centre weight. Once counterweighted, go on to shape the stem with a spindle gouge. Dick made some lovely beads and wings under the box body and tapered the stem. He then showed us a clever way of sanding the underneath of the box with an electro file. Dick mentioned at this point, that it was wise to put a brace between the box and for to steady the stem when sanding as it is so fragile at this point.

Once Dick was done sanding the base, he went over to his special ‘magic box’ and pulled out one he’d made earlier. A fabulous project, thank you very much. This project sheet is available on the SAWG website under the name Spire Box.

Cam Cosford – Triangular Box

Club Night: 12 Feb 2020
Report by: John Whitmore

Cam Cosford treated us to a demonstration of box making with a difference. The shape was of triangular footprint but having convex (not straight) sides. The complexities of this were somewhat baffling to many and way beyond the scope of this report to record in detail, but there were some take home messages that are worth recording for posterity:

The project was made from a blank of 150 mm dia and 80 mm long – which gives a good idea of the overall size. This can be scaled either way for personal preference.

When removing and replacing a project on a 4 jaw chuck in compression mode, mark the work opposite a known jaw number so that the item is remounted exactly as it was first positioned, using the original pressure marks. This facilitates consistently true running.

Parting off a box lid is best started using the thinnest parting tool available and completed by hand saw with the work stationary. A thin parting tool enables grain to be better matched between box and lid.

Marking out the design intentions involves careful geometric drawing. To create a triangle out of the original circular disc requires offset turning and a great deal of hit-and-miss cutting. Off-setting is by means of a custom faceplate made from 30 mm mdf and necessitates very accurate (again, of geometric quality) laying out of positioning marks. Securing of the work to the offset faceplate is assisted by means of a screw into the workpiece centre to allow rotation between the three cutting centres and blobs of hotmelt glue for security at each stop. A counterbalance weight is essential.

The feet were cunningly made by utilising the original flat base of the blank as their resting surfaces and shaping the sides via the process of creating the convex triangular curves. Unusually, the underside was deeply dished between the feet with the effect of letting light underneath to create lift of the box and visual separation of the feet.

The likelihood is that this will be written up as a project plan for our website so greater detail is expected in due course along with drawings to illustrate the finer points. This project does flag the benefits of precision planning and that there are endless permutations in woodturning to be explored and experimented with.