Club Meeting: 16 November 2022
Report by: Kieran FitzGerald
In tonight’s demo Strett shows us how to make a toy gun. In a previous show and tell he had demonstrated a highly effective toy bow and arrow. But how safe was such a toy in the hands of a reckless child?
Not to be dissuaded, Strett pursued his theme with enthusiasm to create a safer alternative. In his own words: “Grandpa’s developing a range of renewable energy toy canons. These are carbon neutral, so a very PC toy. Perfect for Christmas prezzies for the green brigade. Awaiting COP 27 approval.”
To be pedantic, in speaking of canons instead of cannons, it is clear he is confusing theology with hoplology. But moving on….
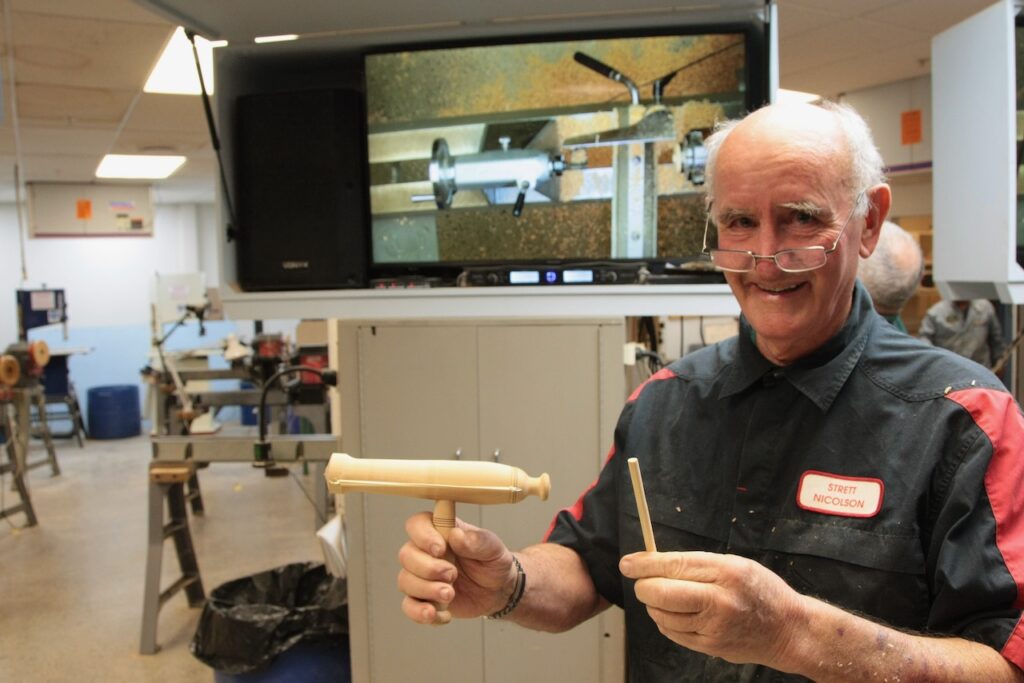
In the following picture, the toy at the top is the closest representation of the bow and arrow, and the toy at the bottom is similar to the toy Strett makes in the demonstration, except it utilises the short “bullets” shown above it in the picture.

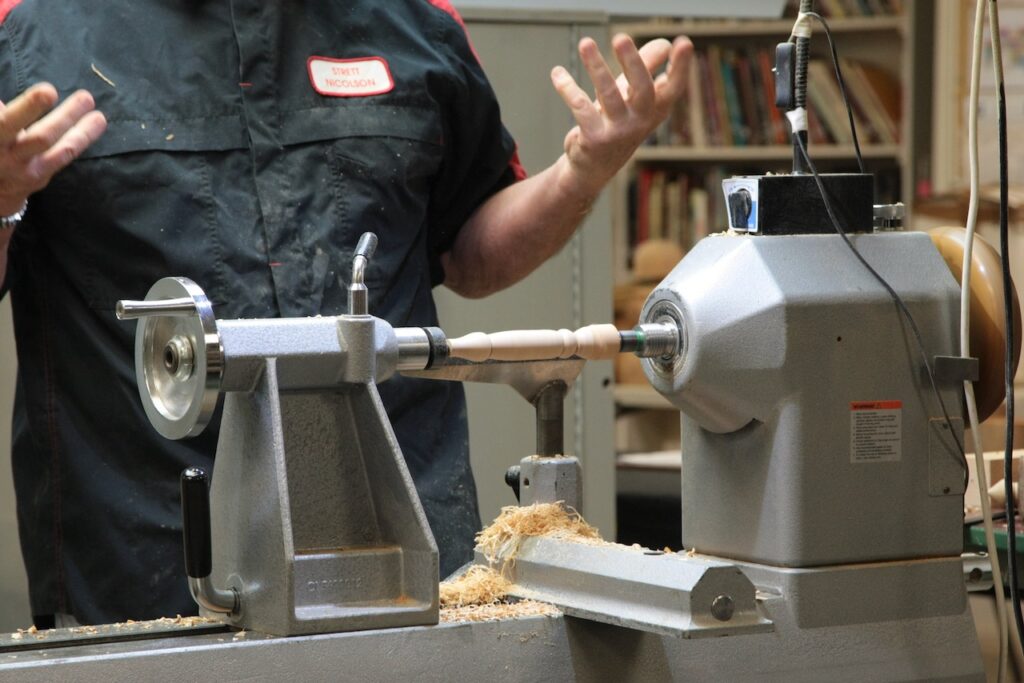
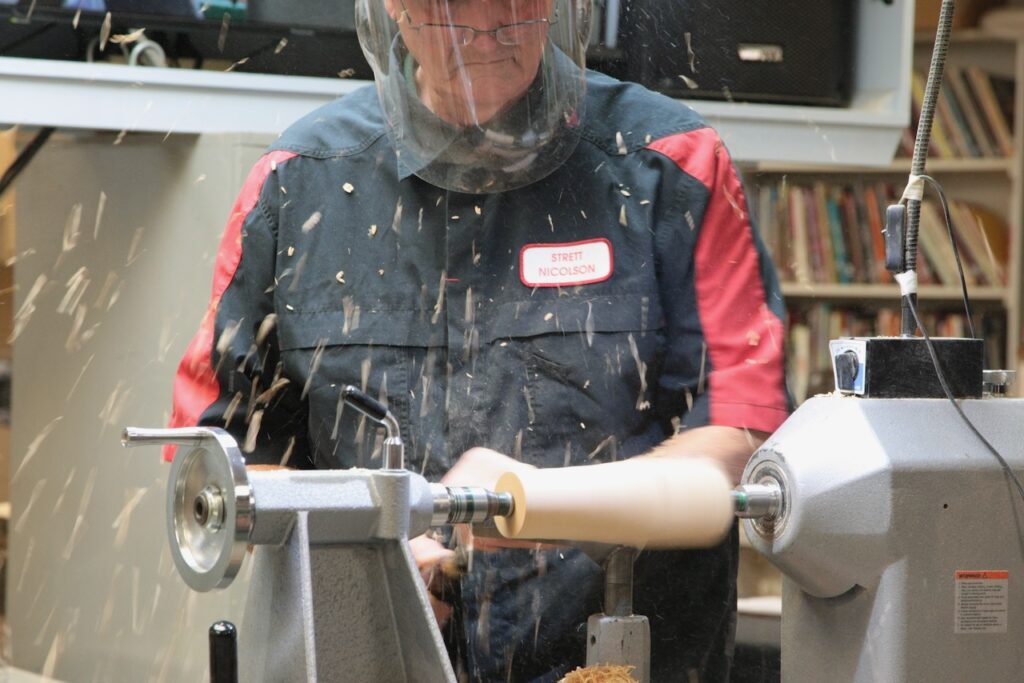
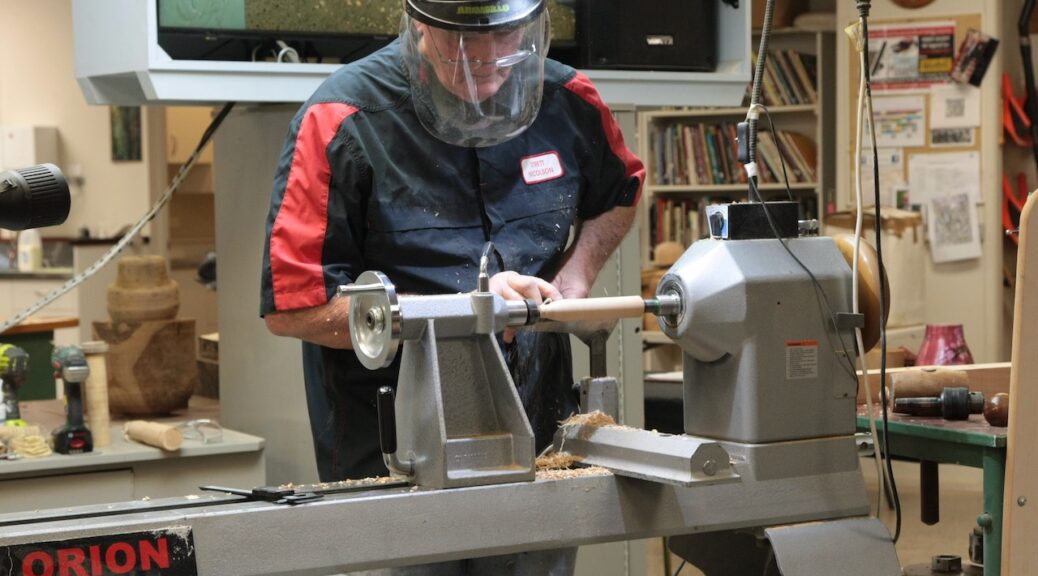
To make the toy, Strett starts with a piece of wood approx. 45 x 45 x 150, which he will turn between centres to make the handle. Strett offered this an opportunity to practice using the skew, and he explained the correct presentation of the tool to the wood etc, an aspect of the demo which less experienced turners found very useful. The handle was shaped and sized to fit a child or young person’s hand and decorative features added. One end was tapered down to 16mm to fit the hole which had been pre-drilled in the piece of wood from which the gun barrel would be made. Test fit, and then part off. A tight and tidy fit is important for both looks and strength of purpose.

The gun barrel is fashioned from a length approx. 60 x 60 x 220. One end of the blank may be used to make the plunger, or firing mechanism. More on that shortly. The key to making the barrel is to drill the bore longitudinally through the centre. To do this Strett rounded off the blank and cut a spigot on each end. Lacking a drill bit of sufficient length to drill through in one pass, he had to turn the piece in the lathe and drill it from both ends, ensuring a clean meet in the middle. The diameter of the bore should be marginally wider than the dowel from which the bullets are made, to accommodate slight variances in the thickness of the dowel. Once the bore is drilled the barrel can be shaped to a suitable design of choice. One point to remember is that eyes (as in hook and eye) will be screwed to the barrel for holding the elastic band, so be sure to leave enough thickness for this in the barrel. Once finished, a skew chisel is used to make a clean parting cut.

The next component is the plunger, which fits on the non-firing end of the barrel. This knob-like piece has a 15mm deep hole drilled in to it to accept a dowel, and two eyes through which the elastic cord will pass. The velocity with which the dowel bullets are fired may be determined by the positioning and strength of the elastic band. All the pieces were sanded before being taken off the lathe.

Thank you Strett for an enjoyable, instructive and innovative demo.
