Club Meeting: 30 November 2022
Report by: Kieran FitzGerald
Tonight’s demo promised to be a blockbuster of epic proportions, and Director Dave Gillard did not let us down, performing to a full opening night audience. The action packed show had it all – drama, comedy, suspense, and most of all, education. Due to the technical nature of much of the subject matter, this review will concentrate on those aspects that were actually understood by the writer. For those parts which are unwritten, I would say take the tools in your hands and give it a go – with practice, practice and more practice the techniques and skills will reveal themselves to you.
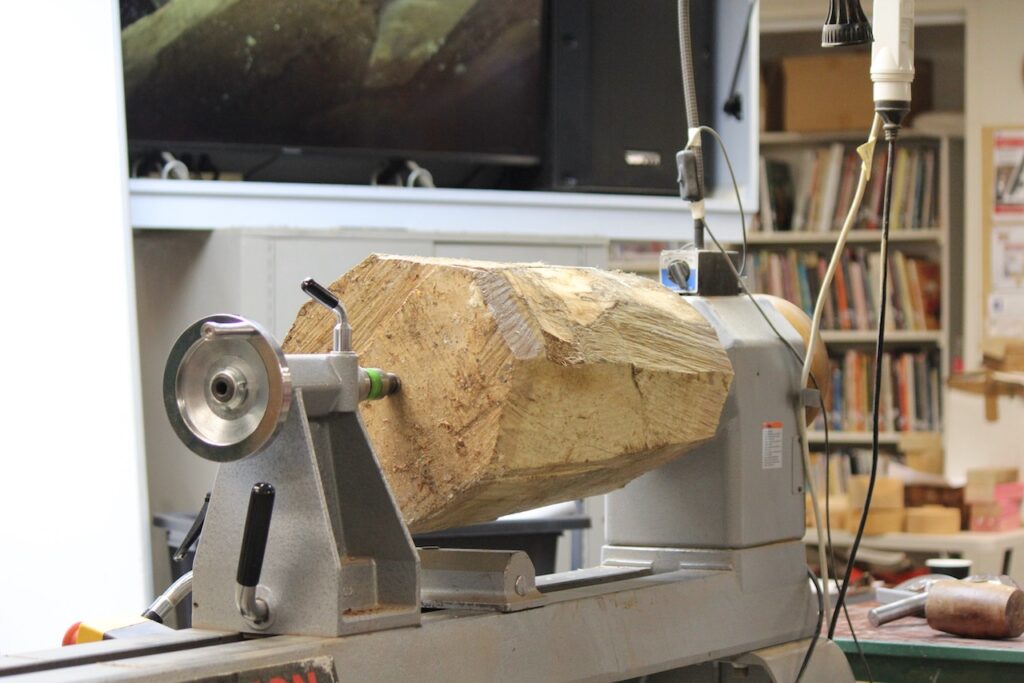
The show opened with a log half the size of California mounted between centres on the lathe. Of course it could have been a bigger log if the lathe was a Harvey. But this scene was to be anticlimactic, and Bryan M. predicted it immediately: “he’s not going to turn that, it would take him all night just to rough it round”. Sure enough, this was a leg pull. Dave unmounted the log, but did share with us the method he uses to safely drive extra large turnings. This consists of a custom 75mm faceplate with a 50mm long pipe welded to the centre, and three sharp spurs fashioned from bolts protruding through the faceplate screw holes. Initially between centres, a Vermec reversing live centre with chuck can be fitted at the tailstock end.
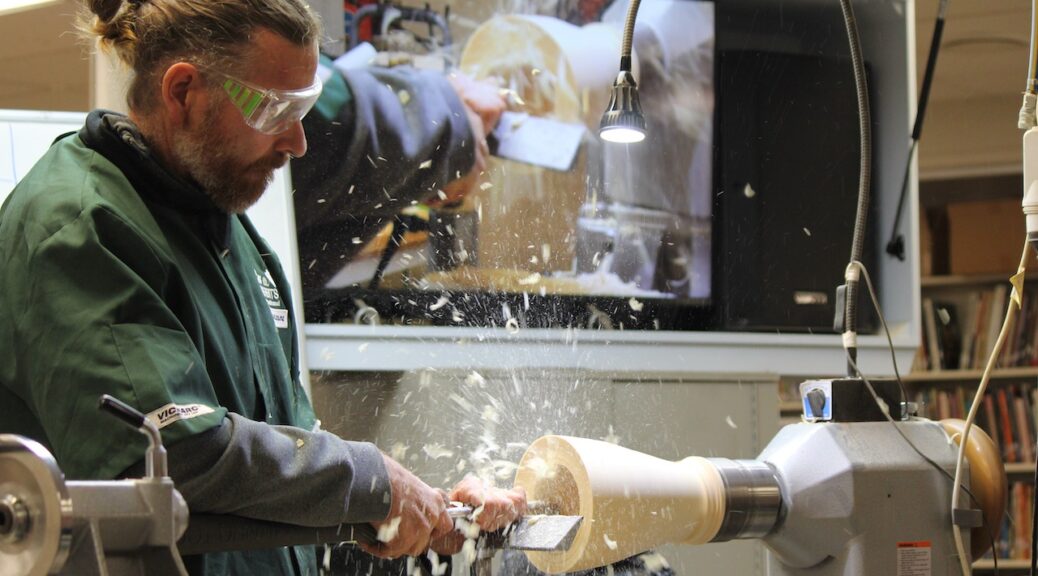
Getting down to business, the plot begins as Dave mounts a decent sized chunk of green magnolia – guessing about 360 long by 180 across. It is already partly rounded and has a spigot for 100mm power grip jaws. Taking a ½” bowl gouge Dave shapes the outside, without placing too much importance on form – the emphasis here is on hollowing. A hint when working with wet wood is to wax the bed, tool rest etc to offer a bit of protection against the moisture from the wood. Dave turned the head of the lathe about 30 degrees to give a better working position rather than having to lean over the bed. After cleaning up the top surface Dave removed the tailstock and bored a 30 – 40mm hole with a spindle gouge to start the hollowing. In an alternative take this could have been drilled out, in which case a grunty sized drill bit should be used. Dave uses two forstner bits, one of which has the point ground off so he can go deep into the bottom but still leave it flat.
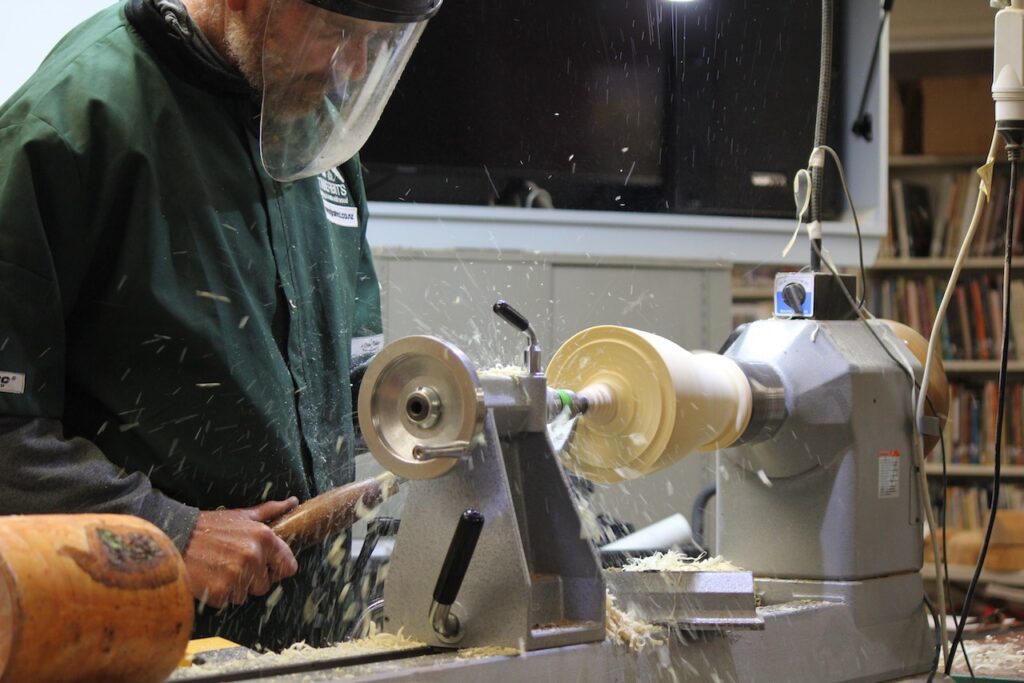
Now the plot deepens. Laid out on the table behind the lathe is a range of Rolly Munro hollowing tools, and Dave will use each of these as he demonstrates the hollowing techniques. The minimum 6 series, consisting of a Straight, an Owen and a Lister bend have a 6mm tungsten carbide cutter. These three tools have recently been superseded by a single 6mm articulated version. The next size up is the mini 8mm, which as the name implies, is an articulated tool with an 8mm cutter in either HSS or carbide, and ½” shaft. Next size up is the Wunderkutt 10mm with a 5/8” diameter shaft. These tools have an adjustable hood over the cutter which can be removed or retained in place to set the depth of the cut. By this stage I was getting a bit lost as to which tool was which, but there were longer tools as well for those deep hollowing jobs. Dave explained that with any of the Rolly tools the length over the tool rest is shaft diameter x 20. So a 5/8” diameter tool has a hollowing reach of 317.5mm over the rest.
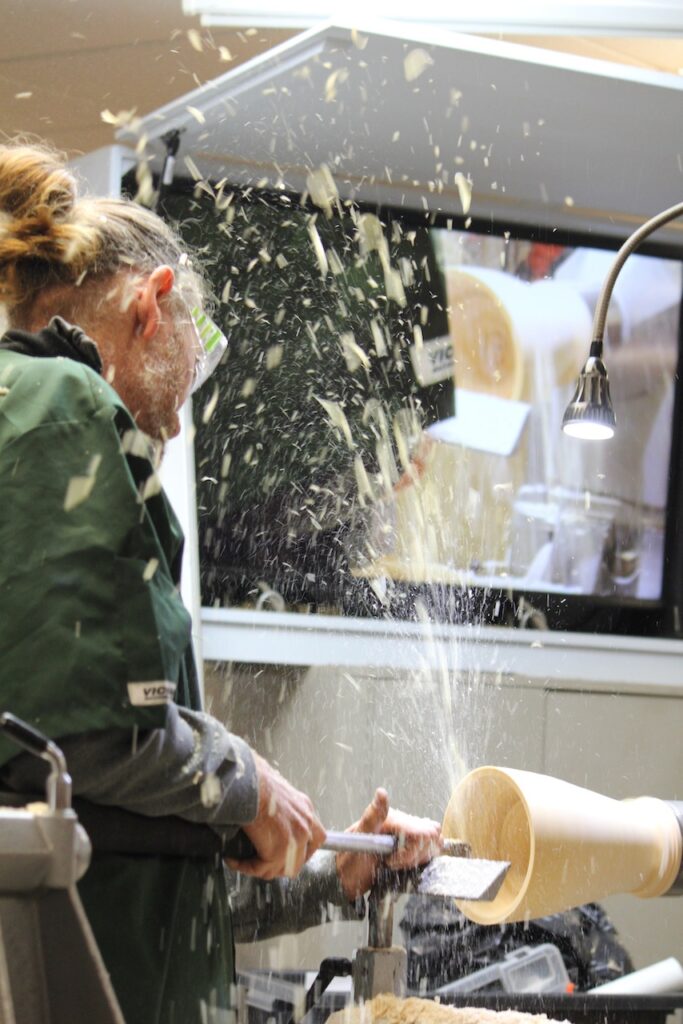
When hollowing, the tool is presented to the wood at centre. With the cutter angled down initially, it is rotated clockwise until the desired cut is achieved. Dave has recently been at a day long demonstration with Rolly Munro, during which Rolly demystified some of the practices associated with hollowing, and explained that with the correct cutting techniques it is very difficult to get a catch. Dave demonstrated the techniques to us. First of all, the hand on the tool over the tool rest acts as a shock absorber, preventing the tool from chattering. If a cutter is inclined to catch, it will turn downwards with the rotation of the wood. When this happens, simply let the tool turn down and out of the cut rather than sharply trying to withdraw the tool. Through a tight opening, it is this reaction which has the potential to shatter the turning.
In this example, when hollowing the sides up from the opening, the cutter is most likely to catch at the point where it hits the shoulder. To avoid this, rather than pushing upwards at the side, cut downwards from the drilled centre hole towards the side. The hollowing tools will cut well in both a push and pull cut. It will be necessary to change the articulated angle of the cutter depending on your cutting location within the vessel.
A good stance involves positioning your body with the handle under your forearm, your front foot forward, and your shoulder positioned over the tool. This position allows the weight of your body to assist to control the hollower.
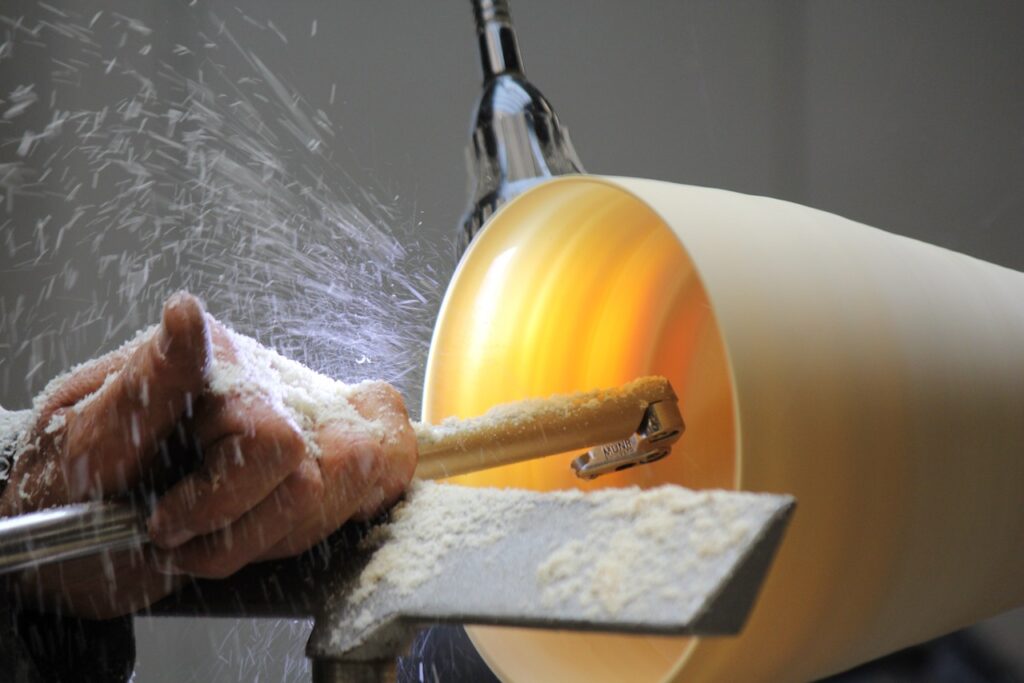
As the sides get thinner a cleaner cut can be achieved by angling the cutter to make a shear cut. The cutter can be swapped out for a dedicated scraper. The shavings will be smaller, and watch that the shavings don’t disguise the true thickness of your walls.
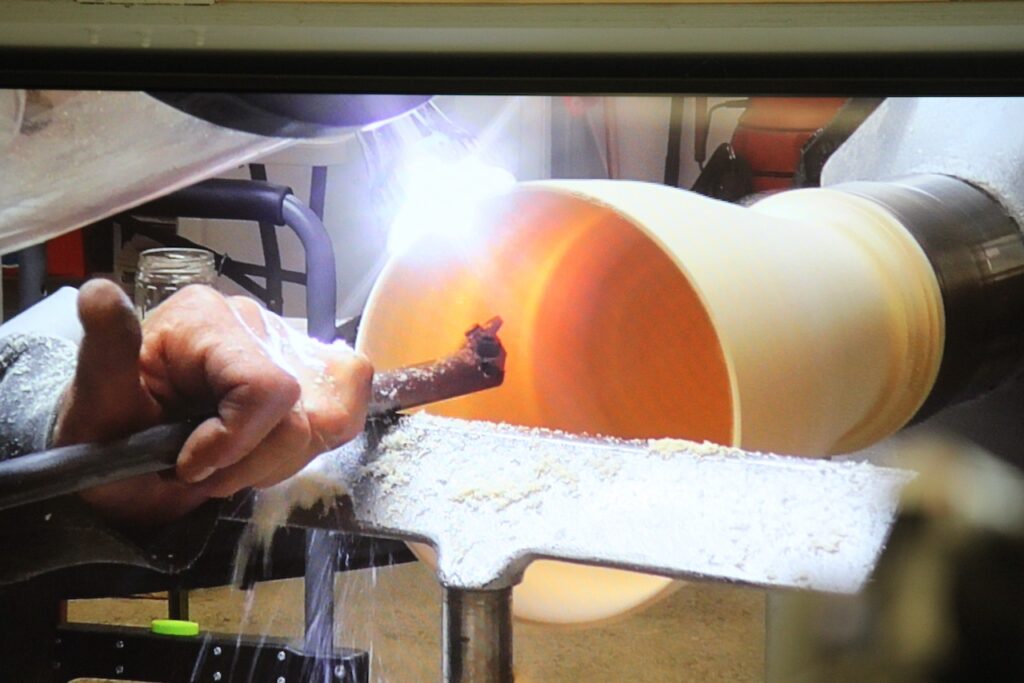
The hollowing tools will work equally well on dry wood. Dave took a rough turned bowl which had warped a bit as it dried. With the smaller tools especially, the amount of steel at the articulated joint is only about 2mm, so don’t go in too heavy handed with these. Dave showed how easy it is to turn the inside of the bowl with a hollower (although it can be difficult to see, with the shavings flying back at you).
One of the trickier parts of hollowing is removing the nipple that tends to form at bottom centre of your hollowing, where the rotation is near to zero rpm. Dave explained how the rotation of the vessel will carry the cutter towards the bottom of the nipple at which time you apply gentle downwards pressure on the handle, which lifts the cutter and nibbles away at the little nub. Dave was using a Wunderkutt 10 without a shield for this.
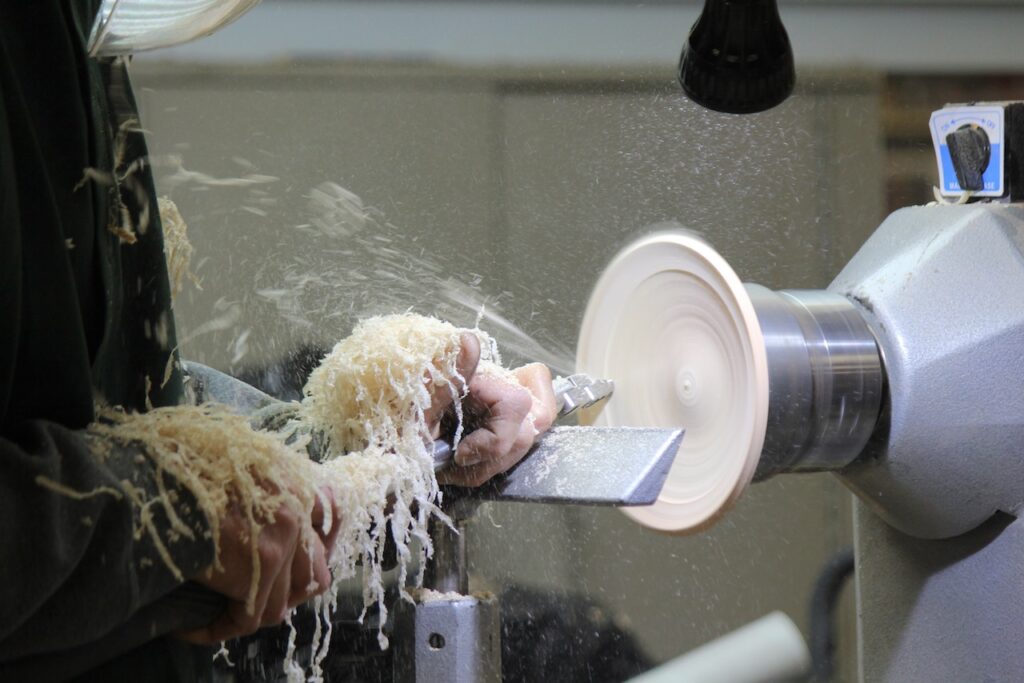
The finale of tonight’s show was a very informative discussion about sharpening. A sharp cutter, when drawn across your thumb nail, will dig in. If it takes a shaving from your nail it is not sharp. Cutters may be rotated, normally by about 1/3rd, to expose an unused edge. The recommended process for sharpening the cutters is to use a 2000 – 3000 grit diamond disc on the lathe at 300 rpm, and the cutter on a mandrel in a power drill rotating upwards at full speed. The diamond disc needs to be lubricated with water. Start on the bevel and bring the cutter forward until the edge is contacting. The black slurry line means the edge is sharpening.
The Rolly Munro cutters may be either high speed steel (HSS) or tungsten carbide (carbide). The carbide will not be able to achieve as sharp an edge as HSS, but the cutting edge will last much longer than HSS. You can identify which cutters are carbide because they have a star shaped pattern on top, and the angle of the sides is not as sharp as HSS. The list of what sharpening compounds should be used for the various types of steel is shown in the following table:
And the Oscar goes to…….
……. let’s just say woodturning was the winner on the night.
Thanks Dave, for a hugely informative demo.
