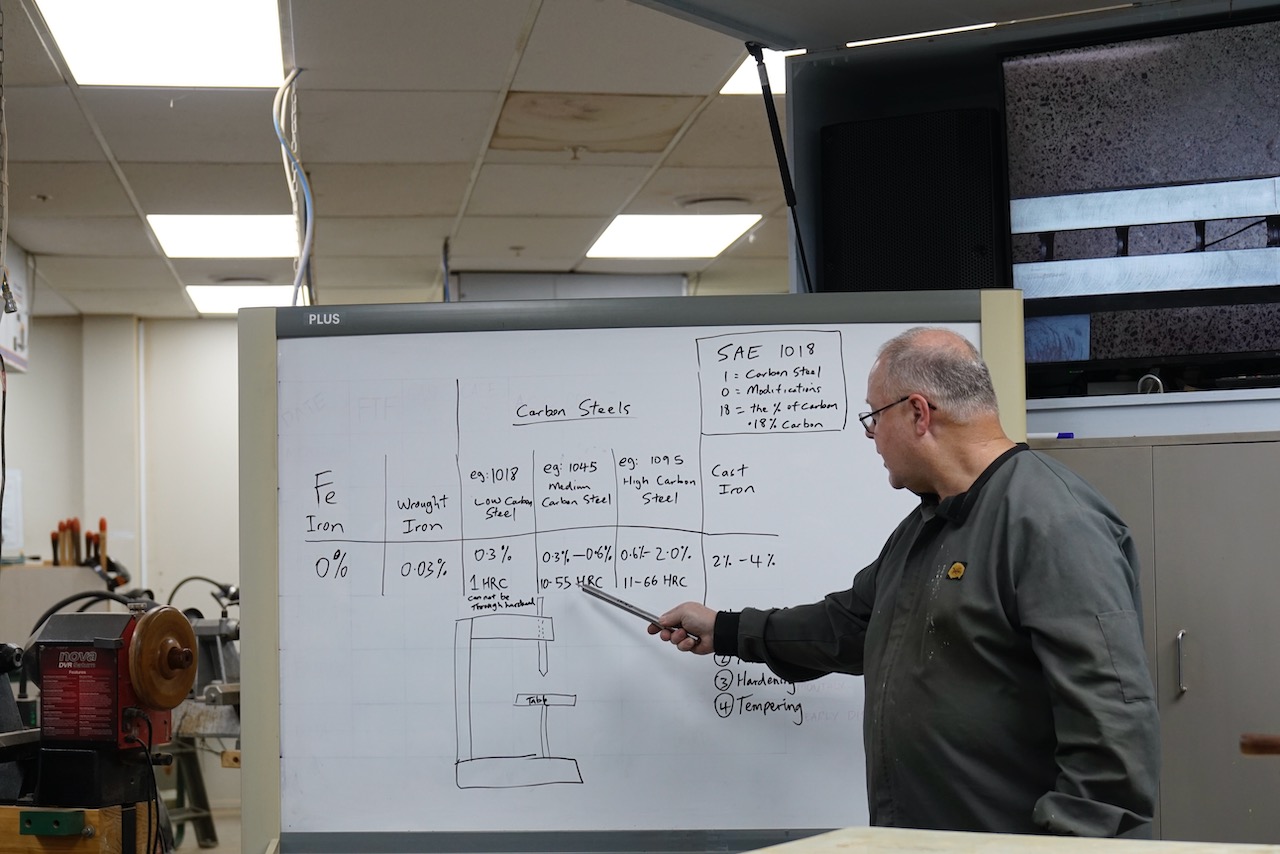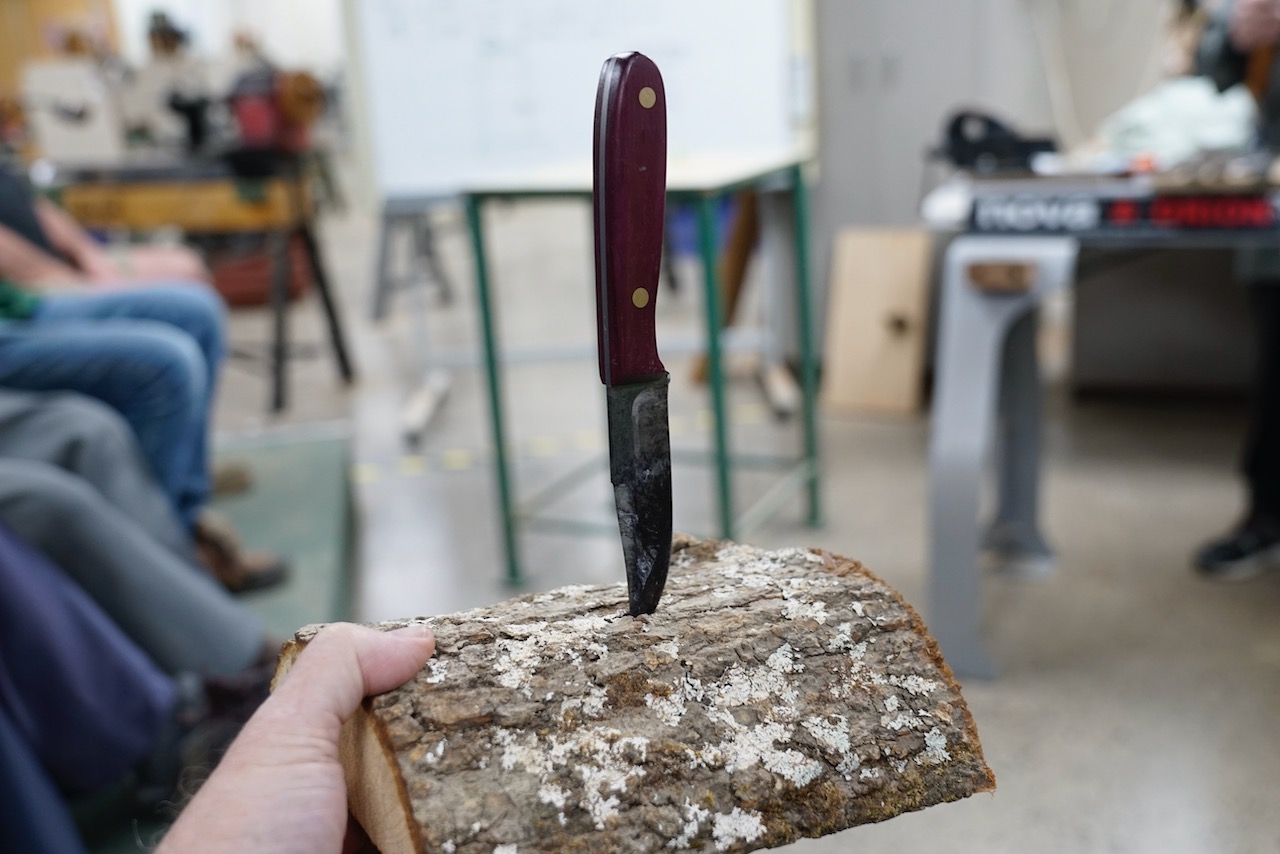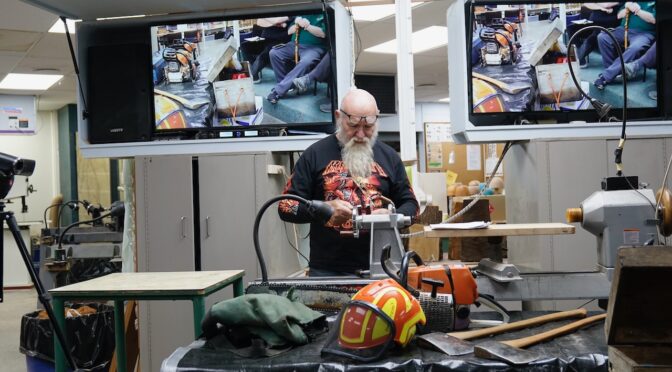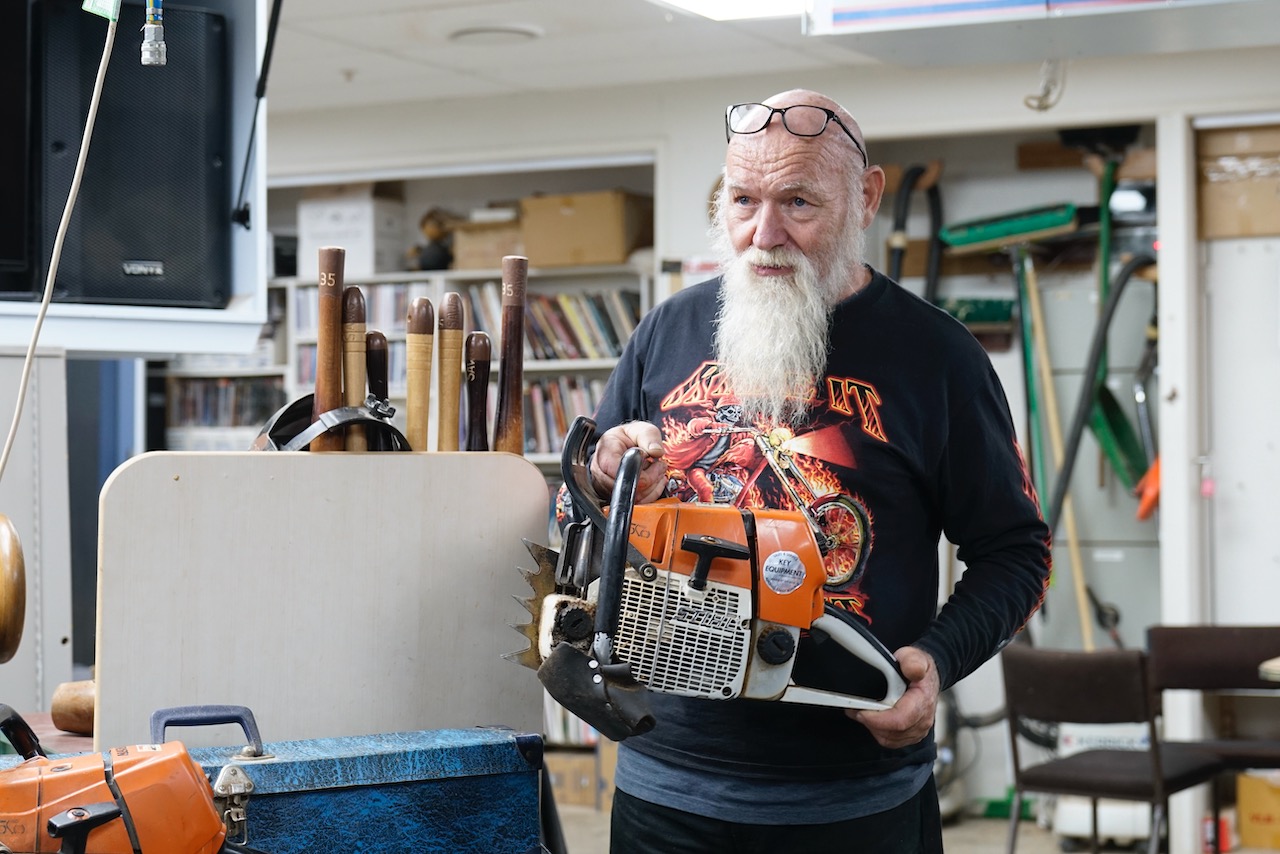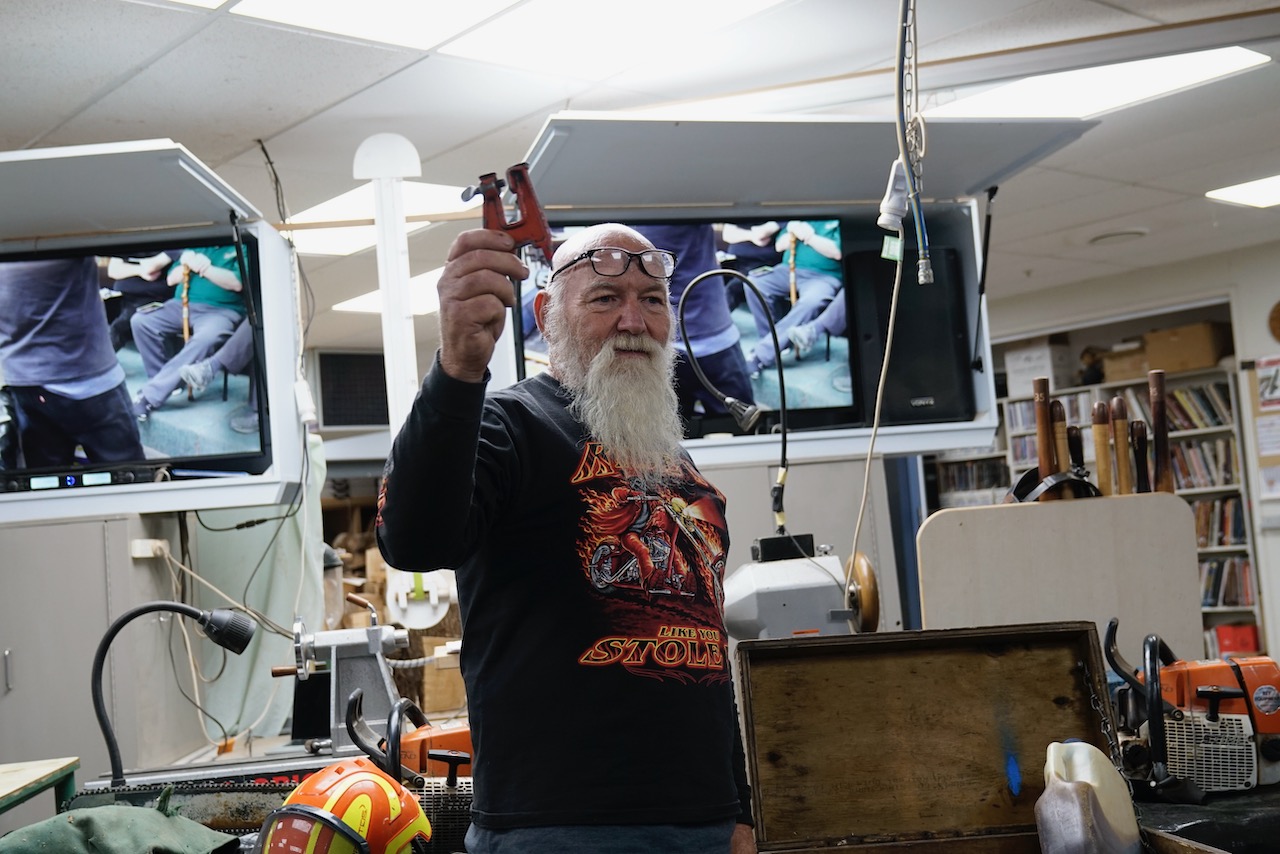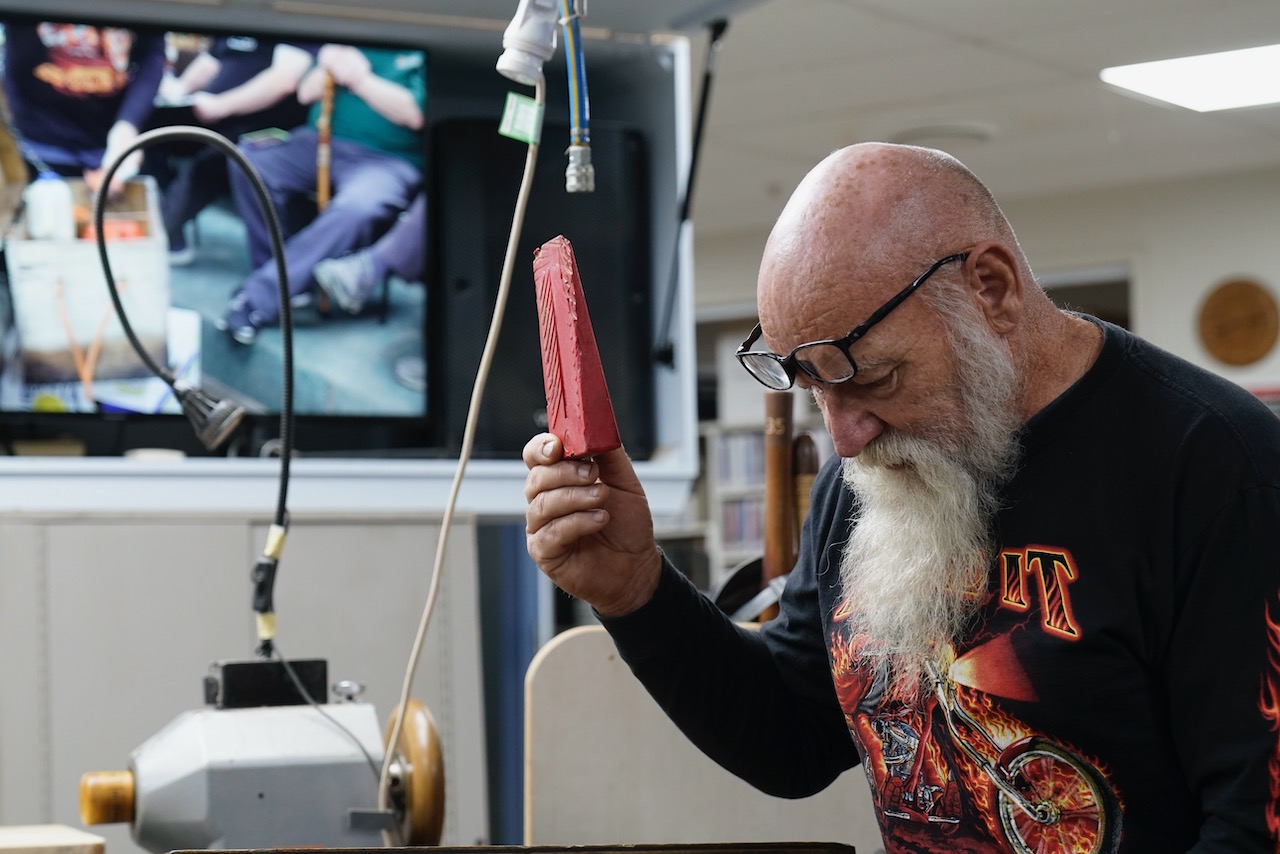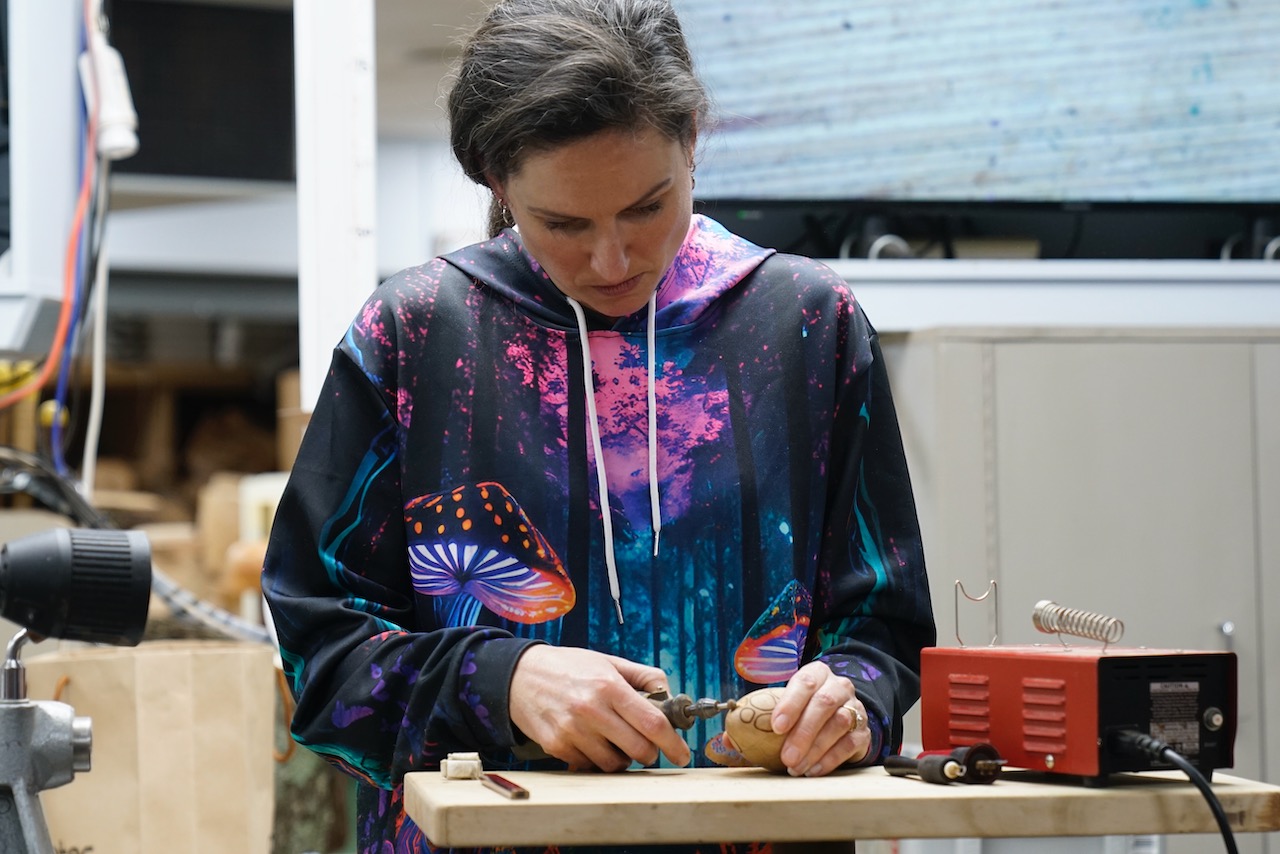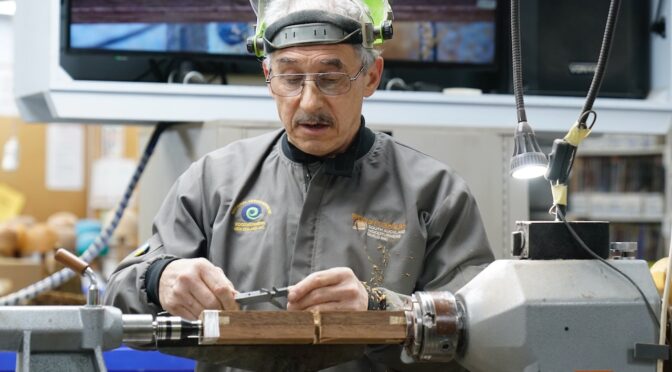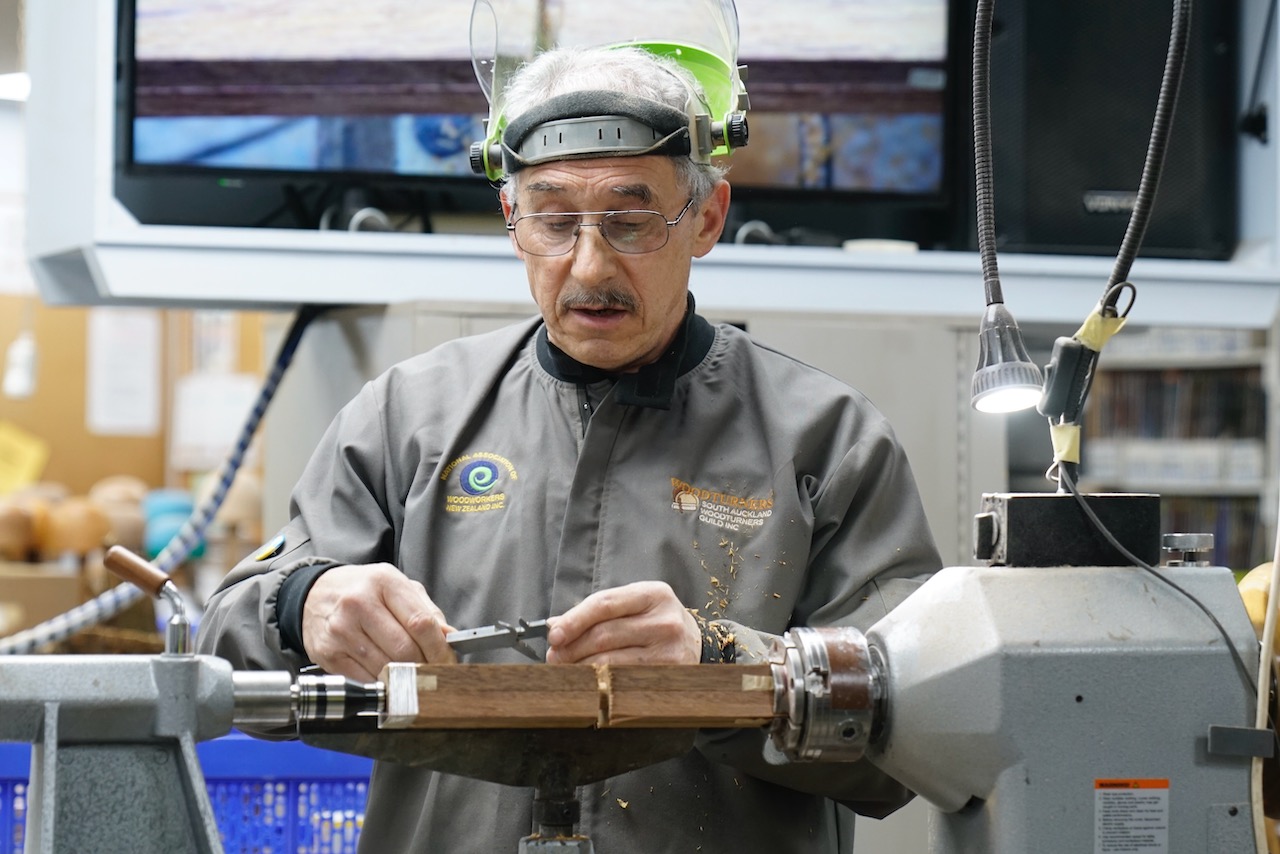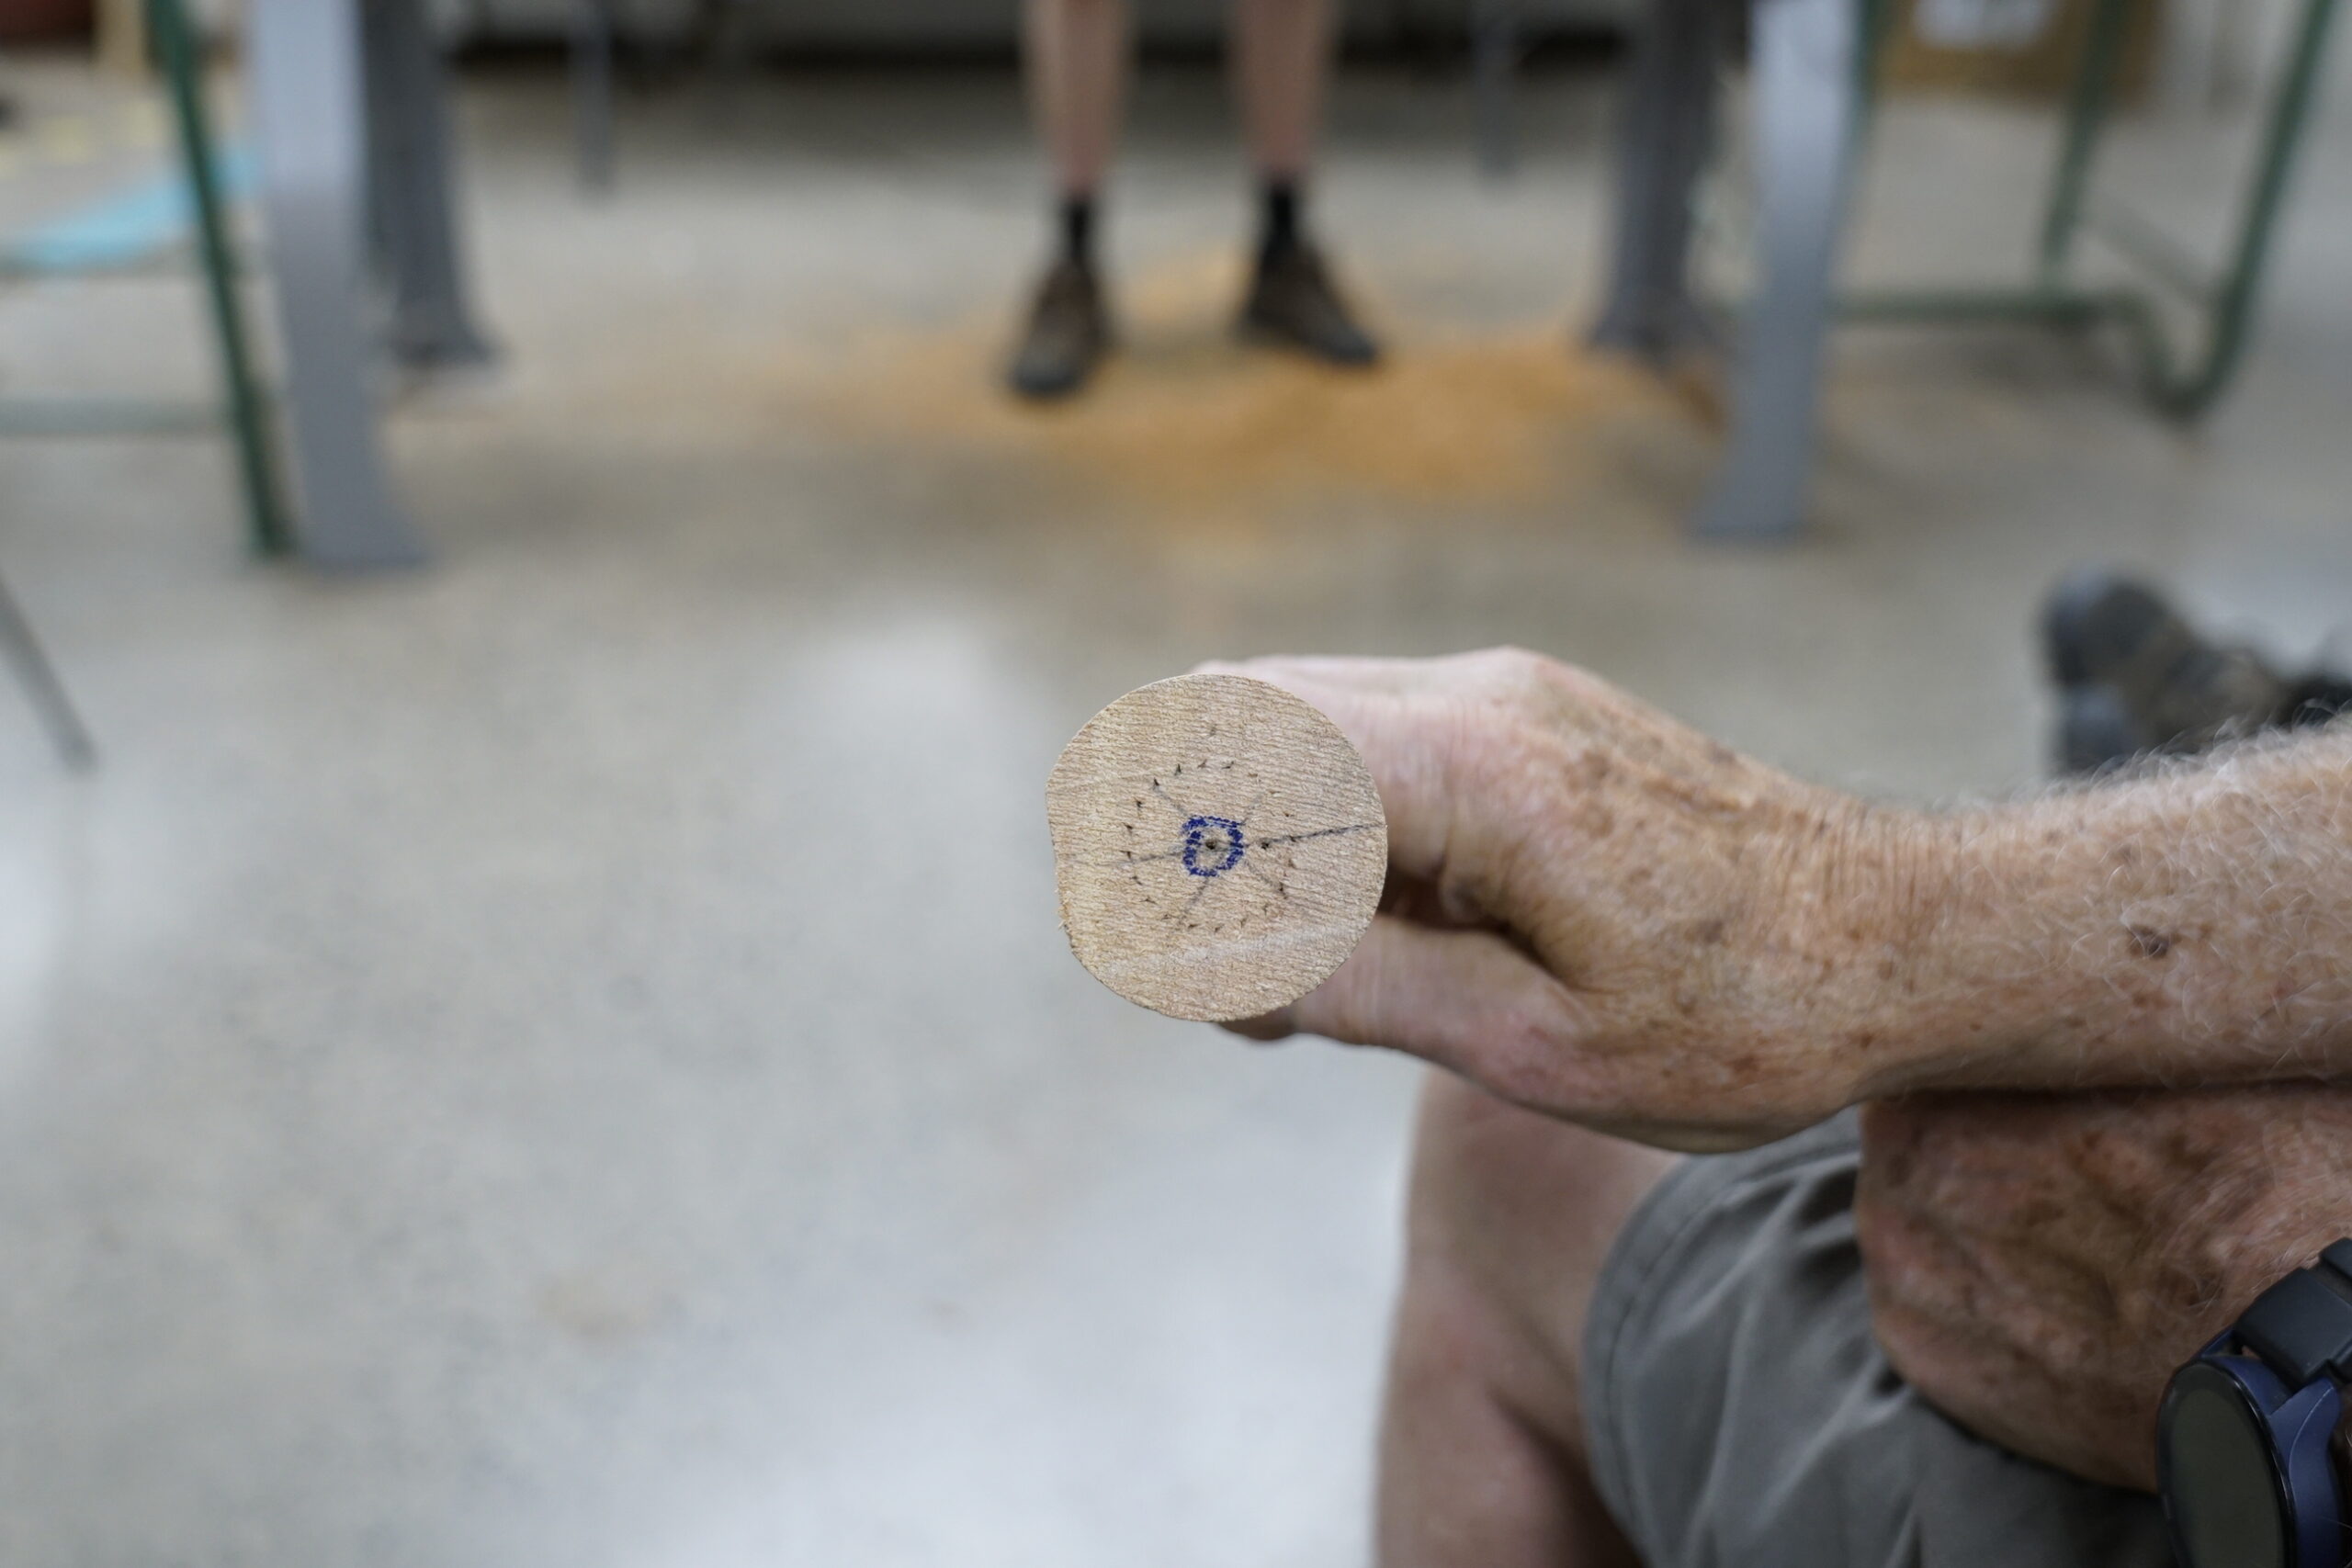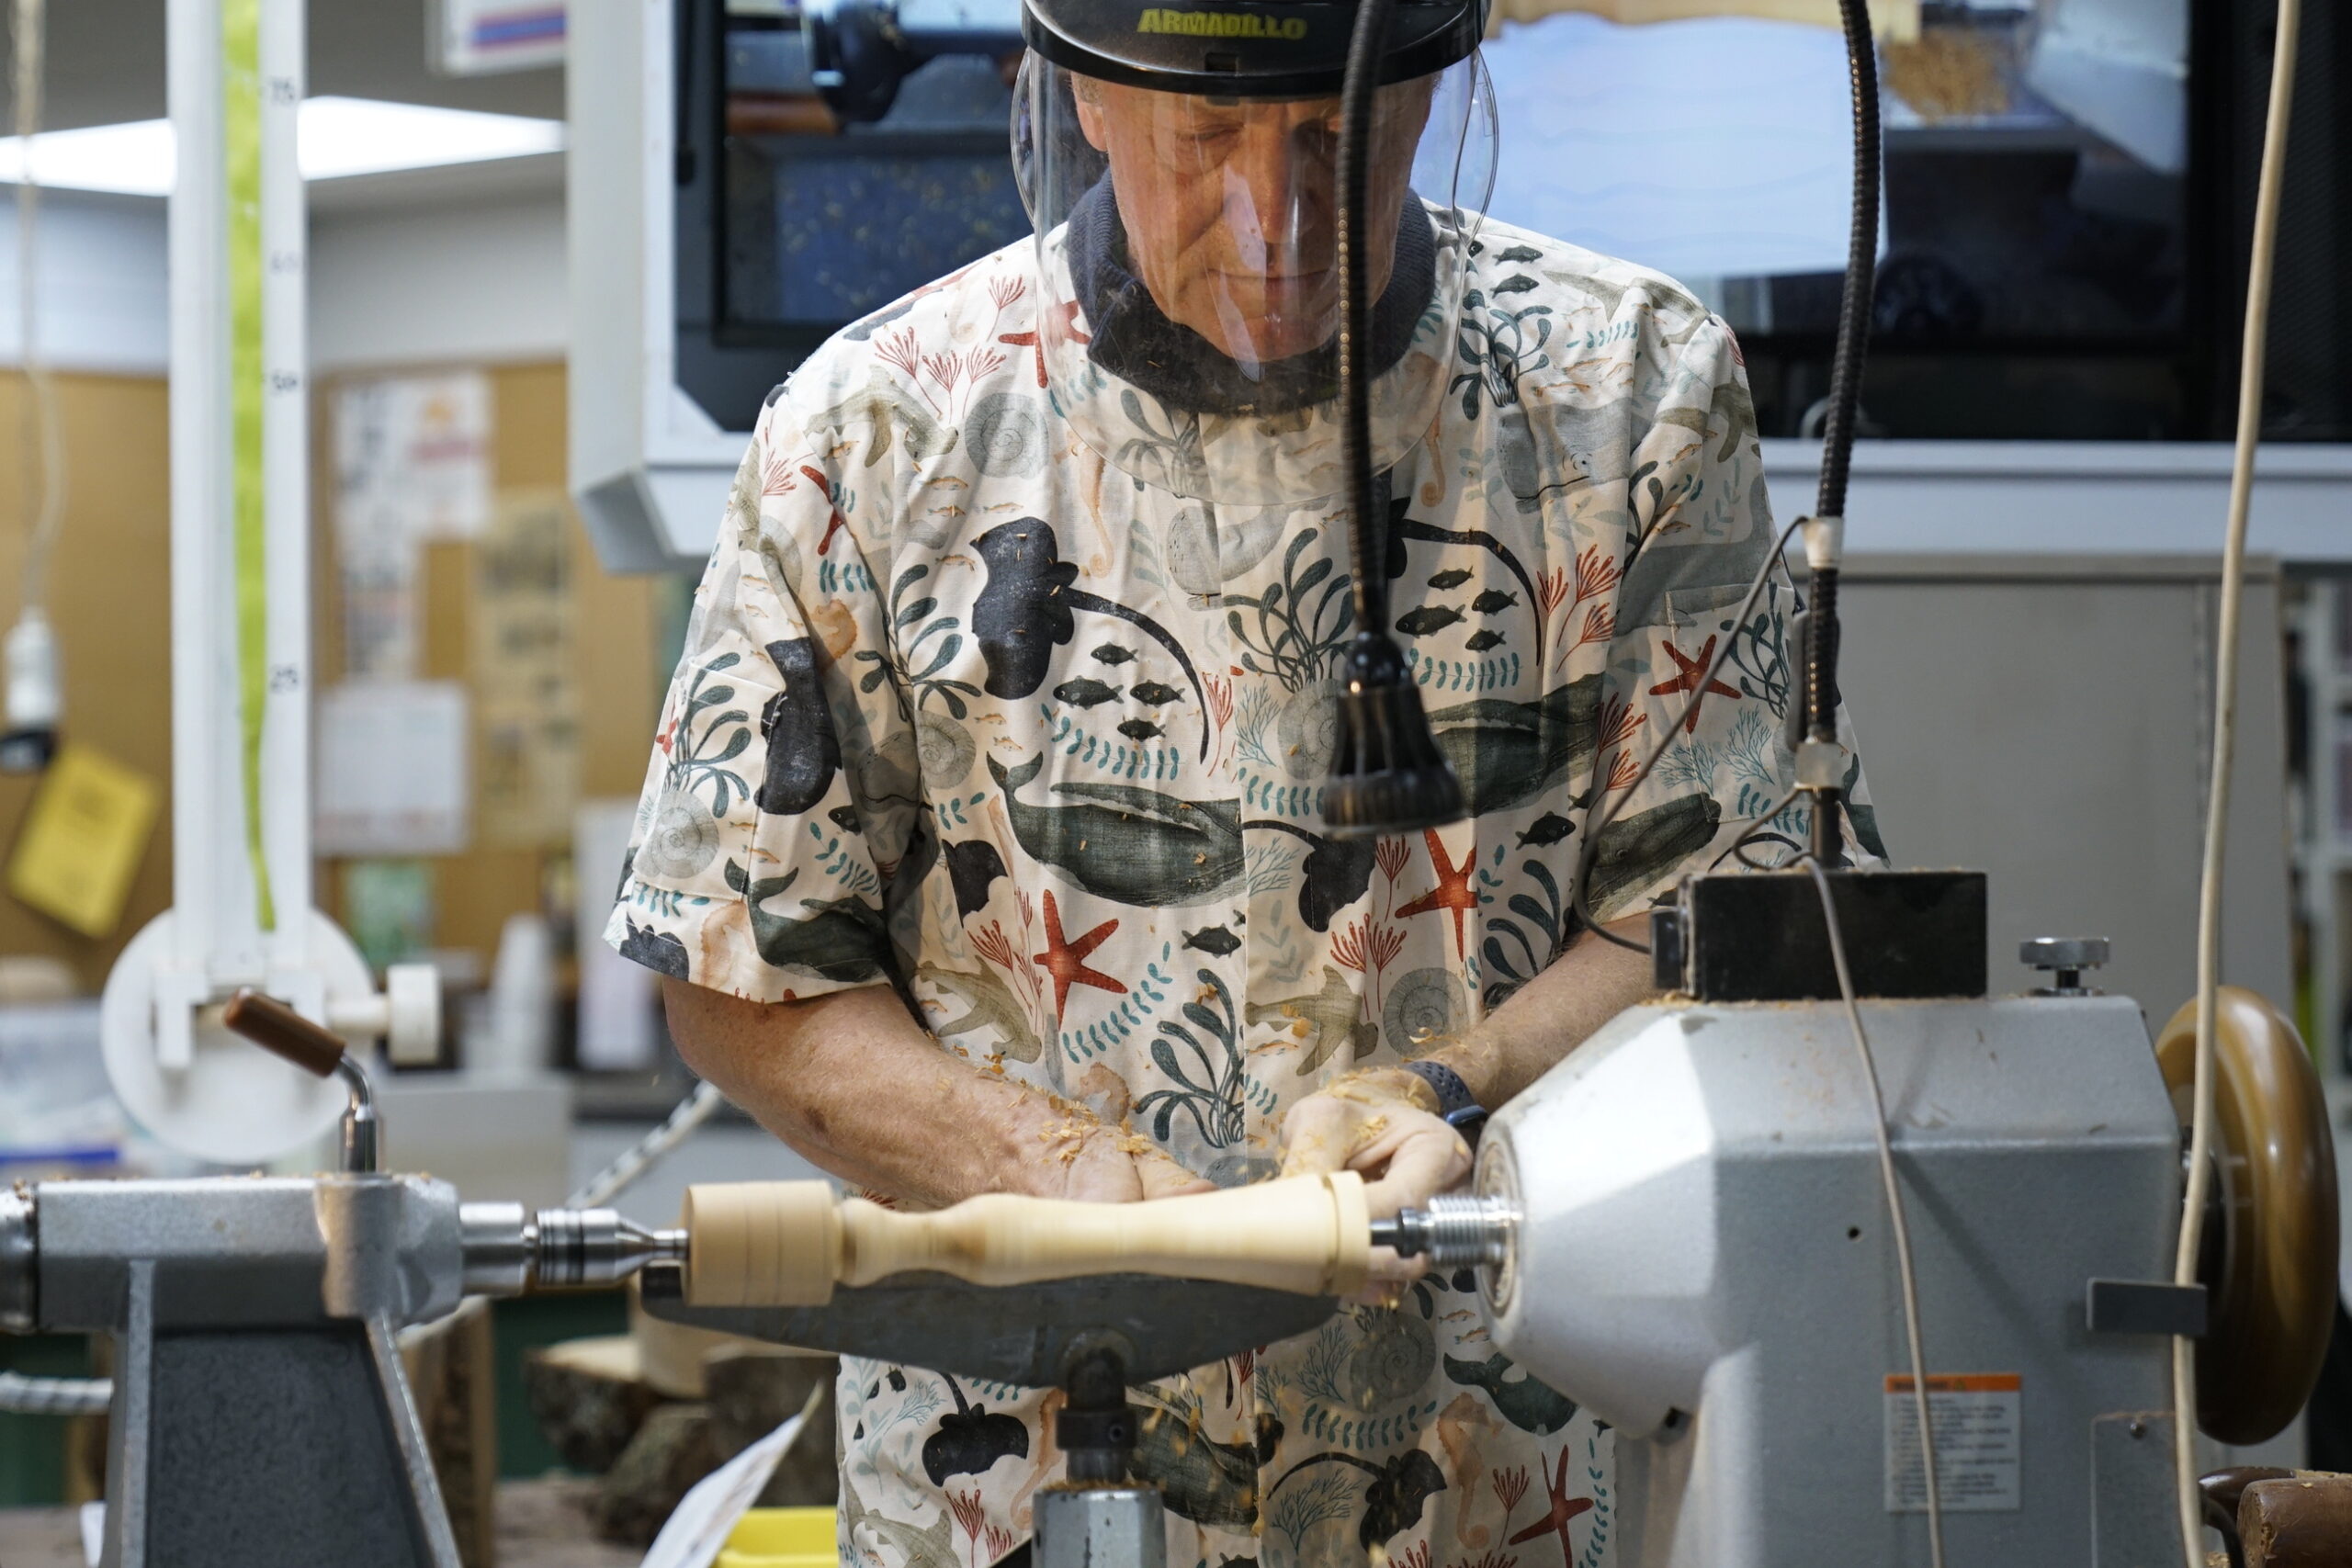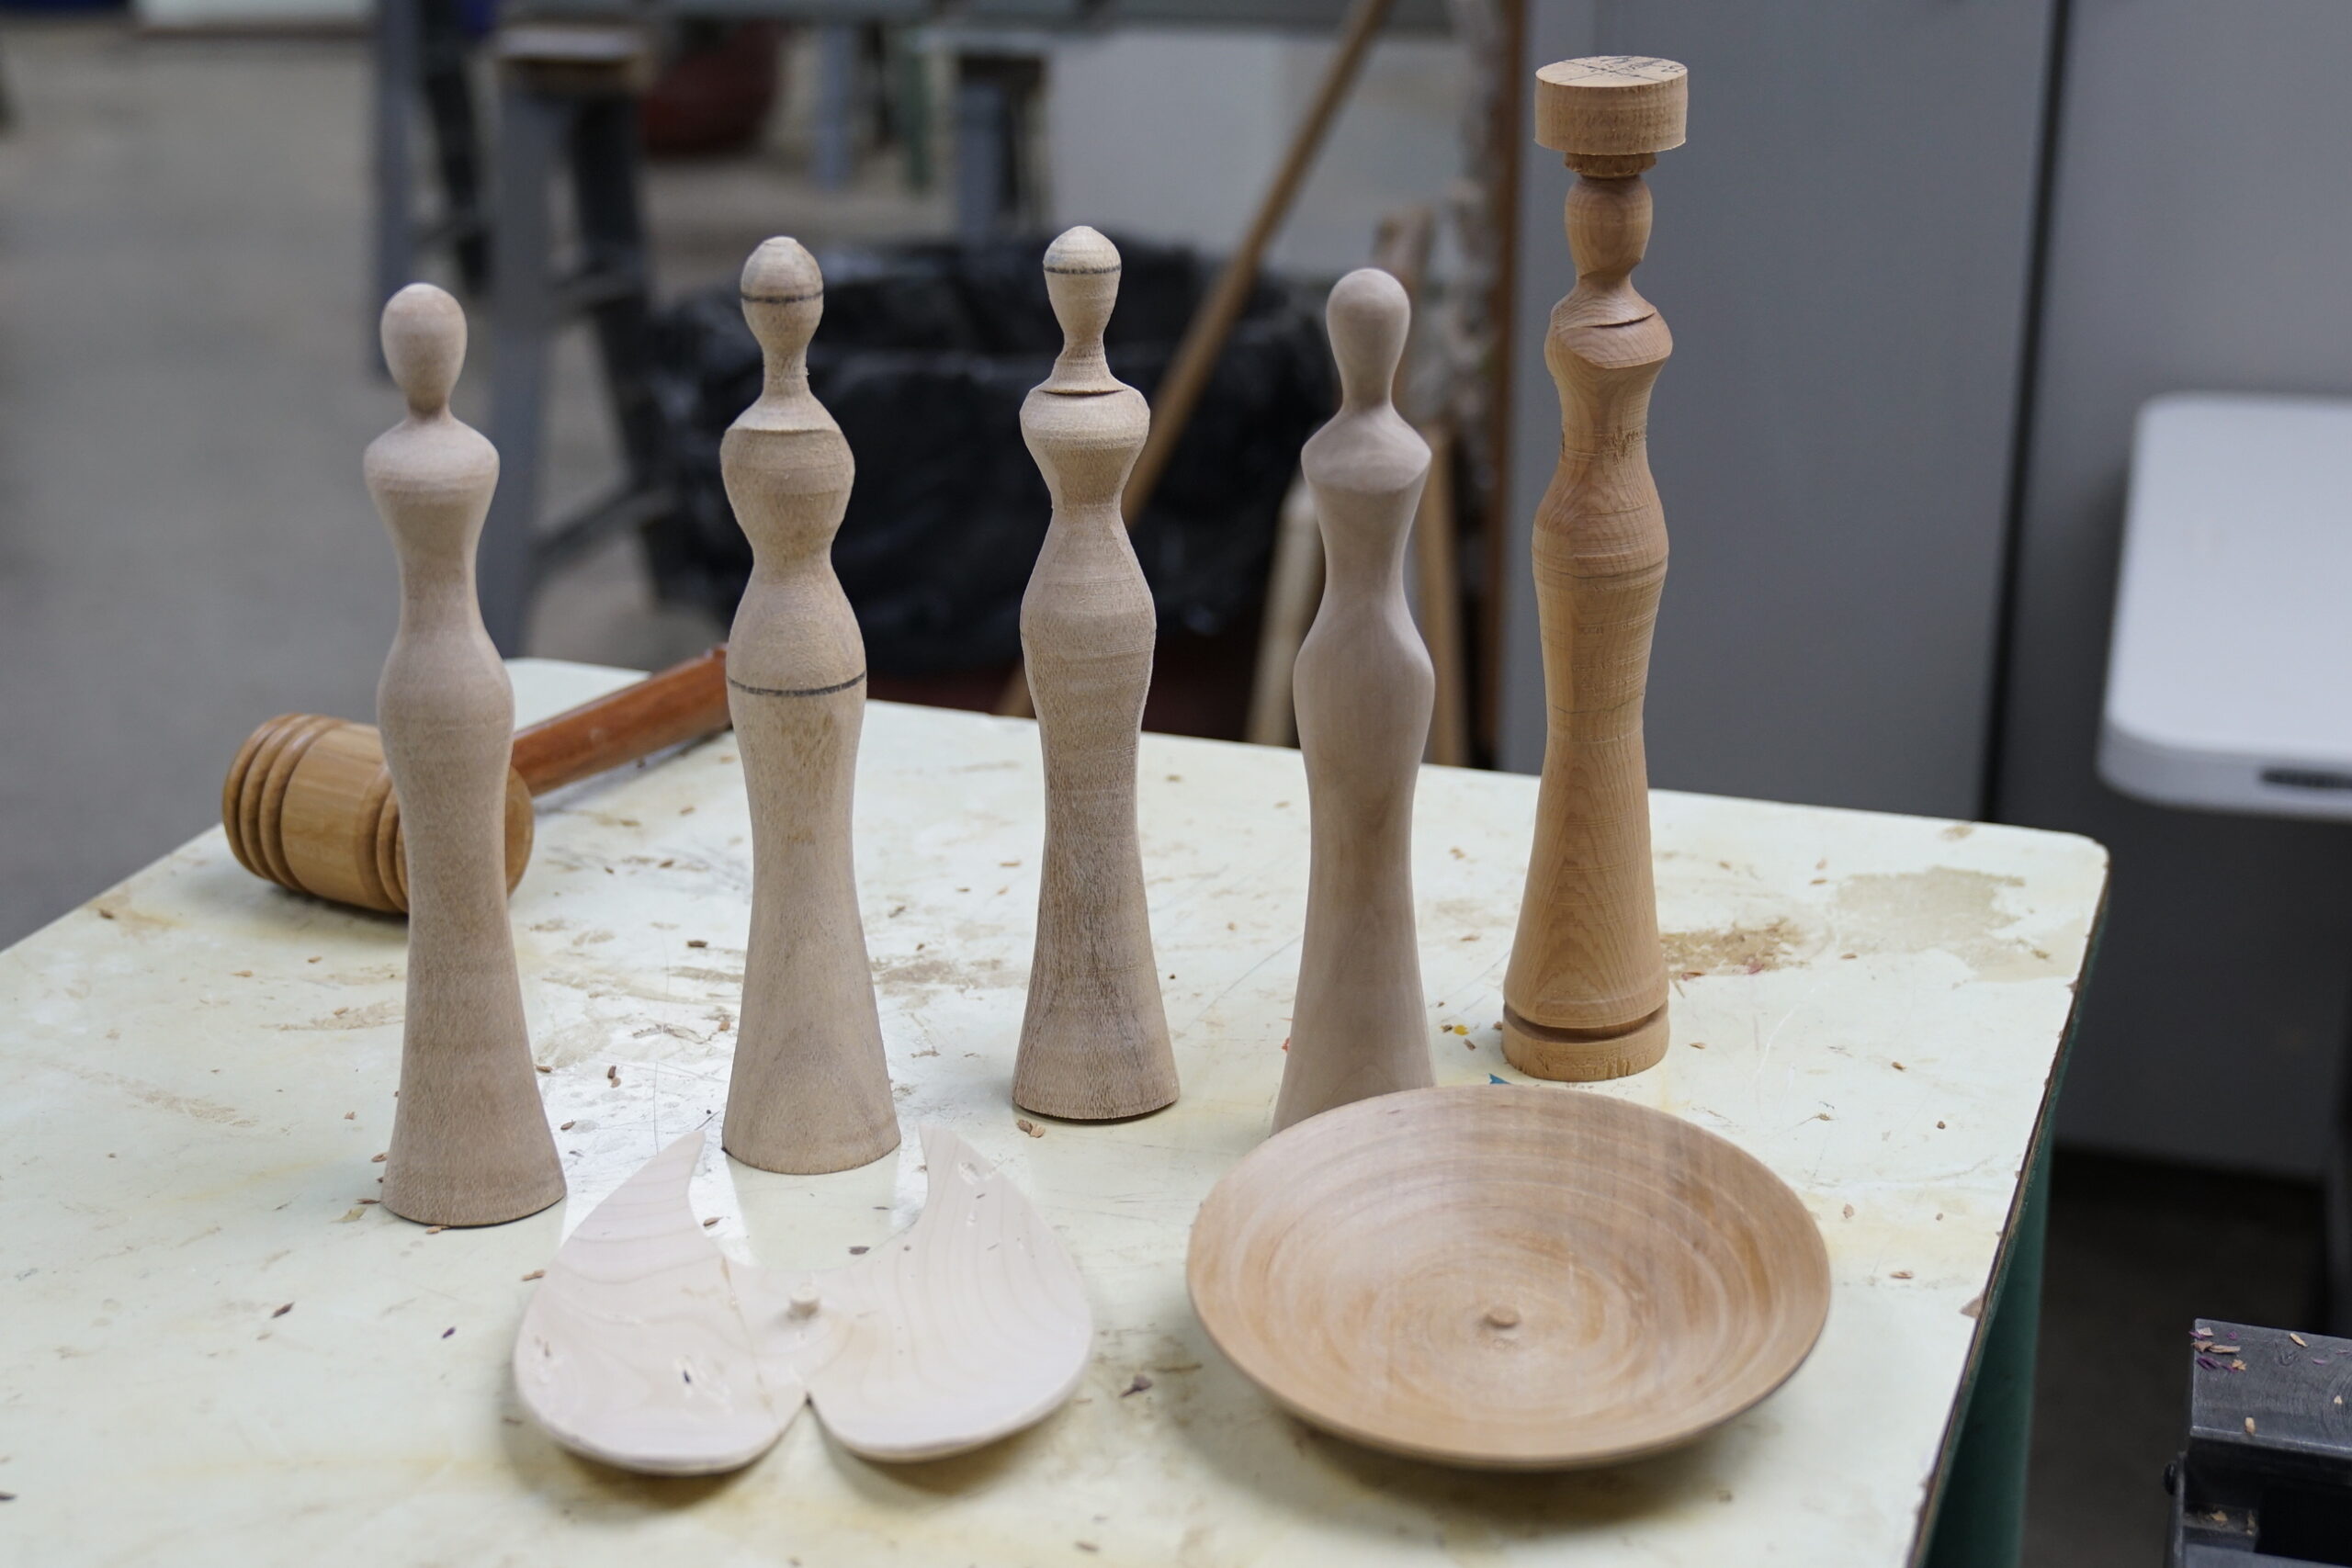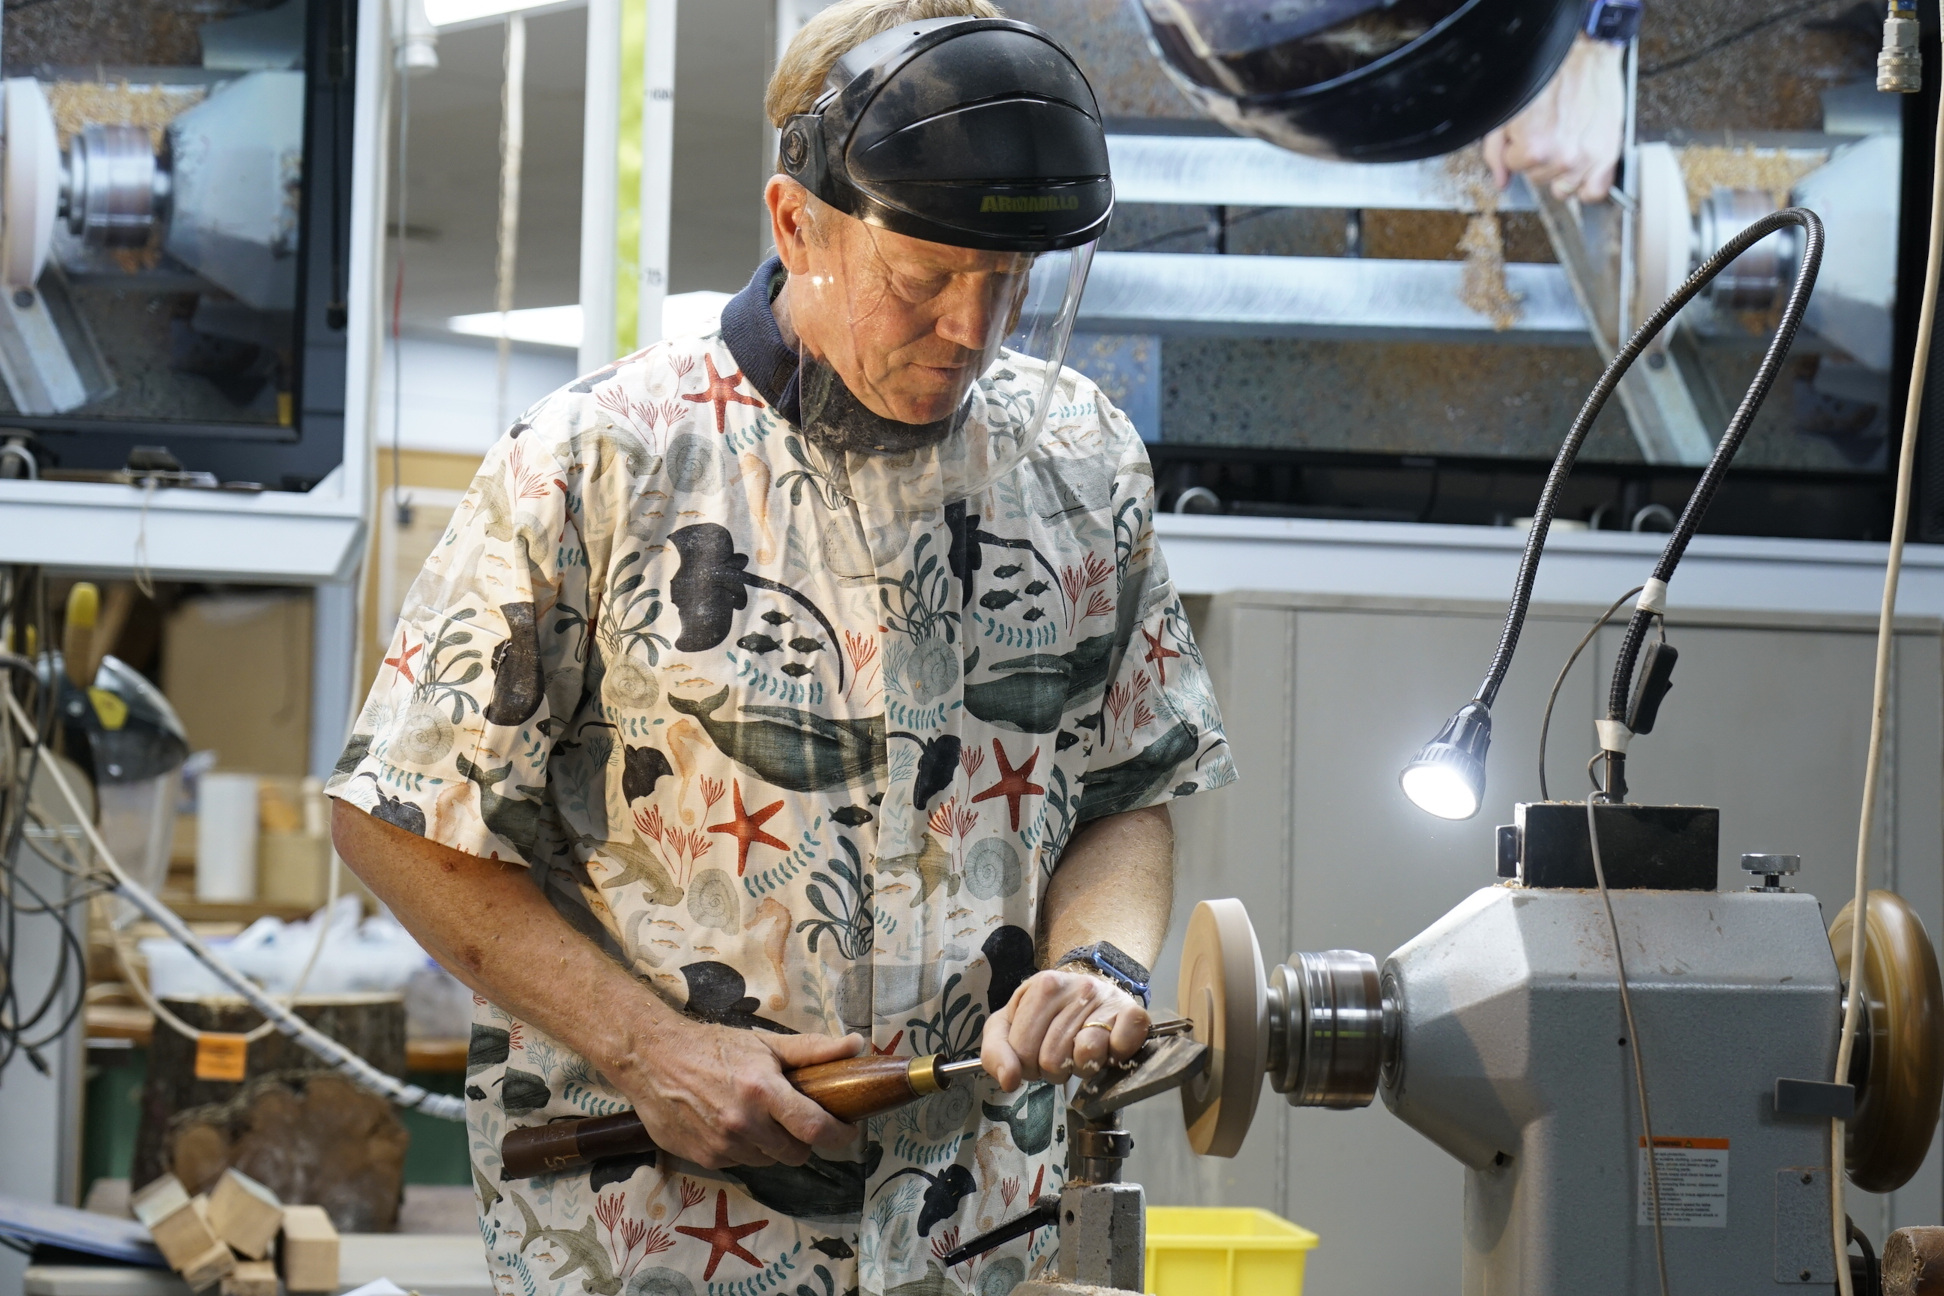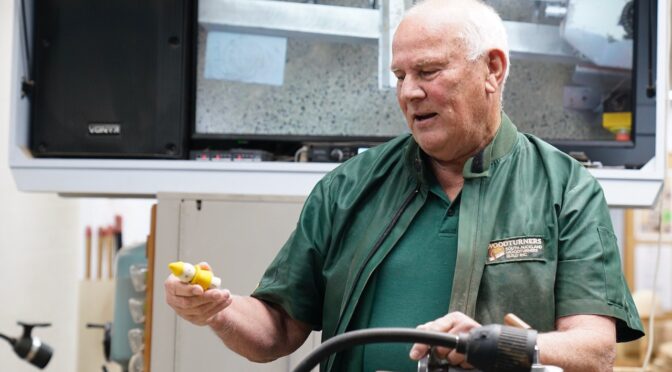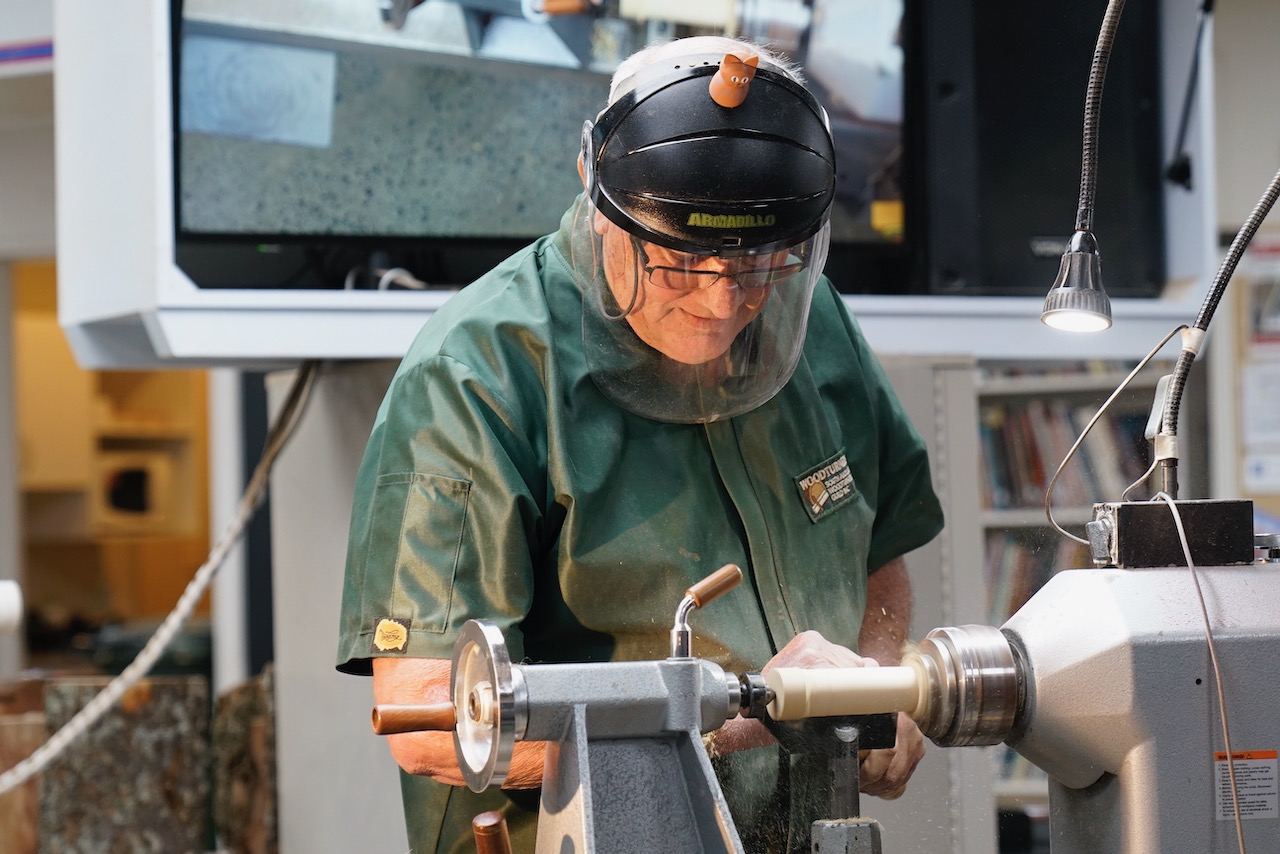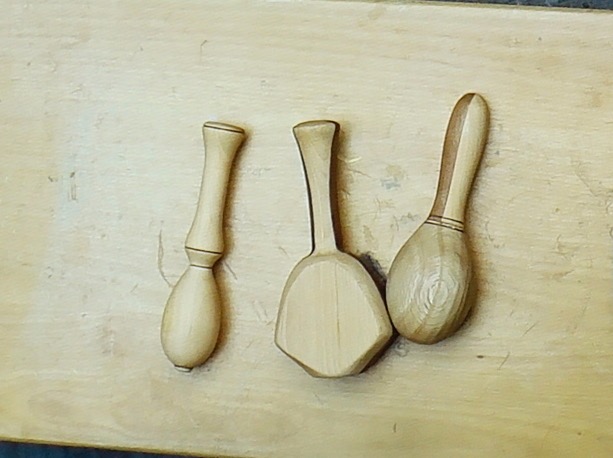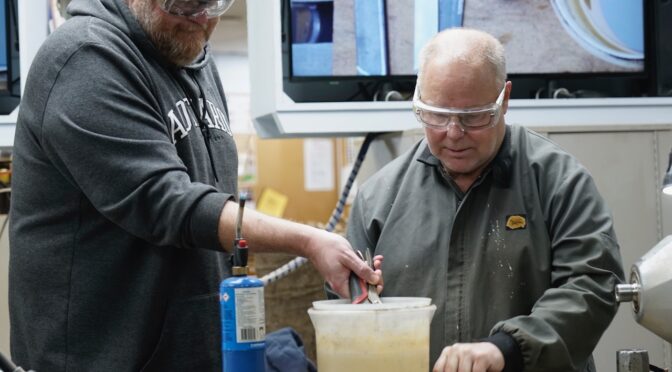
To say Pete’s got wood, is like saying the ocean is wet. True, but it is an understatement of all understatements. Pete has done most things with wood, and has several firewood yards to go with full sheds at home. The quote of the night was “you gotta have a wood cutter, to have a wood turner”.
Pete told many stories, funny and in some places illegal stories that explain the man and couple. He has borrowed wood, cut wood with everything you can think off and builds benches, table tops, to works of Art. Developing from Wood cutting to wood working with turning a part of the journey he has spent many hours in the shed like most of us. He is also a proud home kill butcher and a proud member of the Geyserland Guild of Woodworkers (https://www.ggw.nz/) in Rotorua.
His partner has helped him on the way and allowed him to store many of his works in the house including some of his 650 axes’. He may have the best and biggest axe collection in NZ, including many rare early NZ made.
While the stories were very entertaining what stood out was Pete’s willingness to share his knowledge. This included many learnings around what to take in your chainsaw kit.
A Chainsaw Bar vice, which can be found for as cheap as $20, used to help with sharpening.
Chainsaw spanner, wedges, blocks etc
Sharpening Guide and tools
Oil, a mixture of used compression oil/vegetable oil, with a ratio of 30 to 1
If you are ever in the Rotorua area or in the greater Bay of Plenty and in the need of firewood, give him a call.
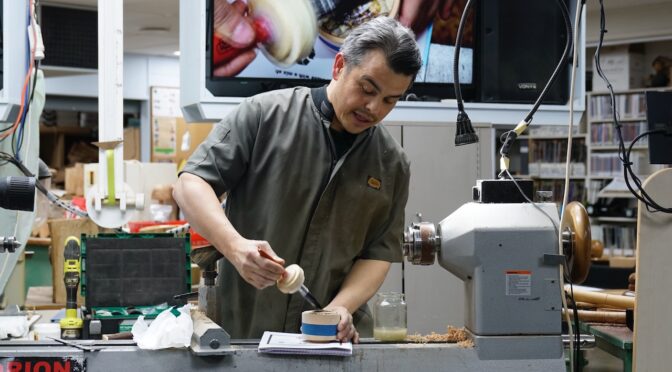
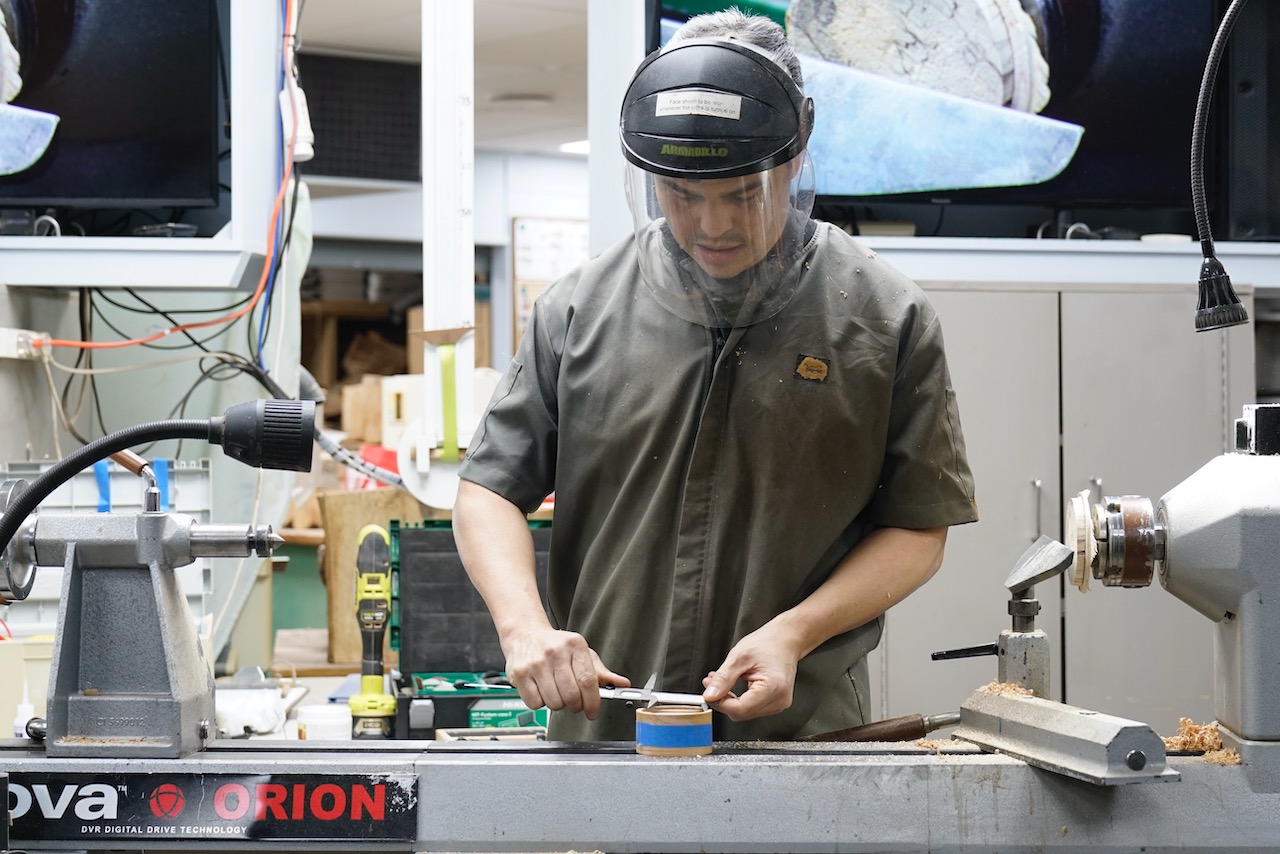
Jonathans demo of doing inlays into the lids of lidded boxes was creative and practical.
The Box
Jonathan started with a 90×90 block of Macrocarpa. This had the centre of each end marked and was placed between centres on the lathe and rounded off.
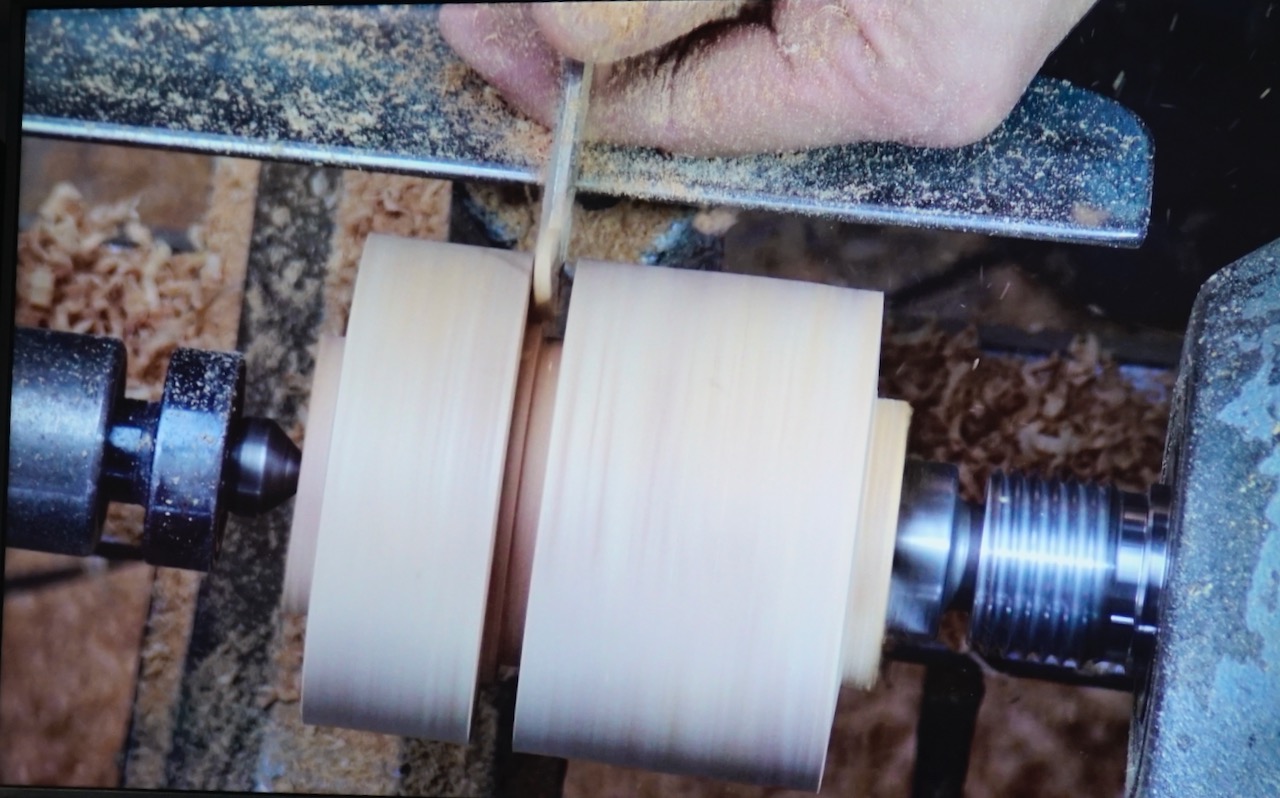
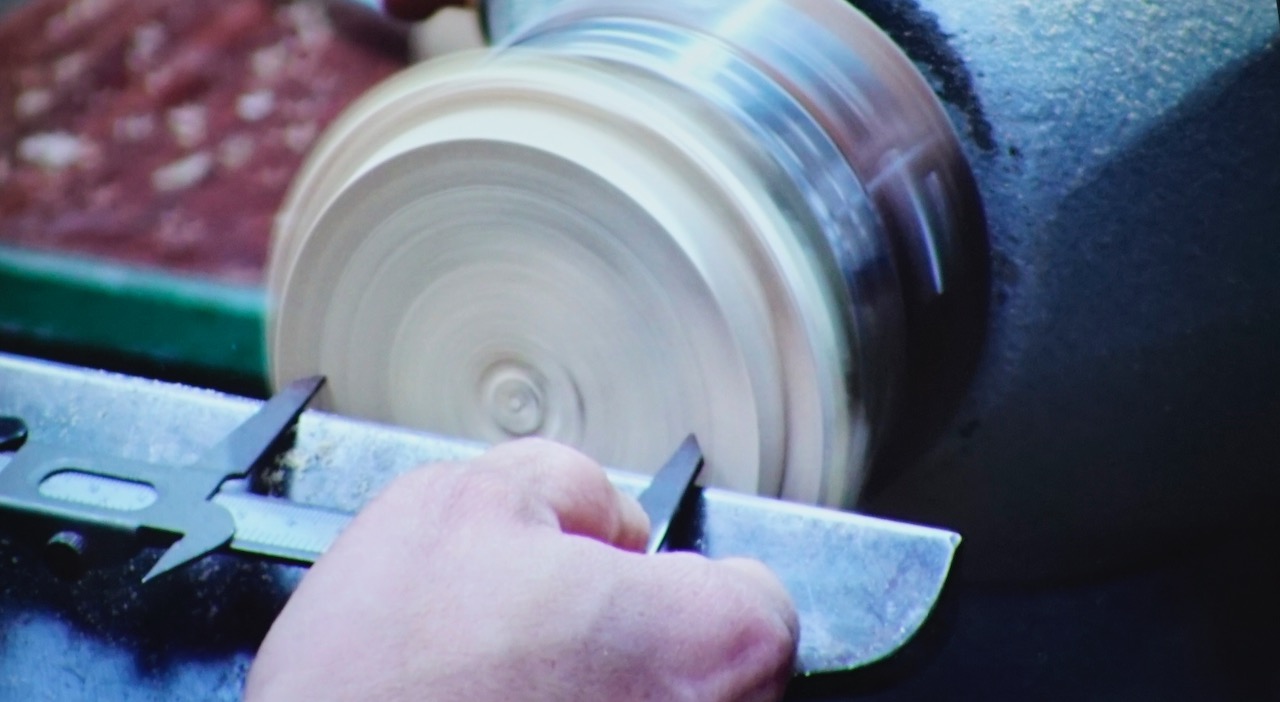
The rounded blank was then marked up where the tenons for the lid and base would be and where it would be paired off to separate the lid and base (Note the lid needs to be extra thick so was made about 12mm). A parting tool was then used to make the spigots at both ends and the lid and base of the box were then separated using the parting tool where he had previously marked it. Jonathan then brought out a pre-turned box base, mounted the lid in a chuck and turned this to have a tight fit on the box, but ensuring the lid was about 10mm thick at this stage.
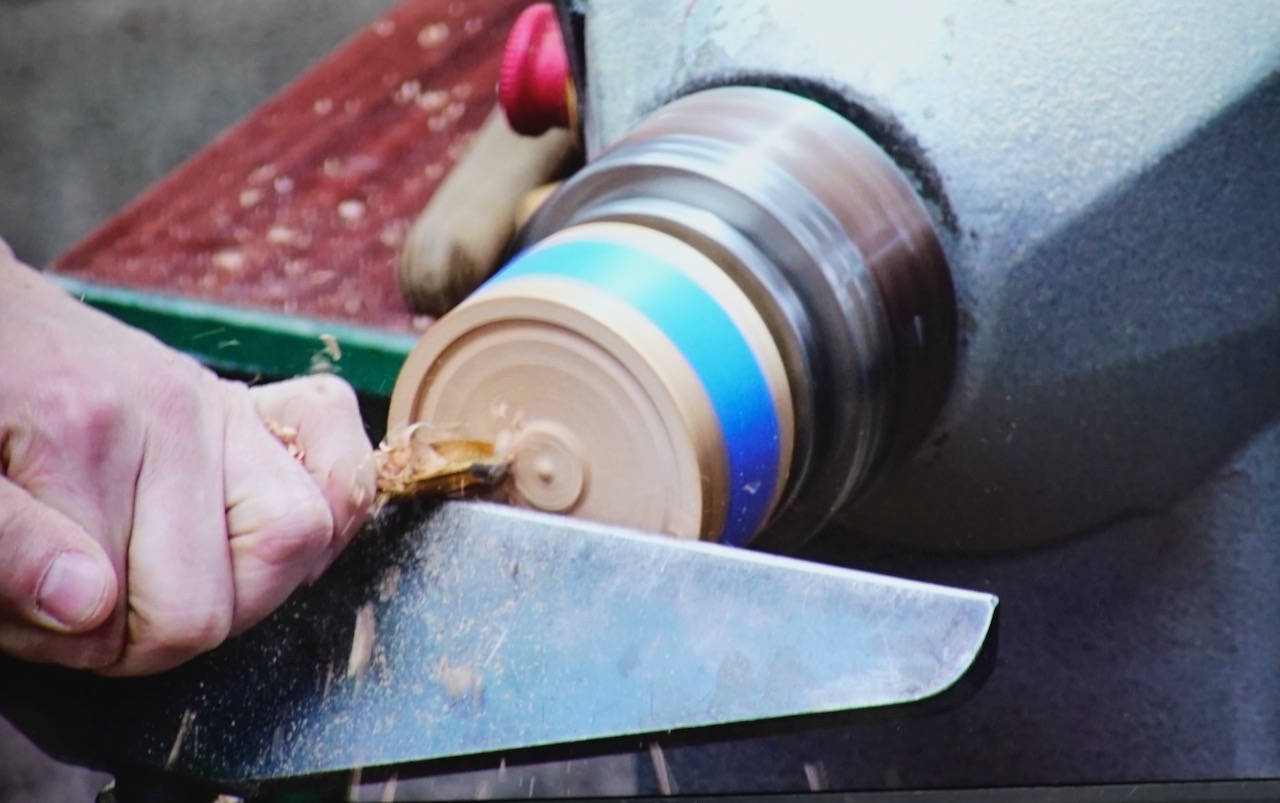
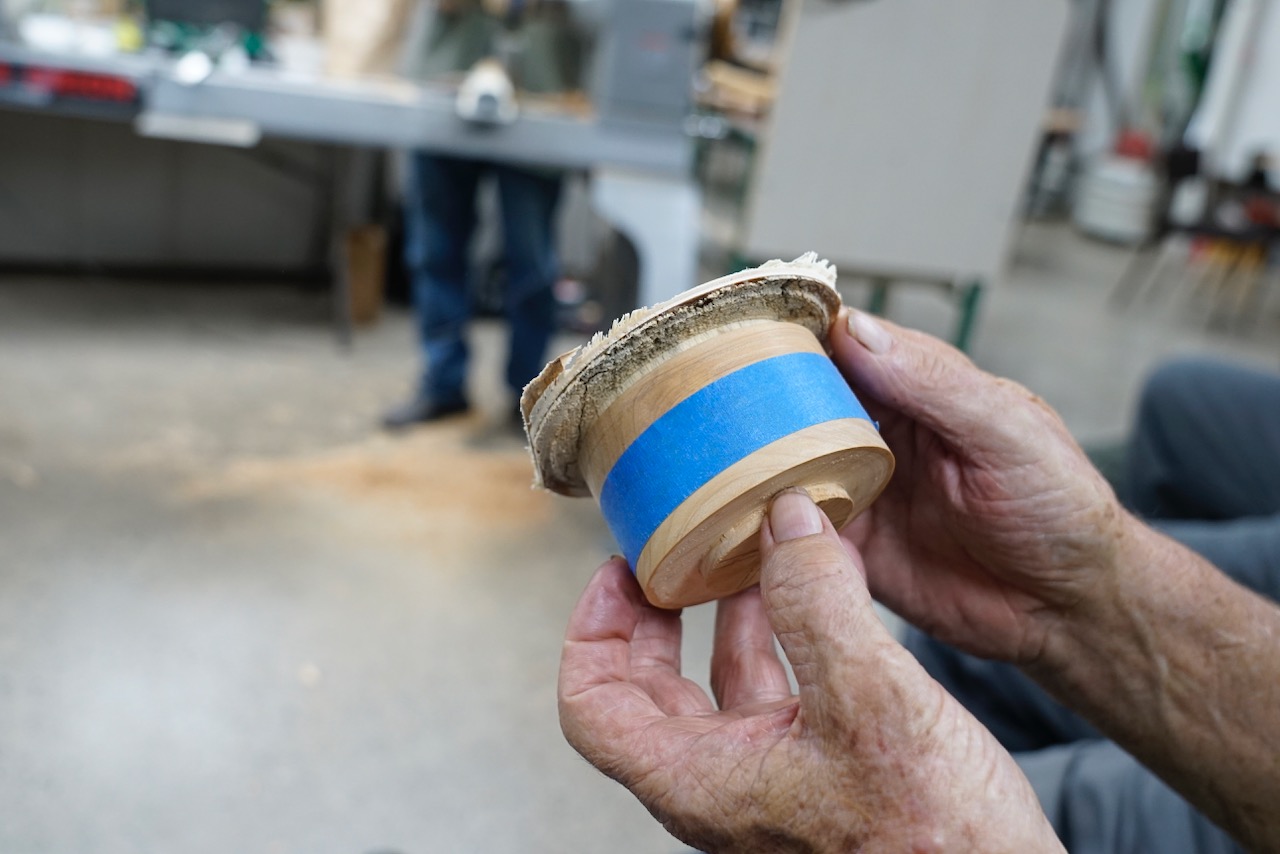
The Box was mounted in the chuck and the lid fitted on and taped into place for added security. He then turned off the tenon from the top of the lid and cut the rebate for the inlay. This rebate left a 5mm rim and was about 5mm deep.
The Inlay
The inlay was glued to another piece of wood that was to be a spigot for the inlay. This had been pre-turned to size. Once the glue had set the inlay was placed into the chuck.
The inlay was then turned to size checking regularly with the rebate in the lid. You need to make sure the chisel is very sharp so that if the inlay wood is ply or spalted, it will not tear out. Taper the inlay slightly to get a tight fit. The inlay was then glued into place using Tightbond (or another similar glue can be used). Once set the lid was put back onto the box and taped for safety and the waste wood (the spigot for turning the inlay) was turned off.
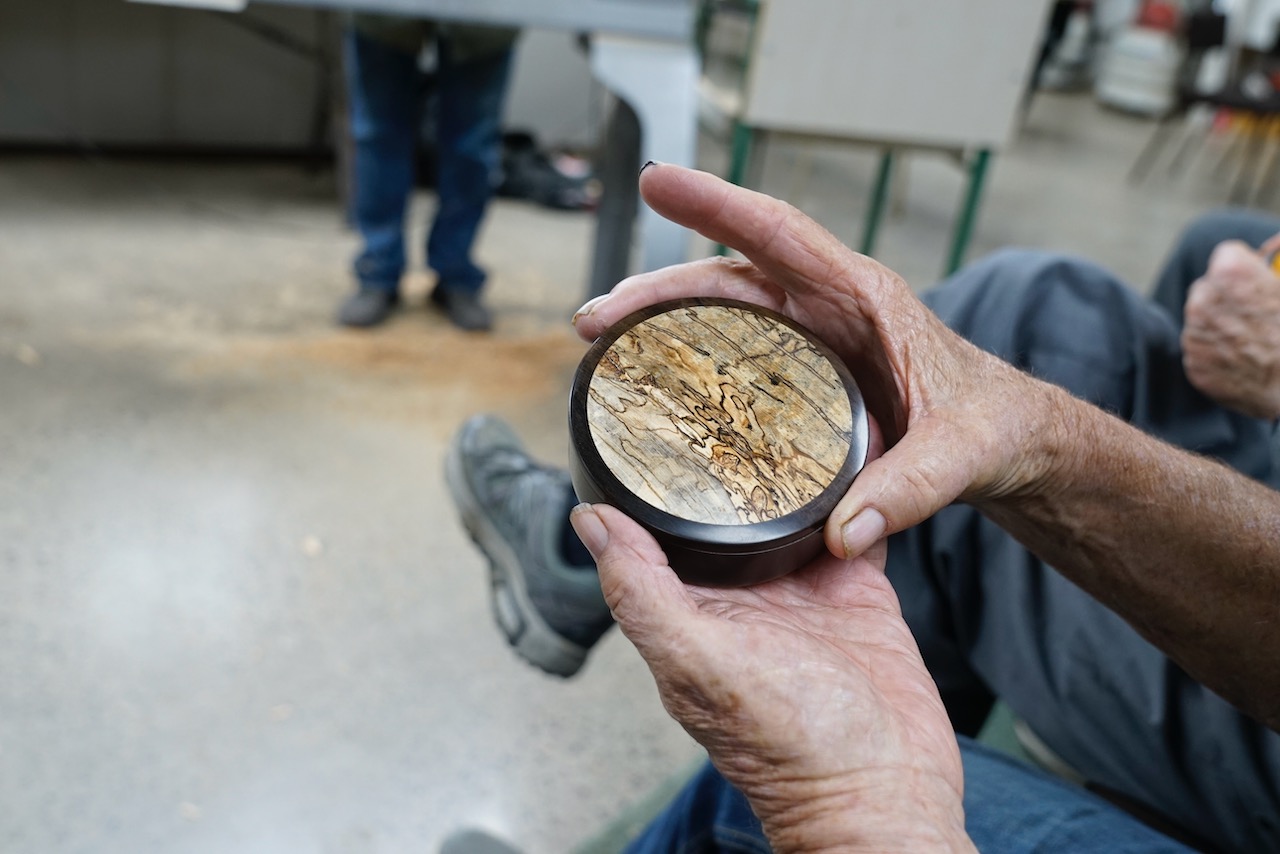
The inlay was trimmed up to flat, in this case as Jonathan was using spalted wood superglue was dripped into it first to stabilise the wood, but sanding sealer can also be used. Jonathan also showed a few other inlay lids he has completed. Some of these were done with soft grain woods (such as Norfolk Pine) where some of the grain is burned away first and brushed or sanded out the burnt soft wood. These can then be coloured or finished with wax or oils depending on the look desired.
Jonathan did an awesome demo and really showed great ways to make a box look special and have some additional artistic flare.
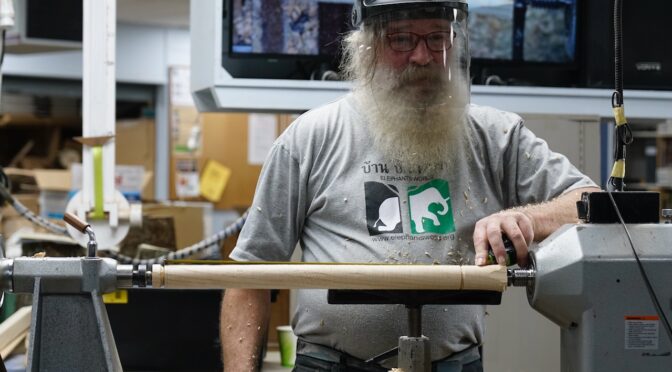
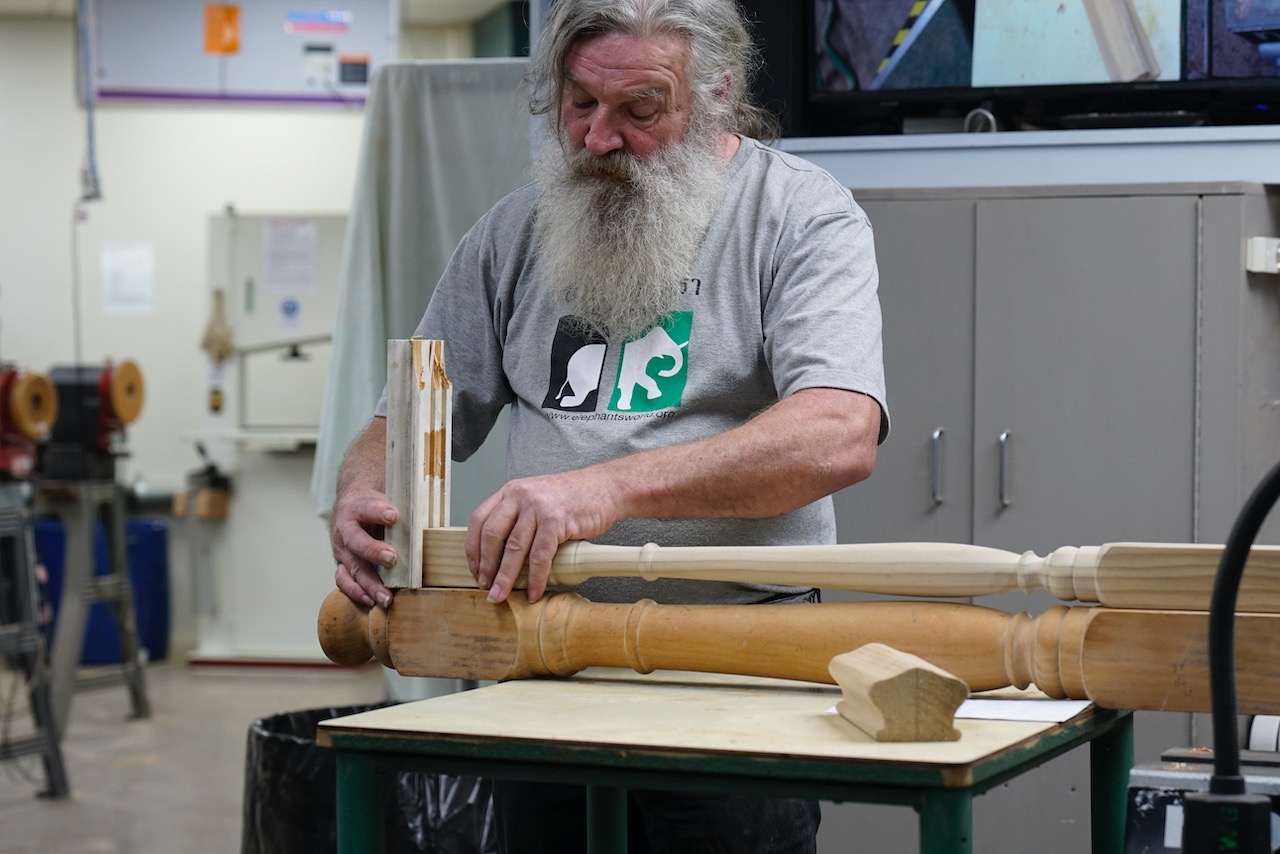
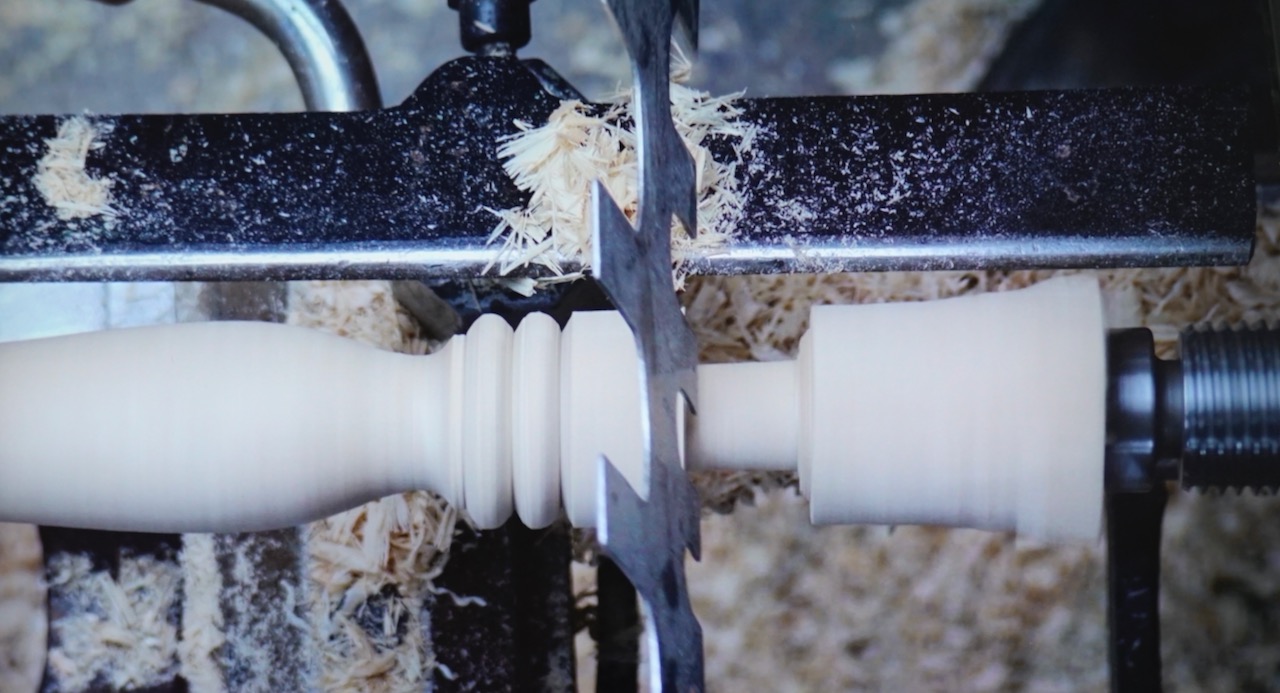
Dave Anderson, Life Member of West Auckland Woodturners Guild, demonstrated how to make a Baluster. It was Dave’s third demonstration on this subject to our Club and 18 years since his last which saw members, both past and present, make the Balusters that adorn the wall and sides of our demonstration seating area.
Dave served an 8,000-hour apprenticeship followed by 19 years working in the furniture industry before seeing the relaxation of import restrictions on the importation of furniture and the demise of domestic production. Dave now spends his time producing replacement Balusters for the restoration of older villas and buildings plus bespoke balusters for new builds. Regulations have seen changes to heights of stairway rails and gaps between balusters so if we are thinking of doing any check the regulations – replacement is different from whole new staircases.
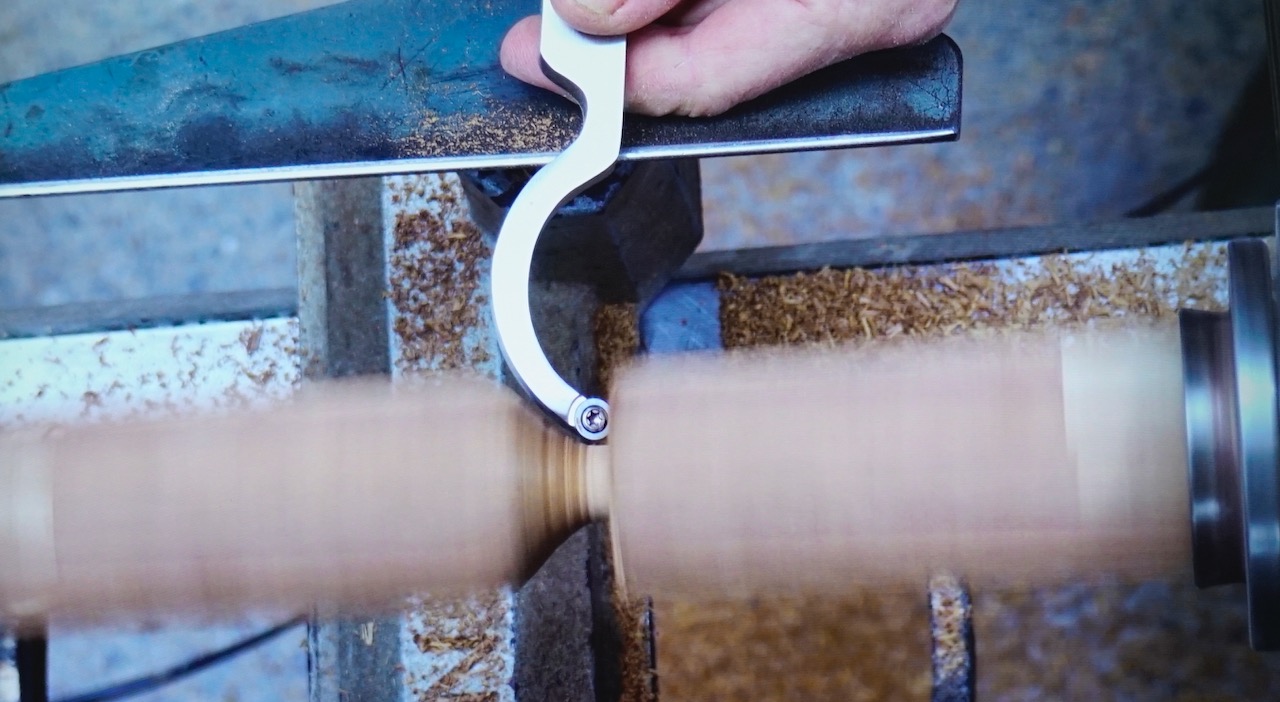
The profile of a Baluster is either symmetrical or asymmetrical. The asymmetrical bottom half tis a mirror image of the top. The squared end at the top is shorter than the bottom.
The wood used in demonstrating the process was H3 pine dressed 4 sides and 75mm square. Dave uses supplied timber at 75, 65 or 58mm square and 950mm in length for standard balusters. Bespoke dimensions are determined according to need.
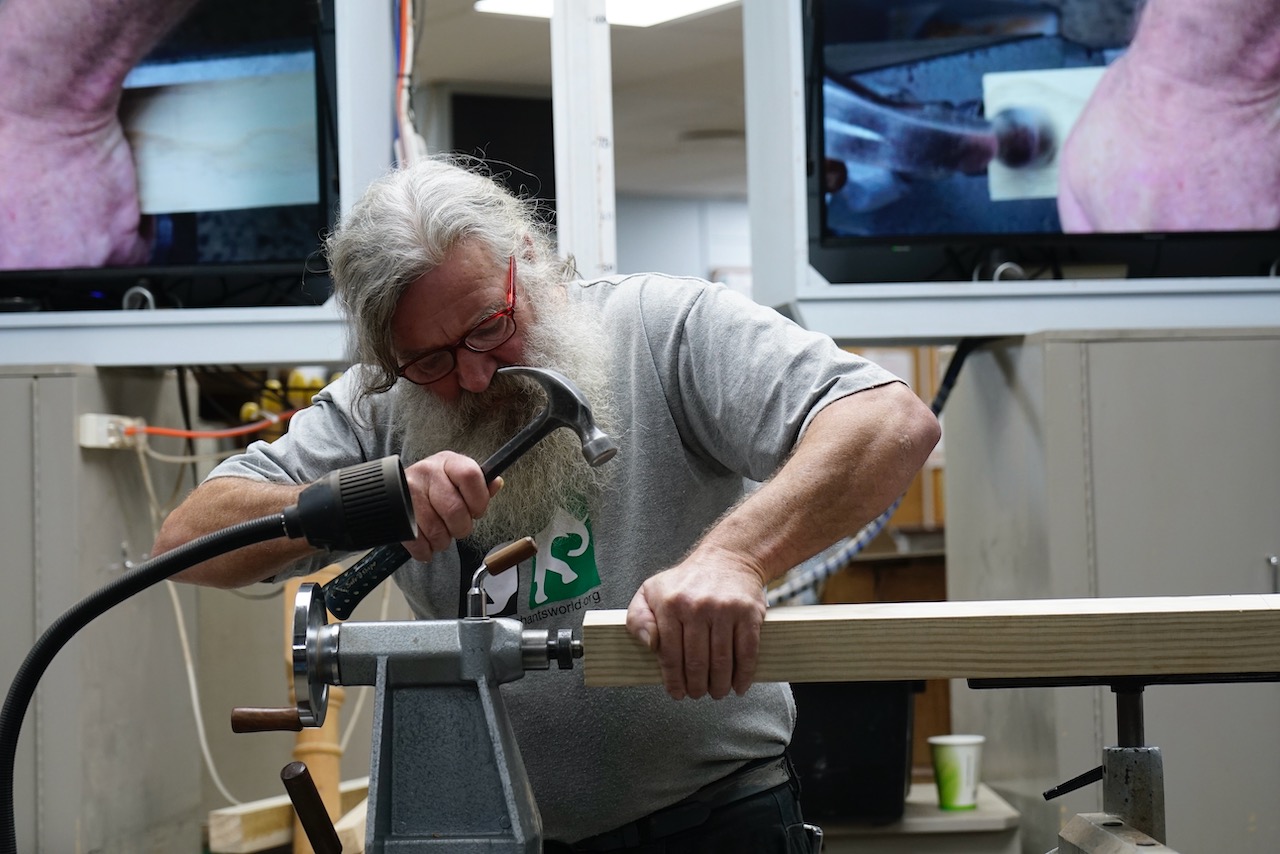
The wood is mounted between centers and alignment defined by visual and adjusted by tapping with a hammer. The top end of the baluster is at the Headstock end. Mark the length of the top end by putting a notch/cut with the skew.
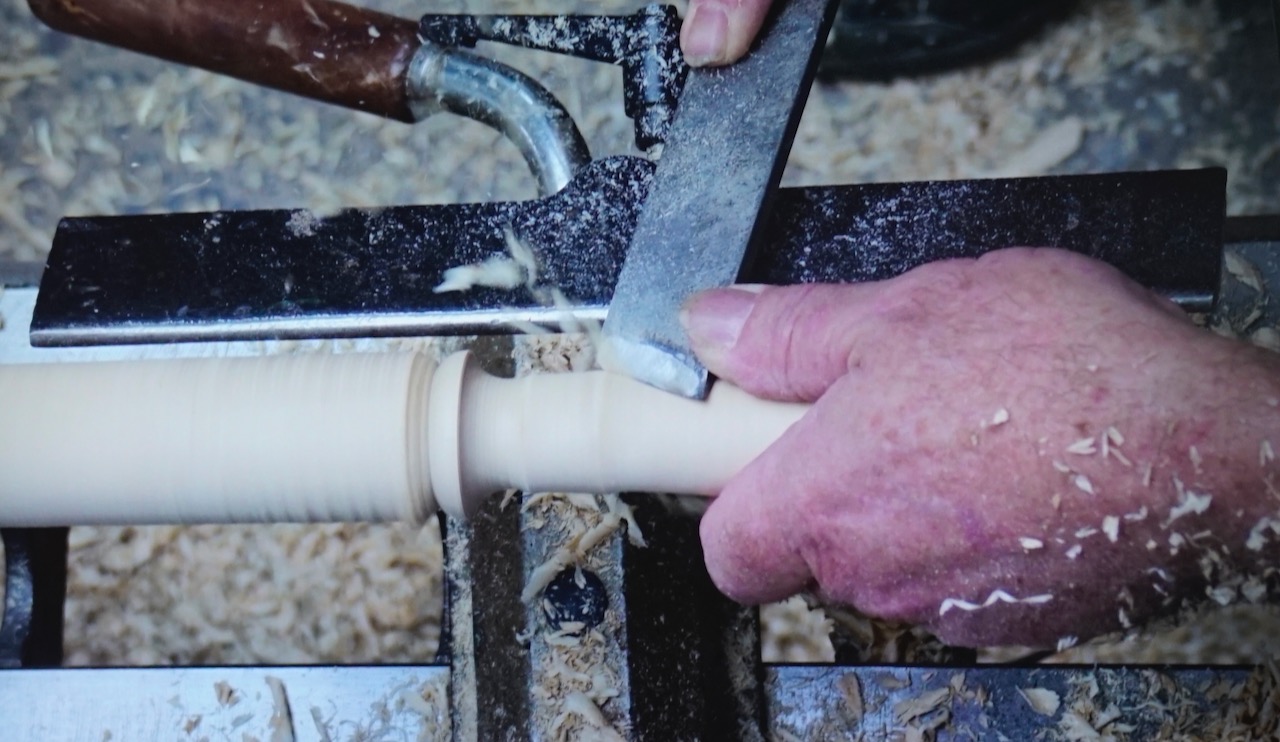
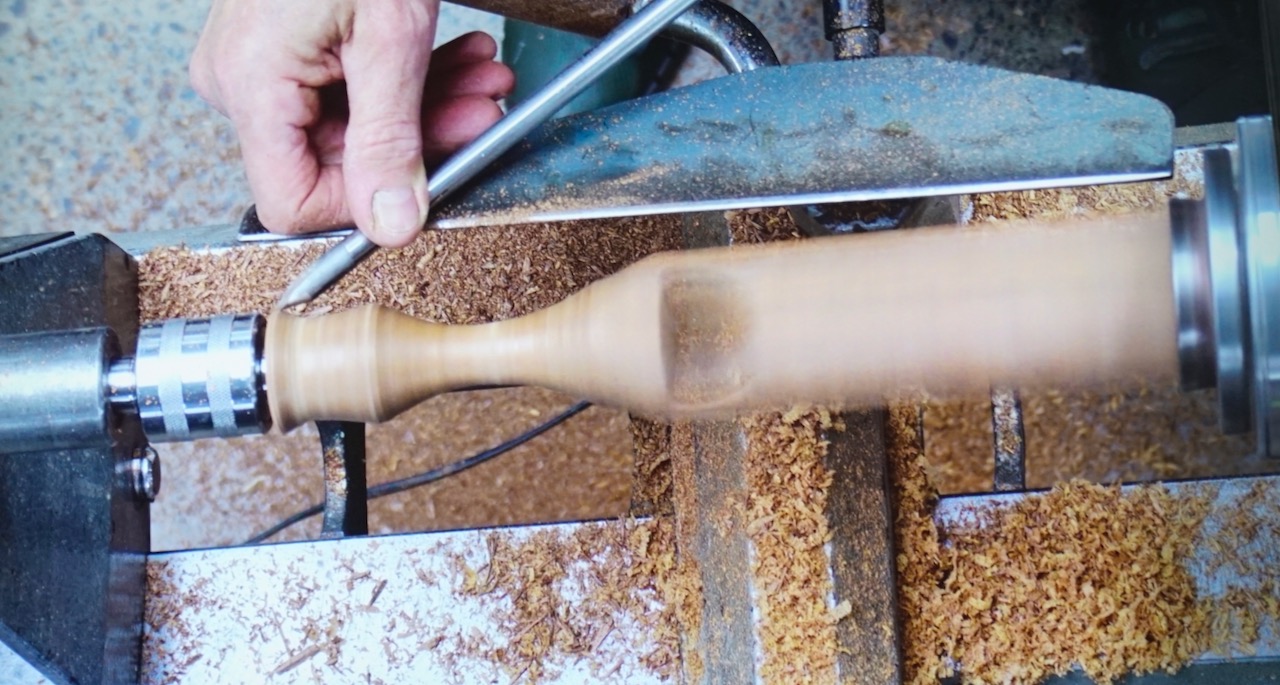
Using the Roughing Gouge round the between section. Mark the profile change points. Working along the rounded shaft mark all the high points. Shape using a combination of Roughing Gouge, Spindle Gouge. Leave the low points last to ensure strength. To assist making a smooth cut. Dave used the thumb of the hand nearest to the cutting edge to hold the tool onto the wood. The design is a combination of fillets, coves, beads and tear shaped curves.
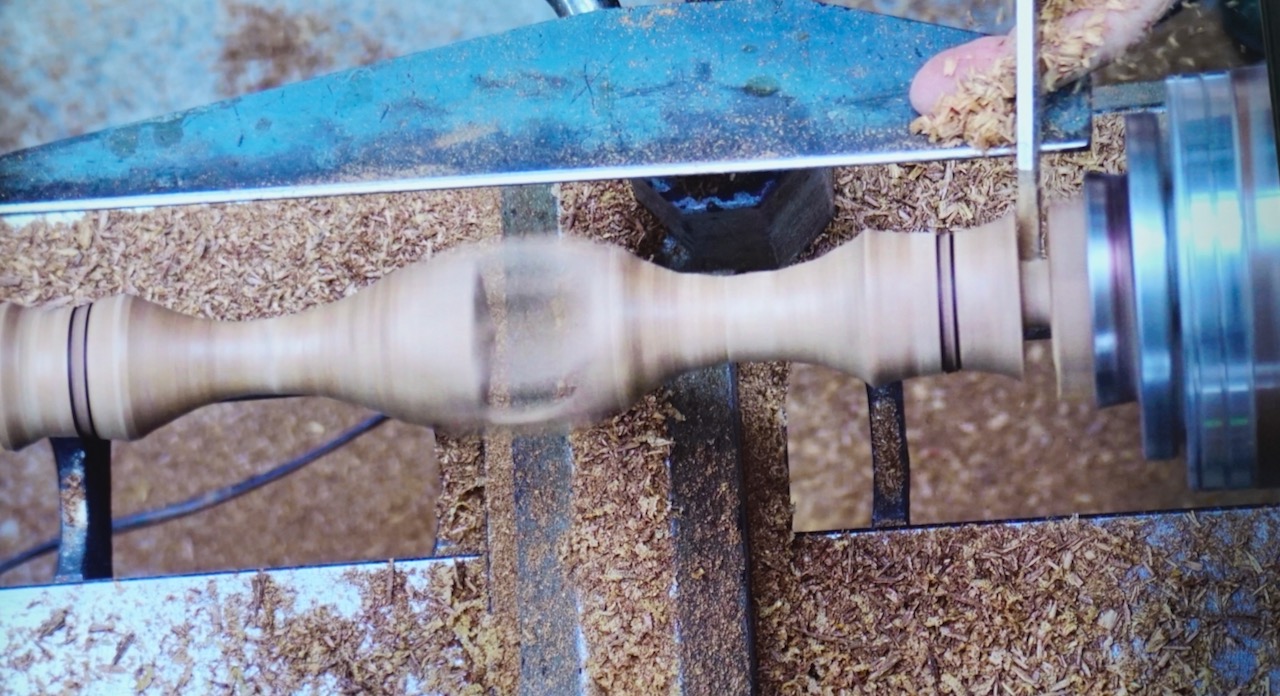
Tip from Dave –
To determine the balance and esthetics of items such as table legs to make and stand it up: step back and view from a height and distance appropriate for the finished product. Adjust profile to achieve balance then proceed to produce the remaining 2/3.
View Balusters and Finials on the old Villas in the older suburbs to get an appreciation of what works,
Dave used a spigot gauge to ensure that the spigot was constant in diameter (an open-ended spanner will also do), Chamfer the end and cutting a groove in the spigot will allow trapped air in the drilled hole escape when the baluster is inserted.
Project –
Members are challenged to make a Baluster to be added to the existing. The specifications are:
Finished length 500mm; squared ends 75 x 75mm; 20mm spigots at each end.
Club Meeting: 27 May 2026 Report by: Jacqui Oxenbridge
This term’s theme is “added value”. Demo was around embellishing. The first piece was influenced by Pop Art and Minimalism.
Pop Art was a push back against abstract expressionism (pale colours, minimal shapes) and was about making art out of everyday life. It is bold, bright, eye catching. Emma mentioned that also likes to leave the raw natural wood exposed for contrast.
Minimalism crosses over with Pop Art, uses primary colours, very precise, clean-cut lines to look good. It is art stripped right back.
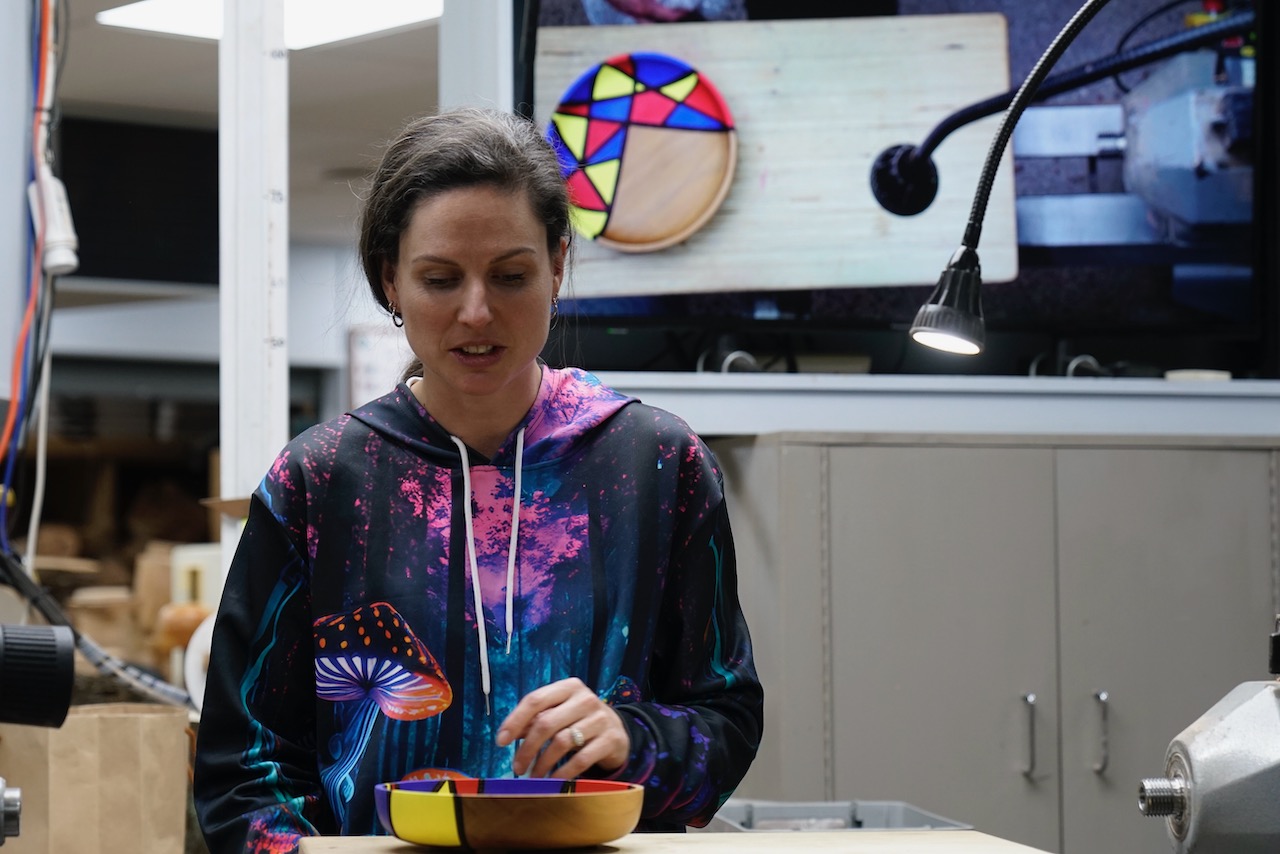
Emma had a bowl she passed around – the shape reflected the 50’s and 60’s with black pyro lines and blue, yellow, red sections (being the primary colours). When considering the embellishment, it is important to look at the grain direction, work across lines to highlight.
The demo was on Box Elder which is a pale timber.
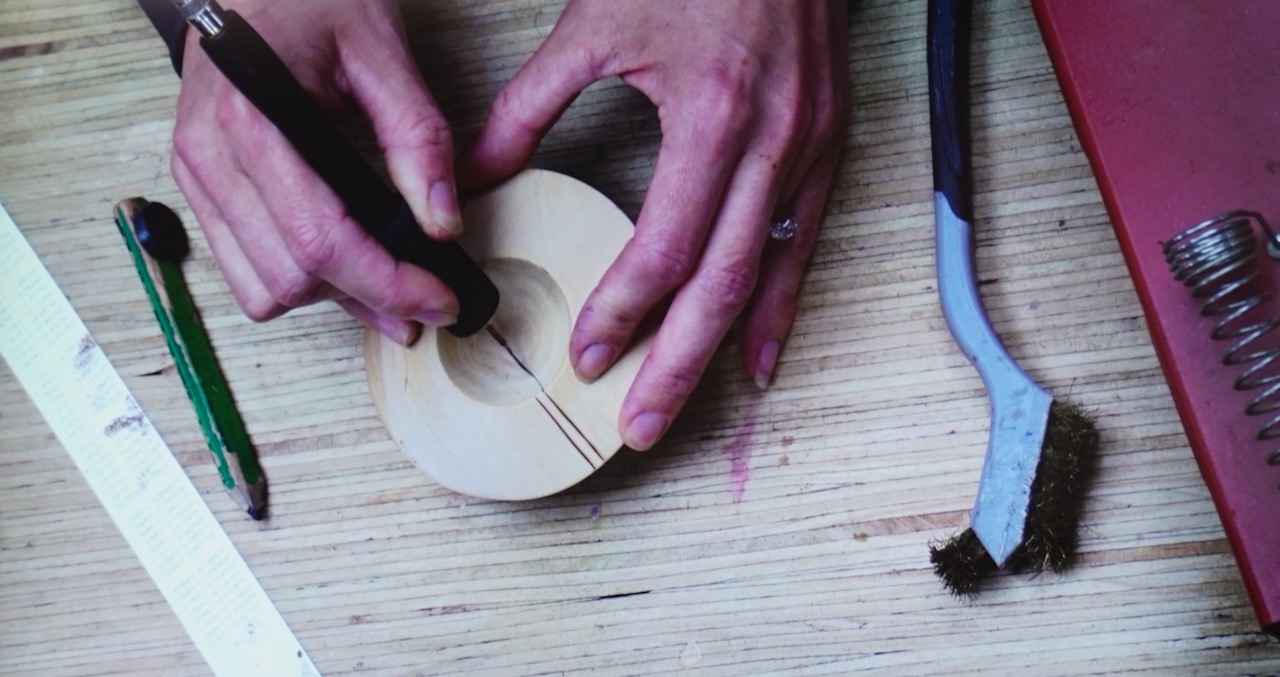
In the demo Emma was asked how she does the black line & pyrography from the rim to the centre. Emma used a ruler to draw parallel lines approximately 50mm apart. Use a soft pencil and do not push too hard as this can bruise the wood. Draw more lines at angles. As a rule, start the new line from the centre of an existing line and rule out to the outside. If you are using several colours, it can be helpful to create a numbered grid before you commence painting to avoid having two sections with the same colour next to each other.
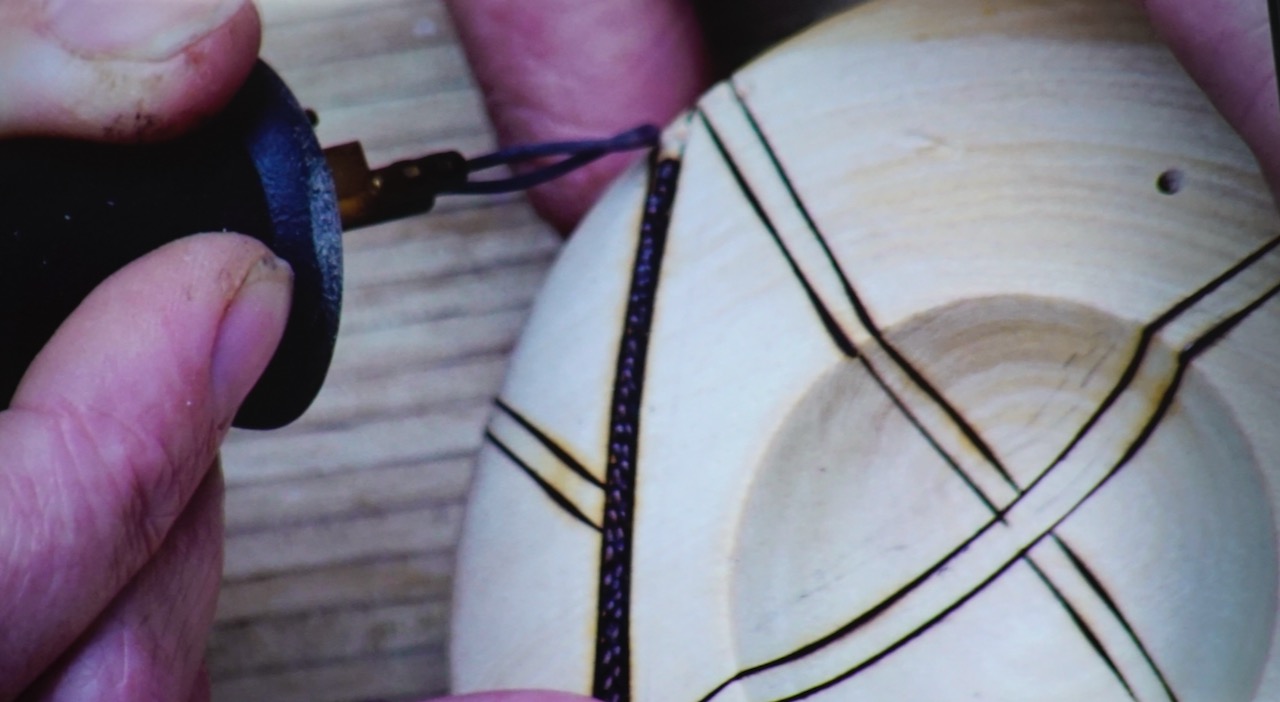
With a Razertip blade tip (HD14L – heavy duty) pyro the lines. To get an even line determine the heat required, try to keep constant movement, burn well down on the blade to avoid “blobs”. If you get blobs, go back with the blade and smooth the line/blobs out. If possible, it is best not to cross over the lines.
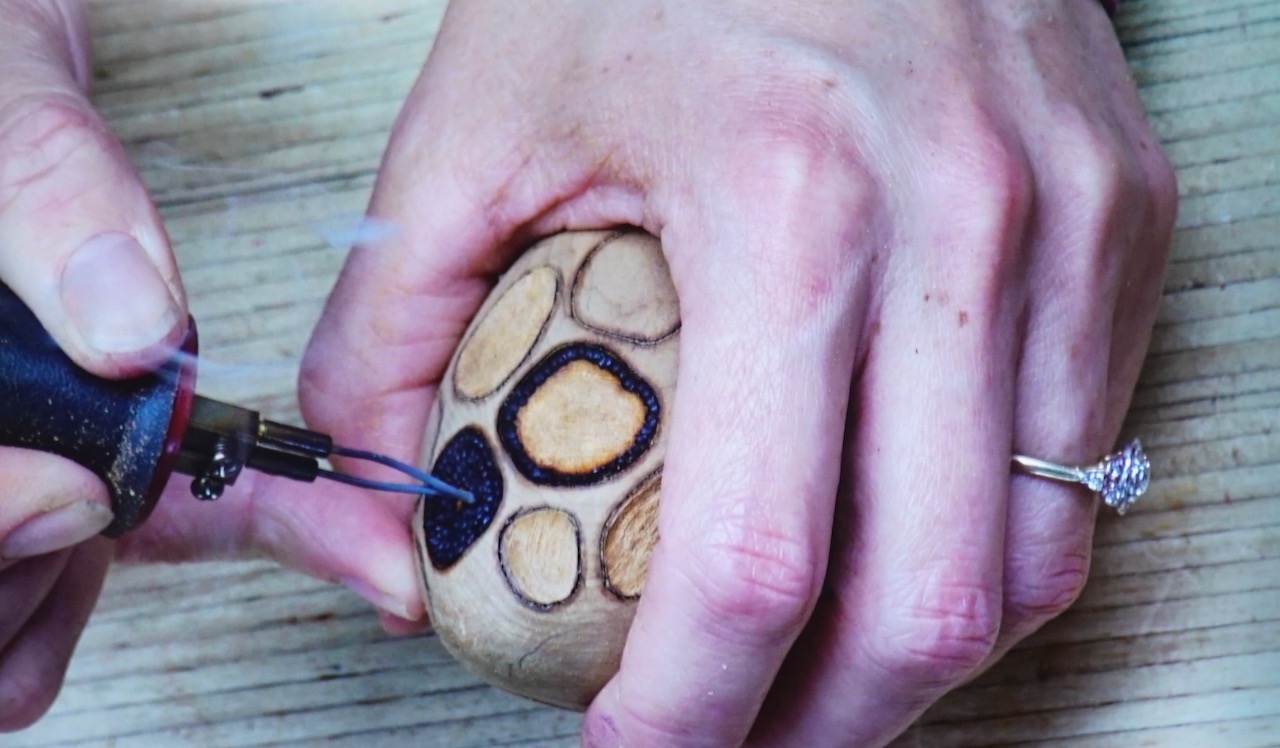
To fill in between the two edges of the lines Emma uses a bent nichrome wire to dot the space. On the Burnmaster she turned up the temperature to 6, using her “pinky” on the bowl to stabilise Emma randomly filled in the space (even though only a couple of dots wide do not want to be uniform).
Any overburn can be removed with acetone, nail polish remover or 400 grit sandpaper. It was noted that if you are painting the item most paints (not yellow) will also cover overburn.
Dots are common in Pop Art (Ben-Day dots) so this fits with the theme very well.
If desired, you can paint over the pyrography with black.
Remove any remaining pencil marks.
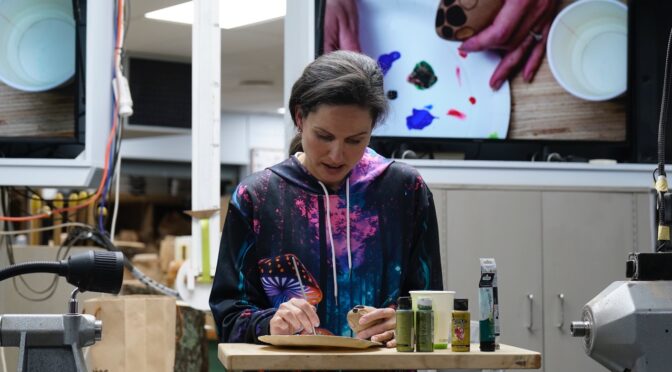
Painting: need clean water, paint, palette, brush and a dabbing cloth.
The primary colour paints Emma used are “Golden Soflat Acrylic Paint” which are matt and aligns with the Pop Art movement.
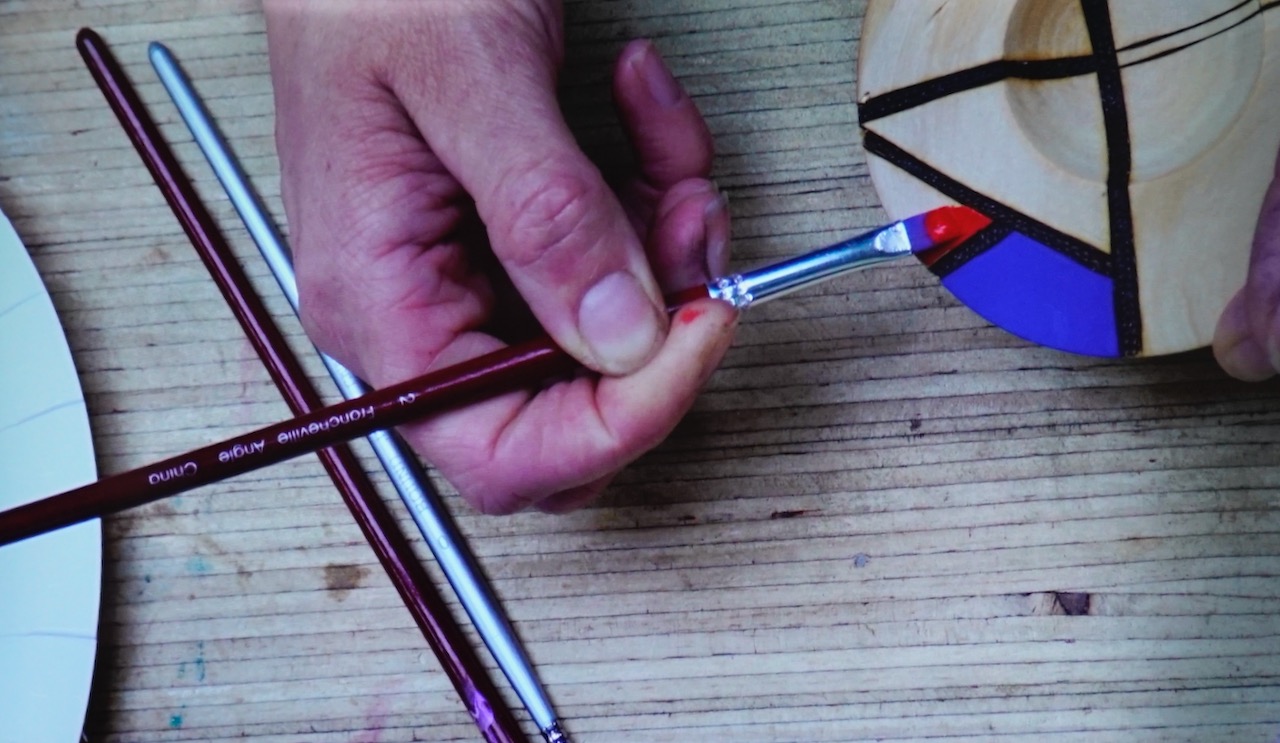
Brushes are important – get a good quality brush. Hog hair bristles are for oil paint, synthetic, soft bristles are for acrylic paint. Always clean your brush after use, remove from the water, squeeze out excess liquid, reshape and dry flat. The shape of the brush can also be important. For this demo Emma used a square ended brush with a slight angle so that she can get a clean, crisp edge against the pyrography lines.
To avoid contamination of the paint it is best to use a clean stick and put a small amount of paint on a palate. For a matte, opaque finish need to apply 2-3 coats.
The consistency of the paint is important, and it may be necessary to add water (or acrylic medium) to get paint that is “relaxed”.
The Golden Soflat is a good consistency out of the bottle (Gordon Harris stocks) but acrylic in tubes often needs water. Dip brush in water, mix paint on palette, repeat up to 6 or 7 times until consistency is softened – but not runny.
Wet the brush, dab on cloth, pick up paint with the brush. Starting in a corner, go along the edges of the line. Turn the brush as required when the paint is depleted. Use the pinky to steady the hand. If paint does overlap the black lines it is possible to go back & reburn.
Emma was asked about sanding sealer – she does not use this as it can interfere with some products.
Finish with lacquer or other wax.
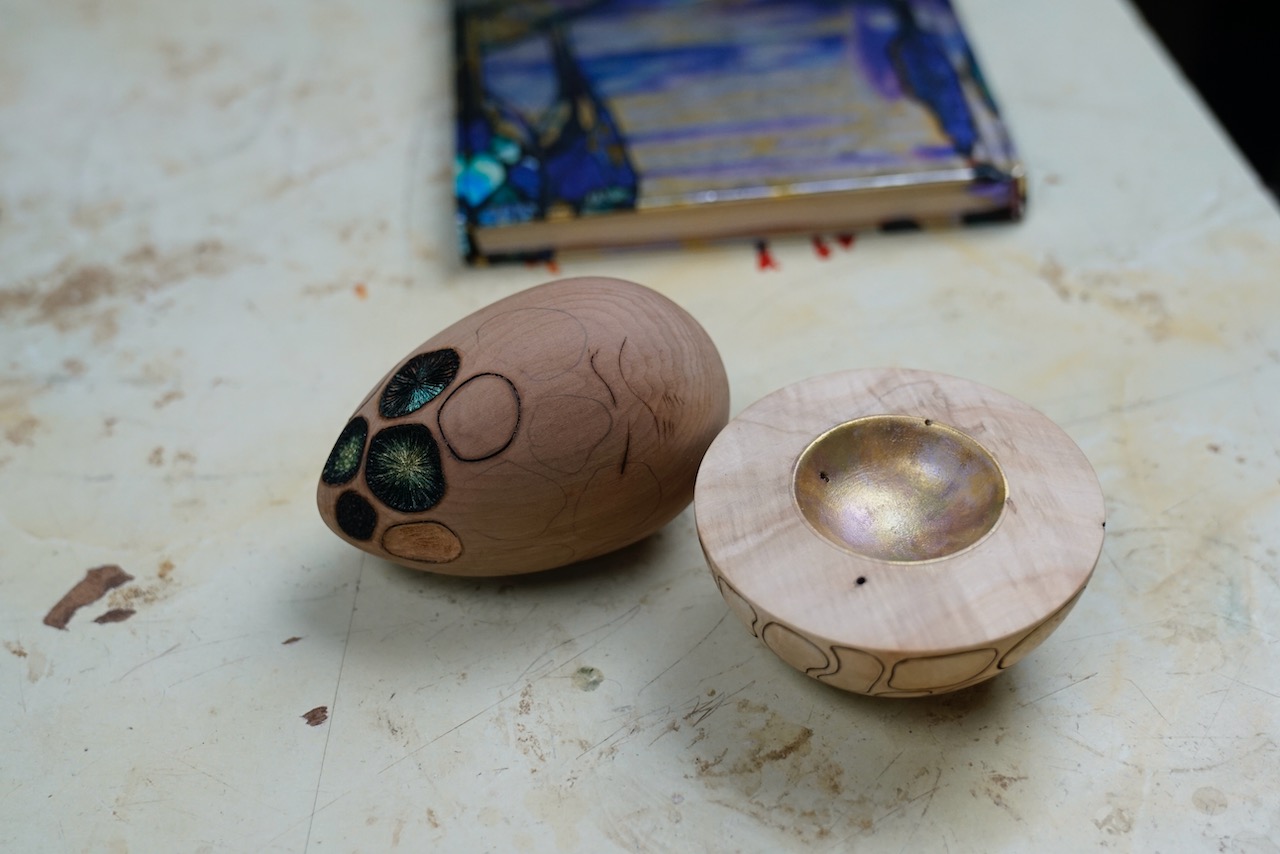
Dragon Egg
This technique can be used on the outside of hollow forms, vessels, on the rim of a bowl or on a dragon’s egg.
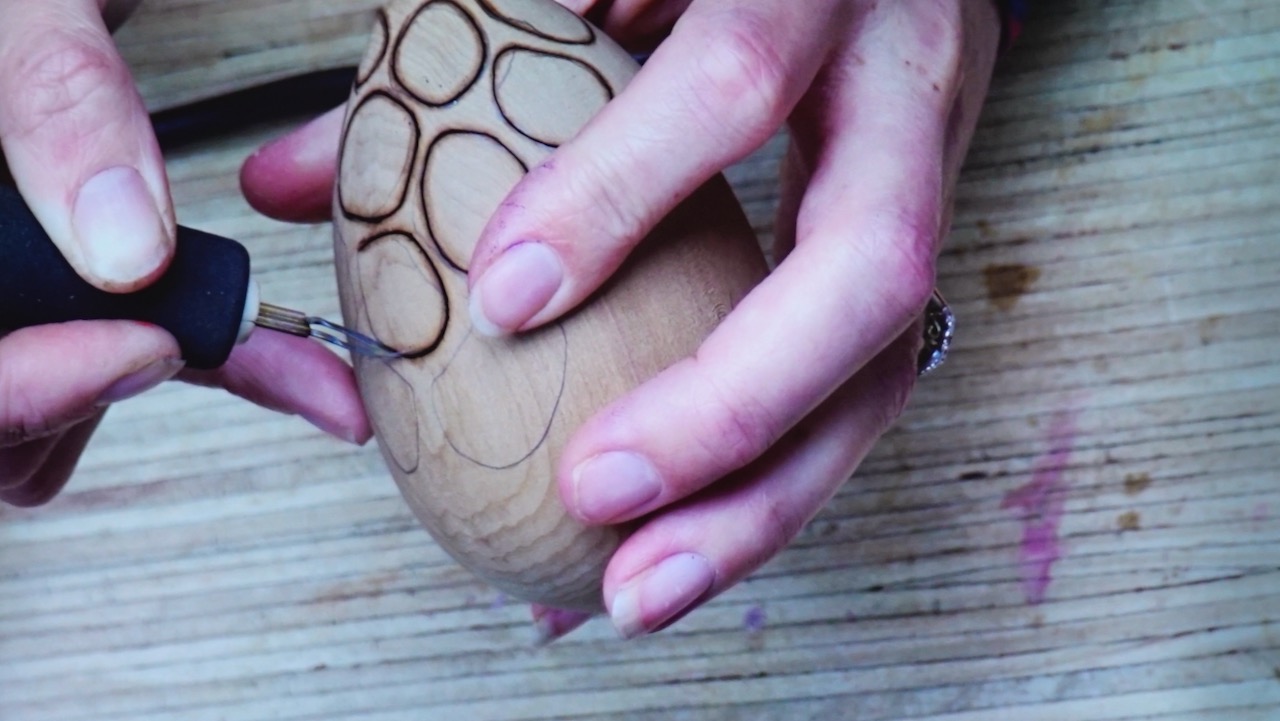
First step is to lay out the pattern – this should be random and drawn with pencil. Look for any interesting wood features which you want to highlight or anything you want to hide. Cover the entire surface with the shapes. Some shapes can be closer together, all are nonuniform.
Using the Razertip at 2-3 temperature, use the pinky on the wood for stability, go over the pencil lines. Going around corners – go up on to the tip of the blade to keep the line smooth. Move the piece and the Razertip together. Aim for a consistent speed to give consistent heat and smooth lines.
Smaller blades can bend; however, they can be carefully straightened with narrow nose pliers.
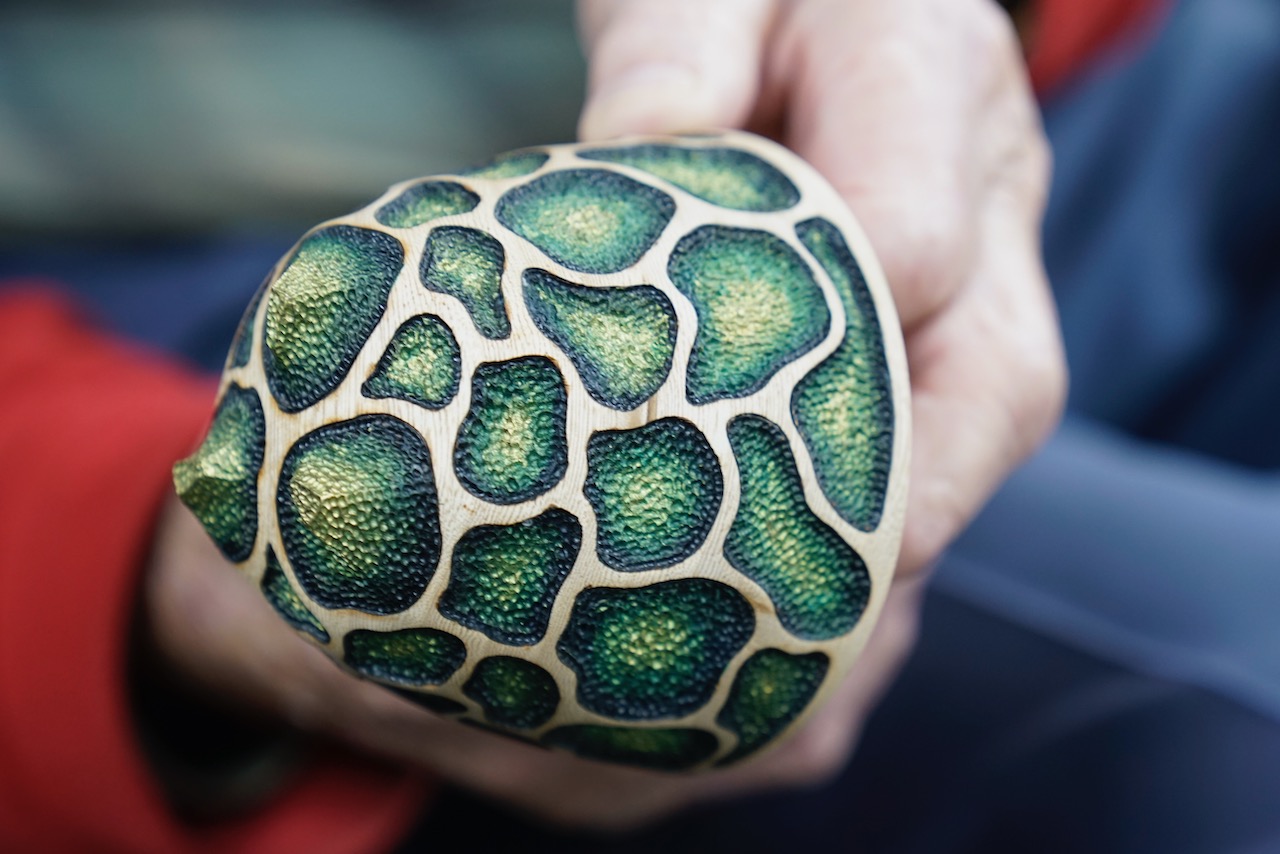
Once all shapes have been outlined remove the pencil lines with a rubber. Then with a Dremel “scoop out” the centre of the shape. Trace around the edge first then remove the middle. Emma was using a “green hedgehog” bit. Smooth out the indented surface.
Option 1 – Dots:
With the nichrome tip put dots in the shape. Start around the edge to make a border and keep the edge clean. Note: a writing tip could be used for the dots.
Any patterning can be used in the centre once the border of dots is complete. A sample board can help with working out which pattern to use, how quick it is, whether it is suited to a larger area.
Note: gummy timbers can result in inconsistent burn, so it is important to have a wire brush handy to clean the tip.
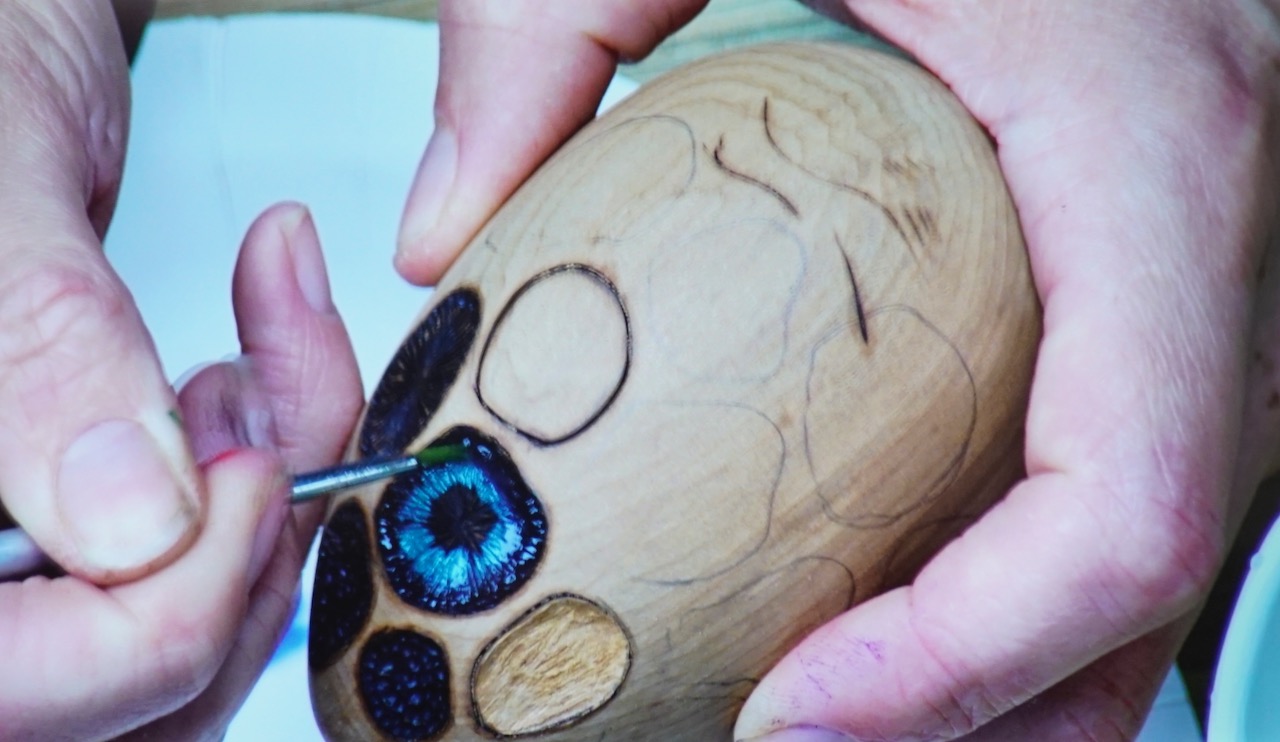
Paint – use metallic paint. Remember to look at the consistency. Emma used a Size 0, round brush with a fine tip.
As this is dots in the shape the painting will move in rings around the shape, move from the outside to the inside. Blend them together in a more circular motion.
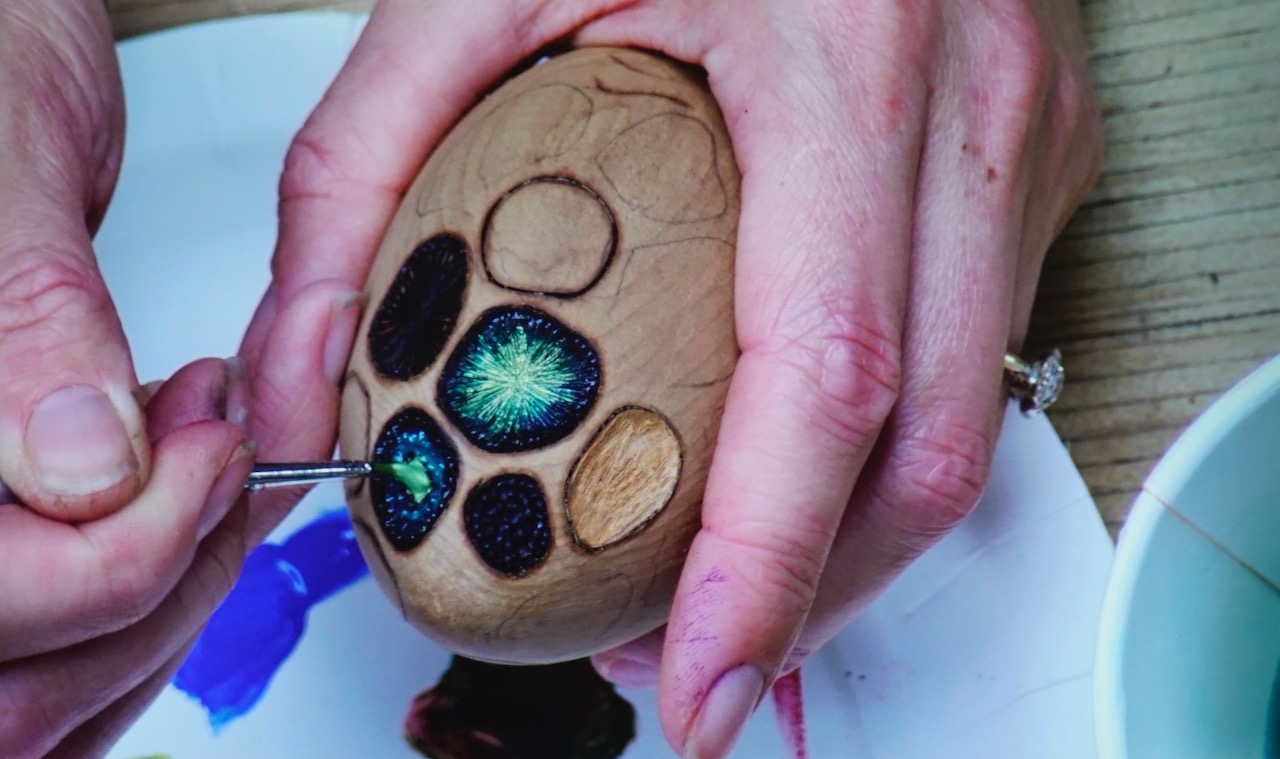
Option 2 – Star:
Using the Razertip blade go from the centre of the shape and make a basic star shape within the indented area. A light touch gives a finer line. Keep drawing the lines until the space is nearly full then go from the outside into finish. This avoids going over the edge of the shape.
Heavy pressure will give texture, and this is required for any paint application.
With a very fine drill bit you can add a hole at the centre of the star for a focal point.
Paint – use metallic paint. Remember to look at the consistency. For this piece Emma used a Size 0, round brush with a fine tip.
Wet the brush, dab dry, start with black and do the outline. Will be painting dark to light. Apply a light coat around the edge. The next colour was Verde green. Apply carefully trying not to touch the black. Wash the brush and dry then with light touches blend the two colours together moving out on the lines of the star. Add more colour as required. Now add the third colour to the inside. It should still be possible to see the texture. Blend the colours, working with the star, brush the colours together.
Add a dot of gold to the central point with a very fine brush then move towards the edge. The aim is to lead the eye into the centre.
Blending must be done while the paint is still wet, so it is necessary to complete each shape one at a time.
Possible colour combinations:
Black Dark Blue Light Blue White
Black Dark Purple Light Purple White
Interference Paint
This is more vivid on a black background. Only a very small amount is required, and it is best to water the paint down to avoid a “white” look. These paints can be used over other colours for a flash of colour e.g. purple over green. Not much is achieved by putting gold interference paint over gold metallic paint.
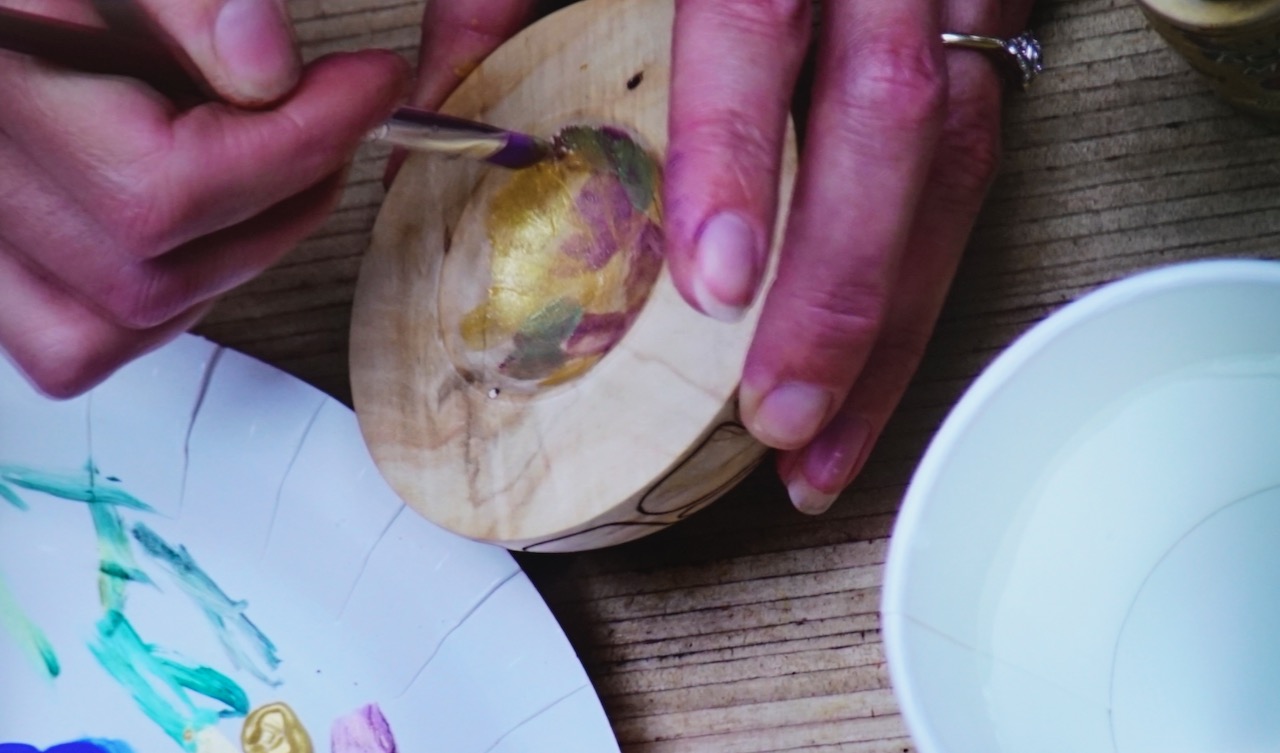
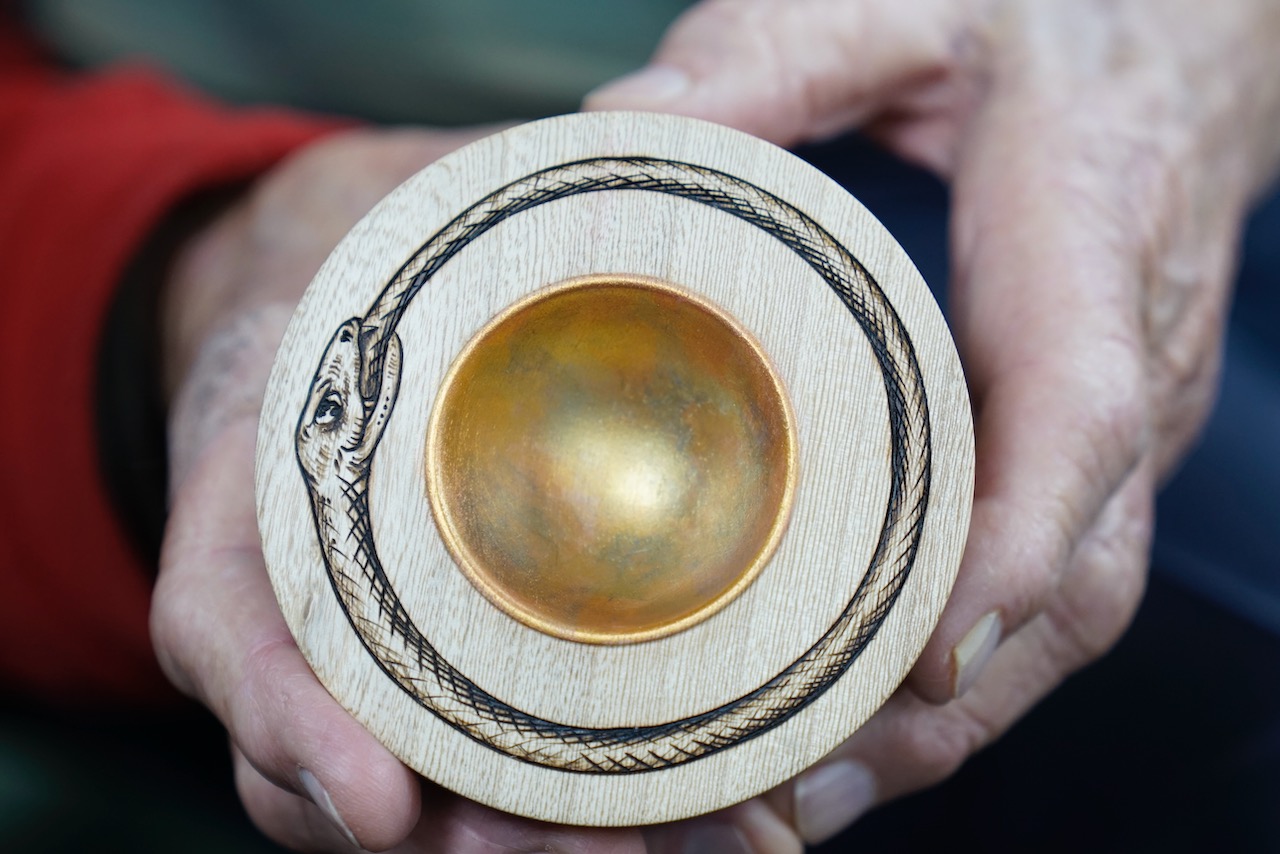
Gold patina in centre of bowl
This is a fake patina that is possible using a variety of colours. Emma used bronze, gold, sunset pink, purple, green. Copper and Rose Gold are a good combination to try.
Often done over black gesso base. Using a round nose brush dab on some gold paint. Do not paint the entire surface. Next dab on some purple, then green then blend slightly. Try to avoid making brush marks. Pull up from the middle. This is not about mixing the colours, rather blending them. With a wet brush blend as the paint dries. Dry with a hairdryer then repeat going up to the edge of the centre.
Very gently brush up to the lip to highlight the lip. Finally add interference paints. Again, it is best to use complimentary colours. Use a small brush, minimal amount of paint. Remember to wet the brush then dab. Layer until happy with the look. Note: can use fingers to blend.
Club Meeting: 20 May 2026 Report by: Jacqui Oxenbridge
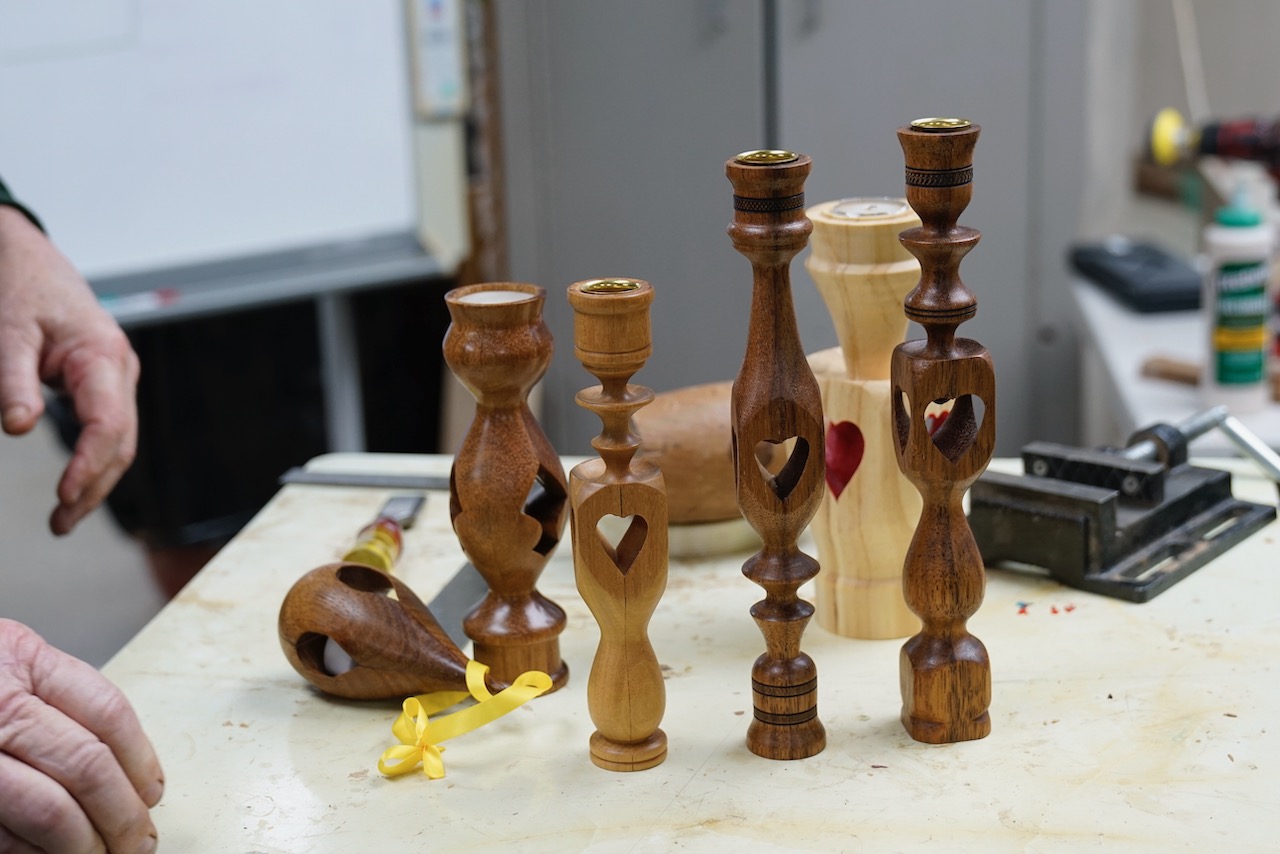
Yuri’s demonstration was showing inside out woodturning technique to place the shape of a heart inside the wood. For a beginner turner with NO spatial awareness this was all a bit overwhelming and I hope this makes sense! As for the “I have notes and they are in English…”
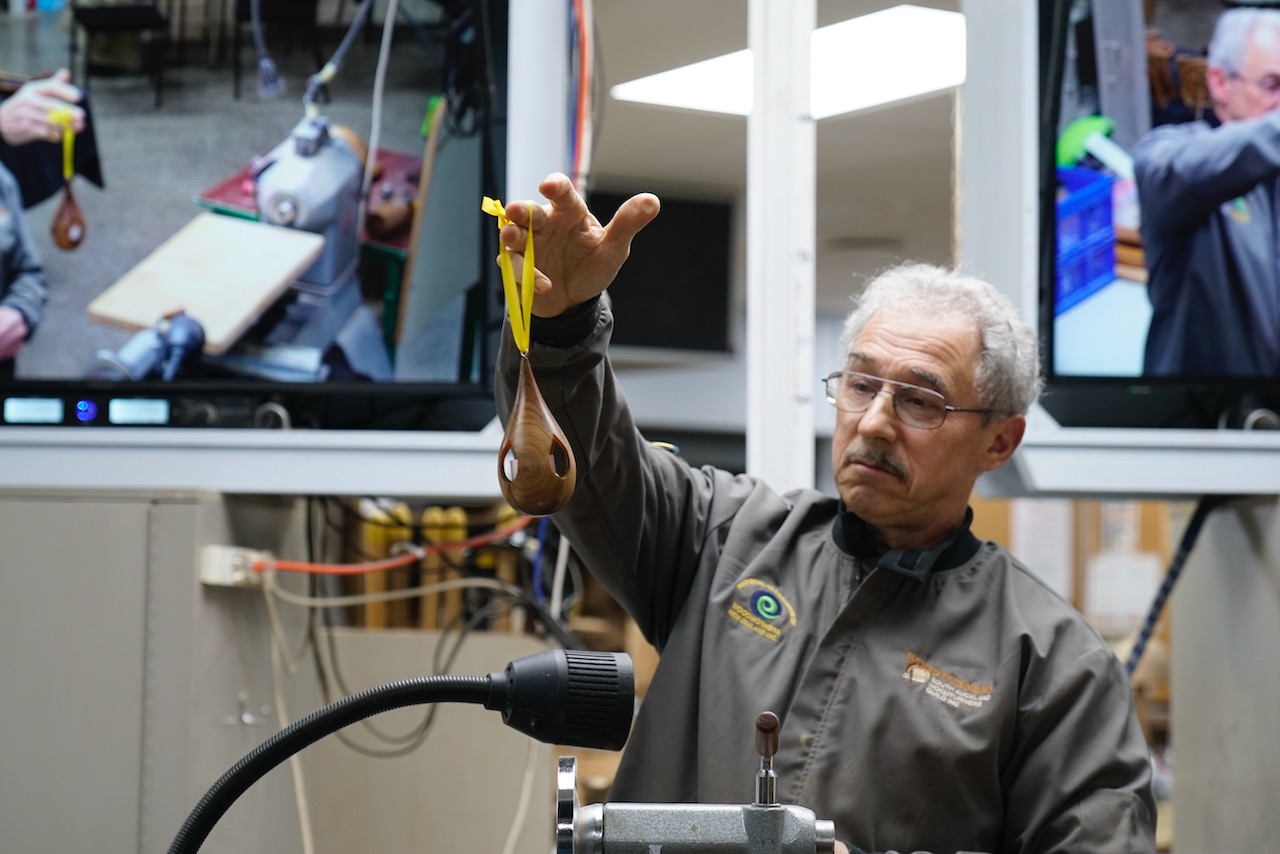
To begin, Yuri showed us a teardrop decoration and then showed us how to create the void – “straight-backwards”.
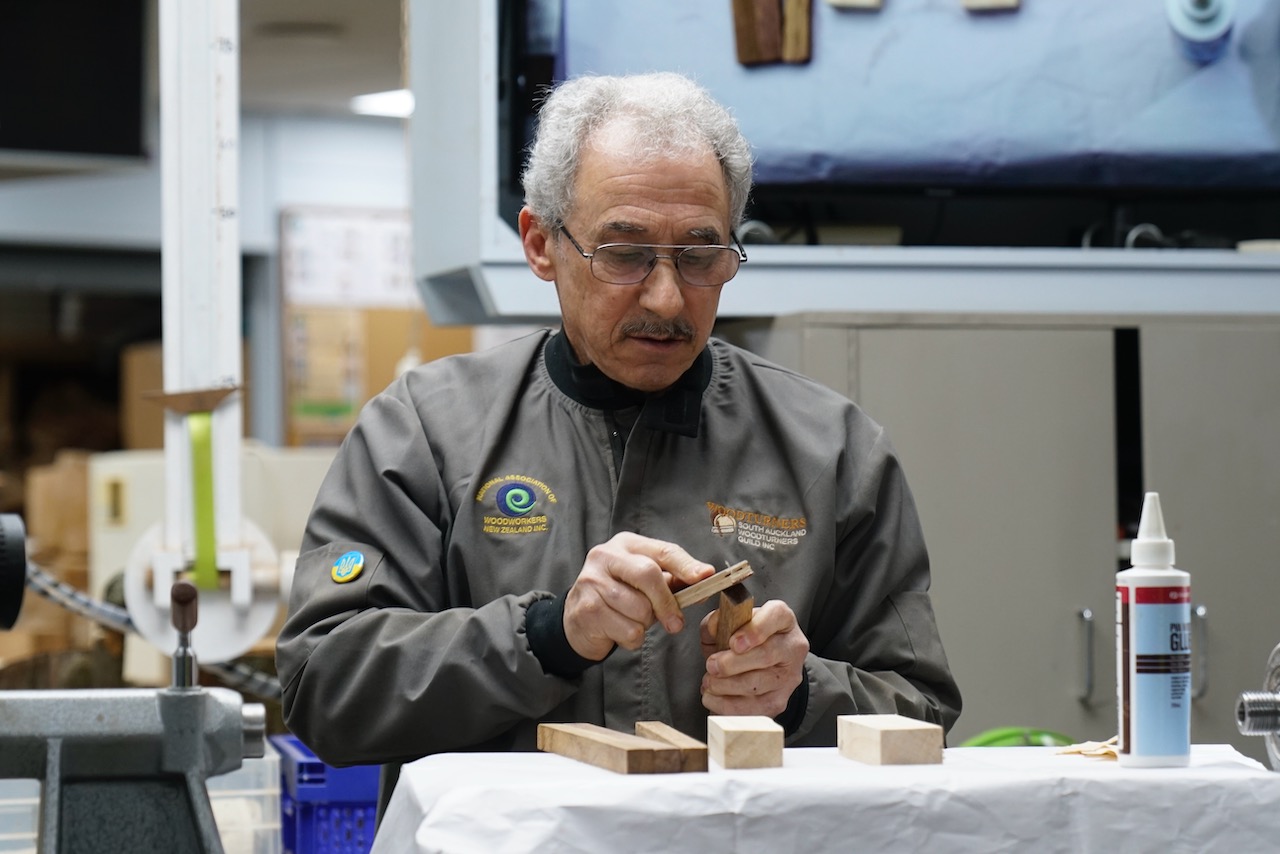
First find identical sized straight blanks. Generally, these pieces are made from 4 blanks joined together but it is possible to use 3 or 6.
The blanks are temporarily joined together then turned then separated and joined back together “backwards” to create the void. Finally, the shape is turned on the new blank complete with void.
In its simplest form:
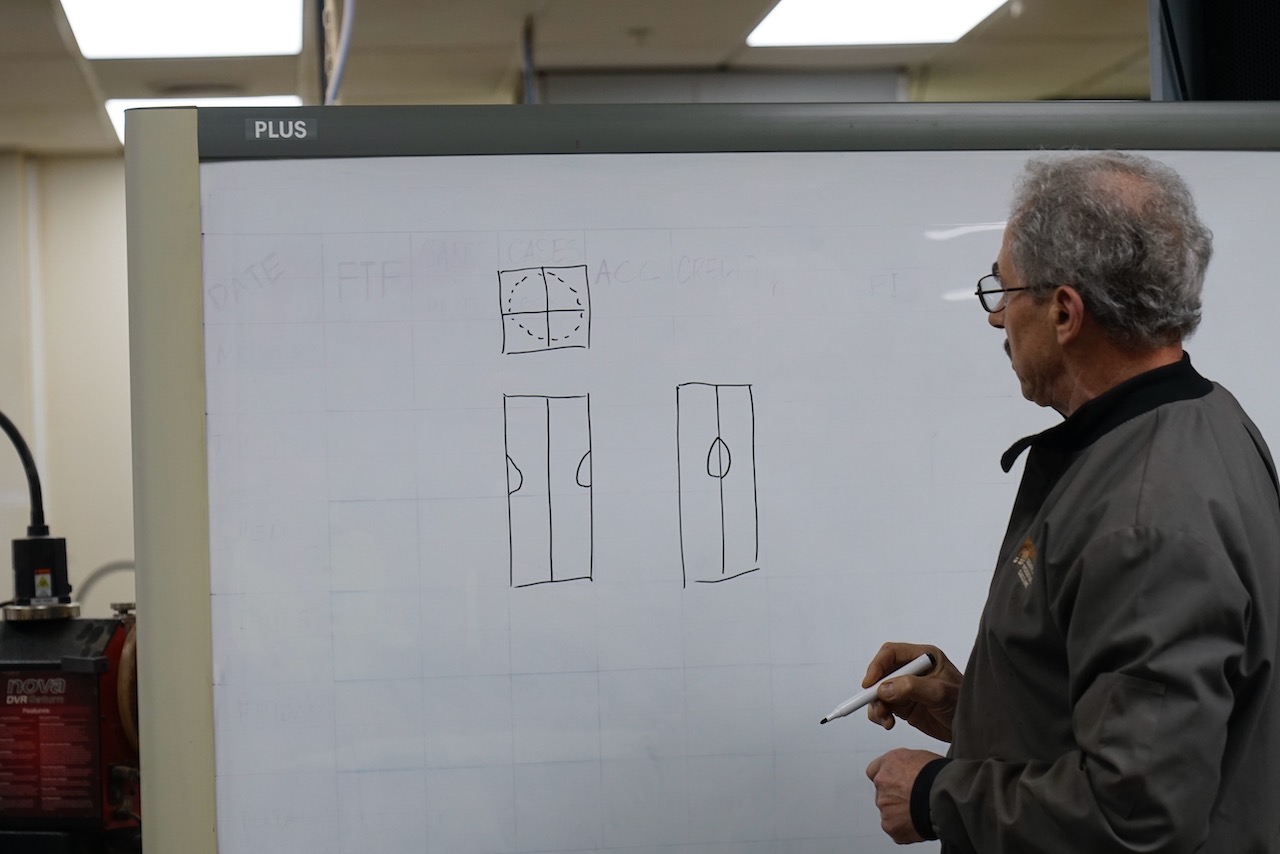
side view: top view: once temporarily stuck together turn out a semi- circle then separate and re-stick together to get a circle void
Remember to finish the “inside surface” before permanently gluing the pieces together.
Heart Shape Void made with 4 pieces of wood.
Chamfer both ends of the blanks so that it will be possible to insert a chisel to separate the blanks. Yuri used sandpaper on a stick.
The blanks are glued together ONLY over a short section at the top and bottom of the blank so that they can be separated without tearing the fibres.
Use PVA glue and paper. A brown grocery bag works well as it does not have a gloss surface and will absorb the glue.
Spread the PVA on the end of 2 sticks then put the paper on the glue. Glue the paper in the same way and then add the 2 sticks with no paper to the other side of the paper.
Repeat gluing process at the other end.
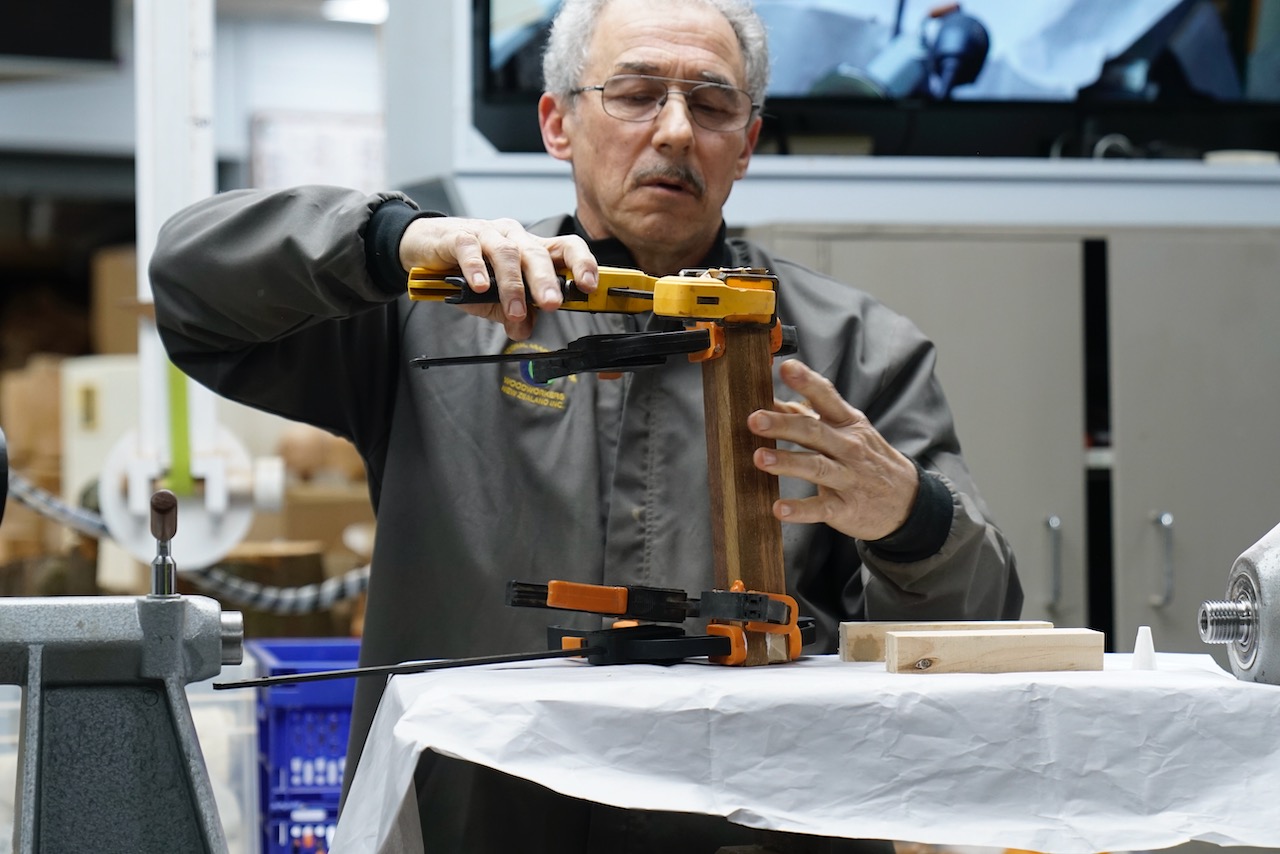
Align the tops of the blanks and clamp together top and bottom – 4 clamps used in pairs at right angles to one another.
Once completely dry, trim the tail stock end if required as it is important to have a flat end.
Considering the new blank and how to turn it safely: one end will be placed inside the jaws at the headstock and is unlikely to blow apart. The other end needs more thought. If a live centre is used it is likely to split and separate the 4 blanks, so a Steb Centre is preferable.
To make the tailstock end safer Yuri used filament tape which contains fibreglass strips (available from Blackwoods). To avoid the tape being cut by the blank he removed the sharp edges with sandpaper. Another important consideration was the direction the tape was applied in – wrap around in the opposite direction to the direction the lathe turns in to avoid it catching.
Now the blank is ready for “Open Heart Surgery!”
Because this is inside out turning, we need to keep the edges as sharp as possible – any wood that is knocked off the edge can be visible when the blanks are reglued backwards. If the edge is damaged, but can be repaired by gluing the piece back, this should be done.
With the parting tool cut the middle of the blank. Turning at 1400RPM. As the blanks are not glued in the middle a sharp tool, reasonably high speed and a light touch are required.
Cut a groove approximately 1.5 times the width of the parting tool (allow some clearance) down to 15-16mm diameter. Measure with callipers. Once at this diameter begin cutting the reverse heart profile.
Begin with the top of the heart on the top side of the groove. Using a bowl gouge Yuri shaped the top half – lie a very short cove that incorporated the 16mm diameter shaft.
To complete the second half of the heart required a hollowing tool to do an undercut on the bottom side of the groove. Remember to move the tool rest away so that the Swan neck scraper is well supported. It is important to cut deep enough that the heart will be in proportion.
It is recommended to sand with the lathe turned off. Repair any damage to the edges. Mark each piece 1,2,3,4.
Separate by placing a chisel in the chamfer between two blanks. Repeat on the other end. Then repeat on the two pair of blanks. Be gentle as the blank is quite thin in the centre.
Rejoin the blanks rotated 180 degrees so see the heart shaped void, glue together with Titebond, align the tops, clamp.
When dry need to drill out a hole for the candle insert (cup) (required for safety compliance).
Drilling in the lathe may cause the item to break. Instead put the blank in a vice, use a square to ensure it is upright, then with the vice tightened hold the blank at the top with an F-clamp or other tool (adjustable spanner) and use the drill press & a Forstner bit to drill the hole the required size.
At this point it is easier to sand the areas that will stay flat around the heart void.
Now the blank, with heart shaped void, can be shaped – this is basically spindle turning.
Bottom end is in the chuck, bring the live centre up – can use the centre mark from the Forstner bit to align. Remember the weak point in the centre and at the tailstock end. Use light cuts with a roughing gouge or spindle gouge. Make the top end round, add beads, coves etc.
Once the top is shaped work out where you are going to part off and using the parting tool cut down far enough to allow you to shape the bottom half of the candlestick.
Can add texturing, frame with a cut then burn with wire. Can colour the textured area with a vivid marker.
Part down to around 5mm then cut with a saw.
Sand the surfaces. Finish and insert the candle cup.
For a history lesson on Steb Centres, Forstner Bits and Callipers please speak to Yuri directly!
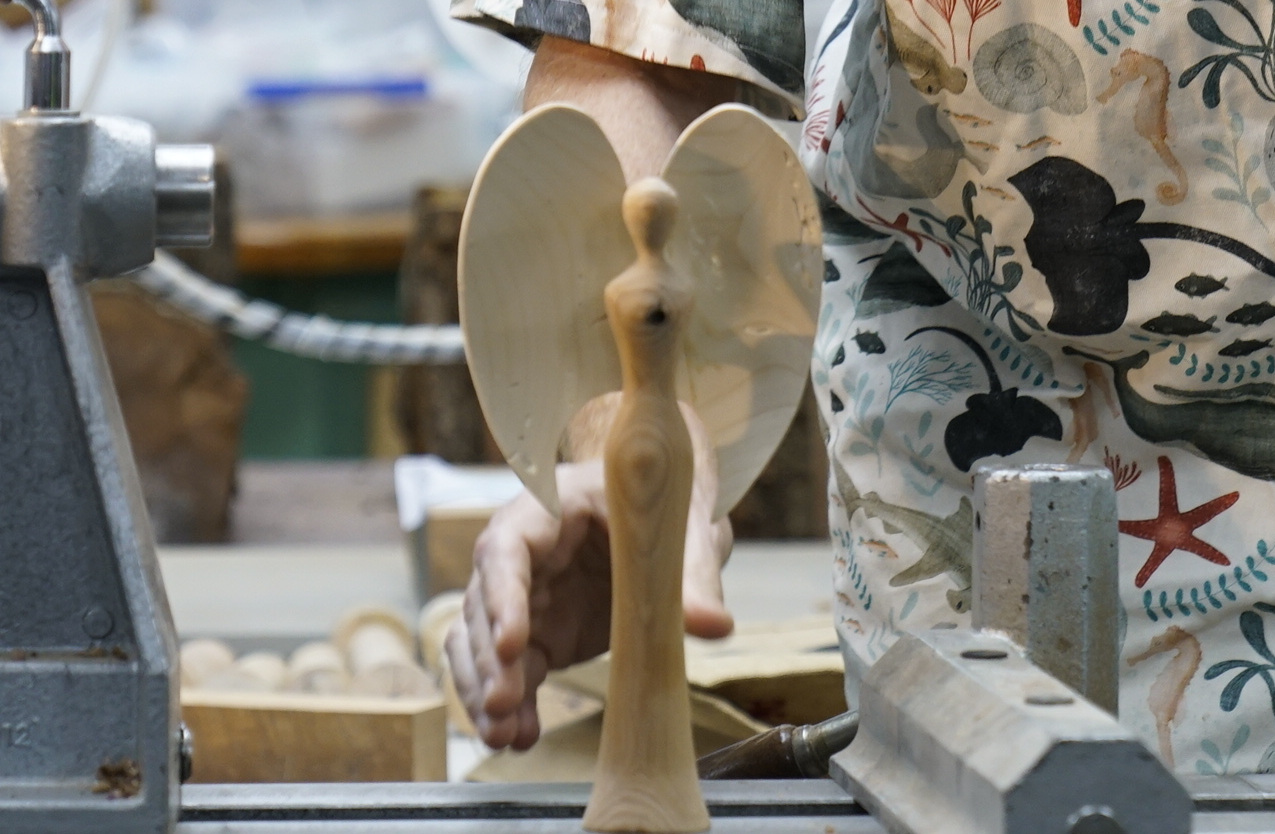
Blank size for the body of the Angel: 55 x 55 x 280
Blank size for the wings: 160 x 160 x 30mm blank
It is important to remember head and foot placement, and also the front and back as you work, or you’ll get a deformed angel, Picasso style 😊
Mark where the front will be on the first blank (Body)
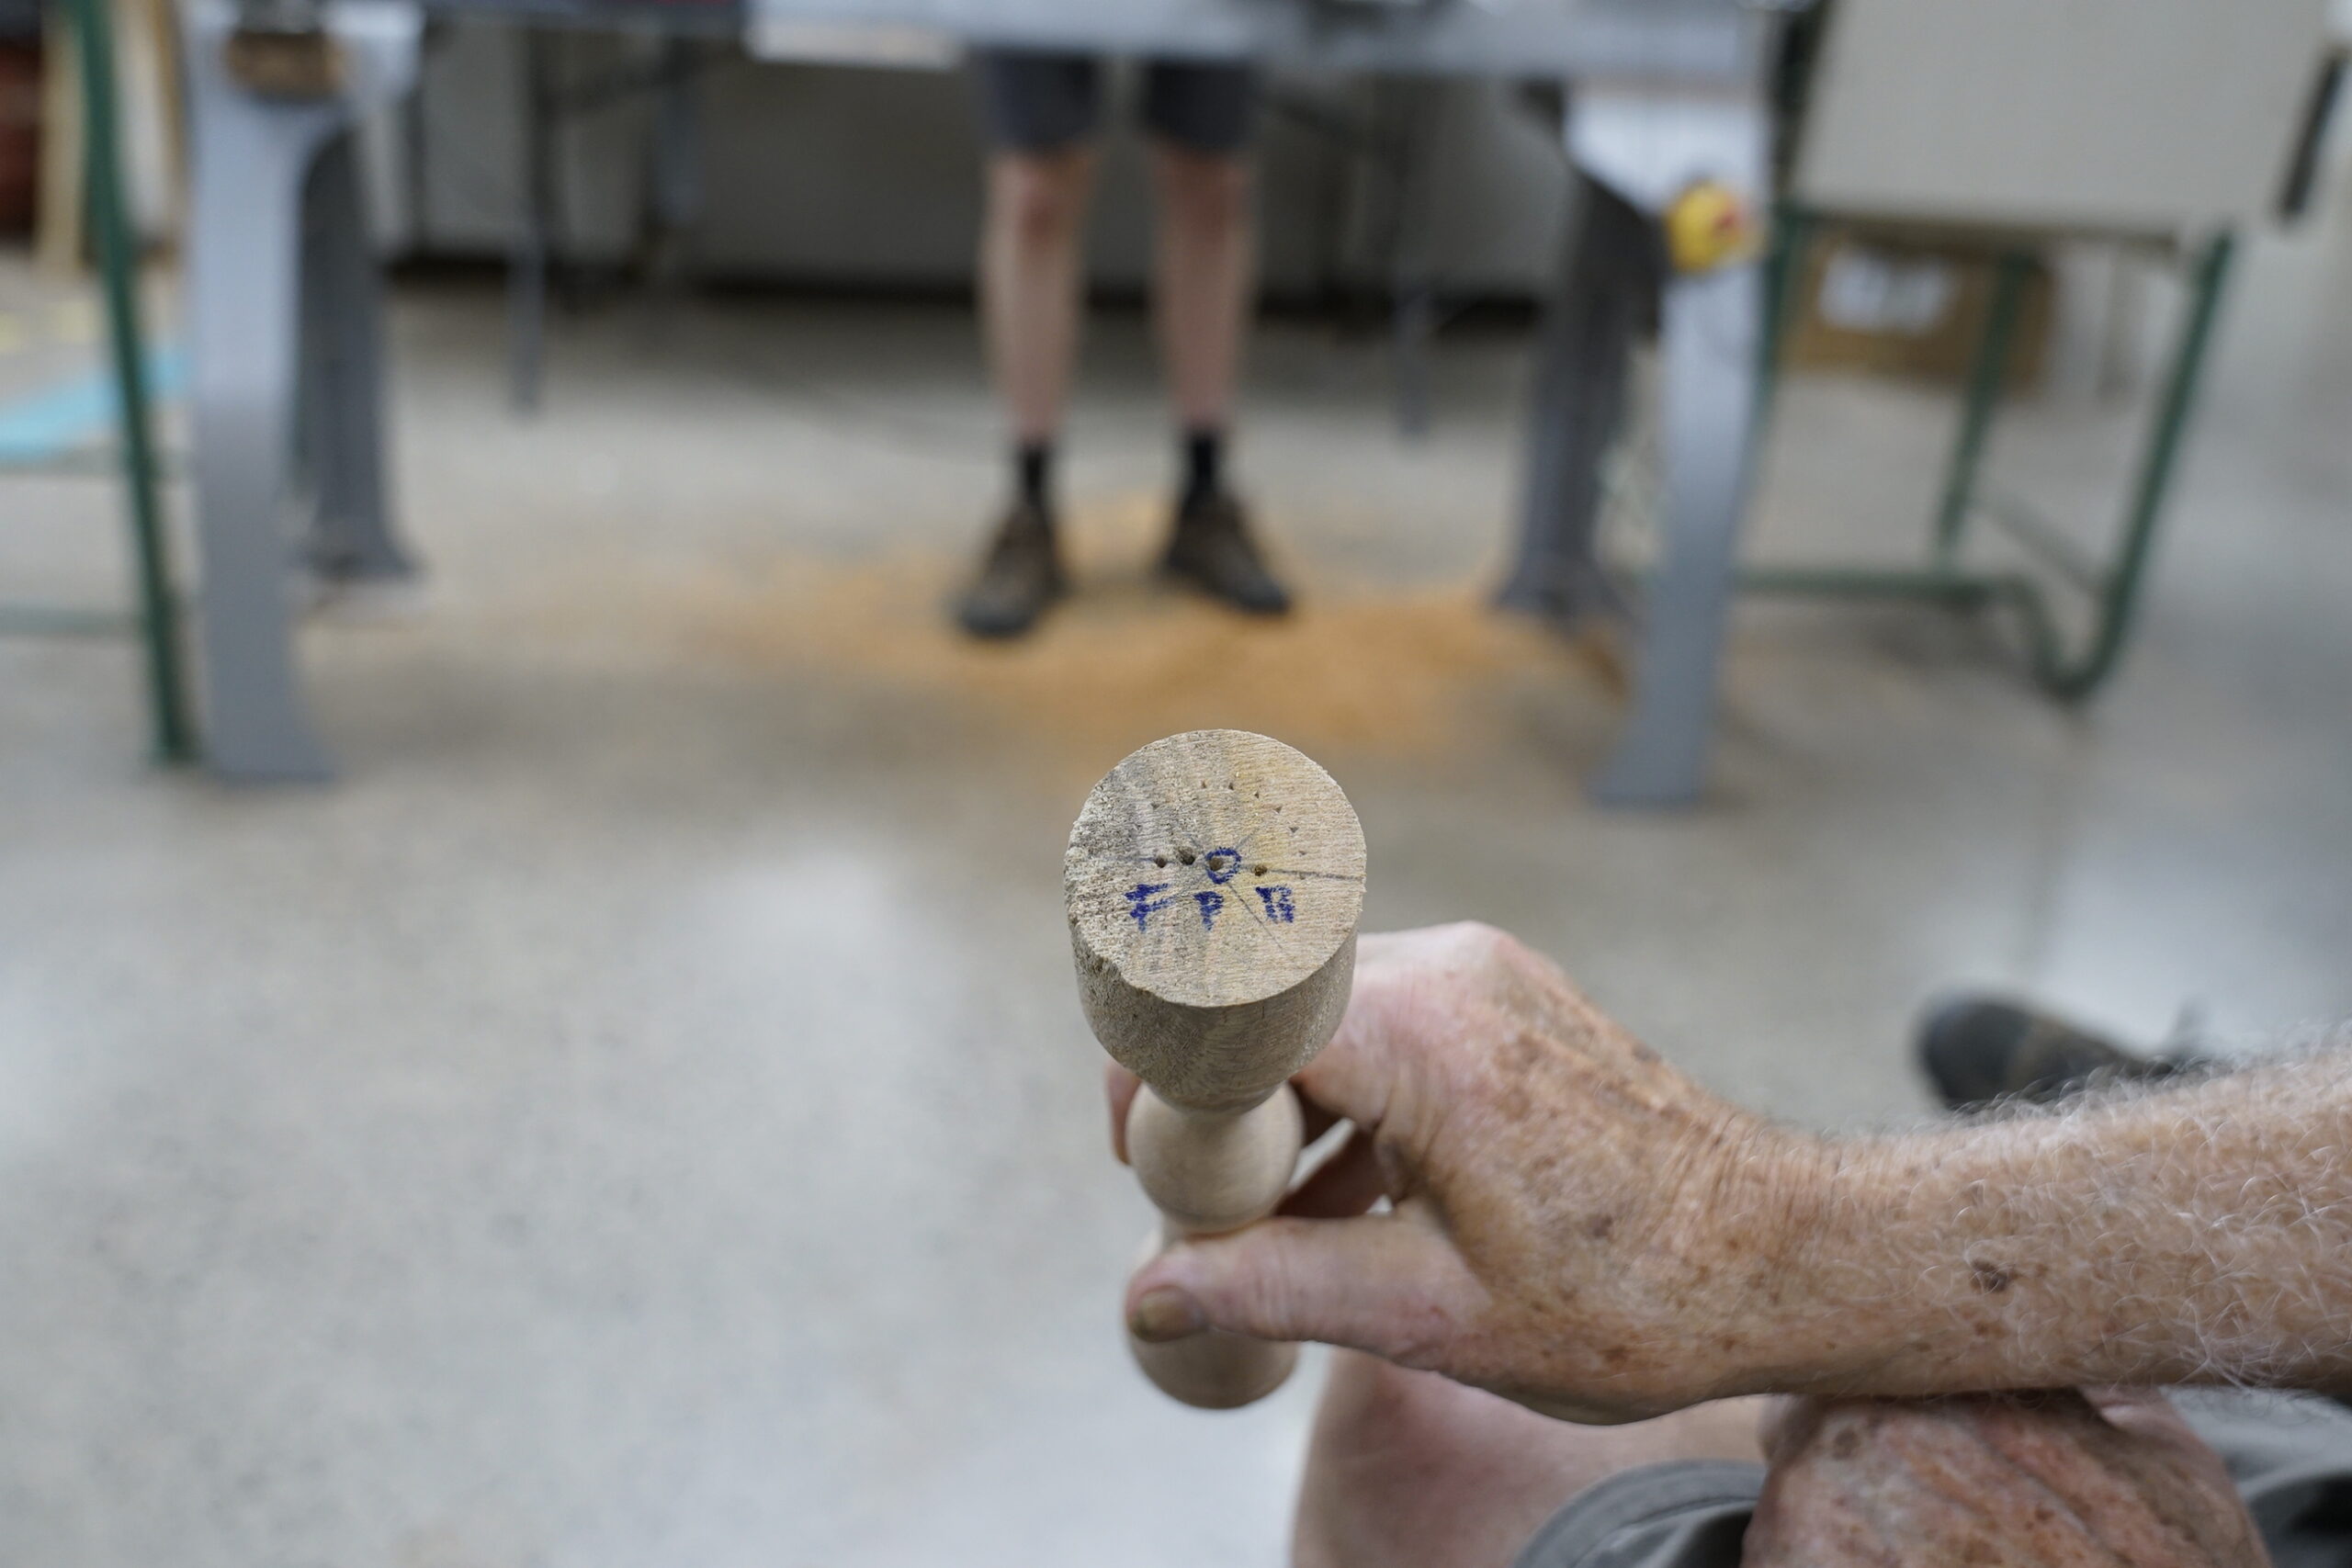
At the foot end mark the centre (P,B,N) mark. Place the next mark 8mm from centre towards the back (F) and label marks with appropriate letters shown in brackets.
At the head end mark the centre at Head (P) end, Place the next mark 8mm from the centre towards the front (B) and then mark 8mm from centre towards the back ((F), then mark halfway between front and middle marks (N) label with appropriate letters shown in brackets
Round the blank to 50mm diameter (this is the widest measurement at the base) Turn speed approximately 1750-2000 rpm
Mark 10 mm up from the foot end. Using this 10mm mark as zero, measure and mark the following lines: 85mm, 136mm, 165mm, 195mm, 208mm, 227mm, and 240mm. (this should leave 30mm spare at the top of the form)
Turn down to the correct diameter at each point with a parting tool.
85 mm = 26mm diameter (knees)
135 mm = 36 mm diameter (hips)
165 mm = 20 mm diameter (Waist)
195 mm = 34 mm diameter (Shoulders)
208 mm = 20 mm diameter Will be narrowed off centre later
227 mm = 20 mm diameter
Define underneath the base with parting tool (10mm deep)
Using a spindle roughing gouge, shape the body from base to neck using these marks as a guide (refer to the Blue line on the plan)
Move centres to the F marks for turning the Front
Shape the front of the body – base to neck (refer to the green dotted line on the plan)
Place back between true centres to turn the head (the head is basically like making a large bead)
Now for the fun stuff – not much left to remove, but they are the narrow bits
Move centres to the B marks for Back – turning speed approximately 1250 rpm
Shape under the bum and take approx. 5mm off the shoulders as per the red dotted lines on the plan
Move centres to the N Marks for the neck (neck is turned as a cove to 10mm diameter)
Next make the wings
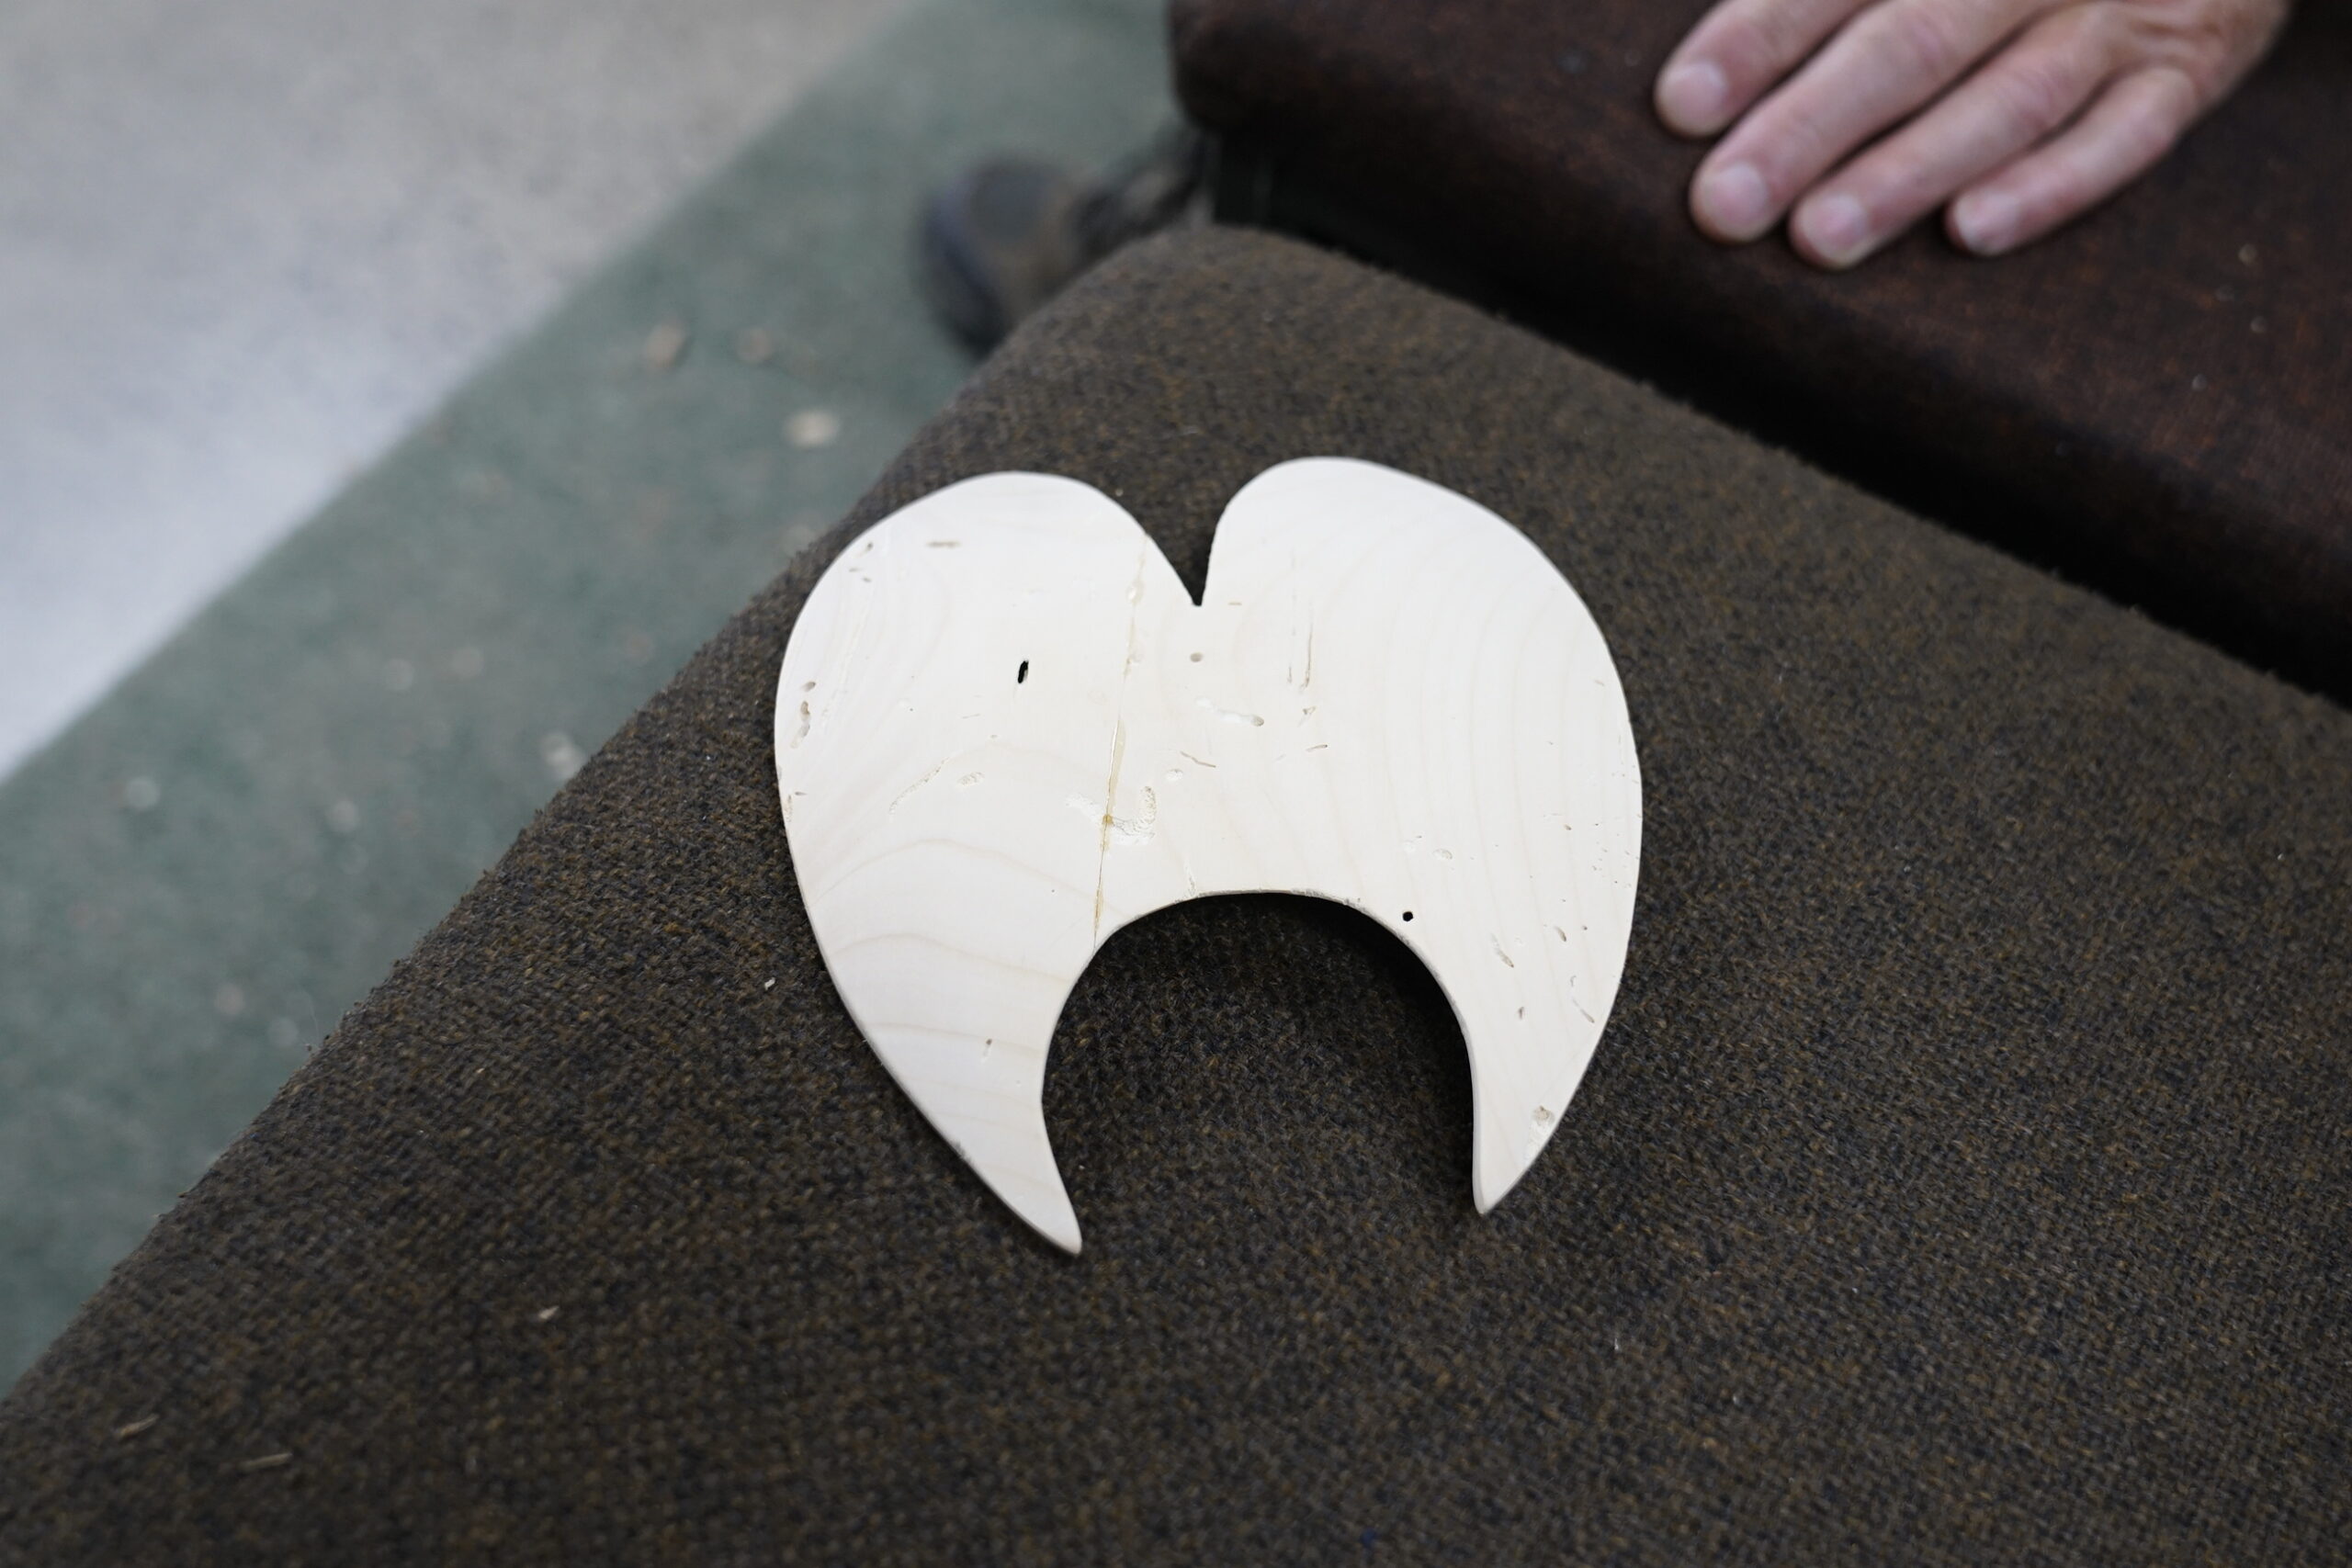
For the wings turn a thin shallow plate with a thin dowel left at the centre for attaching the wings to the body
Create a 50mm spigot for chucking
Mount in the chuck and turn another 50mm spigot on the other side.
Shape the outside of a shallow bowl and round to approx. 150mm diameter
Remount on the second spigot and turn the inside of the bowl, turning to 4mm thickness, leaving enough thickness in the centre to make a dowel.
Cut out the wing shape either:
on a bandsaw (this will need a narrow bandsaw blade),
on a scroll saw
with a coping saw or jigsaw.
Drill a hole in the back of the body and attach the wings
This was an excellent demo from Holm, showing the precision required for Off-Centre Turning, while also demonstrating it’s fun and versatility.
Club Meeting 10th December 2025 Report by: Denise Donovan
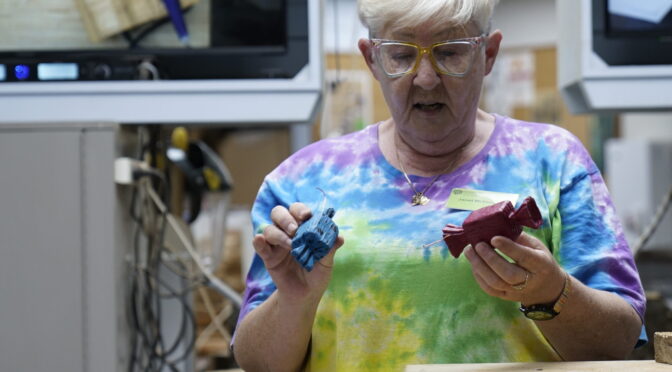
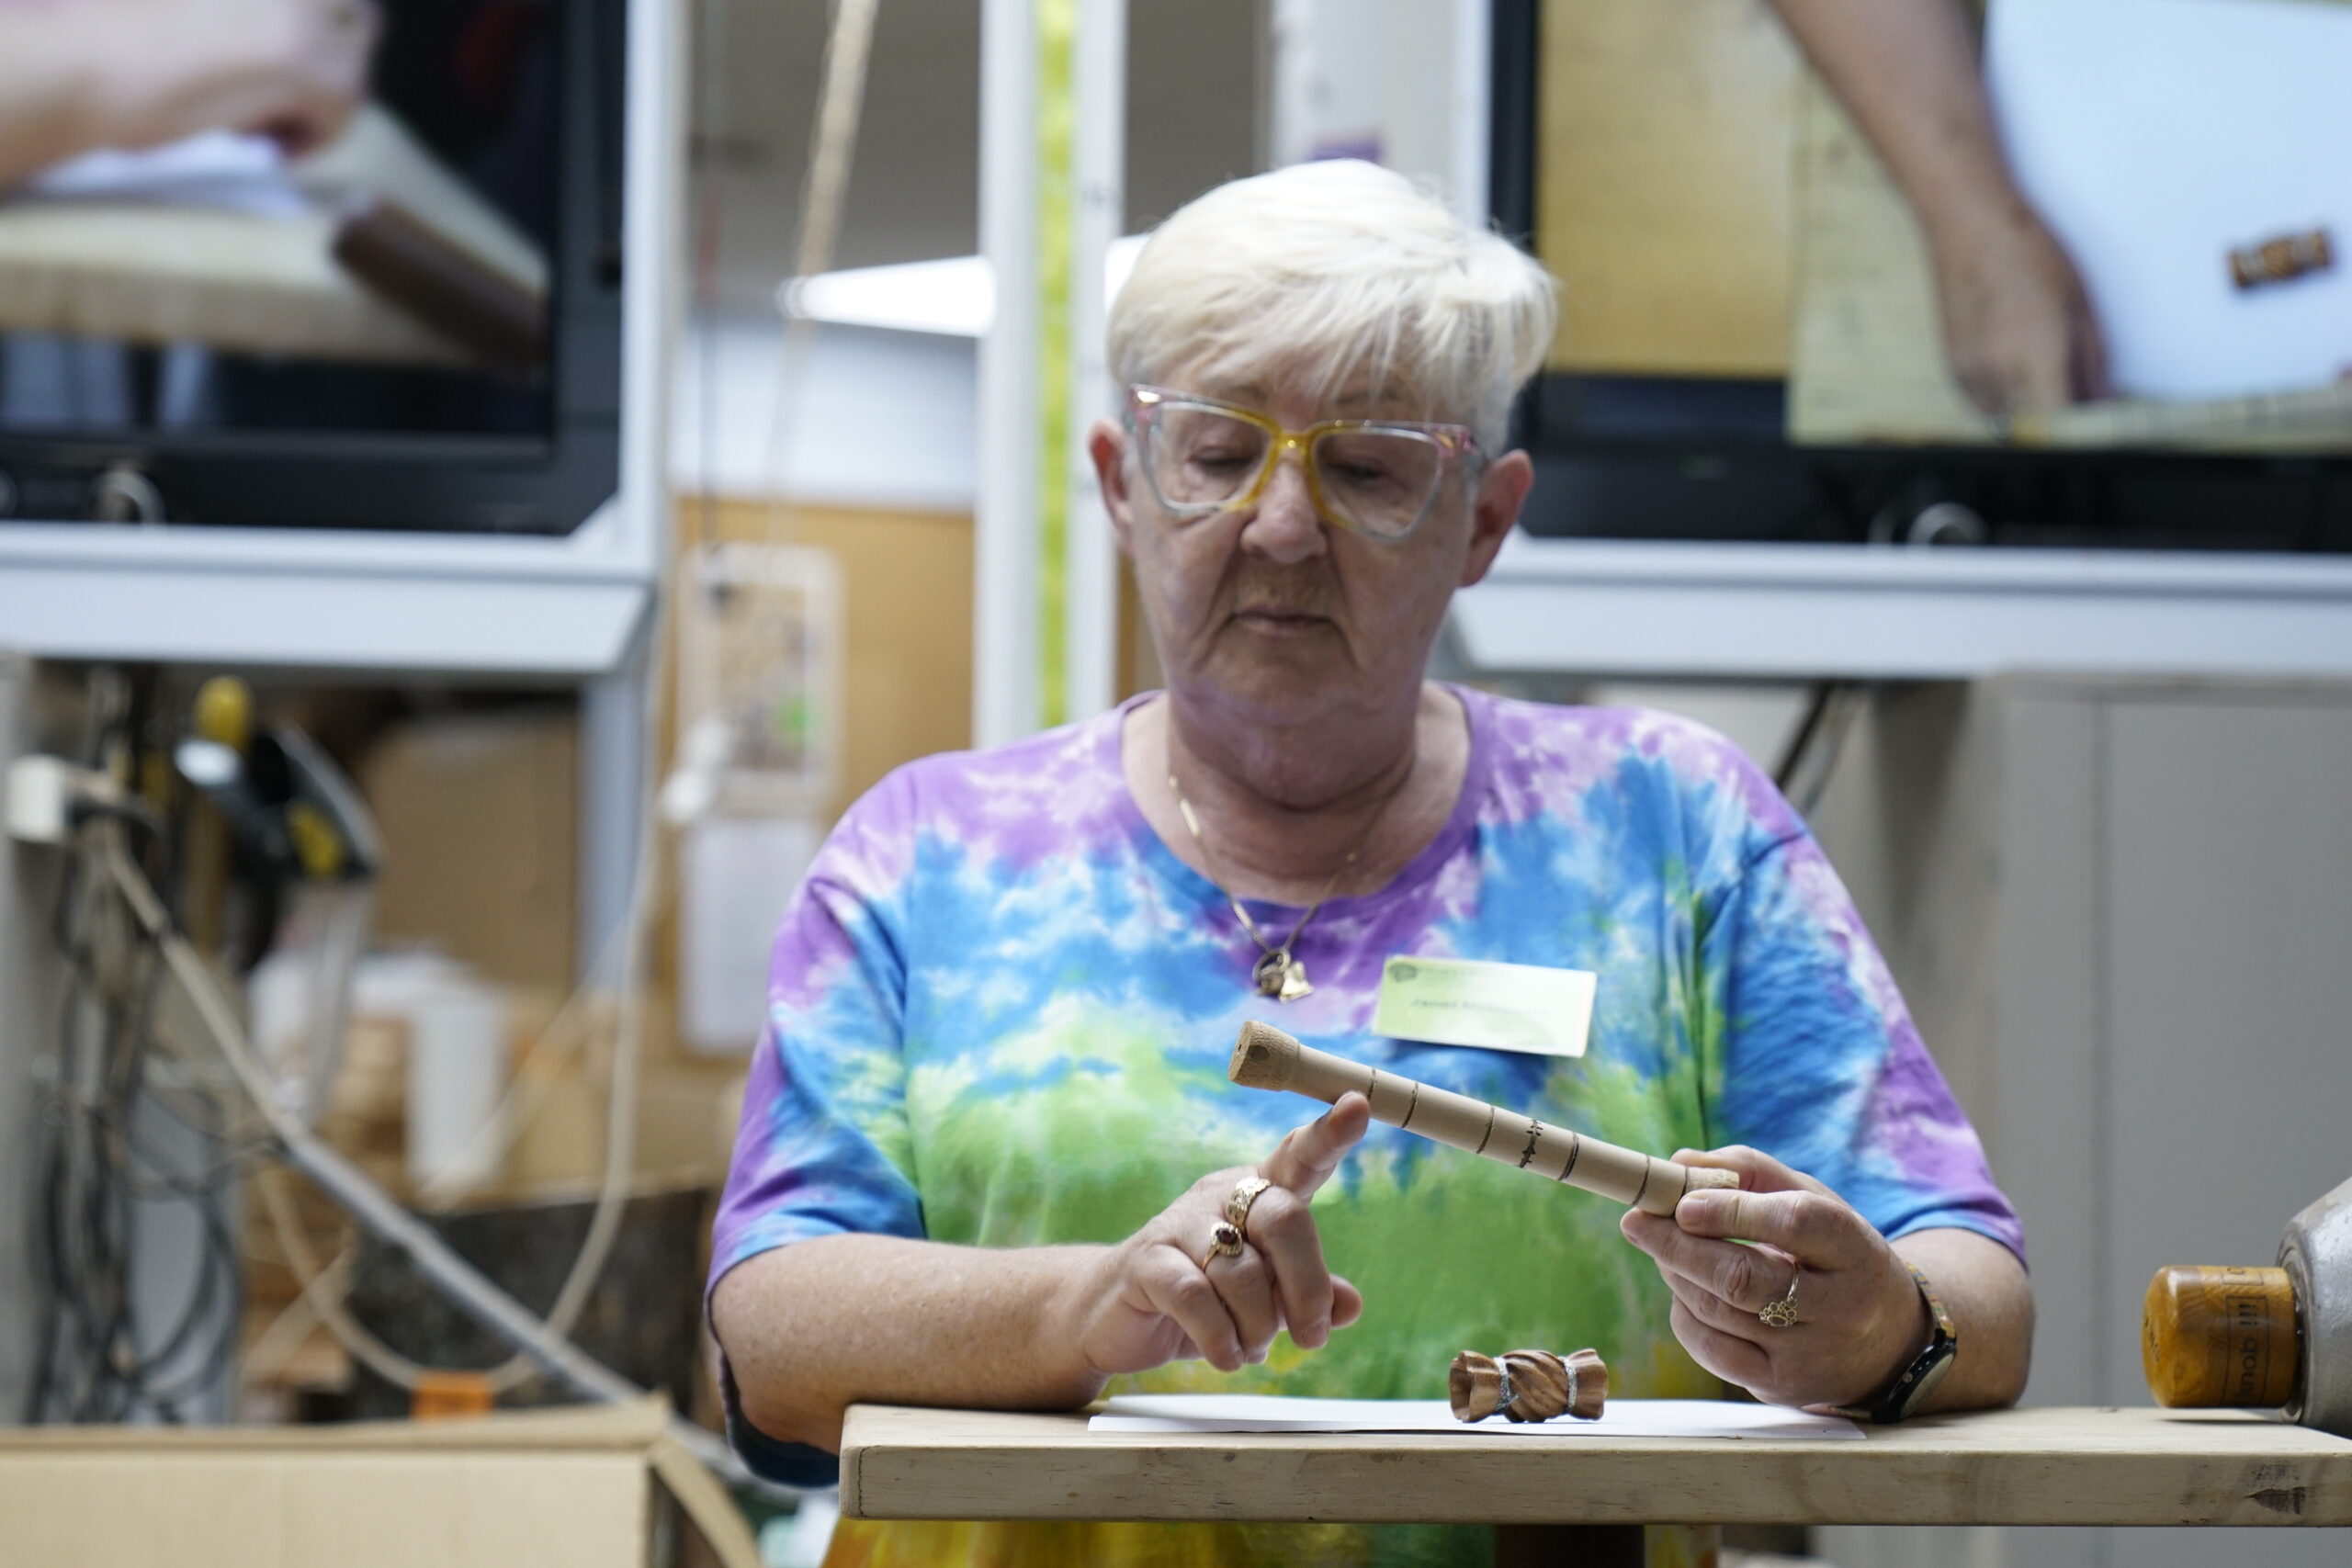
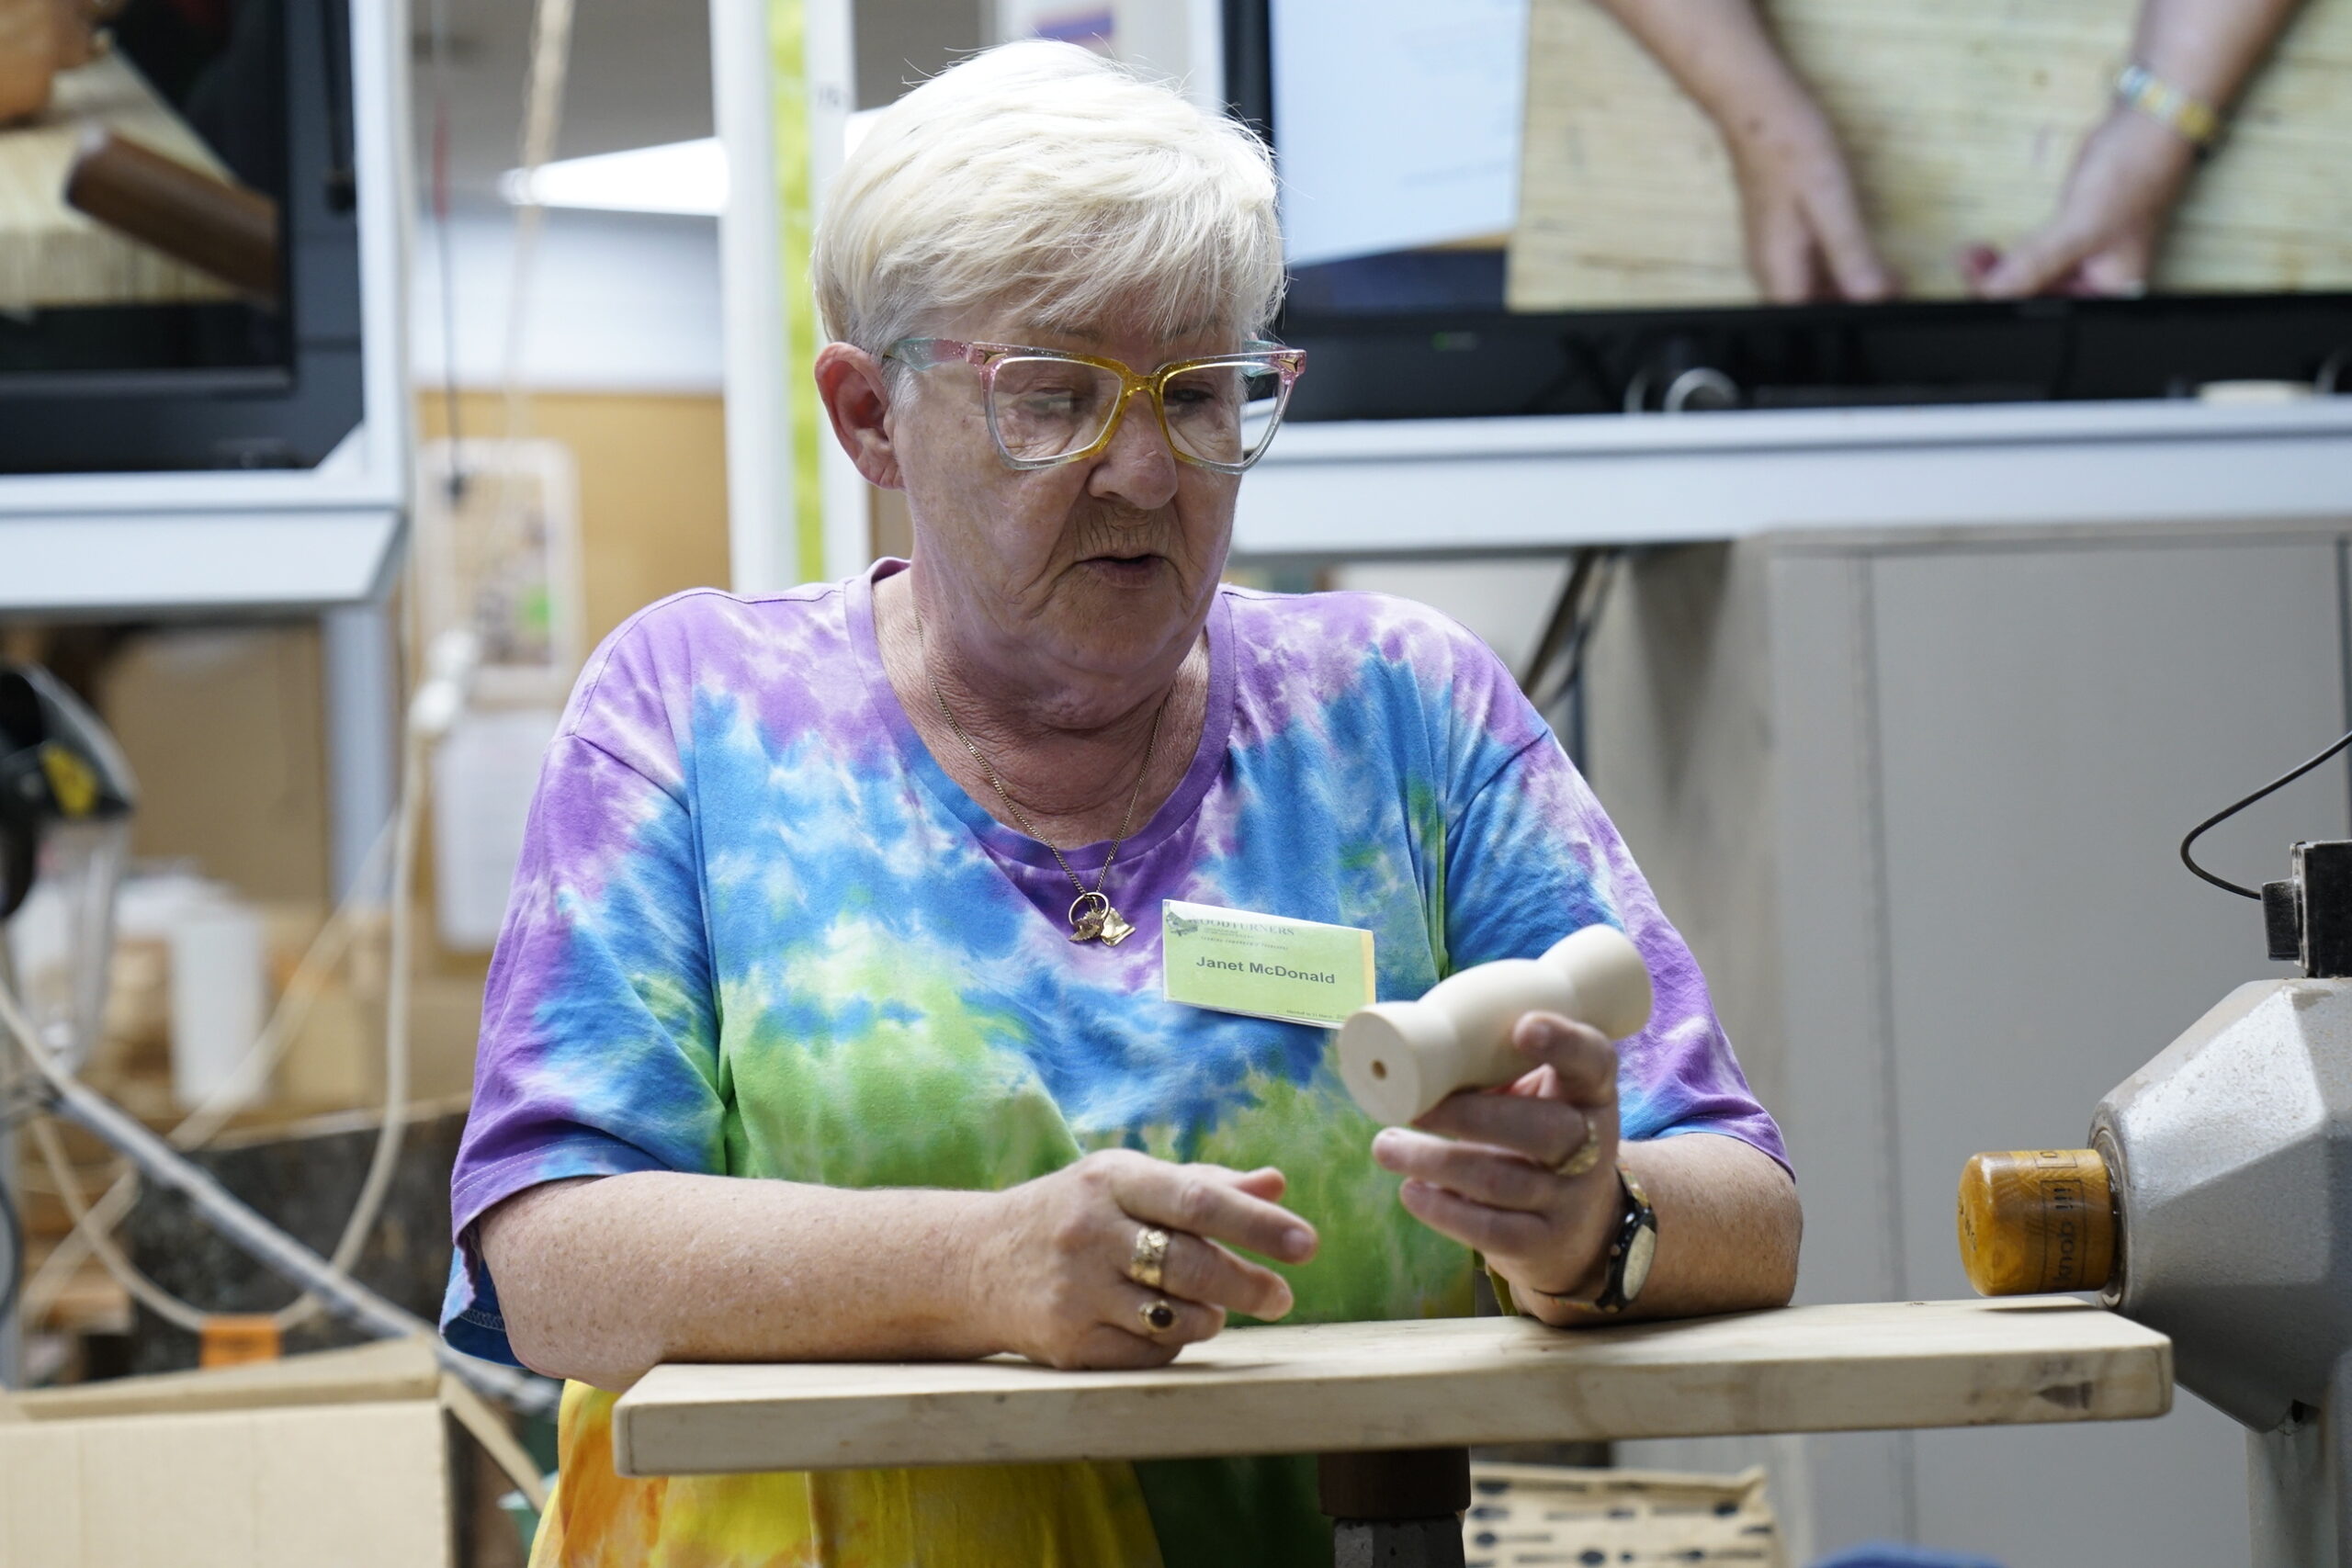
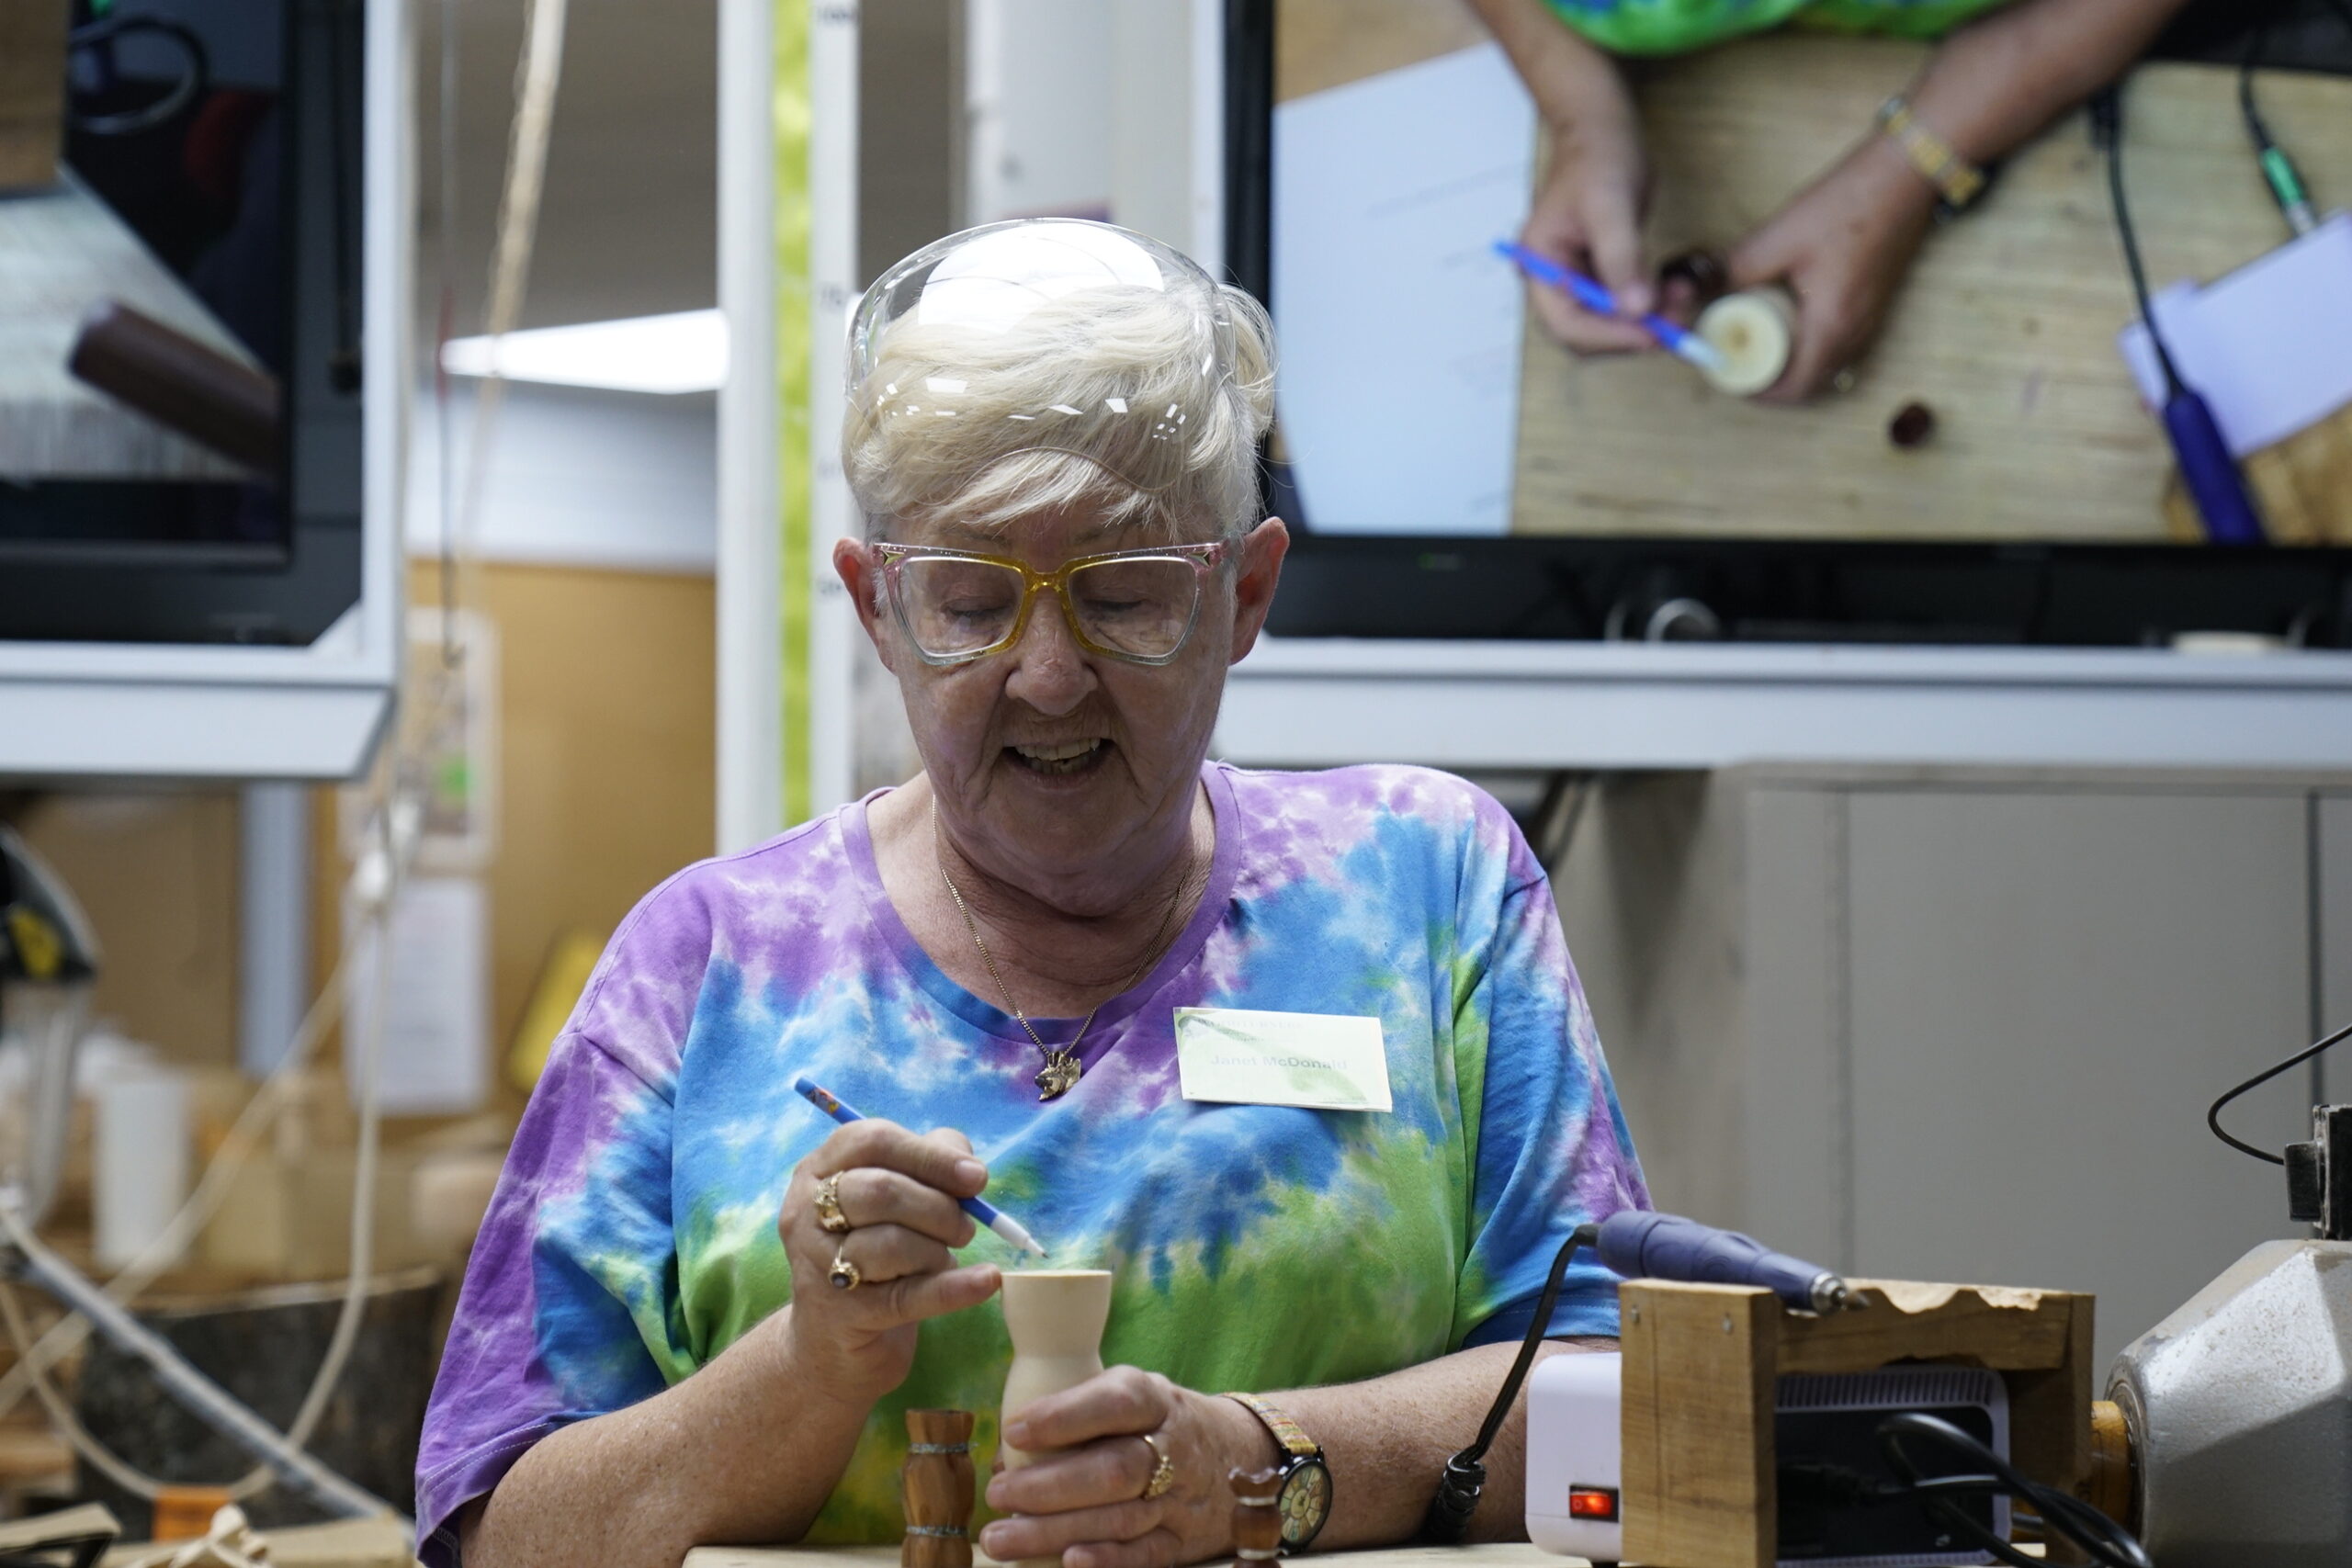
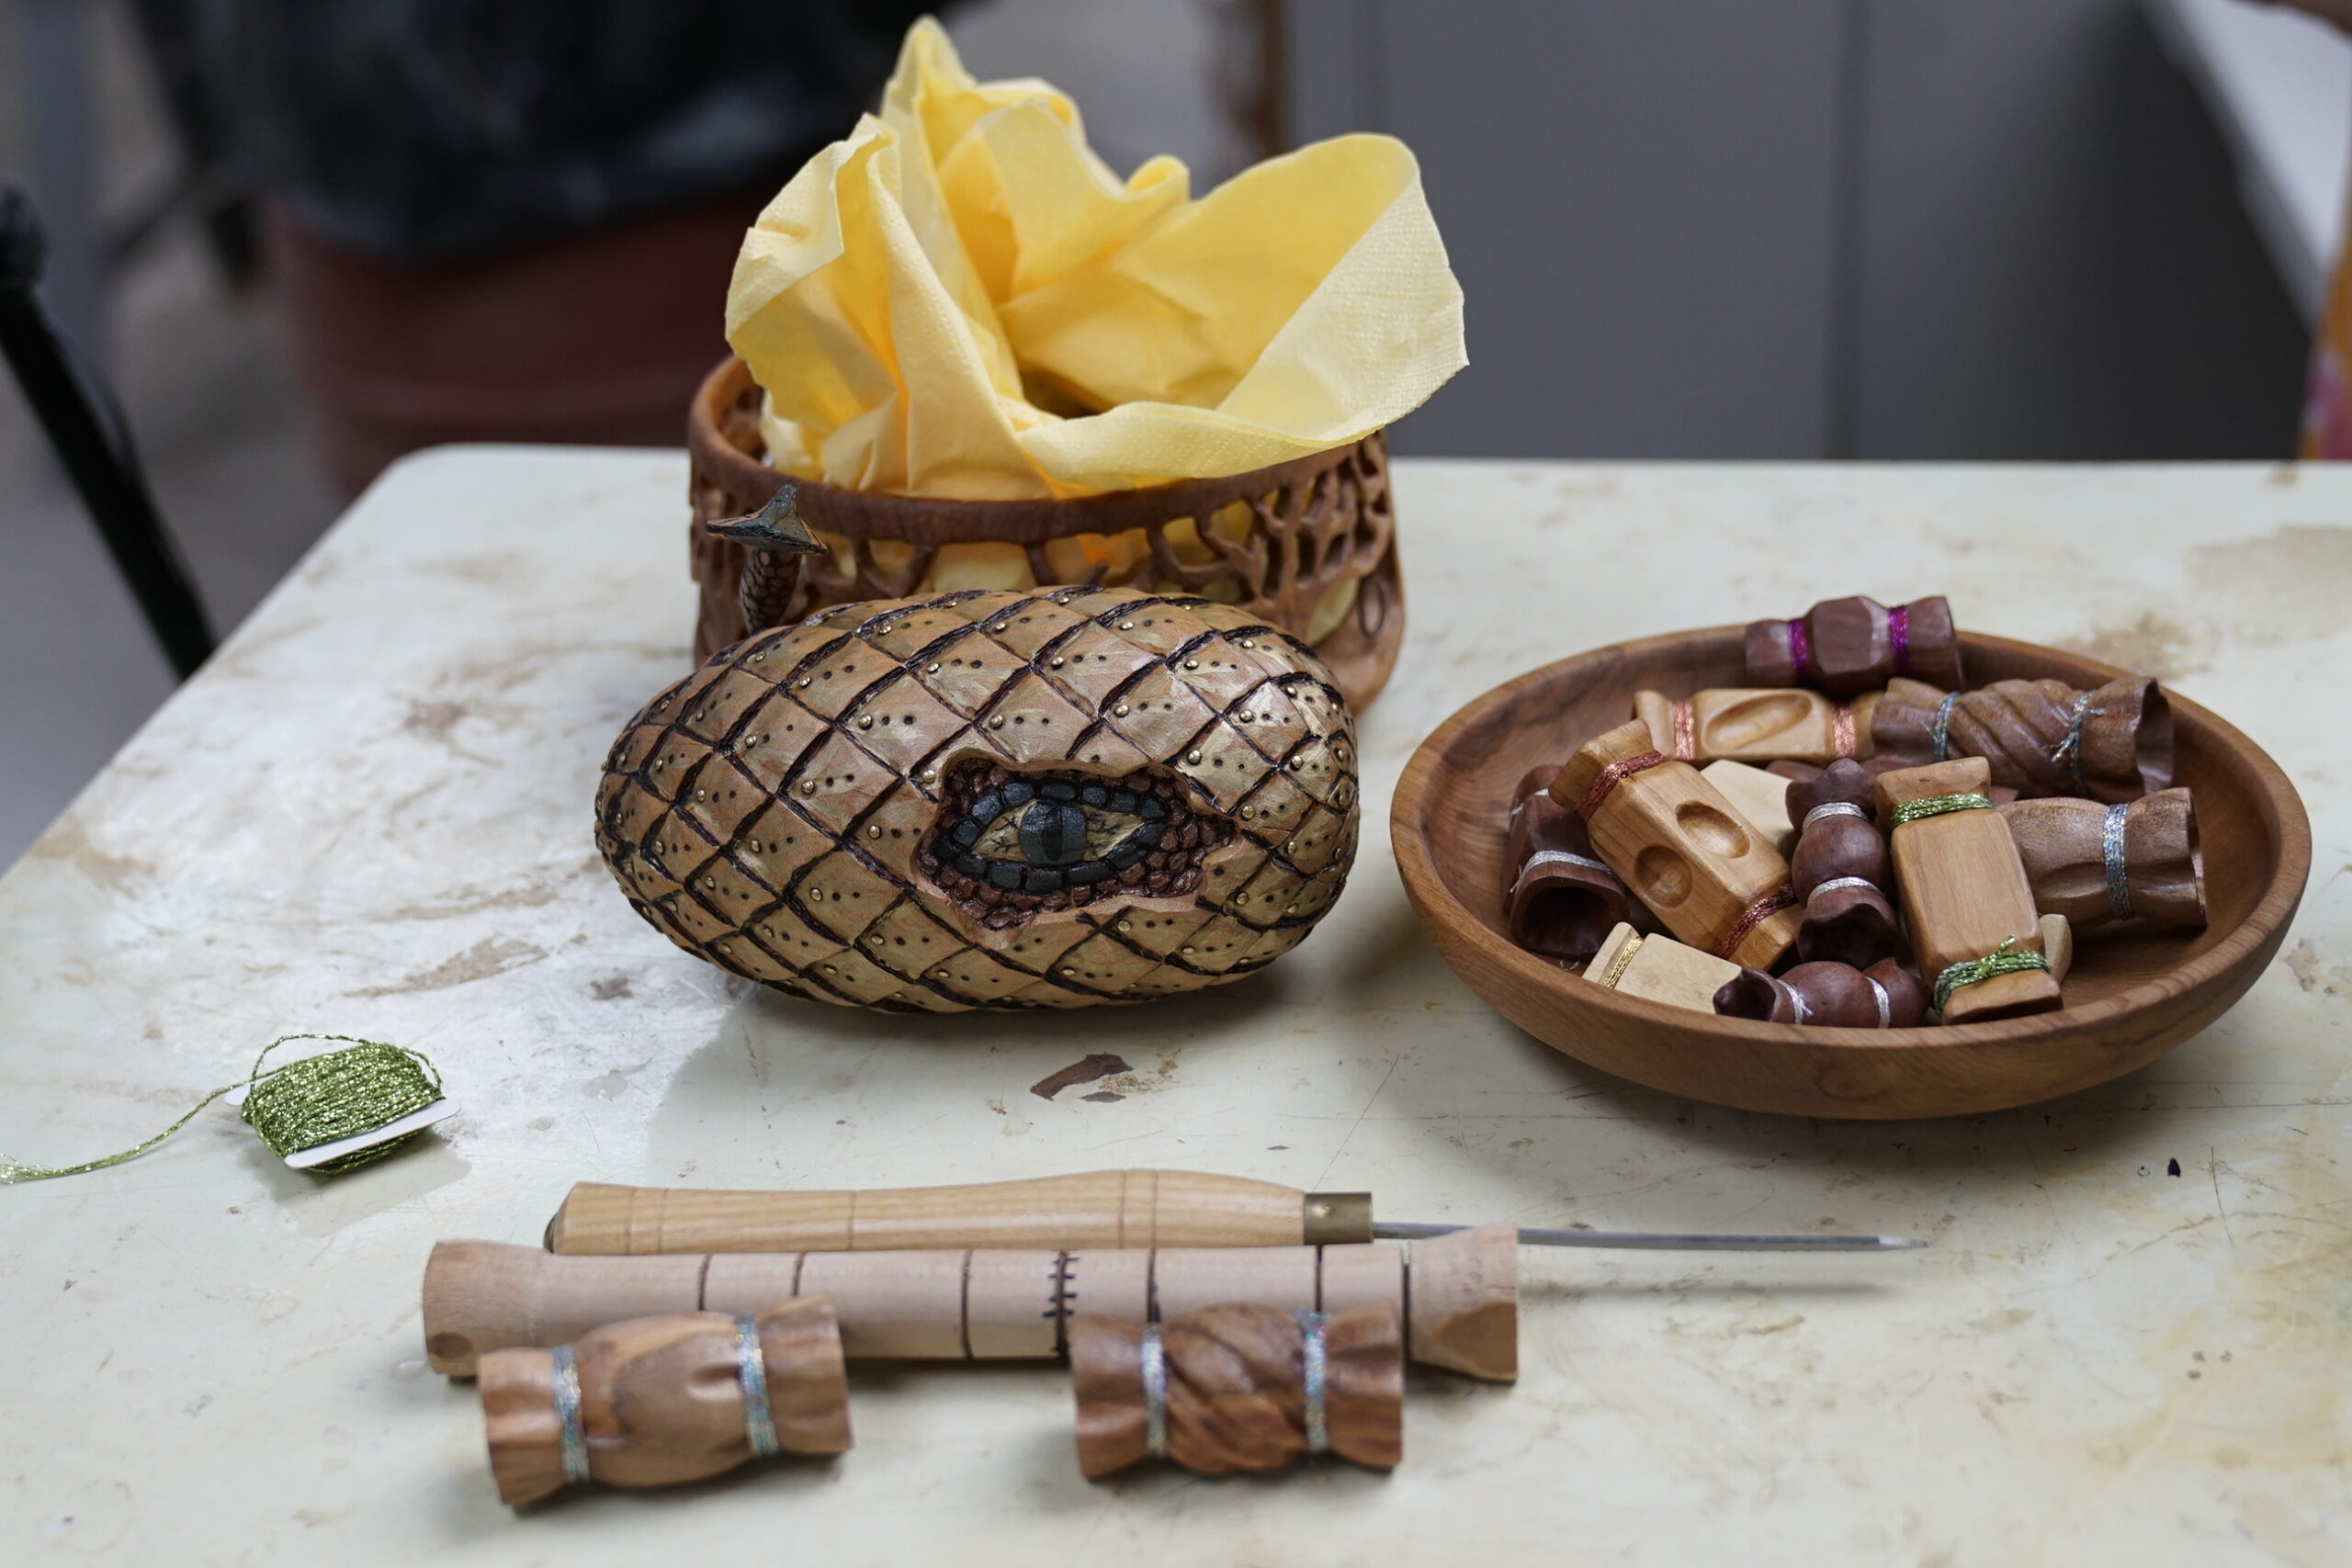
Janets demo today involved making Lollies / Chocolates for Christmas Table decorations and tree ornaments (think wrapped sweets like Chocolates, Chocolate Eclairs, Minties and toffees etc)
Pen blanks are a good source of wood for the small ones
Put the blank between centres and round on the lathe to 20mm diameter.
Mark out the lines for parting off and adding the “twist” recesses. 30mm for the centre of the sweet and 15mm for the tail twists. Don’t make them too long or they look like Christmas crackers
Using a thin parting tool shape the twist recesses and then part off each sweet. A thin parting tool like the Robert Sorby one gives you a nice narrow recess and saves wood when parting off.
You can also leave the blank square and just turn the tails for a Mintie / Toffee shape
One you have made the basic shape, you are ready for carving
Drill down the ends of the sweet to just shy of the twist recess
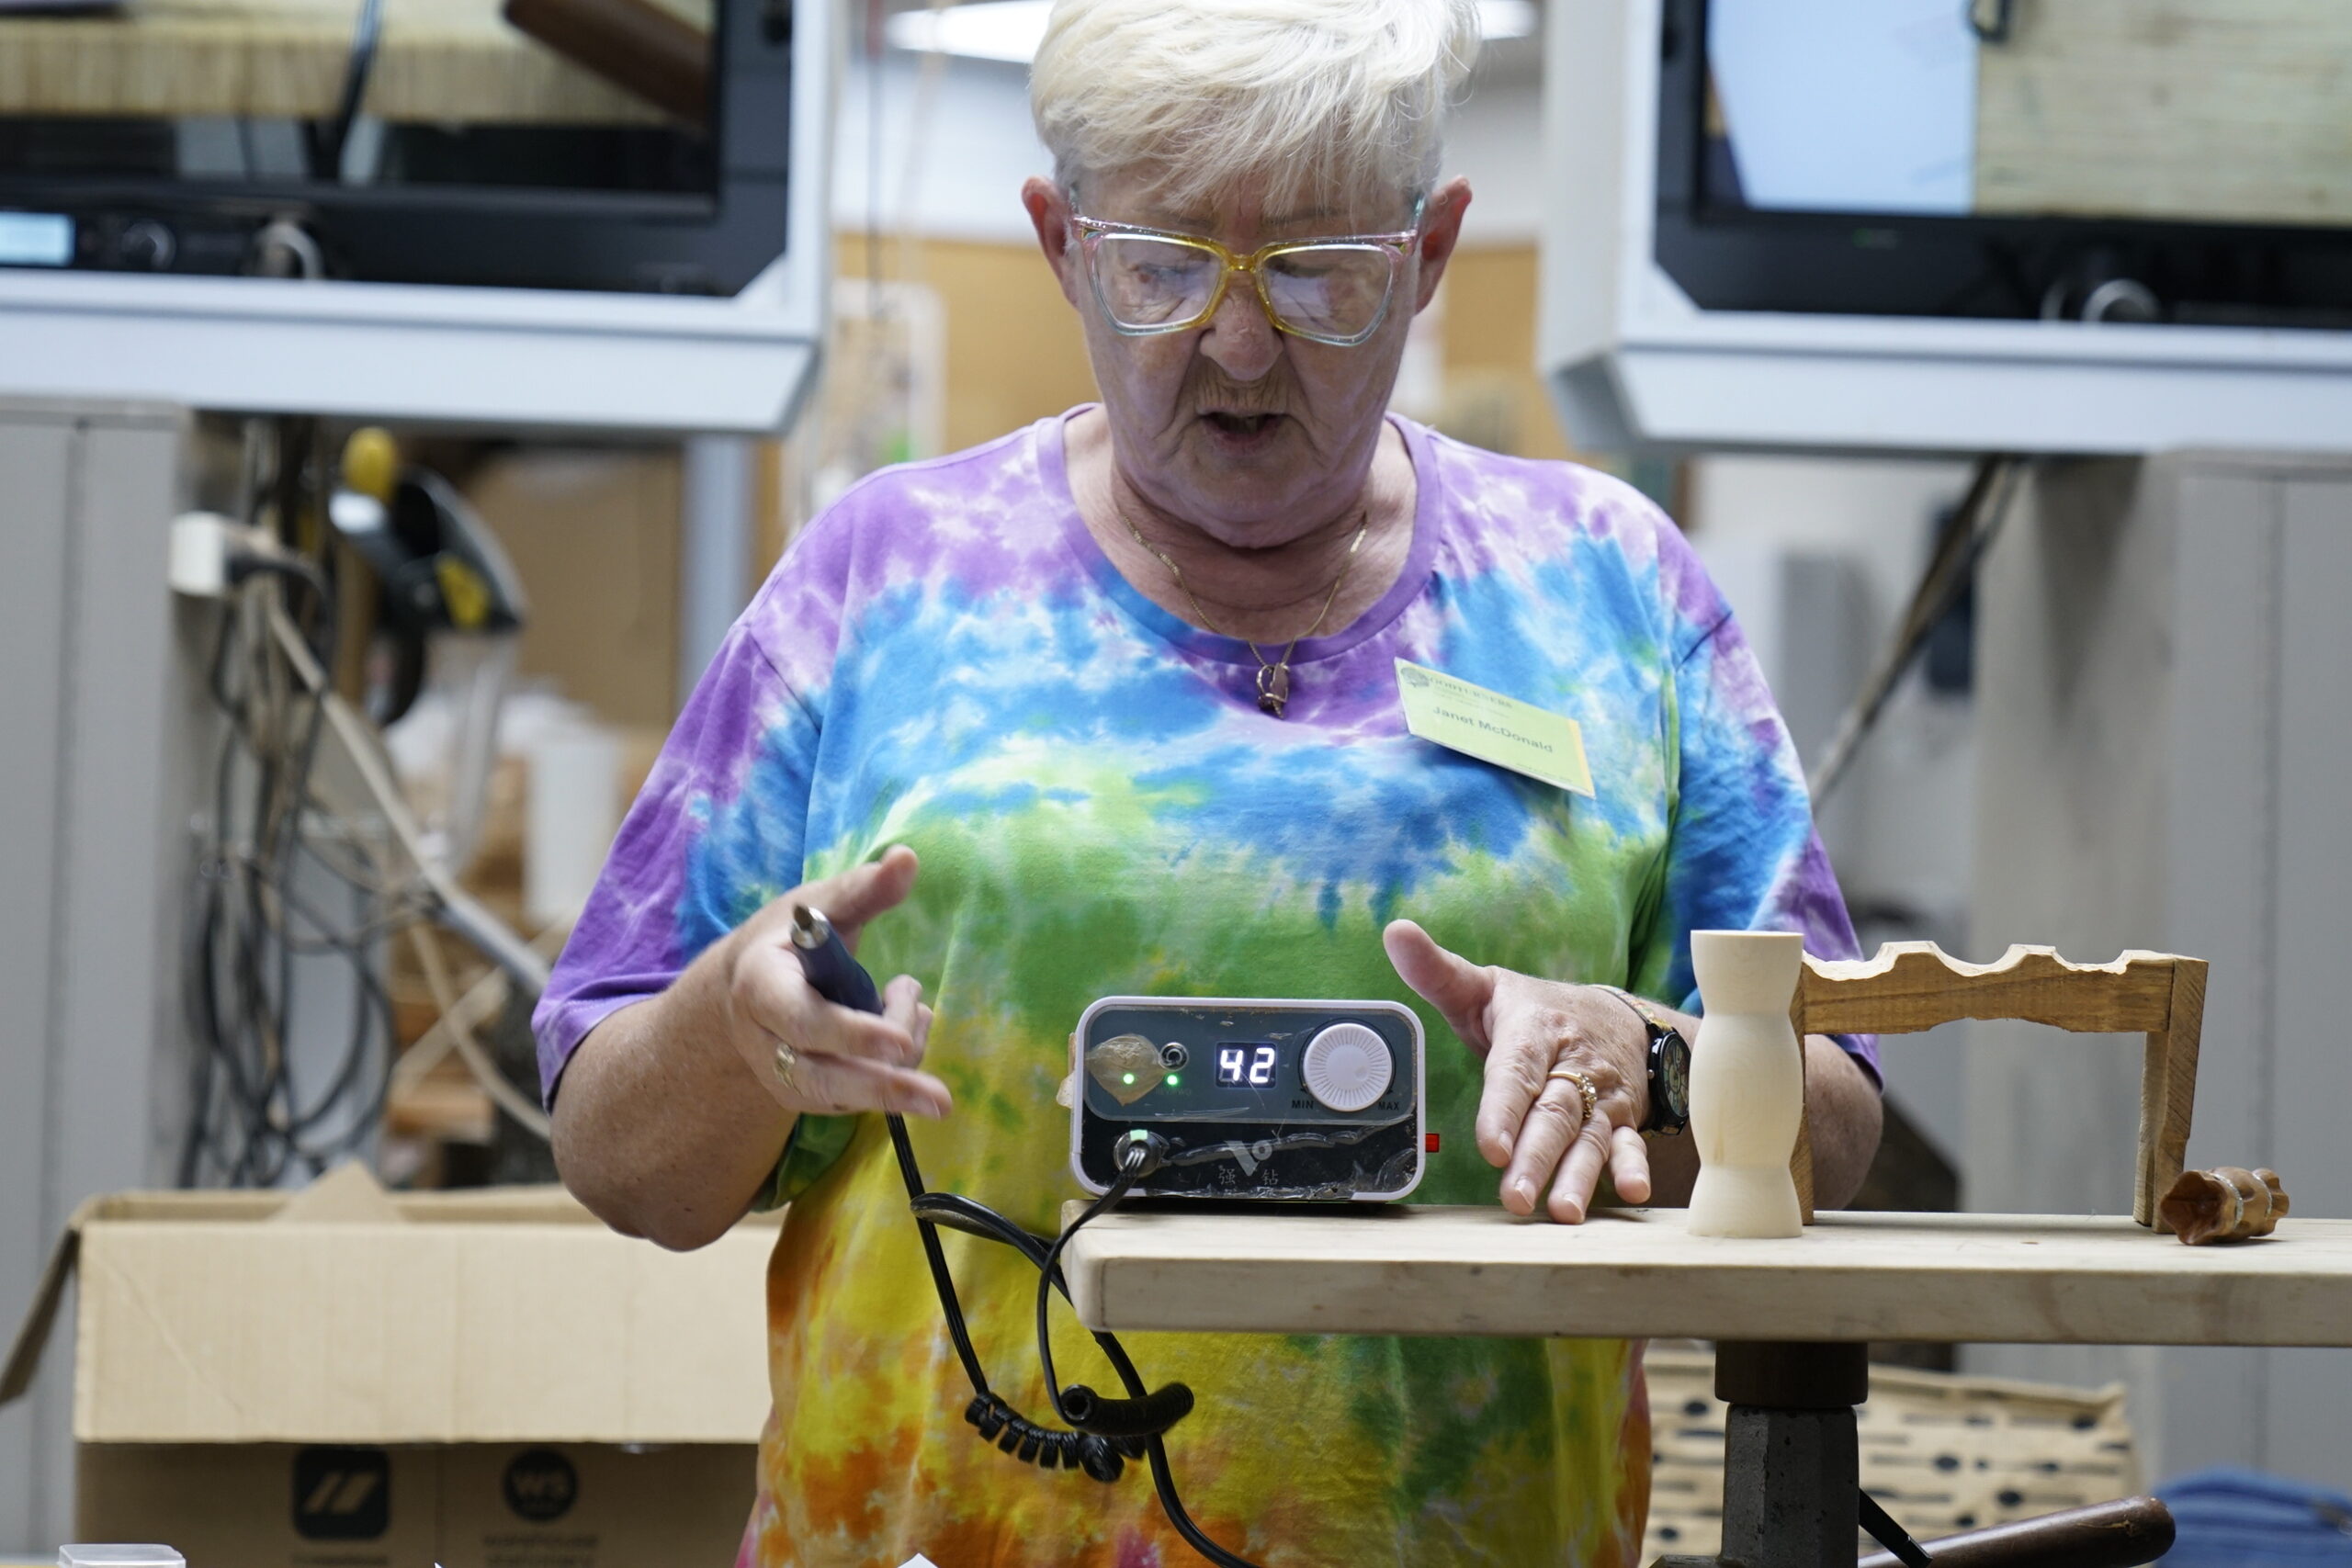
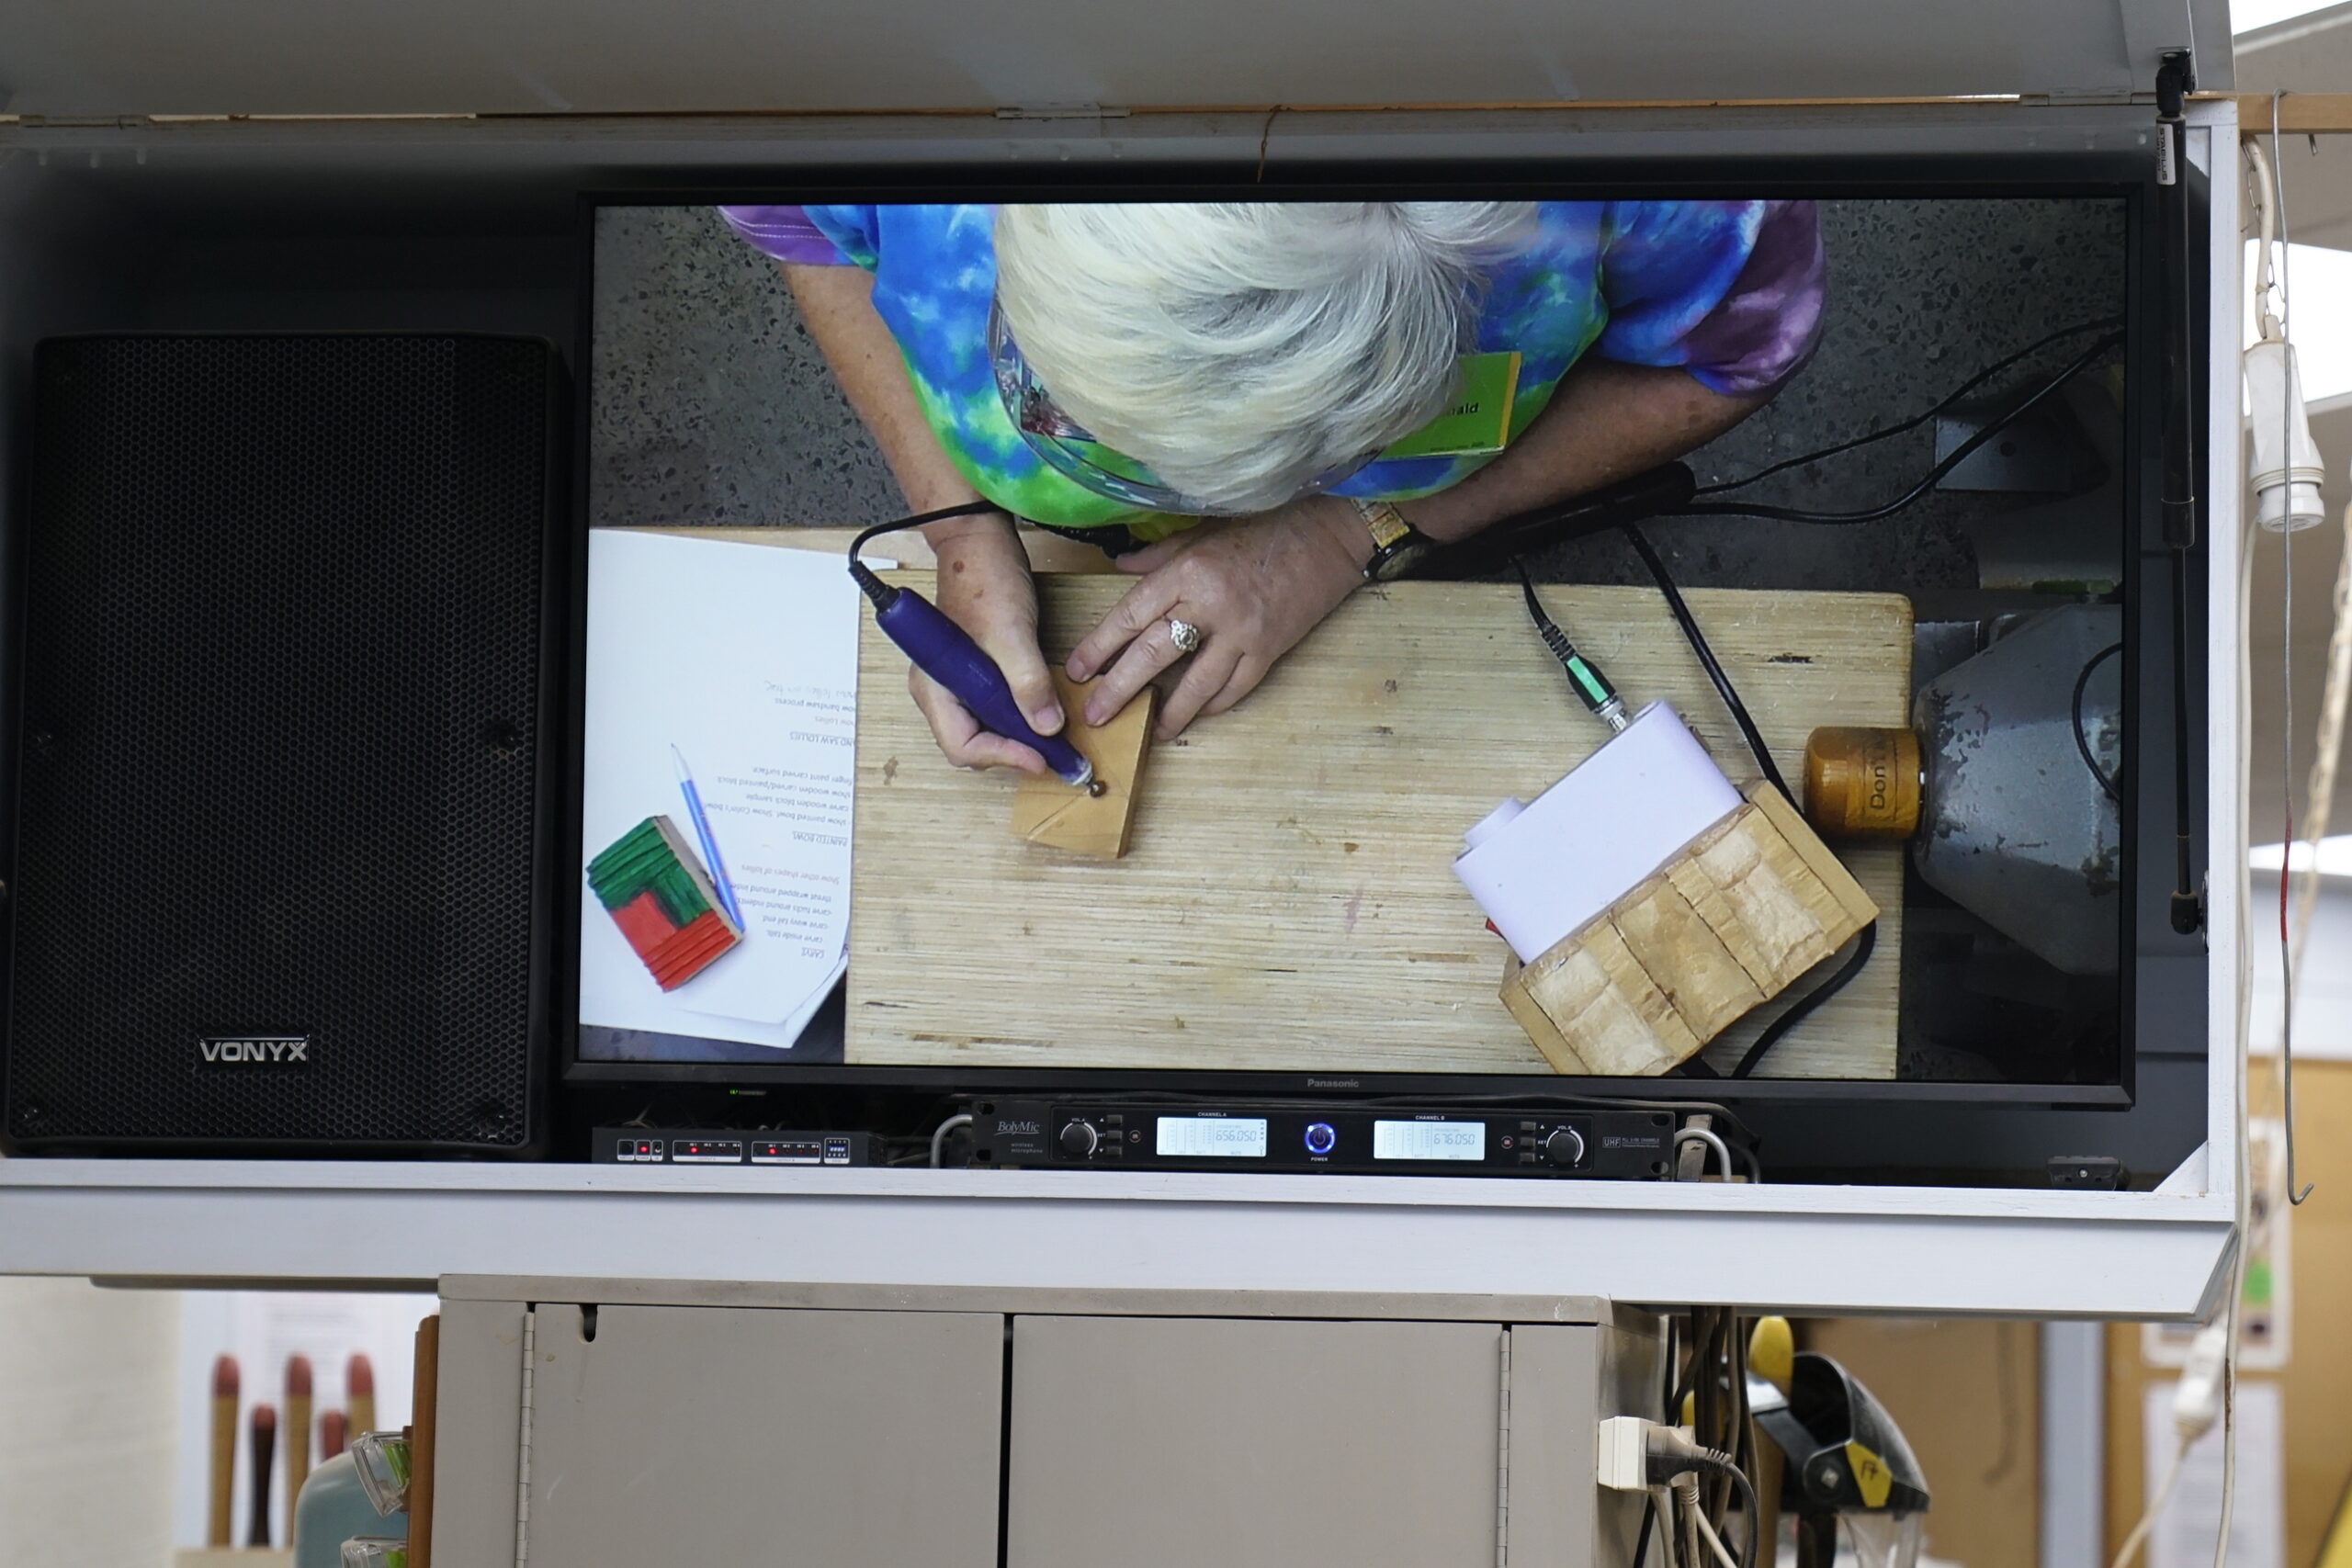
Janet uses a Micro Motor Carver at 45k rpm, and a sabre tooth bit, which allows you to remove excess wood quickly, and if used in the right direction you don’t have to sand afterwards.
These bits are strong and as Janet says “you’ll wear the machine out before the bits are worn out”
Use a wire brush to clean the bit if working on gummy wood, or it was advised that you can also flash the bit with a torch/flame to burn off the gum.
The Carvers are retailed by Timberly for approx. $600 and come with an optional foot pedal.
Janet uses Interchangeable hand pieces – allowing her to swap to different ends at ease.
Janet showed us a face sheield from Temu that is a good protection option for carving and burning as opposed to a full-face helmet. Undiluted dish liquid wiped on and off prevents fogging of the face mask.
Can make vertical or horizontal waves on the ends
Draw a 5-pointed figure and a circle half the radius of the outside
and hollow out between the 5 points not the centre circle
For a jagged edge carve all the centre out and draw a wavy line around the edge and carve out
Metallic embroidery thread (can get from the $2 shop.
Wrap around the recesses and glue. Do not use wool or Janet will haunt you.
A range of colours and shapes creates a festive mix
Toblerone shape, Barley twist, square, round, oval, different lengths and widths
For a traditional look, leave with a natural wood finish, in a plain bowl.
For a more festive look, use a colourful bowl as opposed to the classic look.
Janet demonstrated the carving technique for multi directional pattern in the bowl with peaks and troughs.
Paint background in solid colours (red and green for Christmas)
Guilders paste or paint can be applied to the peaks using your fingertips (just a smudge on the fingertips is enough) running in the direction of the peak.
Bandsaw lollies
Cut on the bandsaw and then carve
Take a long blank, and come in on an angle at each end, 4 times (4 sides) to create the flared ends
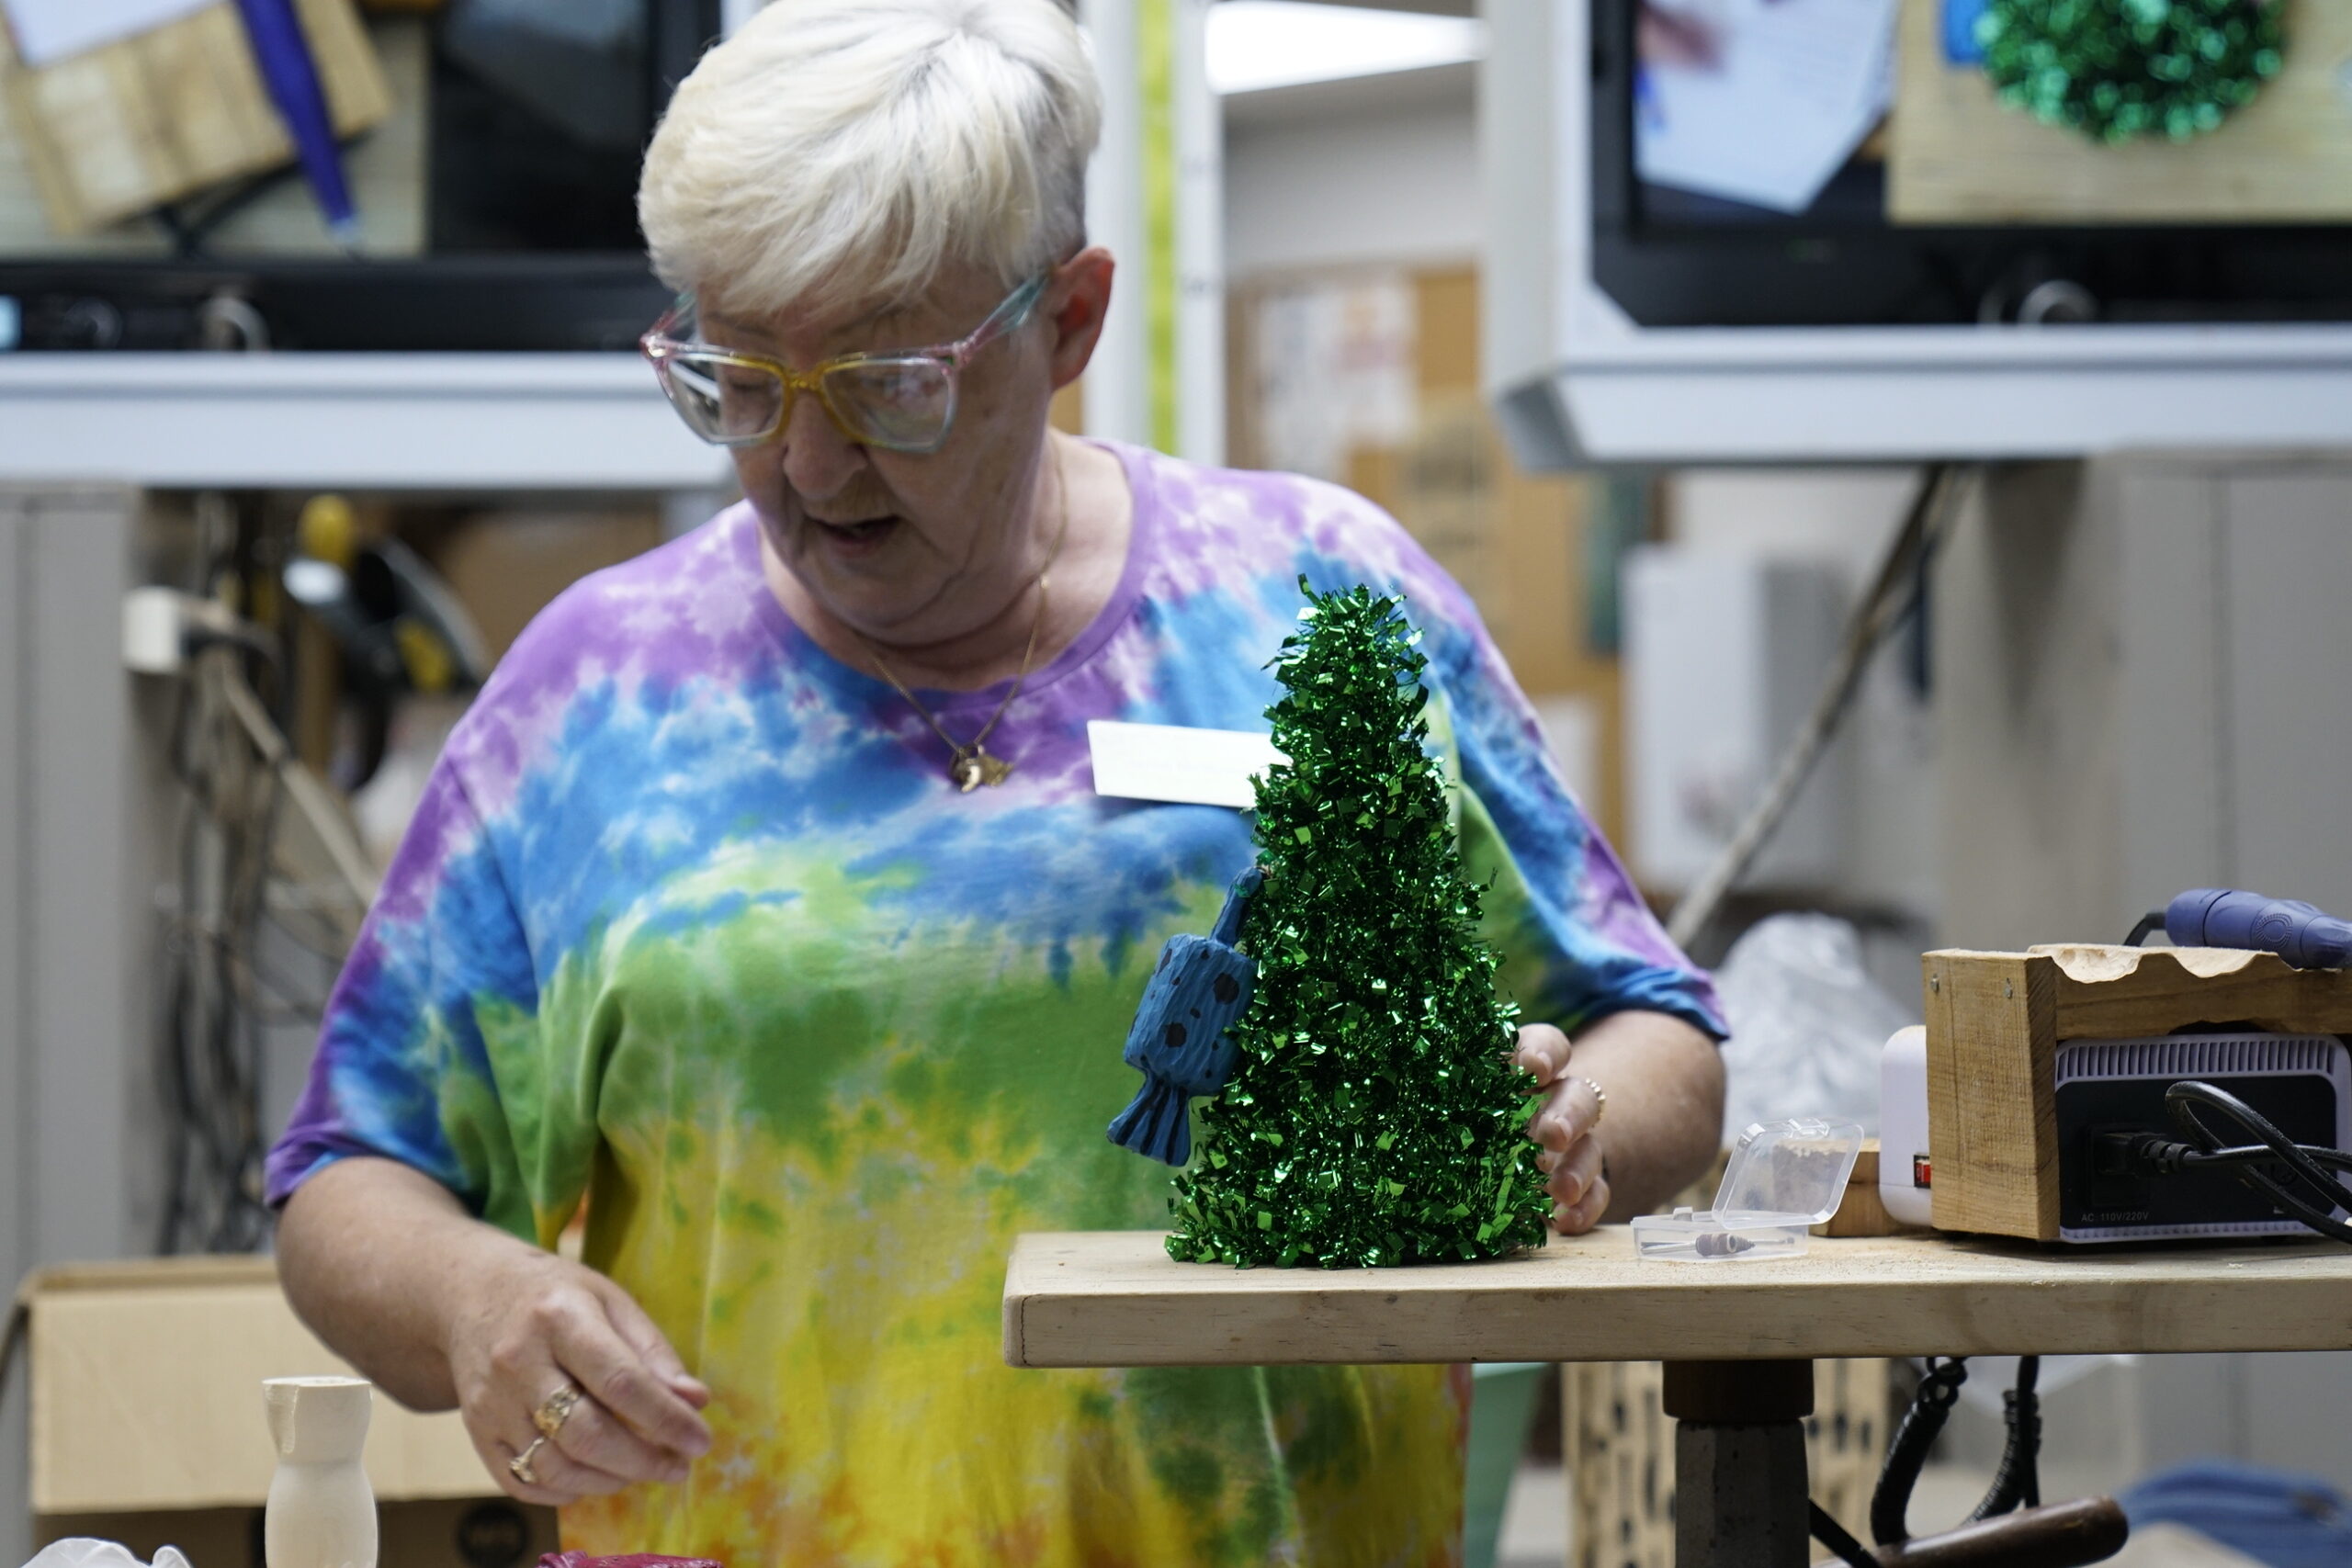
These can have hooks or loops added to add to a Christmas tree
A $2.50 tinsel tree has bands for hooks to hang decorations on
This was a fun, festive demo to end the year with, and gave some great ideas for adding Wood Turning to your Christmas Décor.
Club Meeting 5th Novemeber 2025 Report by Denise Donovan
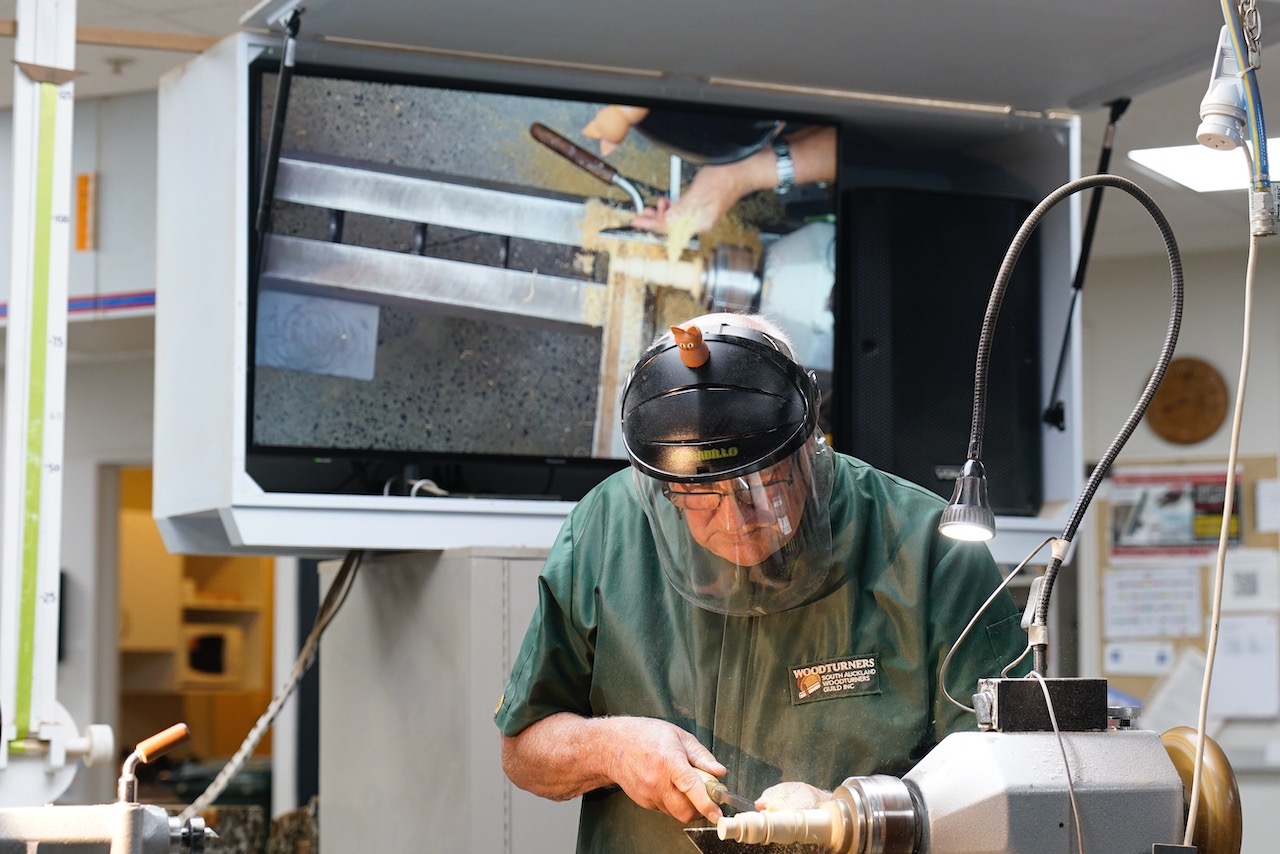
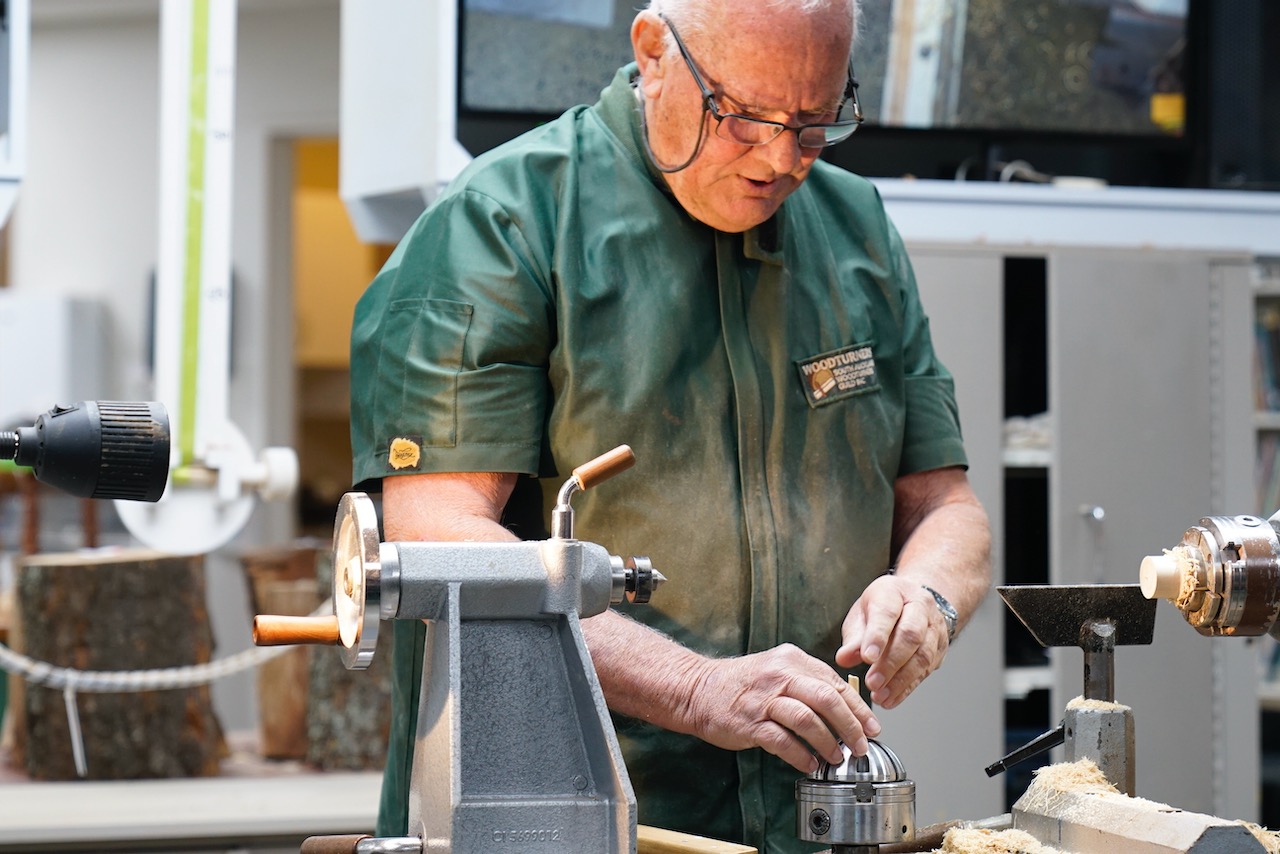
“I’m going to have a grizzle” says Bryan, “no-one bothers to make a toy that can be specifically used in a hospital environment. One that can be played with while the patient is in a hospital ward, and then taken home to play with. We should make small toys for individuals that are simple and easy to grasp and hold onto…Simple Shit!!!”
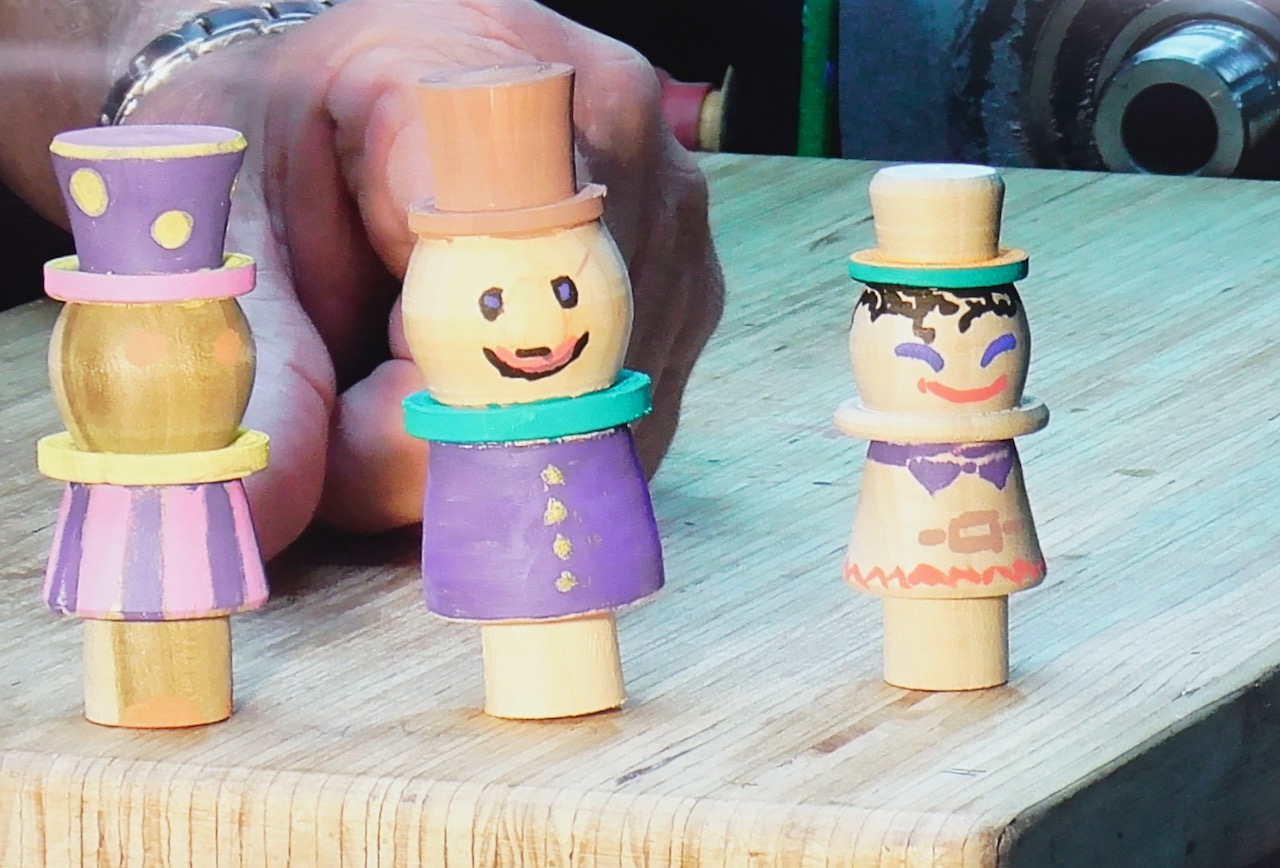
Bryan made a dozen small peg dolls a while ago, as good practise with a skew, and demonstrated how easy they are to make, and showed us the different design options, such as Snowman, Santa, Doll, Clown, Elf etc
Process
Small block of wood – 30x30x120 approx (A good wood option is offcuts of straight soft wood from a timber merchant)
Put one end into chuck – bring up tail stock
2000 rpm
Round the wood blank and then remove the tail stock
Starting at the tail stock end mark out a hat, brim, head, collar, body, legs
Shape the top of the hat first, followed by the brim, and then work the head
Optional is to turn a captive ring as a necklace or collar.
Next turn the body shape
Lastly, use a Bedan style parting tool to narrow the diameter for the legs
Part off at base of legs.
Another option is to turn just the wooden body, with a head and hat, and add pipe cleaners for arms and legs, with beads made from 8mm dowel for the feet and hands. These make good “Elf on the Shelf” toys.
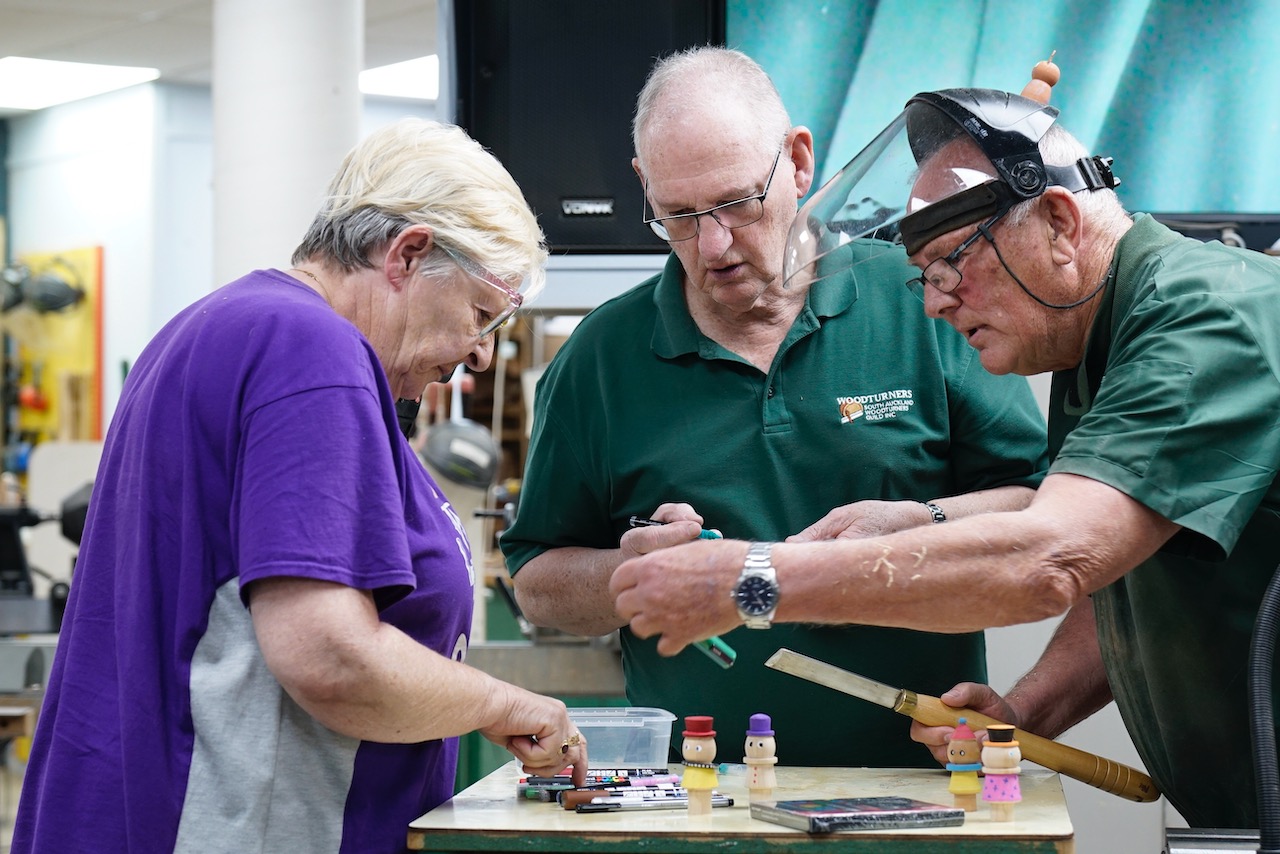
While Bryan was turning he had Kieran, Janet and Strett decorating toys already made with Acrylic brush markers purchased from Ali Express – Guang Na brand. These are multi-purpose pens for use on Paper, Rock, Timber, Glass, Canvas etc. The winner to win a set of these Acrylic Brush Pens … And the winner is… Strett … Yay!!!!!
Club Night: 22nd October 2025 Report by: Graeme Mackay
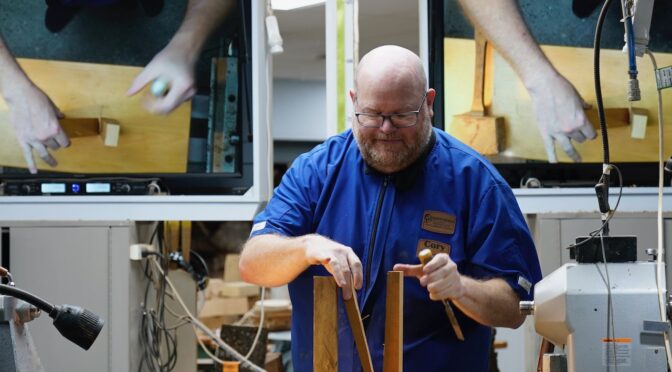
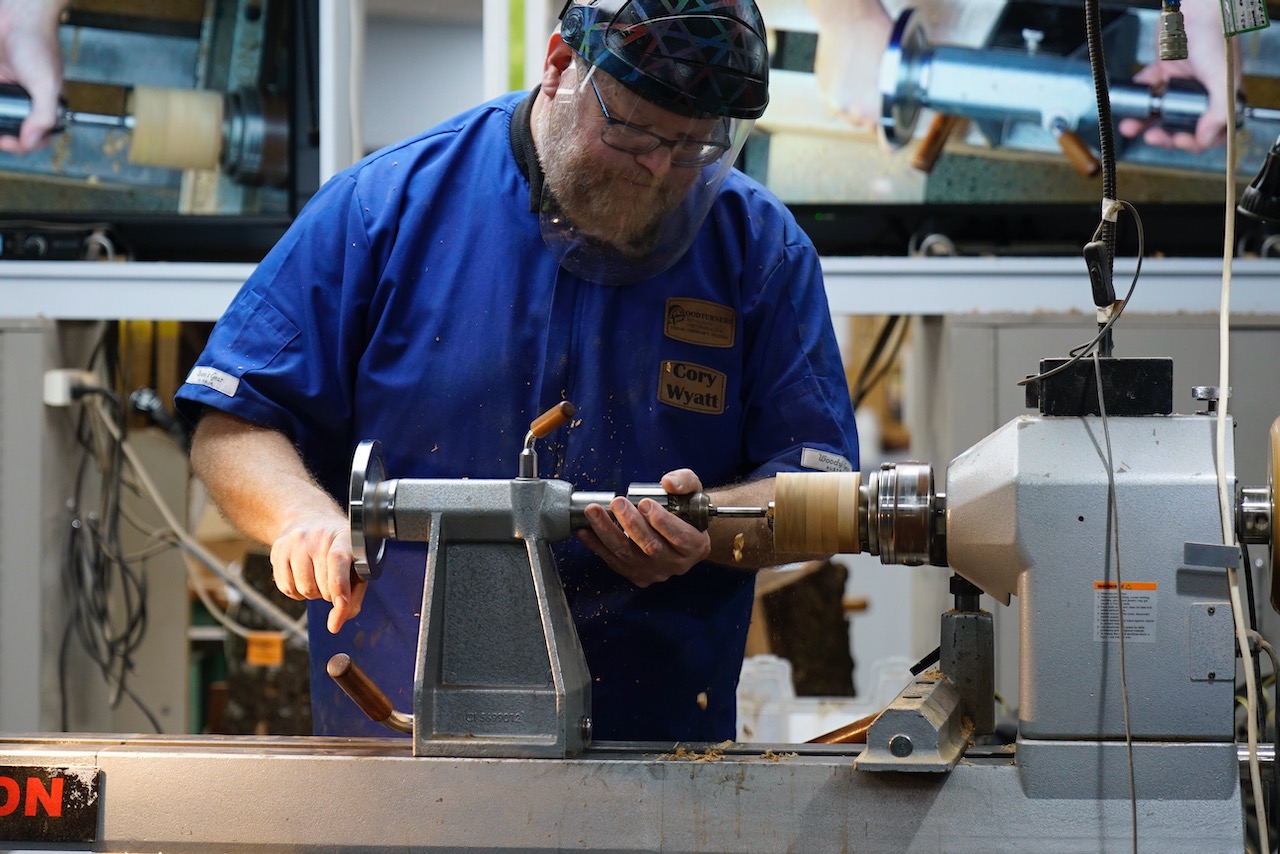
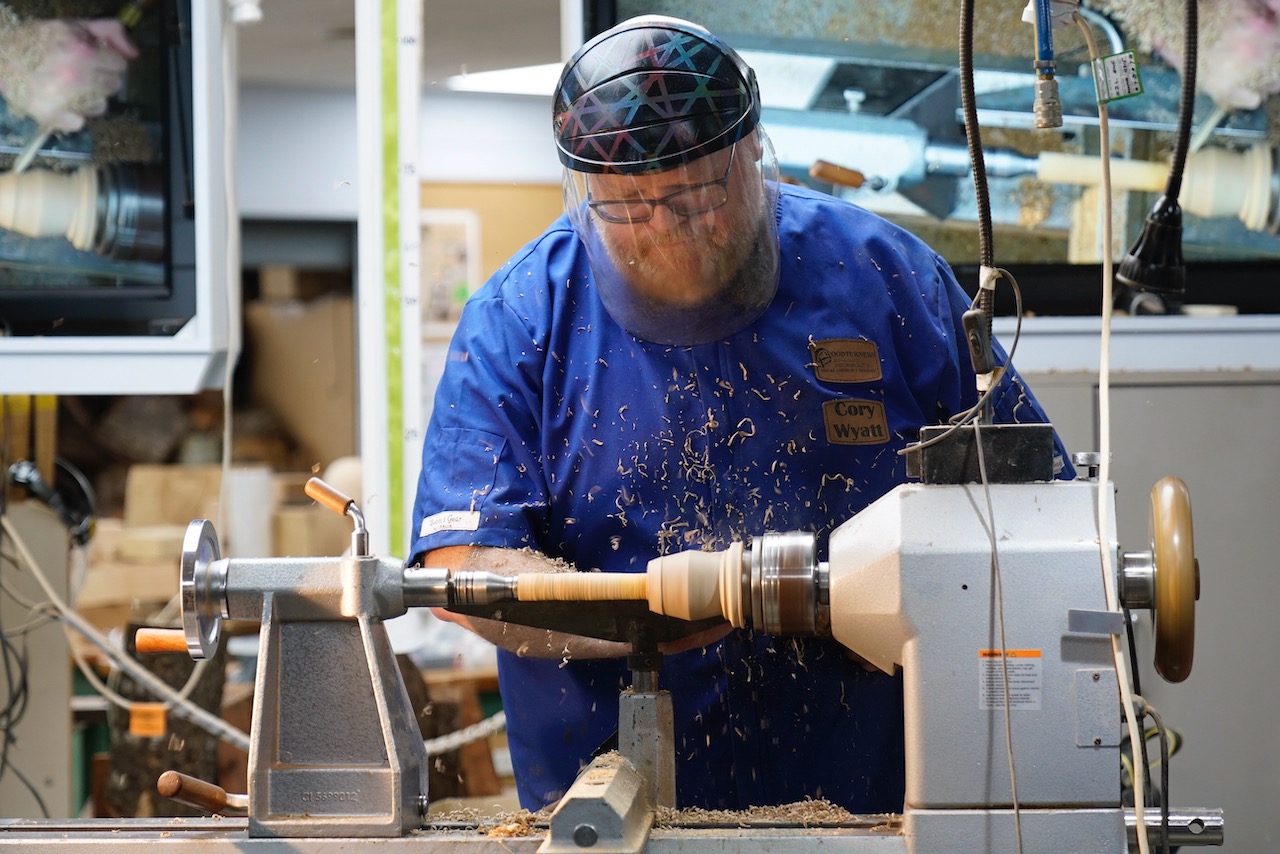
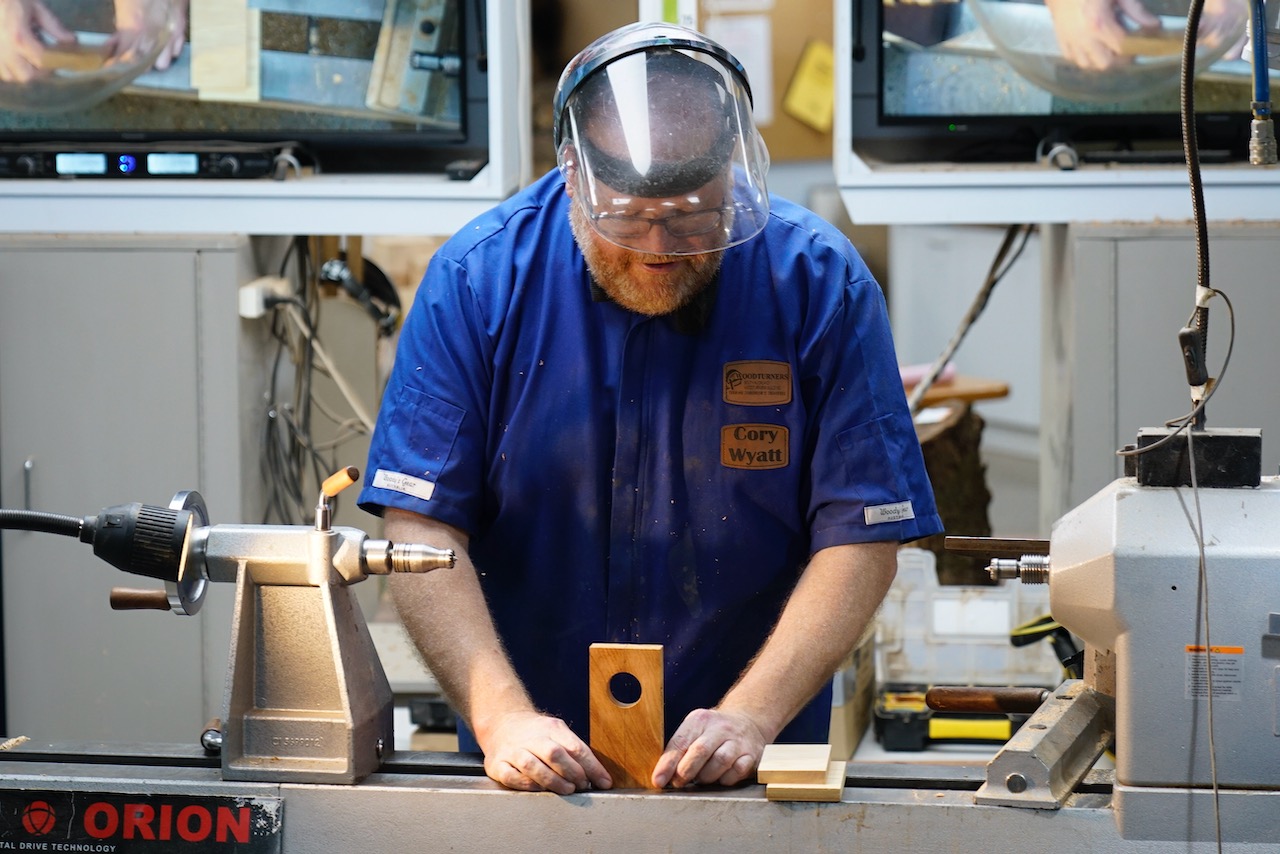
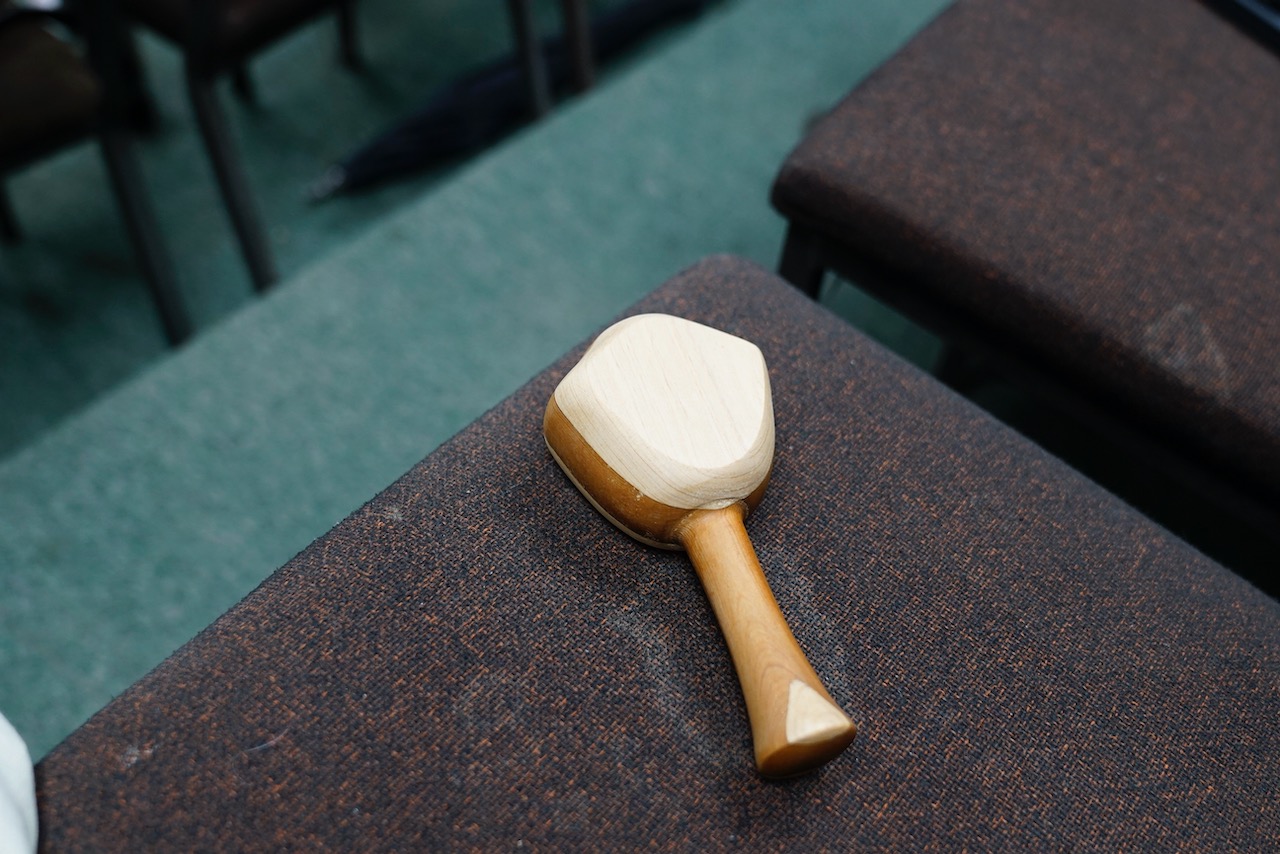
A well presented view of children’s rattle types. Cory put forward three different types of rattles and supporting examples. All provided was good clear voice. These types were aptly named; single rattle, two-piece rattle and three-piece rattle. Production methods were given with a smile and good humour.
At each stage construction options and alternatives were illustrated with a return to the SAWG project sheet. Production targets/items: standard tools and gouges Wood and material choices Sound and percussion items.
Measurements: Always, or as usual, the correctness of the working measurement raises its head. The accuracy is challenged, queried and rechecked.
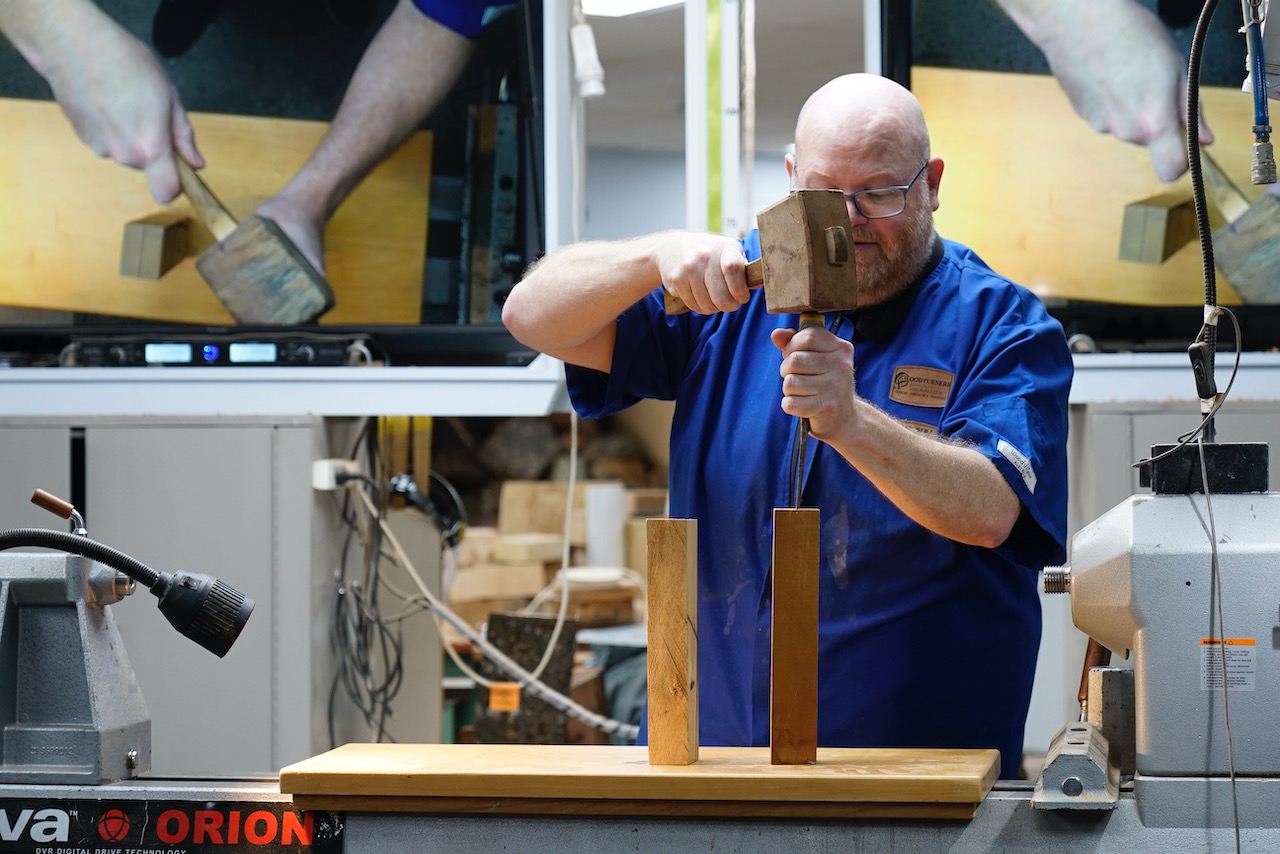
Single Piece Rattle: A variety of methods were shown and/or demonstrated including manual carpentry chisel splitting to assist the making the rattle hollow. Glues were mentioned with Corey preferring the standard PVA approach.
There was interesting discussion as to the shape of the interior space and type of Woods that would provide the best reaction. A wide range of opinions were put forward or should one say, the shape opinions.
Two-Piece Rattle: Completed examples were shown to the audience. Again, a range of personal opinions, production comments, and a return of the question of measurement. Cory had solid advice for the new Turners and a reminder about the project sheets within the SAWG workspace,
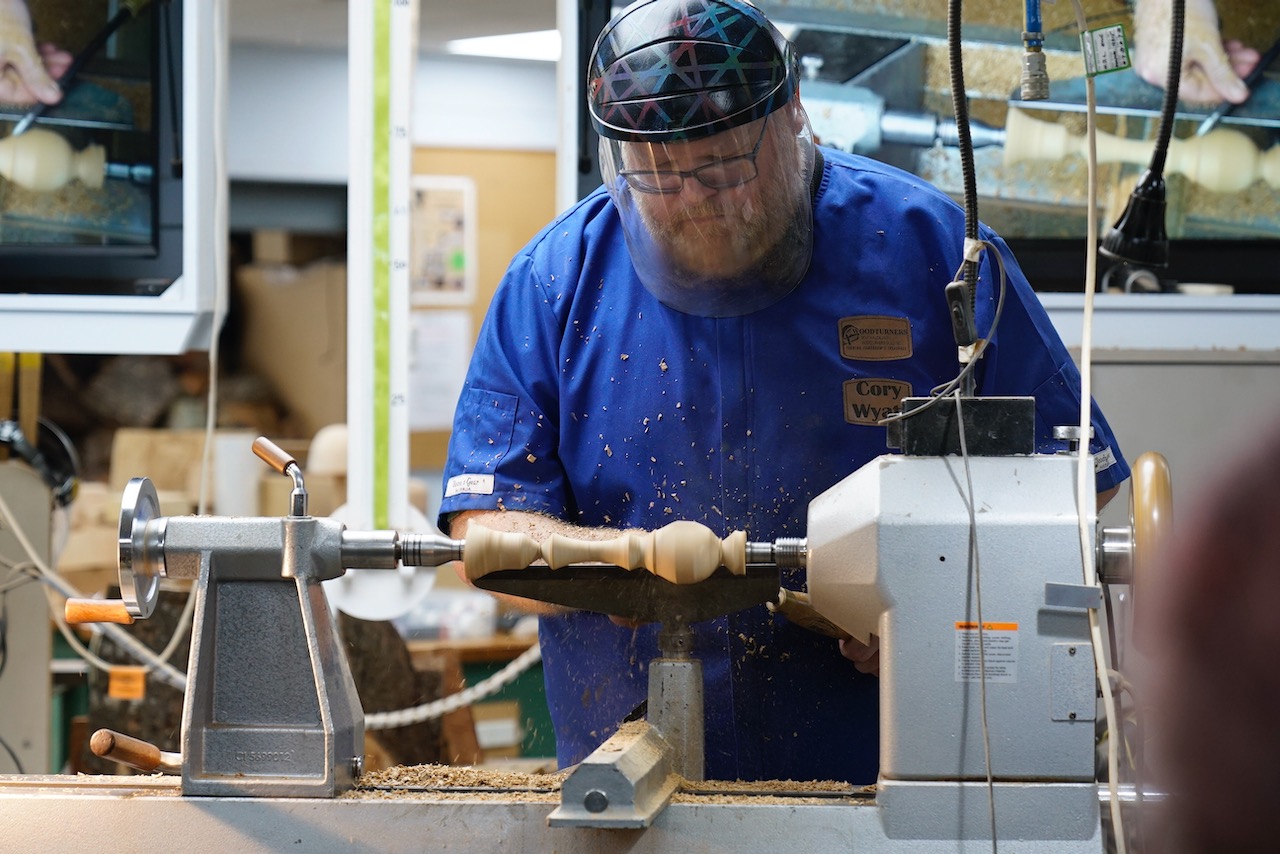
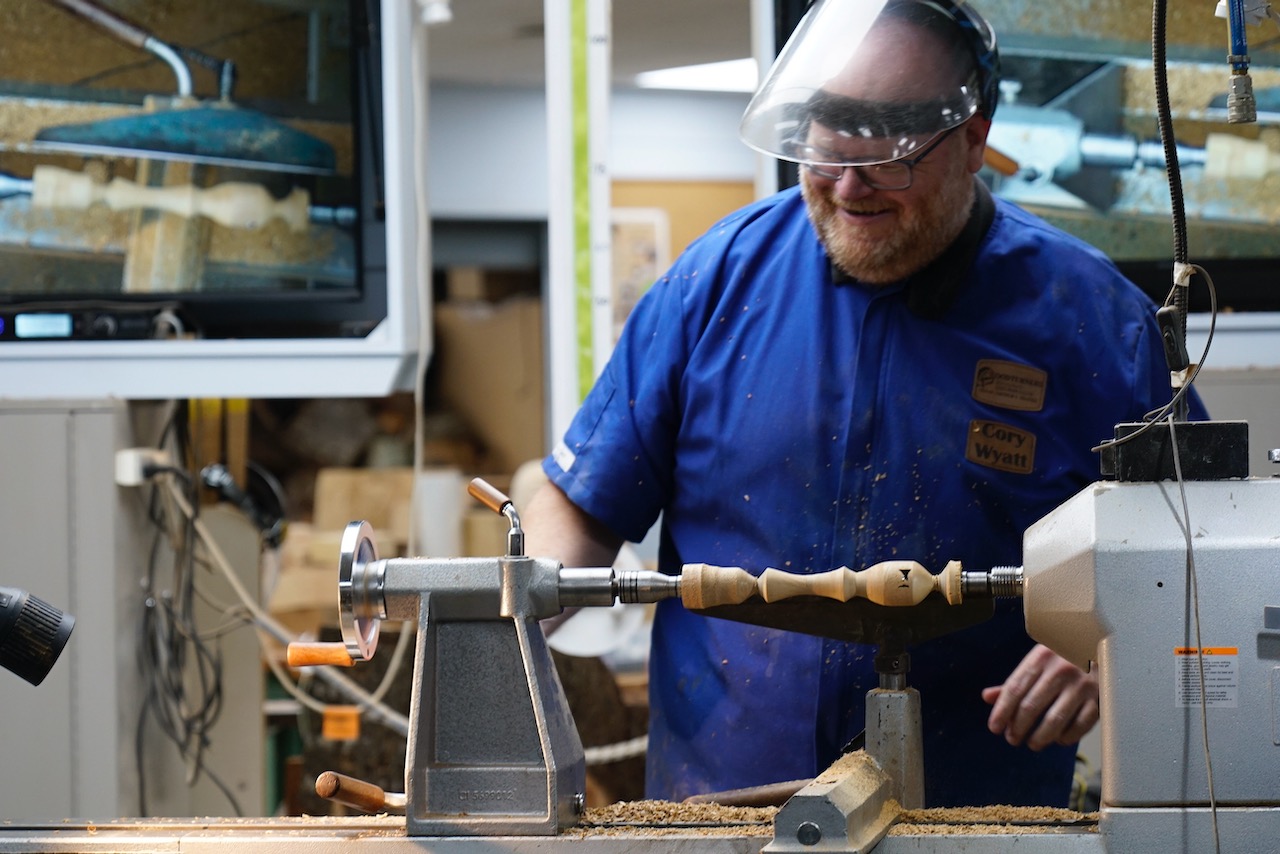
Three-piece rattle: The steps were similar; however, the shape was a different strain. Cory version was for three bits of wood with the hollow section being drilled or Forstnered out of the thicker central piece. The laminated style allows for different wood colours to provide embellishment. Again, encouragement to experiment with wood types and thicknesses. Further, the project provides the use of different spindle techniques i.e. shadow or ghost turning.
Key point: the diameter and size of handle and rattle head matter. The rattles are toys for the very young. The large adult hand is not the target.
Cory commented that the project is an avenue in which to experiment with timbers and try alternative methods. Try the process, check the measurements, and avoid the cut too far.
Glenn’s demo was an interesting take on producing flowers of varying types as art pieces. Also this is a great way to practice and improve your spindle gouge and skew work.
Flowers
Glenn started out with a cylinder of wood mounted into a chuck. This was hollowed out leaving a centre piece to be made into the stamen. After this initial hollowing for the face of the flower a skew was used to “peel” back the centre “stamen” in small shaves at a time being careful to not remove them but to leave then attached to give the rough ‘feathered” look of the inside of the flower.
Now the back side of the flower is turned. Accuracy is required to keep the petal thin and leaving the base thick enough to either turn or attach a stalk / branch to the flower.
Once this flower was paired off, then produced another using the same technique but turned down about 100mm from behind the flower to produce one on a longer stalk.
Next Glenn put a larger piece of wood between two spindles. This was turned to 150mm diameter (approx.) with a 50mm tenon machined onto one end. This was then placed into a chuck. As before a concave front of as flower was machined with a centre left that was then peeled back in layers with a skew to produce the stamen. Now the back was turned but made thicker this time to allow the front to be textured with a carving tool. This allowed the flower to be made to look like the petals were overlapping and had texture on the surface (colour could also be added at this stage if desired).
Using the same techniques Glenn then rapidly produce another 3 or four flowers.
When getting ready to carve the flowers, initially draw with a pencil the shapes desired. Then either carve completely or make initial saw cuts to separate the beginning of the petals. Then Glenn carved the petals with grooves at the outlines with a slight undercut to make them look like the overlapped. The outside gape can then also be shaped with the carver to make the outside shape of the petals.
This was a great demo from Glen and showed a creative way of making flowers that could be used to decorate any room with style.