Club Meeting: 22 November 2023
Report by: Kieran FitzGerald
John rescued us this week when he responded to a last minute request to fill in for a demonstrator who had to withdraw for urgent family reasons. We are indeed very grateful to John for his unreserved and willing acceptance to take on this role.
The demonstration showed us how to make a truly natty spinning top which is somewhat different to others I had previously seen. The trouble was I was sitting in the back rows, and the top was rather tiny. At the beginning of the demo I had no idea what the finished product was going to look like. So as I jotted down notes of what John was doing I was silently hoping like hell it all came together in the end. It did – I think.
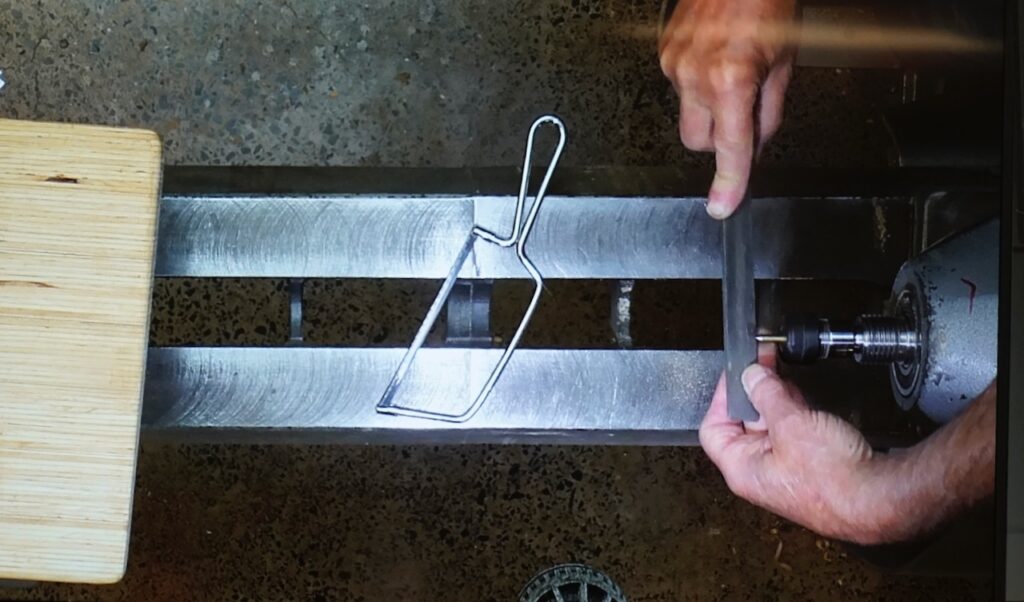
The top is made up of 5 components. Part 1 – the tip. For this John used a brass rod (purchased from RS Components). I’m estimating the diameter of the rod at 4mm, and the final cut length of the tip about 15 – 16mm. He held the rod in a collet chuck and with it slowly spinning in the lathe he filed the sides down to about 2mm, and then cut it off to length. No need to work on the tip at this stage – that will be done later.
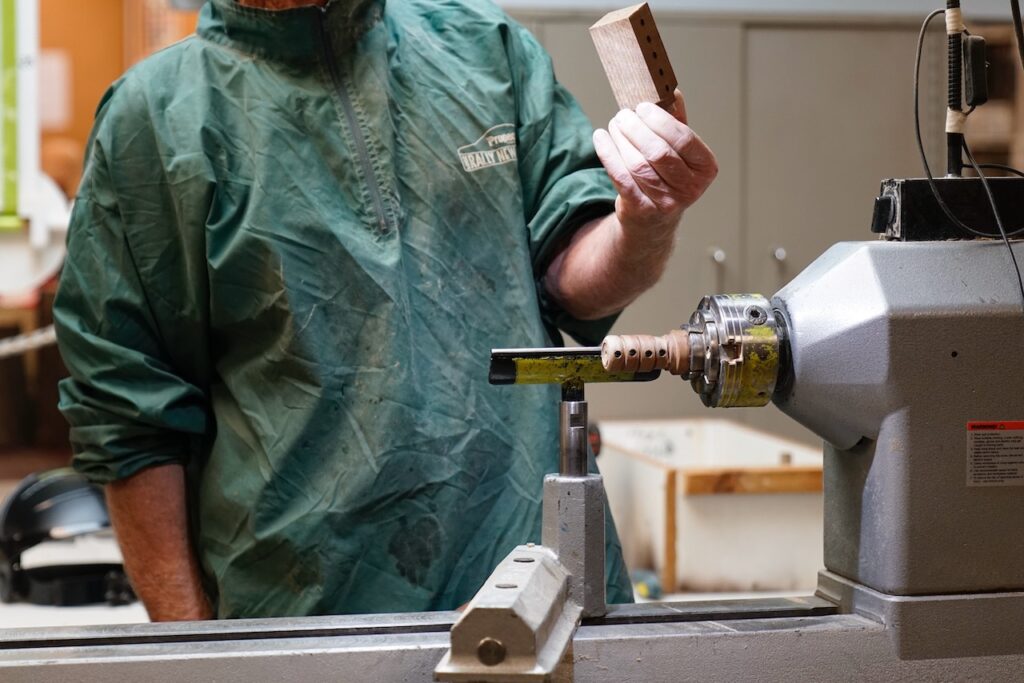
Put the rod aside. The second component to make is a tricky little ring, or yoke – call it what you will – I will refer to it as a ring. Because of its delicate nature, this should be made from a strong, tight grained wood. John is using black maire. With production techniques in mind, John prepares for this part with a view to making 4 or 5 rings from the one piece of wood. He takes a perfectly square 40 x 40 x approx 90mm blank, and marks it out for 6.5mm holes at 15mm centres. He drills the holes right through, as straight as possible. Then he cuts a tenon for his 35mm jaws and secures it in the chuck on the tenon. He rounds it down to about 30mm. Next he rolls beads along the length of the piece, with each 6.5mm hole at the high spot of each bead. He sands and finishes with wax, then drills the centre with a 19mm forstner bit. The first ring is then parted off – the finished width is around 12mm. John then uses a sanding disc on the lathe to create a small flat on each side so you can grasp it with your fingers. He sands the centre of the ring with a split dowel with a sandpaper wrap spinning in the lathe, and sands and waxes the entire ring. John recommends using a Beall system finish if you have one.
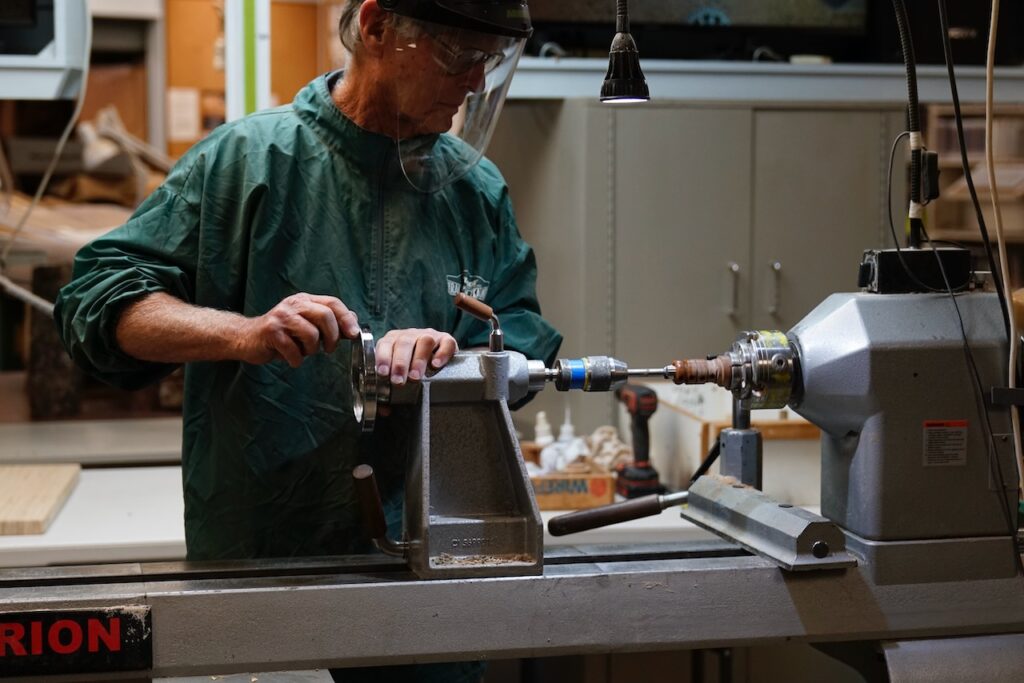
The next part to make is the main body of the top. The blank for this is about 55 x 55 x 60 long. The size is not critical, as long as the finished diameter is about 50mm. Nor is the final shape of the top set in concrete, although I would imagine for longer spin time a low centre of gravity is preferable. John turns the bottom end of the top first, to a broad conical shape, with a finished diameter of 50mm. He creates a small flat at the very bottom, and drills a hole to accept the brass tip in a tight, press fit. A long drill can wander off centre, so John uses a short, centreing drill bit. He taps the tip home with a hammer, and then by turning, filing and sanding, he brings it to a tidy point.
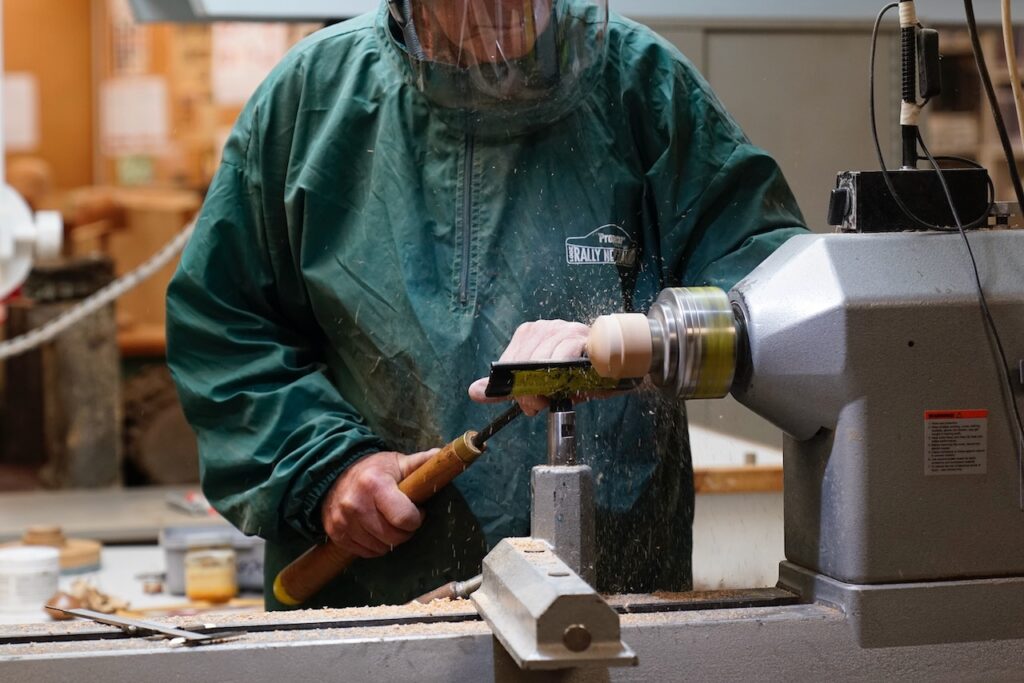
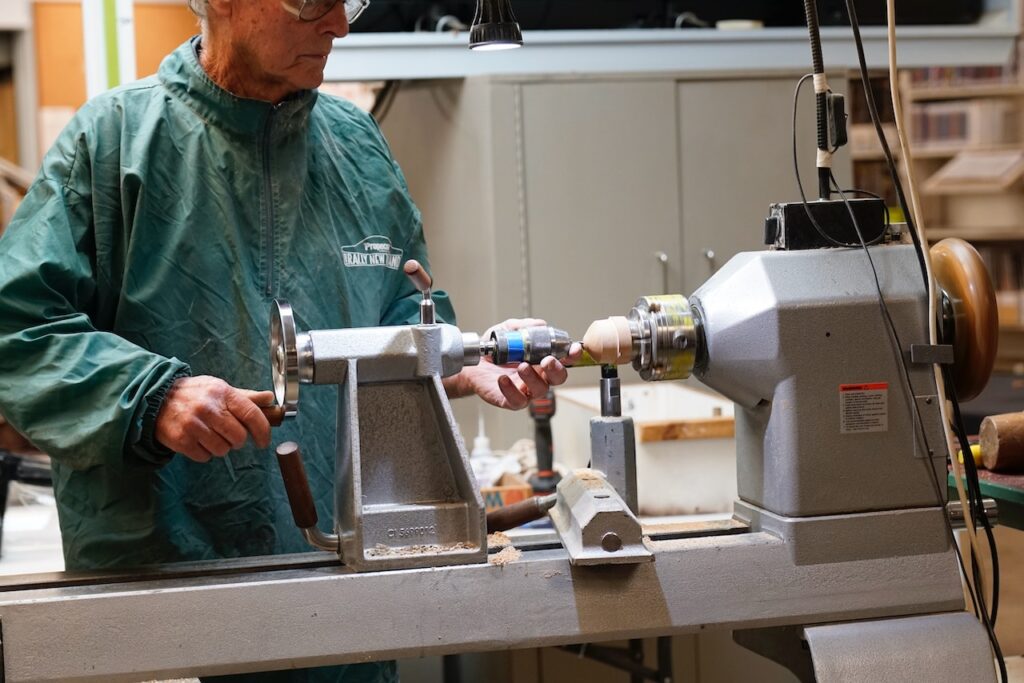
The critical feature of the top is to have the tip centred at the bottom, and the spindle (yet to be made) centred exactly at the top, so that the axis of the spinning top is vertically centred fair and true through the top. John has tried different methods to achieve this, but the most successful is to create a tiny spigot on the bottom of the body of the top while it is still mounted on its original tenon. Then it can be turned around and mounted in the jaws and will be exactly on centre. The spigot only needs to be about 1mm deep, but once mounted it needs to be turned with very gentle cuts. If the spigot is cut to the near closed diameter of the jaws, the grip is stronger and the claw marks of the jaws will be minimised to near invisibility. It helps to have a sharp face on the gripping end of the jaws (ie, no chamfer on the claws of the jaws, this can be achieved by carefully grinding them flat). (Note: it is amazing how securely a piece can be held by the tiniest of spigots, and this technique can be deployed in a variety of situations.) Having cut the spigot on the bottom, John advises that at this stage the bottom of the top may be coloured or textured. Turn away as much waste wood as you can at this stage while it is still firmly mounted. Sand and wax. Next, turn it around in the chuck and carefully turn the top portion of the body. John cuts the top to a rounded shape, being mindful of the need to keep most of the weight in the bottom portion of the top body. Once shaped, using a drill in the tailstock, drill a 6mm hole which will accept the shaft (to be made next).
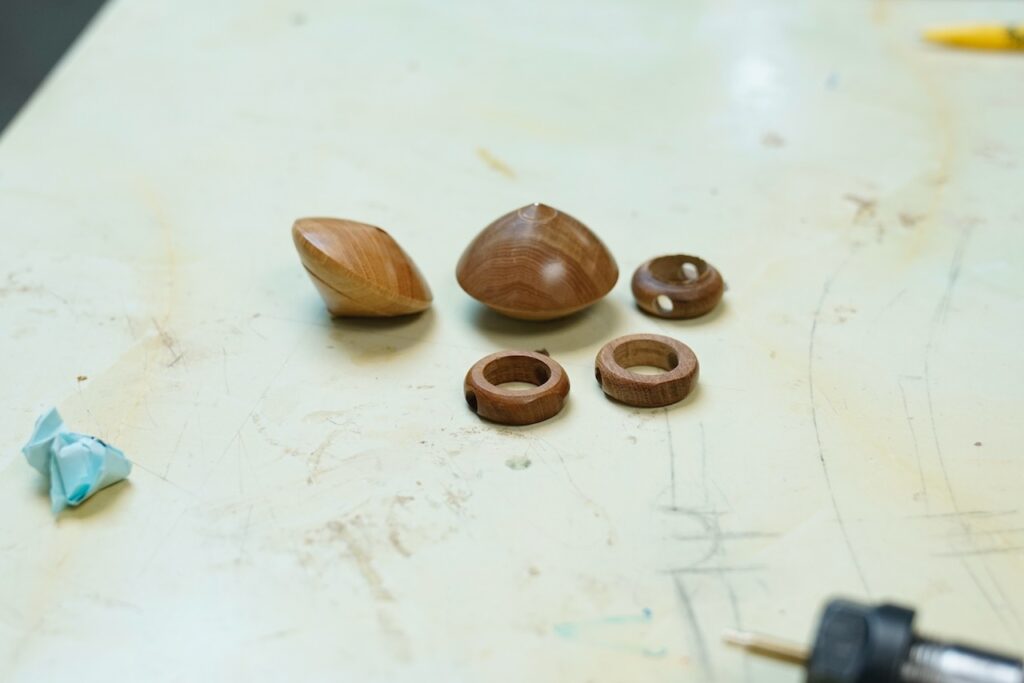
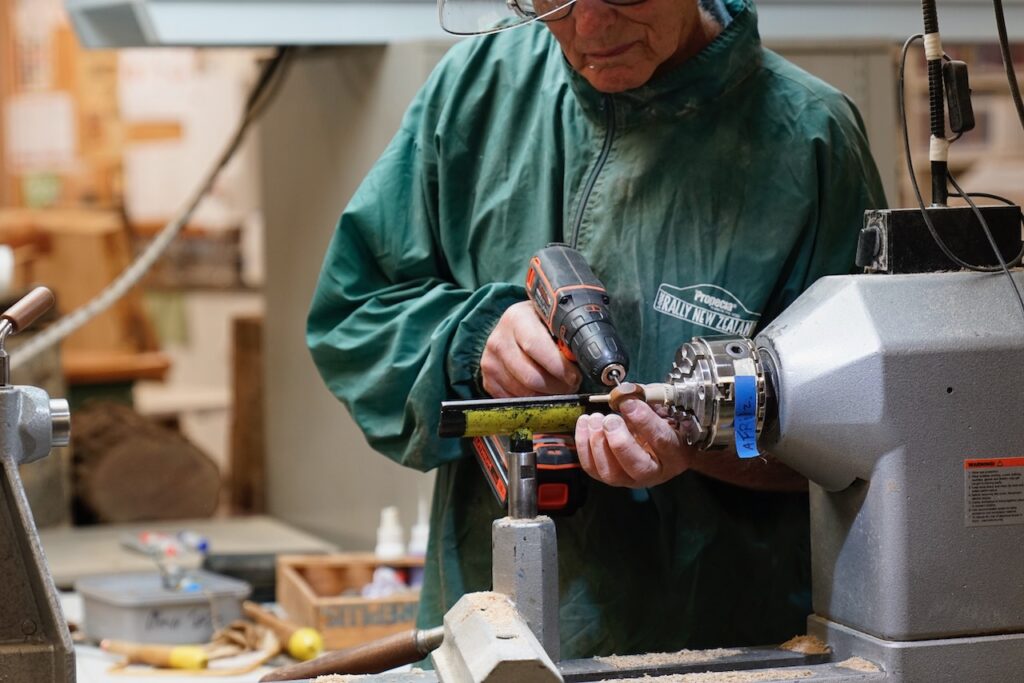
Sidenote: It is worth observing that in the woodturning duo that is Annita and John, blue tape denotes the tool belongs to Annita, and yellow tape indicates John’s ownership. Learn from this.
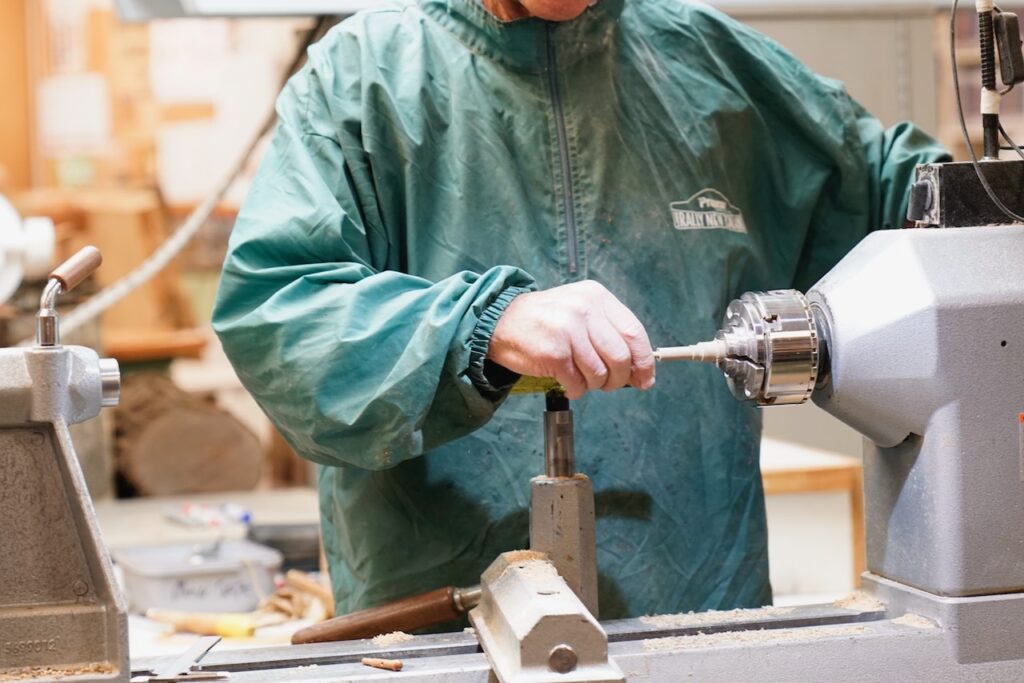
Component number 4 is the spindle or shaft. This is a dowel held in pin jaws and cut down so that one end features a tight press fit into the body of the top (using the tailstock as a press), a spindle section which passes through the holes drilled in the ring, and a knob at the top to prevent the ring coming off. The shaft must be long enough to accommodate the section that fits into the body, the diameter of the ring plus a small clearance at each end, plus the knob. The ring must be allowed to spin freely on the spindle. At the point on the spindle which is at the centre of the ring, drill a small hole through which the string will be passed, and countersink to accommodate the knot in the string. Part it off, fit it all together and press it home.
The fifth and last component is the string. This does not need to be long – about 250mm is sufficient. Stiffen one end with superglue and pass it through the hole in the spindle. Secure it with a knot at the other end.
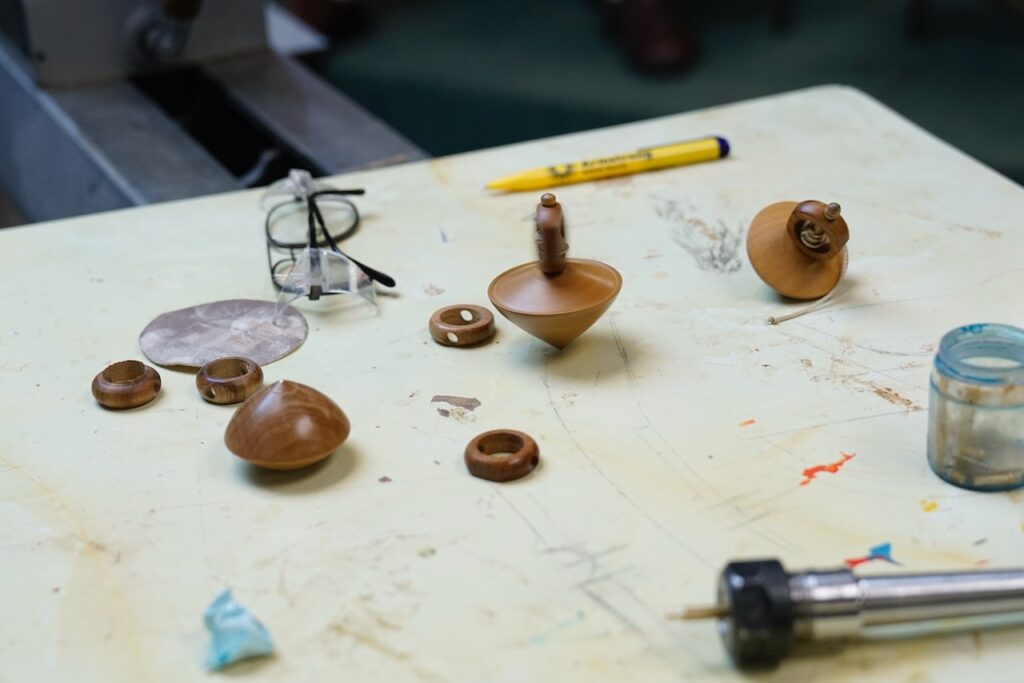
Wind the string round the spindle, a tug or two, and you’re away. She spins like a ballerina. Thanks John, that was great.
