Club Meeting: 15 November 2023
Report by: Kieran FitzGerald
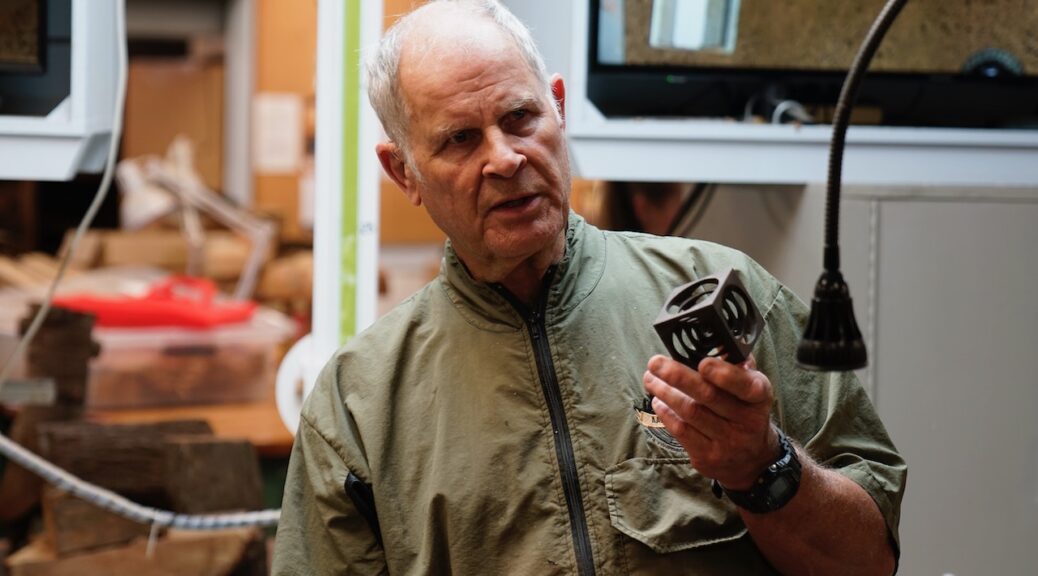
Usually we think of woodturning as a means of turning round objects – not our Brucie. In what he described as his last demo before moving to Dunedin, Bruce’s mission was to make and decorate a perfect cube on the lathe. It may be tricky to describe in words, but the accompanying photos will illustrate the novel and somewhat delicate piece that Bruce produces.
I’m not clear what the origin of this design is, but Bruce informed us that in the past it has been made in metal by fitters and turners as part of their apprenticeship. Colin Wise has also previously demonstrated this technique at the club.
Hard woods are preferred for this exercise to provide strength for the finished structure and to get a finish which requires minimal sanding. Bruce chose matai for his demonstration piece, and had two completed cubes in swamp rata and black walnut.
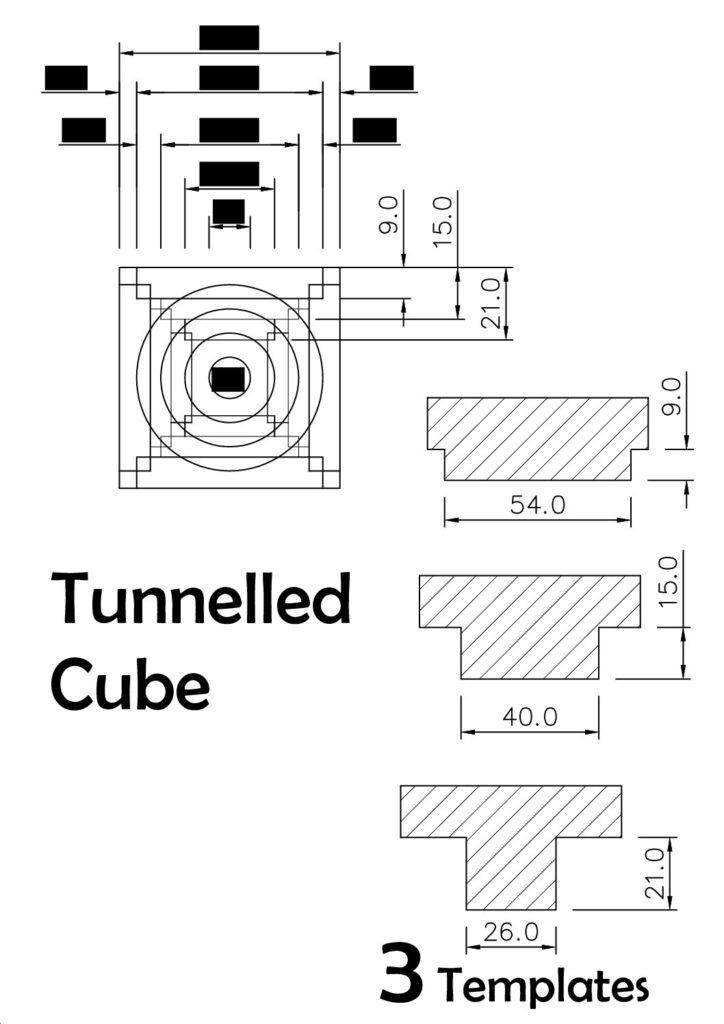
To start the project, Bruce cuts a 70mm cube with the drop saw, as accurately as possible. Next he uses a dead flat surface to sand one side of the cube to perfect flatness. The finished size of the cube will be 64mm square, and the whole process requires total accuracy. The accompanying plans show the cut dimensions required, and the templates Bruce uses to accurately measure the depth and width of his cuts.
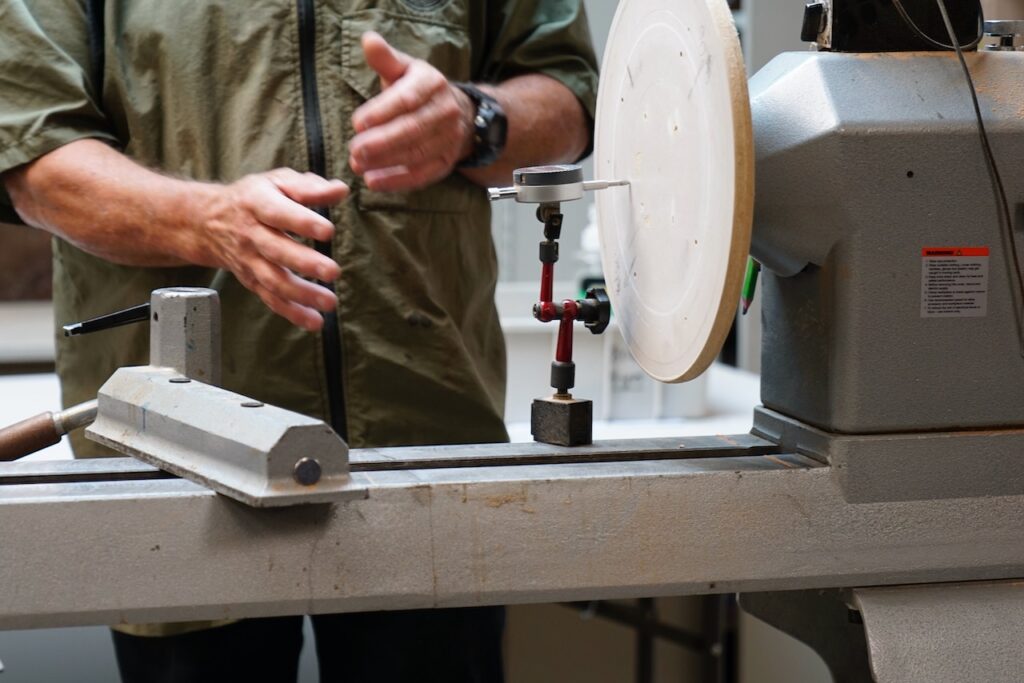
The initial turning of the cube (ie, facing off to 64mm on all sides) is done on a faceplate, and Bruce emphasised the need for the face of the faceplate to be perfectly true. At first Bruce could not get faces on his cube at 90° to each other, and it was because his faceplate was not running true. He used a digital dial gauge to measure it to within 0.2mm.
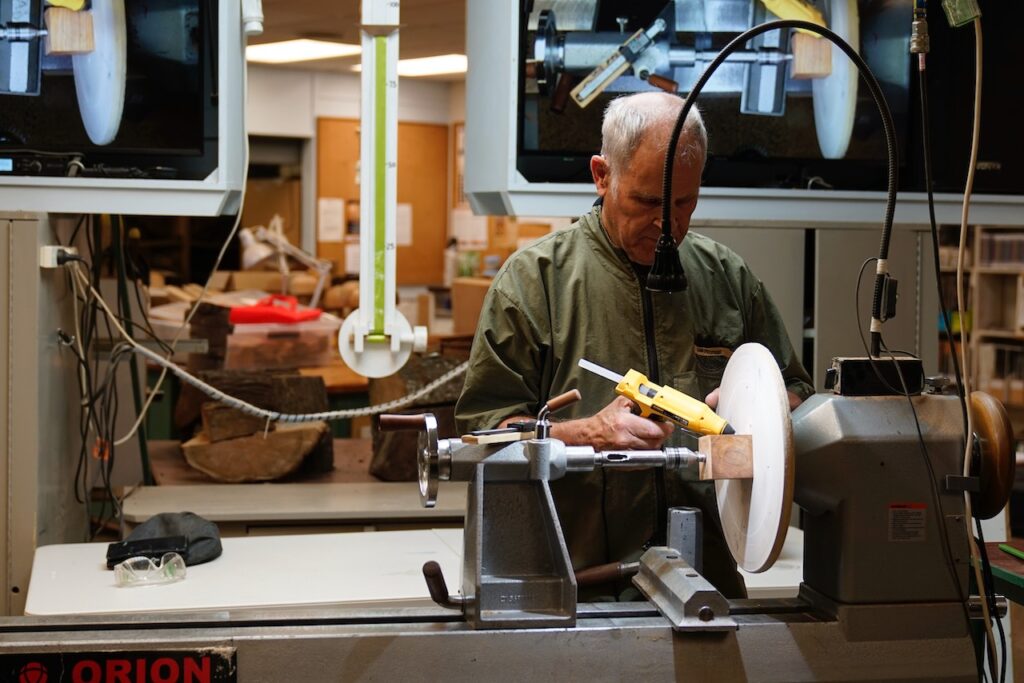
The cube is positioned on centre with the sanded flat side against the faceplate, and held with the tailstock. Dabs of hot melt glue will hold it when the tailstock is removed. A few gentle passes with the gouge will bring the depth down to the required 64mm. The finishing passes obviously need to be done with the tailstock out of the way. Use a steeledge ruler to make sure the side is perfectly flat. Give it a quick sand. Getting a straight and true face requires a very steady hand with the gouge. Bruce showed us how he points his index finger along the shaft of the tool, and supports the handle under his arm, so in effect the gouge becomes an extension of his arm.
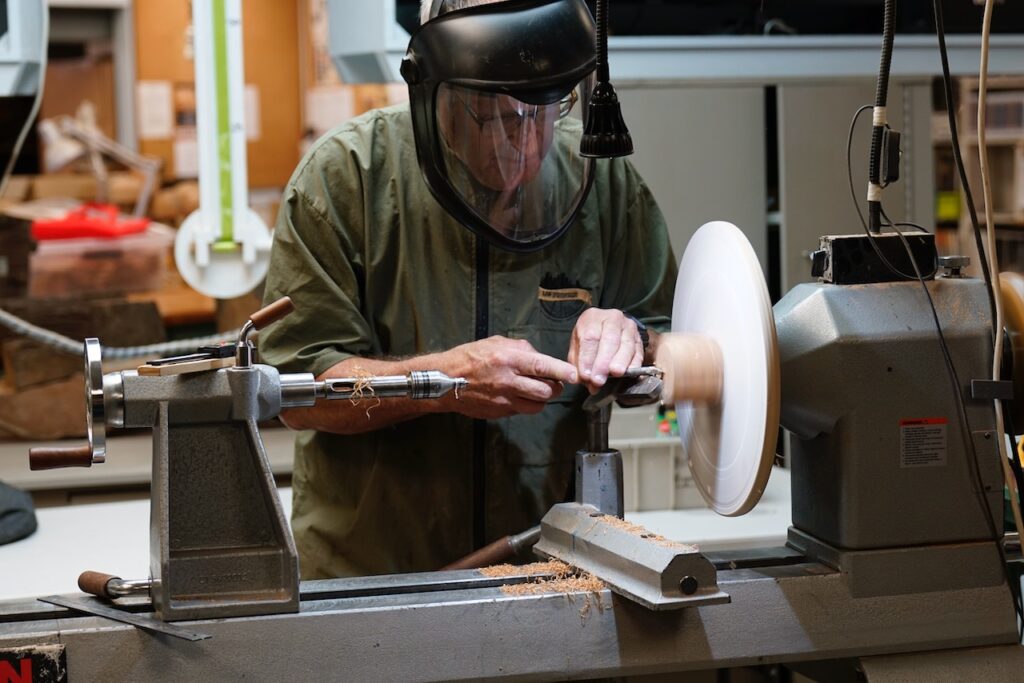
Re-position the cube on the faceplate to the opposite face and repeat the squaring off process. Continue this until all six faces of the cube are down to 64mm and are perfectly square to each other. Use a set square to check for right angles – it may be necessary to use a paper shim to correct for any slight out of trueness. Mark the centre on each face as you go, for later re-positioning in the chuck. Make sure you carefully clean any residual glue off the faceplate so the face remains true. (Note that Bruce thought the project might take about 2 ½ hours from go to whoa, so to fit the demo into the shorter time slot he had already prepared five faces of the cube.)
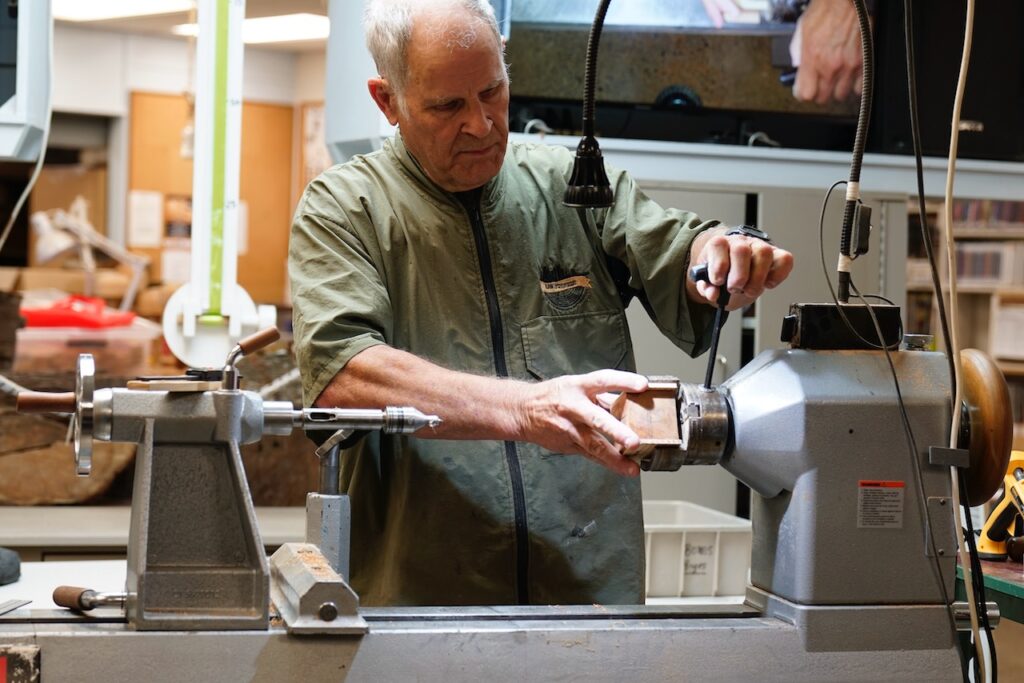
I should mention that before any turning starts, an acruline alignment tool should be used to ensure the tailstock and headstock are perfectly aligned.
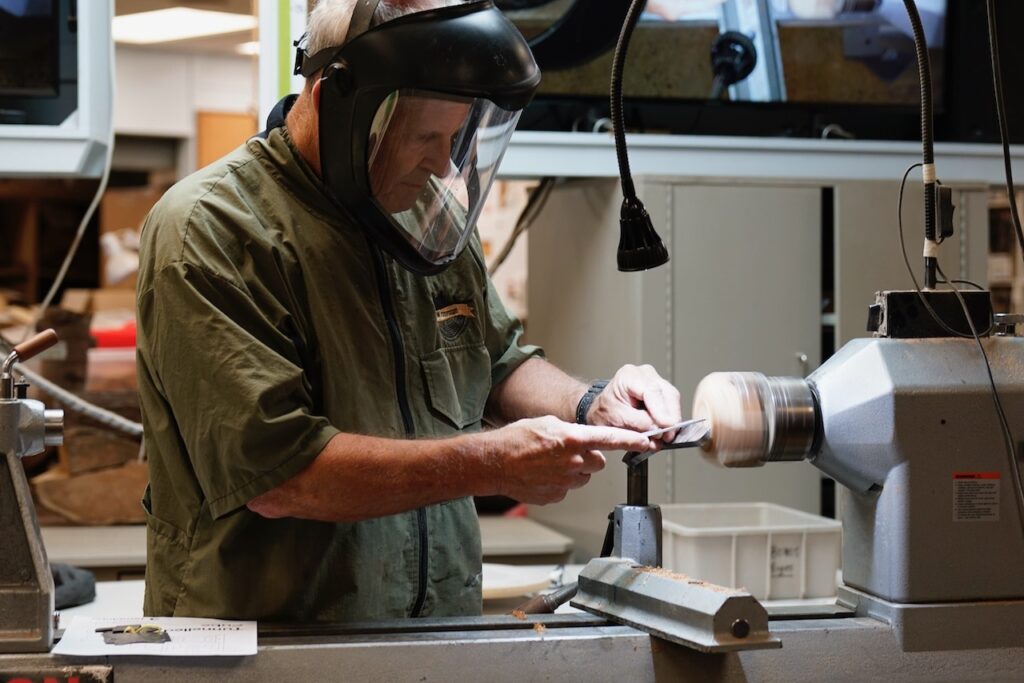
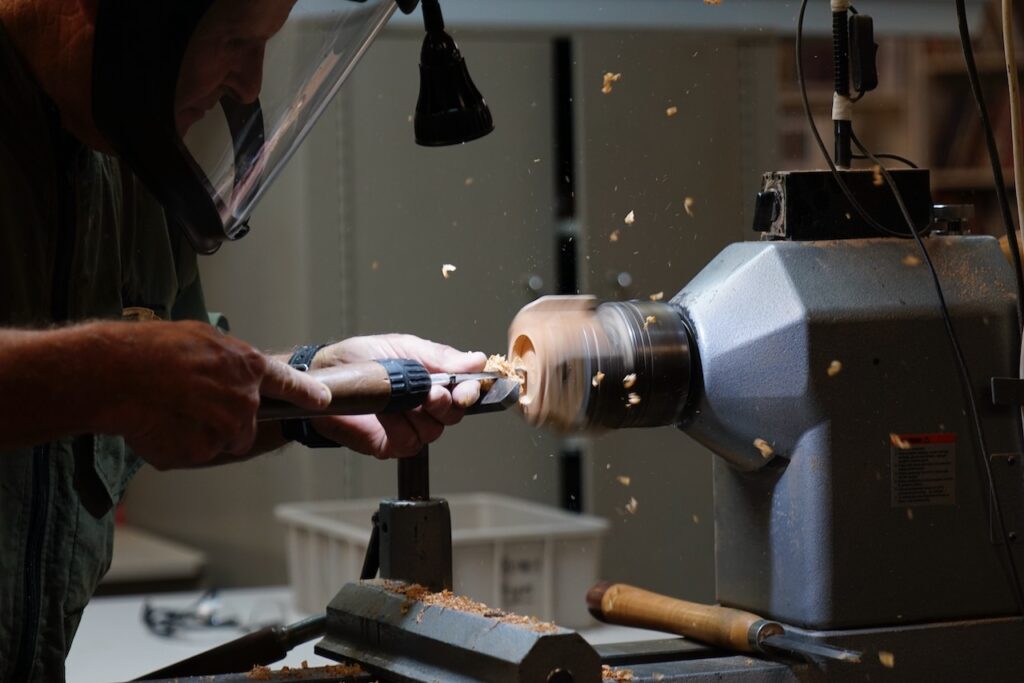
Now the fun begins – Bruce is ready to start tunnelling out the first side – this involves a series of perfectly centred concentric circles cut towards the centre of the cube. Bruce mounts the cube in a chuck which has two 100mm powergrip jaws fitted (numbers 1 and 4). He uses packers to protect the jaws from crushing the cube. He brings the tailstock up before fully tightening it down so he can centre it on his previously made centre mark. The first cut needs to be 54mm wide and 9mm deep. He scribes the position of the cut with dividers, and carefully makes the cut using a ½” skew and a small parting tool. The edge of the cut needs to be straight and the bottom flat. Bruce uses a template to achieve this. To get a clean cut the lathe speed is set at 2000rpm and the tools are super sharp. The next circle is cut at 40mm and 7mm deep, using exactly the same method. The third and last cut is 26mm wide and 5mm deep. Bruce then uses a 12mm brad point drill to drill a hole which passes through the centre of the cube, but not all the way through. He depth marked the drill bit at 40mm. When each side has been drilled the resulting hole forms the final hole within a square in the centre of the tunnelled cube.
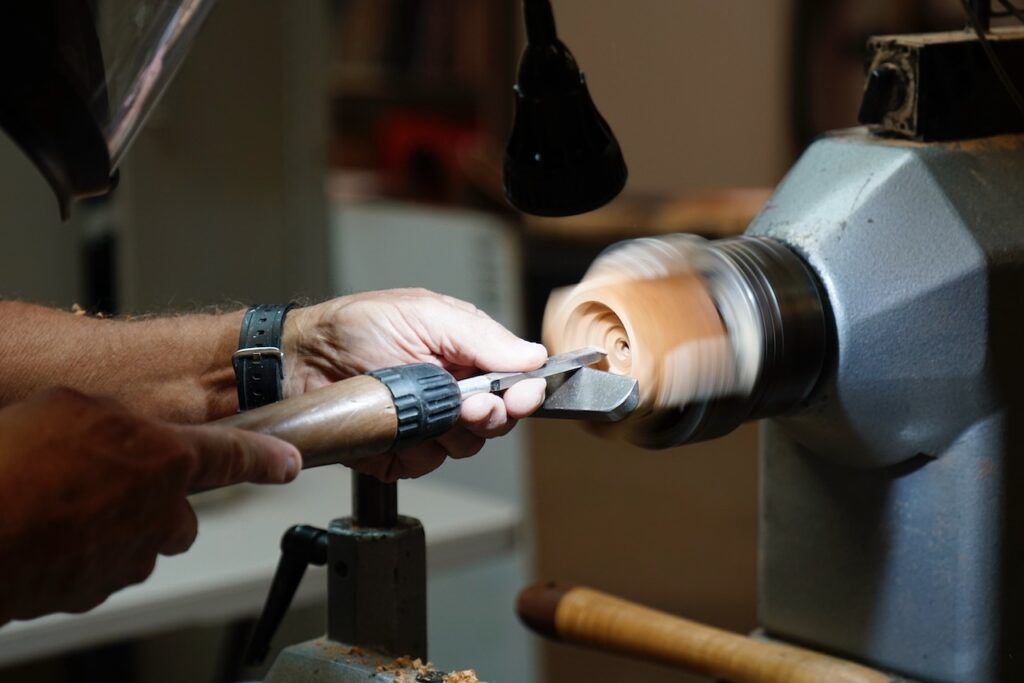
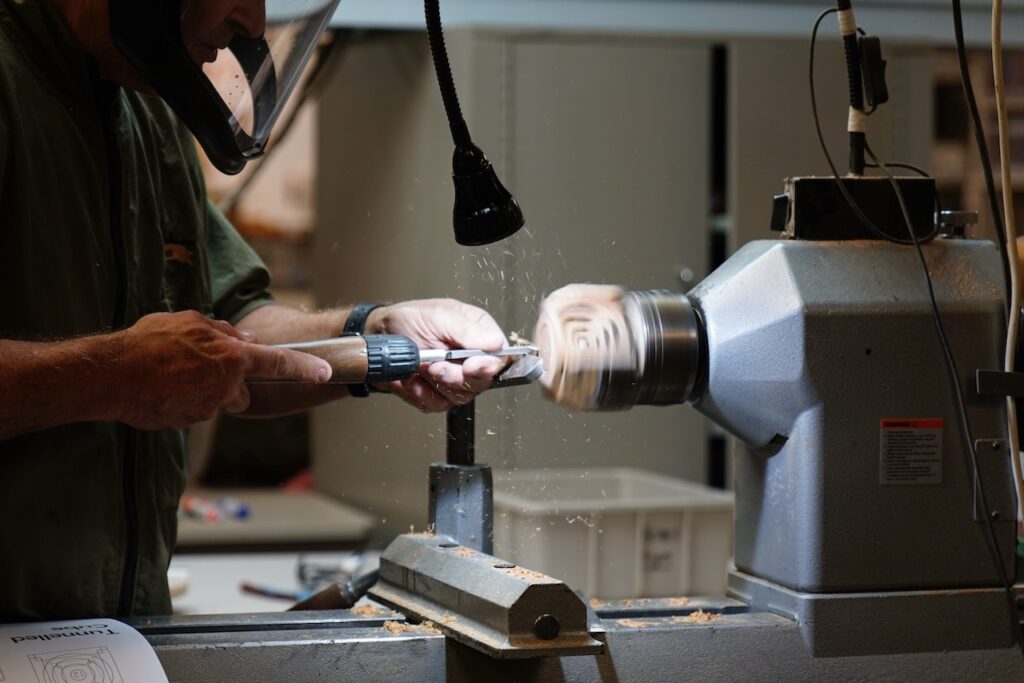
The tunnelling process needs to be completed on each of the 6 sides of the cube. The second side is the side which is a 90° turn to the left or right, not the side directly opposite the first. Needless to say, as each side is tunnelled out and more wood is removed from the cube, the resulting structure becomes more and more flimsy. To strengthen the structure while he tunnels out the last side, Bruce glues a 12mm dowel through the centre of the cube, and secures this at each end with round plates inserted into the first circles cut on two opposing sides. This is removed at the very end when the last side has been tunnelled.
As he usually does, Bruce finished his demo with a random number draw using door numbers, and the giveaways were a tunnelled cube and sets of golden rule and sphere calipers. The lucky and grateful winner of the cube was none other than Dick Veitch, and other winners were Terry Bennett, Terry Scott, Ross Johnson and Lindsay Amies.
Thank you Bruce. This was indeed a challenging demo requiring precision and care, and delivered with all the banter and fun that we have come to expect. We are going to miss you; our loss is Dunedin’s gain.
Click on Plan below to load full size PDF for printing
