Club Meeting: 16 August 2023
Report by: Kieran FitzGerald
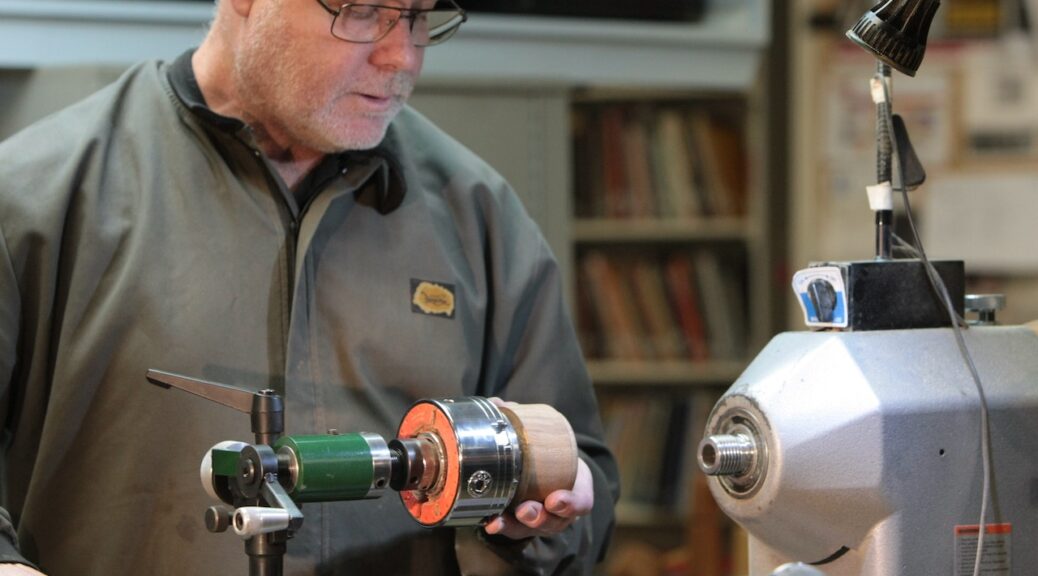
Another cold winter’s night, but Jon’s well prepared and expertly delivered presentation was about to warm the bones with a lively and enjoyable demo.
Jon began by taking a look at the abundant use of threaded objects in everyday life, and then spoke to some examples of threading in the woodturner’s field of activity. Examples of salt and pepper shakers, pill boxes, and needle cases were accompanied by a warning: “you wouldn’t want the lid to come off a needle case in your pocket, you’d get a severe case of pins and needles in your leg.”
Next Jon gave us a straightforward description of what can be a reasonably complex subject: a thread is basically a spiral cut into a round object, with a particular shape of tool, at a specific pitch. Pitch is the distance between thread peaks. An external (male) thread and an internal (female) thread with the same diameter and cut with the same pitch can be screwed together. The two most used thread standards used in the world today are: imperial (USA) and metric (the rest of the world). The pitch for an imperial thread is measured by TPI (threads per inch), and the pitch for a metric thread is measured by the distance between the peaks of two adjacent threads in millimetres. An imperial thread of 16 tpi and a metric thread of 1.5mm are similar. Both have a thread depth of around 1mm. Both have a thread angle of 60°. These threads look fairly close in size, but they are not the same as the pitch is slightly different.
Jon is a metaller and adherent of Ozzie Osbourne… sorry strike that…Jon is an engineering machinist and discussed with us the key differences between a wood lathe and a metal lathe. Essentially a wood lathe has a fixed banjo/toolrest over which the operator uses a hand tool when turning objects. Whereas, a metal lathe has a carriage that can move along the lathe bed when in use. Both have a rotating chuck. Cutting threads on a metal lathe is a very precise mechanical process with little room for human error. Conversely manual thread chasing on a wood lathe using hand held tools is an imprecise process and requires skill and practice to achieve well cut threads. With this in mind, Jon set about researching how he could build a jig using his metal lathe which could be fitted to his wood lathe for thread cutting with the same precision as a metal lathe.
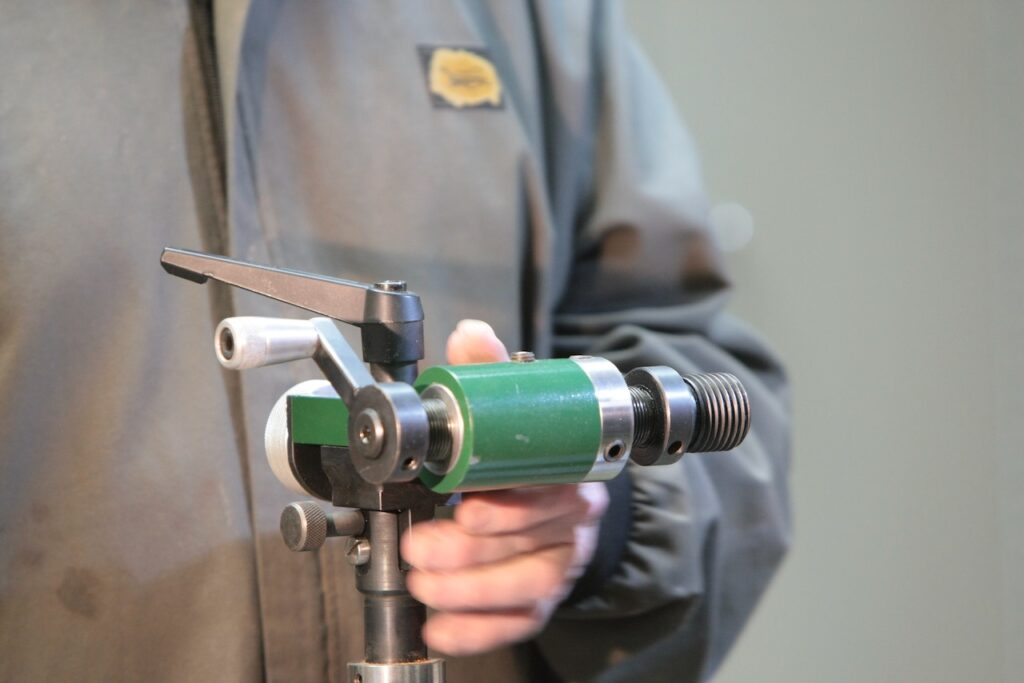
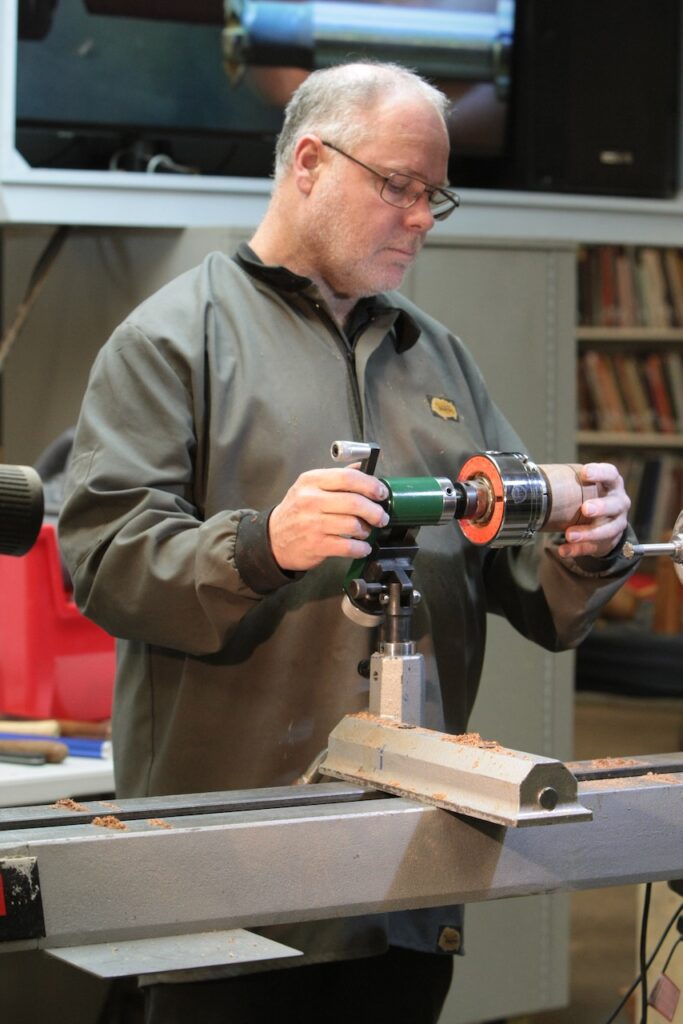
So, on to the jig itself. Simply described, the jig has a post which fits in the banjo. Affixed laterally to the top of the post is a dovetailed sliding mechanism. A knob allows controlled movement of the upper dovetail. This is used to adjust the depth of thread to be cut on the item being turned. At the end of the sliding dovetail mechanism is a spindle assembly which consists of a threaded spindle (16TPI) and a sleeve. This fits into the outer casing which is attached to the upper dovetail. At the end of the threaded spindle is a thread on which a chuck can be screwed. A 60° cutter is fitted to a MT2 collet, and that is fixed into the headstock spindle via a drawbar.
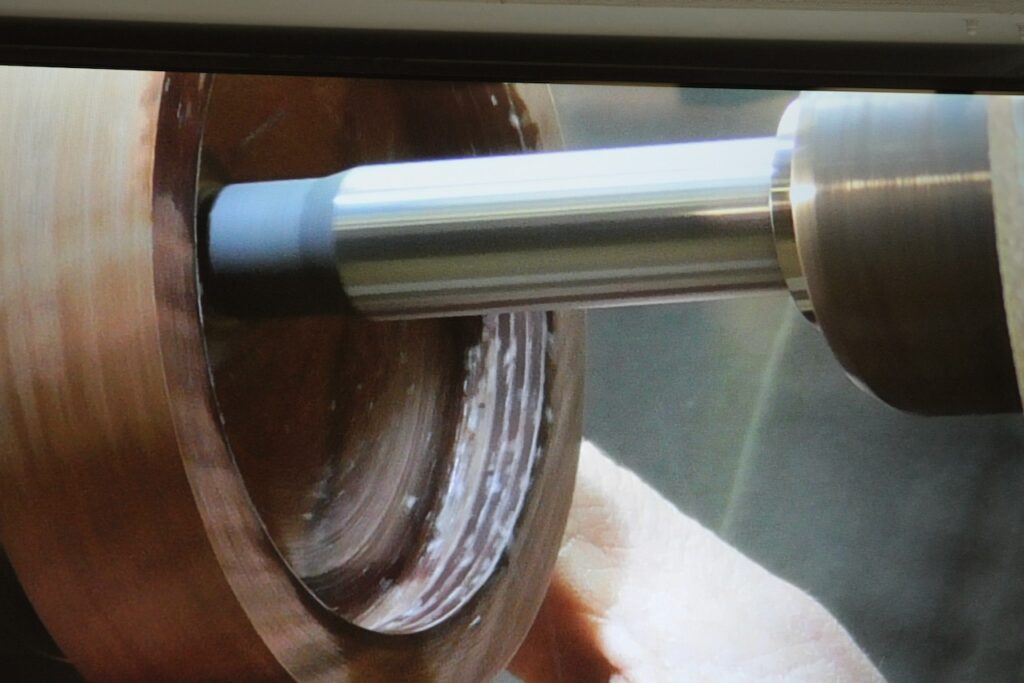
To cut the thread, the chuck holding the lid of the lidded box is screwed on to the jig’s threaded spindle and the jig is lined up parallel with the lathe bed. With the lathe turning at about 3000rpm, the jig’s spindle is advanced towards the cutter by turning the handle. Experimental passes ensure the jig is perfectly positioned to make the correct cut. I should mention that the tenon and rebate on the lidded box have already been turned square on the lathe to the appropriate length and have a relief cut at the end so that the cutter has a place to move in to when it reaches the end of the tenon or rebate. Once the jig is correctly positioned in relation to the cutter, Jon progresses his thread cutting in two passes. The first pass is 0.6mm and the second pass is 0.4mm more, to take it to the desired thread depth of 1.0mm. One complete turn of the depth knob equates to 1.0mm travel on the upper dovetail, and there are five détente positions of 0.2mm each so progress can be accurately measured. Jon applied CA glue to the threads to stiffen up the wood, so he made a final pass without adjusting the depth setting, just to clean out any CA glue and wood chips.
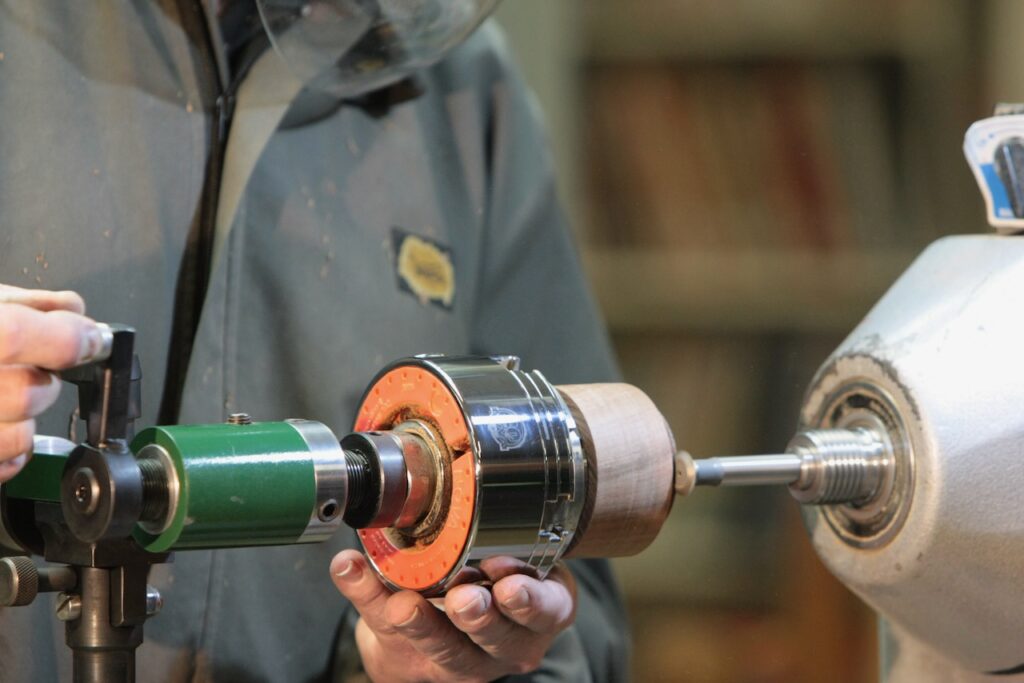
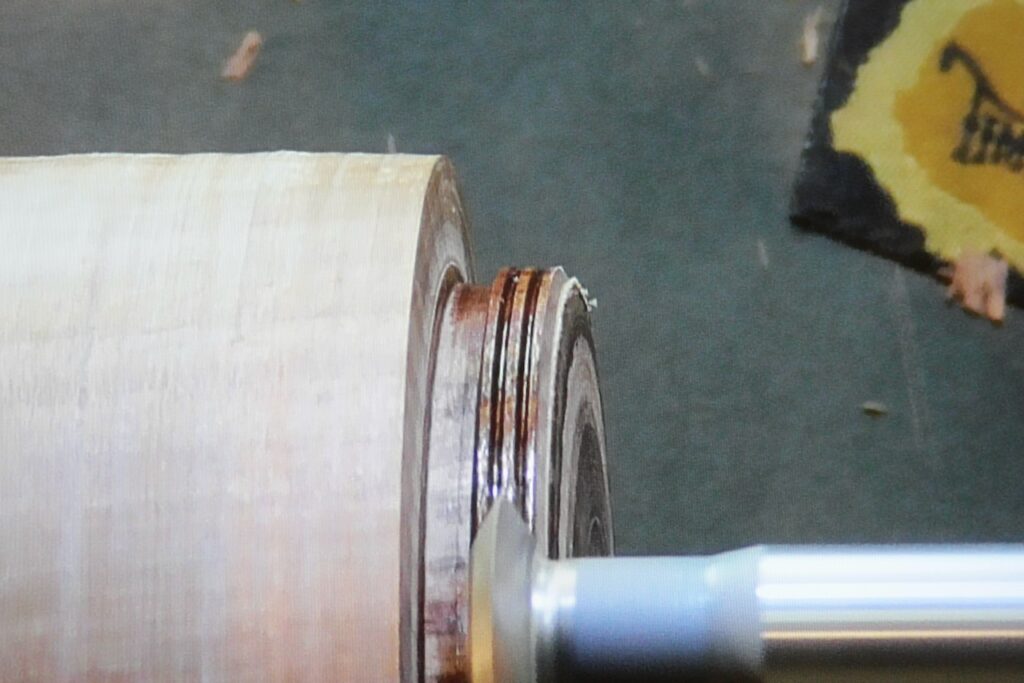
The thread on the lid duly completed successfully, Jon took it out of the chuck and replaced it in the chuck with the base of the box. Using Vernier calipers he measured the internal diameter of the thread on the lid and added 1.1mm to the measurement. This becomes the finished size of the male thread on the base (allows for a little bit of “slop” which caters to any movement which might occur in the wood, but also gives a fairly snug fit). He then repeated the process to make the external thread. Now comes a really clever enhancement – to test the fit of the lid to the base without losing any of the alignment settings for the jig, Jon has added a lockable hinge to the jig enabling the top part to be flipped back. In this case, voila, a perfect fit.
Just to let you know, I have never been in a toolroom, or seen a metal lathe. So the descriptions given in this report may, or may not, make sense to you. But I have tried to convey my understanding of how Jon made and used the threading jig. The good news is that Jon is a youtuber. “What’s that?” I hear echoing in the deep, amplified chambers of your hearing aid. Well, if you want to take a closer look at how Jon built his jig, there are two videos on YouTube in which Jon gives an interesting blow by blow description of his build. You can find these by following these links:
Threading On A Woodturners Lathe (Part 1) – YouTube
Threading On A Woodturners Lathe (Part 2) – YouTube
Threading On A Woodturners Lathe (Part 3) – YouTube
Jon’s handle on YouTube is The Hobby Machinist NZ and he has a YouTube channel with various other videos demonstrating his metalwork skills.
Thank you Jon for an entertaining demo. Your ingenious device is truly remarkable. And just to let people know, there are other jigs out there which do the same job, but as Bob indicated, they come at a considerable cost. Jon’s jig is definitely a one-off, but it is an impressive piece of kit. We could borrow it though, eh John?
