Club Meeting: 28th Jun 2023
Report by: Roger Pye
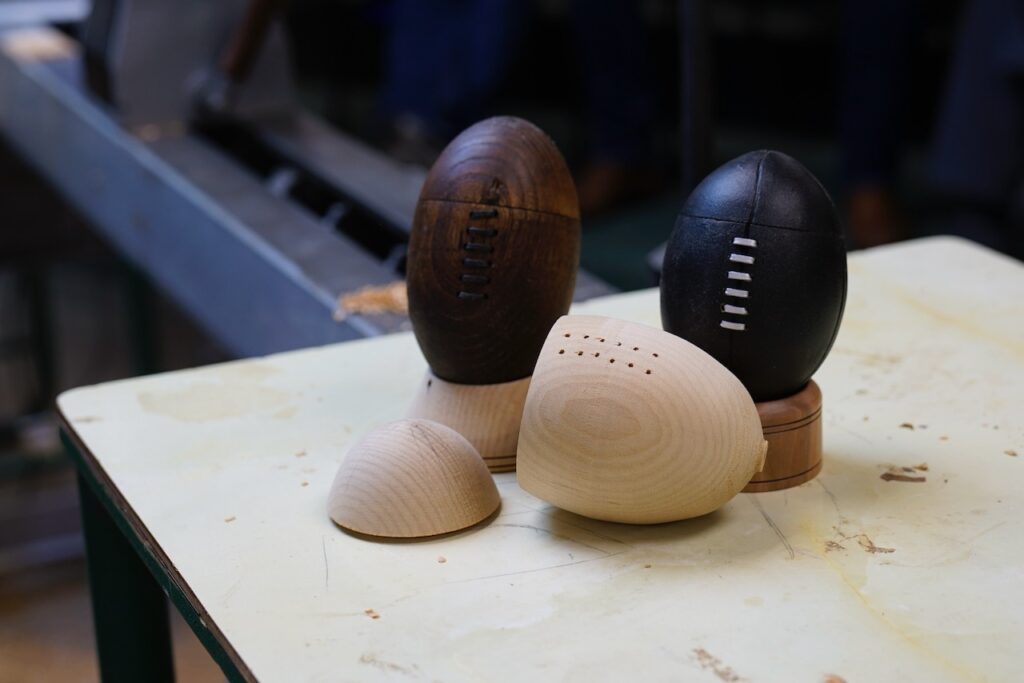
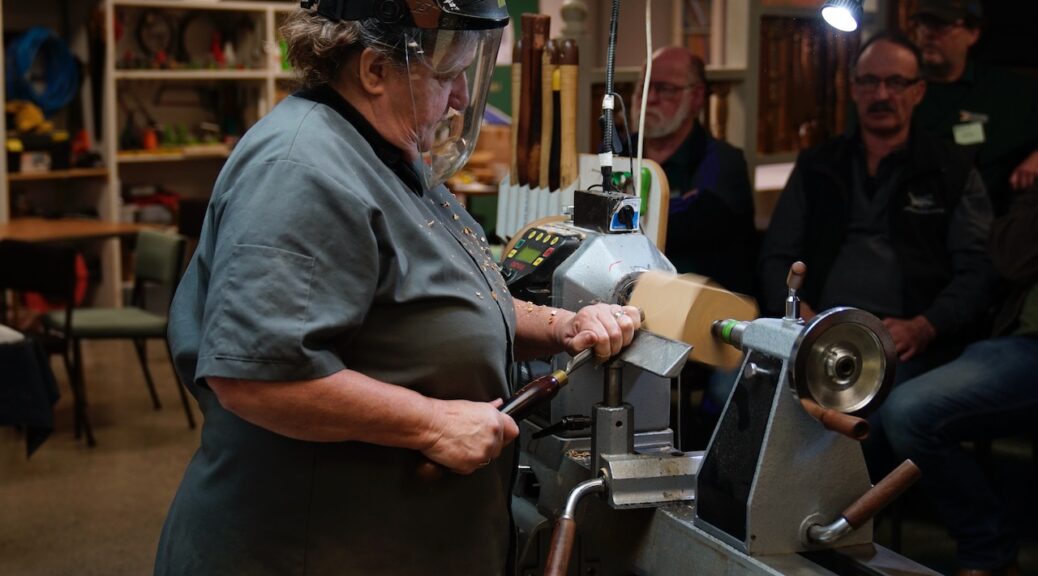
Denise is an adventurous woodturner who likes to explore the limits of woodturning and creative art that comes with the territory. On this occassion Denise chose to produce a life-like image of a rugby ball complete with lace-up entry, but only 1/3 the size.
Her starting point was a block of Kauri 180mm long and 100mm x 100mm square. This was rounded between centres with chuck spigots turned at each end.
- To hollow the interior, the 180mm long round was parted off at 70mm.
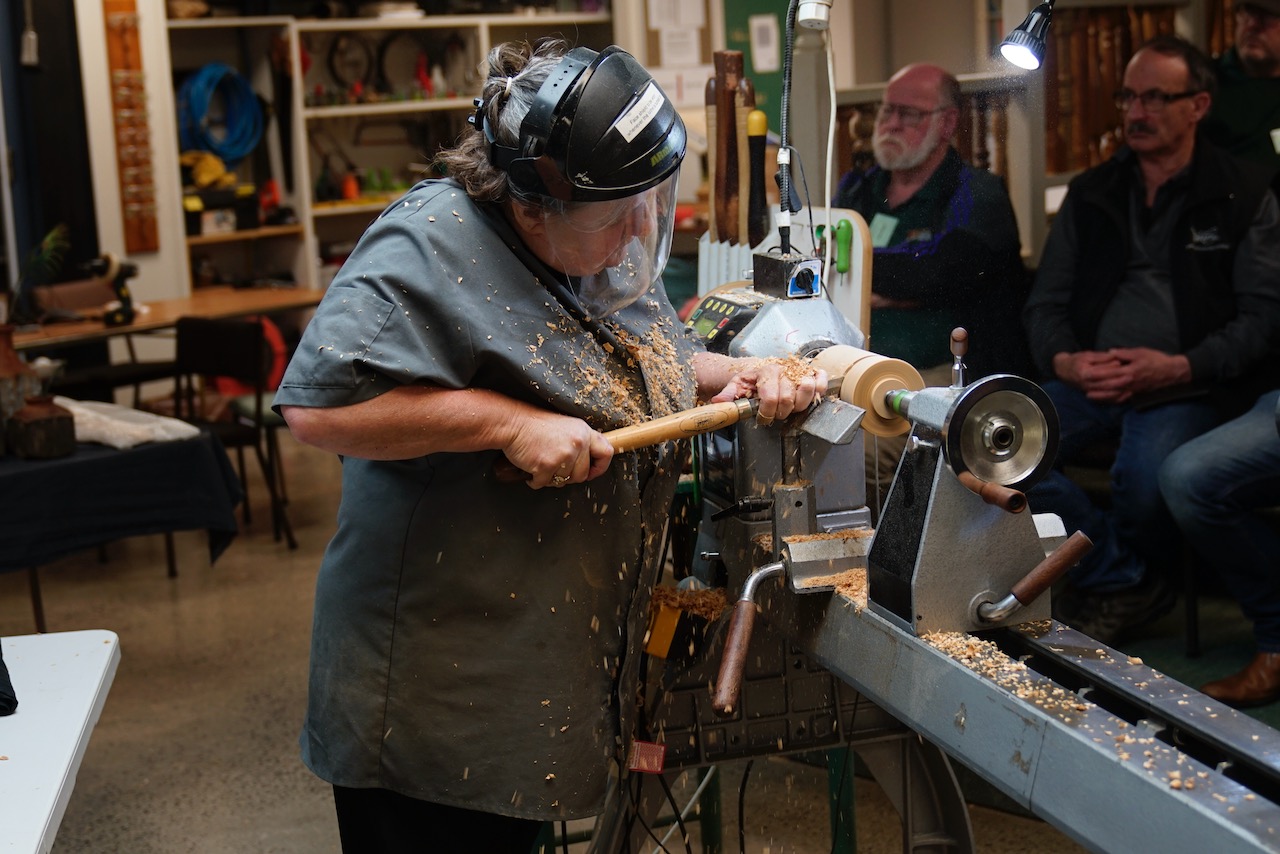
- With the smaller section removed the larger piece is still held in the lathe. First set it up to provide the interior overlap as for a lid, at approximately 65-70mm ID. Hollow out interior to match the shape of a rugby ball.
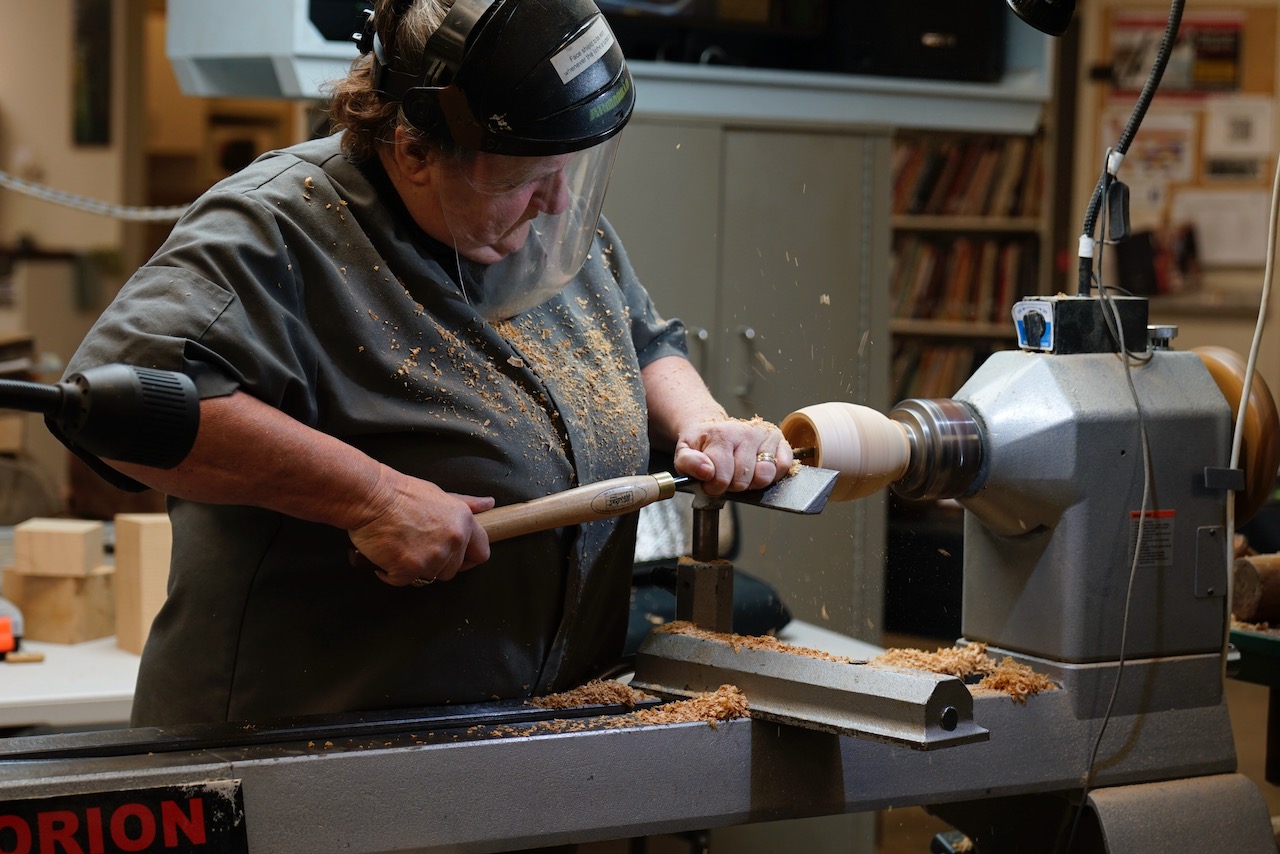
- Chuck the smaller section and cut a lip to cover the interior overlap in the lower secton. Proceed to hollow out as for the bottom section.
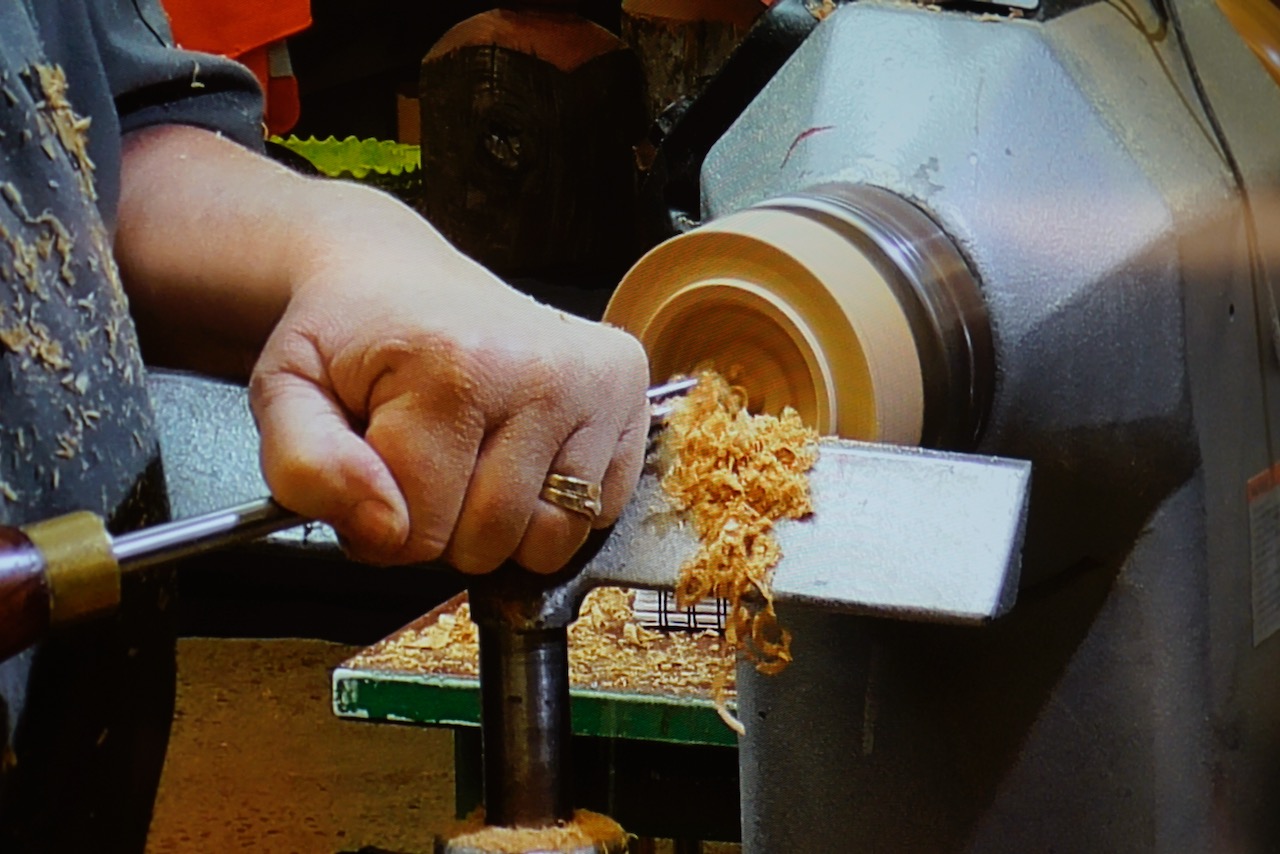
- Mount both sections ensuring a good fit. Use a small steb centre to hold in place.
- With a pre-made exterior template, shape the exterior to match. Sand.
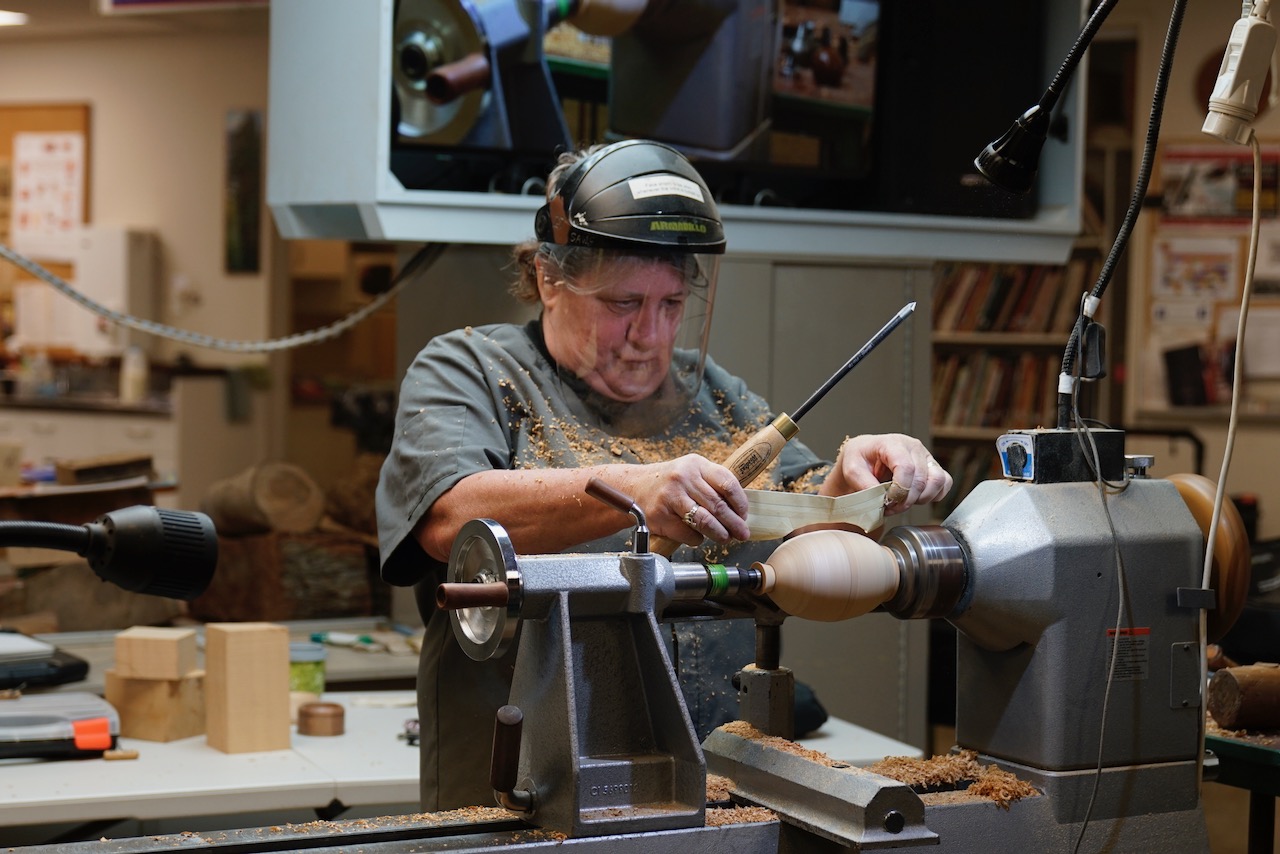
- Using the tool rest draw four equally spaced horizontal lines from end to end. These are the stitch lines of a ball. A Dremel or carving tool can be used later to make a small groove. At the centre of one line drill six pairs of 2.5mm holes 8mm apart and 5mm each side of the stitch line. Leather lace to be installed later.
- Tape the small end onto the base. After removing the tail stock finish shaping the end of the ball and sand.
- Take the lower section and use the expanding chuck to lightly grip interior of opening. Use tailstock to secure and finish the rugby ball end. Hand sand the shape which was inaccessible when held in the tail stock.
- Finish as per personal choice, ebonize, paint brown, fit lace, cut stitch lines.
- To display, turn a base with hollow interior on which to place pointed end of ball.
