Club Meeting: 8 November 2023
Report by: Roger Pye
This was a demonstration of intrigue and interesting variations to straight forward woodturning.
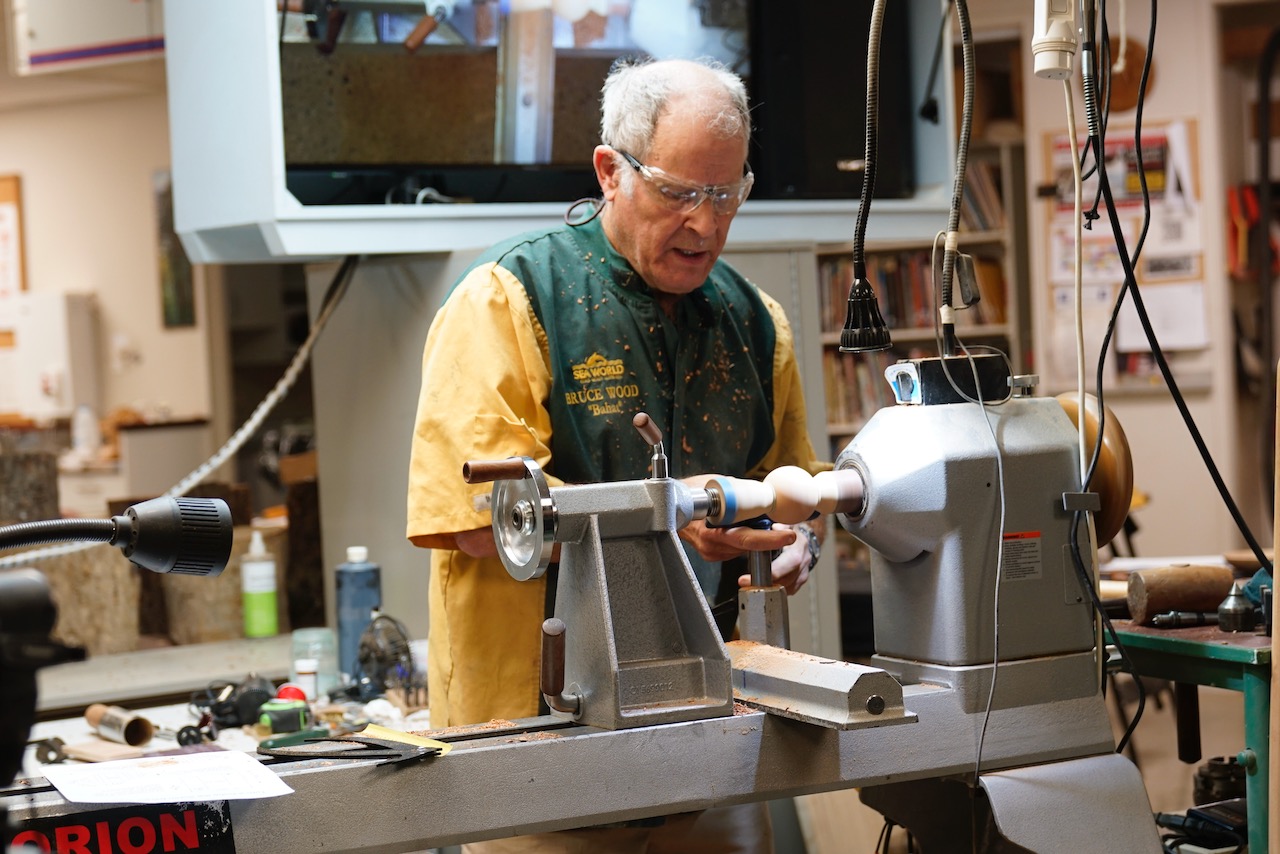
Our demonstrator was Peter Williams, a visitor from Northland Woodturners & Woodworkers Club. Whangarei. Peter, actually lives in Kerikeri, so twice every month, he makes the one and a quarter hour perilous journey from Kerikeri to Whangarei and back. That’s dedication to the cause.
There must be something about Kerikeri because it was only a few years ago that the manufacturer of “magic” Munroe hollowing tools moved to Kerikeri from the South Island.
Peter is also well known as the maker of Kareem Polishing wax.
As a preliminary Peter had a short video on screen to show how his brother, who has always lived in England, has devoted his life to pottery. His point was that not all potters have to make round things on a potter’s wheel, as shown in the video. This being the case then “Why should he make everything round on a woodturning lathe”. So that turned out to be the subject of the nights demo.

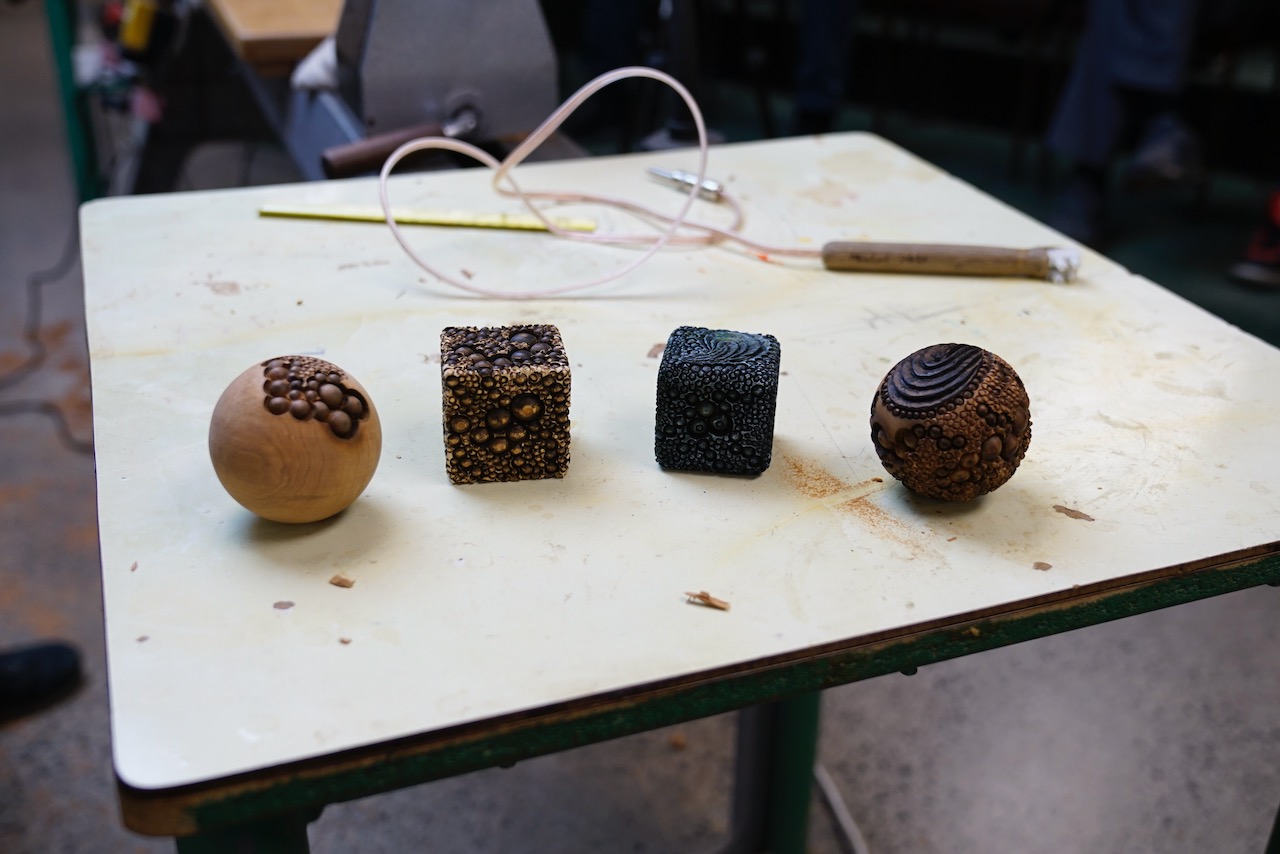
Some examples of various finished items were displayed, all elliptical, although some had round bases to stand on. One was hollowed and carved to show feathers with see-through holes and cervices. Another was close to a live Tuatua seashell. The main point being that the elliptical shape can be turned provided that a wedge is used inside two slabs of matching wood. The accompanying photographs will show exactly the aim of this exercise.
Starting with an even grained piece of timber measuring about 125 x 125 mm and 250 long it is important to cut it exactly down the centre. Next a wedge is made from any suitable wood. This wedge will sit between the divided original slab. The wedge thickness at the blunt end will vary according to your choice of elliptical finished shape. (Your answer will be simple when you have made at least one) Anyway the true wedge shape is important. Best you make a cutting table for your bandsaw. (see photograph) The trick is to make a wooden slide to fit the running grove in your bandsaw table. Attach this to a sliding flat top which will be grooved for the travel of the bandsaw blade about ¾ of the way across. A back fence will be attached at right angles. Use a tapered sledge up against a side fence mounted on the sliding platform. Cut your wedge and clean the faces on a good flat sanding table.

Glue the wedge in place using papered joints. It is first necessary to put spurs in place to stop the wedge sliding out under clamp pressure. This can be a small dowel in the wedge thick-end area to be cut off at the tail-stock end later. Leave joints at least 24 hrs of even 48 hrs if possible, for glue to harden.
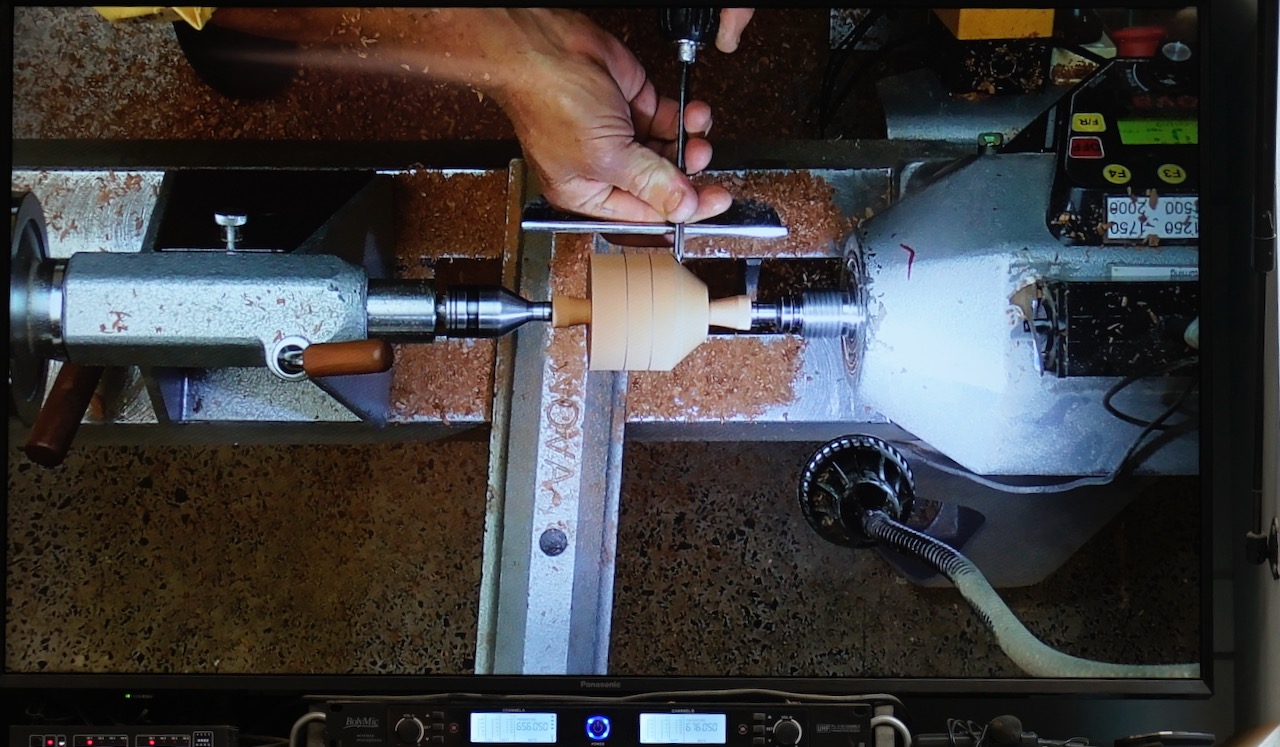
Turn the now tapered slab to a round tube, then start a selected shaped curve down to a small diameter of about 25mm at the tail-stock. Use a low speed as paper joints can be lethal. Create a chuck spigot for an 80mm chuck at the head stock end and cut off the small tail stock waste with handheld cross-cut saw. Remove and remount using a four-jaw chuck.

A 15mm Forstner bit will be used to start the hollowing process when drilled to the full depth of the planned interior. Next drill several 9mm holes through the wedge section into the centre. This makes it possible to gauge the thickness while hollowing. It also makes it easy to blow out shavings with an airgun.

It is also advisable to choose a solid ring of a suitable diameter to glue in place over the shaped exterior some halfway along the hollowed-out zone. But first apply masking tape over the gluing area to avoid nasty stains occurring. Also run a knotted cord against the ring to provide easier removal. Glue on the ring with Hot Melt Glue.

When hollowing is finished, remove the ring and unmount the workpiece from the chuck then open the two paper joints with a long carving knife. Sand on a flat sanding board to remove unwanted paper and glue.

Take special care to glue both halves together using the lathe chuck at one end and soft jaws fitted with heavy sponge at the other. A “glue-chuck”(see illustration) is used with the correct ring to hold the work in place for the removal or shaping of the base spigot.

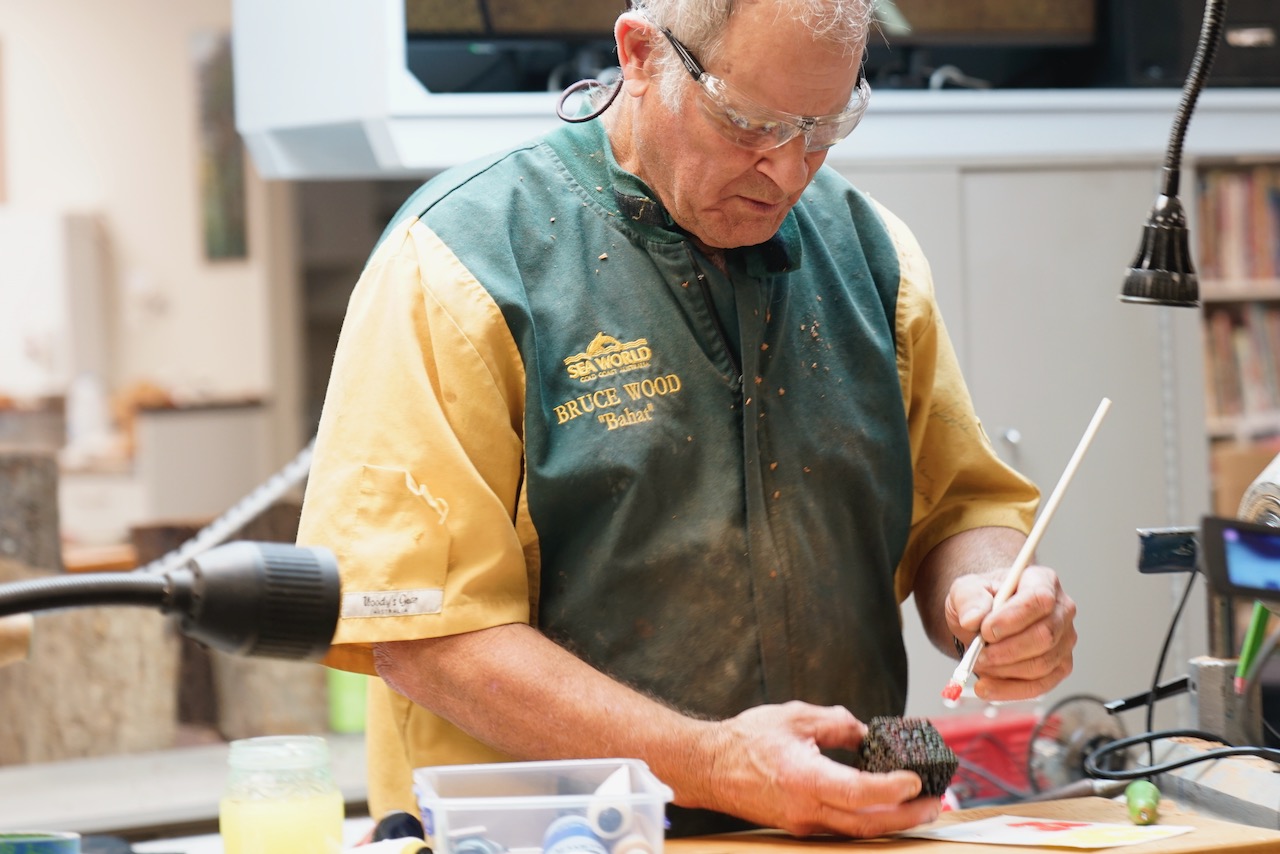
The form is now ready for your embellishment.