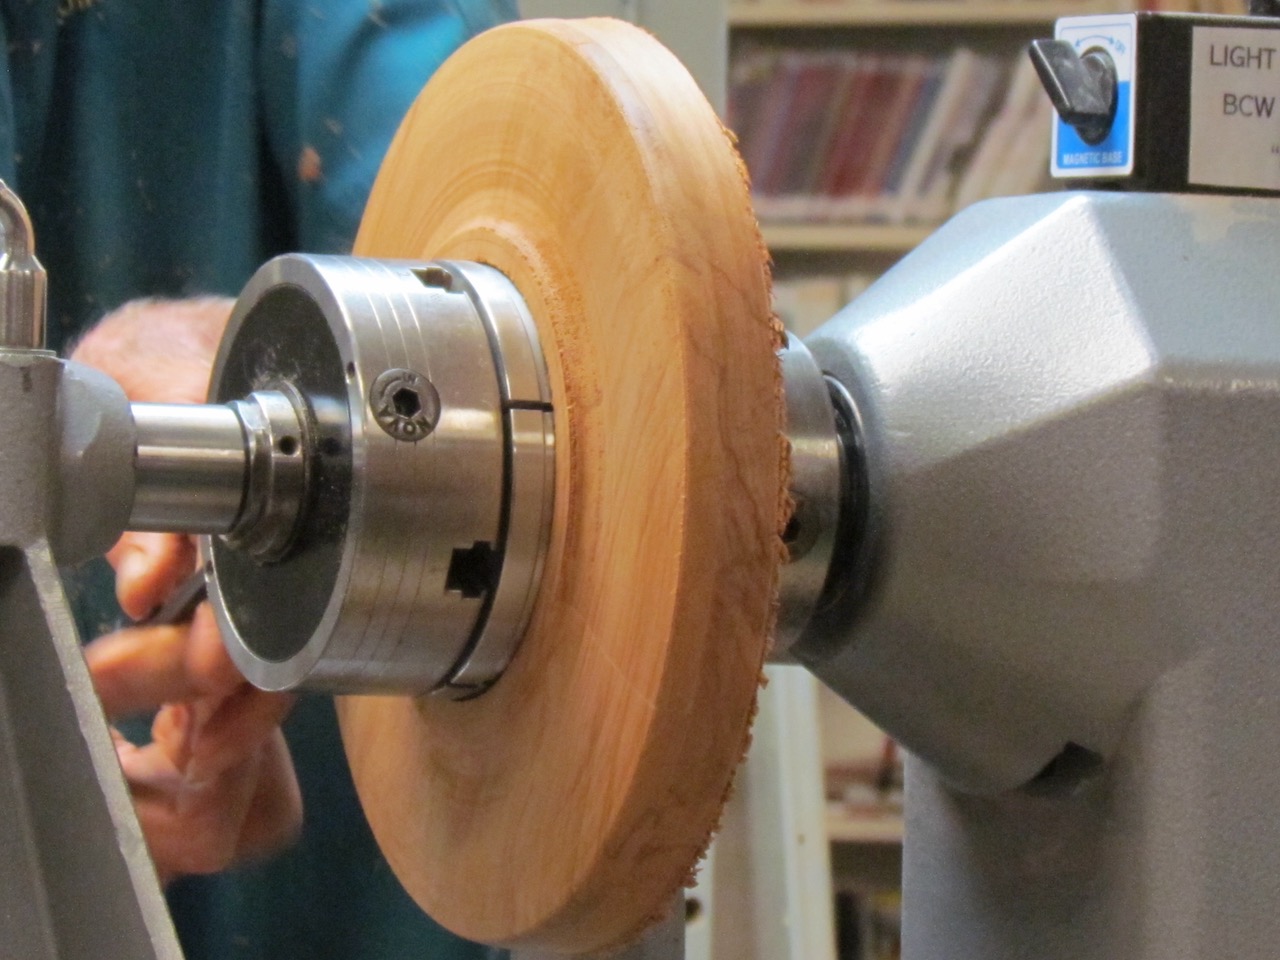
Colin started off by suggesting ways to select wood in order to add value to the usual along the grain orientation. He showed some prepared blanks with barrels inserted of cross grain and long grain, it was also suggested that the grain could be orientated at 45 degrees.
He showed us his jig setup for sanding the ends of the blanks square prior to turning. A file was used to de burr the inside of the brass tube, he then demonstrated the turning of the two blanks he had one long grain and one cross grain. Although he did not finish the surface he showed us the use of a block of P.P.P. (perfect pen polish).
He then passed around different pens that were made of different woods and grain orientation.
He then went on to talk about the use of Aluminium for pens and demonstrated drilling techniques He used a 6.2 mm drill and then finished the hole with a 6.3 mm one. An Aluminium pen does not require the brass inserts so the 6.3 diameter is equivalent to the inside of a brass tube. He then showed the turning of the Aluminium blank on another mandrel. He suggested the use of a squirt of Ondina oil, which we normally use for sanding, would assist in this process. He demonstrated the use of the Timberley Textura to embellish the aluminium. There is a specialised aluminium polish that can be used for finishing.
Club Meeting: 10 Feb 2021 Report by: Graeme Mackay
Jim Jackson started out on a mystery tour with recycled wood. The wood was prepared in advance, initially an unnamed mystery piece that was directed towards a formal, traditional shape.
Jim started shaping up the first part of the mystery; a platter the with a central hole. Commenting on sharp tools, and the need for regular sharpening preparing the spigot for a large Titan 3 Chuck initially set up on the tailstock. The end product was still, a remaining mystery. However, Jim did allude to the fact that can be made with same or separate types of wood. The overall focus was as an exercise in making plates, possibly platters, which would, later, with measured centre hole added, be teacake platters.
There was an emphasis of the a need to make the platters light in both look and lifting. He did however allude to the fact that the shapes need to be similar, uniform and equal thickness.
The unveiling of the mystery: a three tier, central pillar, teacake holder. There was a question as to whether this three tier holder would handle club sandwiches, high-calorie assemblages and cream cakes. The holding ability was effectively illustrated later in the demonstration.
An important feature was the frequent measurement of the central holes on the upper tiers and the rebate for the central pillar. Overall, there was a regular requirement for measurements of all parts of this teacake holder. Jim put this forward as a spindle turning exercise and in the same vein as the central pillar for the wig stand (see SAWG project).
There was a recommendation to check the actual fit of the items and to remember the order in which assembly was undertaken. Jim noted with a chuckle, make sure that you have the order of construction in the correct manner:
sort the feet out on the base platter
ensure that the rebate on the central pillar fits into the base platter
ensure that the step to hold the first tier is correct
check that the hole in the first tier is correct
ensure that the step to hold a second or top tier is correct
check the hole for the top tier plate
Form of the object and how it looks: the connecting mechanisms and holding parts measurements aside, the Three Tier Teacake Holder is dependent on looks. The ratio between the three layers needs consideration and planning. The height between the platters is similarly important.
Jim’s mystery project is utilitarian however the final product sits up front.
A good exercise spindle turning, measurement and planning.
Holm gave a great demo on ebonising. The practice of turning wood black/darker without paint or pyrography. He showed how the tannic acid in wood reacts to different types of formulas/solutions. One of the main benefits of using ebonising is that it darkens the wood but allows the grain of the wood to show through.
The most common formula is a mixture of white vinegar and steel wool left to soak for a few days or weeks. Recipe: 1 cup of vinegar and a hand full of steel wool. The longer left the darker with solution will be on the wood. Because of the gasses/pressure formed while fermenting, it is best to place in a glass jar with a loose lid to allow build up of pressure to release itself.
Once the formula is ready it can be applied to your wood object with a brush or a sponge. The more layers of solution the darker the look. Some wood has more tannic acid than others, so the depth of colour from one formula may vary on different types of wood.
Tea leaves soaked in water can be applied to the wood to add tannic acid to the wood so that it reacts with the vinegar solution.
The solution can raise the grain of the wood surface, so it was suggested to sponge on a layer and allow to dry. Then sand any raised grain and then apply another layer of solution. Do not use sanding sealer or similar on wood first or it will impede the soaking of the solution.
Holm also showed us how indian ink and leather dye can be used on wood to colour it.
Holm showed many examples on pieces of wood during the demo which was appreciated.
Club Meeting: 9th December 2020 Report by: Chris Crone
This week’s enjoyable demonstration fit in with the term’s project of children’s toys. Garry Jones showed us to make a set of skittles along with a ball, which after painting make an eye-catching and enjoyable treat for kids.
The skittles – including a soldier, penguins, Superman and regular skittle shape – were made from pallet wood with dimensions 50 x 50 x 210. For new turners’ benefit, Garry showed the various ways to find centre: using a ruler, one’s finger and pencil, or a specialised centre-finder tool, before securing the wood using a step centre. A question from the floor asked whether it could be fitted directly into a standard chuck to which the answer was Yes, though it would be slower to secure and remove each workpiece when turning multiple skittles.
Safety first, of course, and Garry fitted his face guard before using a spindle roughing gouge to turn the piece to round. Pallet wood is generally pine, and though wide-grained Garry remarked that it is possible to achieve a reasonable finish.
Garry had marked plastic squeegee/scraper heads from Bunnings to use as templates for marking the wood with pencil for the various parts (eg. foot, head), of the various figures (eg. soldier, penguin).
First up was the soldier, and Garry started forming the legs using a parting tool, down to 25 mm. A roughing gouge was used for broad curves such as the soldier’s coat and face, before using a detail gouge for the points of transition, such as where the coat meets collar, or face meets hat.
Before parting, Garry sanded with 120, 150 and 240 grit – typically sanding sealer would then be applied. Of note for new turners, is that the foot of the figure should be parted off at an angle so that the bottom of the skittle is concave and thus sits steadily on its rim. At home, Garry would use a Japanese-style pull saw for the final parting – pallet wood is often easier to cut rather than part off.
The second figure was the Christmas penguin and again a scraper template was used to mark out the wood. The Christmas penguin featured more sweeping curves than the soldier, so Garry used the roughing gouge to shape the figure by eye, before using the detail gouge to mark finer details and transitions, particularly around the penguin’s scarf.
Garry then moved to making the ball. For this, he used a piece of 65 mm round timber and marked out three lines 32.5 mm apart – he commented that the centre line should be left visible as long as possible to assist in achieving the circular shape.
He used the roughing gouge to broadly shape each side, then moved to the detail gouge as the diameter decreased and he neared the ends. Terry fetched a milk bottle cap and demonstrated a means of assessing roundness, by looking for light under the cap as it is pressed on the near-round work.
The ends were cut, and Garry then showed the jig he had constructed: a two-sided sphere jam chuck hollowed out with non-slip matting. Garry fit the ball into the jig and pointed out that two lines marked on the two sides of the jig should line up.
New turners may not be familiar with the dangers of using a spindle roughing gouge with a cross-grain piece: note that was one rotates the ball at different angles within the jig, the wood may be cross-grain and so a spindle roughing gouge is not the ideal tool. Garry alternated between a skew and bowl gouge to shape the ball, making small rotations of the ball as he went. There were suggestions from the floor that the jam chucks should be slightly smaller diameters, somewhere around a half of the ball’s desired diameter, to minimise the problems caused by small ridges on the ball. There were also alternative suggestions about how to assess roundness, such as looking down through a round PVC pipe on to the work.
Garry’s demonstration was hugely enjoyable for me as a new turner to watch and it provided a great idea for gifts and toys for the festive season. As Garry commented at the end, “all it needs is paint and imagination”.
Wednesday 2nd December 2020 Report by Emma James-Ries
This week we were treated to a well organised demo by John Whitmore. John’s demo was solely focused on parting off and all the tools and techniques you can use to achieve this, a first for our club!
I will note here, that I felt having a background in engineering would have been very beneficial in my understanding of all the techniques in this demo, but alas I still gained a lot regardless. John started by explaining his title, a quote and exchange between Romeo and Juliet, highlighting the ‘sweet sorry’ that comes with the parting off and the conclusion of a project.
To start with John demonstrated the advantages of straight sided parting tools. A straight sided double beveled tool, is very useful for making shallow cuts to create beads, but can bind if parting off in one cut. He showed us a Sorby beading and parting tool, demonstrating some bead work with even precision. John attached the timber in 30mm spigot chuck, which has much deeper jaws, ideal for handling the pressure that comes with parting off.
He went over the uses of hacksaw blades and how to convert them into parting tools. Strong, industrial steel is ideal and making the cutting edge just behind the tooth edge may be best. Banging the blades with a heavy duty hammer before sharpening, may spread the metal slightly and provides clearance behind the cutting edge.
In the next stage in the demo, John showed us a range of tapered parting tools. The benefit to tapered tools is it creates a gap between the timber and the tool, behind the cutting edge, to avoid build up of heat friction and binding. The most common tapered tool is a diamond profile, which is what the club stocks at all the lathes. A parting tool with a fluted base can be good across end grain. John had glued a metal rod to the bottom of the flute, to rest on the tool rest. Incase of a dig in, it wouldn’t damage the rest, a good tip!
John let us know that another good option for parting off, was an engineering holder than you can purchase from Machinery House (Just make sure they’re in stock before making the trip!) The engineering holder could then be set into a gas pipe handle to give maximum stability and strength. Another unusual tapered parting tool that was shown, was one made out of a kitchen butter knife! At this point in the demo John asked for help from the biggest cynic in the room, which was of course Cam Cosford! Cam was asked to part off a piece of Tawa dowel, using the kitchen knife. After a small dig in, he managed to do it twice, a good sport thanks Cam. A larger Bowie/hunting knife can also be used in the same way. Just a note when looking for knifes to convert, make sure they aren’t tapered towards the tip. The last example of a parting tool shown, was a straight sided Kelton Bowl Saver that could be used for very heavy duty parting. Bedans and straight sided keyway steel, can also be used for the same purpose.
The next part of the demo went into depth around different odds and sods that are useful to know in woodwork. John showed us his creation of a long shafted sanding arbor that uses hex screws, to avoid wobble and damage to the shaft that can occur with standard grub screws. John then had to create his own sanding arbors to fit the hex screws, as no one currently makes them. He had struggled a bit to cut the padding neatly, however suggestions of Stanley knives and hot wire could be used. Another little adaption to the arbor, was creating a sliding handle to use to steady the shaft when sanding, a very useful idea. John also went over the different tools and handles that can be created out of obscure objects, including a blade from broken garden shears and a scraper made from a garden trowel! He showed us how to sand a piece of gas pipe evenly on a sanding disc and Texas style tool rest table. I have been very impressed with John’s ambition and can do attitude towards making his own tools and creating solutions to problems that can arise in woodturning.
To finish up the demo, John showed us a piece of Norfolk pine that he’d found on the side of the road. He’d used PVA glue as a filler and showed us the result as an alternative option to resins. Also another clever little idea, was to save the stubs of the pine branches to create little boxes that still contained the unique branch growth pattern. A very knowledgeable demonstration that was executed with precision. I definitely learned a lot, thank you John!
(ed: caution should be exercised when using very hard steel for making woodturning tools, a dig in is likely to shatter the tool. As always use a impact rated full face mask whenever possible when using the lathe, and stay safe)
Write up: Holm Miehlbradt Club Meeting: 25 November 2020
Tonight Bruce demonstrated how to make turned rings.
First he explained and showed how to stabilize the wood blank using a vacuum chamber and “cactus juice”. This is a recommended start as the blanks will be turned very thin.
The blank’s sides are then flattened and a hole is drilled using a horizontal borer. The hole diameter needs to be very accurate to fit the steel ring insert. And the insert vary in size by small increments (corresponding to the ring sizes).
The blank is then mounted on the insert (with medium superglue). The glued ring is held in a ring mandrel to turn the wood surface. Finally the ring is sanded, a finish is applied (Bruce used super thin superglue) and buffed with the Beall’s system.
Bruce also showed how to use Paua shell bits with UV activated resin instead of a wood blank.
Thanks Bruce for your demo, just in time for getting Christmas presents ready!.
Club Meeting: 18 November 2020 Report by: Nicole Morley
Last Wednesday we had a “wonderful” demonstration from Ian on how to make a Wheelie Worm. This is a great project that can inspire creativity as it lends itself to a multitude of adaptations…. Always ask yourself “Can I make this with the tools that I have?” If not, is there a way of adapting the instructions to suit your tools? Ian reminded us that the fun thing about making children’s toys, is that you don’t need to aim for perfection, sometimes shape and bright colors are more important.
For the front of your worm, take a block of wood that is approx. 75mm square by 100 long. Drill a hole (8.50mm) for your wheels approx. 15mm up the block Turn your block between centers and make a spigot at both ends. Place in your chuck and drill through the center around ¼” diameter or whatever suits the rope pull size. (if using rope to join the pieces) Another option is that you could use eye screws with jump rings to connect the pieces later on. Put the piece on a pen mandrel and shape the main body. (Remember to round the ends of each piece to allow for movement)
Alternatively, make a jam chuck with a small pin that will fit in through the hole previously drilled – Making sure that you bring the tail stock up to your work.
Make your wheels, either by using a wheel cutter or turning a tube, drilling an 8mm hole through end and cutting wheels off at width that suits you.
Using 8mm dowel, fix your wheels through the main body. Make all the remaining pieces using the same steps, but make them smaller sizes as you go down the length. Tie your rope through the body and make a small handle for the child to pull the toy along.
You can let your imagination go wild with this great little toy… Glow in the dark paint – would be fantastic if your children leave their toys around the house. You could add eyes and fake eyelashes. Dome buttons or spikes down the spine, or even some wings…
With Christmas around the corner, and the clubs Christmas shop needing to be stocked, Terry gave three lightning fast demos, with an emphasis on how to get the most out of your time at the lathe.
First Demo – Kauri Spoon
Despite already having made a astronomical number of wooden spoons (2747 to be precise!). Terry was happy to shred through a bit of kiln dried Kauri and show us how he makes his production spoons (in 12 minutes no less!).
He batch makes them for speed, 25-30 at time to achieve a $70 hr rate at the lathe.
Start by taking a rectangular piece of wood and marking the centers at either end. If you want to conserve timber, the sides can be cut off for pen blanks.
The blank is fitted between centers.
Spoon handle is roughed out with roughing gouge. Skew chisel used to achieve a good finish.
Power sander with 240 grit sandpaper to smooth handle.
Handle textured with Terry’s famous $10 tool.
Band saw used to shape spoon head, followed by disk sander to tidy up.
Power sander used to smooth up spoon head, and finished with Bee Kind beeswax.
Inside can be alternately scooped out with power carver. Right and left hand versions can also be made.
Second Demo – Tea light
*Note: Any candle must have a metal case/layer to separate it from the wood and prevent it catching fire.
Start with a square block of timber (Kauri in this case). Mark center and fit between centers.
Make a 48mm spigot and round the bottom. Mark 1/3 way down from the top, as this will be your widest point.
Turn around and insert spigot into a 50mm chuck.
Shape top third to pleasing shape.
Use small parting tool to create hollow on top for tea light.
Tidy up outside shape, sand, and add texture with texturing tool.
Remove from chuck, turn around and insert opening into small expansion chuck.
Turn off spigot, sand base and texture.
Third Demo – Potpourri holder
Take timber round and drill a shallow hole to fit an expansion chuck. Mount on 50mm scroll chuck.
Cut a 48mm spigot on bottom and shape underside.
Flip around, insert spigot into chuck and shape top half
Mark the opening diameter for the top and hollow out with bowl gouge. Check your metal fitting fits flush into top. Only need to hollow a shallow cove. No finish is needed inside, to allow perfume to penetrate into wood.
Sand, then texture rim for appearance.
Turn round and fit into expansion chuck. Remove spigot and sand bottom to finish. Coat with wax.
Other, simple items Terry suggested for the Christmas shop included bag holders, salt pigs, back scratchers, honey dippers, lemon squeezers, wooden fruit, and Christmas ornaments.
Again, it was another highly informative demo from Terry. One which is sure to help get the shop filled to the brim this Christmas.
With Christmas approaching, Emma showed us how to make an attractive jewellery stand that would go down well as a festive present. The idea had been sourced from the Internet, and refined. It involved a mixture of faceplate and spindle turning that prompted practice of a range of turning skills and gave additional decorative opportunities; the latter being only limited by personal imagination.
The design involved a cupped base, a central column shaped to a stylised female form, a ‘hat’ with pronounced rim and a finial to finish. This will be written up as a project sheet so I am not cluttering the report with construction detail but will comment on a few notable features.
The demonstration was conducted with careful attention to the accepted safety conventions of turning, eg appropriate lathe speeds, positioning the toolrest with the lathe turned off and restraint of long hair. Where multiple holes were index-drilled to take earrings, the drilling was done prior to final turning of that part so as to achieve clean holes. Both recess and spigot were used to hold cross grain work pieces.
Careful evaluation and refinement of the original design was apparent. Emma had concluded that the diameter of the cupped base should match the length of the column for good proportion and that the hat should be slightly tapered rather than parallel sided. Attention to a seamless join between column and base will facilitate lifting of deposited bangles. The stylised female form can be simply appreciated in silhouette or extravagantly decorated in 1920s flapper style (and anything in between!).
This presentation was an ambitious, calmly-executed and well-received first demonstration by a new turner. It was a credit to Emma and an inspiration to other new turners to do likewise.
Club Meeting: 28 Oct 2020 Report by: Janet McDonald
Graham gave us a lovely tutorial that showed how all small pieces of off cuts can be easily turned into Christmas decorations. How using colour or other embellishing can make a classic shape more dynamic for Christmas. He used bamboo skewers for the centre arms of the decorations and showed us that the thicker Korean skewers are more sturdy.
He recommended Prisma pens for quick colour enhancement and how easily stripes can be added by just hold the pen against the wood while the wood was turning. Metallic paints also add some sparkle that we all love at Christmas.
He emphasized how learning to use your chisels right and left handed gives you more scope for getting into small places and getting out a set of mini chisels is easier to handle on small pieces of wood. Also he showed his Japanese drawsaw which he said gives a great cut.
I love Graham’s enthusiasm for all things small; that not all masterpieces have to be large in size.