Club Meeting: 18 November 2020
Report by: Nicole Morley
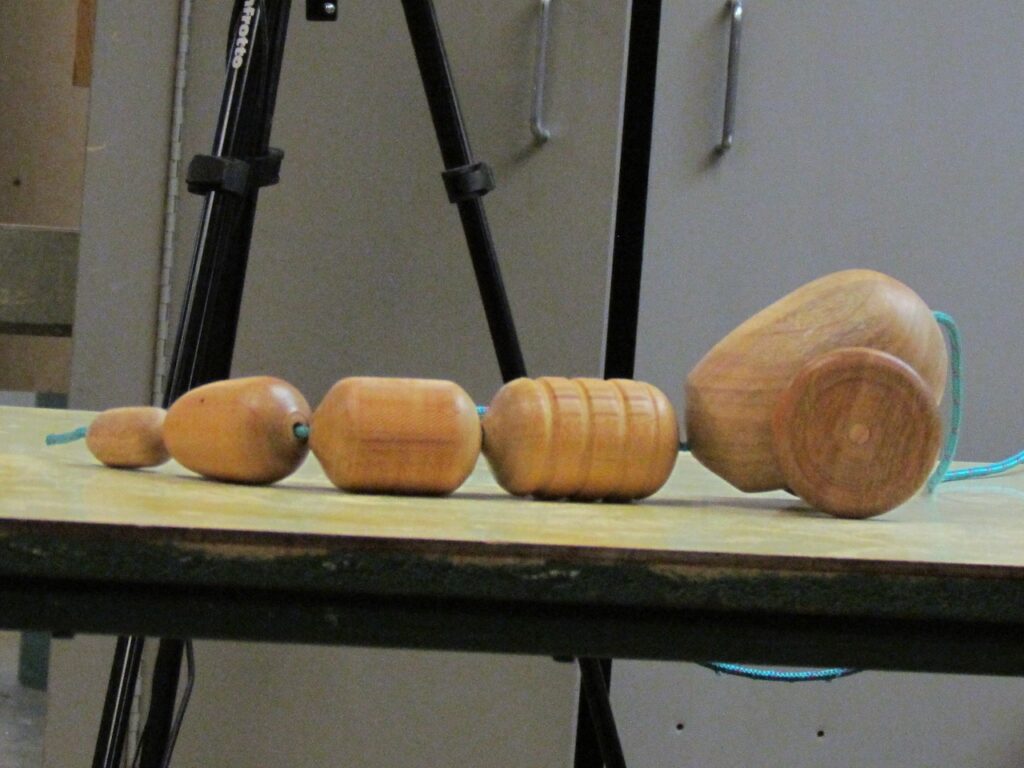
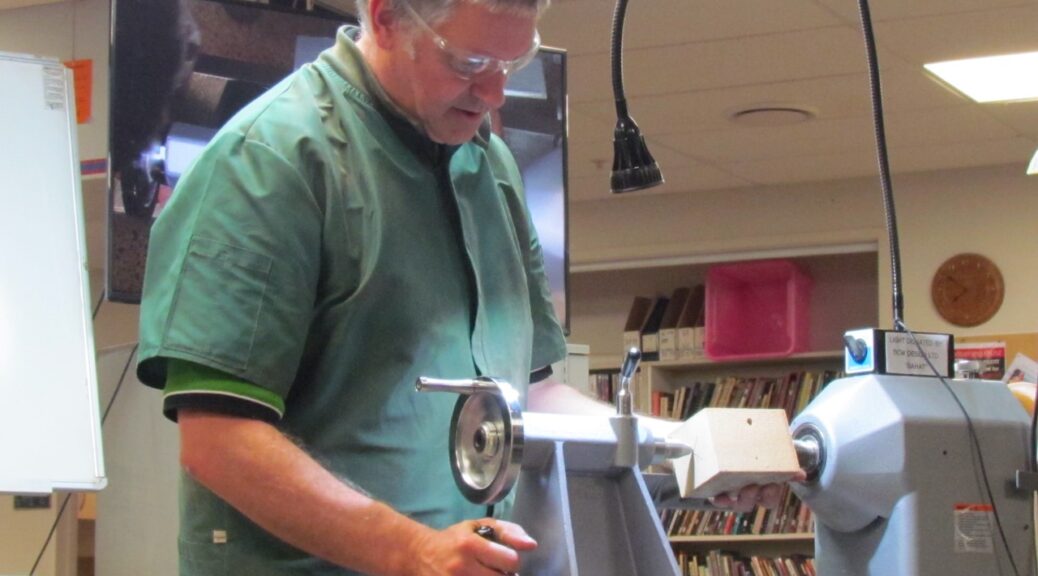
Last Wednesday we had a “wonderful” demonstration from Ian on how to make a Wheelie Worm.
This is a great project that can inspire creativity as it lends itself to a multitude of adaptations….
Always ask yourself “Can I make this with the tools that I have?”
If not, is there a way of adapting the instructions to suit your tools?
Ian reminded us that the fun thing about making children’s toys, is that you don’t need to aim for perfection, sometimes shape and bright colors are more important.
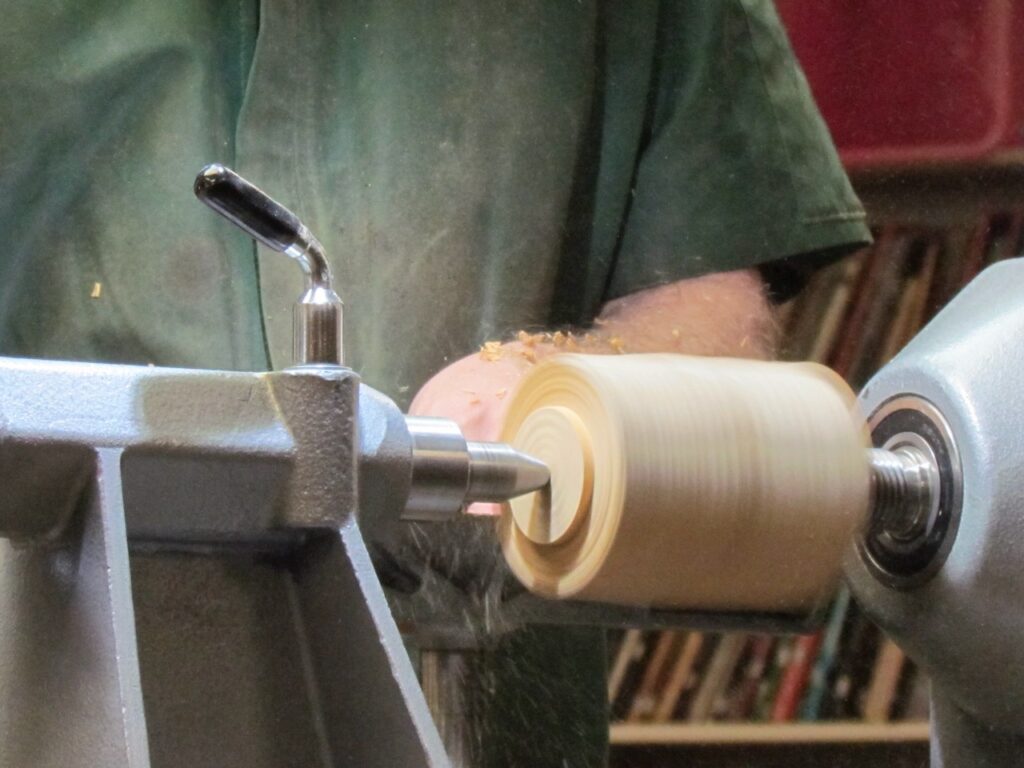
For the front of your worm, take a block of wood that is approx. 75mm square by 100 long.
Drill a hole (8.50mm) for your wheels approx. 15mm up the block
Turn your block between centers and make a spigot at both ends.
Place in your chuck and drill through the center around ¼” diameter or whatever suits the rope pull size. (if using rope to join the pieces) Another option is that you could use eye screws with jump rings to connect the pieces later on.
Put the piece on a pen mandrel and shape the main body. (Remember to round the ends of each piece to allow for movement)
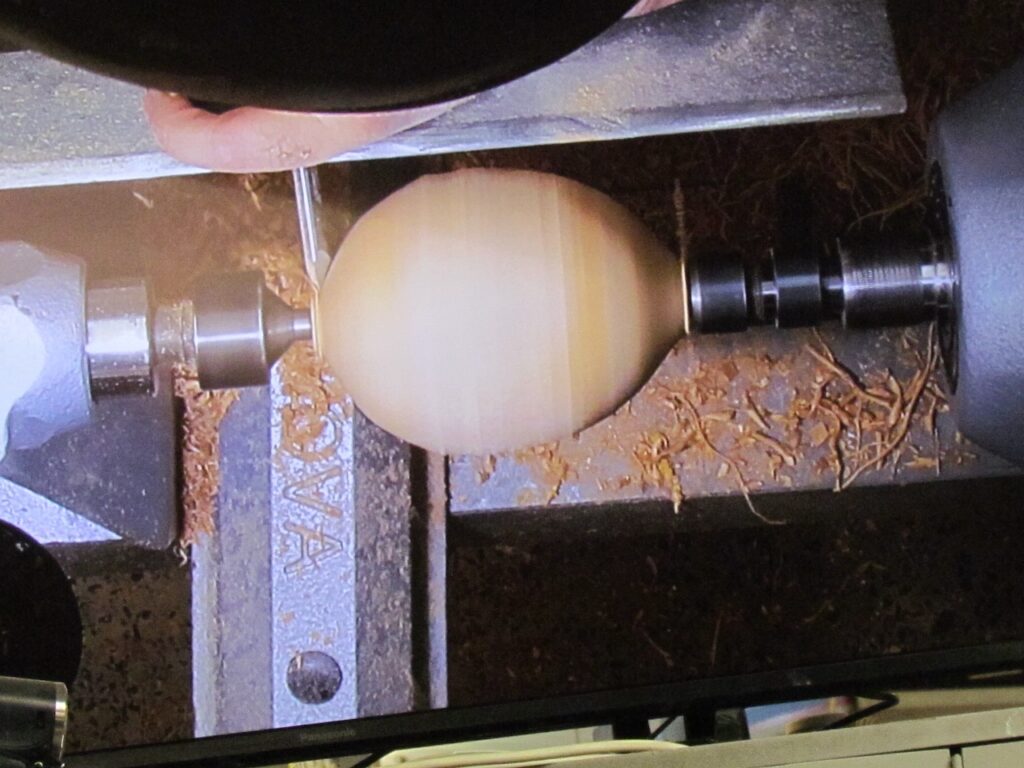
Alternatively, make a jam chuck with a small pin that will fit in through the hole previously drilled – Making sure that you bring the tail stock up to your work.
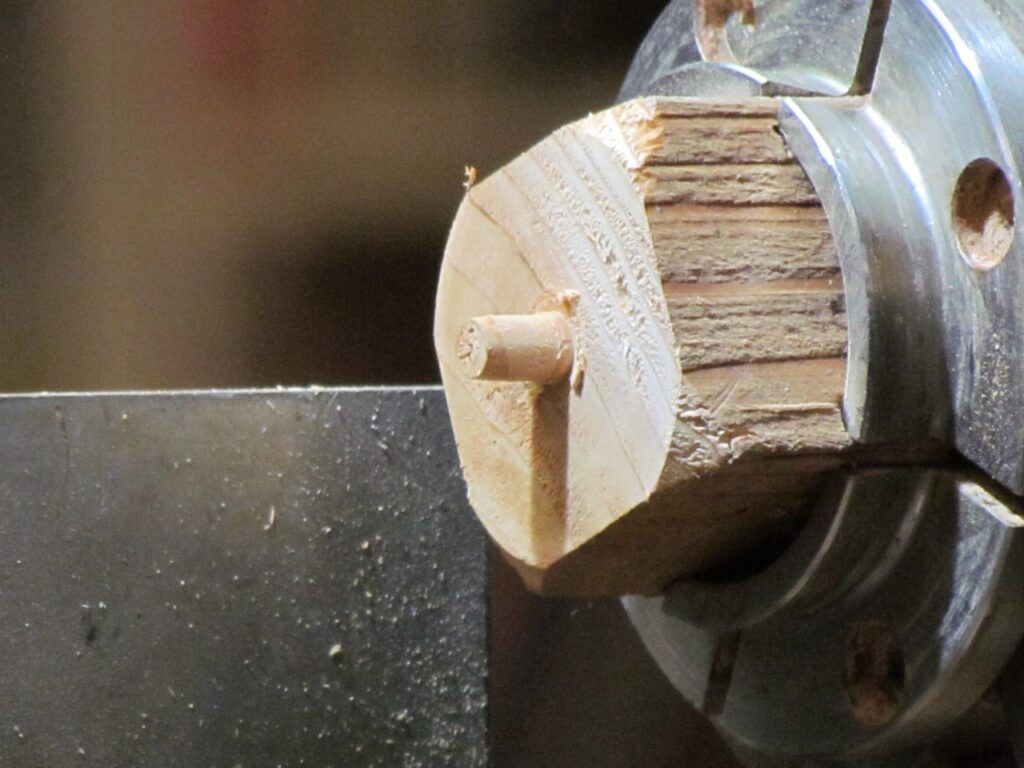
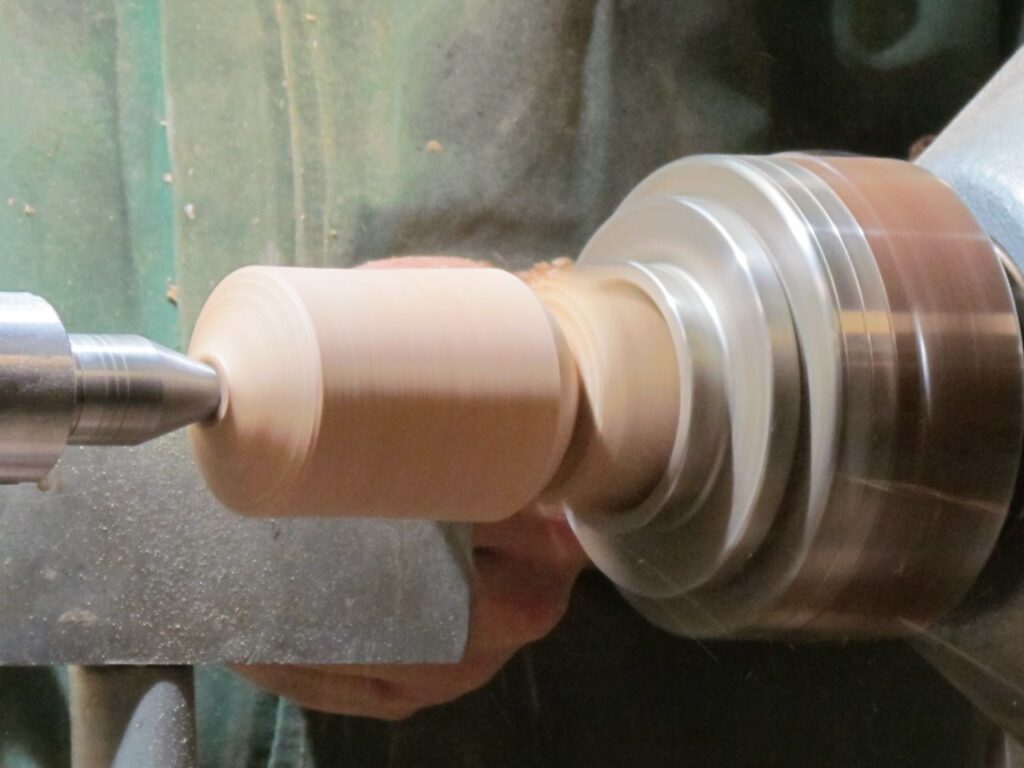
Make your wheels, either by using a wheel cutter or turning a tube, drilling an 8mm hole through end and cutting wheels off at width that suits you.
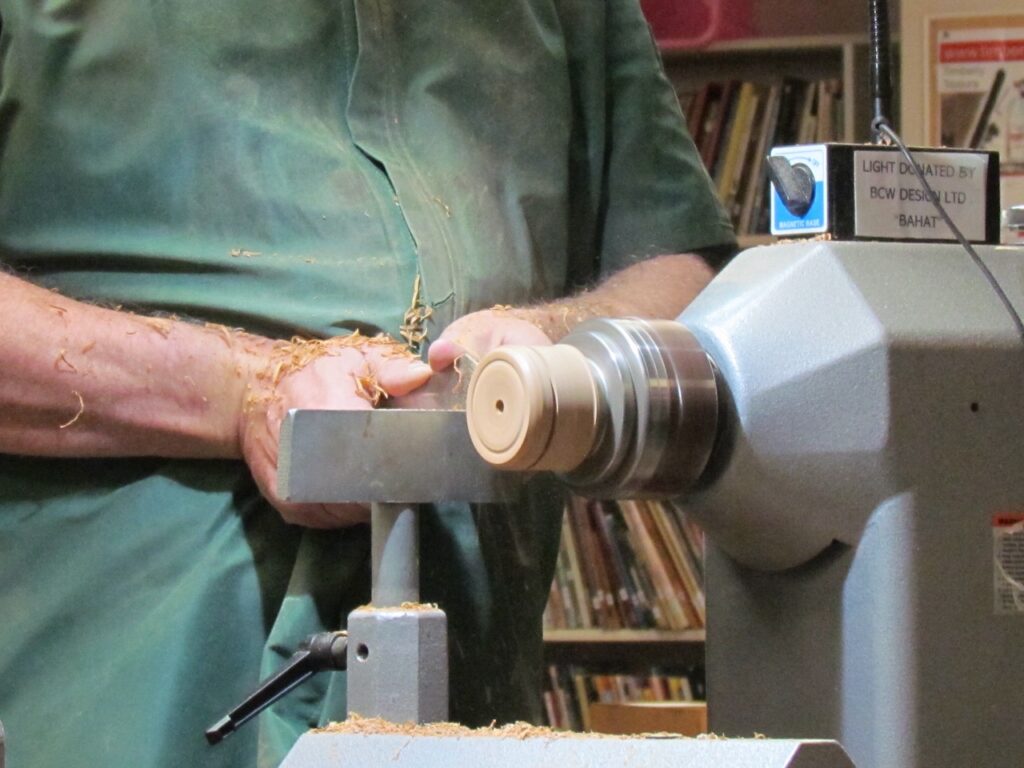
Using 8mm dowel, fix your wheels through the main body.
Make all the remaining pieces using the same steps, but make them smaller sizes as you go down the length.
Tie your rope through the body and make a small handle for the child to pull the toy along.
You can let your imagination go wild with this great little toy…
Glow in the dark paint – would be fantastic if your children leave their toys around the house.
You could add eyes and fake eyelashes.
Dome buttons or spikes down the spine, or even some wings…
