Club Meeting: 10 August 2022
Report by: Kieran FitzGerald
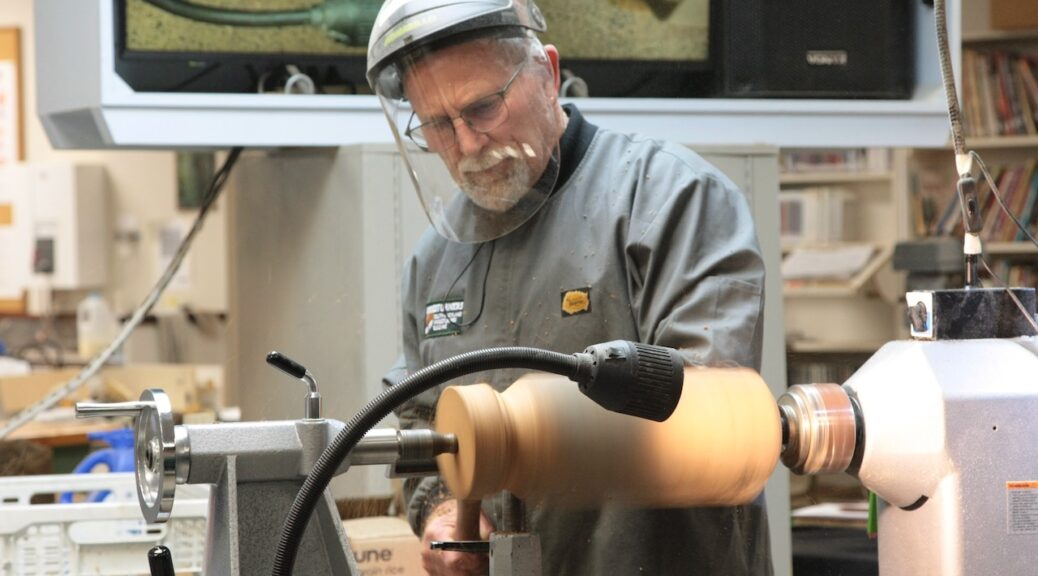
In keeping with the theme for the term of “natural”, Garry chose to demonstrate a simple but aesthetically pleasing subject of bottles, which he advised look cool in a set, and which are great as a gift, or a good seller at the markets etc. The thing about Garry’s bottles is that they are made from old posts – totara, puriri, whatever, or from a tree branch, and then turned to retain most of their original shape and patina.
Making bottles is a good way to use cracked or damaged wood for purposes other than firewood. With a hole drilled through the top they can be used for dry flower arrangements, or with a glass tube inserted, as a conventional vase. Timberly, or a florist, can supply the glass tubes.
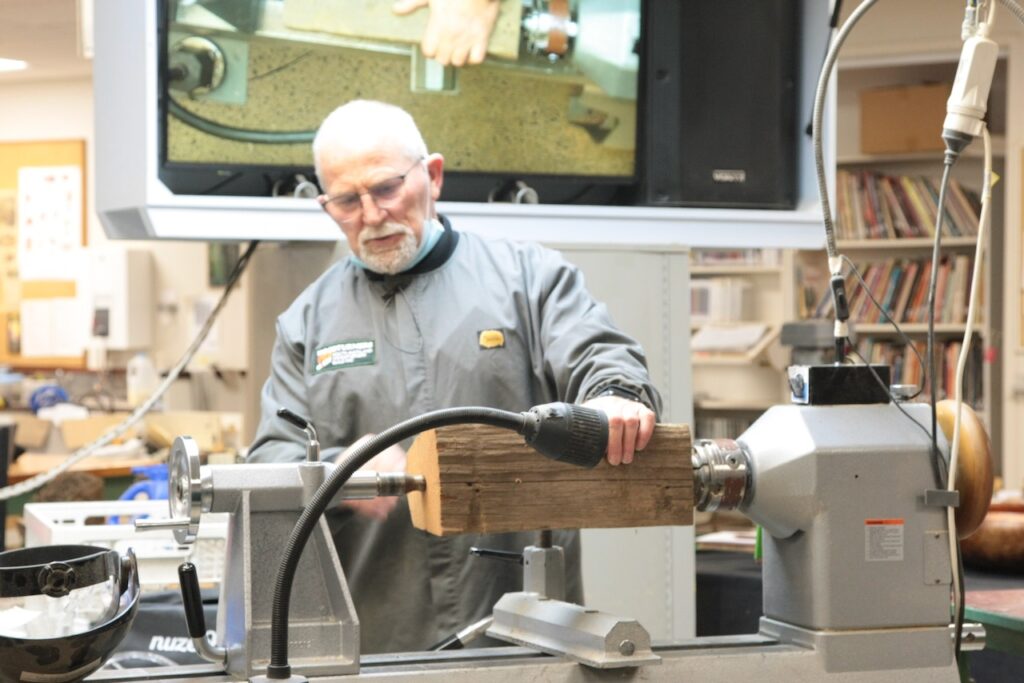
With the post shortened to an appropriate length, find an approximate centre at each end. Dead centre is not important because the look is natural and the shape of the post is irregular anyway. Mount between centres and turn a spigot at one end. At the other end commence to shape the neck and top of your bottle. Decide what form you want the neck to be – short or long, fat or thin etc. Bottles look best in a set, and even better in groups of odd numbers, with each bottle having different characteristics – height, shape, neck etc. Garry likened this to having rocks in a garden – two rocks looks like two rocks, three rocks looks like landscaping.
Complete turning the neck to the design of your choosing. Remember to leave enough wood for the hole you will drill. Give it a quick sand if needed. You can get ideas from old bottles for different shapes. Next give a little bit of shape to the bottom of the bottle. Garry prefers to create a slight concave so the bottle sits nicely. Make sure to leave a shoulder for the chuck jaws to sit against.
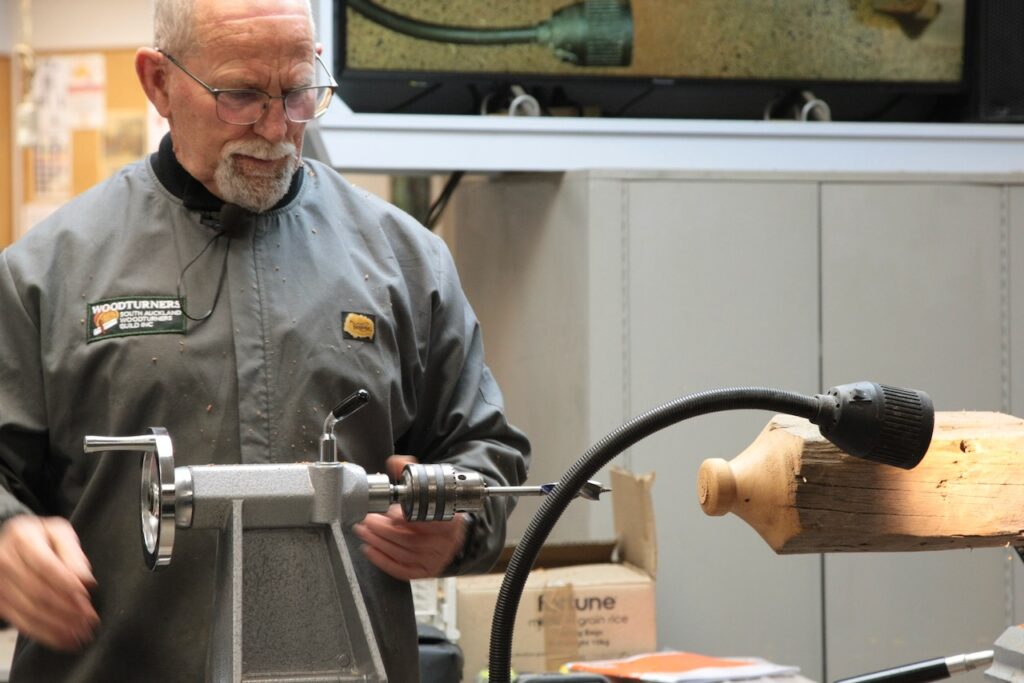
To complete the turned piece, grab the spigot in the chuck. Line it up on centre using the live centre in the tailstock. Tighten the jaws. Turn the lathe speed down to around 500, and with a 20mm drill in the Jacobs chuck, drill your centre hole. If necessary, tidy up the entry point of the drill with your chisel or with sandpaper.
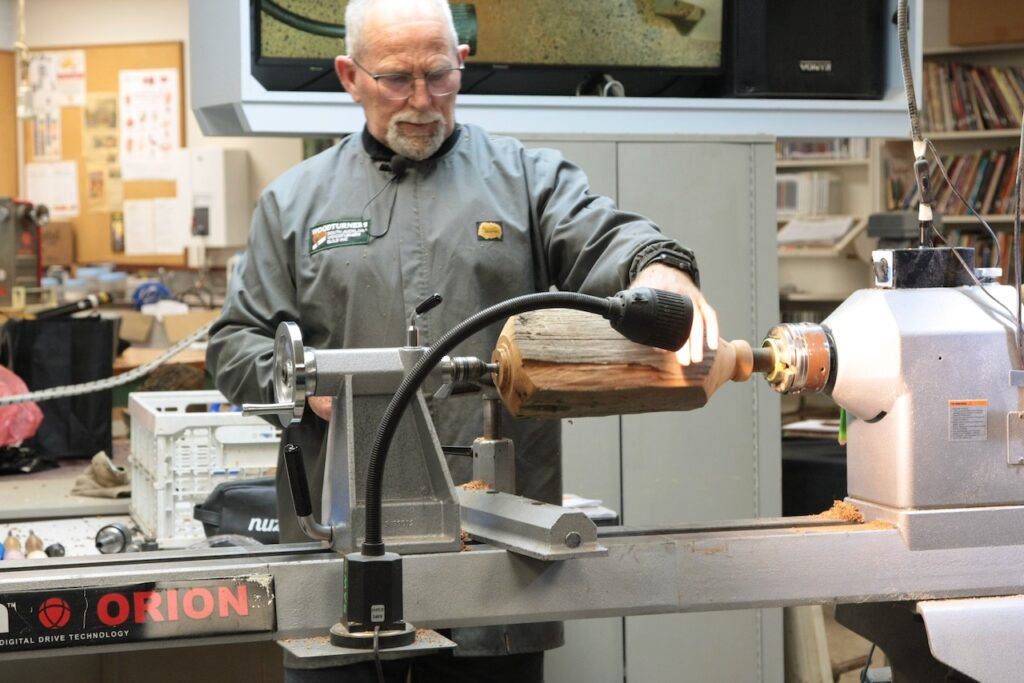
To remove the tenon, Garry used a home made mandrel which mounted in the chuck and fitted neatly into the newly drilled hole in the neck of his bottle. With the tailstock up, he nibbled away the tenon until just the nub was left around the point of the live centre, and once off the lathe this was removed with a chisel. A final sand to the bottom, and a bit of wax or oil to finish, and hey presto you’re done.
One trick that I hadn’t heard before – if your wood chips (which totara is very prone to do), and the chipped area looks new against the weathered look of the rest of the wood, give it some fast aging by soaking it in yoghurt or stale milk.
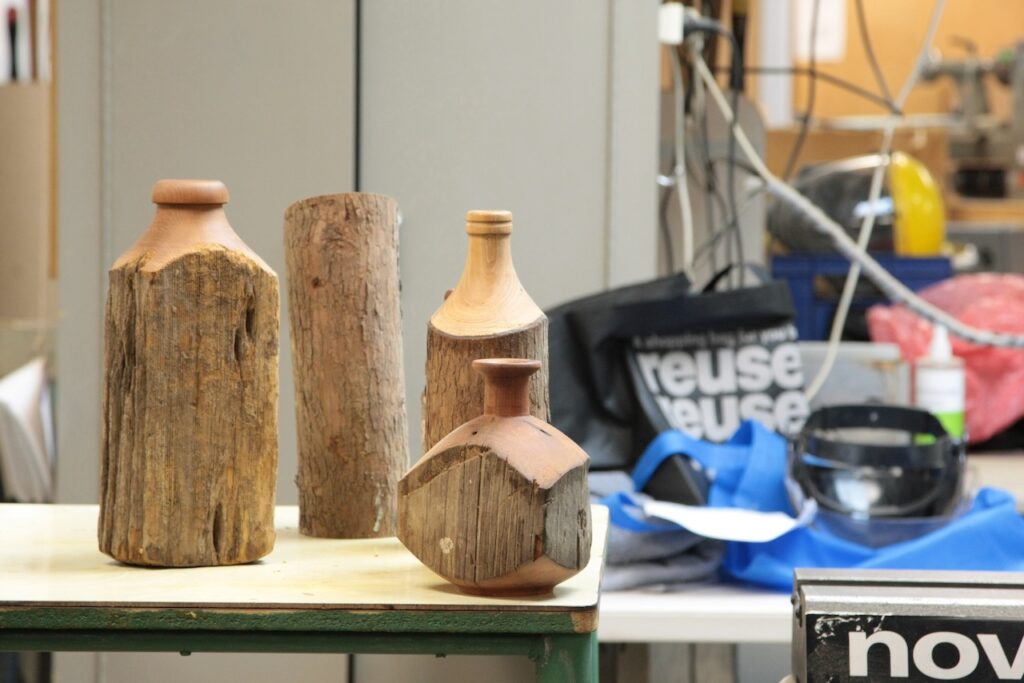
Thanks for the demo Garry, and for showing us that wood art doesn’t need to be technically complex to be highly effective.
