Club Meeting: 3 August 2022
Report by: Kieran FitzGerald
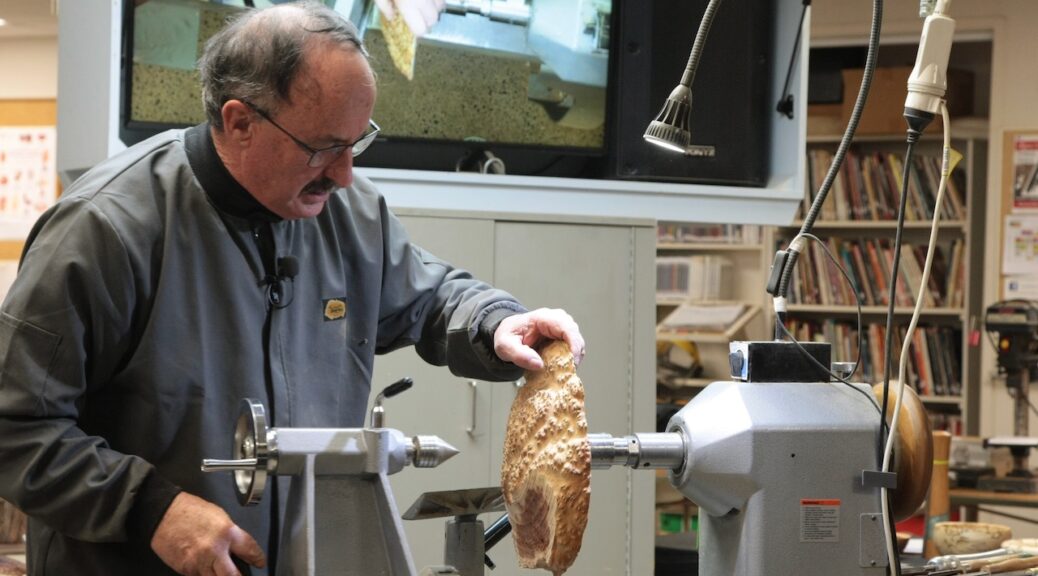
About 10 years ago Terry purchased a large load of Australian burls, and many of his signature pieces have been turned from these burls. Terry commenced his demo tonight by showing us a range of completed and partially finished burls which he was still turning. The unfinished pieces comprise a stock of canvases for him to apply his finishing skills to, including carving.
Preparing for a demo can be time consuming and Terry spent a fair while turning and putting together the tools and materials needed for tonight’s demo. However even the best don’t get it right every time, and Terry managed to forget at least two finished pieces and a chuck with the correct size jaws to hold pieces that he was meant to use in the demonstration. However, despite these small setbacks the show went on without a noticeable hiccup.
A noteworthy aspect of Terry’s presentation was the quality of his commentary. Throughout the demonstration Terry peppered his audience with useful tips and advice to both entertain and inform turners of all skill levels.
The prime piece of advice Terry gifted to us tonight was to use a support ring when turning a potentially fragile rim or winged area on a bowl or platter. Hopefully our photographer captured a good photo of this which will be the easiest way to demonstrate the support ring in use. Terry explained that many of his burls are too shallow to be considered useful for a traditionally shaped bowl, but can still be turned into a “bowl which is not a bowl”, at the same time displaying all the inherent beauty of the burl.
The wood Terry chose to turn for tonight’s demo was a shallowish coolibah burl. Coolibah is a eucalyptus and is one of the hardest woods in the world. Typically it is an irregular shape, and Terry mounted it with a screw faceplate on the flat side and the knobby and knurly bits facing the tailstock. His first tip was that before bringing up the tailstock he will turn a flat for the live centre to sit against. The purpose of this, he explained, is so that the live centre is accurately centrally positioned rather than perhaps pulling slightly off centre. Throughout the turning process maintaining true centre is important especially because a tiny degree of off-centredness (a new word, add it to the OED) can cause a very noticeable variation at the perimeter, especially with a narrow rimmed bowl.
The first operation is to face off the area which will form the upper side of what will be the winged area of the bowl. Terry shared several hints as he commenced cutting:
Bring your visor down before turning on the lathe
Many catches occur after finishing a cut, so don’t look away until you have safely withdrawn the tool
Due to the non-round shape of the burl there is a lot of air, so turn the lathe speed up to increase the amount of tool contact
If you have suitable extensions use these to create turning room between the piece being turned, and the headstock and tailstock
Finish with a skew, using it as a scraper, to create a smooth finish. Terry explained the properties of a negative raked scraper versus a traditional scraper and how it reduces the likelihood of a catch.
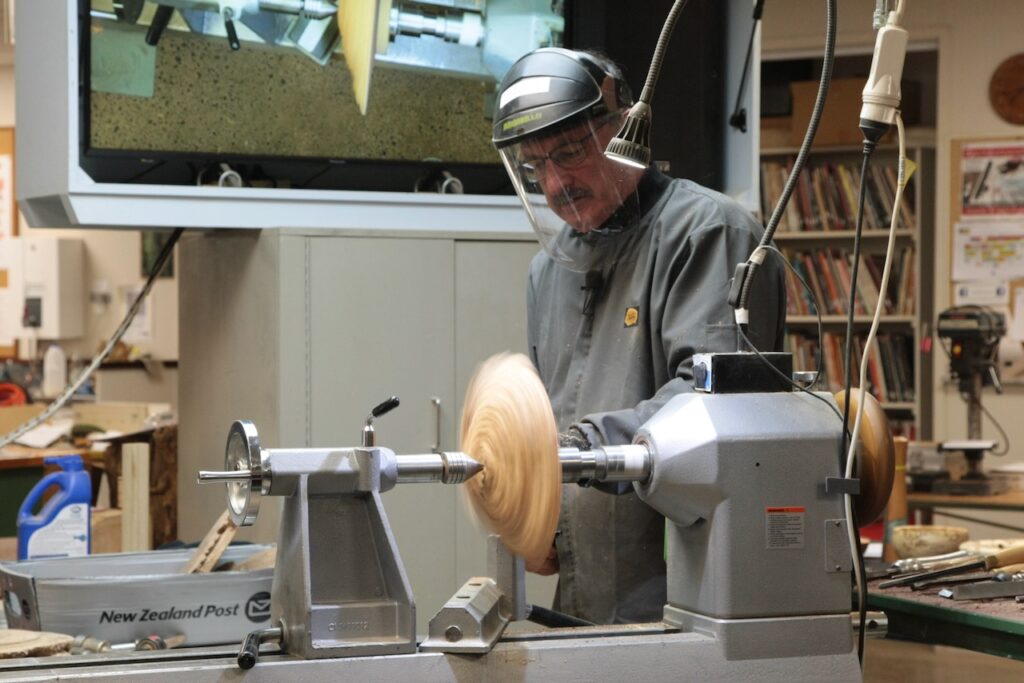
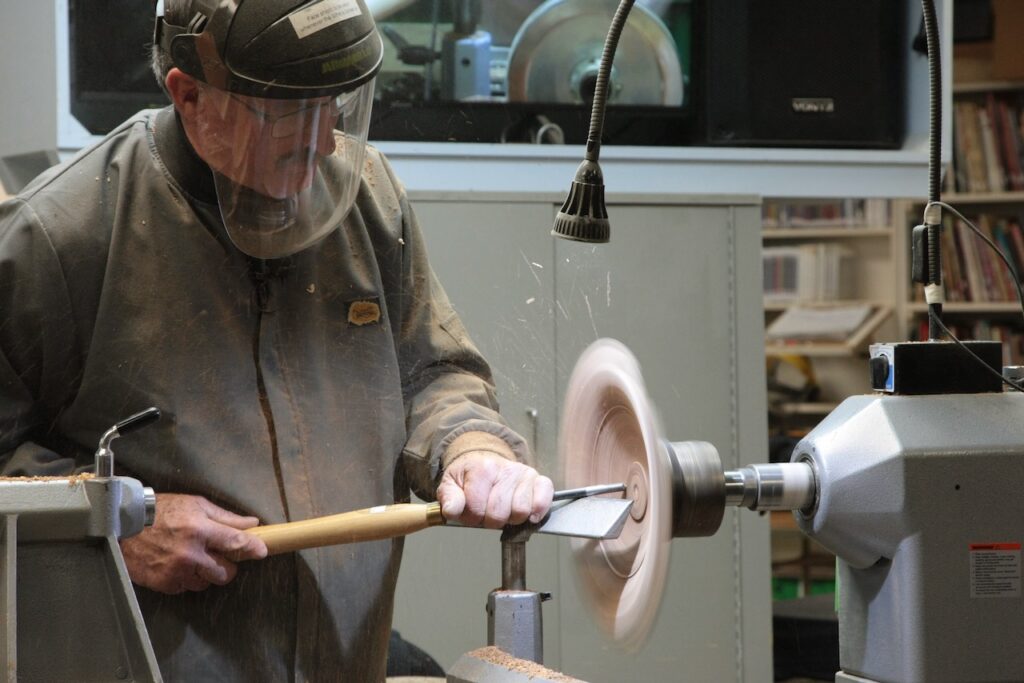
On the tailstock end Terry cut a spigot before commencing to shape the underside of the bowl. He continued to create the thin underside of the wings, with the lathe spinning at around 800rpm at this stage. Terry was using a draw cut, stopping the cut when he reached air. The nature of the burl wood is that it is extremely hard, and as it does not follow any grain pattern, it comes off the chisel in chips. The commentary was ongoing as Terry turned. Listening to the wood and noting the sound variations gives good clues to aid the cutting process. Terry applies the heel of the gouge to the wood, listens for the tap tap tap, and gently lifts the tool to begin the cut. You could hear the hardness of the wood. A scraper is used to bring the finished shape of the underside to a point where minimal sanding is required.
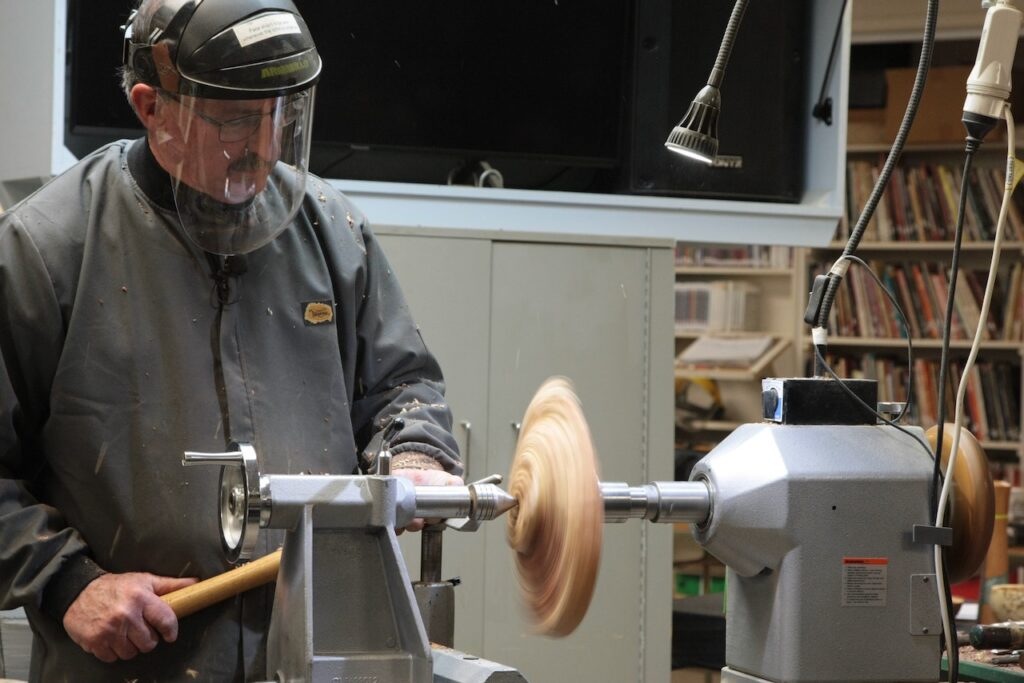
When the underside is finished the piece is reverse chucked and turned. At this point the support ring can be hot glued on to the underside of the bowl, typically directly under the rim, or near to the top of the bowl. The support ring gives much stability to the piece being turned, reducing vibrations and preventing the movement which occurs in the wood as tension is released in the wood due to the fibres being turned away. If the glue begins to dry before you have finished applying it completely around the ring, give it a burst with the hot air gun to soften it again. Terry advised that sometimes with a larger bowl he will use two support rings. In the same manner as the ring provides support in a bowl, he also uses struts with some of his winged vessels.
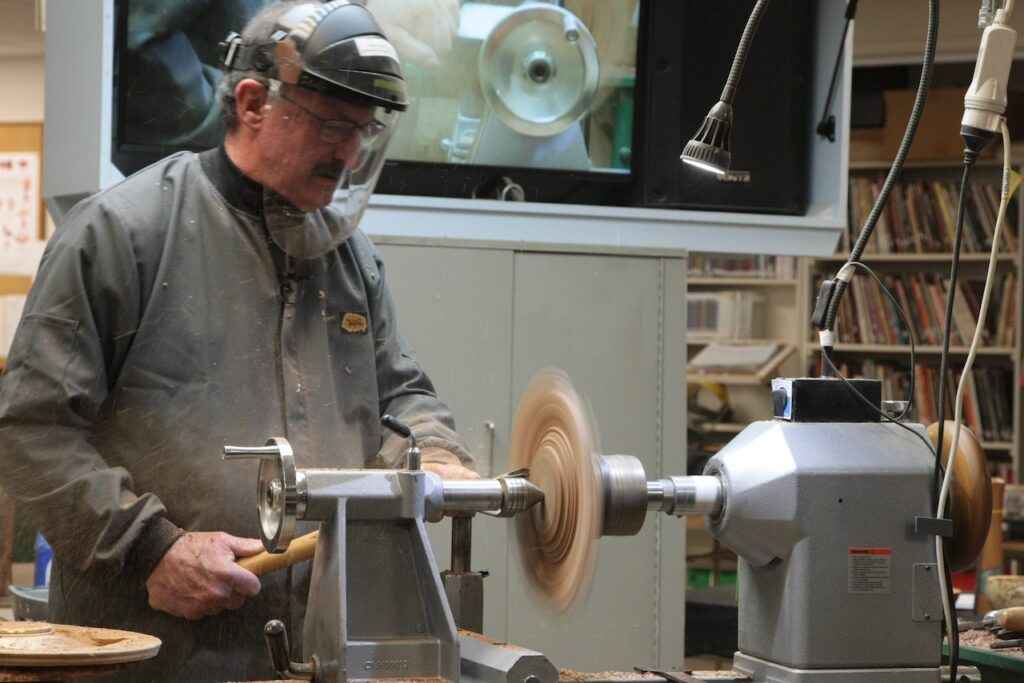
The next step is to turn the inside of the bowl. Starting with the wings, and finishing as you go, work towards the centre of the bowl, about 10mm at a time. Maintaining a continuous flow, and cutting a small bead to mark the point where the wings dive into the bowl creates an impression that the bowl is larger and deeper than it actually is. Measuring with calipers, Terry cut down to an even 5mm thickness. He pointed out that he prefers to use a spigot over a recess because it is easier to get a measurement of the bottom thickness. The tailstock was kept in place for as long as possible while the central core was cut away, and Terry cut downwards rather than crossways, still rubbing the bevel, so the pressure was against the headstock. Finishing cuts to get a regular curve were with a 55 degree bottoming chisel and a scraper, then checked with a profile gauge and a glue stick to ensure a perfectly smooth curve. With the scraper, pivot the tool rather than dragging it across the tool rest, to get a flowing curve. Sand with the lathe stopped so as not to round over the edges of the wings.
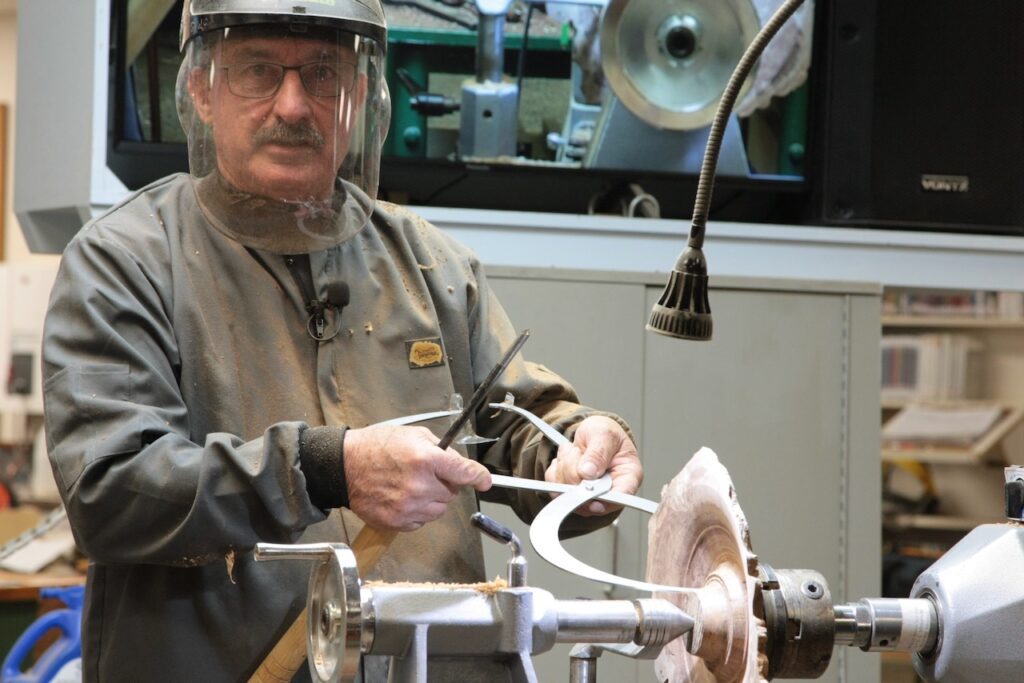
The final step is to carve three feet on the bottom to give lift to the bowl. Using dividers, mark out opposite points across the longest diameter of the bowl, and then opposite points across the shortest diameter. Position two of the feet on the longest diameter, and the remaining foot on one of the shortest diameters. Carve the feet taking care to blend the bottom so the line of the bowl flows through.
Terry showed us a partially turned burl which had a naturally occurring void in it. He advised that it is possible to use the turned chips and superglue to invisibly fill the void. Sometimes it may be necessary to add strength to the void by inserting panel pins to make a cage to hold the repair. Instead of using wood chips, turquoise or copper could also be used. However as a word of caution, if a piece is being added to a collection it must not have superglue in it. Over time, superglue can deteriorate, so collectors will not buy such pieces.
Conversationally, Terry advised that buyers always seem to want to know how long a piece takes to make. His reply is 34 years. He says it is irrelevant how long it takes to make, because time can never be recovered. When he bought the burls ten years ago they cost about $140 each, but they would be worth double that now. Pieces like those being demonstrated tonight might have a selling price of $1200 to $1800. When you look at the beauty of each piece of wood, the quality of craftsmanship that goes into making them, and the sheer beauty of the artistry, you can see they are worth every penny. Thank you Terry.
