Wednesday 18th September
Report by Emma James-Ries
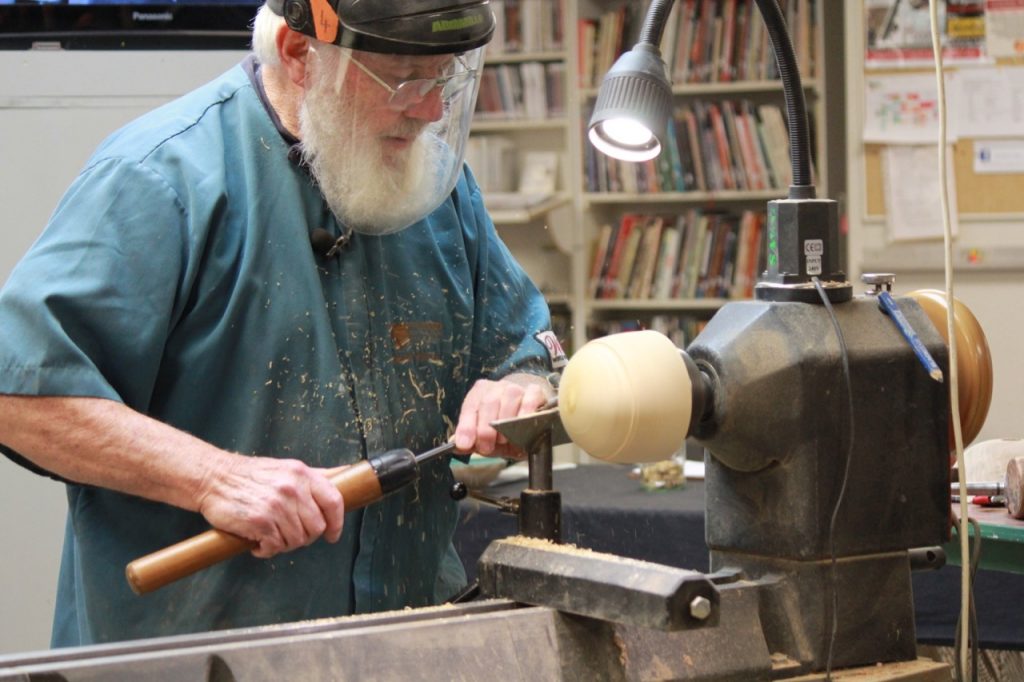
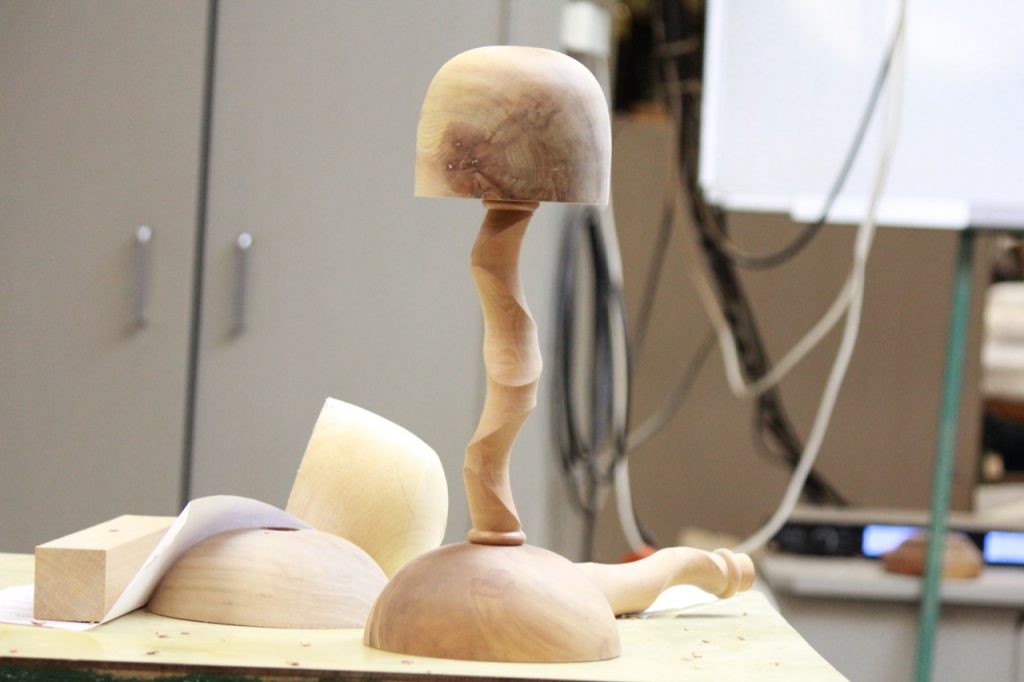
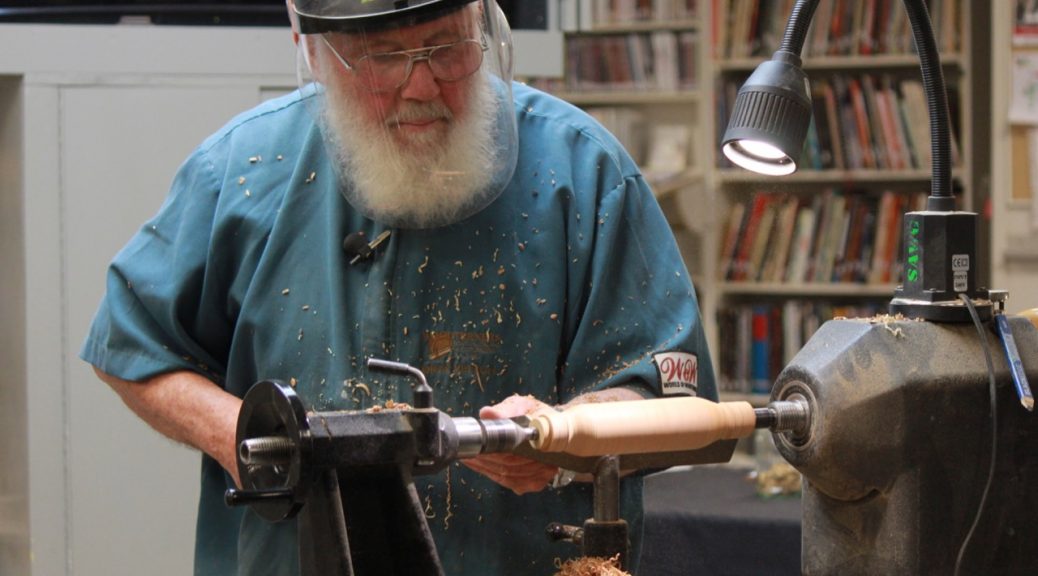
Today we had the great Dick Veitch doing a demonstration on the diversity of spindle turning. As our term project is to turn at least one wig stand, Dick decided to show us the great variety in shaft shapes for the wig stand. To start Dick had premade the base and head and just needed to finish it off.
He mounted the base with the spigot in the 50mm chuck and centred it with the Steb centre mounted in the tailstock. He then proceeded to drill a hole in the base, using a 26mm Forstner bit mounted in a Jacobs chuck in the tailstock, to approximately 20ml depth.

Dick then repeated this step with the wig head. After that was completed, using pin jaws in expansion mode he held the head in the 26mm hole, remounted the head and brought up the tailstock to re-centre. The next step was to remove the spigot from the top of the wig head. He did this by nibbling back the edge of the spigot from the top of the spigot towards the head. This put less pressure on the chuck and once the spigot was down to a small size he then cut towards the centre. At this point he removed the tailstock and gently removed the remaining nub of the spigot. He then did a finishing cut on the head, to get the final shape. As the timber was Kahikatea, he did struggle with some end grain tear out at this point, but mentioned that soaking it in cellulose sanding sealer before doing a finishing cut would greatly reduce that issue. Once the head was finished he repeated this process of spigot removal for the base.
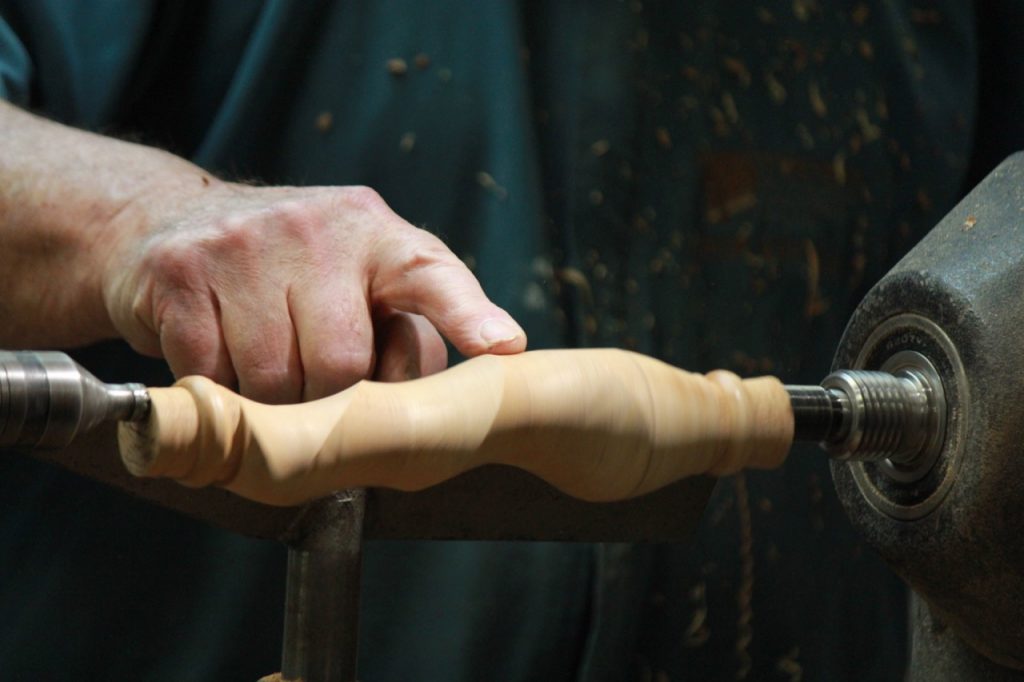
Now that the base and head were complete we could move on to the fun part of spindle turning. Mounting some end grain between Steb centres, Dick rounded it with the spindle roughing gouge, slowing down the cut at the end to get a smooth finish. He then proceeded to mark out the ends that would be inserted and glued in the stand and also marked where his beads would be using the rule of thirds. Taking the ends down to size with a parting tool (PT), he then also used the PT to make a cut to mark out the depth of the beads. Taking the spindle gouge he rounded the beads to the depth, a step that can also be done with the Skew. At this point Dick noted how important it is to work backwards from the tailstock when thinning spindle work. He finished up the pretty spindle by tidying up the beads with a tiny parting tool.

With the next spindle blank, Dick marked the centres and then measured 10mm out from centre on the diagonals and made four equal marks. He numbered them 1-4 clockwise. He repeated this step on the other end of the spindle, but off set the numbers by ¼. He then mounted this between Stebs and rounded it leaving a fair amount of width to the spindle. He took about 20mm at each end down to a 40mm width and made a bead at the end of each section.
The next step was when the fun happened. He remounted the spindle using the numbered off centre points he’d marked earlier. So each centre was positioned in the point numbered 1. Before turning the lathe on he marked out the spindle shaft into quarter sections of 40mm each and marked the measurements on the tool rest too. Once the lathe was on, the spindle, turning on its multi-axis, made a fascinating ‘shadow’. Dick cut down the first section so as only the middle part of the section was perfectly round and we could no longer see the shadow at that point. He then repeated this step, moving the axis points onto each sequential number and cut the remaining sections of the spindle. He worked at a speed of 1250 and used the spindle gouge for all of this stage.

Upon finished the last section he stopped the lathe and inspected the result to see if there were any remaining flat spots or areas that needed tidying up. Once satisfied, the spindle was complete. It really was an incredible ‘drunken twist’ formation that really made the viewer question how it was made. Great demo thank you Dick, it was my first time seeing off centre turning and it has given me a lot of inspiration to give it a go.
