Club Meeting: 12 August 2015
Report by: Phread Thurston
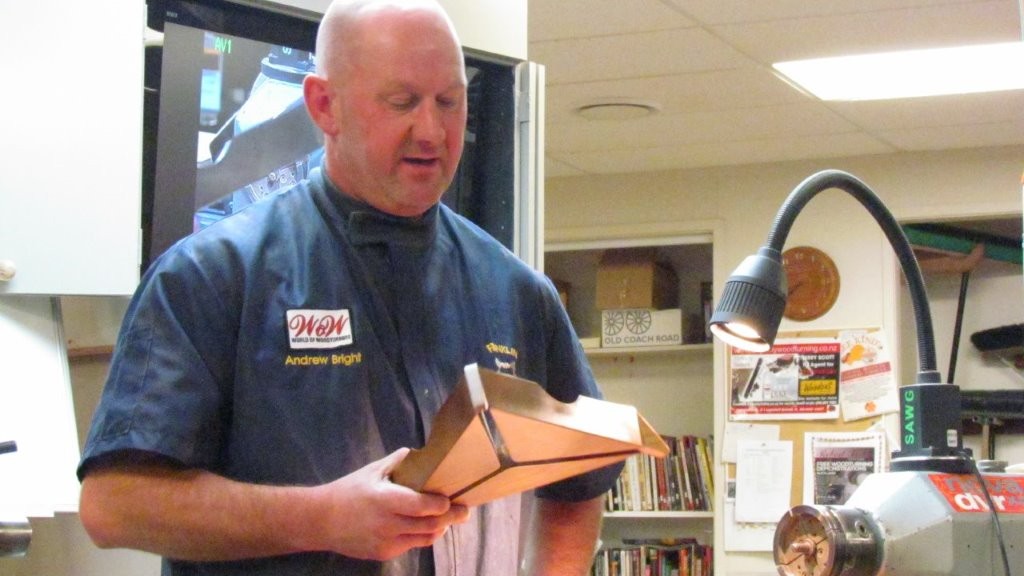
When Andrew showed us what he was about to demonstrate I thought “how the hell will he turn that and I hope it’s competed before midnight “. Read this article and you will get both questions answered.
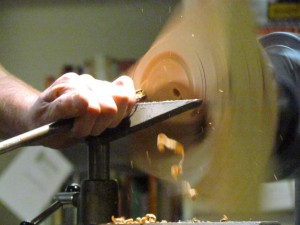
You start with a piece of wood that is cut into an equilateral triangle say 45mm thick. Mark the centre and mount on a screw chuck. Face this off. Remember the tip of keeping the tool rest parallel with the end result of the trued up face. Sand when true, take off and repeat on the other face. Both faces are parallel with each other and sanded.
Take it off the lathe chuck and all. Now the next chuck that it was mounted on is not able to be described in this article. It was an off centre adjustable chuck made by Andrew ( he has another life I think as a Fitter & Turner. ). There are other ways of holding the work which is off centre and adjustable but this article is not the place to try to describe them.
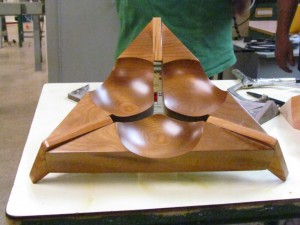
Before it’s mounted the circles require setting out. With an equilateral triangle take a line from an apex to the centre of it’s opposite long side and draw a line. Do this for the three legs of the triangle. Now with a little trial and error work out a diameter for the circles and Andrew’s was approx 120mm. Since the block is 45mm thick you can drill a hole in the centre of the circles to say 30mm and this will become the guide for the bottom of the bowls. The bowls are then turned conventionally taking care that after the first, you will turn air and a little care is needed not to chip the bowl edge. By using the adjustable off centre chuck the three bowls are completed and sanded up making sure you keep the three circles or bowl circumferences the same diameter. Andrew uses sanding sealer after completing this stage.
The back of the three sided bowl can be marked with the same markings as already described above. Go to the band saw and cut from apex to the marked centre on the three legs. There are many ways to sand up the three pieces but the sanding disc on the lathe with a supporting table on the lathe bed which was demonstrated worked real well. Sand each piece, round the corners and do the top and bottoms. In other words finish all the sanding at this point.
Using same contrasting colour wood and 10mm thick which has been dressed both sides mark out the three legs. The style of leg and it’s position within the three sided bowl has more than one possibility and depends on how you want the end result to look. A tip is to connect the three legs together and sand them connected so the end result is three equal looking legs.
Everything all sanded and coated with sanding sealer it’s join up time. This is really about patience, putting the brain in gear and it will go together. Why don’t you try to make one. I now know how and yes the demonstration was well done and inside the time available. Thank you Andrew.


