Photos: Ross Johnson
Club Meeting: 4 June 2015
Report by: Bill Alden
Photos: Ross Johnson
Rolling Pins can be traced back to the 9th Century. Commercial production of them started in the 18th Century and were made from Pine, probably a harder wood than we are used to. They were also used for crushing Oats. In the late 18th Century JW Reid patented a rolling pin with a central rod handles on each end which could be held firm in use. In the USA 650 to 700,000 are sold pa. They are made out of a wide range of materials. Some are patterned to leave an impression in the dough.
They can have handles or be just a straight cylinder with many different diameters and lengths. Smaller ones are used for icing sugar. A French rolling pin has a taper from the centre to each end.
Colin demonstrated some beading with a bead cutter on a small pin in order to pattern the dough. Black Maire is a good wood as it is heavy and turns well.
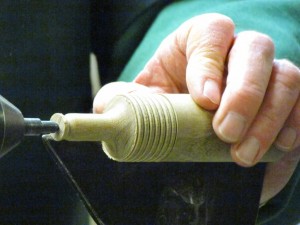
We discussed ways of keeping the cylinder equal along its length. Sight the tool rest with the bed and follow that, another method is to Part down to a given size using callipers slightly larger than the required finished diameter.
Thank you Colin for an informative evening.
Club Meeting: 27 May 2015
Report by : Ian Connelly
Photos: Ross Johnson
In typical Terry fashion the demo started with a story about the history of the caddy spoon and how valuable tea was etc. etc. then he finished by saying what he read on the net was very interesting and we should all go and read it because he had forgotten and just made up everything. Terry had many different spoons to show, which ranged from functional to purely decorative.
Caddy Spoon
Mount a 47 x 47 block, in a 50mm chuck with a steb centre in the tailstock
Round with the roughing gouge
Smooth with the skew
Mark out a ‘ball’ at the spoon end, using a parting tool to defined the sides and round roughly
Shape the handle
Terry used a sharpened pipe to tidy up the rounded ball (ideally the pipe diameter is less than the ball diameter ehh Terry)
Remove the tailstock, and clean up the end
DON’T PART OFF YET!
Take out of chuck and use bandsaw to split down the middle (the square end makes this easier)
Make a jam chuck to hollow the spoon, some people may find the hot melt is also required to help hold it.
Sand the spoon and handle.
Cooking Spoon
Mount flat piece of wood between steb centres. (Terry used wood about 12 x 80mm)
Turn the handle
Sand
Part off at end of handle
Shape spoon with bandsaw, grinder, sander, dremel …… (hand tools probably work too, but Terry avoids these)
Club Evening; 20 May 2015
Report By: John Smart
Photos: Ross Johnson
Dave spoke about the word Tartle.
‘Tartle’ is a word derived from the Scottish Language which means “The act of hesitating while introducing someone because you’ve forgotten their name.” Todays item refers to an item used by Cooks & Bakers it assists in pushing pastry into pie trays.
Supplies; Start with a block 130mm long & 65mm square. Straight grained wood which will withstand frequent washing is recommended.
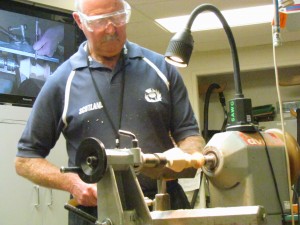
In Projects on our web page you will find a full article under Tartle it has the various measurements which if you make one of these to get “Brownie Points” you need to check which baking trays are stored in the cupboard as there is a bit of confusion regarding the diameter at the base & top of the tray plus ensure the depth is taken into account.
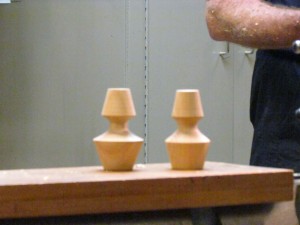
As this effort was as a fill in along with our AGM Dave did a job that got our members all looking. Plus his talks about the lathe he has at home and his system he uses for sharpening his tools I expect we will see quite a few of our members trying it out.
Photos: Ross Johnson

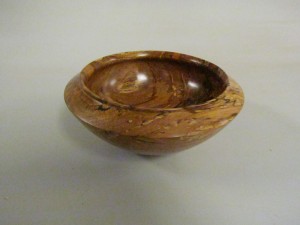
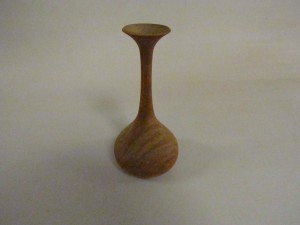
Club Meeting : 13/5/15
Report by: Colin Wise
Photos: Ian Connelly
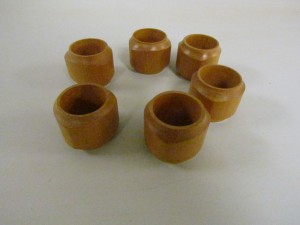
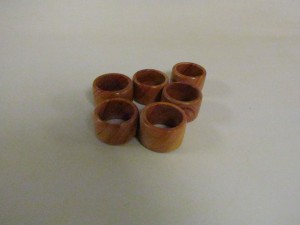
Bob gave us an interesting insight into the origin of the table napkin/ serviette, when in the 1800’s they needed to identify their own napkin as the same napkin was used for the whole week, because the washing of clothes etc. was only carried out once a week.
The Romans used small cloths, similar to a handkerchief, which they took to their host’s table and left overs were placed in them for their return journey home. i.e. the first doggie bag.
Like all wood turning, draw a diagram of what you wish to make, size shape and measurements with which you can make up a profile.
Select your wood, (it can be a small branch with bark still on it or any off cuts that are suitable). It needs to be bigger that the serviette ring, which is approx. 60mm with a 35mm hole. The serviette ring will finish up by being 35mm long x 50 to 60mm dia.
Making a 50mm chuck bite on one end of the wood and place in chuck, size it and drill a 35mm hole in the end to a depth just past 40mm.
With the parting tool cut part way into wood to define ring length, now turn from center down each way to create an oval or the shape you want, at this point decorate or texture and sand to a good finish and part off.
You can make a jam chuck to finish the parted end.
Texturing can be paint, crackle paint, dremel tool or poker work of your choice.
View the Project sheet for more information
Club Meeting: 6 May 2015.
by John Whitmore
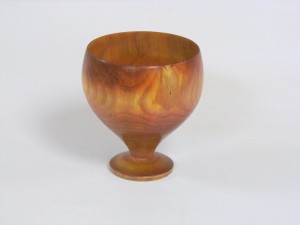
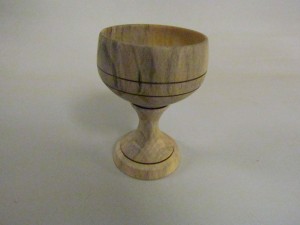
There was the suggestion at the start of this demonstration that the outcome would be a ‘natural edge goblet’ – which attracted the attention of the most cynical present, but proved not to be the case. Confusion was probably caused by the starting point being a section of plum branch, au naturel, complete with bark. Another diversion involved debate about the difference between a goblet and a chalice; the latter being for religious booze whereas the former isn’t.
The plum timber had been in storage for several years so was decently dry. A section some 100mm diameter was already held in 100mm Power Grip Jaws with about 150mm protruding. The PG jaws are a good choice for aggressive spindle turning without use of the tailstock since the spigot can be up to 30mm long and is therefore very strong. At 1200rpm, this was turned to round with a spindle roughing gouge to enable examination of the timber for any defects that would influence the final shape.
A 50mm spigot was turned at the tailstock end for reversing. This would be the base end. It is Bruce’s preference to use a cup tool for hollowing the inside moving from centre to rim in order to cut with the grain. He gave a good demonstration of how the cup tool is presented with the business end pointing towards 9 o’clock and, with the bevel rubbing, is rotated clockwise until the cut starts and the cutter could be drawn towards the rim of the goblet. With the headstock parallel to the bed, this process takes the handle well across to the other side of the lathe.
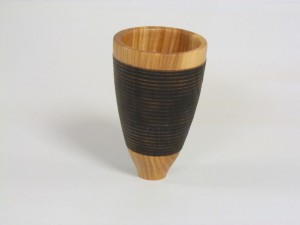
The demo continued with a pre-shaped block of end grain Kahikatea being mounted, again in 50mm jaws. Bruce prefers to hollow the inside of a goblet first before shaping the outside. This time he bored a centre hole using a spindle gouge (carefully!). Drilling out the centre to guide depth would also be valid. Moving to the outside, there is a choice of shaping tools. Bruce demonstrated both cup tool and bowl gouge, but spindle roughing gouge, spindle gouge, skew and various other derivatives could also have been used. Design points are that the rim should turn slightly inwards for preference, the base should not be too heavy prior to parting off and grooves with burned lines or texturing infill are easy to add decoration.
A totally free form is liberating. This one was clearly designed for the serious drinker. The author has a preference for doing this sort of spindle work using a single, strong spigot at the base end and held in the PG jaws or, with smaller diameter spigots, held in equivalent 35mm or 45mm spigot jaws (also 30mm long), without any reversing. All of these jaws give much better support for aggressive hollowing and external shaping than 50mm jaws – which are limited in spigot length to only 12mm.
If there is intention to use, rather than just admire, a wooden goblet – there is need for careful consideration of finish. Something foodsafe and waterproof like sanding sealer would be a good choice.