Club Meeting: 22 June 2022
Report: by Kevin De Freitas
Bryan started with a history lesson of when the club approached the council to take on the club rooms. When asked what the club would do for the community, Wig Stands and Toys were to be made and he encouraged members to get making.
The origins of this toy start with Bryan wondering what to do with the offcut corners from bowl blanks so size is not specific. (However, the piece used in the demo was approximately 55mm diameter and 90mm long.)
The intent is to make a teardrop shaped figurine featured with hair, eyes, nose, ears and feet. Bryan handed around a collection he had previously made. He recommends making these in batches to save time.
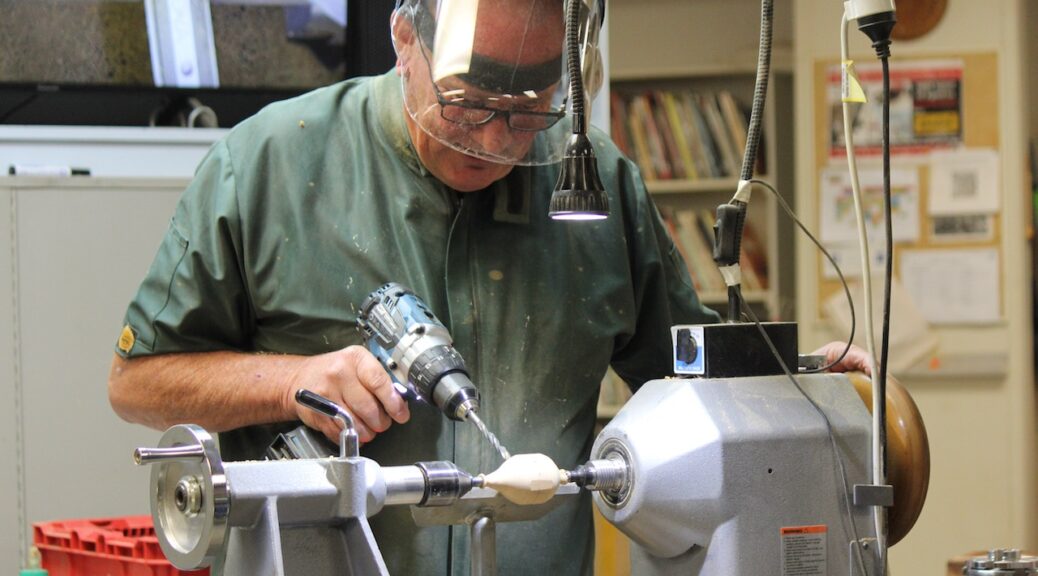
Bryan mounted a chuck with 25mm pin jaws.
The blank was already turned round with a spigot on each end.
The upper (head end) spigot is small to accommodate a single hole for the hair.
The lower (feet end) spigot is larger to accommodate two holes for the feet.
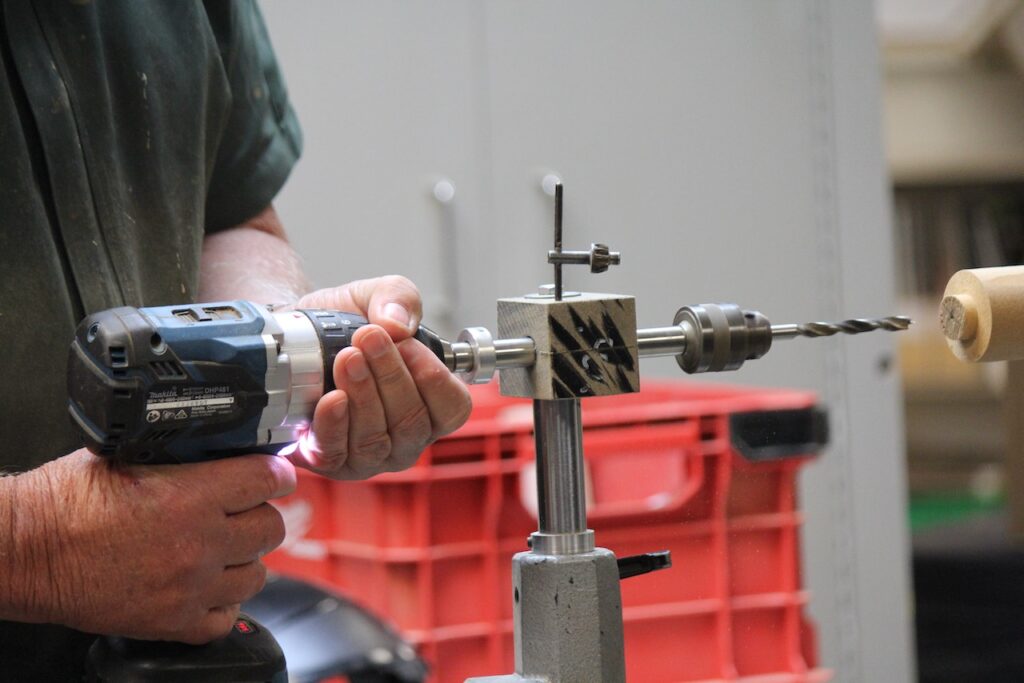
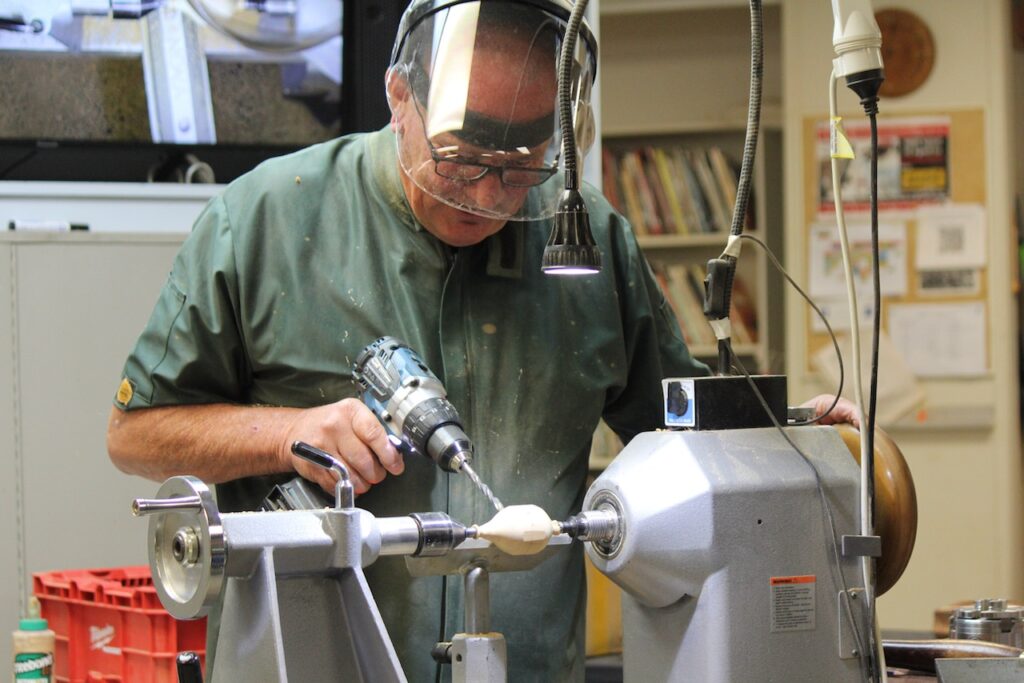
Drilling holes for Hair and Feet – Bryan mounted the blank in the chuck and drilled the holes for the two feet. This could be done in a drill press or free hand; however, Bryan showed the use of a jig he had made.
[The drilling jig consisted of a wooden housing holding a long drill chuck shaft that is free to rotate and move in and out. It is driven by a handheld drill. The housing is mounted on a shaft that fits the lathe banjo in place of the tool rest.]
The two 8mm holes for the feet are drilled with a Brad Point drill bit to avoid chip out. The position can be varied to allow for the feet to be pointing at the desired angle.
Flip the blank around and drill the single hole for the hair with a tailstock mounted drill chuck. The diameter of this hole should be sized according to the diameter of rope to be used. In this case a 7mm Brad Point drill bit was used.
Shaping the body – Remove the chuck and mount the blank between centres ensuring that a drive centre is used in the headstock (not a live centre as initially demonstrated by Bryan). The tailstock live centre will reference into the single hole at the top of the piece.
Turn a basic droplet shape that is larger towards the head stock and tapers towards the tailstock. Avoid sanding by using good turning technique and to save time. Bryan used a bowl gouge and a high lathe speed.
The upper spigot is effectively removed during shaping.
Marking the position for eyes and ears – with the piece still in the lathe, make a pencil line around the body at the point of greatest diameter.
Determine the positions of the eyes and ears on this line being careful to get a pleasing distance between eyes and symmetrical ear positions.
Locking off the lathe, drill out the holes for the eyes and ears with an 8mm Brad Point drill bit.
Don’t make the eyes too deep. The ear holes should be deep enough to receive the spigot of the ear which is later glues in.
Also drill a hole for the nose, again, with enough depth to have a spigot glued in.
Now cut off the bottom spigot and remove the body from the lathe – turning is complete on this part.
Eye detail – using a Dremel, add detail to the eyes. Bryan recessed above and below to give eyelid shapes and, on some examples handed around, eye lashes.
A mouth could be added here also but Bryan’s preference is to ensure the wood grain is positioned to mimic a mouth.
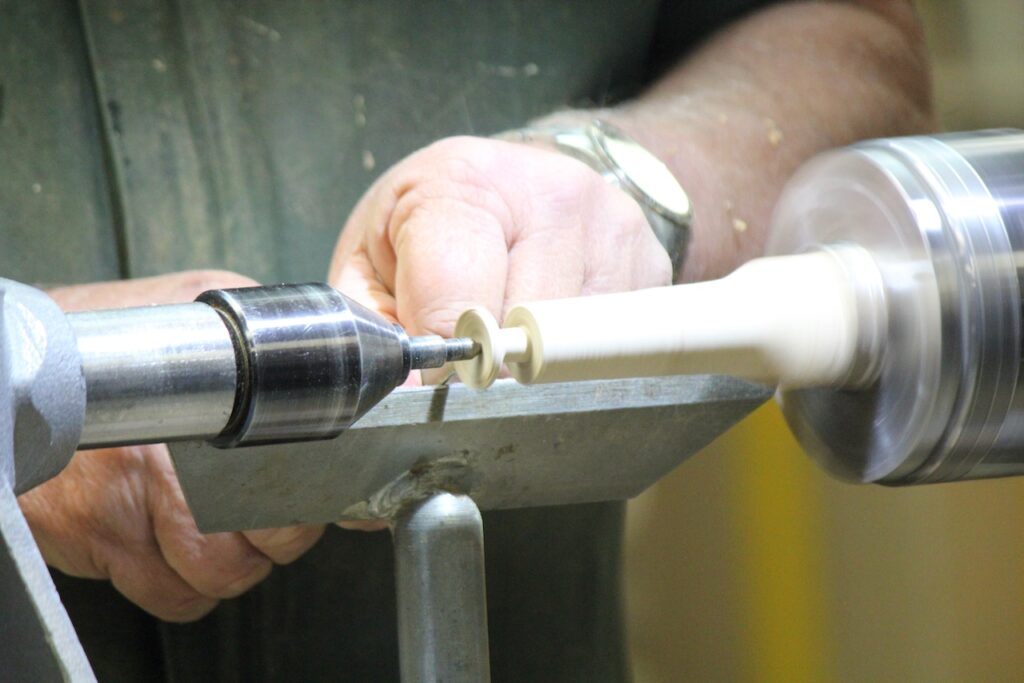
Making the ears and nose – mounting the chuck with 25mm pin jaws again, a blank is loaded to turn the two ears and a nose. This was approx. 30mm square and 150mm long but again, size is not critical. It was recommended to use a relatively straight grained wood for strength. Bryan turned it round with a spindle roughing gouge and a high lathe speed.
Using a small bowl gouge, the ears are shaped like a cupped funnel with a spigot sized to match the 8mm holes previously drilled. Turn the shape with an oversized spigot. Bryan then used a custom tool, made from a sharpened 8mm spanner, to size the spigot exactly.
Turn a nose in the desired shape (Bryan had previously made an oval shape) again with the 8mm spigot to fit the hole previously drilled.
Making the Legs – Bryan had some offcuts that were roughly 30mm x 20mm x 15mm. He mounted them between centres along the longest dimension and slightly off centre. He then turned the leg spigot round and only slightly rounded off the feet. The feet can later be refined by sanding.
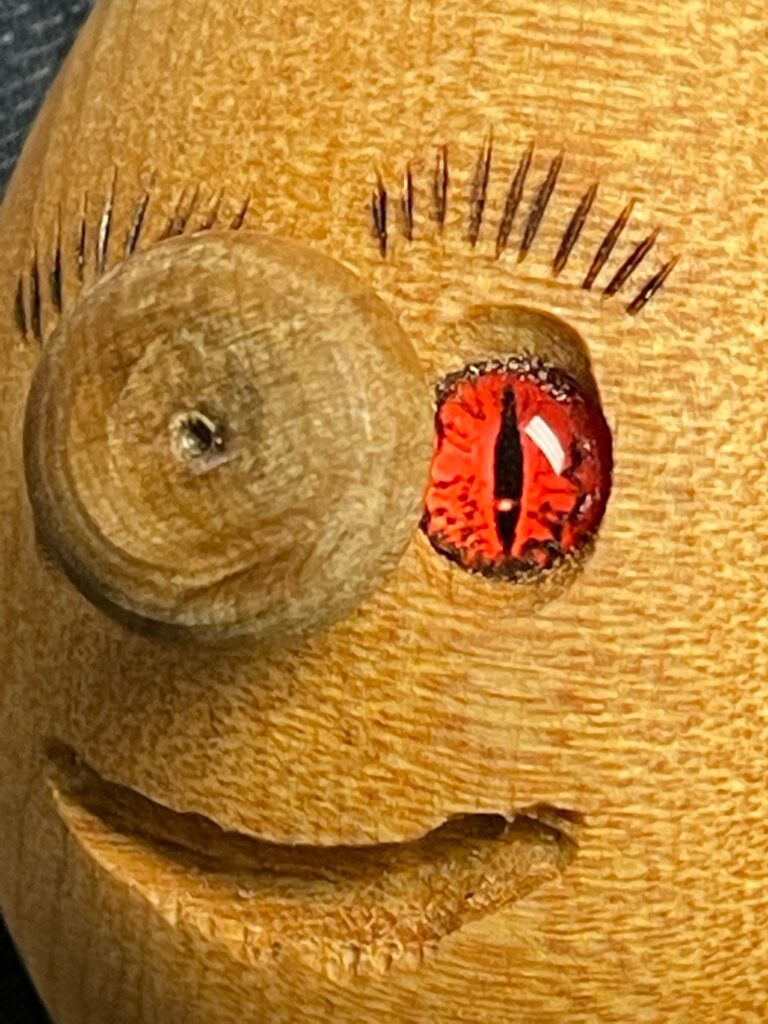
Assembly – Medium CA Glue is used to attach the eyes. Using a piece of double-sided tape to pick up the eyes, ensure that you can see the orientation to ensure correct positioning. Add the glue into the eye hole then press in the eye.
[The eye inserts were purchased from Ali Express for <$20 for 100 varied colours and sizes]
Add glue to the holes for ears and legs and press them into place.
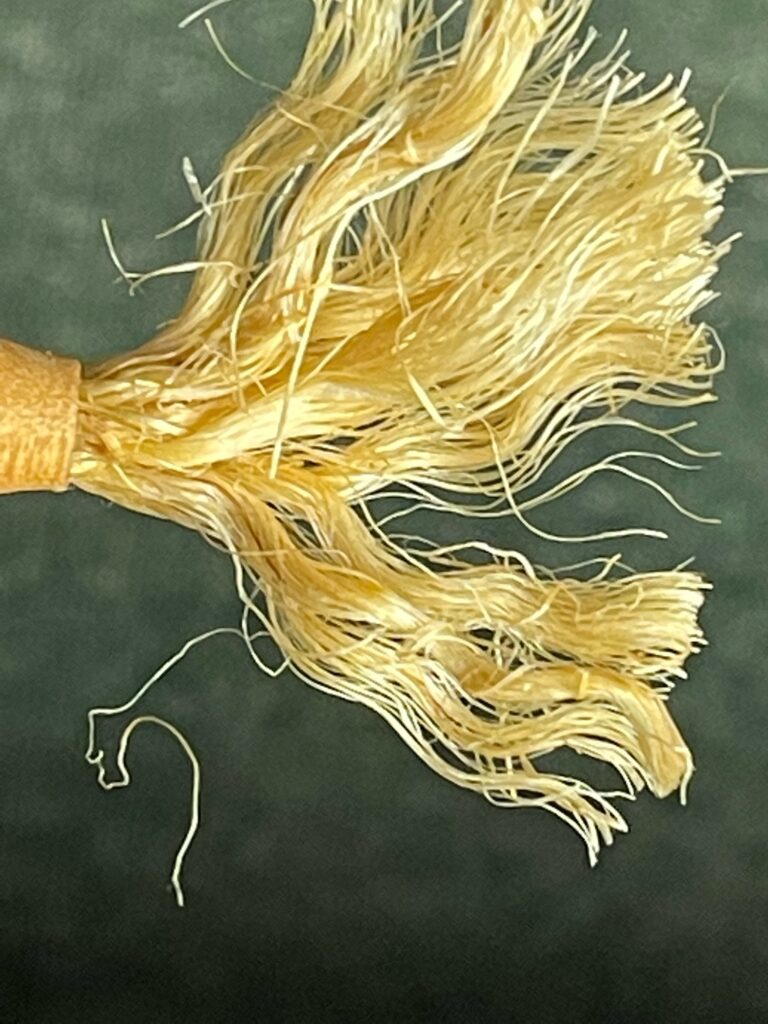
The Hair – hemp rope or similar type with the ability to unravel the strands is used. Add CA glue to the end of the rope to bind the fibres together then cut the rope to the desired hair length. [Beware, thin CA glue will wick up the rope quite a long way.] Glue in the rope into the top 7mm hole. Now the strands can be unravelled, and any embellishment can be done on the hair. Bryan suggested sparingly adding dye with a small brush.
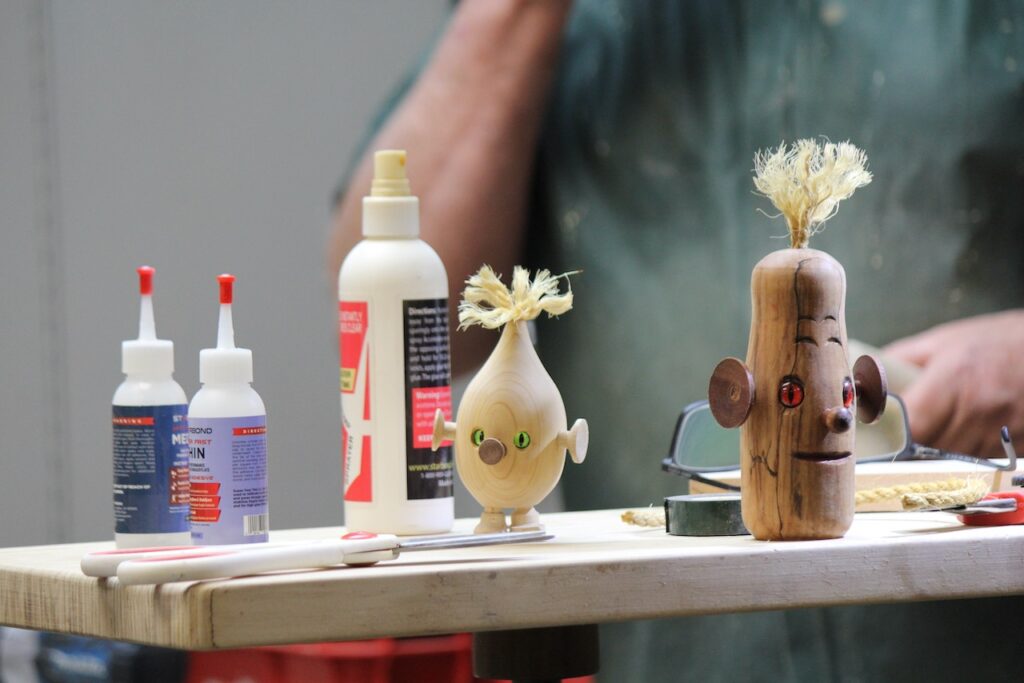
Bryan suggested a price of $30 would be acceptable if this item was to be sold at market.
Project Sheet – https://sawg.org.nz/sawg/wp-content/uploads/2022/06/Water-Person.pdf
