Club Meeting: 12 September 2018
Report by: Graeme MacKay
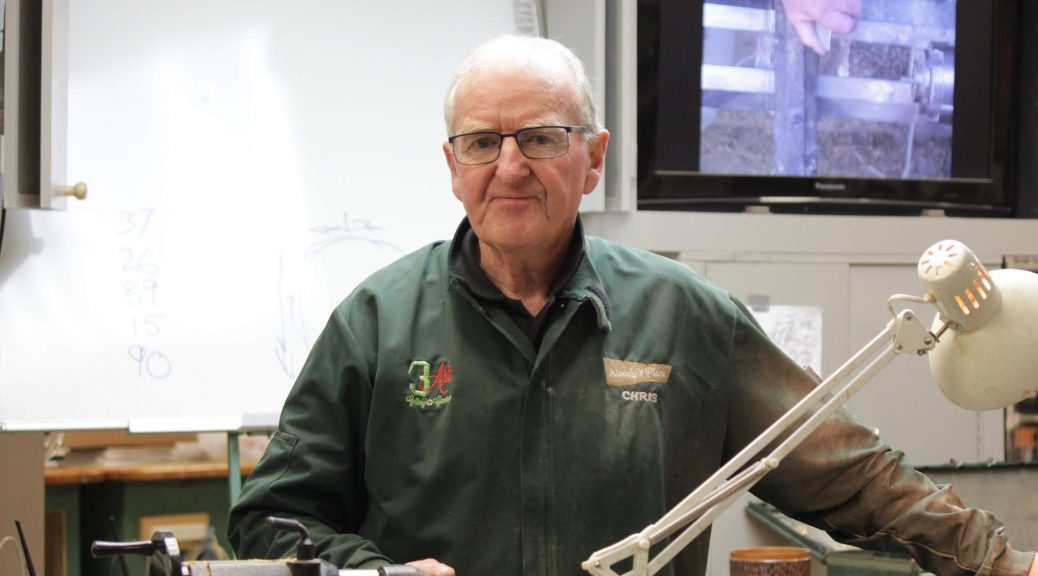
A humorous and very informative demonstration from a woodworker of long-standing. A well prepared approach to dealing with fruit wood branches supported by a regular commentary on safety for operation and fixing. Chris started with the pitfalls of a long thin blank that required an understanding of negative space and shadow directed cutting.
The initial checklist for starting with new fruit wood highlighted Chris Hooton’s approach:
- check for nails and cracks
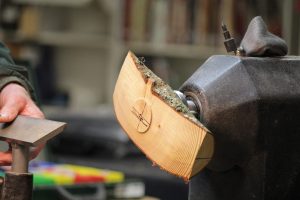
- work out the correct way to cut the branch including having a suitable jig for using on the bandsaw
- sort out and mark the cuts
- measure and mark the centreline to allow for installation of faceplate.
- Ensure that schooling through appropriate for the fixing of the faceplate
And simple things such as
- ensure that the faceplate holes of the correct size to take the tech screws
- and very simply, with humour, check that the tech screws are long enough
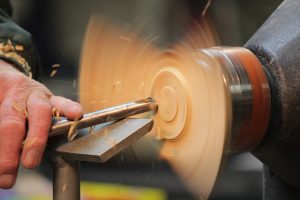
Chris provided a clearly illustrated approach to cutting across spaces and working with shadows. A useful tip was the placement of lights and shifting them around to get a clear and definitive shadow to work with. Then, using the shadow of the chisel to judge the distance to make initial contacts and start cutting.
A tip for sanding: Chris uses chalk gently rubbed across the face of the surface being worked to highlight and identify scratches, marks cuts and hollows. Chris used a standard soft builders chalk stick rubbed across the surface and using the marks to decide on the type and placement of the next cut. This process was used for final sanding with Chris providing illustration of what marks show through at the movement through the sanding paper grades.
Tip for measuring wall thickness: Chris noted that we often forget what the start point was after two or three checks. A piece of masking tape over one end of the figure 8 calipers and have it sticking out so that a mark to be made on the tape. Once the initial measurement has been taken, a mark is made on the masking tape where the non-taped caliper end stops. The tape cut at that mark. It provides an ongoing guide point for subsequent measurements on that particular surface. Simple and low-tech.
Chris provided a number of excellent workplace tips and directions for the topside cutting on the newly formed spigot. He emphasised the need for soft hands for the chisel work and the usefulness in providing marking lines.
Tips and guides included:
- Check on your cutting directions, although looking for a flat surface you’re still cutting to the middle like hollowing out a bowl.
- Mark depth and check.
- Adjust lighting to show shadow to assist cutting.
- Keep the tailstock in place until as late as possible.
- Keep the hands soft, keep chisel sharp, and don’t rush it on the final cuts.
- When using power tools for sanding, look at your approach and angle for the sanding mandrel.
- Keep sanding mandrel moving working through the quadrant angles, backspace. A hollow centre dimple means that you have not sand with the correct angles.


