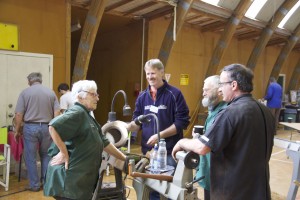
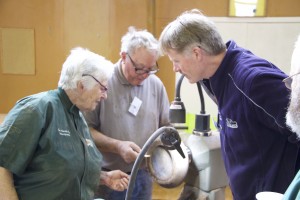
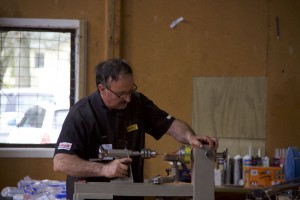
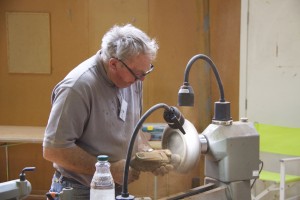
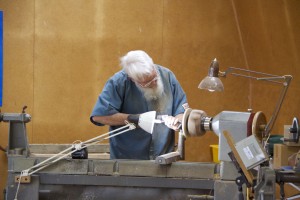
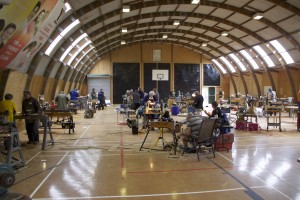
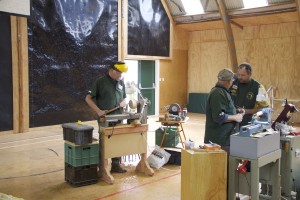
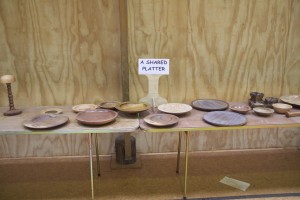
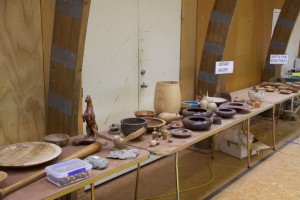
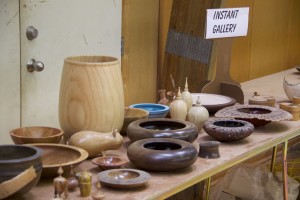
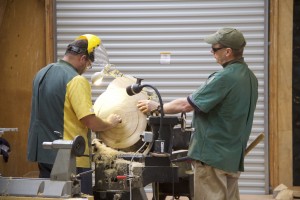
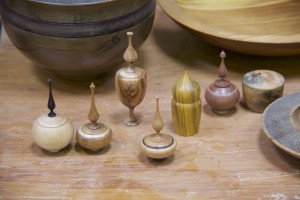
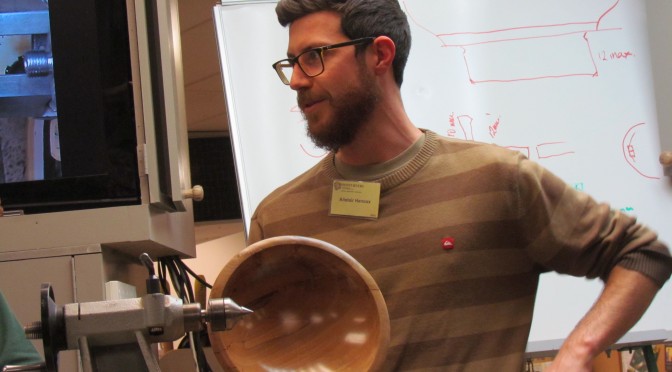
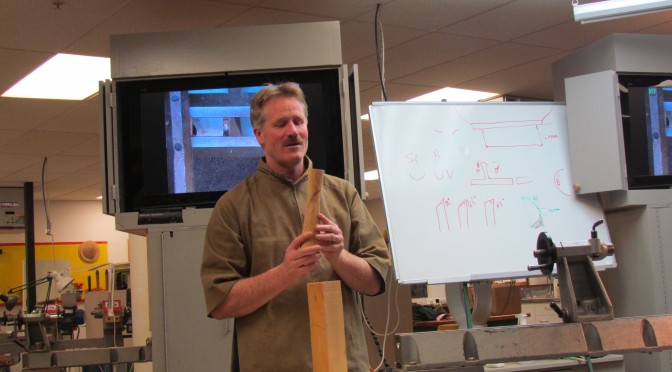
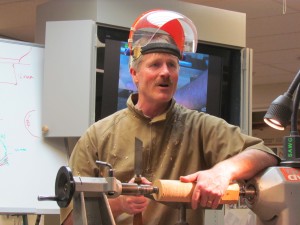
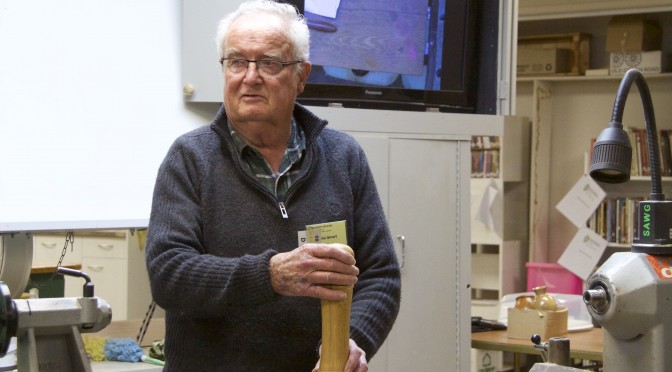
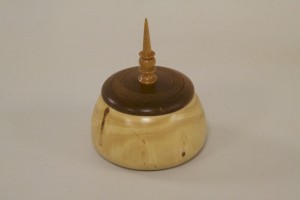
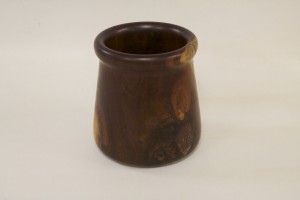
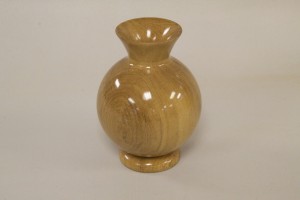
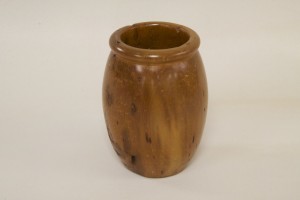
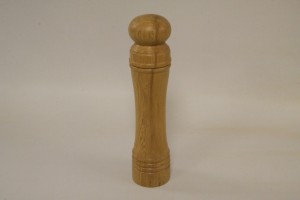
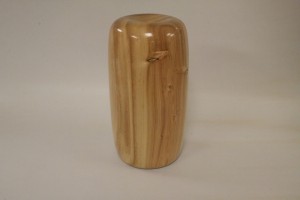
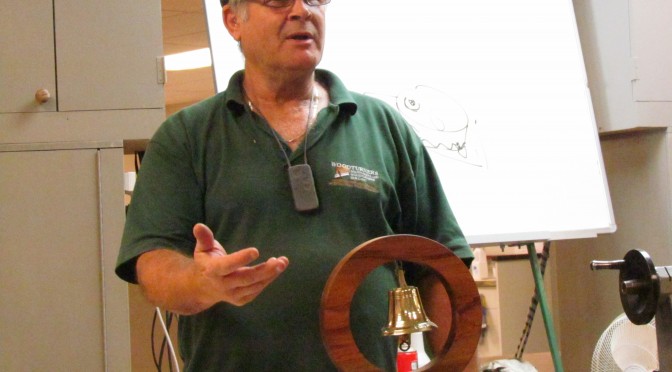
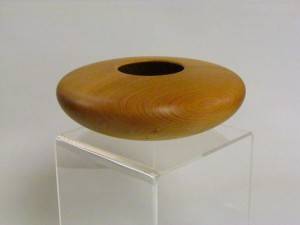
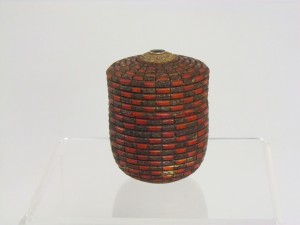
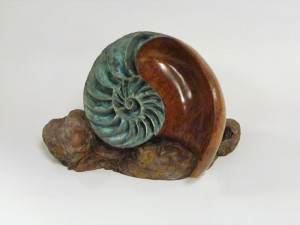
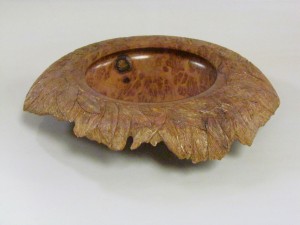
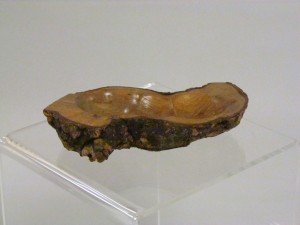
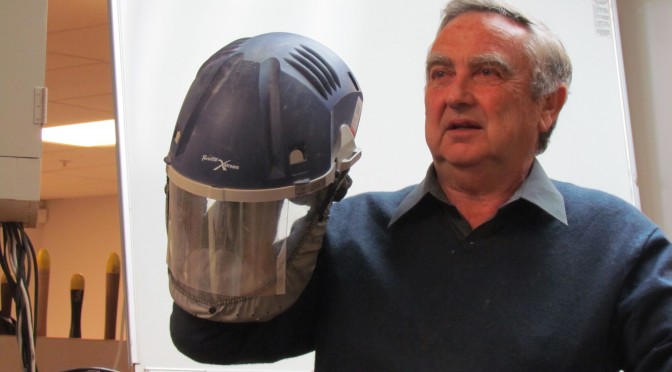
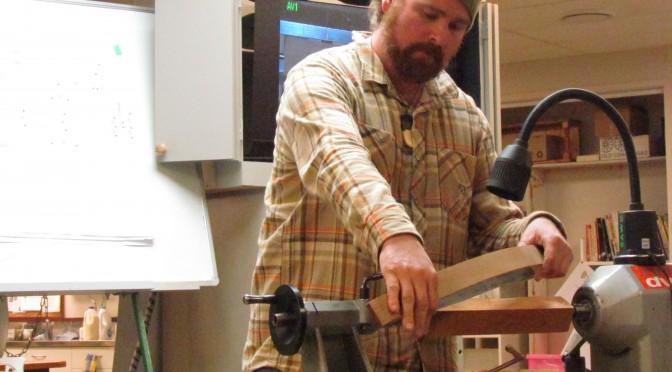
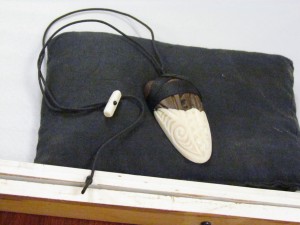
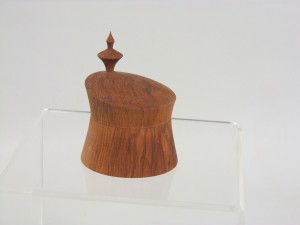
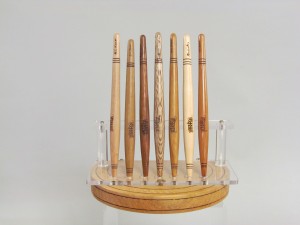
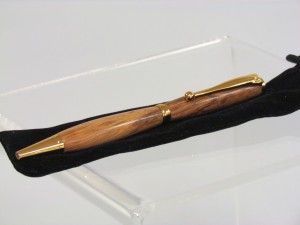
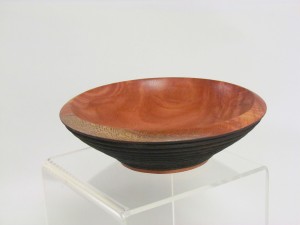
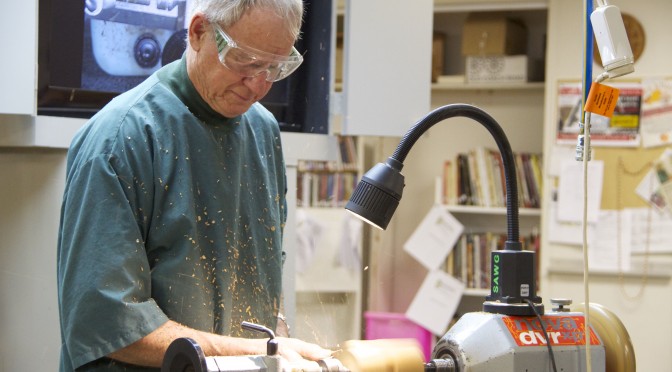
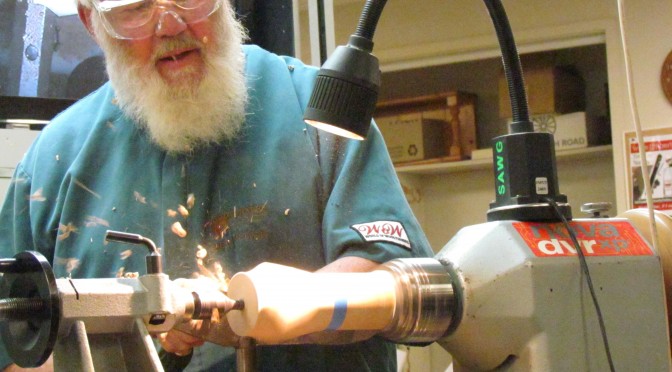
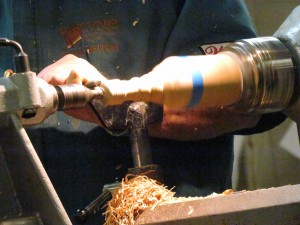
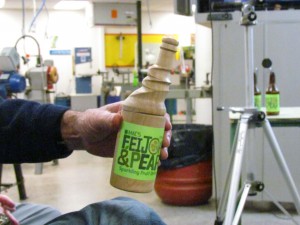
Here are a few shots from participation. Sorry to all you guys that missed out on a great event. Thanks to the sponsors that helped out with raffle prizes, and all the work from Terry, Dick and others that helped put it together as another successful event.
All posts by Webmaster
Show & Tell – 23 September 2015


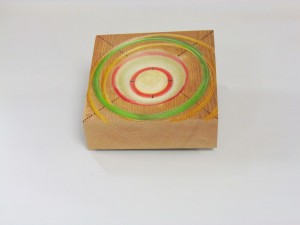
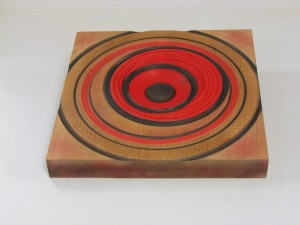

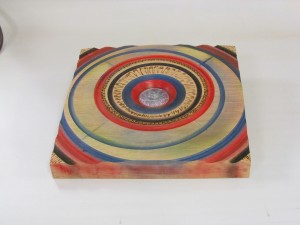
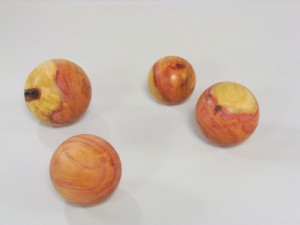
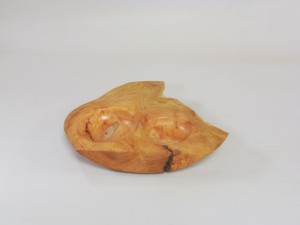
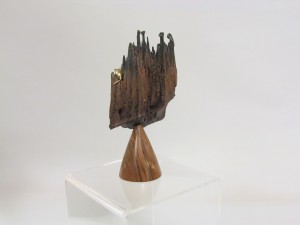
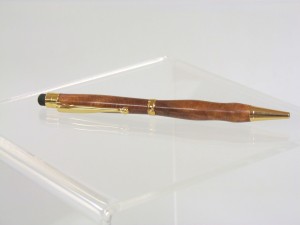
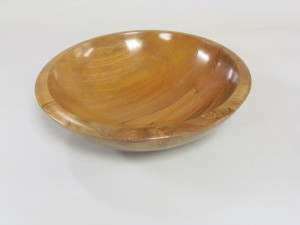
Offset Candle Holder – Richard Johnstone
Club Meeting: 23 September 2015
Report by Colin Wise
A set of plans is available here
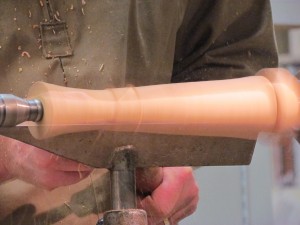
Richard set the piece of wood in the lathe between steb centres, setting speed to around 2000 rpm. Turn to a rough round with a roughing gouge then explained that Warwick did it this way, Dick action went something like this, Phred will use a skew like this, while Terry winds up the speed and with the roughing gouge fires chips everywhere, Terry to a T.
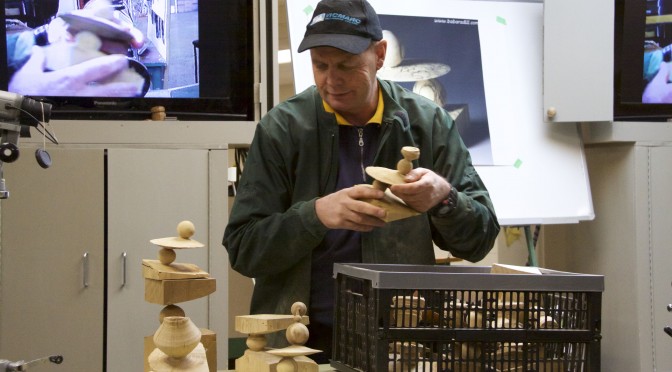
Richard went on to make quite a respectable shape with the 2 centre piece. Then went on to one he had started at home, which has 3 centres, giving a twist effect. Showing 1 to 2, 2 to 3 and 3 to 1 then said it was easier to colour the centers, red, green and black and do it red to red, black to black…
He turned it using a roughing gouge and the the skew, with a slight whoopsy. Finishing it off with a bowl gouge, making it a very interesting evening.
Well done Richard.
Off the Edge – Gary McDonald
Club Meeting: 16 September 2015
Report by : Alan Day
Gary shows us half a dozen trial pieces of work he had to do to get it right ! The inspiration of this piece came from Barbara Dill.
While starting his project at home, he had a loose fitting garment, and unconsciously slid it over the tool rest, while he was concentrating on the job in hand of trying not to let the off centre work strike him in any way ! now his left arm is entangled with the tool rest, he was trying to turn the lathe off, but couldn’t reach it with his right hand ! but eventually managed it ! phew, now he has a remote off switch, – once bitten !
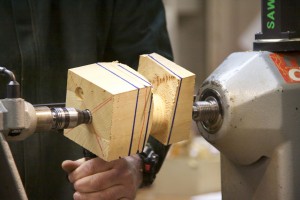
For our Demo he has a block of timber 110 x 110 x 130 mm, makes lines both ends from corner to corner, makes a centre mark, then another centre mark 35 mm along one of the lines, and at the other end a similar mark but in the on the other side of the centre mark, so it will look like a diamond when it is spinning !
Using a hand drill with a Forstner bit in, he drills shallow holes at a slight angle so when he has the block off centre, the two steb centres, one as a driver, and the other live, will have a flat surface to push into. Gary offers the block up to the headstock steb centre, he brings the tailstock up and locks it with the Handle on the downward side, as recommended by Champion Wheel Maker – Brydon,
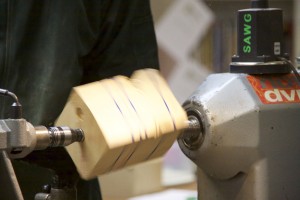
The work is marked around with black lines to help guide the gouge while it’s spinning, and blue lines to show where the sphere will be, a 100 mm tool rest is brought up,and the block spun by hand to make sure it is all clear, Gary has a long Carbatec Universal Gouge handle, and fits a Bowl/Spindle Gouge with a 30 deg grind to it, gently offering it up to the spinning block rotating at 500 rpm, and we can hear the hit and miss, tic tic tic as the wood spins, and Gary is watching not the gouge, but the shadow on the top, working one side, then the other gradually deepens a groove, while pressing down the gouge firmly on the tool rest, to get a clean cut.
Gary stops the lathe to measure the width of the gap, and now he can change the 100 mm rest for a 30 mm to fit inside the groove, scary turning eh !
Gary recommends reading the article on Off Centre Turning by Barbara in the AAW magazine, now making deeper cuts while the wood wizzes past at an alarming rate, not a time to lose your concentration ! Now turning a ball at the bottom of the tapered groove, and widening the sides, Gary says be careful not to hit the right side while widening the left or vice versa, now cutting the base next to the headstock end, he says Nick Agar uses an under hand grip, not possible with this rest,
He has made a `Bow Sander’ to sand the ball, so instead of a bowstring, a long strip of sandpaper is stung between the ends, so he is able to sand the little ball while keeping his digits away from the spinning work, he stops the lathe and uses a Hot Melt Glue Gun to glue wedges in to support the unsupported nascent sphere, he says Barbara turns at a higher speed, and gets a better finish off the gouge, check out the Web Site on Multi Axis Turning, doing lights cuts outside the tailstock end, and quickly gets the required shape. He recommends a book by David Ellsworth which suggests keeping the right hand further back on the gouge handle for greater control/leverage, left for left handers, he says one time he was at home and had to re-tighten the tailstock out several times, only to find the headstock was moving backwards !!
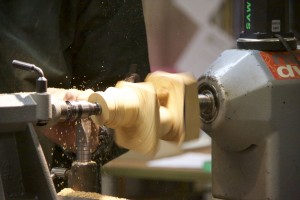
Speeds of 800 rpm now, holding his gouge handle close to/touching his body, he didn’t complete the Off The Edge Sphere, but says at home it takes about 1 & 3/4 hours.
Questions are asked for, and answered, this was a really good demo, – of something we might not have thought of trying at home,
Thanks Gary for showing us how to, and not be afraid of the spinning lump of timber !
Cheers Mate,
Alan Day
Show & Tell – 16 September 2015
Show & Tell – 9 September 2015
Dust Protection and Extraction – Warwick Day, John Whitmore
Club Meeting: 9th September 2015
Report by: Kevin Reeve
A synopsis of the general theme of the two main topics covered by the presenters, Warwick Day focused on dust protection for the “turner” whilst John Whitmore would later follow on illustrating how to eliminate dust totally from the environment by wet sanding.
The presentation was started off by Warwick, who identified specific areas to minimise dust, affecting the person.
Design
Dust potential starts well before you even turn the lathe on, so deciding what you are turning has an impact of the volume of dust created. As an example, thought should be given to whether you are turning end grain, which creates a lot more dust, or cross grain, which in general has less dust.
Wood Type
With any wood turned, shavings and dust are the resultant effect.
Those that are more sensitive to dust should consider using a harder wood to turn, such as walnut or Black Marie.
Some of the softer woods do create more dust, so this needs to be another consideration for minimising the effect of dust on the person, and your work area.
An example, demolition rimu, where the fibres in the wood exhibited some rotting, created a lot more dust.
In general, the lighter the wood, the more dust there will be Warwick says.
A question was asked from the floor about spalting, and the risks.
Spalting is any discolouration of wood caused by fungi. Research has identified that it can be found in a living tree, a tree under stress or a dead tree.
The area for concern for the turner are the fungi pores can have a detrimental effect on the lungs, as well as your skin. Coupled with this there needs to be a consideration about the types of wood you are using which may escalate the risks.
This lead to a discussion about toxic wood.
The beginner guide does cover toxic woods, and will not be expanded on this in article, as it is a very specific field, and a topic which can be covered on its’ own merits.
Tools
How sharp are your tools?
The question was put to the audience to get turners thinking about the tool they are using, and their condition.
The turner should not become lax in their tool maintenance, and at every opportunity where there is some trepidation about the quality of their tool sharpness, it should be remedied.
The sharper the tool, the less dust.
Levels of Dust Protection
Masks
There are a variety of dusk masks of the market, both in quality and specific use. Careful consideration must be given to both how they fit the user, and the level of dust protection they provide.
Dust masks have various ratings for example P1 P2 and P3. If the reader requires an in-depth description of the mask ratings, they can go to:
http://www.business.govt.nz/worksafe
There is a good amount of information on this site to assist the turner.
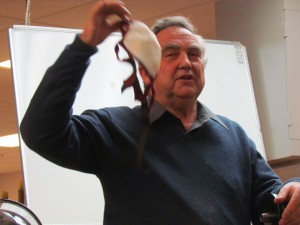
Full face dust protection
Warwick demonstrated the AC400 full face enclosed dust and face mask system. The advantage of this system is the battery is enclosed in the head unit and can provide up to 8 hours plus service.
The unit describes as providing full air filtration.
The face shield is rated at 90 kilo Newton’s. As a comparison, the clubs shields are rated at 70 KN
Vacuums cleaners, Air hose blowers, and Fans
Warwick completed the first part of his presentation of 3 other devices. His number one tool in the shed was a vacuum cleaner to clear and reduce dust.
Secondly, he pointed out the disadvantage of using an air hose to blow dust everywhere, the more dust you blow around the more dust you are working in.
Warwick touched on the use of free standing fans, and the benefits and blowing dust away from the area you working in.
These can be beneficial combined with a good extraction system, and perhaps fresh air.
This lead on to a discussion from the floor that dust in the workshop can present an inherent risk of being highly combustible if not attended to.
Hand and power sanding tools
Warwick exhibited the different types of power sand tools.
His preference is the inertia type sander with the lathe running at a low speed.
The advantage he suggested was there was less heat created through rotation from two seperate electrical power sources.
The next part of the presentation was from John Whitmore
John’s suggested there should be no dust at all.
Speaking from experience, John turns inside his own home, and albeit a few wood shavings in the house, he has attempted to eliminate all dust in the environment.
John commences his presentation by offering free dusk masks to everyone.
John introduced his presentation by saying humans have lived with dust for “millennia” and because of our ability to get rid of dust through lungs and their biological efficiency.
He went on to say that because of the industrial revolution, our natural ability to do this has been nullified due to exposure to external chemical variants that we would not have been exposed to.
There was some brief discussion around asbestosis, its’ origin’s and use.
He presented a wet sanding solution using 100 grit sand paper and Ondina oil which is produced by shell petroleum. (Research can be done by looking up the product)
There was discussion about the limitations with finishing whilst using this product.
The merits using this way of sanding were presented were twofold:
Eliminating dust by creating a slurry effect on the Astra paper
It cools the wood
A comment from the floor suggested any type of small brush will remove the slurry and one can perhaps use WD40.
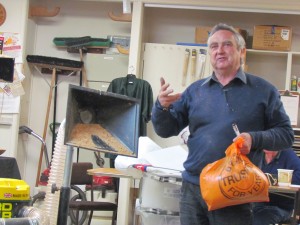
The next part of the presentation was again from Warwick about machinery and dust extraction using various machines from manufacturers, but due to the extended time taken with the meeting it is an area that should be looked at again.
A big thanks to Warwick and John. An extremely informative presentation about dust and how it can affect turners, and something we should all consider.
Show & Tell – 2 September 2015
Making a Mallet – Phread Thurston
Club Meeting; 25 August 2015
Report by David Jones
Phread started his demonstration by making a mallet in under 2 minutes without using the lathe at all.- simply cutting a piece off 100X75mm radiata post, drilling a hole through it with a forstner bit, cutting a length of dowel for the handle, shoving it into the head and walking away.
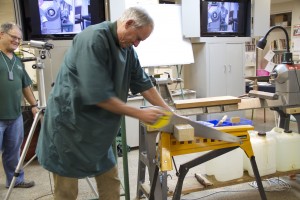
Clearly a very impressive performance from a speed point of view, but a rather useless mallet , unlikely to last..
Phread then proceeded to give an excellent demonstration on basic woodturning, and the importance of accuracy depending on the requirements of the project.
He started by showing a spurtle and a doris, both particularly shaped pieces of wood designed to stir food in a pot, and both made with a spoke shave . They were both beautiful to look at as well as excellent in doing the job they were designed for, demonstrating the use of the spokeshave and the effects of cutting with and against the grain.
The head of the mallet had already been drilled for the shaft, but as the head was to be turned off-center, Phread then spent some time discussing the need for maximum accuracy in marking the exact center of each end of the mallet head and the use of the right sized ruler and the making of the point with an awl rather than a builders pencil. The ends were marked with diagonal lines as well as right angle lines through the centre of each end and four offset points 10mm each side of the center.
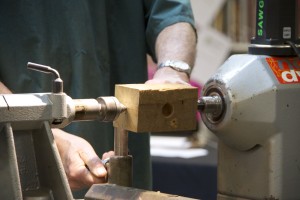
The head was then partially turned between centers before being offset 4 times using the 10mm offset points previously marked. The head was then sanded along the grain.
Putting the mallet head back on the lathe between centers, Phread then demonstrated marking and cutting the mallet head to the exact length required using a parting tool and then a skew chisel to cut off the torn grain and remove the arras on the edge.
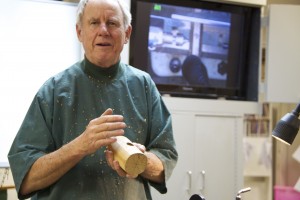
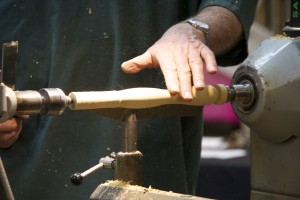
The handle had a sawcut put in it about 50mm long to take a wedge and was then roughed about 32mm except at the end where the wedge cut was where a taper was put on. A very wide cove was then put into the handle with a large spindle gouge, before Phread reverted to his favorite skew chisel to finish the bottom end of the handle and the taper so the handle would fit through the hole in the head of the mallet. All this time he was demonstrating how to stand and hold the tools so that there was minimum effort. He also pointed out the need for the wedge direction to be at right angles to the mallet head direction, to avoid the mallet head cracking when fitting.
Thanks Phread for an excellent demonstration about the real basics of woodturning which are so essential for our craft.
The Last Drop – Dick Veitch
Club Meeting: 19-Aug-2015
Report by:
By my count eight axes less than the “Bean” this time a modest five, this multi axis demonstration is an adaptation based on a Mark Sfirri turning. The intention is to portray squeezing the last drop from the bottle.
Dick started with a piece of Taraire (Beilschmiedia tarairi)100mm square by 270mm long. The SAWG Beginners Guide to Woodturning states about Taraire “May be described as a slightly pinkish tawa and some heart wood can be brown. Turns easily and polishes well.”
Now from here on this report is a rather easy affair and you have two options you can skip to the Projects page and down load the PDF titled “The Last Drop” here Dick has again provided yet another excellent resource sheet, or plough your way through my ramblings.
At one end mark centre on the other end markout and then label the five axes A through to E all these are marked on one diagonal, for a very accurate layout a knife instead of a pencil may be utilised with the use of an awl to mark the locations.
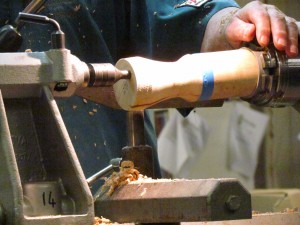
Mounting the blank in a 100mm chuck down to round for roughly half of the blank to approximately 65mm being the size of the base of the selected bottle then part off 100mm up from the base with a double cut to form the base of the box.
With the remaining piece still in the chuck form the lid of the box, check squareness of the inner rim of the lid of the box with a straight edge against the bed of the lathe to ensure a good fit.
Mount the base in a chuck with some form of protection Dick used a piece of drain pipe, hollow out the inside, if using a forstner bit check there is enough remaining wall space verses the forstner bit selected size. With a freshly sharpened bit keep the bit moving when drilling and ensure shavings are exiting, turn the handwheel reasonably quickly.
After hollowing out, tidy the inside base of the box with a Soren Berger or tool of choice. Next fit the lid to the box.
The following is the order for mounting B,A,C,D and E.
From this point on it may be easiest to refer to the project sheet, moving the piece between the various axes forming beads and coves on the neck with sharp crisp connections, along with the cap the bottle started to take shape. During these stages one could be forgiven if the connections between the various axes left them a little contemplative but by the time the final cut was made on axis E everything fell into place and the last drop emerged.
Another well executed, informative, fun demo – thanks Dick.
Project Sheet :The Last Drop
