Club Meeting: 16 June 2021
Report by: John Young
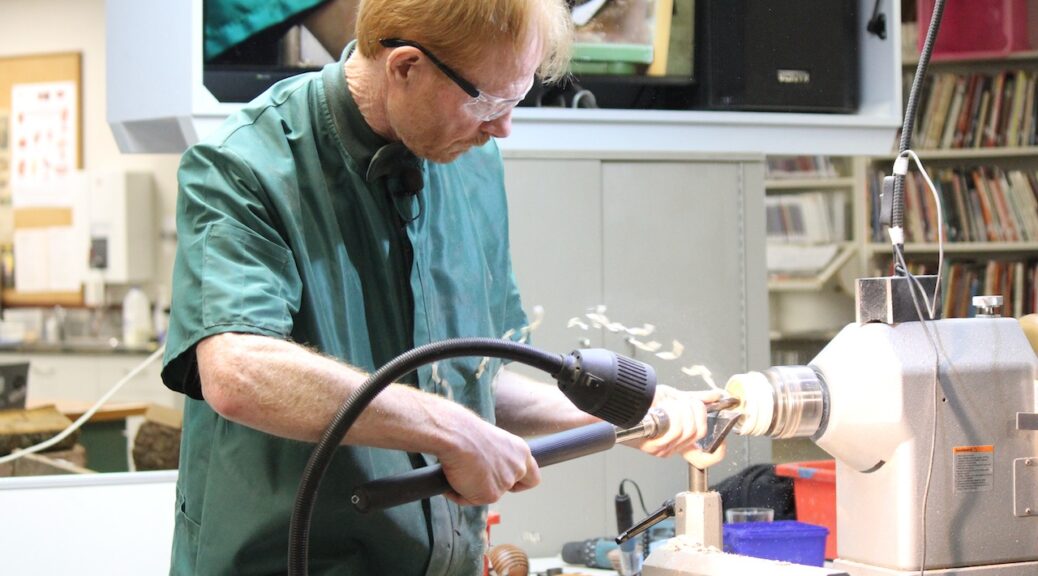
Andrew had kindly come down from the North Shore club. His plan was to demonstrate a Butterfly box with a unique twist. A slot, cut right through the middle. After showing some examples of previous work, he got straight into it.
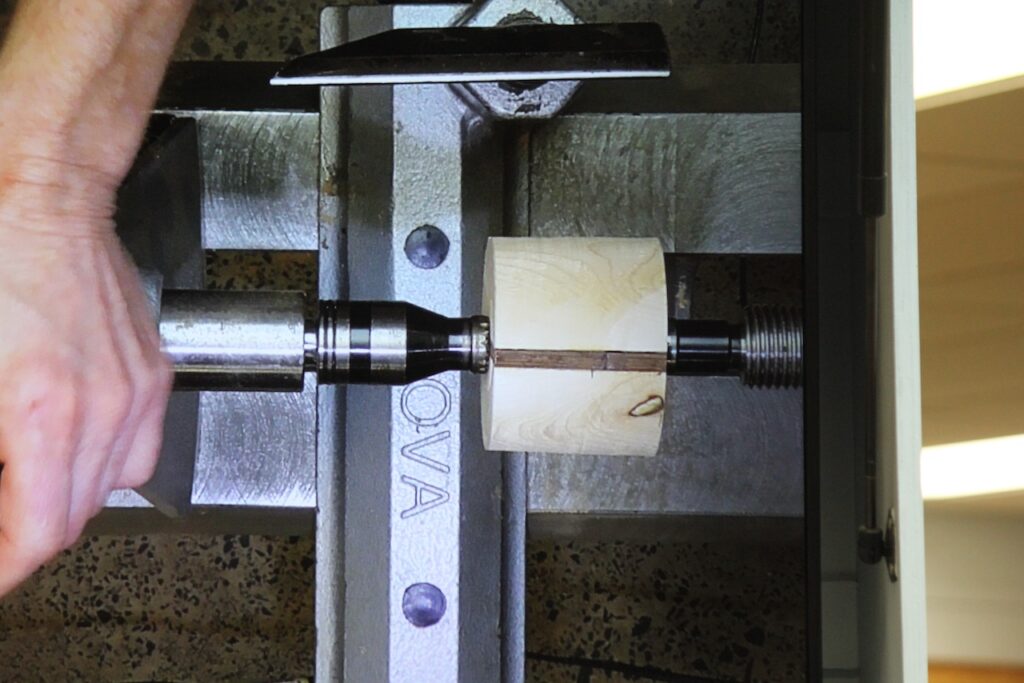
He started with a laminated block of Maple and Wenge, which had already been rounded. The dark strip of Wenge was wedged between two pieces of pale Maple, providing a nice contrast.
The block was fitted between centers. A spigot was cut on one end with the skew chisel.
The block was then mounted in a 50mm scroll chuck and trued up with the spindle roughing gouge.
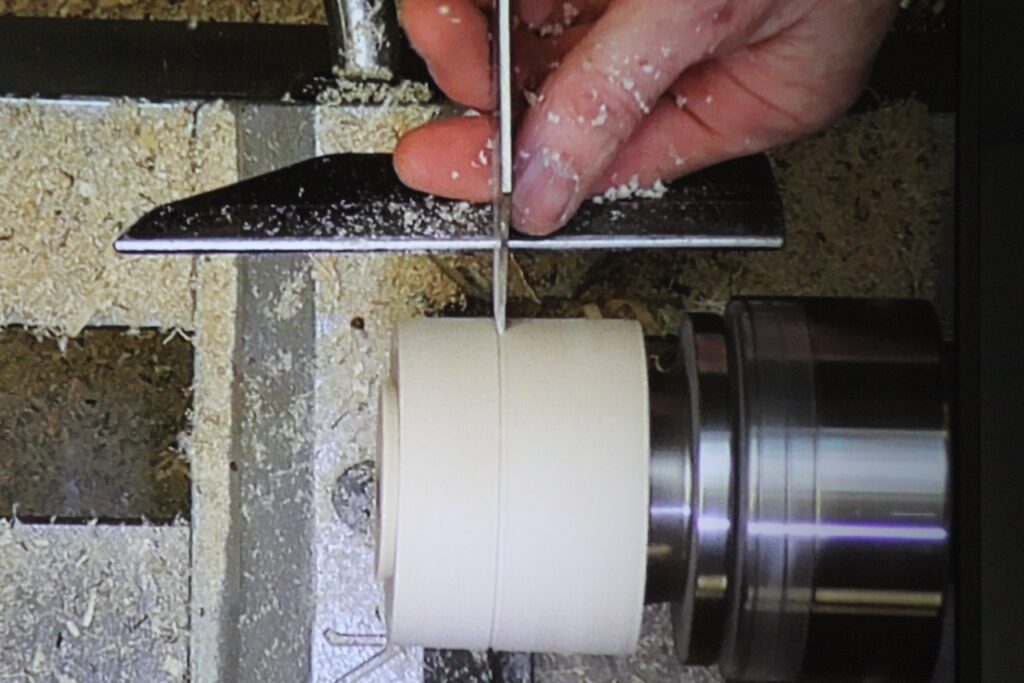
A spigot was cut on the other end, again with the skew.
The lid was parted off with a thin parting tooland set aside to complete later.
Andrew proceeded to cut three small beads in the bottom of the box, with his 6mm skew.
Above the beads he cut a small rebate with the roughing gouge, so the beads would pop out.
A thin rebate (2mm) was also cut for the lid.
Cutting the slot
To start the slot, Andrew used a 3mm wide grain tooth. (A custom tool, ground from an old woodworking chisel).
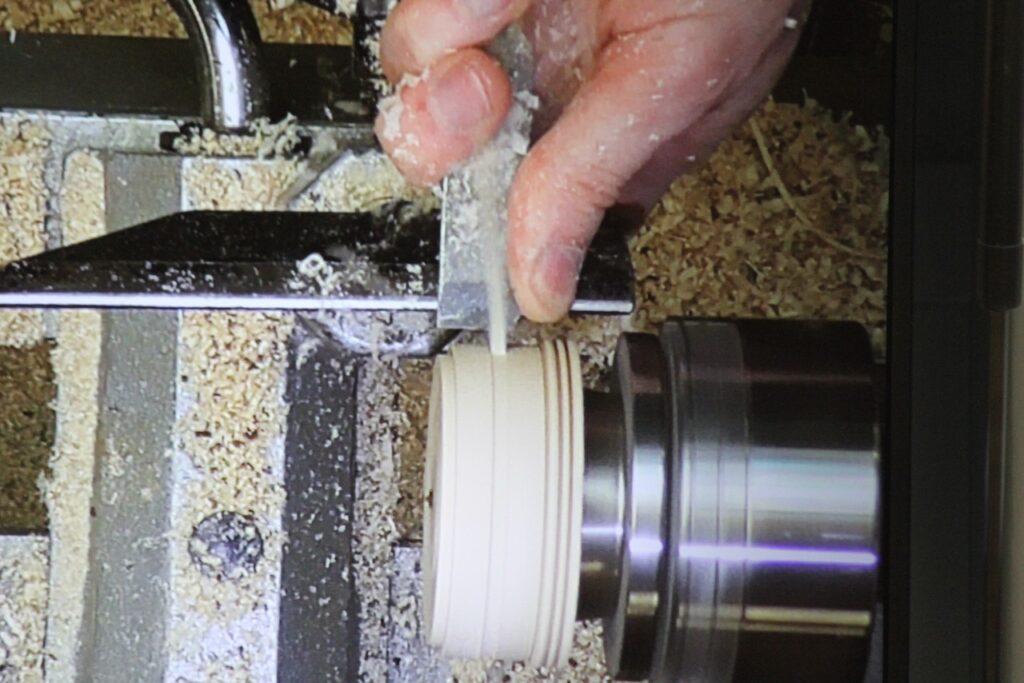
He plunged the tooth in a few mm, to cut a shallow groove around the entire circumference.
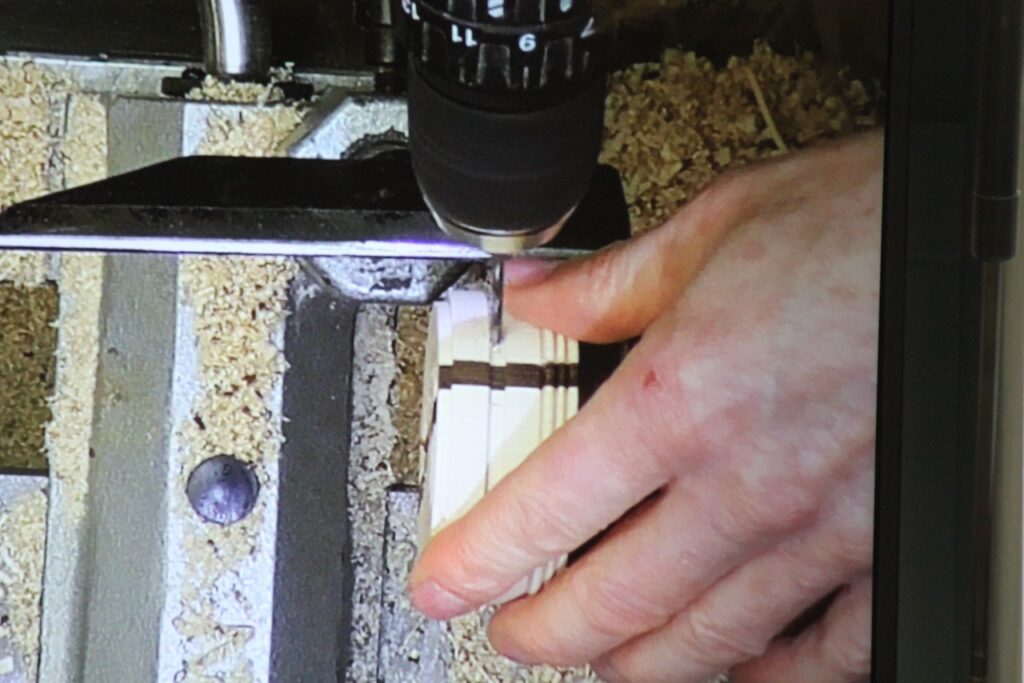
Two guide holes were then drilled5mm oneither side of the Wenge strip, using it as a guide.
The drill holes were to mark where the slot would start and finish (on each side). A third hole was drilled to help clear out space for the jigsaw blade.
Before cutting the two slots with the jigsaw, the inside was hollowed out with a cup tool hollower. The interior sides were tidied up with a parting tool and a bowl gouge.
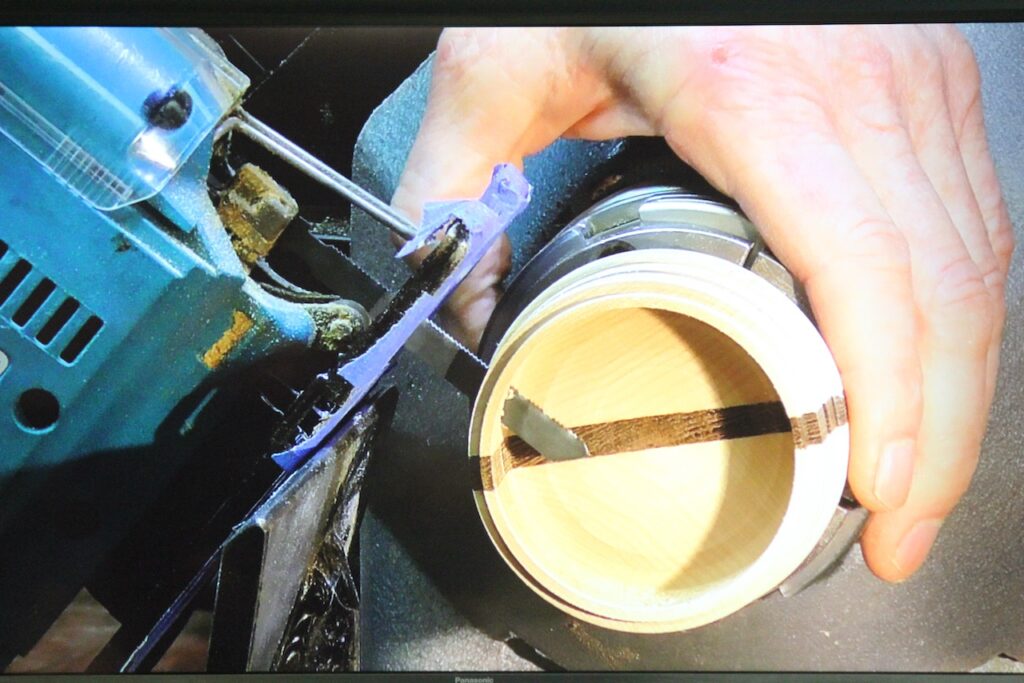
The box was hollowed to a depth of 25mm, to leave enough room for the glass butterfly.
Using the drill holes as a guide, a power carver was used to cut two openings for the jigsaw, on either side of the Wenge.
As the power carver can be very aggressive, Andrew recommends inserting the carver into the drill holes before turning it on. Then switching it off before you withdraw from the cut.
Now that two small openings have been created, the jigsaw blade can be inserted to cut the two slots out fully.
The jigsaw was rested on the tool rest, and kept stationary as the box was slowly rotated by hand to fully cut out the two slots.
A folded piece of sandpaper was then used to tidy the grooves.
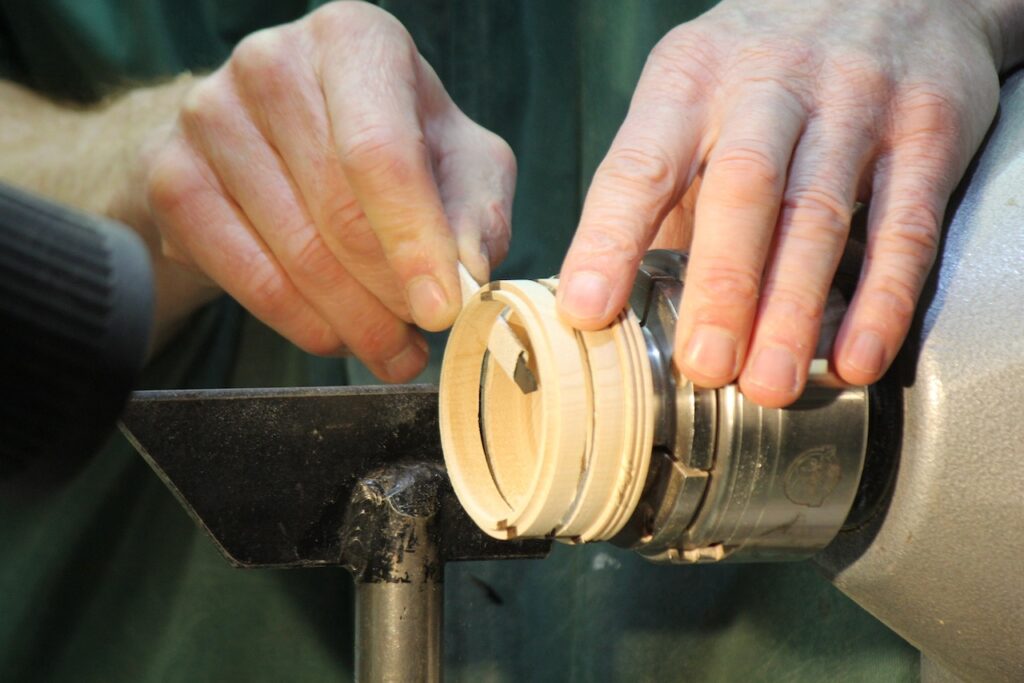
With the bottom nowmostly completed, the lid was mounted in a scroll chuck to complete.
Three beads were cut into the lid with the skew chisel.
Again, a small rebate was cut to make the beads appear more pronounced.
The inside of the lid was hollowed with the cup tool hollower, with a parting chisel used to cut a clean inside edge.
After the fit of the lid was checked, the inside was lightly sanded.
The lid was then flipped around and mounted in the chuck in expansion mode. The top was shaped and the spigot removed. A small knob was left on the top to make for easy removal of the lid.
Finishing the bottom.
The bottom of the box was carefully mounted in deep bowl jaws in expansion mode.
The bottom was trued up, then shaped to removed the spigot.
The bottom was shaped with a slight concave so it would sit flat.
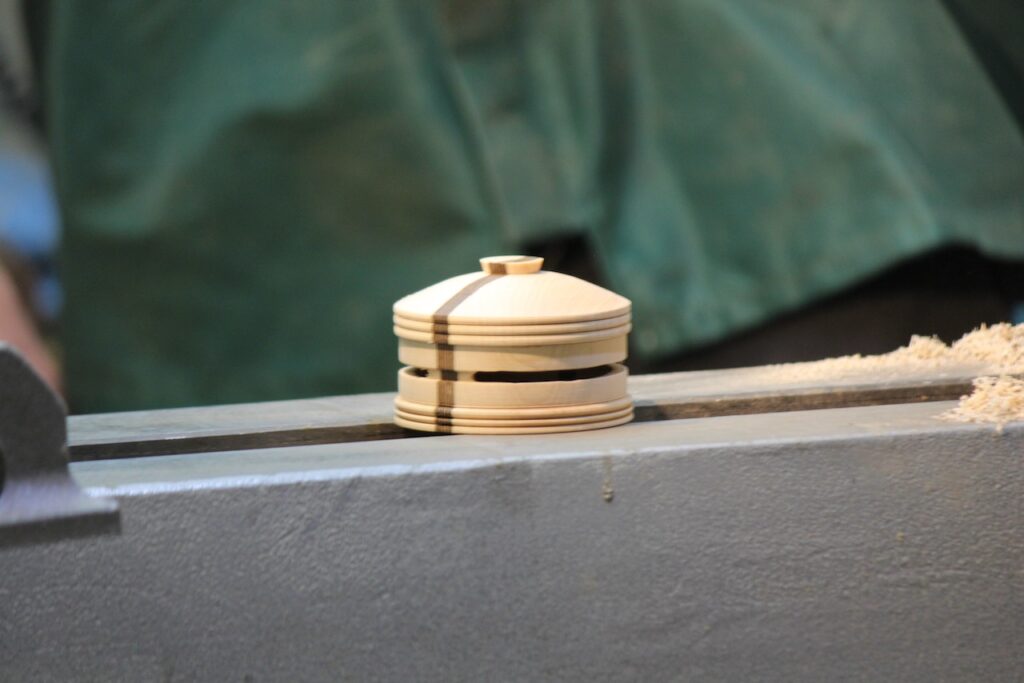
Overall an excellent and highly skilled demo from Andrew, with many great tips for the South Auckland club.
Thanks Andrew.
