Club Meeting: 29th July 2026
Report by: Jacqui Oxenbridge
I’m not sure there is much value in doing a report as the project sheet is very comprehensive, but here it is.
Project Plan: https://sawg.org.nz/sawg/wp-content/uploads/2023/04/Turtle.pdf
Requirements:
150 x 150 x 40mm blank for the shell
40 x 30 x 200mm blank for the body
50 x 50 x 100mm blank for the wheels (or cheat and get 40mm dowel)
Making the body:
The height of the turtle body is 40mm, width 30mm and length approximately 200mm but if your blank is a bit shorter you can adjust the length of the tail.
Mark the centre on one end of the body blank, the other end will go in a chuck.
Using a drill press (or guide to ensure your holes are vertical) drill two 8mm holes in the centre line of the top of the body (that is the 30mm width) for the dowels that will hold the shell. These should be at least 10mm deep. Position the first hole 50mm from the tail end and the second a further 60mm in (110mm from the tail end) – see project sheet.
Now drill two 9mm holes for the axles. These are on the side of the body 45mm from the tail end then add 70mm to the next hole (115mm from the tail end). The holes should be centred at 10mm from the base – see project sheet.
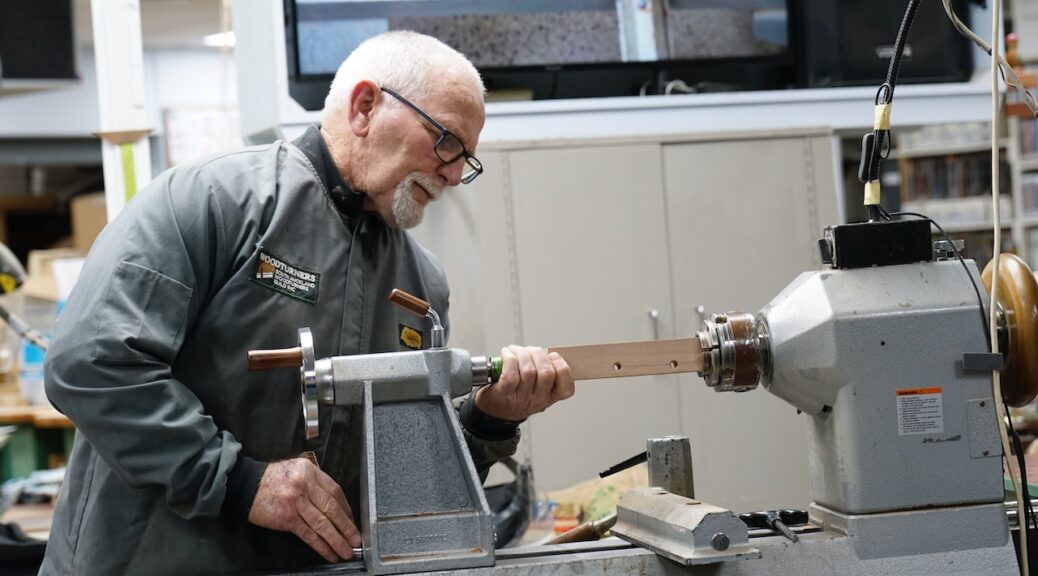
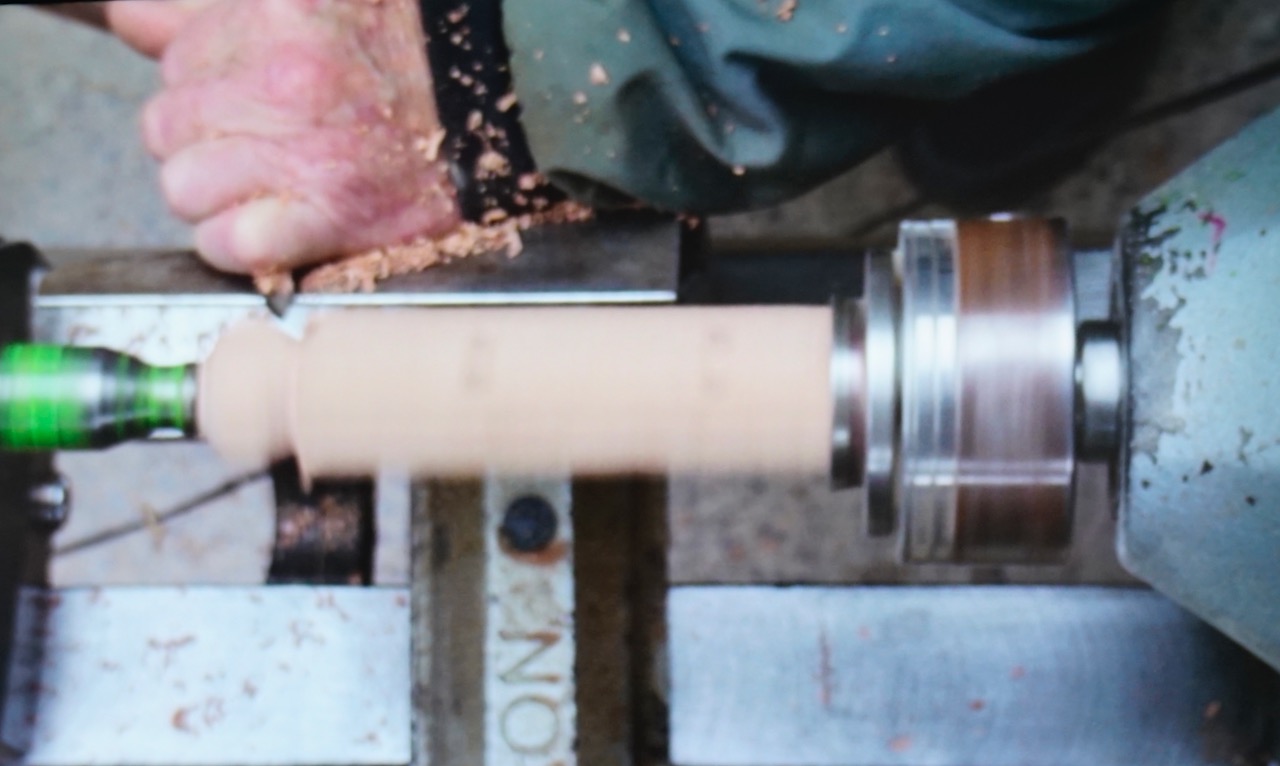
Now mount the tail end in the chuck. Bring the tailstock up to the centre mark on the head end, tighten the chuck and turn the head round – leaving the sides flat for the eyes, mouth and to put the pull cord through. Turn the shoulders. Remove the tailstock to finish shaping the head. Paint or draw on the eyes and mouth and drill a hole for the string. This is towards the front of the base of the head – see project sheet.
Use a bandsaw or Japanese saw to shape the tail.
Push the 8mm dowel into the two holes on top of the body and cut off approximately 10mm above the body to attach the shell. Add the pull string and secure (important that no parts can come off for a child to swallow).
Wheels:
Either use the 50mm x 50mm blank and turn it round or use the 40mm dowel. Mount in a chuck (turn a spigot if using square blank) and dress the end of the wood then sand. Bring up the tail stock and part off an 18mm wide wheel. Sand the parting on both sides. Repeat three more times.
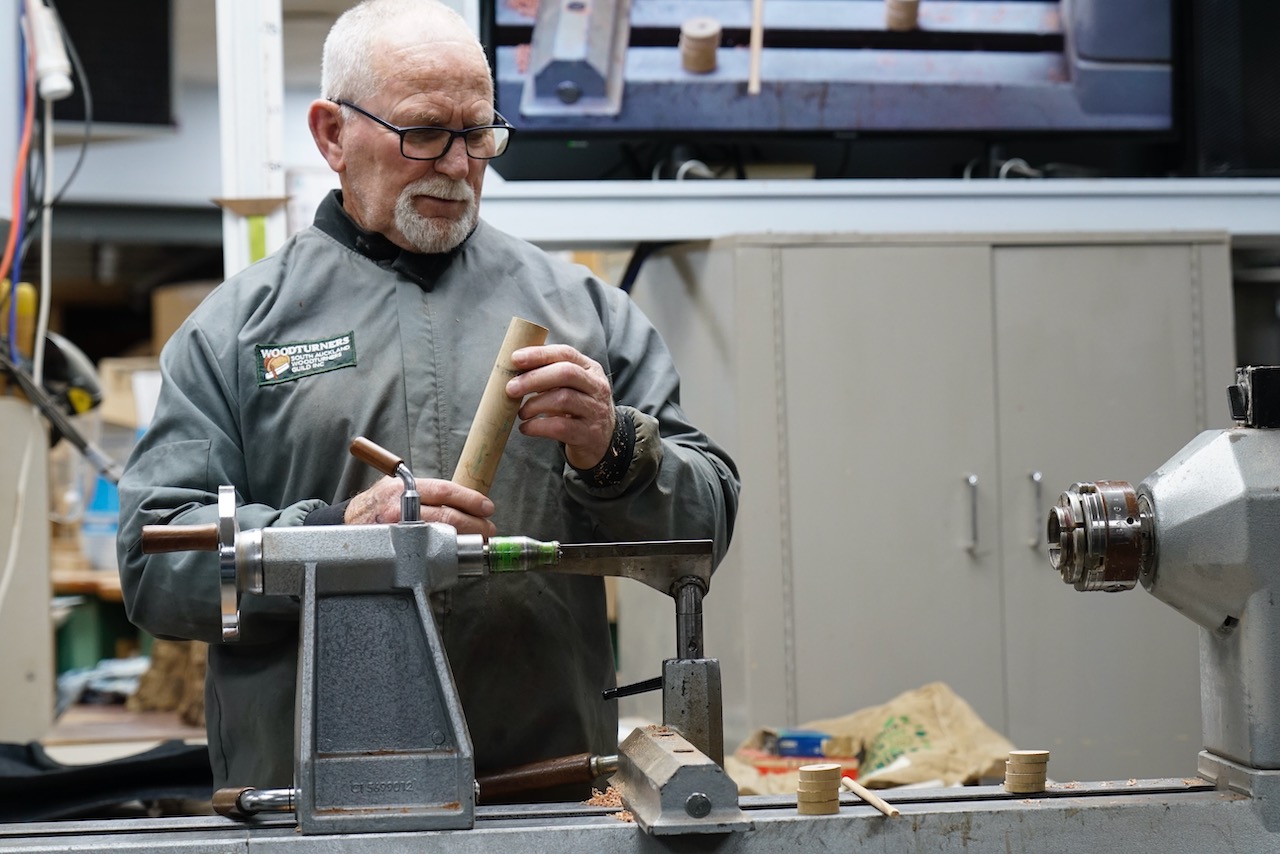
Note: if you want to add “tyre treads” using an embellishing tool, this should be done before parting the wheels.
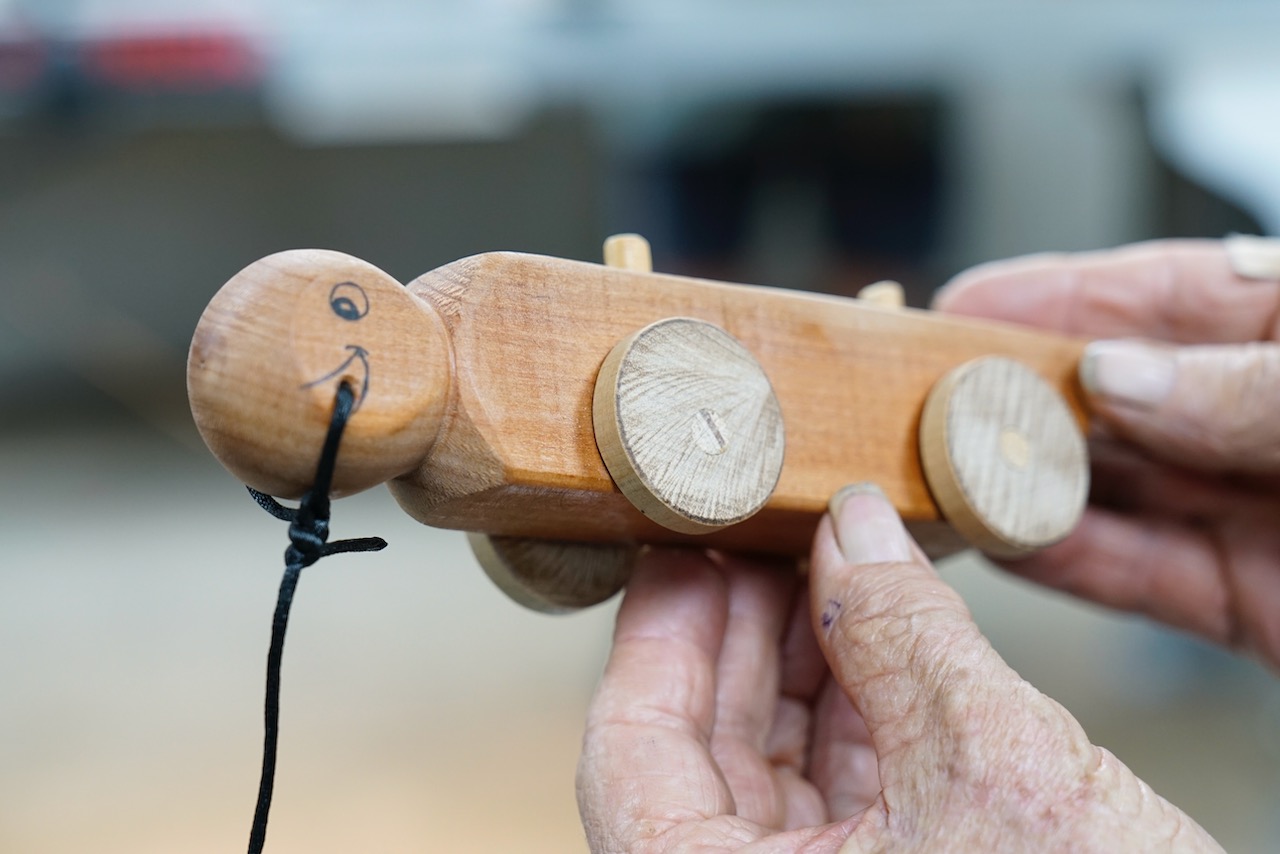
Mark the centre on each wheel (if using red Nova centre finder, use the 45o side as 90o side doesn’t work). Now offset each hole by a couple of mm so the turtle will wobble as pulled along – see project sheet. Using the drill press drill an 8mm hole through the offset point at 90o angle. Sand. Paint if desired. Put axle through the body and glue on the wheels at each end.
Shell:
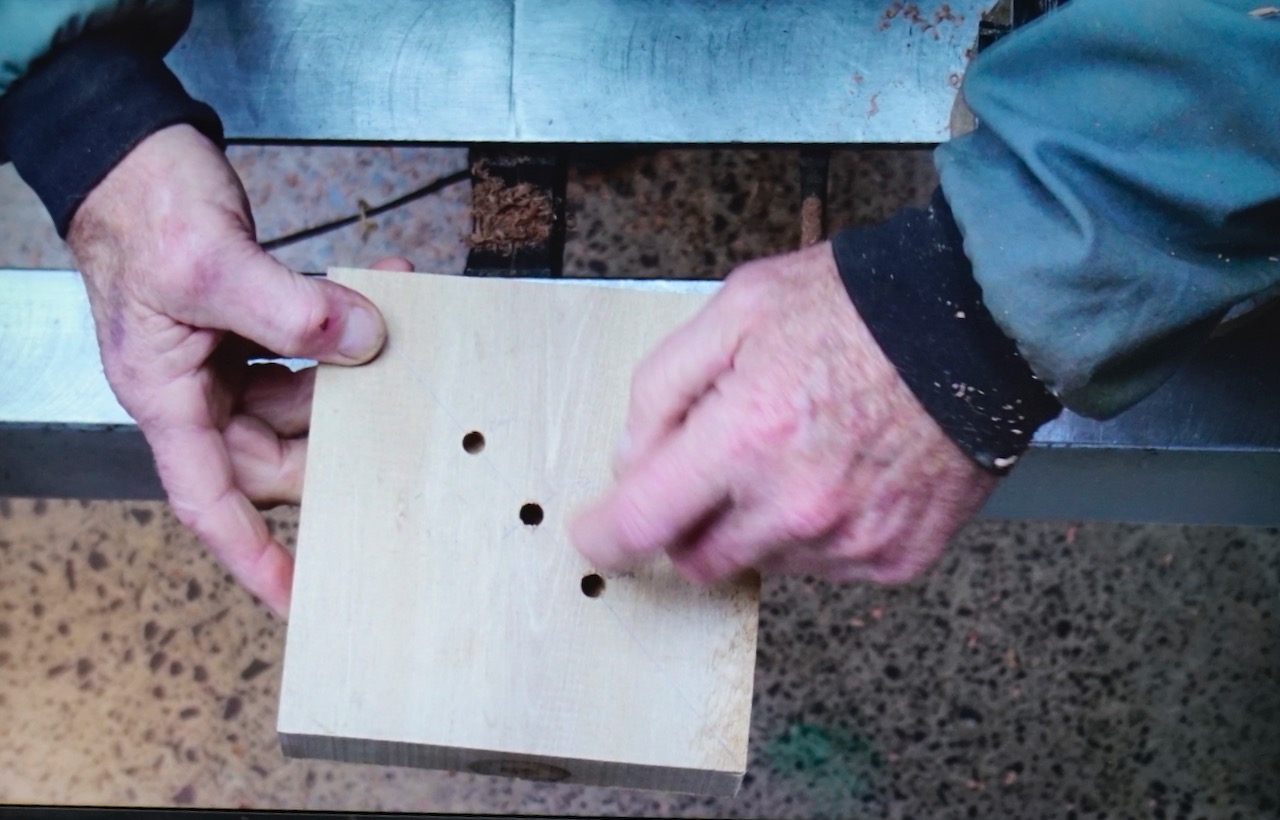
Find the centre of the blank. Mark a diagonal line through the centre and mark 30mm either side of the centre for the dowels.
Drill an 8.5mm hole in the centre for a screw chuck. Drill 8mm holes for the dowels to hold the shell to the body.
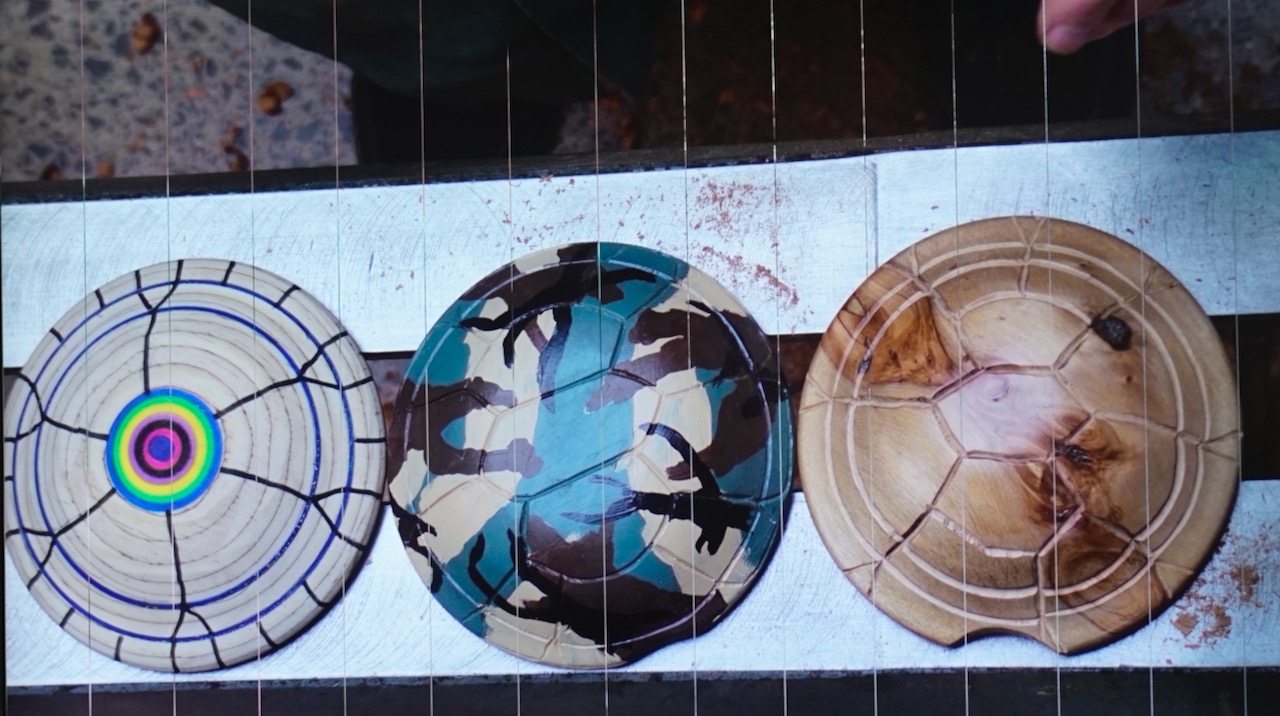
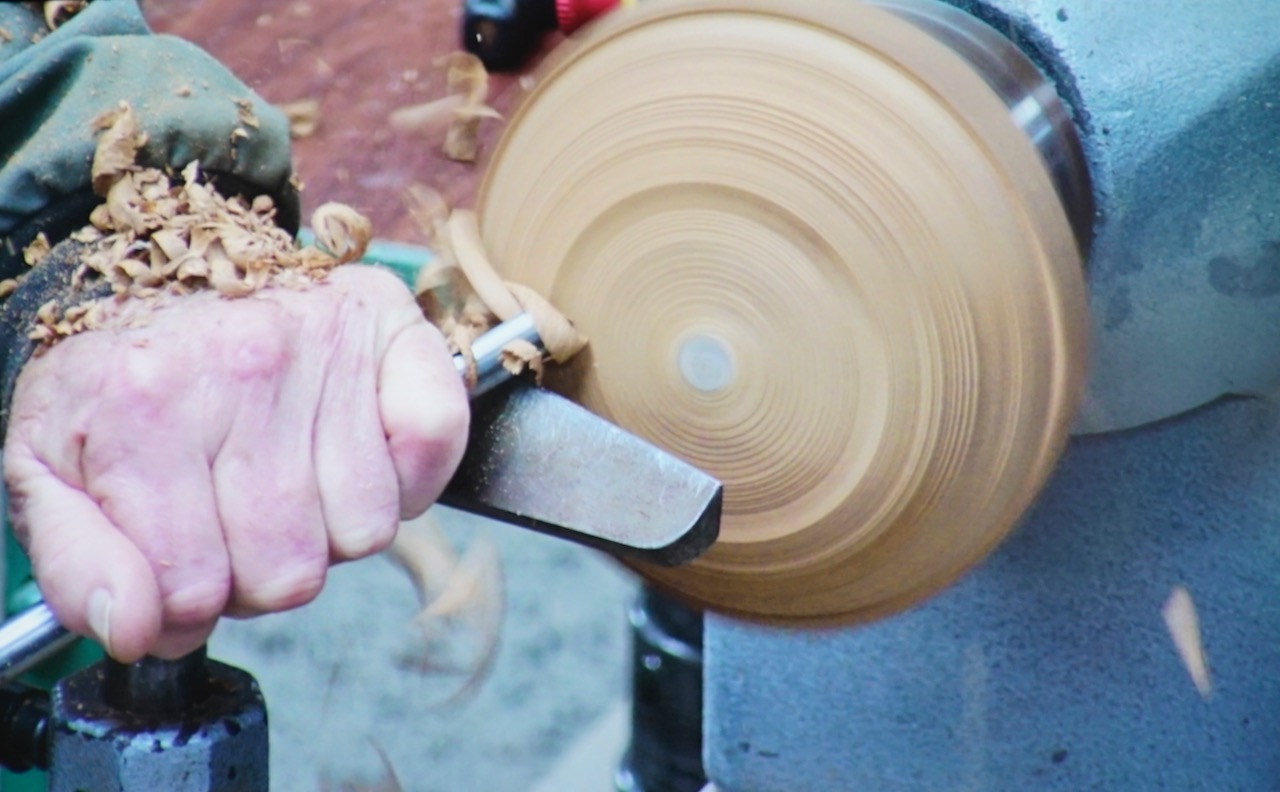
Round the blank, turn into a flying saucer shape. Undercut slightly. If you wish you can remove a portion of the edge (in line with the dowel holes) so that the shell sits nicely over the head. Sand. Now the shell is ready to draw, carve or pyro a turtle pattern on top (can get a pattern from Pinterest).
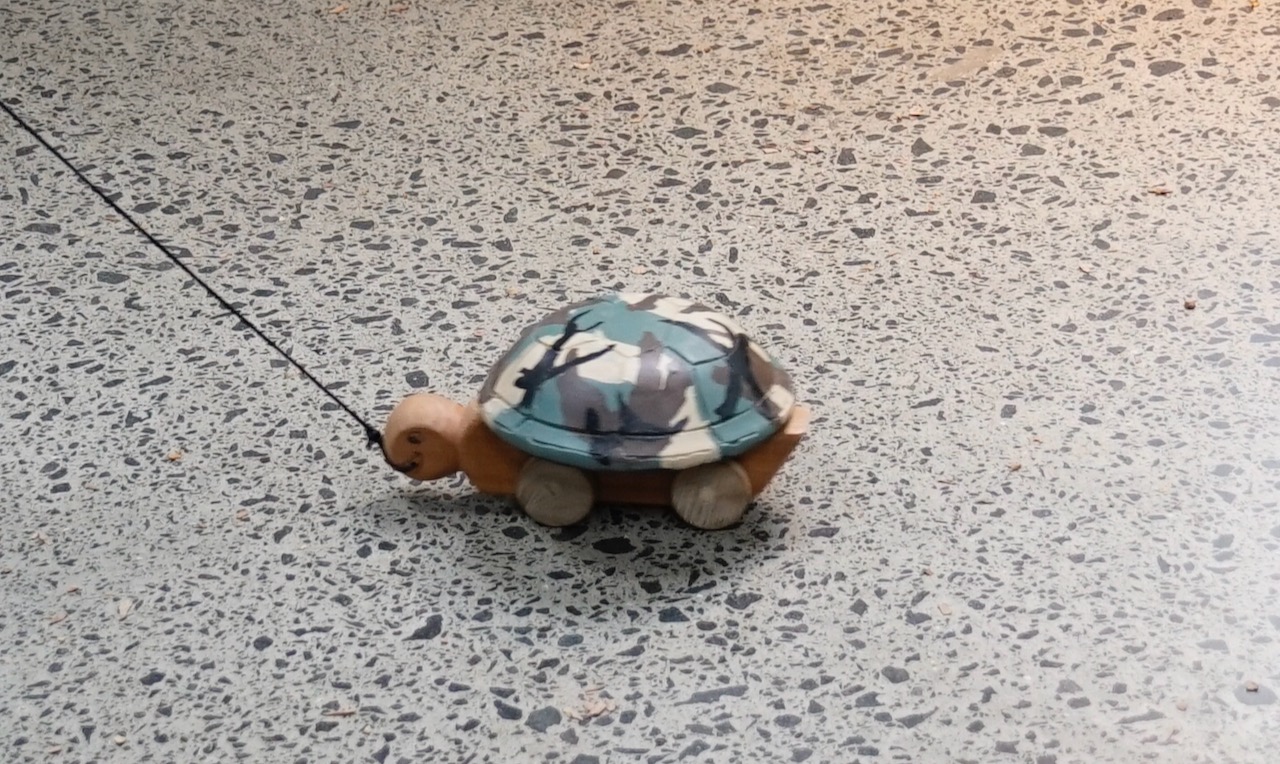
Put the shell on to the dowels and once happy with it, glue the dowels into the shell and the body.