Club Meeting: 5th August 2026
Report by: Matthew Brown
There was a good turnout at the club to see what our resident Kris Kringle was going to demonstrate. With a little model Santa Claus placed at the end of the presentation table, plus a box of secrets, Dick started the demonstration.
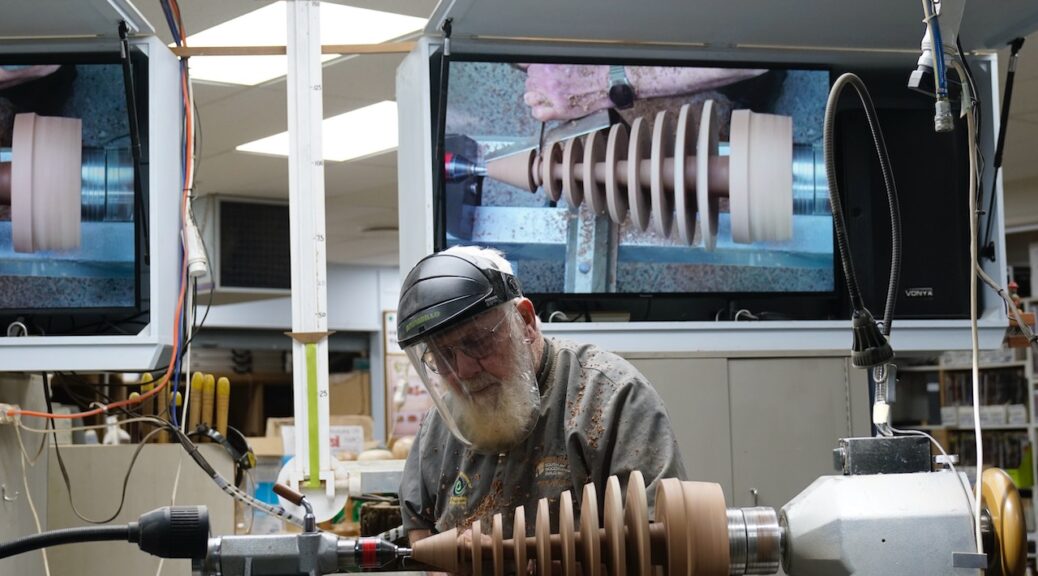
He revealed his 70% pre-turned Christmas tree made of pohutukawa. Approximately 400+-mm x 250mm at the base in size, he commented this wood was particularly hard, and it had given him a good work-out of about 5 hours to get it to this level. The Christmas tree already had it’s base, plus 6 of the branches leaving just the cone at the top awaiting its last few layers.
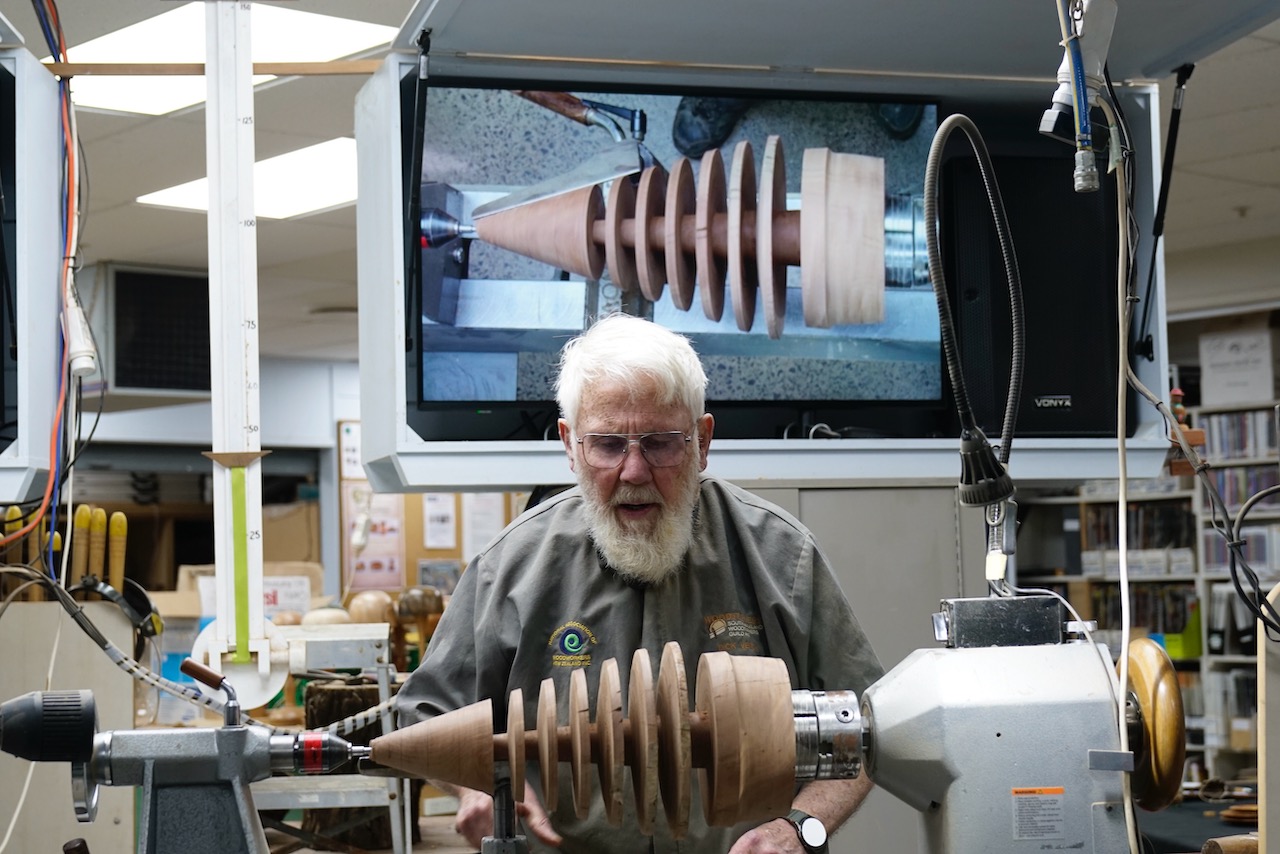
He mounted the base into a 100mm chuck and into a live centre in the tailstock. Using a parting tool and starting at approximately 800 RPM, increasing the speed once he had confirmed it was stable.
Note the central trunk of the tree reduces in diameter with each layer as it nears the tip of the tree. He angled the parting tool rather than cutting straight in at 90 degrees to create a chamfered effect to each individual branch layer.
He turned an additional 3 layers of branches using the parting tool, but the top was turned to a fine tip using a bowl gouge, but leaving the recess in the tip. Using the same gouge, he rounded over the rims of the individual layers, adding to the effect.
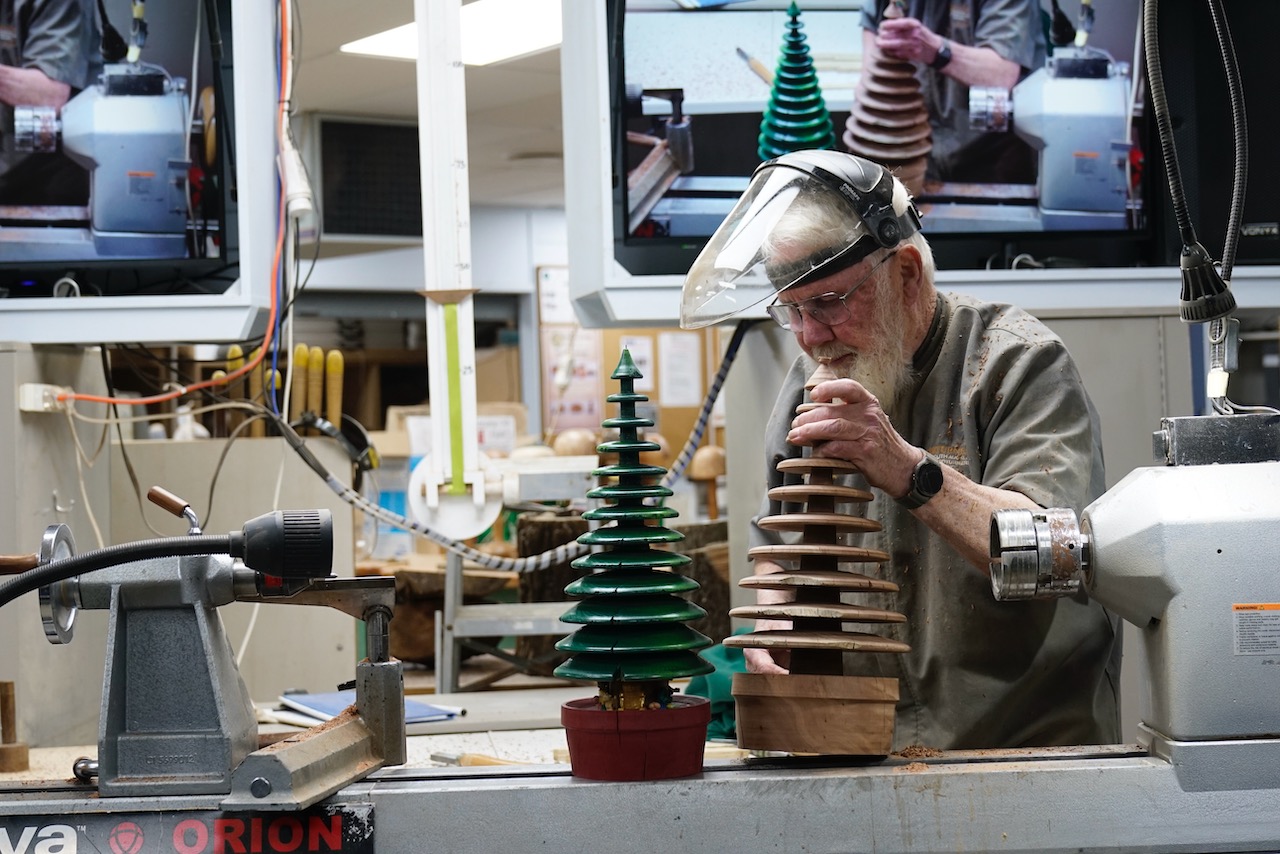
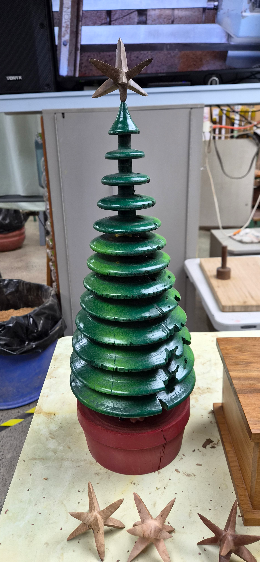
Remembering back to our Blue Peter watching days, Dick pulled the classic “here’s one I made earlier” move as a finished example was brought out on display. It was complete with 2 tone spray-painted green branches, a red base and what looked like presents and elves under the tree, it even had fairy lights too!
Making an 8 Pointed Star:
Dick took out a 50mm cube and marked it as precisely as he could, the centres and mounted it on a spur drive and used a Sorby drive steb centre on the tail stock using the pre-marked holes. The plan is to create a V shaped cut, dead in the centre of the cube, leaving an approx 22mm shaft. Accuracy is crucial so Dick brought out a handy clipboard/bookrest type of jig with a V printed to scale on a piece of paper that was positioned behind the piece. He positioned it directly in his line of sight as a reference point as he turned the V shape using a spindle gouge at 2000rpm. When asked by Terry, Dick advised that it didn’t really matter if you turned it end grain or cross grain first.
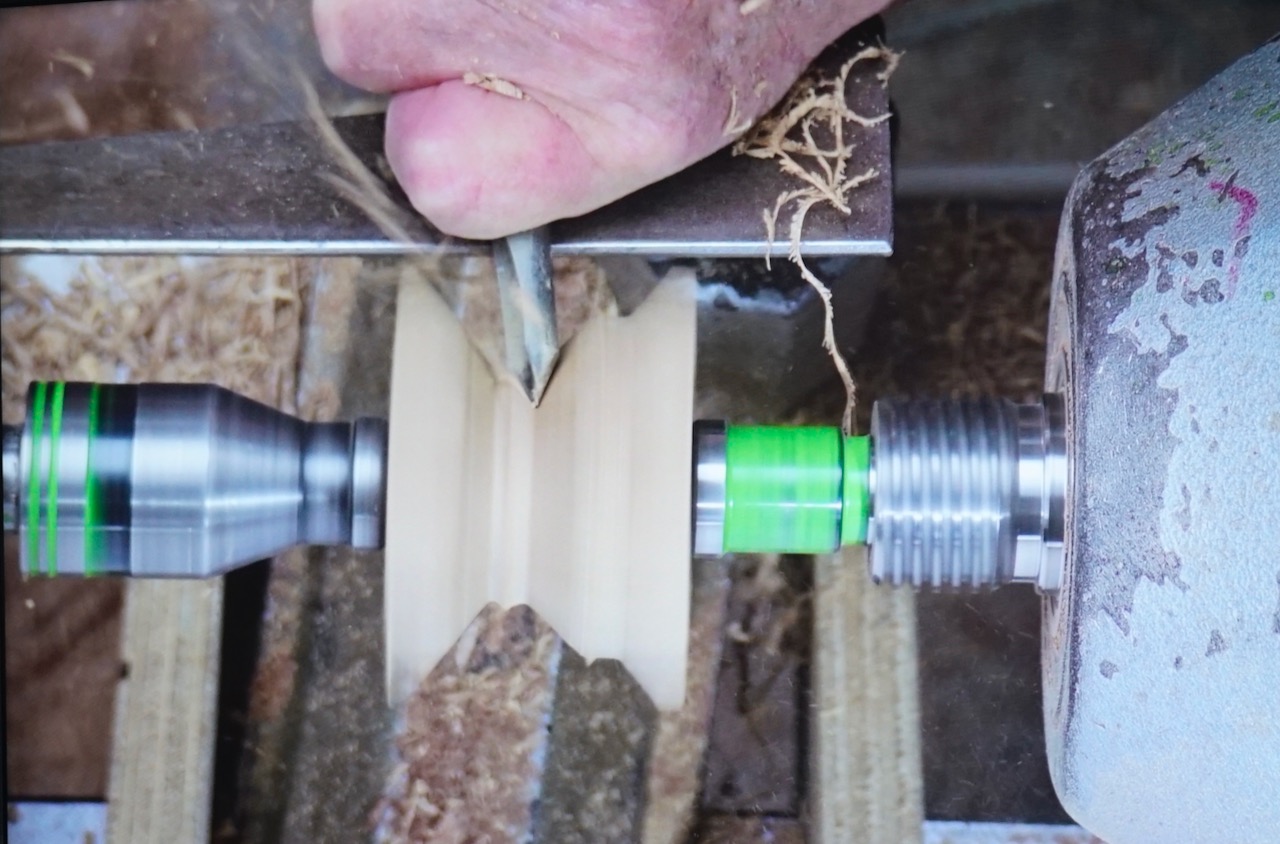
Once the first V was completed you could see a rudimentary 4 points, now the trick to make the other 4.
Dick showed us that he had brought 2 pieces of timber that had convex shapes sanded into the ends of each piece, that mached the V shape cut in the cube. The cube was turned 90 degrees on its axis, and held firmly between the centres by the aforementioned drive blocks, and the next V was turned again being careful to maintain the same centre and depth of the V as the first one. Once that was done, rotate the axis once again and repeat the V cut to create the last points of the star.
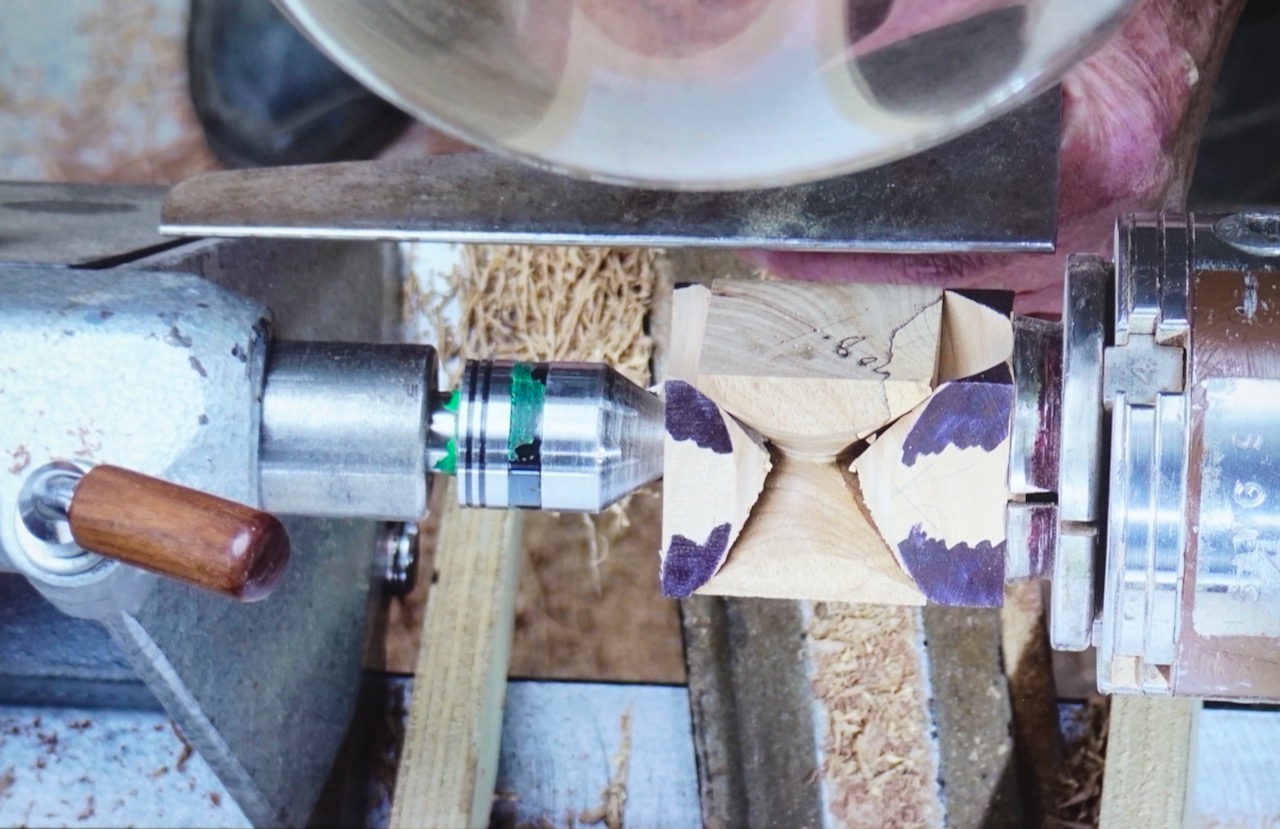
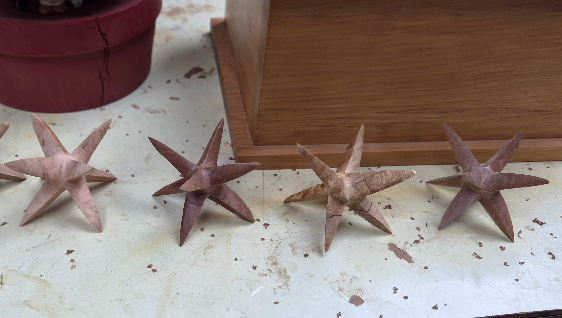
The accuracy of marking the centres and maintaining the same depth of the V’s became more apparent when turning the last V cut in the 3rd axis as a few tips of the star were lost as they became finer and more delicate. Once again, Dick produced another “here’s some I made earlier” moment from his “magic box,” presenting multiple stars for our inspection.
One of the stars took pride of place, mounted at the top of the Christmas tree in the recess left in the tip.
Another great demonstration, thank you Dick, and there’s plenty of time for everyone to get practising for Christmas!