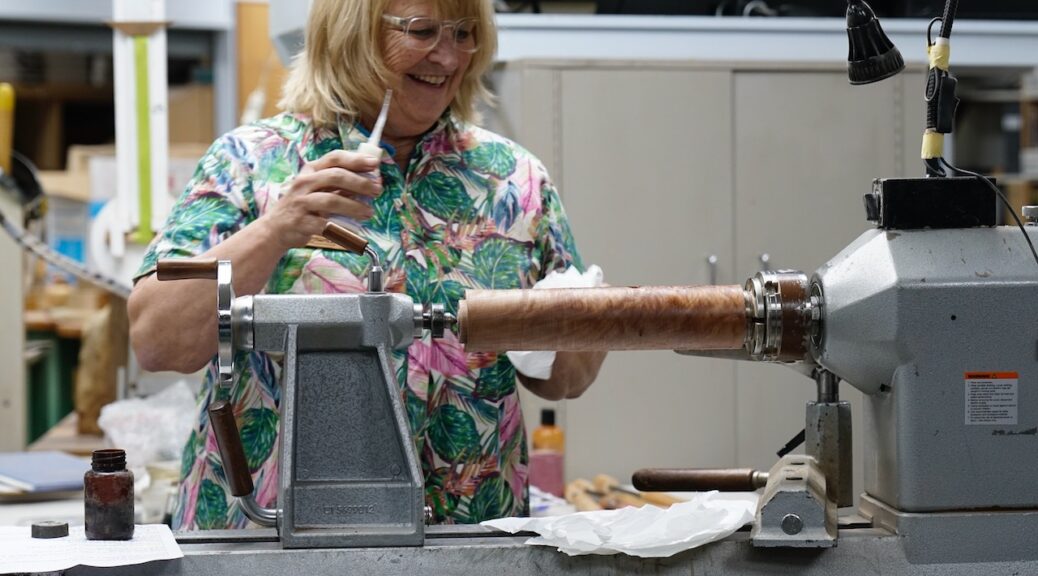
Club demonstration — Wednesday 12 August | Presenter: Julie Gannaway (North Shore Woodturners / NAW)
Overview
Julie ran through a range of simple, low-cost ways to fill cracks and voids and to add decorative inlay to turned pieces — from everyday coffee grounds through to metal powders, coloured micro-pigments, and inlaid wire. The session was explicitly framed as experimentation rather than a single “correct” method: several techniques shown had mixed results on the night, which Julie treated as useful material in its own right. Samples up to ten years old, including well-used cheese boards and outdoor pieces, were passed around to show how each technique holds up over time.
Materials & Tools
| Material / Tool | Notes |
| Ground coffee | Perked coffee, ground extra fine on a second pass — cheap, dark brown, works with most timbers |
| Cyanoacrylate (super glue) | Fast-curing; used to bind coffee, metal powders and wire; toxic fumes — ventilate and avoid sanding without a respirator |
| 5-minute epoxy | Slower cure, doesn’t generate heat like super glue — better suited to heat-sensitive powders (e.g. aluminium) and bigger voids |
| Metal powders | Brass, aluminium, copper and turquoise (turquoise available in a couple of grit sizes plus a fine powder) |
| Micro/mica powders | Fine-pigment powders (craft/hobby suppliers, e.g. Carbotex) in a wide colour range, used in pyrography or laser-engraved grooves |
| Acetone | Keep on hand as a safety item — releases super glue from skin/tools |
| Application tools | Fine-tip applicator nozzles that come with super glue bottles; a cocktail stick or similar for working powder in (not fingers); insulin-style syringes for very fine, controlled super glue application; a small paintbrush for moving micro-powder |
| Wire (for wire inlay) | Solder wire or copper wire, in a couple of thicknesses |
| Parting tool(s) | Sized to match the wire thickness being inlaid |
General Safety Notes
- Super glue fumes are toxic — work with adequate ventilation.
- Wear a respirator when sanding filled/inlaid pieces, particularly with metal powders.
- Use a stick or similar tool to work powder into glue — not fingers, both to avoid gluing yourself and due to toxicity.
- Keep acetone close by to free glued fingers/tools if needed.
- Seal the surrounding wood before applying super glue — unsealed grain will wick the glue and leave visible stain lines.
Technique 1 — Filling Cracks with Coffee
- Seal the wood around the crack first — unsealed super glue will stain and telegraph through the surrounding grain.
- Use finely ground coffee (perked coffee, run back through the grinder for an extra-fine grind). The dark brown tone suits most timbers.
- Pack coffee grounds into the crack, then apply thin cyanoacrylate (super glue) through a fine applicator tip, letting it wick down into the grounds.
- For bigger voids, pack with sawdust first, then coffee on top — coffee is cheap enough to use generously regardless.
- Avoid accelerator sprays where possible — they can trap voids under the surface that only show up once you turn back into the fill.
- Once cured, rub over with a finger — this grinds the coffee finer still and helps you feel out any remaining fine cracks.
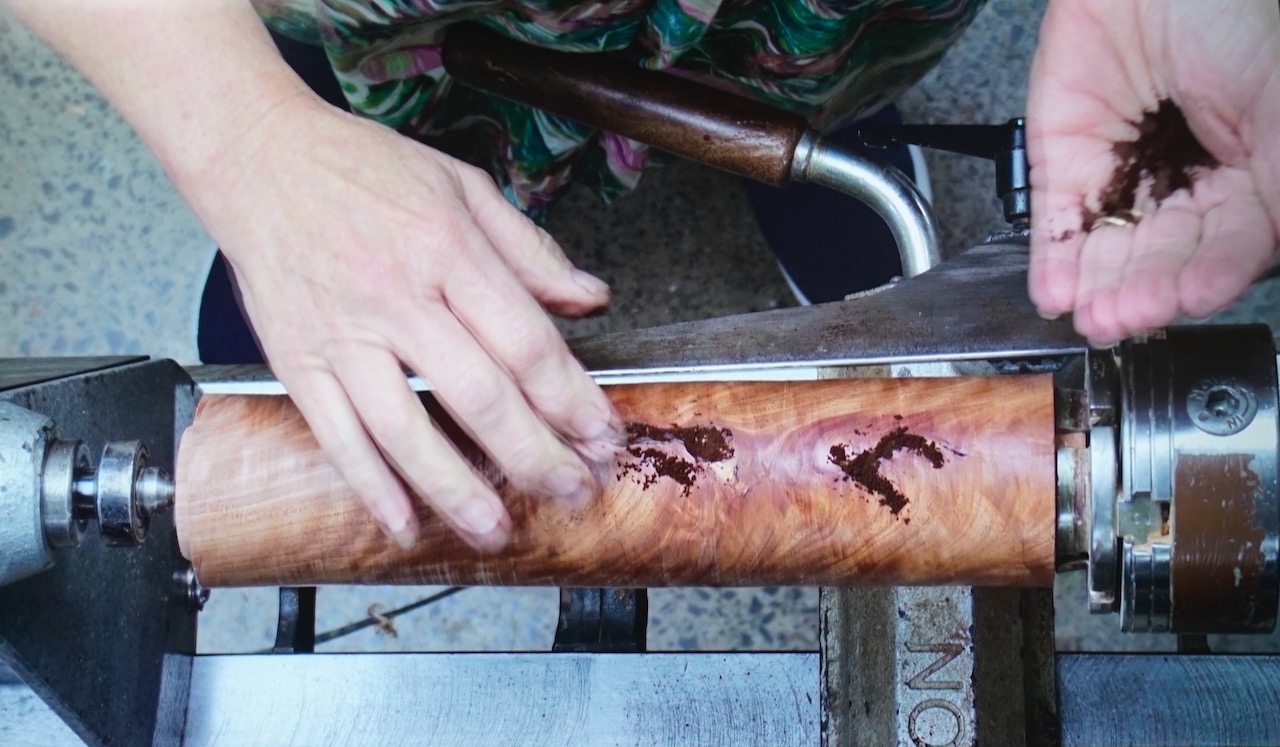
Black-tinted super glue (available from club suppliers) is a simpler alternative to coffee on dark timbers and can read as natural grain. On lighter woods the coffee’s brown tone was generally preferred.
Longevity: samples shown included a cheese board with a ten-year-old coffee-filled crack, still sound after years of use and washing — provided the filled area isn’t load-bearing/structural, as timber movement can eventually reopen a crack regardless of fill.
Technique 2 — Metal Powder Inlay
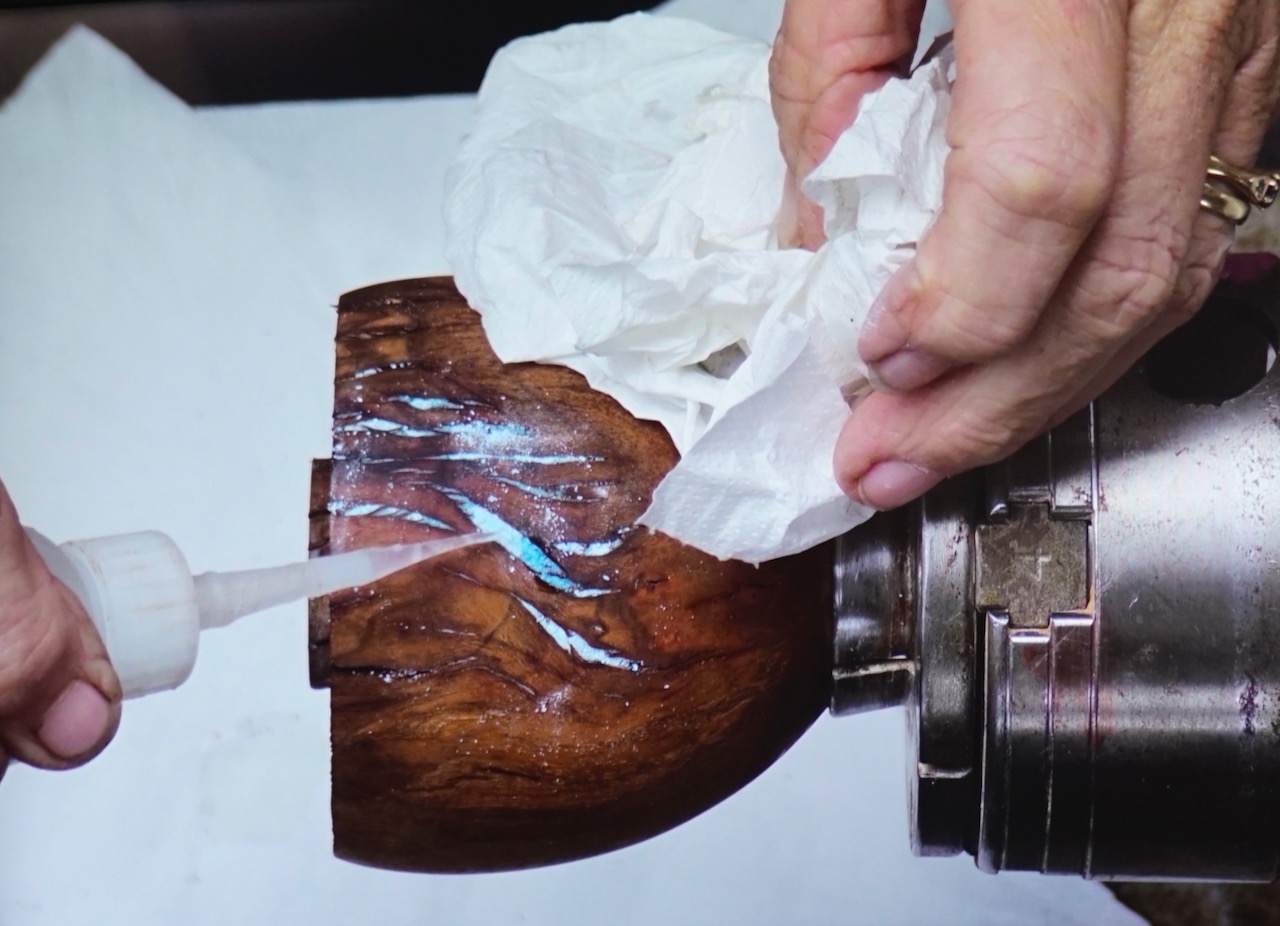
- Available powders: brass, aluminium, copper, and turquoise (turquoise comes in a coarser grit and a fine powder — grit can be used first to fill bulk, with powder used to fill remaining gaps).
- Applied the same way as the coffee technique — pack the powder, then feed in thin super glue.
- Apply in thin layers rather than all at once. Powder applied too thickly can leave a hardened surface film with loose, uncured powder still trapped underneath.
- Caution with aluminium and pewter powders specifically: cyanoacrylate curing generates heat, and can exceed the melting point of these metals, leaving a dull, oxidised finish instead of a bright metallic one. Five-minute epoxy (which doesn’t generate heat) is a better binder for these two powders.
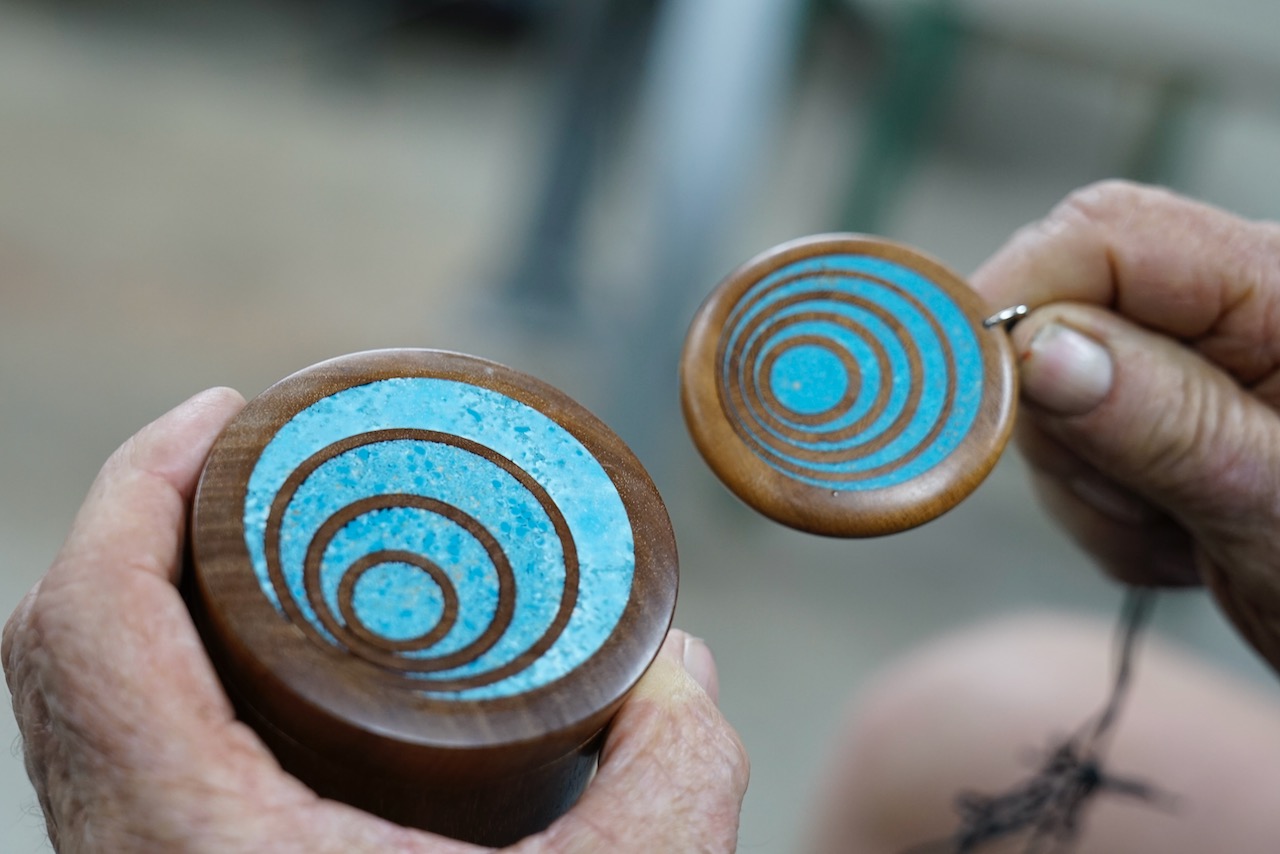
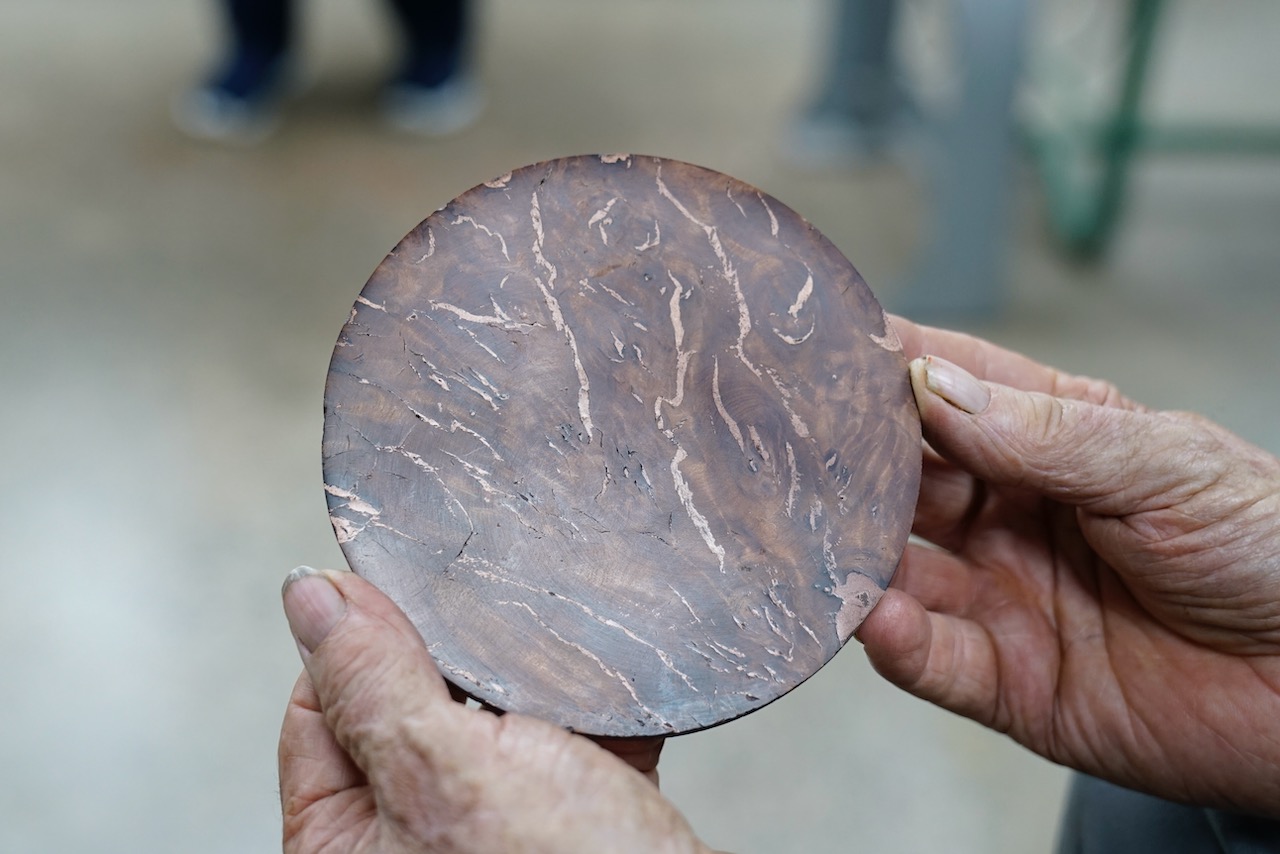
- Copper and turquoise powders were shown as reliable, attractive fillers for burl voids and fissures — examples included a filled burl disc used as an inset panel and a decorative box lid using mixed turquoise grits.
Technique 3 — Micro-Powder (Mica) Inlay in Engraved Grooves
- Cut fine decorative grooves using pyrography, or have a pattern cut with a laser engraver (settings — speed, heat, power — need adjusting per timber species).
- Fill grooves with coloured micro/mica powder (a wide colour range is available from craft/hobby suppliers).
- Bind with either super glue or 5-minute epoxy — both were demonstrated side by side for comparison. Epoxy was found generally easier to control and better suited to larger fills; super glue suited smaller, finer work.
- A small paintbrush is useful for moving and placing micro-powder precisely, since it’s very fine and prone to going everywhere.
- For very controlled, fine application of super glue (rather than a full applicator-tip stream), an insulin-style syringe gives much finer, drop-by-drop control — useful for filling narrow grooves one ring/section at a time without overflow.
- Where a design has multiple colour zones, mask off completed sections before adding the next colour, or work from the centre outward, to avoid muddying colours together.
- Once cured, sand back carefully — excess glue/epoxy on the surface cleans up easily, but avoid sanding through the full depth of shallow grooves.
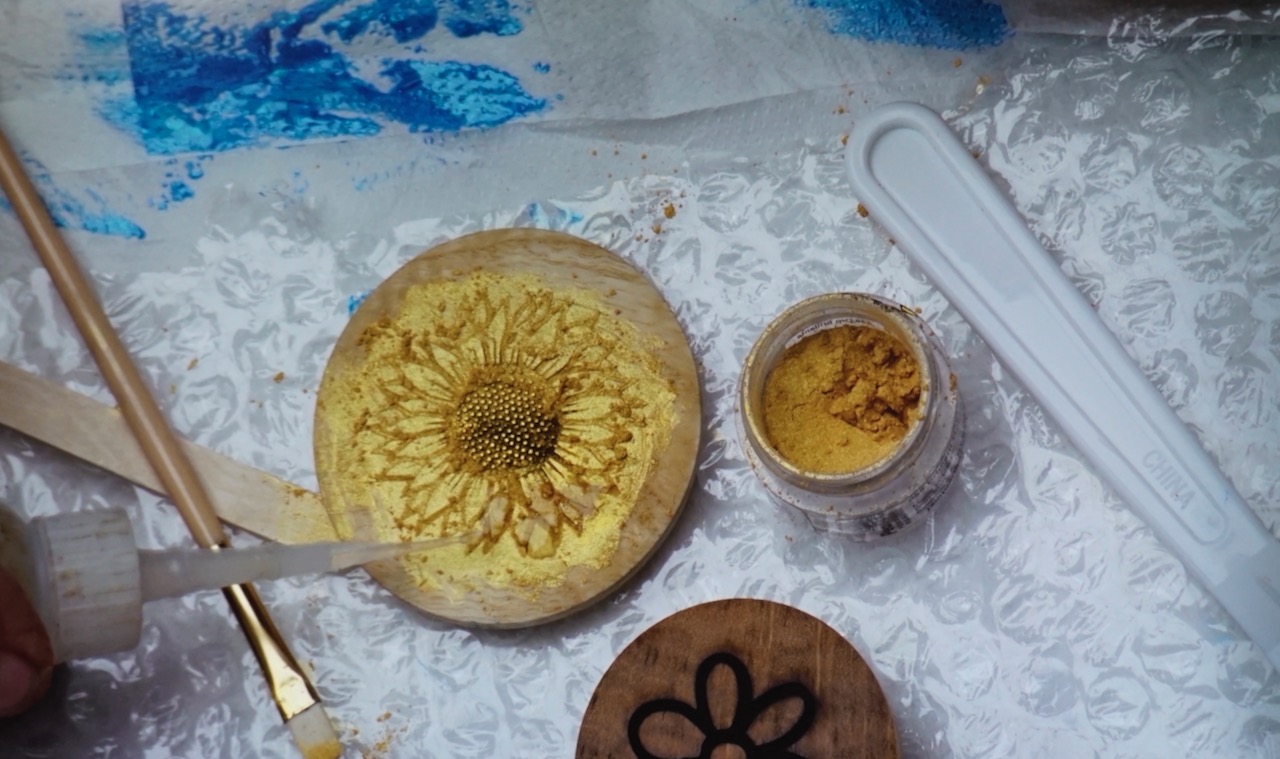
Julie noted this technique is still a work in progress in her own practice — several samples shown had inconsistent results (air bubbles in epoxy fills, colours bleeding between sections), included deliberately to show realistic outcomes rather than only best-case results.
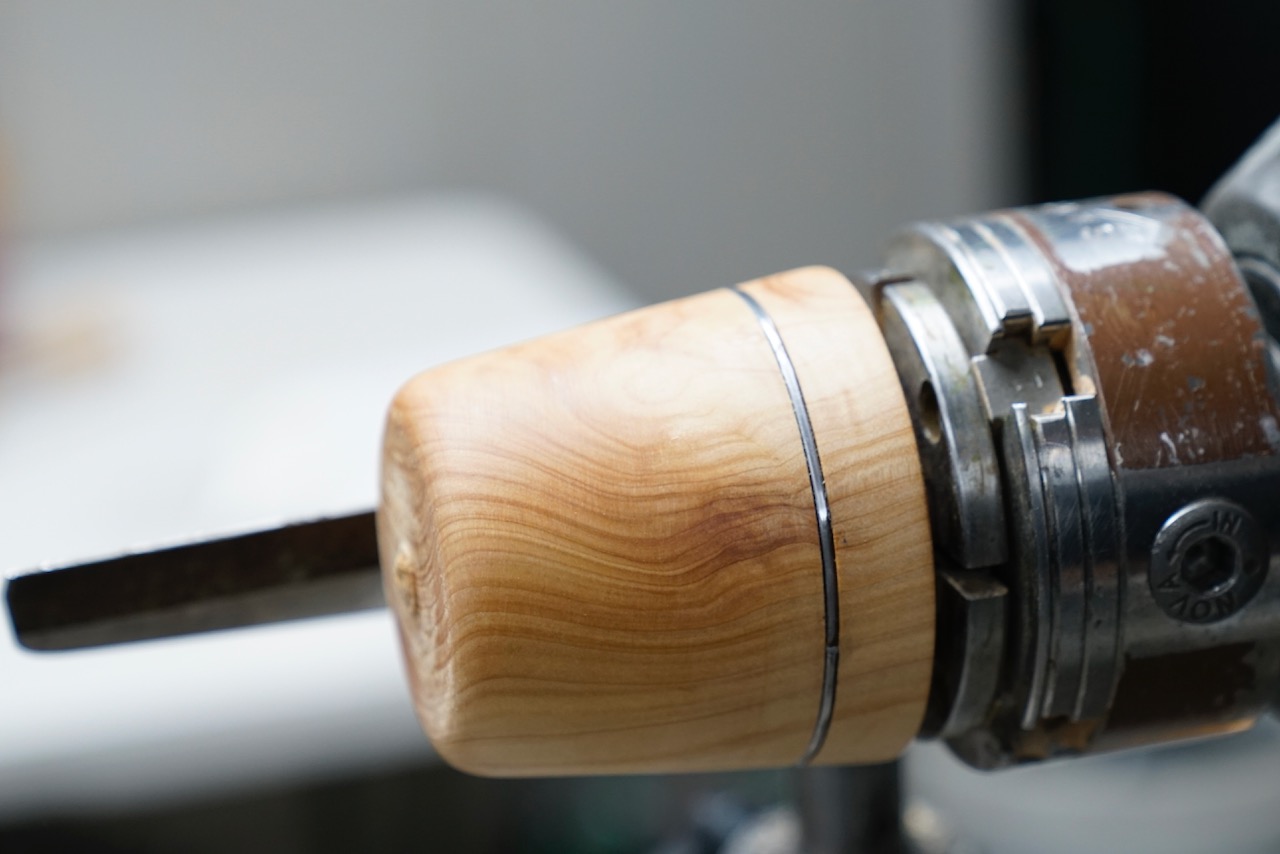
Technique 4 — Wire Inlay
- Select wire (solder wire or copper wire both work; two thicknesses were shown).
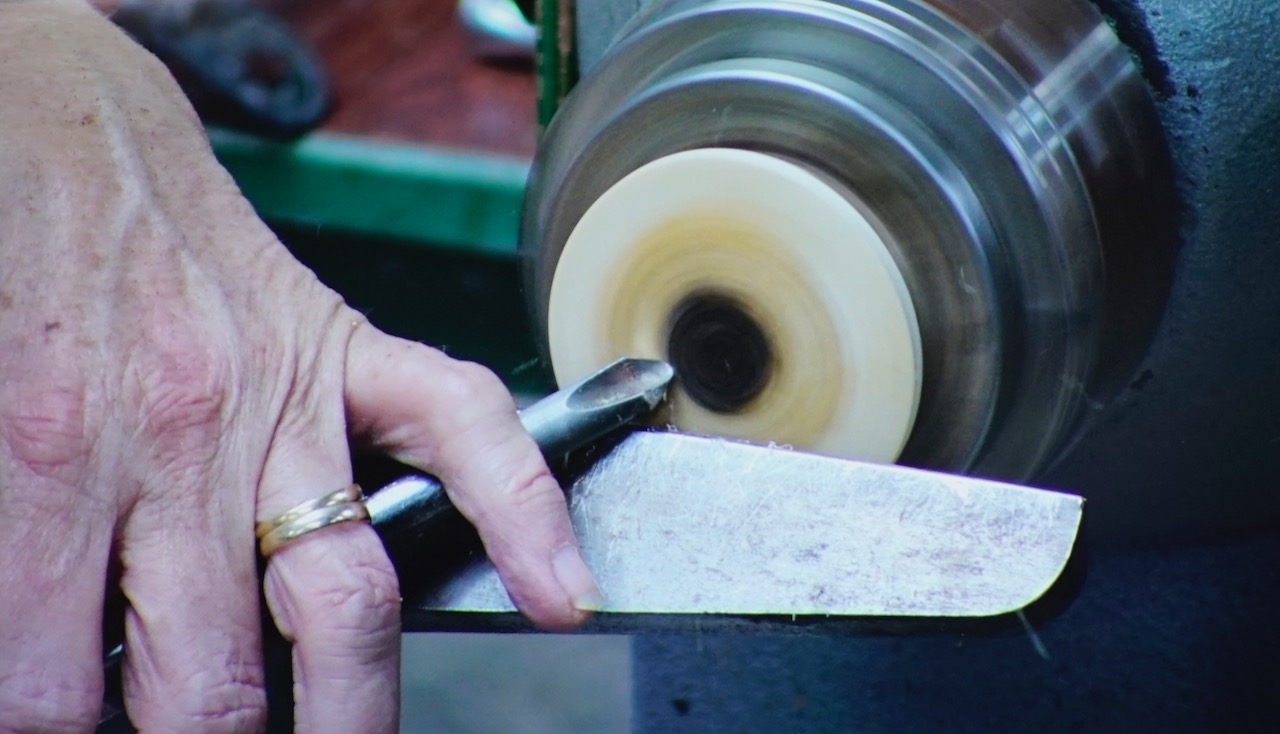
- Measure the wire’s thickness — this determines the groove size needed. Cut the groove slightly bigger and deeper than seems necessary, as it typically needs to be more generous than expected.
- Cut the groove using a parting tool sized to suit — have a couple of parting tools of different widths on hand to match different wire gauges.
- Seal the wood before gluing (as with the other techniques).
- Lay the wire into the groove with super glue, working it in with patience — the first section takes a moment to tack down, after which the rest follows more easily.
- Once glued, peen/hammer the wire to spread and flatten it into the groove, fully filling the channel; a smooth file can also be used instead of a hammer for a flatter, more finished face.
- Trim any excess length once secure, then true up on the lathe.
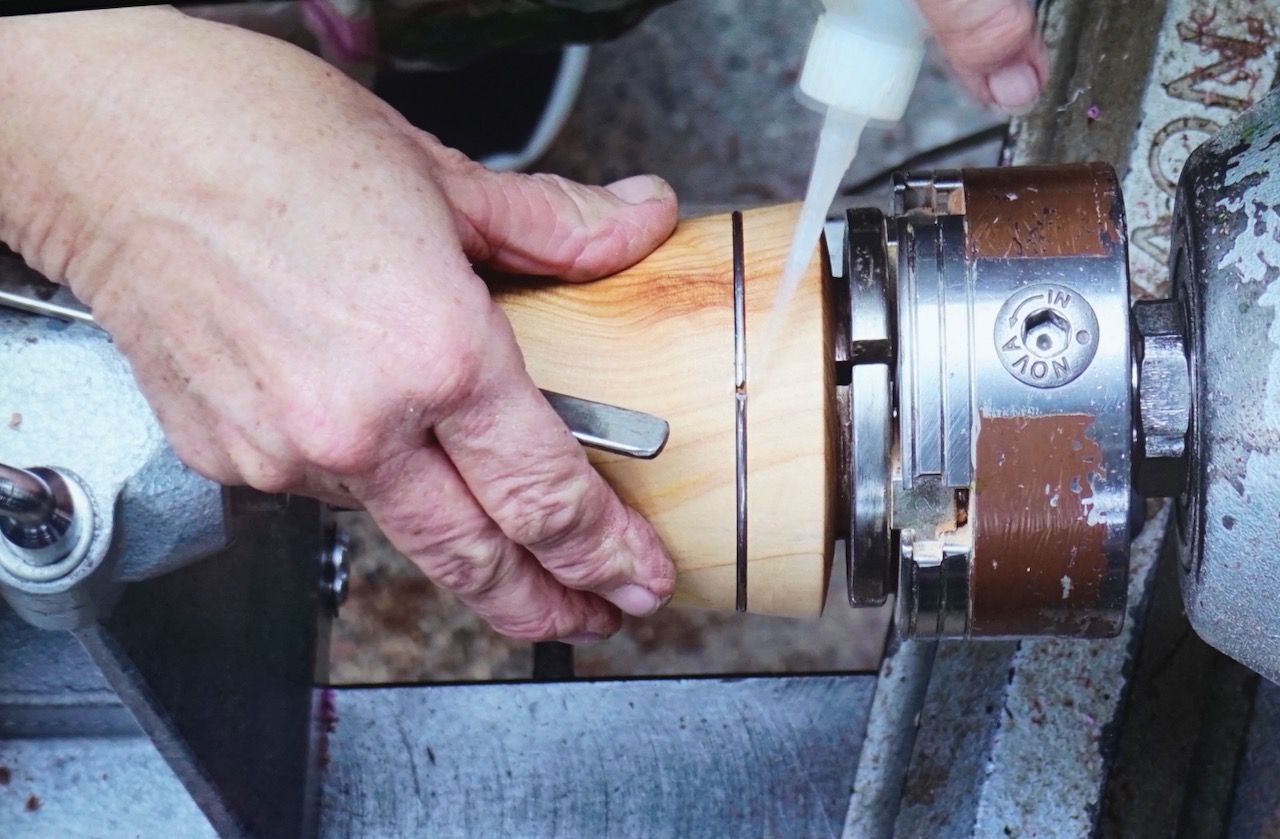
Durability: Julie’s original outdoor coffee table inlay pieces lasted roughly eight years outside before the surrounding timber eventually cracked — notably, the wire itself stayed firmly in place the entire time.
Variations mentioned: twisted wire (by hand or with a drill for a tighter, more even twist) for a decorative pattern; aluminium powder can be used to dress/fill a slightly proud joint in the wire before final finishing.
Closing Notes
- None of these techniques are presented as the only or “correct” way — Julie encouraged experimenting and adapting them to individual style and the piece at hand.
- Keep a small dedicated box of filling/inlay supplies near the lathe so a crack encountered mid-turning can be dealt with immediately rather than becoming a separate trip/session.
- Bringing imperfect or “failed” examples to a demo was called out as valuable — seeing what goes wrong is as instructive as seeing a finished piece.