Club Meeting: 4 November 2026
Report by: Eoin Jury
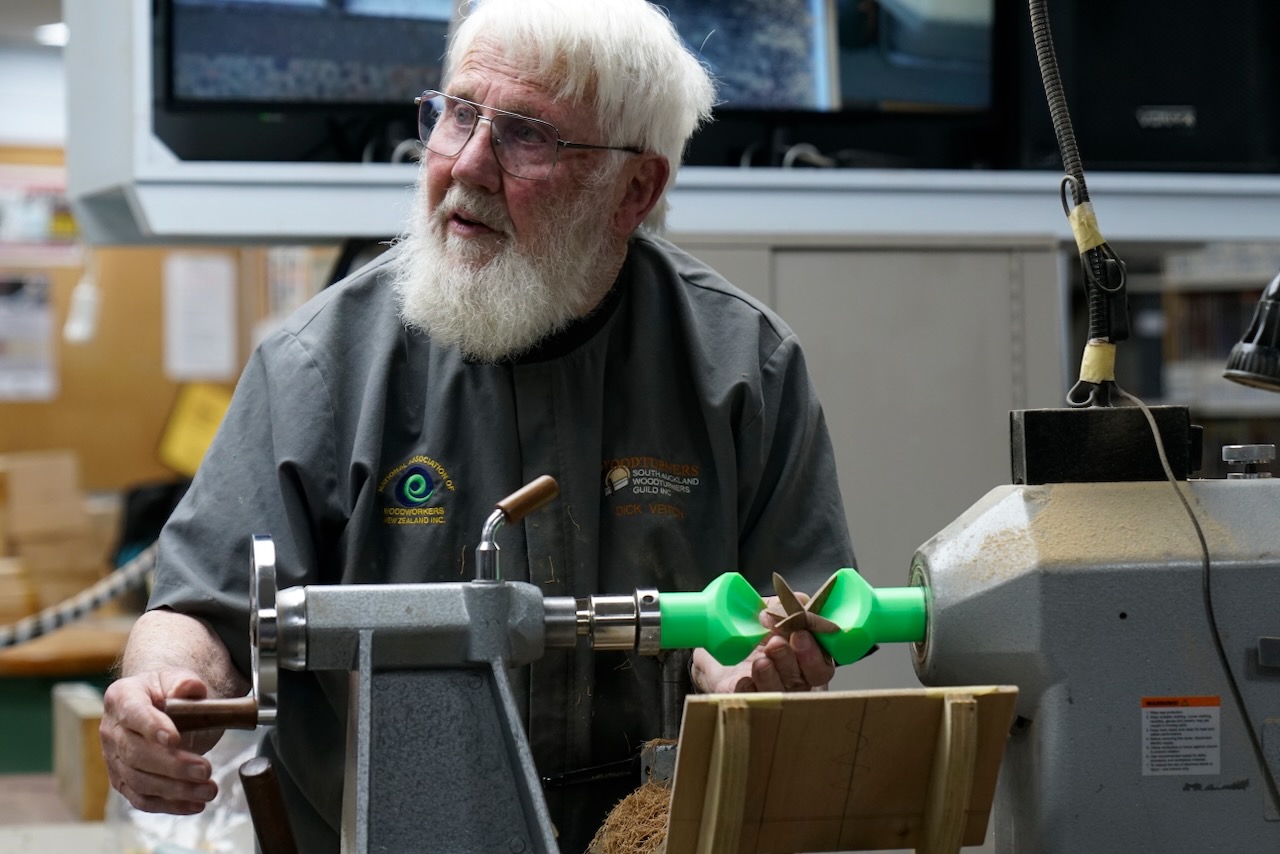
Dick began his demonstration this week with an updated technique to make 8 pointed stars. In the earlier demonstration the stars were quite fragile and the wooden box jigs made to hold them in the lathe did not offer enough support to reliably turn them out. Ian helped out by having holders with headstock threads 3D printed in green plastic for tonight’s demonstration.
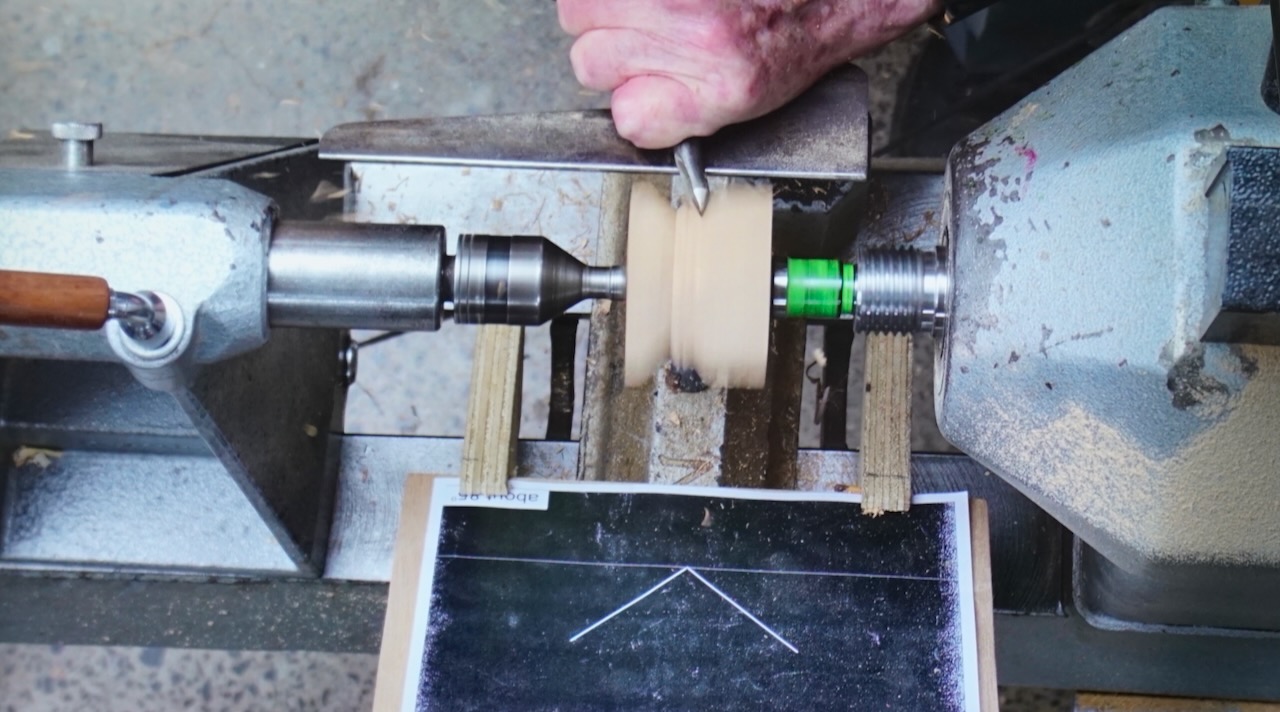
Choosing the grain direction for the first cut is important to ensure the most strength is available for the last cut, but in the 50mm cube the grain was variable. The centres were marked with a spike as accuracy is paramount (Dick described it as the most accurate turning he has attempted), the cube was mounted on the lathe and a vee cut using a sighting card mounted on the lathe bed behind the work to get the angle right. With the vee cut, the piece can be mounted in the plastic jigs and the next vee cut using the bright green spinning jigs as a guide. The piece is rotated in the jig to cut the final vee. The star being cut chipped a point, so the next thing to work on is wood choice!
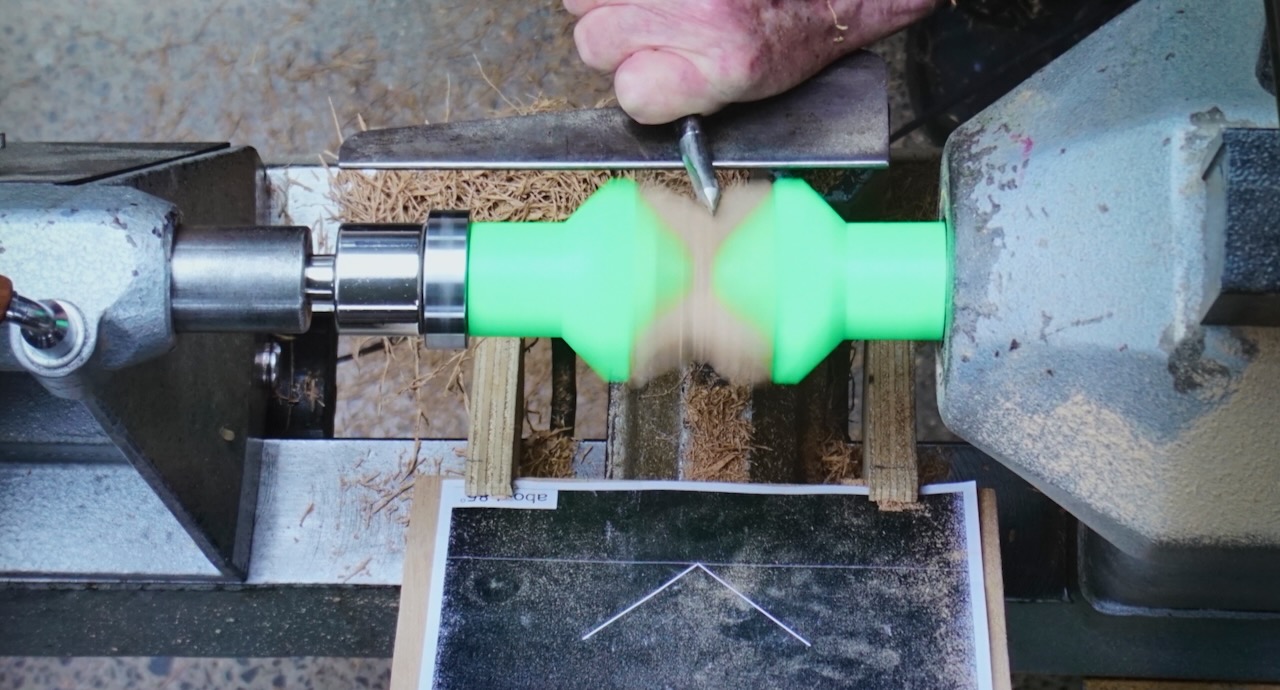
For inside out turning Dick began with four 25mm square pieces of wood about 150mm long, clamping them together at one end with a jubilee clip. The other end is put directly into a four jaw chuck so the four pieces of wood are secured together at both ends. It is not pushed all the way into the chuck, a wide step centre is used at the tailstock to help avold the four pieces breaking apart, and that end centred before tightening the chuck all the way up. The end of the jubilee clip is taped down so that it can’t catch on anything.
The design being executed is a flower pot (Designs can be found at: https://sawg.org.nz/sawg/wp-content/uploads/2020/11/Inside-Out-Turning-2.pdf). The first step is to mark out the design on the wood in pencil and round out the area that the design will cover with a spindle gouge – no wait … a skew chisel (to keep Strett happy!). The ends of the design are marked with a chisel cut, and the piece rounded between. Once round, the design parts can be penciled onto the piece and then cut with a parting tool starting with the top and bottom of the pot, sloping the cut deeper towards the top of the pot which will appear wider in the final work. A finer parting tool cuts the pot’s wider rim, and then the leaf which is cut on an angle behind the surface which can’t be seen and so has to be fashioned by feel. Back to the skew chisel, the round between the top of the pot and bottom of the flower is reduced in diameter to reflect the plant stem in the final piece.
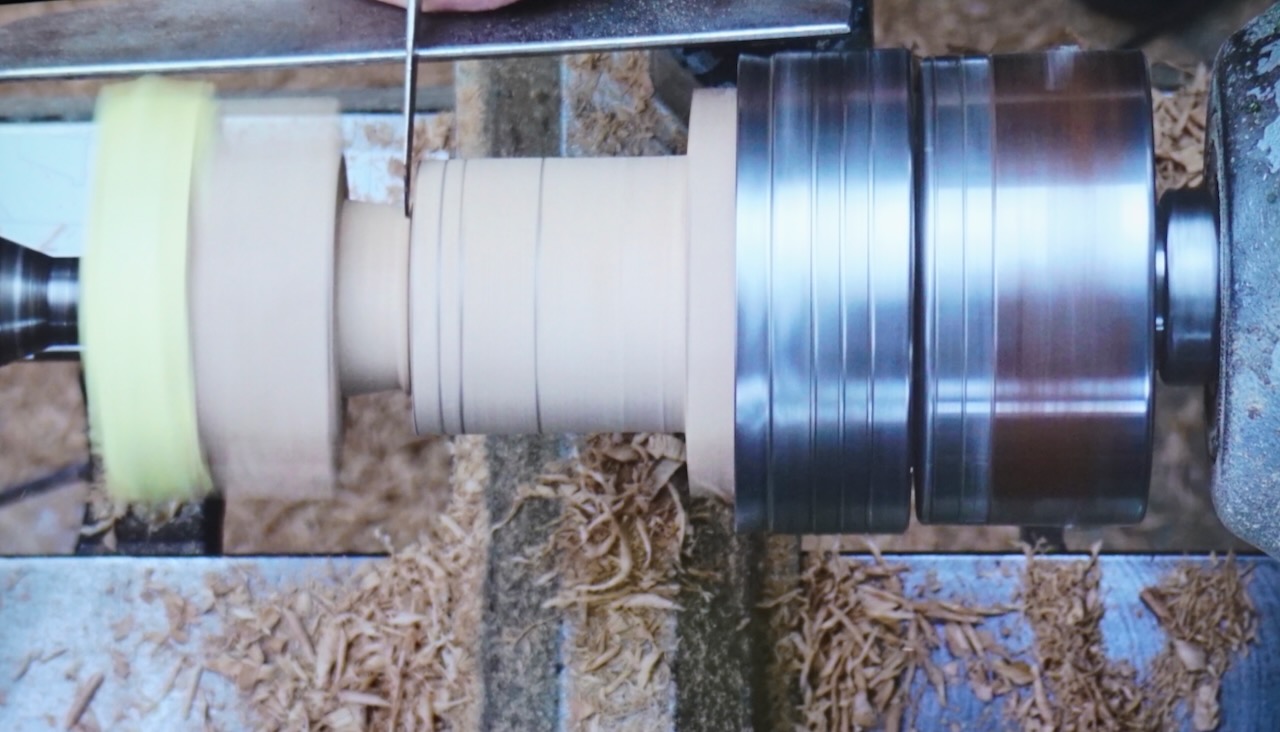
The flower is the next element, and the parting tool is used to define roughly the form, and then refined with a spindle gouge, again worked into hollow area by feel.
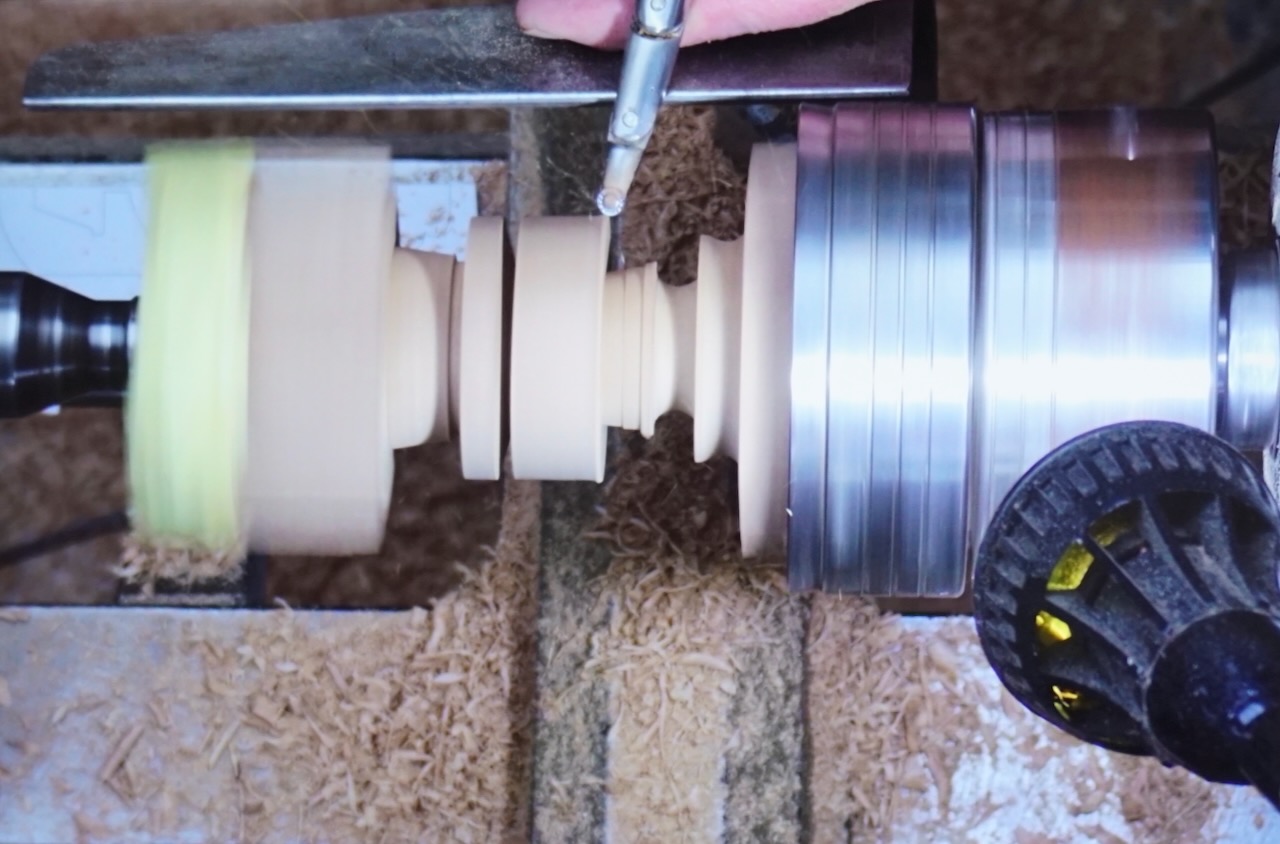
Now the parts can be removed from clamp and chuck then reversed to make the final design.
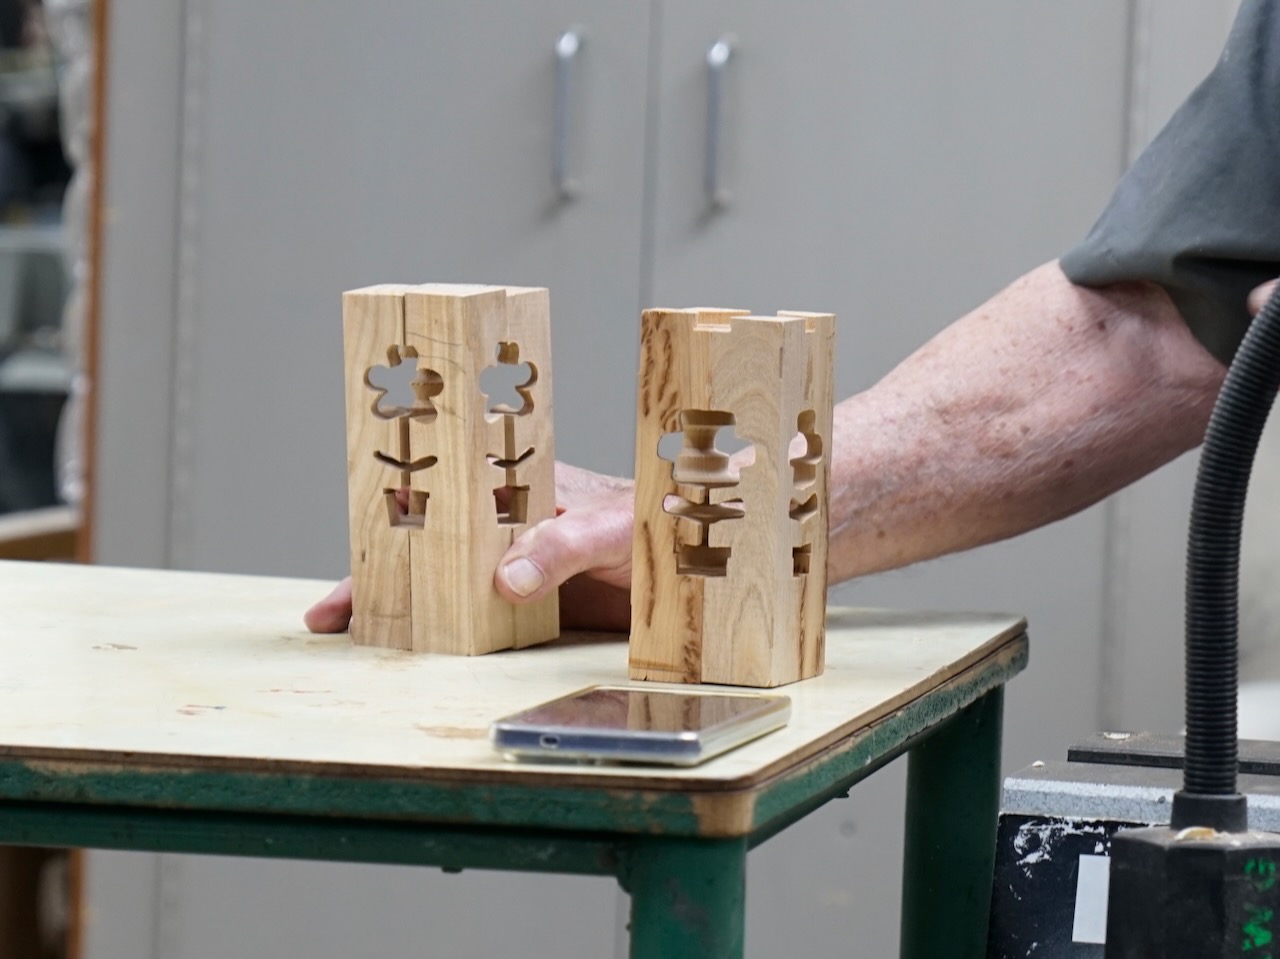
Another variation is an inside out Santa, his front and back silhouette fashioned separately, each on four squares, then reversed and assembled in fours with fronts and backs as appropriate.
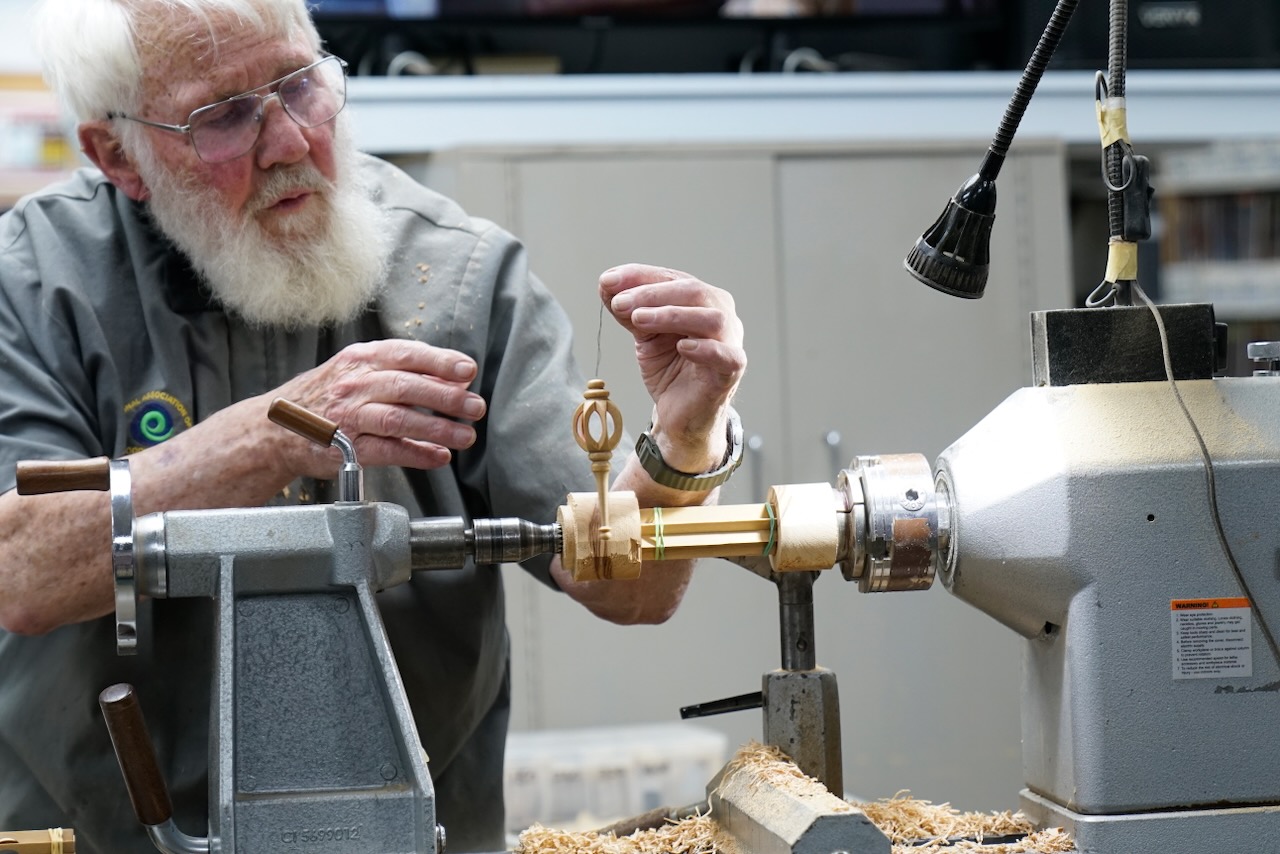
The last sample was made with seven pieces of wood, cut at 51.4˚ on.a bench saw and held in a bunch together with rubber bands. A jig consisting of two rounds with hole in the end of each the right size to secure the bunch, one in the head stock and one at the tail stock end. A notch can be cut to form a hollow in the finished piece.
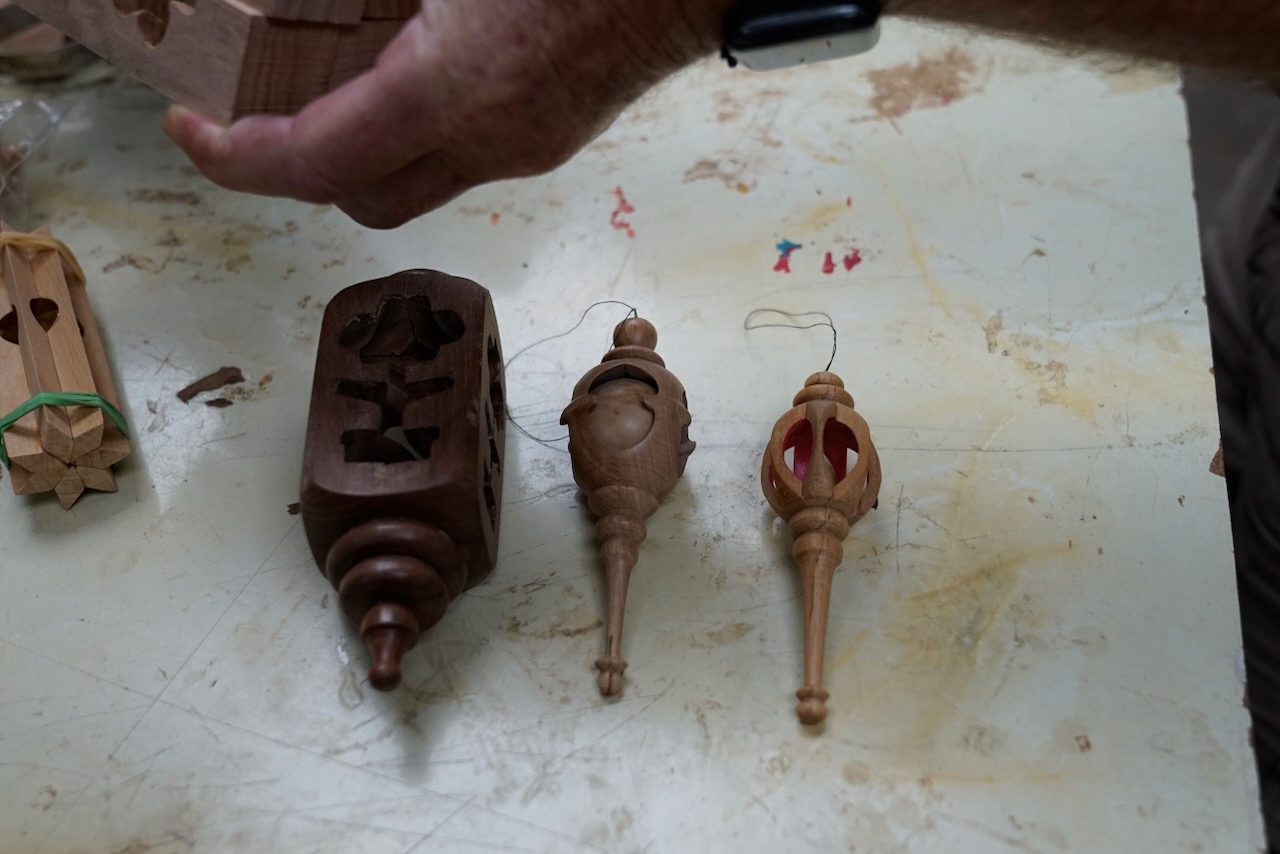
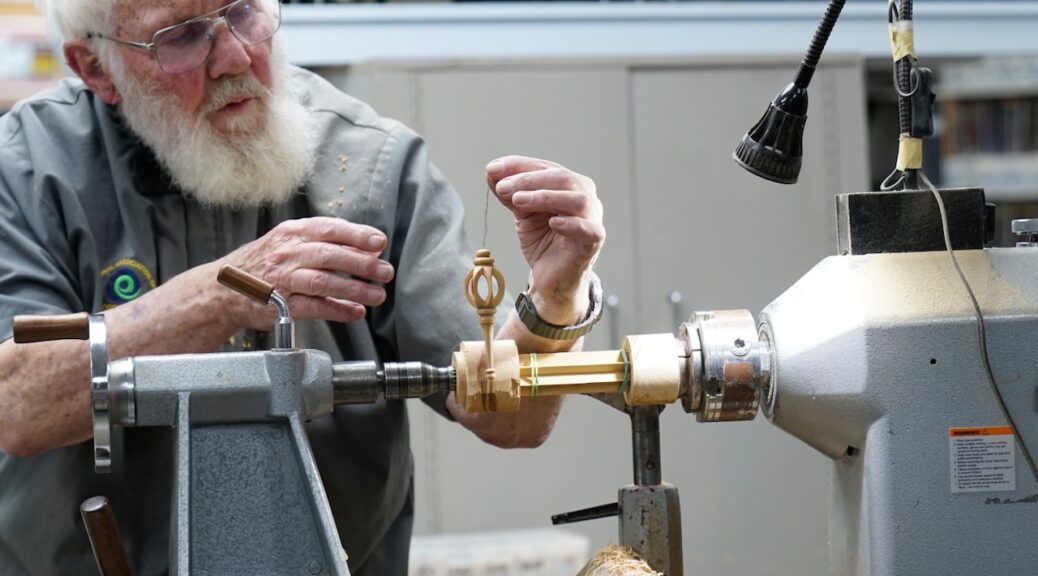
With not enough time left to make any more, Dick showed us some samples of pieces made with the same technique including a finial with a small ball inside.