Here is the term programme
Category Archives: News
Spindle Steady Designs
Here are a couple of new pages that have been added to our tips and jigs section of the website.
Platter – Raed El Sarraf
Club Meeting : 11/05/16
Report by: Paige Palmer
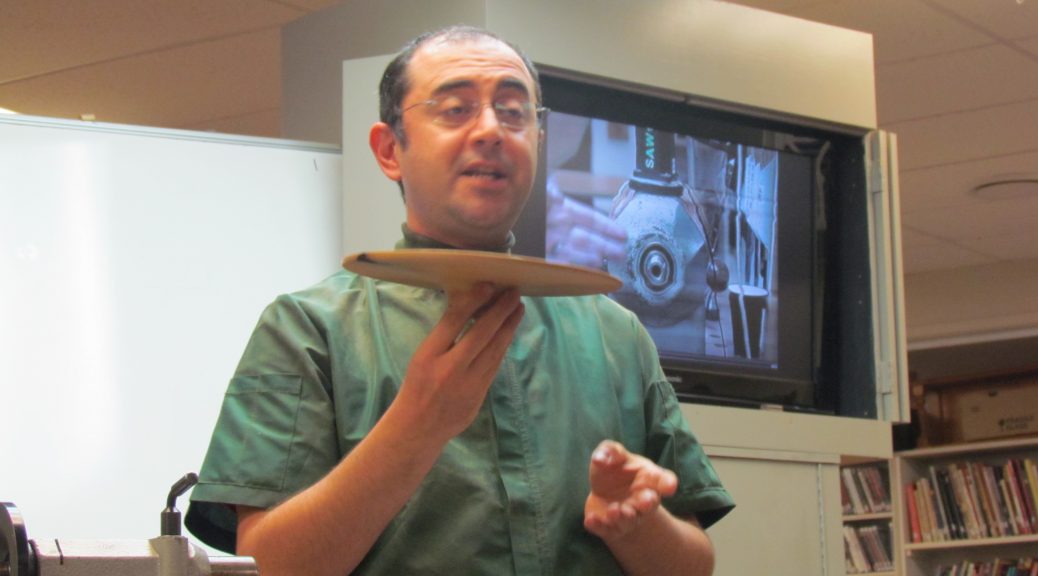
Raed started this demonstration by talking about the size, shape and design of platters. While the SAWG instruction sheet recommends that platters be 300mm in diameter and have a depth of 15% of the diameter, the process for turning a platter is the same regardless of size. Raed demonstrated this by turning what he referred to as a ‘saucer’ – a small platter.
The first thing that Raed pointed out to us was a lesson that he learned the hard way – make sure that your final product is the right size to fit your cole jaws. You will need to turn your platter around and hold it in your cole jaws in order to turn off the spigot.
Speaking of spigots – typically when turning a platter you will have a fairly thin blank, however you should ensure that you have enough depth to create a spigot deep enough to fit your chuck. Other members of the guild suggest that you create one using hot melt glue or a PVA paper joint; however Raed isn’t too sure about these methods.

Raed mounted his blank on the lathe, having drilled a hole with a forstner bit and expanded the jaws of the chuck. Alternatively, one could use a screw chuck (if the piece had enough depth) or a faceplate. After checking that his setup was safe, Raed went about turning his blank so that it ran true. He then cleaned up what would become the bottom of the platter and created a spigot.
Raed then started to create the shape of his platter. Raed said that he did not have a particular shape in mind for this piece – he was just going with what the wood showed him. While shaping the outside of the platter, Raed needed to be aware of the depth of the recess which was holding the piece to the chuck to make sure that he didn’t end up with a hole in the bottom of his platter!

This is where Raed ran into a little bit of trouble. He was having a bit of trouble with the finish on the outside of his platter. Dick suggested that he check the grain of the wood, and encouraged him to make sure that he was cutting uphill, with the grain. After checking his positioning and trying again, Raed produced a finish that he was much happier with.
Once the outside of the platter was finished, Raed turned the piece around, mounted it in the chuck and started to hollow the inside. Raed reminded us to ensure that your spigot is the right size for your chuck so that the chuck holds the wood securely, with the jaws as close as possible. Raed then started to talk about making a border or a rim around the top of the platter. In decorative pieces, the rim of the platter provides a canvas for the turner to be creative and decorate to their hearts content. On this occasion, Raed made a rim that rose to a small lip towards the centre of the piece then dropped to create the hollow of the platter.
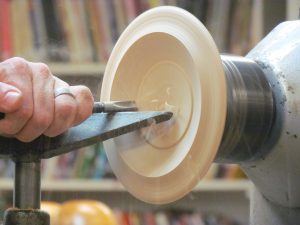
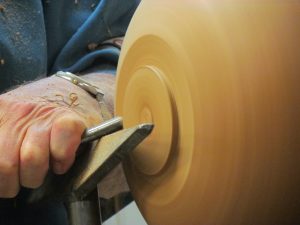
Raed discussed one of the problems of working with thin pieces of wood – if it gets too thin it may start to vibrate on the lathe. This will produce a poor finish that can be hard to get out. To combat this challenge Raed ensured that he left a mass of wood at the centre of the platter while he hollowed around it for as long as he could. Once he reached the depth he was aiming for, he then carefully turned out the mass. Doing it this way reduces vibration in the piece and can increase stability while turning.
Finally, after hollowing the piece to a nice finish, Raed explained that he would mount the piece in cole jaws in order to turn off the spigot. Unfortunately Raed’s piece was too small for his cole jaws … but you get the idea!
Bowl Saving – Dick Veitch
Club Meeting: 4-May-2016
Report by:Gary McDonald
On display on table this evening were a set of four natural-edge bowl saved bowls from a pepper tree that Dick had turned some time ago – this term’s theme is Back to Basics, tonight’s topic was Bowl Saving.
Whilst commonly referred to as bowl saving, other terms may also be implied such as coring or centre-saving.
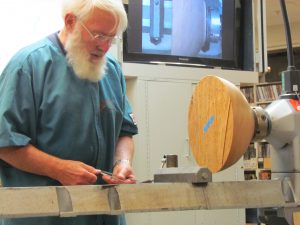 Dick kicked off by giving an overview of the business end – discussing the various clearance angles and rakes on the cutters of three bowl-savers. Two New Zealand manufactured products were on display: Woodcut Bowlsaver and the McNaughton Centre Saver, in addition Dick also covered the cutter on the Oneway, a Canadian coring system.
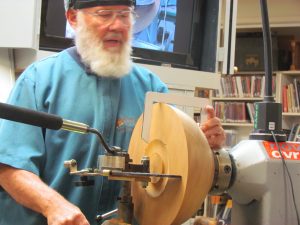
Having owned and used the Woodcut I was keen the see the McNaughton demonstrated but unfortunately the handle was missing in action. This tool appears to offer greater options for coring but Dick stressed this is a judgement tool, that may take some time to become familiar with. Sourcing may also be an issue. Carbatec are the distributors for Kelton Industries. Also check the Library for a Mike Mahoney DVD on the McNaughton Centre Saver.
Onto the Woodcut. Dick covered off the assembly and also showed the difference between the Guild’s bowl-saver and his own which has been modified to accept a longer cutting blade that Woodcut now offer. Sharp is key with a quick refresher on honing the Steelite tip was useful.
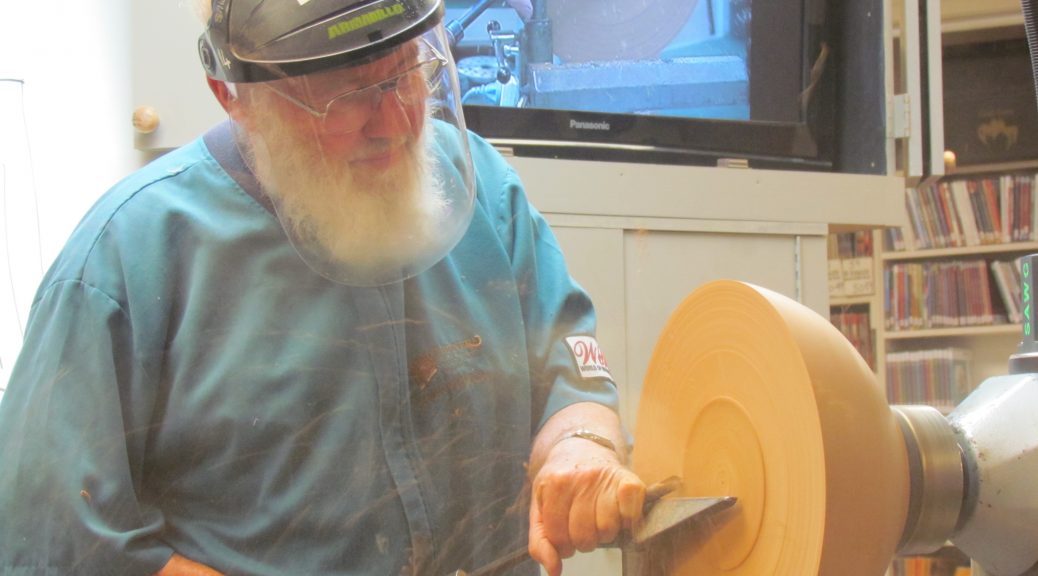
Mounting a blank of kauri roughly 350 in diameter Dick commented that he has managed to bowl save up to six bowls from one blank with the Woodcut. Forming a spigot – another useful tip noted was that by using larger chuck jaws these are able to absorb the cutting pressure better when bowl saving. It is recommended finishing the outside of the bowl and if coring green wood this can be achieved by wet sanding. Use of a reversing mandrel makes remounting the blank more accurate – another item for the tool kit.
One thing I have noted with purchasing kiwi made woodturning tools is that the manufacturers in the main have good written instructions and advice on setup and use. I still have the video on my early Woodcut Bowl Saver and the advice in the early booklet on setup discusses using callipers to determine the mounting/cutting position. The later models offer templates to assist with setup or an optional extra is a laser guide.
Setting the lathe to 500-600rpm in this instance the general thrust, no pun intended, is nice and steady using the body where possible to support the cutting pressure. With the pivot point set some 20mm towards the turner, the longer blade, in this instance, allowed for a clean cut right to the centre rather than having to knock the inner core out if the shorter blade had been used.
Time passed quickly and this was a timely refresher as I have some bowl saving to do coincidentally it is pepper wood that I am planning on coring. Thanks Dick another insightful demo.
Segmented Work – Keith Hastings
Keith Hastings sent me a document with some of his stunning segmented work to share, enjoy.
These are photos of a few of my segmented and open segmented work and a little bit about them. All my work is finished off with Teak oil.
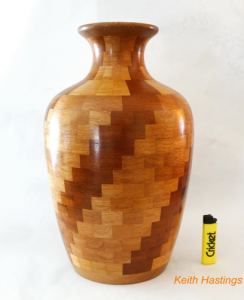
- Segmented large Greek Vase.
Segmented Greek Vase 230 mm diameter x 380 mm high turned from Fijian Kauri and Mahogany finished off with Teak oil.
- 3D Segmented Bowl.
It’s a 3 dimensioned segmented bowl turned from Fijian Kauri 220 mm diameter x 90 mm high the 3D part is constructed from Kahikatea, Kauri and Mahogany cut into diamond shaped segments glued and finished off with Teak oil.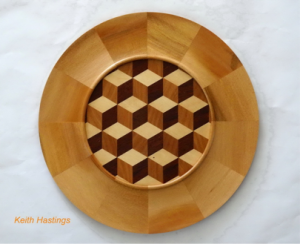
- 3D Platter.
3 Dimensioned segmented platter 300 mm in diameter with segmented Kauri outer surround the 3D part is constructed from Kahikatea and Mahogany.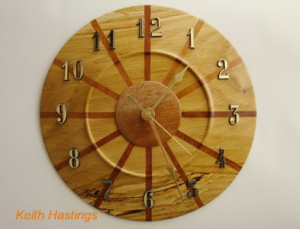
- Oak Segmented Clock.
The Oak clock started out as a solid Oak platter that warped and buckled so badly that I couldn’t turn it out, so cut it up into segments and reconstructed it as a segmented clock 350 mm in diameter finished with Teak oil.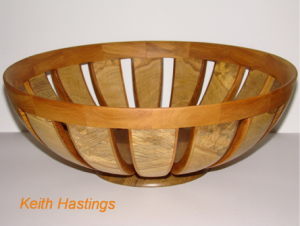
- Open Segmented Bowl.
Open Segmented Fruit Bowl turned from Oak with a Kauri rim and base, this started out as a solid Oak bowl which buckled and warped so badly I couldn’t turn it out so I cut it up into segments, reconstructed it and then re-turned it 350 mm in diameter x 150 mm high.
- Open Segmented Christmas Lantern.
Christmas Lantern is open segmenting Rimu and Fijian Kauri. 140 mm diameter x 200 mm high.
- Segmented Fruit Bowl.
Segmented fruit bowl turned from Kahikatea and Fijian Kauri 260 mm diameter x 90 mm high.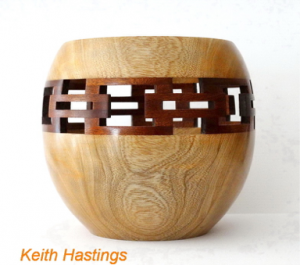
- Segmented Oriental Bowl.
Oriental Bowl 150 mm in diameter x 150 mm high, turned from Radermachera ( China Doll ).
- Segmented Teardrop Urn.
Teardrop segmented urn turned from Tasmanian Oak and Jarrah 150 mm diameter x 150 mm high.
- Wooden Flower
Wooden flower I turned from Macrocarpa a few years ago using the inside outside turning technique. Something a little bit different from turning a bowl.
Project Sheet Updates
A few project sheets have been added – Thanks Dick.
Symposium – John Beaver Demonstrations
Over the next few days we will be adding more detail on the demonstrations that will be done at our symposium this year.
http://www.sawg.org.nz/symposium/john-beaver/
Term 2 Programme 2016
Into the Blender – Gary McDonald
Club Meeting: 13 April 2016
Report by: Philip Johnstone
This was a very informative demo by Gary, showing us how to make finials. He started by pulling out some finials that he has made in the past, and it soon became obvious that he has had a lot of practice with them!
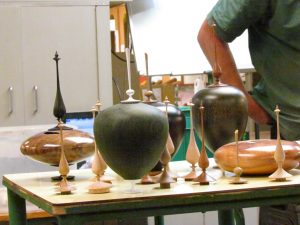
Next he moved on to showing us the mathematics behind the perfect finial, and such calculations are not for the faint-hearted! He toned down the technicalities by teaching us the six “control points” on a finial. These basically take a set ratio, apply it to the length of the finial, mix it all together in a calculator, and out comes the diameter of the desired finial.
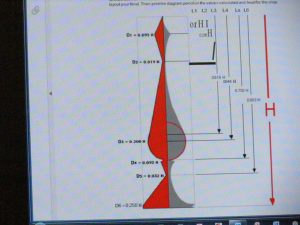
He then moved on to the lathe, and started turning. Starting from the tip of the finial, he slowly worked his way to the base, checking his measurements each time he got to a control point. As he was doing different parts, he demonstrated how to use different tools, and showed a considerable skill in thin turning.
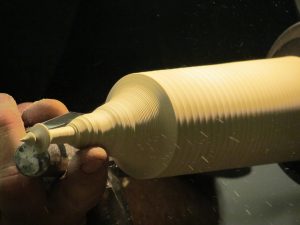
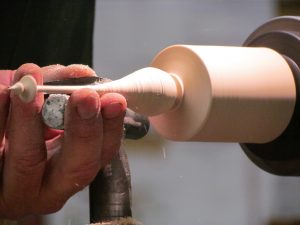
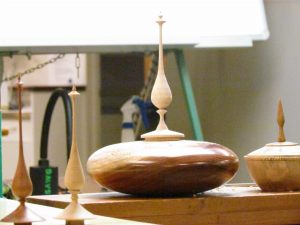
It was a well-presented demonstration, and Garry kept a lively dialogue going throughout. An enjoyable evening in all.
Inserted Lidded Box – Ian Outshoorn
Club Meeting: 6 April 2016
Report By: Murray Wilton
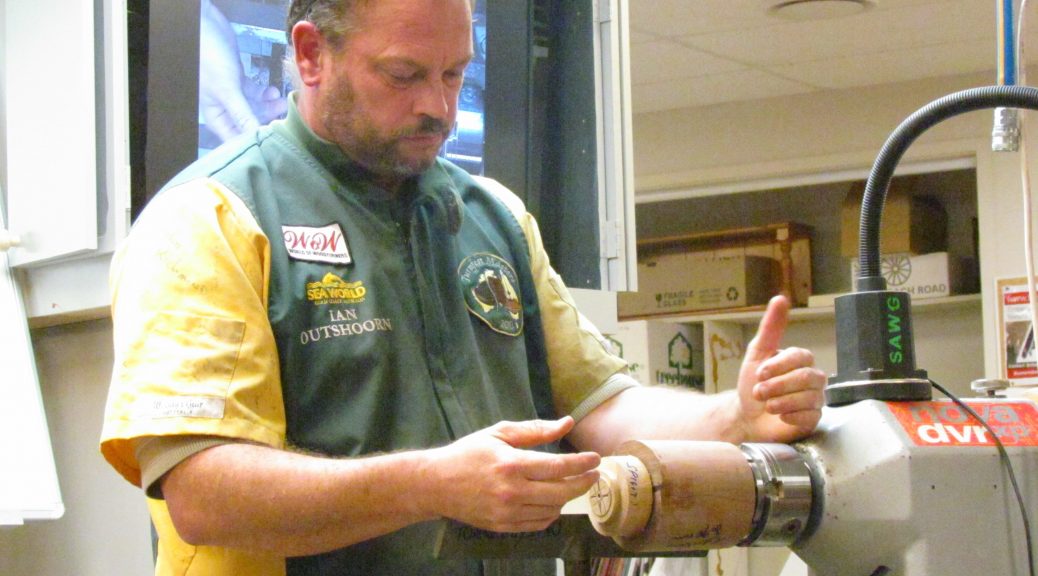
Well known to our members, Ian is from the North Shore Guild. He began his demo by showing us a mock-up of the finished article in solid form. This was to give an idea of outer shape and form, as well as to illustrate what the finished lid insert would look like. The “box” could be described as tiny, measuring about 75 X 75 X 75.
Wear a safety mask! Ian is strong on the need for safety in the workplace and he carried out his demo with the full gear in place.
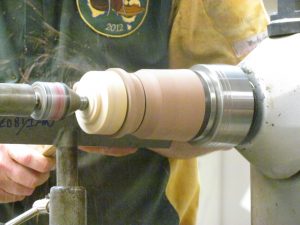
Ian starts with a block 90 X 90 X 120 which allows plenty of waste and allowance for any blunders which can happen when working with small pieces. Choose a darker timber to produce a contrast with the insert. Small work of this kind is enhanced by using a chuck and/or live centre at each end. Held in a chuck at the headstock end and a live centre at tailstock end allows initial roughing down to round to be achieved accurately. Ian then replaces the live centre with a drill chuck holding a 48mm Forstner bit to make an initial hole for the lid insert, about 10 mm deep. This means the tailstock end is the lid end of the starting block. The hole must be drilled carefully and the drill must be sharp as Forstner bits sometimes tear the timber. (“This is my way”, Ian responded to those who suggested it might be easier to simply turn the insert with a suitable chisel.)
The insert is produced by fixing a glue block into the chuck with a 50 X 50 X 15 mm piece of contrasting timber (rewarewa or copper beech in Ian’s case) glued with Titebond to the outer face. The insert also serves as a spigot for later use. The glue block can be turned at a relatively high speed because of its small diameter. Using a parting tool the insert on the glue block is trimmed to same diameter as the 48 mm Forstner hole. It must be a perfect fit so great care has to be taken. Also, the insert has to bottom out in the main block hole so make sure it isn’t too thin. Leave enough clear to make a spigot.
Next mark the glue block with “top” and “bottom” at each end of the insert grain to ensure insert and main block grains line up when the two blocks come together. Place the main block in a second chuck at the tailstock end and line up with the glue block so grains are in same direction. Apply superglue to the edges only of the insert and wind the tailstock in to meet the headstock and fit the pieces firmly together.
When dry, remove from both chucks and insert the main block and glue block together into the headstock chuck, using a live centre at tailstock end to hold the insert. (You are totally confused by this stage so please study Ross Johnson’s excellent photos to see what I’m trying to tell you!) Now begin turning the whole assembly to the desired final box diameter (about 75 mm).
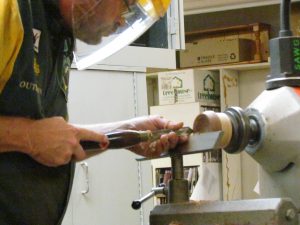
This is where you need to be clear about the depth of the lid insert so that when you part off the lid you will know whether or not the insert will show on the under side of the lid (your choice). Mark the desired depth of the lid (say 10 mm) and use a 10 mm bowl gouge to turn the lid to required outer shape. Turn a spigot in the insert above the top line of the lid. When completed, part off the lid at the marked line and use a draw saw (available from Carbatec) to complete the cut, slowly and carefully to avoid burning.
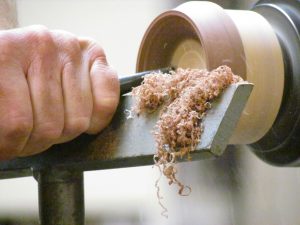
Re-position the now separate lid in the headstock chuck using the spigot you have just turned and finish lid to desired shape. This means any hollowing you want in the lid as well as the rebate which will position the lid snugly on the base. Now replace the base of the box in the chuck, bottom end to headstock. Carefully measure the lid inside diameter (of rebate) and mark where the hollowing edge has to finish to ensure the box rebate fits perfectly to the lid rebate. Before starting the box hollowing, jam-fit the lid on the box, rebate-to-rebate, with the grains lined up. This is so that you can finish off the lid. The lid end (glue block still attached) is held by a live centre in the tailstock. Tape the joint to avoid any tendency to twist during the lid finishing work. Part off most of the glue block, withdraw the tailstock and live centre and complete finishing work to top of lid. Normally turn from centre of lid outwards, but if this causes tearing of the insert, work the other way. At this stage add beads if you want them.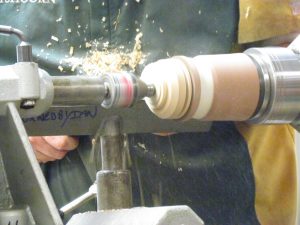
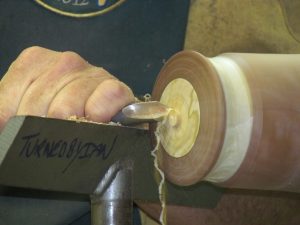
Complete the job by removing the lid and finish the hollowing of the box as well as any external finishing needed. Finally part off the bottom of the box.
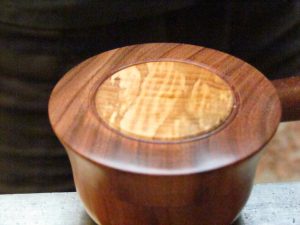
Ian warned that making small lidded boxes is delicate work requiring a great deal of patience and careful turning. After making several of these little pieces, Ian says he is still learning, so don’t be discouraged if your first attempt isn’t a raving success. Thanks, Ian, for a top-of-the-class demo.
