Club Meeting: 19 September 2018
Report by: Graeme MacKay
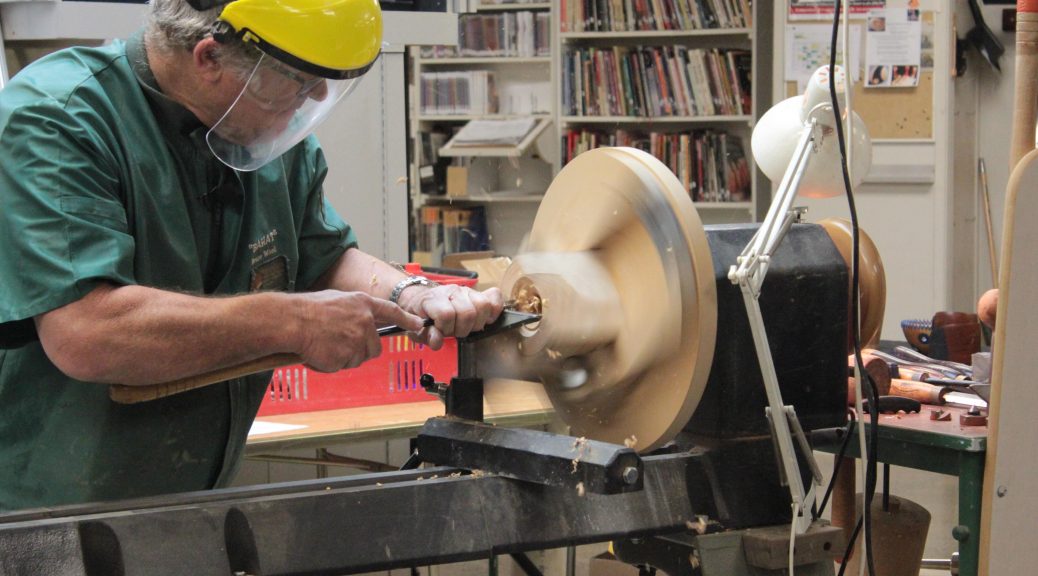
Bruce Wood showed the original version which was very chunky before showing use the evolution and the matching perspex templates to gauge the shape. He did admit to bending role slightly not starting with a cube, rather with a rectangle of hundred and 130 x 180 mm. The extra length is, at an early stage, to allow him to cut the holes on the edge.
So then, Bruce went to Paul Hedman style that was accurate, however, was a little thin.
Method
A large solid jig very engineered, the holes predrilled.
Bruce was able to keep the holes vertical with a Forstner bit – and little bit of action.
The jig gets a bit more complicated, through doweling fixed and carefully drilled in place.
Once set on the jig, extra lead is added to balance, in this case 375 g spinning at 740 rpm.
So another hole was made on the new centre using a template to gauge the depth and shape.
Fine cuts, little standing.
A Ha! moment: the use of longer screws is good as the MDF gets worn.
A few minutes more, a rebalancing of the lead, a new centre, and a second hole is made using this very engineered template. Samples are well marked and provided indication of the other cuts to be made. Good samples were handed around and gave clear example of the direction of this particular type of wood-turning.
Another Ha! Moment: using the right index finger as a guide. An old method promoted by Ian Fish and works every time.
Soren Berger sphere:
Bahat then went on to turning a sphere Soren Berger’s way. The cube used was 125 mm and made into a sphere using the special Soren Berger tool for measurement.
Initially, turning a cylinder in the standard manner. Outside edges first, the centre of its, and in reality the beginning of sphere. Using the Soren Berger tool, the cylinder is now hundred and 124 mm in diameter and transferred to the measurement of the sphere.
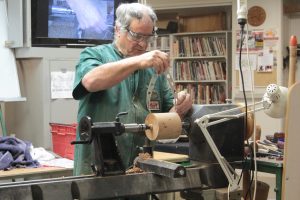 The cylinder was marked. In this case 124 mm. The length of the cylinder is now the same as a diameter and sitting between two centres. The new cylinder marked using the Soren Berger tool. The first cut was made straight between the two lines marked on each face – and using specialist tool.
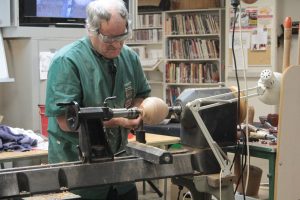 Then, second lines and marked using the third part of the specialist tool or caliper. The cuts then straight lined between the marks. The sphere is starting to emerge. These new lines are now the high spots on the proposed sphere.
A line is now drawn on the midway point between these lines. They represent now the low point in the older high points, the original lines, are now carefully cleaned with relatively straight short lines. Sandy now removes imperfections. The little holding spigots, about the diameter of the stem centres, can now be removed by a number of methods: cups fixed on the jaws and tailstock, cutting off the greater part, gentle chisel work and some sanding.
Another Ha!
Don’t be a hero and try the saw, gentle hands avoid tearout, hand standing avoid dimples.
