Club Meeting: 2nd September 2026
Report by: Eion Jury
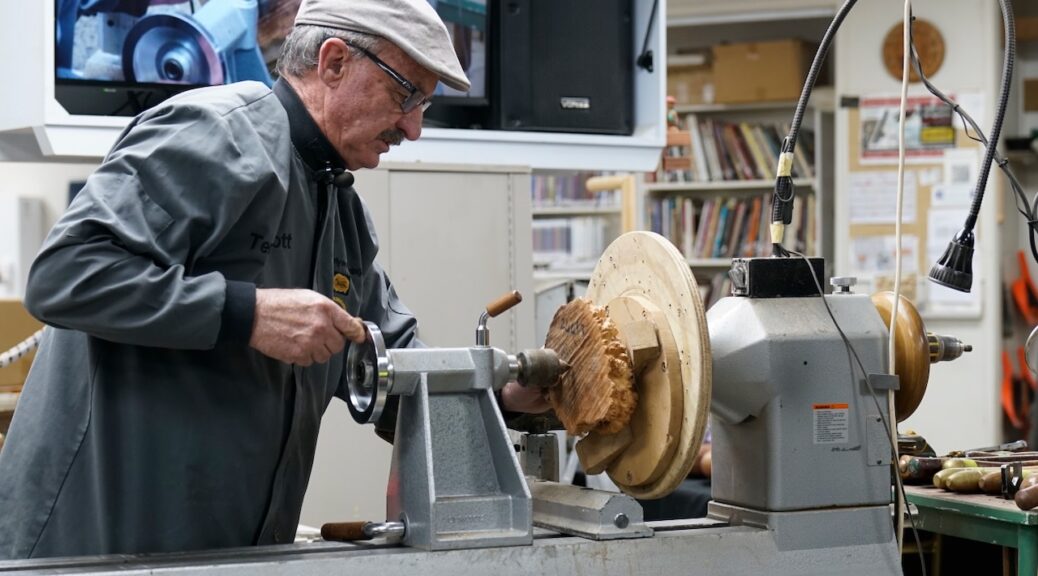
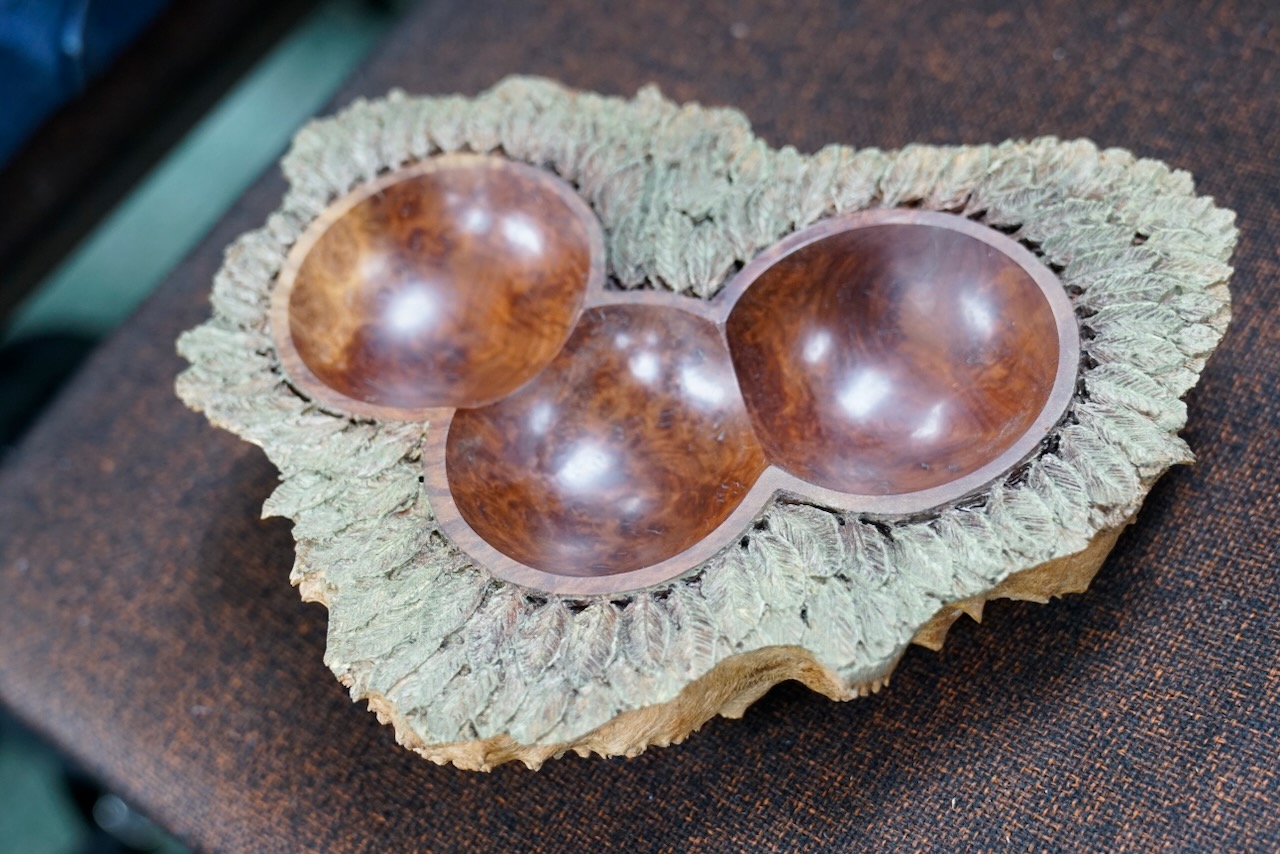
Terry Scott delivered a masterclass in creative burl turning, showcasing the signature technique he has refined over many years of woodturning— producing several overlapping, offset bowls from a single burl blank. The result is a sculptural, multilayered form that reveals both the raw exterior and the spectacular inner structure of Australian burl timber.
Understanding Burl Timber
Terry began with an explanation of what a burl (or burr) actually is: a tree’s response to stress or injury, where dormant buds erupt into chaotic, swirling grain. This can be triggered by insect damage, animals rubbing against the trunk, fire, or repeated pruning.
The burls used on the night were Red Mallee and coolabah, sourced from the Northern Territory — a region where land clearing for agriculture means burls are often removed as a byproduct. Red Mallee in particular is prized for its intense figuring and colour.
Importing these burls is not for the fainthearted: both Australian and New Zealand authorities require extensive paperwork, and once they arrive, they must be heat treated, leaving them hard as stone.
Why This Technique Exists
Terry shared the story that sparked the development of this method: a customer wanted a raw Red Mallee burl displayed with the natural edge facing upward. Terry realised he needed a way to turn only one side of the burl while preserving the untouched exterior — leading to his nowdistinctive approach of singlesided, overlapping bowl turning.
The result is a piece that allows viewers to enjoy both the rugged natural burl and a “lenslike” window into its inner beauty.
Mounting the Burl — The Real Challenge
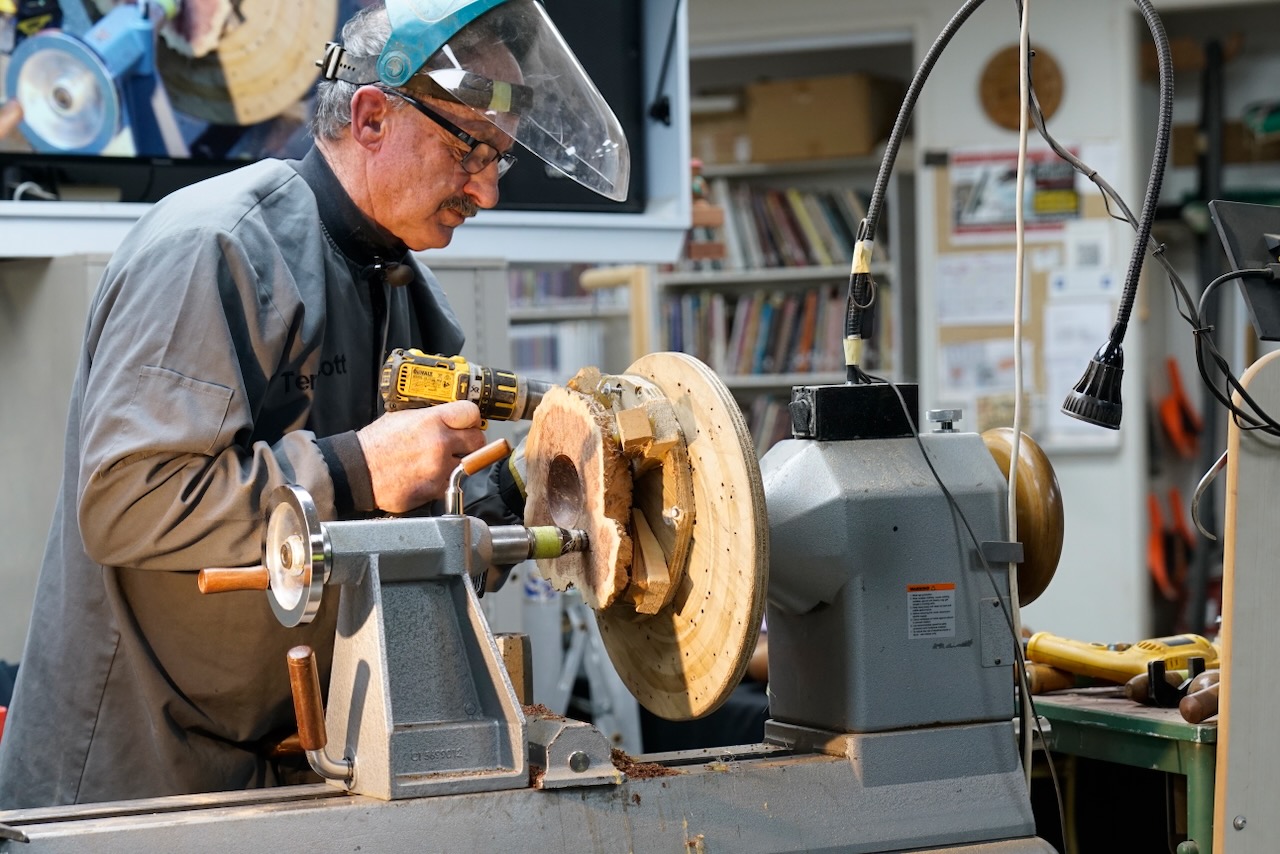
Turning heavy, irregular burls requires ingenuity and patience. Terry’s setup included:
- A large flywheel disc mounted on a faceplate.
- The burl wirebrushed clean to ensure good glue adhesion.
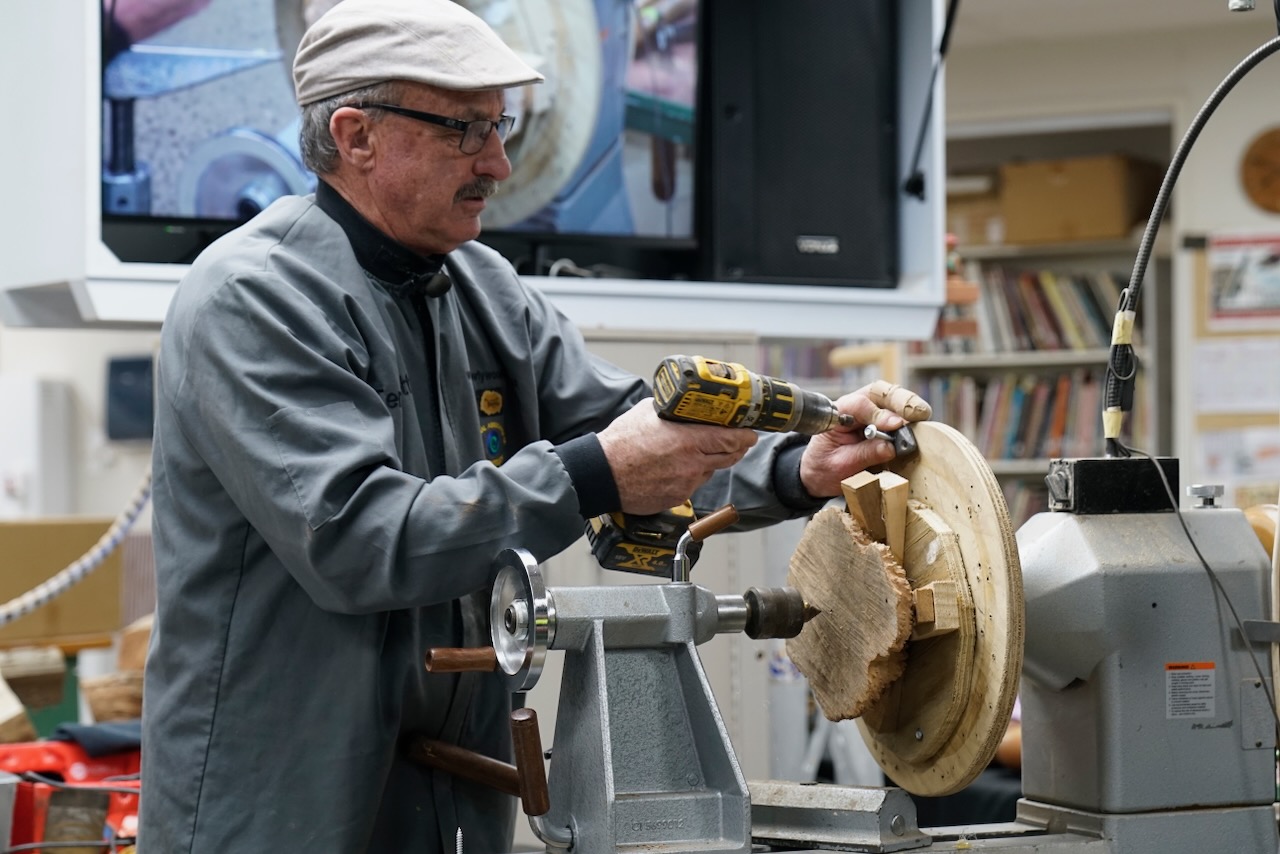
- The plywood “slide” was attached to the disc using screws around the perimeter.
- Wedges inserted to level the face, secured with industrial hotmelt glue (famously purchased at a SAWG silent auction!). Domestic glue guns work, but the mounting surface must be preheated with a heat gun.
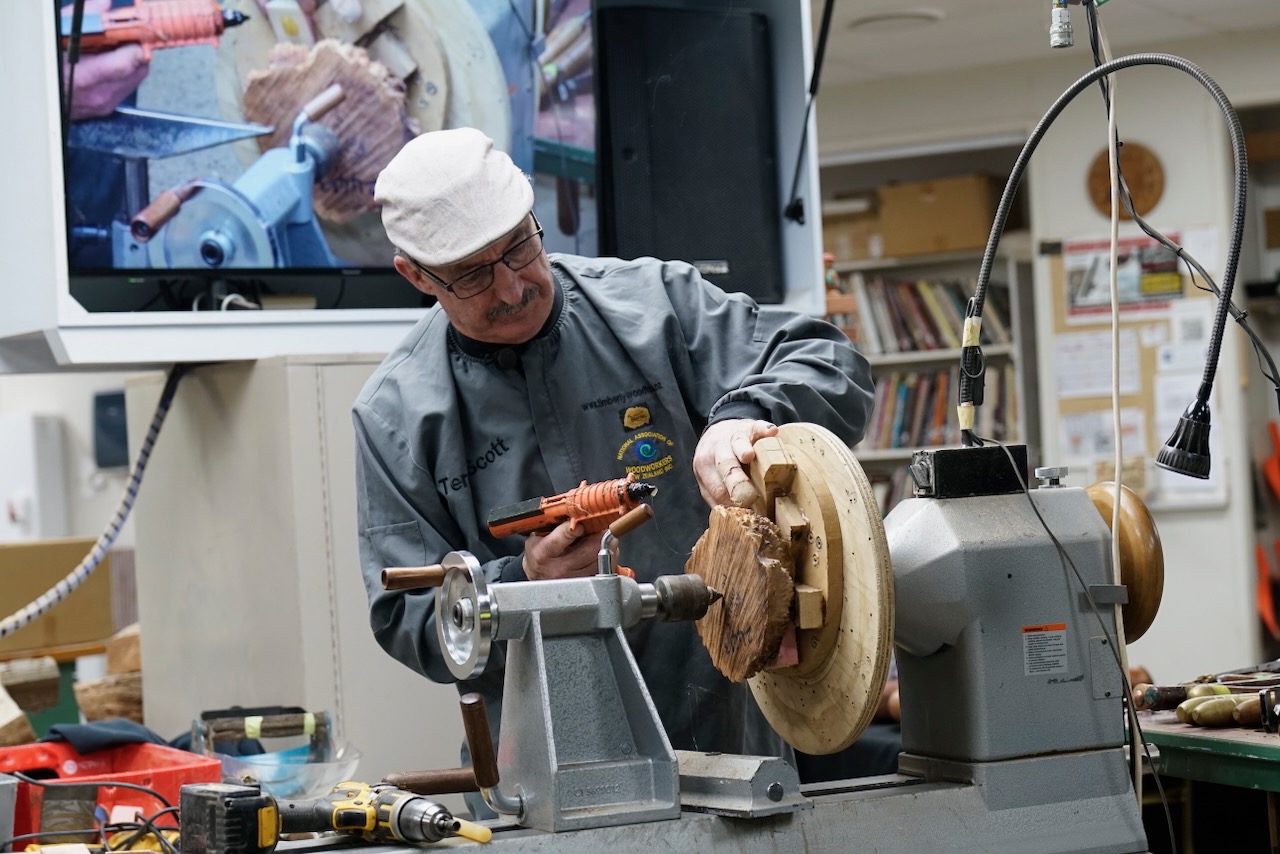
Once the bowl positions were planned — typically offset by half the bowl diameter with around 10 mm overlap — the burl mount was pressed against a plywood faceplate (preferred over MDF because screw holes don’t raise fibres).
The tailstock was brought up, wedges adjusted, and the mount screwed firmly to the faceplate. Finally, lead counterweights were added until the assembly was balanced.
Cutting the Bowls
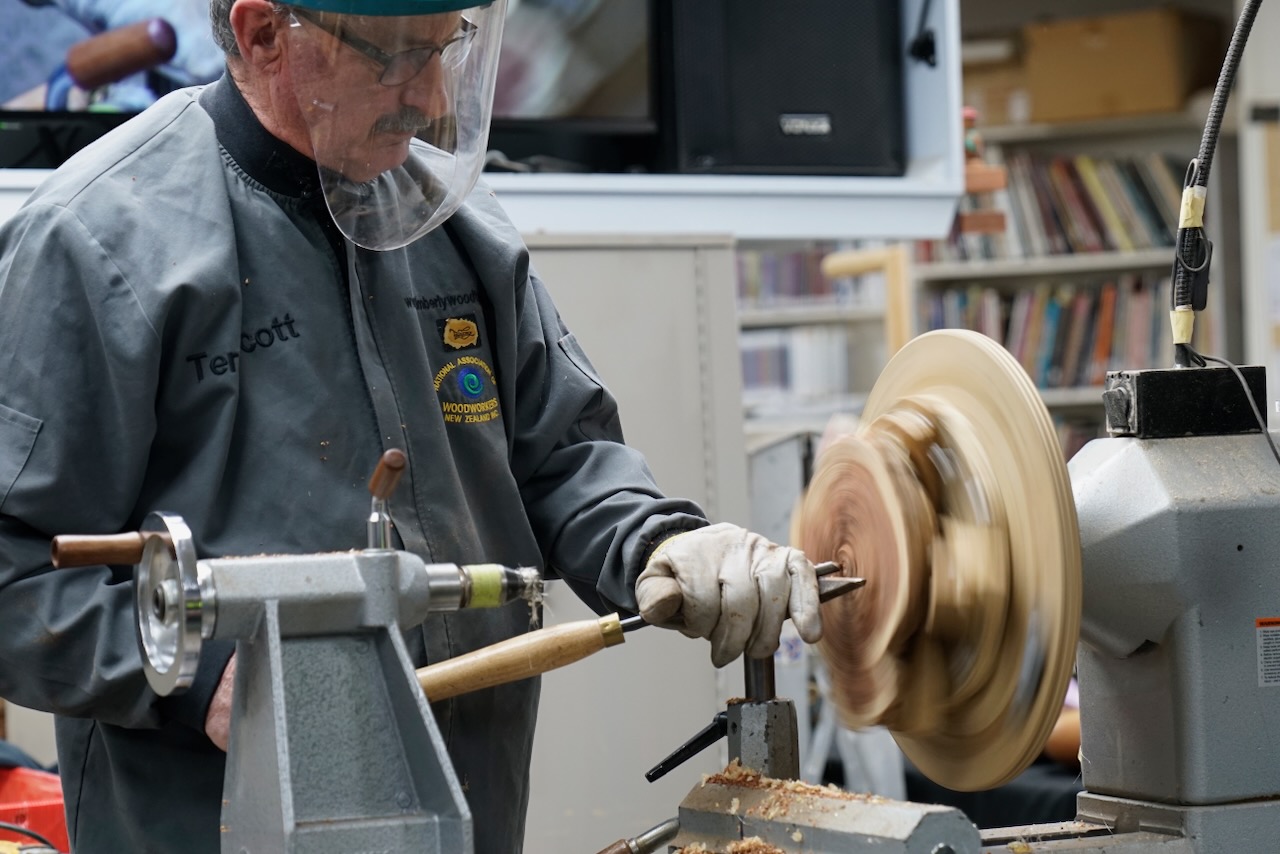
With the burl balanced and secure, Terry demonstrated the cutting sequence:
- Flatten the face at low speed.
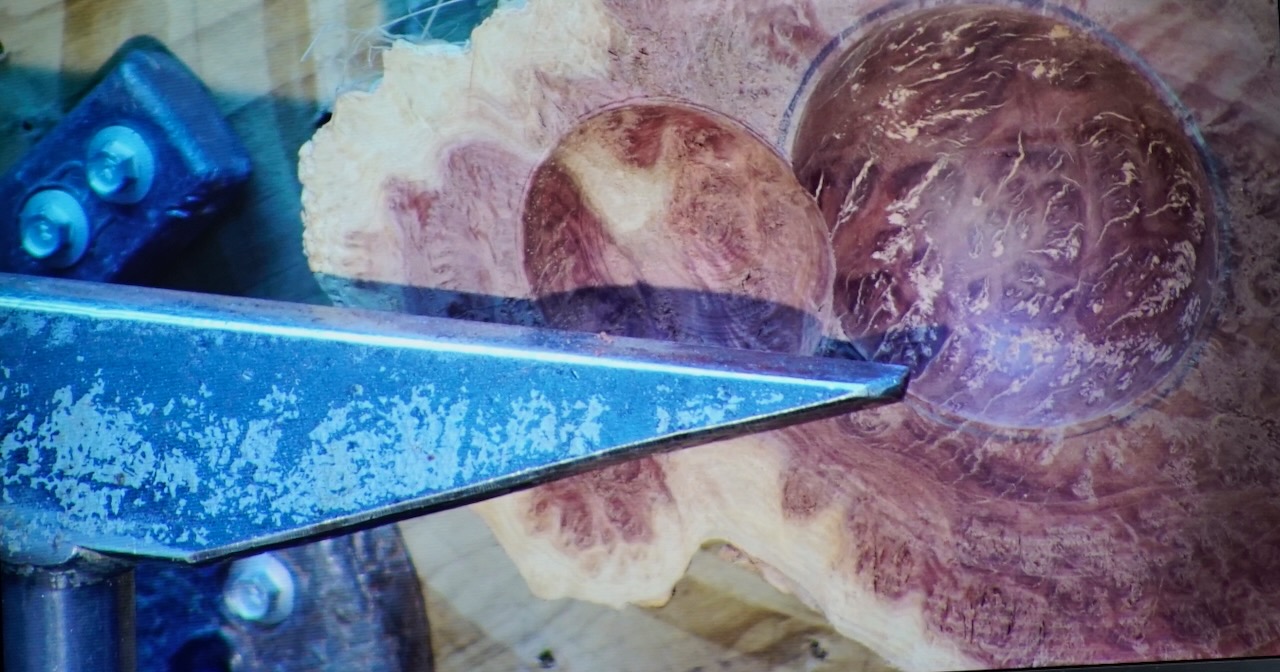
- Use a skew chisel to mark the bowl’s perimeter — creating a crisp barrier.
- Switch to the bowl gouge, beginning at the outer edge with the flute at 10 o’clock, rotating to 2 o’clock as the cut approaches centre.
- Stay on the bevel at all times.
- Coming off the bevel near the thin “wing” sections risks a catch and destroys the crisp intersection line.
4. Maintain a true spherical shape — mismatched curves cause wobbly intersection lines.
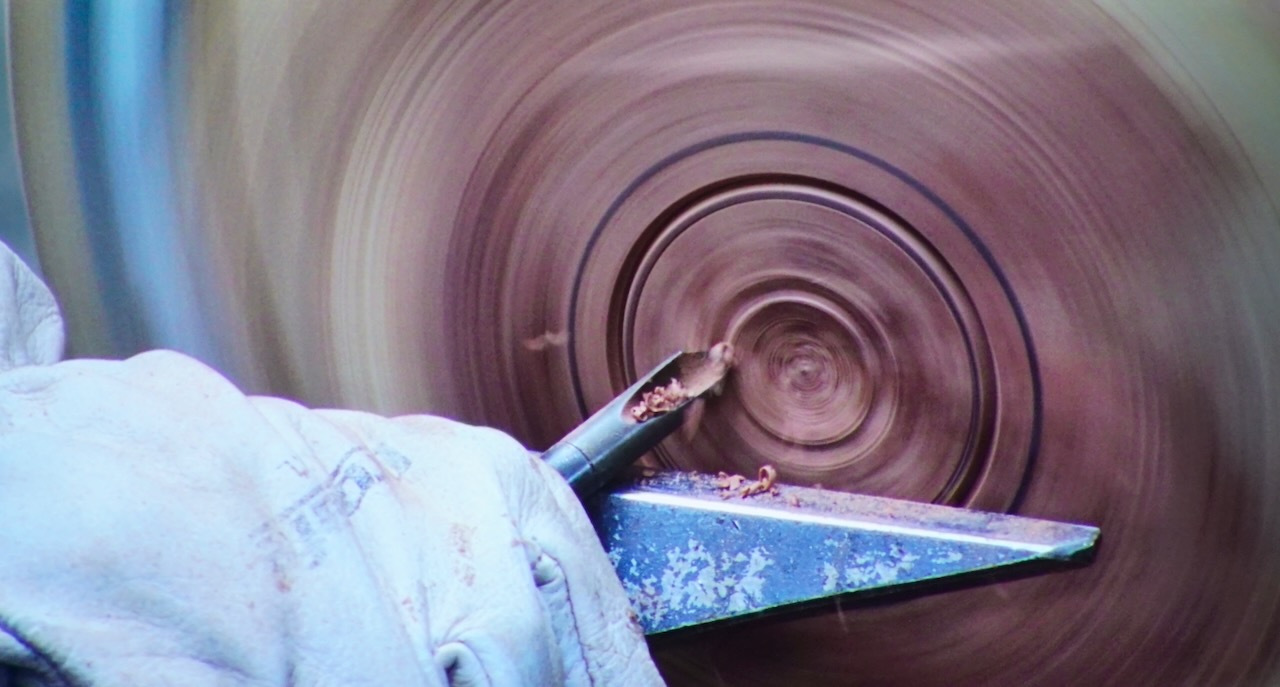
5. Finish with a shear/negative rake scraper, ground like a skew for a safer, cleaner cut.
6. Sand with the lathe stopped to preserve the crisp overlap lines.
Each bowl requires the mount to be unscrewed, repositioned, rebalanced, and cut again.
Finishing & Embellishment
Once all bowls are complete, wedges and glue can be removed with a heat gun — or left in place if further carving is planned. Terry discussed several finishing options:
- Leave highly coloured or figured burls plain so the timber speaks for itself.
- Add carved or pyrography scored borders to create a picture frame effect.
- Use rotary carving bits for fine sculptural detail (accepting that burr bits are consumables).
- Negative rake scrapers — originally adopted from Australian turners — excel in burl work and are now widely available.
Notes & Tips from Terry
- The technique works on plain timber too — burl simply adds drama.
- Shallow overlapping rings or craters can mimic the effect without full hollowing.
- Practise cheaply on long straight stock (e.g., fence posts) using a scroll chuck with two jaws removed.
- Advanced variation: a centre hollow form intersected by another bowl — still experimental.
- These burls are remarkably stable and can even be blowtorched while wet without cracking.
- To release the finished piece from the backing board:
- Heat gun softens glue, or
- Freeze the assembly — frozen hotmelt glue becomes brittle and pops off cleanly.
Terry’s Philosophy
Terry emphasised the importance of developing a personal signature rather than copying techniques directly. His decorations in combination with the turning style was something he hadn’t seen elsewhere when he began — and it has since inspired others.