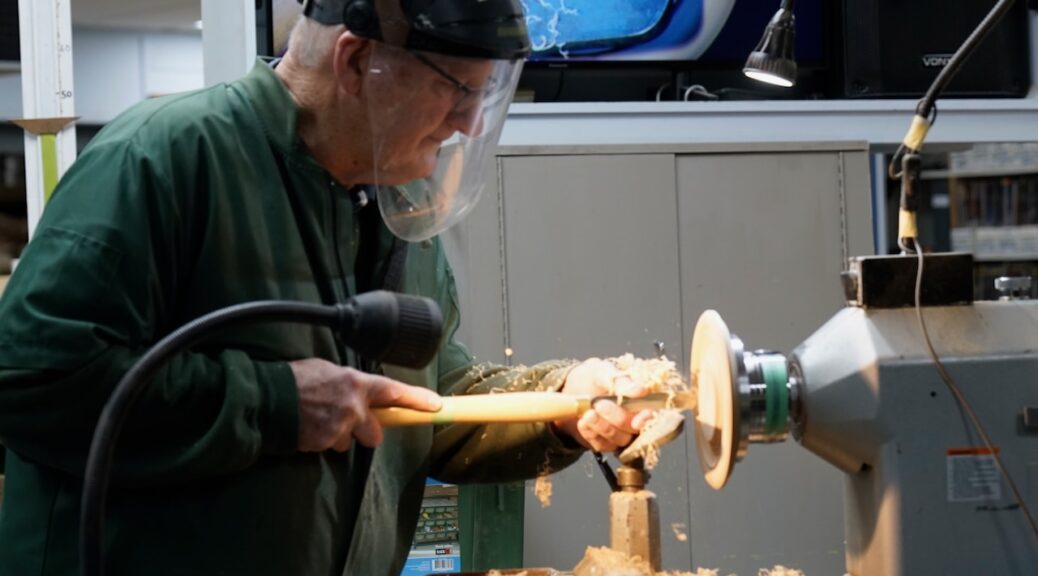
Club Meeting: 9 September 2026
Report by: Kevin the ai guy
Overview
Kieran split this demo in two. The first half was an honest, in-progress look at hand thread chasing — a notoriously difficult technique he’d been practising for weeks without fully mastering, shared candidly warts-and-all rather than as a polished method. The second half was a quick, satisfying photo frame project, adapted from an earlier decorative “picture frame” plate design, included specifically so the demo finished with something complete.
Part 1 — Thread Chasing (Experimental)
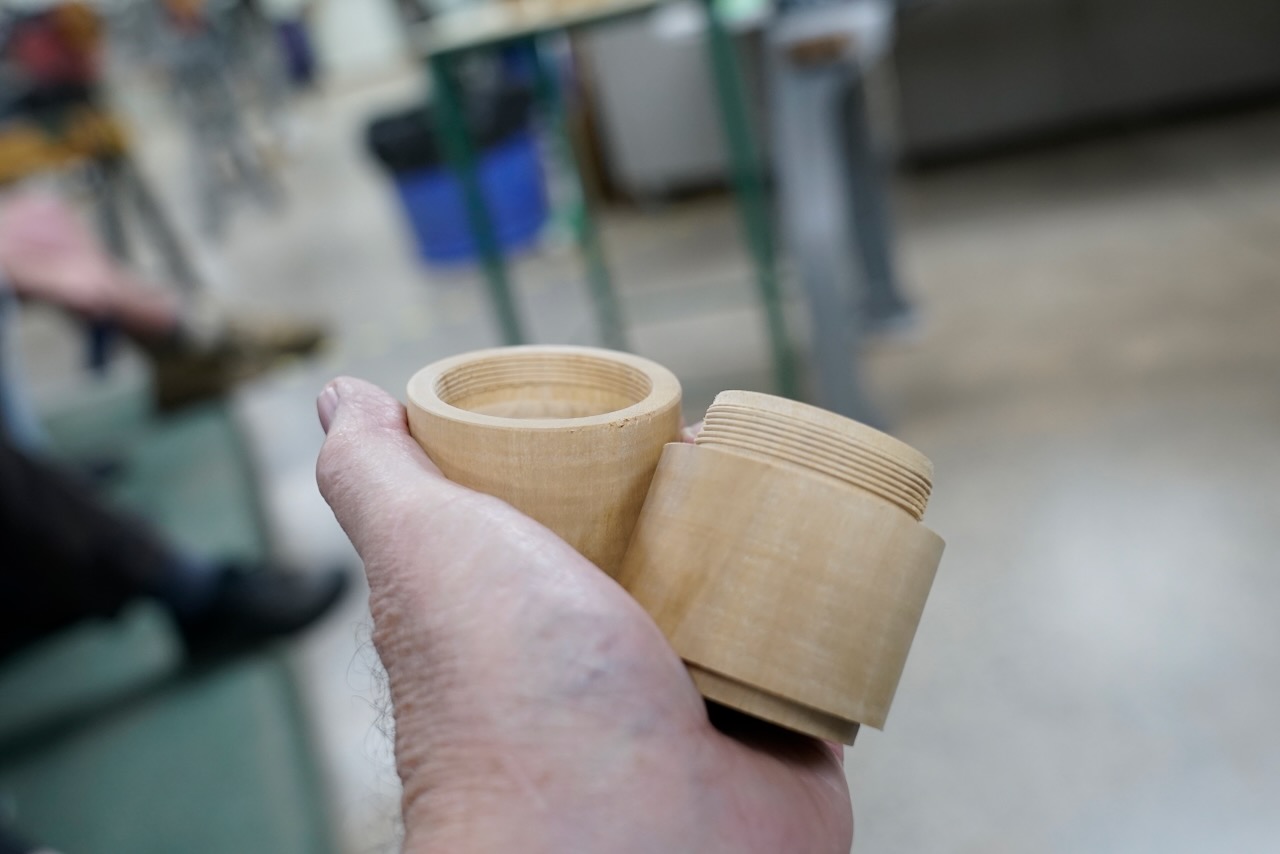
Hand thread chasing cuts a screw thread directly with a handheld chasing tool rather than a jig. Kieran was upfront that after weeks of practice, results were still inconsistent — useful context for anyone tempted to try it expecting quick success.
Tools & Materials
| Item | Notes |
| Chasing tools (male & female) | Carbatec sells sets in 10, 16 and 20 TPI (threads per inch). 10 TPI is very coarse/aggressive and generally too large for a small box; 20 TPI is very fine; around 16 TPI was suggested as the best all-round choice for box-sized work. |
| Recess tool | Cuts a clearance recess at the back of the piece so the chasing tool can be withdrawn before hitting the headstock end — without it, continuing to cut simply tears out the finished threads. |
| Hook tool / arm rest (optional) | Hooks over the main toolrest to give extra leverage pulling the tool into the cut. Kieran doesn’t own one and manages without, but noted it as a legitimate aid. |
| Diamond file | Used to sharpen the chasing tool — hone only the top face. |
| Wax / Ondina oil | Applied to the thread to help the tool slide rather than grab. CA glue is sometimes suggested to stabilise chippy grain, though Kieran hasn’t found it especially effective. |
| Timber | Needs to be hard and very straight, tight-grained. Trialled on the night/at home: swamp rātā, pōhutukawa, olive, titoki, camellia and black maire, all with mixed or partial success. Boxwood is considered the gold standard overseas but isn’t readily available in NZ. No NZ native timber has been reliably, repeatedly thread-chased by club members to date — puriri is considered the most promising candidate but still hasn’t been cracked. |
Technique
- Cut a slight chamfer on the leading edge of the piece first — this helps the chasing tool engage cleanly when starting the first thread.
- Enter the cut at roughly 45 degrees and begin the first thread, then gradually rotate your hand/the tool handle around as you cut subsequent threads, until the tool is running parallel to the lathe bed once the full thread length is cut.
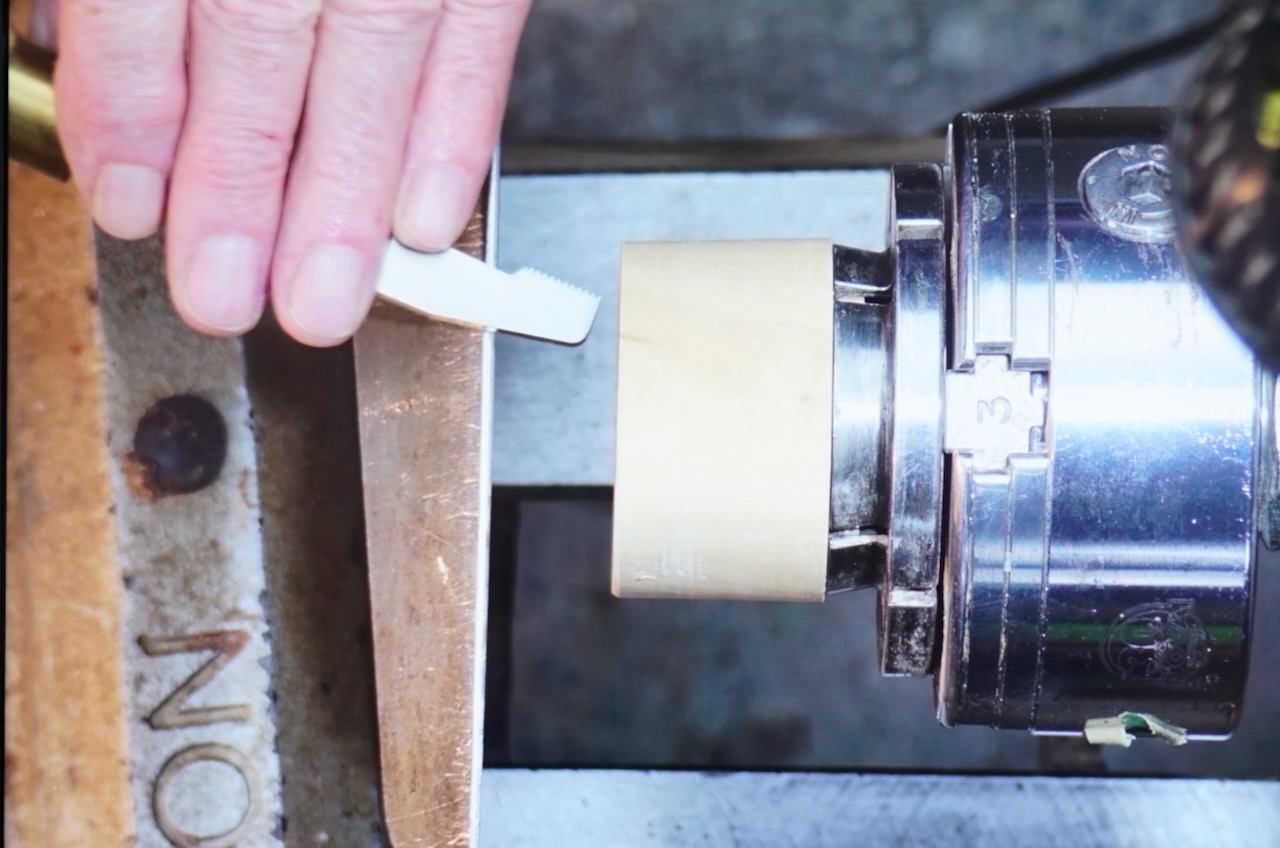
- Cut a recess at the back of the threaded section before you get there, using a parting/recess tool — this gives the chasing tool somewhere to be withdrawn to once it reaches the end, avoiding tear-out.
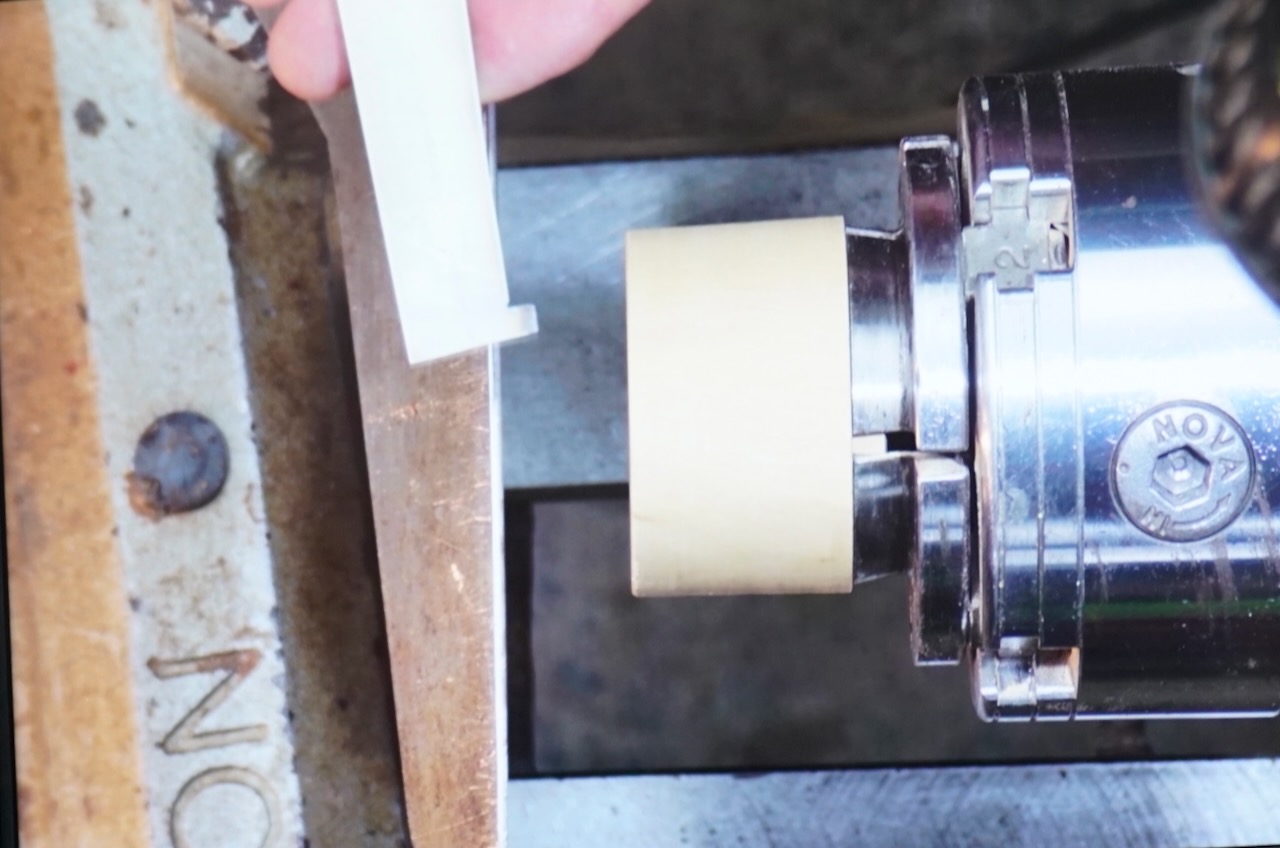
- Work at a low, consistent speed (around 280 RPM was used on the night) — speed affects how quickly the piece draws the tool in, and a comfortable, repeatable speed matters more than a specific number.
- Listen as much as you watch — you cannot see thread breakout happening while the lathe is spinning, but a change in sound (a distinct “clunk”) is a reliable sign it’s occurred.
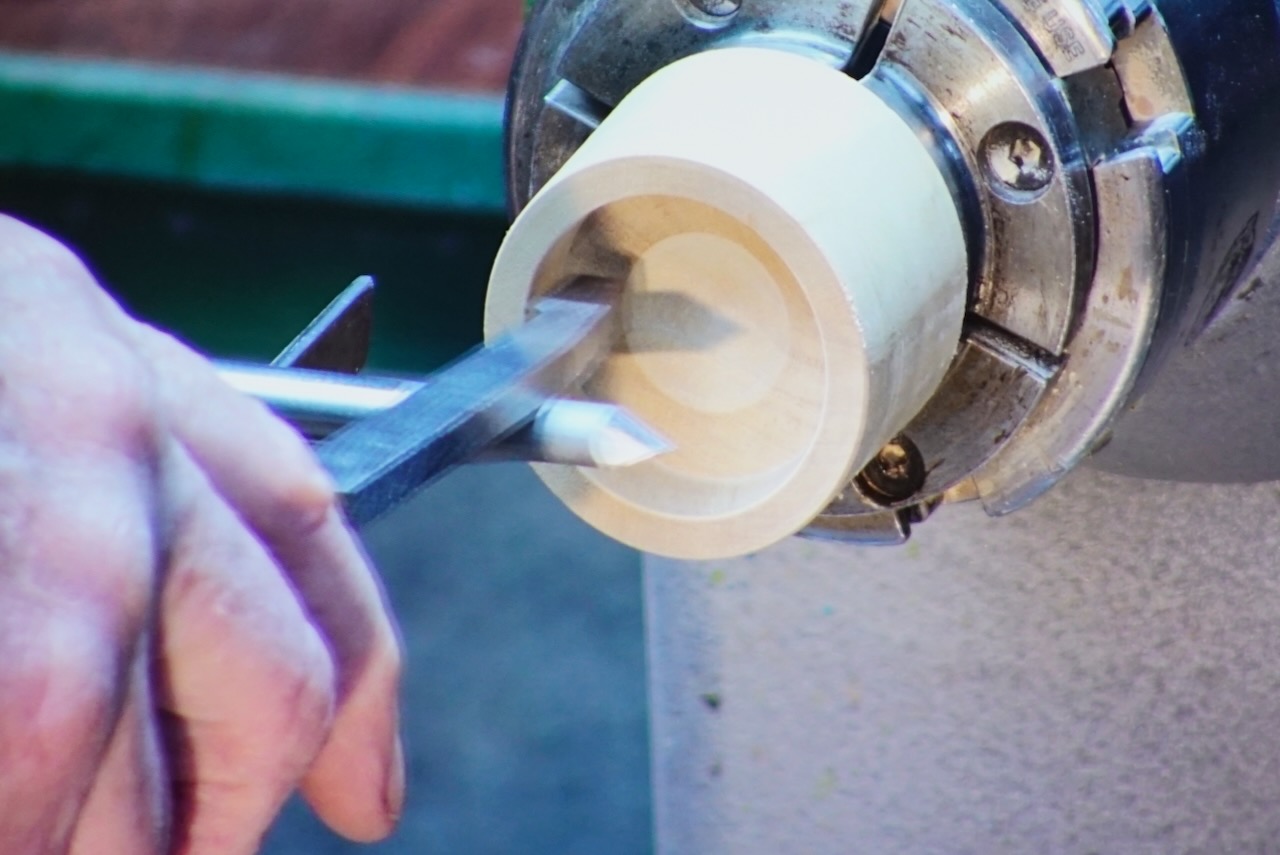
- The female (internal) thread is harder to cut successfully than the male (external) thread.
- To size a male thread to fit an existing female one: cut a test rebate at the front of the male piece until it just fits inside the female threads, then estimate and cut down to the matching depth, checking for a light “witness mark” appearing on the tenon as a sign you’re close to the correct depth.
Honest Assessment & Practical Notes
- Kieran estimated it takes roughly 200 repetitions to build the muscle memory this technique relies on — it was described as requiring total concentration of sight, sound and touch simultaneously, more so than any other lathe operation he does.
- Even with a well-suited timber, success is far from guaranteed on any given attempt — treat early results as practice, not a reliable process yet.
- A 6mm-long thread section can mean roughly 20 turns to fully engage — too many for practical use.
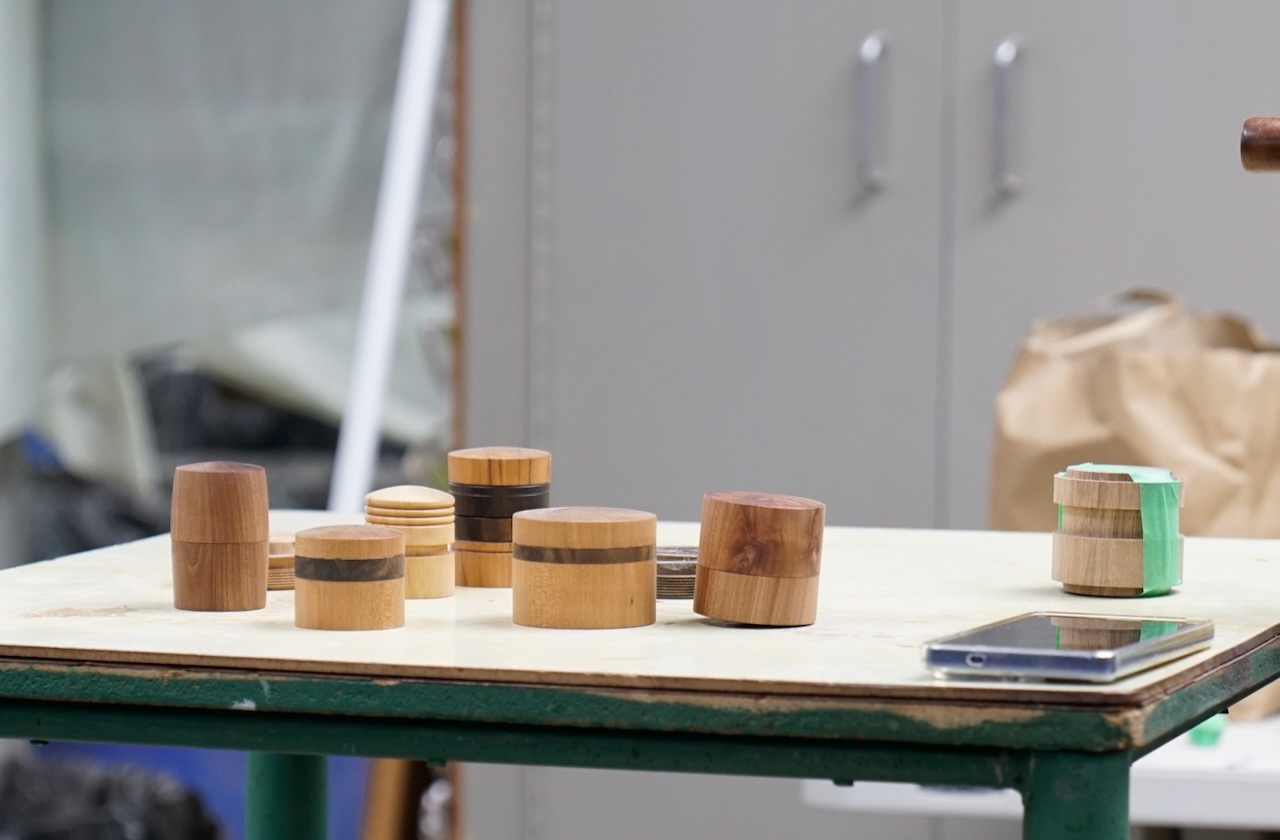
- Matching grain pattern between a threaded lid and its box is trial and error: screw the two pieces together fully, note how far the grain is out of alignment, remove that amount from one piece, and repeat until it lines up.
Part 2 — Photo Frame (Quick Finished Project)
Adapted from an earlier decorative “picture frame” style plate design, reworked into a functional photo frame. Made from a piece of recycled shelving timber on the night, though any suitable timber will do.
Roughing & First Mounting
- Sand one face flat and mark the centre, then mount it against a glue block using a few dabs of hot melt glue — sufficient to hold it securely for light truing work.
- Round the blank, working until the visible “shadow” cast by an out-of-round edge disappears, then continuing until any remaining flat spots are gone.
- True up the face — it typically won’t be far out.
- Mark and cut a dovetail-profile recess sized to fit your scroll chuck jaws, using a parting tool followed by a small skew to form the dovetail angle.
- Cut a small cove or relief detail on the back edge— it makes the finished frame easier to pick up off a flat surface.
Second Mounting & Front Design
- Remove from the glue block and remount by gripping the dovetail recess directly in expanding scroll chuck jaws (or press onto a shop-made jam chuck if you don’t have matching jaws) — either holds the piece securely and centred for front-face work.
- Measure or eyeball from the back to locate where the chuck jaws finish, and scribe a circle marking the section that will later be removed to create the photo opening.
- Divide the front face into two zones — an inner section and an outer border — to create a “picture frame” effect.
- Turn the inner section as a shallow half-cove; treat the outer section more like a bowl’s rounded rim.
- Leave a detail line between the two zones to visually separate them.
- Check the remaining wall thickness in the recessed area with outside (figure-eight) callipers — around 3 mm looks good.
Creating the Photo Opening
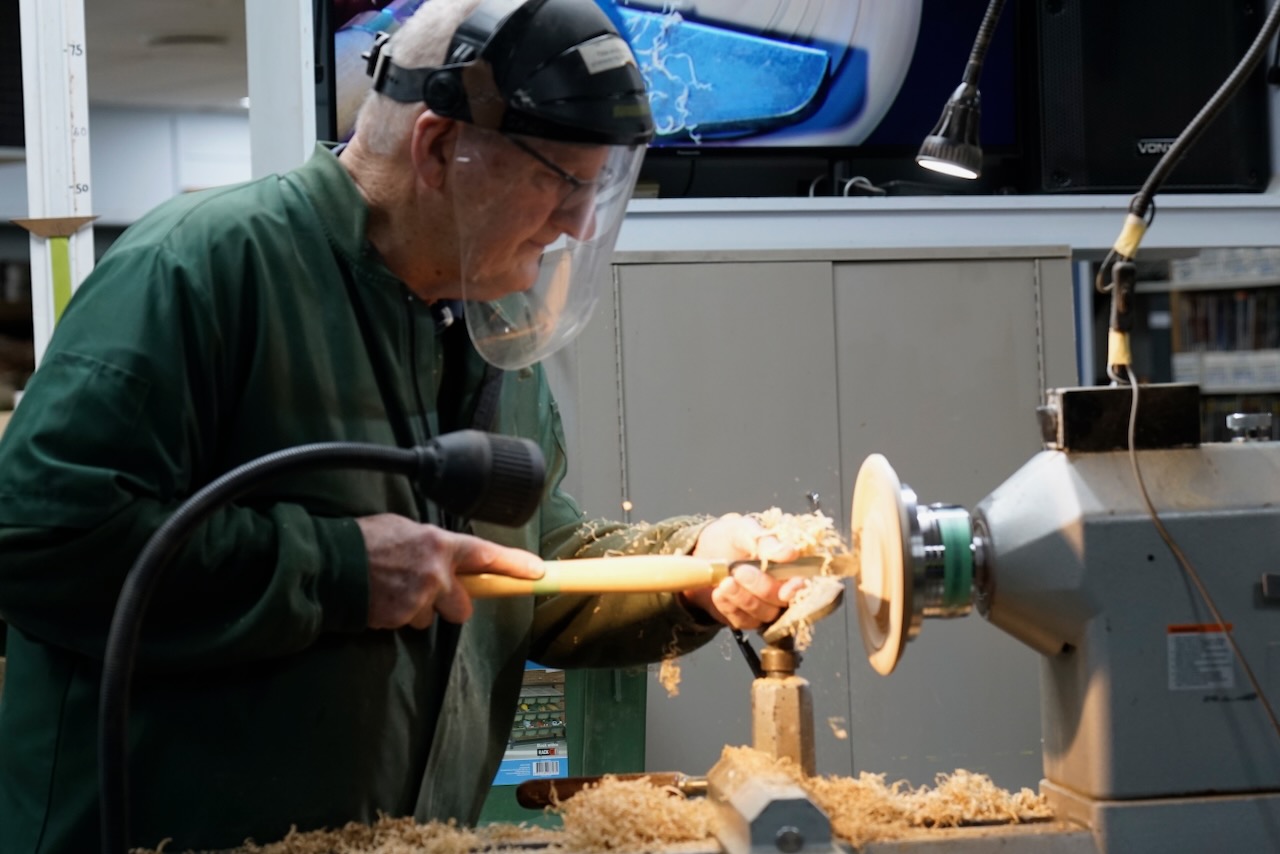
- Use a parting tool to remove the centre section. Reduce the lathe speed to around 500 RPM before breaking through. Work gently to avoid breakout on the back of the frame. Any breakout that may occur will not be visible anyway.
Finishing & Assembly
- If the cutting technique is clean, very little sanding is needed at this stage — as little as two to three minutes in the demo.
- Insert your photo from the back with a cardboard backing piece, then secure with small push pins (inexpensive T-pins from a craft/hardware store), pressed in by hand and lightly tapped home with a hammer.
- For hanging: the simplest option is a small tack in the wall using the natural recess in the back of the frame. Or a standard D-ring picture hook can be fitted into the back instead.
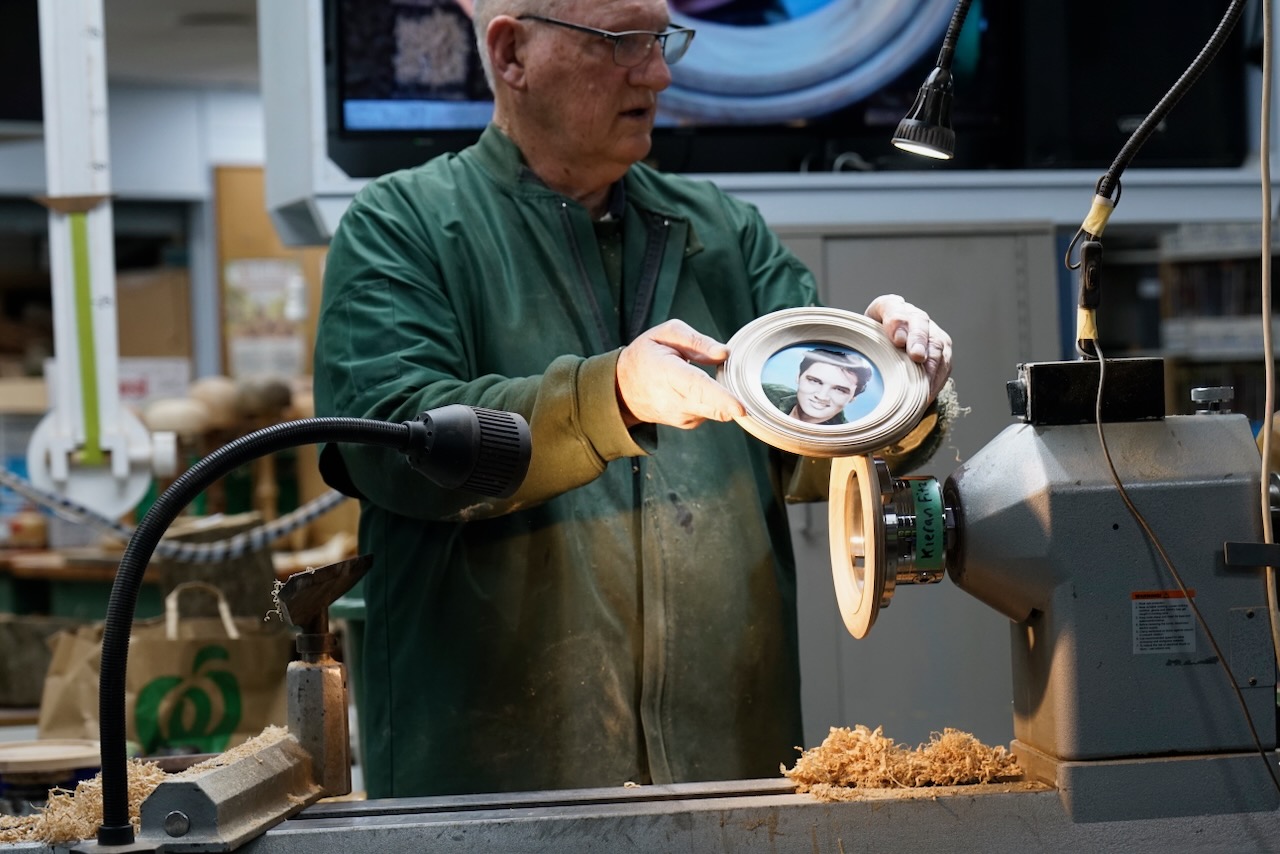
Overall this is a genuinely quick project — roughly half an hour from a rough blank to a substantially finished frame, with only a couple of minutes’ sanding on top given clean tool work throughout.