Club Meeting: Wednesday 24th July
Report by : Emma James-Ries
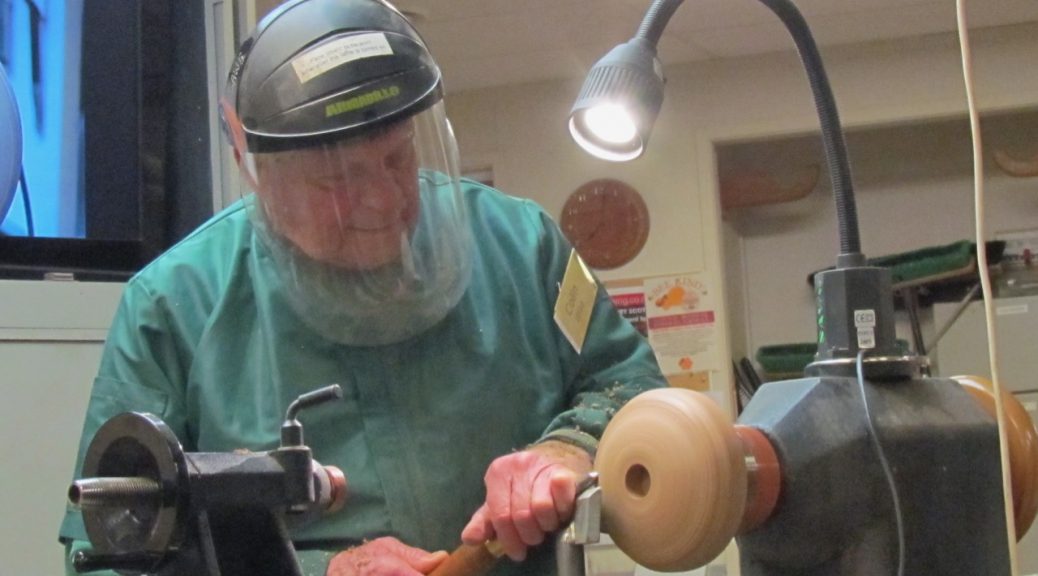
The Terms Project for every member, is to make a wig stand for the Look Good Feel Better foundation. To demonstrate this for us, we had Colin Wise making the wig stand that matches the project sheet that can be found on the SAWG website.
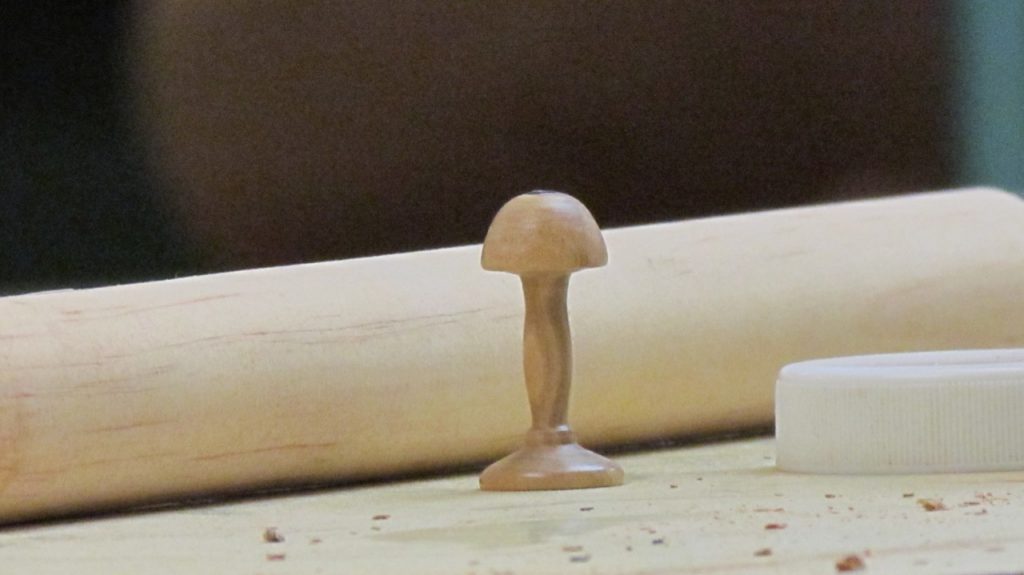
To start off Colin showed us a wig stand he’d made earlier… at 1/12th scale! Setting the miniature aside, he pulled out two respectable wig stands with slight differentiators in shape.
Colin then started out by making the base section first, using a square 160 X 50mm block of spalted Taire timber. He’d already drilled a 25mm hole, in which the stand will fit, and made a spigot on the other side. Turning at a speed of 800 he proceeded to round it off and then shape the base, noting that it is personal preference what shape/decoration you make.
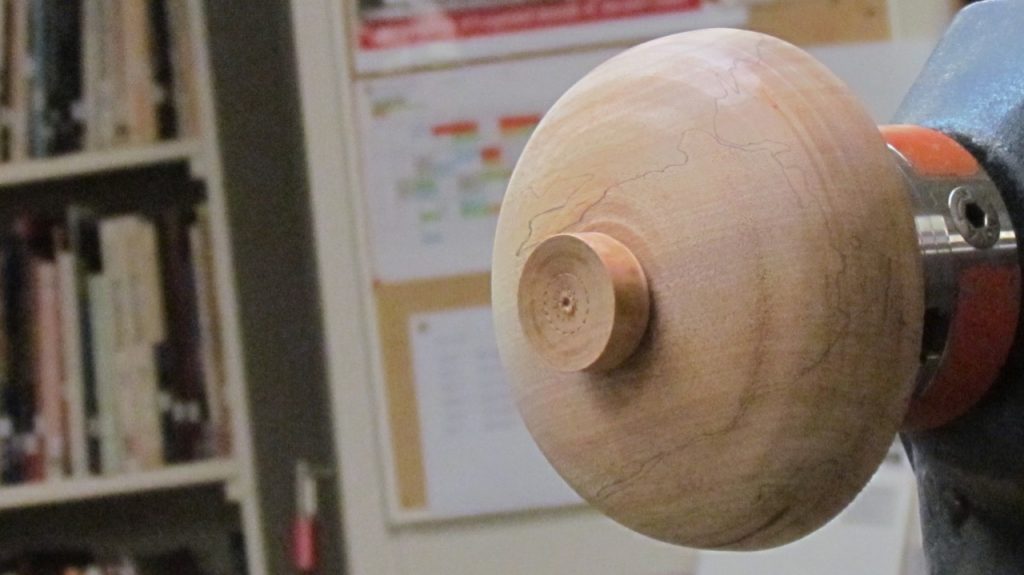
Then take the base spigot off he used a wooden plug that fit into the 25mm hole and then held the plug in the chuck and turned it off. Colin noted here that its best to make a slight concave so contact points of the base are the perimeter only. This will prevent wobbling and give stability when there’s a heavy wet wig on top.
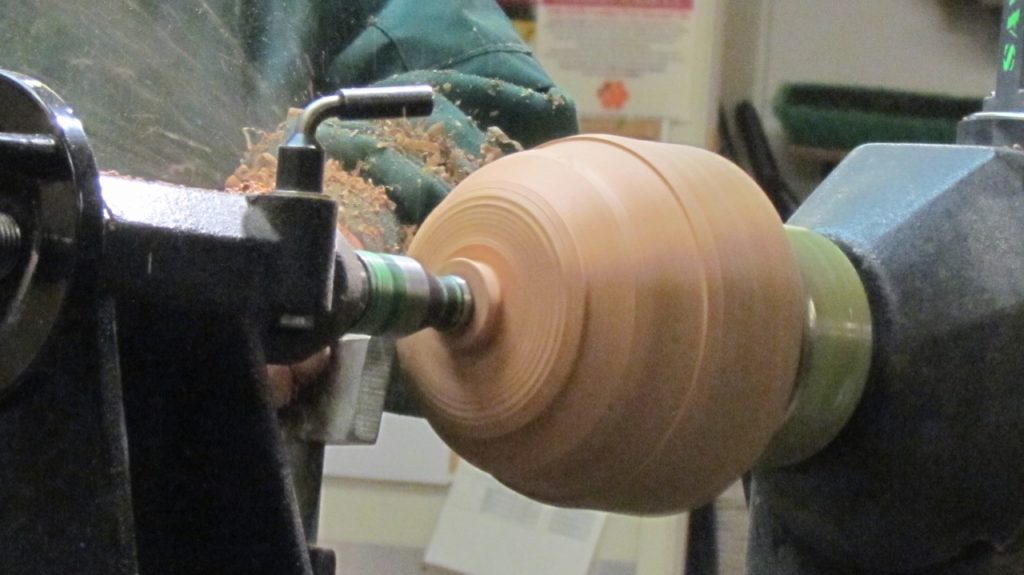
With the base finished, Colin moved on to the head. This piece was a 160 x 110mm square, noting to use a light weight wood for the top. Colin used a steb centre to hold the piece while shaping. He mentioned here that it is important to make sure the edges of the top are either parallel, or slightly curved under so as not to have a protruding edge that would damage a wig.
Finally the last piece to make was the shaft. Colin had an already round piece of wood roughly 240mm long by 40mm in diameter. After mounting the shaft he then used a parting tool to make two 25mm diameter by 14mm long spigots on either end, which will fit into the base and head. Colin said that a slight taper to these spigots helps the glue when assembling. Colin’s personal preference when shaping the stand, was to put a slight bump/bead about 1/3 from the top, this was so you could grip the wig stand when picking it up. But ultimately shaping is up to the makers personal choice.
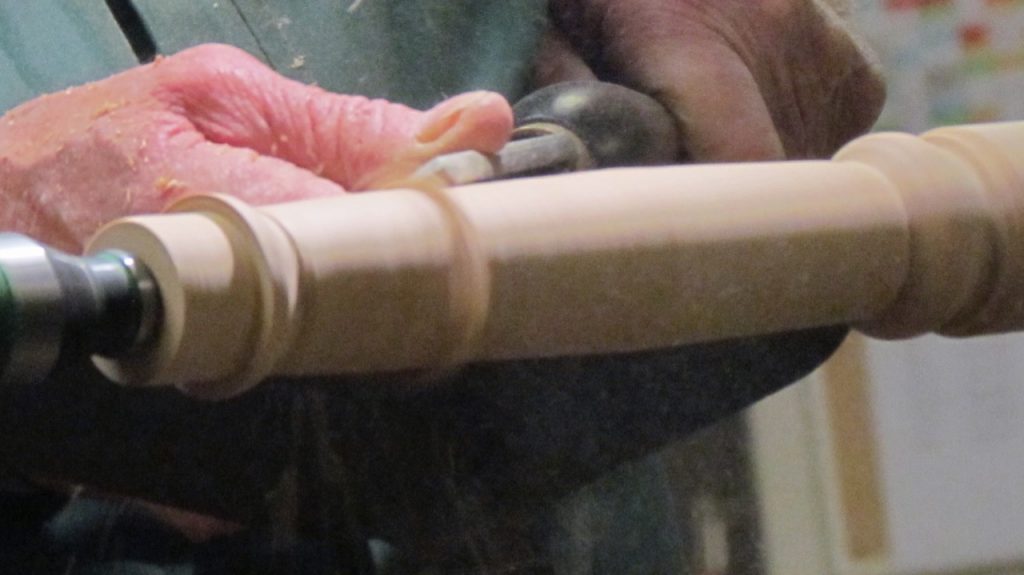
Colin demonstrated that this was also an excellent time to practice using the skew chisel when shaping the shaft.
Finally Colin assembled the wig stand noting that it’s beneficial to rough up the spigots when gluing, so as to give the best hold. PVA is fine to use for assembling.
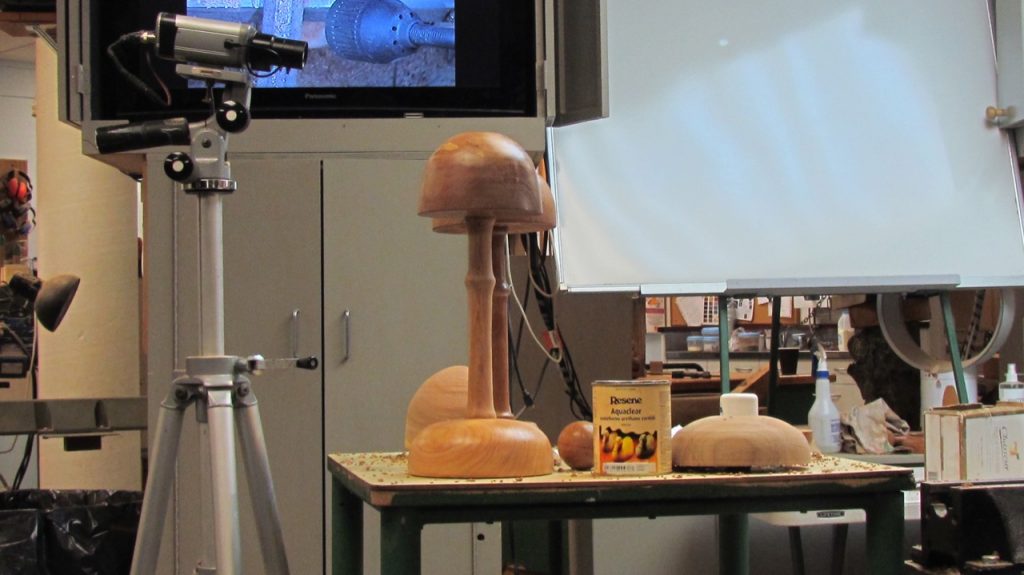
On a final note finishes were discussed and emphasised that any wax finishes were a no go. All finishes need to be able to come in contact with a wet wig that will not damage either the wig or the stand. Polyurethane would be a good option.
Thanks for the demo Colin, I look forward to making one shortly! For any extra details for this demo, please see the wig stand project sheet on the SAWG website.
