All posts by Webmaster

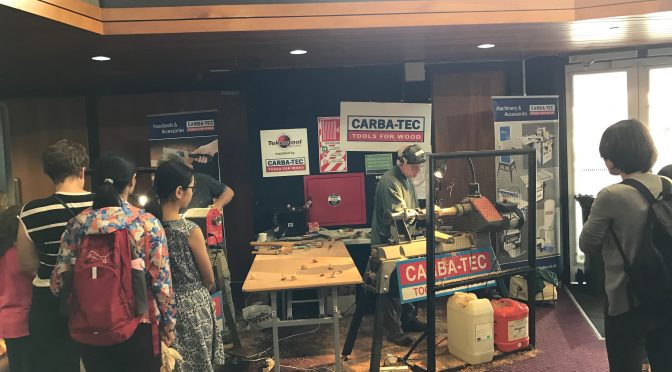
Easter Show

Again thanks to Dick for his involvement in the organization of Easter Show. 

Many tremendous pieces entered, thanks to Terry and Cam for helping Dick set them up, the displays looked great.

Judging results and pictures of the winners can been seen of the National Association of Woodworker site  – http://naw.org.nz

Thanks to all those from our local clubs that helped with display supervision and some turning demonstrations over the course of the show.


Turn Around – 17 April 2017

Turn Around

I have come across this new thing called Inverse Logic. It is the same deal as alternative facts so I will give you an example and see if you can understand it! Think of cannibalism.

Three men had heart valve transplants:

The first was a bit fed up because they gave him a pigs valve so he couldn’t eat Pork from now on.

The second wasn’t too happy because he got a cows valve and that meant no more steak.

The third was happy as because he got a plastic valve made from vegetable oil and with his wife being a vegetarian he would never have to eat another $%^&* vegetable again.

We had a good meeting this week even though attendance was down a bit with the opening of the Easter Show.

Colin had made a Viking Bowl at the Glen Lucas day and he brought the finished article along for us to see.

Jim brought along a box that was more complex than it looked with some nice inlayed components.

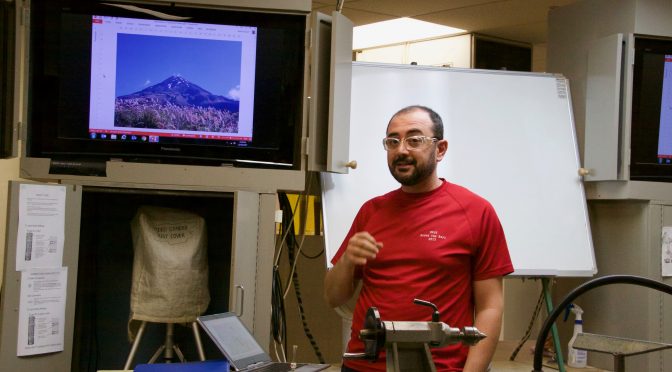
Raed gave us a good demo on making a small lidded box, first we had a slide show about what he has been up to at work. He used Kanuka for his box and he had photos from when he had harvested the fallen tree. He dealt with hollowing, cutting the rim, fitting the lid turning the outside and finishing the lid using a jamb chuck.

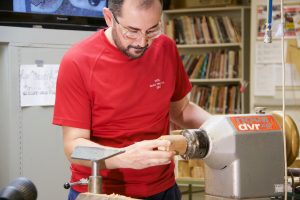
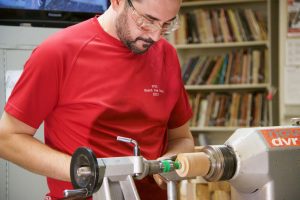
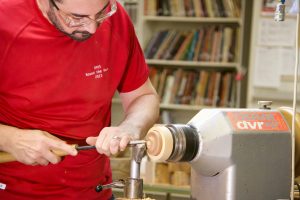
Ian took some great pictures so I will let them do the talking.

Baby Rattle – Richard Johnstone

Club Meeting: 9 Nov 2017
Report by: Bill Alden

Richard had made a decision to bring 2 pieces of pohutukawa wood 135 X 45 just in case! Do NOT use woods that may be toxic or have a colour that may come off when chewed.

Richard uses a spindle roughing with wings drawn back! And showed us gow he works from middke to edges in order to avoid picking up splinters from the ends

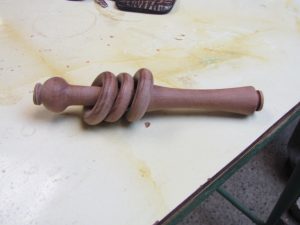
The ends were squared up with the long point of the skew he then checked that there were no cracks or blemishes that would not be turned out. The finished rattle was to be 35mm Diameter and 120mm long.

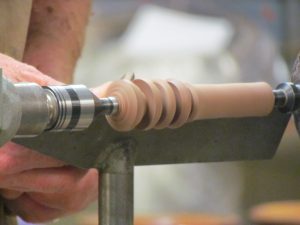
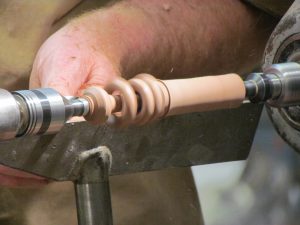
He then marked where the 3 rings were going to be formed, these marks were parted down in preparation for the 10 mm rings. Space was cleared for the ring tool at each end with the long point of the skew.. He then rounded the tops of each of the rings also with the skew.

The lathe was slowed to 800 rpm for the use of the ring tool which is used like a scraper , handle high with the tip aiming for the centre to form the ring. The ring was sanded before finally cutting loose. The spindle that the rings came off is cleaned up using a parting tool.
The ends and handle may now be shaped as desired with the skew and sanded. Richard uses Rice Bran oil which is a foodsafe finish as the rattles will go in baby’s mouths. Part off and finish the ends with a sanding arbour or by hand.

There was some health and safety discussions during the demo and we were warned that if selling these items they had to pass some regulations as to size of parts that may become stuck in baby’s throat.

Fish “a-lure” – Peter Williams

Report: Roger Wilson
Club Meeting: 26 October 2016

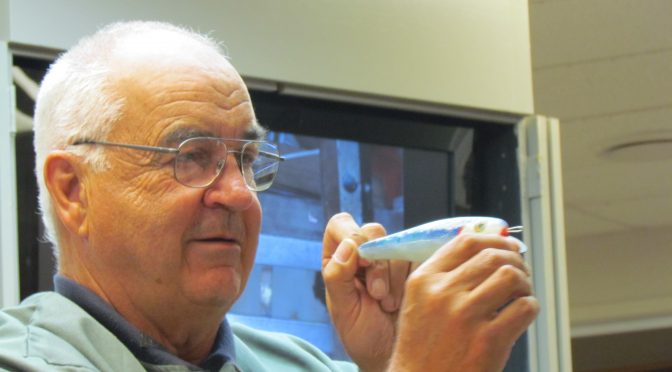
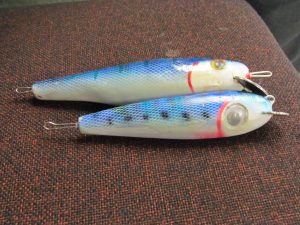
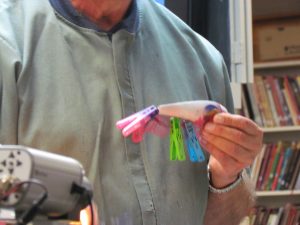
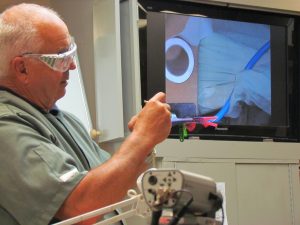
Peter provided an interesting and most informative evening on the bigger game fishing lures he creates and then decorates in life like colours to which he attributes his catch success.
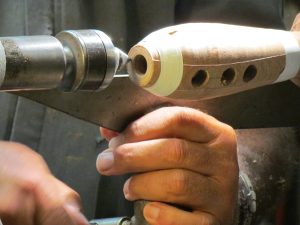
From the initial 3 block laminating with paper gluing, regular turning into a truncheon shape followed by off centre turning to create the tail shape Peter showed us some of his tricks that make the difference.

This includes his rattle in the lure and the various options for tempting whatever species you are trying for. His method of creating realistic fish scales was certainly original and did not run to any expense.($2-00 shop)

Peter also passed on the best places to obtain the accessories within the lure.
Start to finish an entertaining demonstration of creating a professional look bigger game fishing lure.

It Wobbles – Phread Thurston

Club Meeting: 19 October 2016
Report by: Dave Armstrong

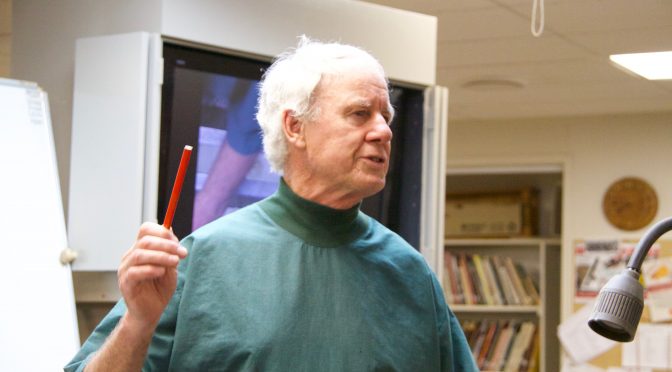
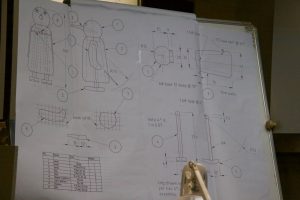
Once again Phread had a rave about the basics and fundamentals of turning wood and explained tool presentation and tool grind angles appropriate for his projects. He considered his demonstration simple using basic techniques but with a lot of detail. His preparation was well thought out showing us a drawing of all parts and associated measurements including a full parts cutting list.

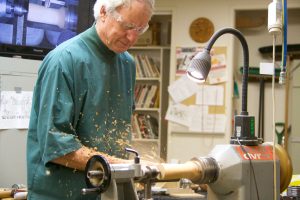
Phread started the penguin by putting a 160mm piece of 2” x 2” into a chuck and bought up the tailstock to hold it centre. He set the lathe to a comfortable speed then roughed it down to size, not missing the opportunity to demo the roughing gouge and body stance in the process. He then made a finishing cut with his scary tool, yet again using the opportunity to demo the cut by showing his wooden tool mock up with grind angles and presentation to the piece. Next he measured out the elements of the project (body and head) and made marks on the wood accordingly, then turned each part to its finished size.

Without missing a beat, Phread took his Awl (point made) and marked a position on the head section for the nose (oops beak) and drilled a 6mm fixing hole on the mark. Final rounding over of the head shape he then cut it off using his Japanese saw. Phread trimmed up the neck face of the remaining body still in the chuck using his favoured skew and also did a cut showing the use of a bowl gouge in the same place. That face cleaned up, he proceeded to drill out the inside of the body with a forstner bit. He then showed his technique for hollowing out the inside using a spindle gouge and finally he used a special tool to reach the final wall thickness providing the correct internal tapper, then parted off the body from the chuck again with his Japanese saw.

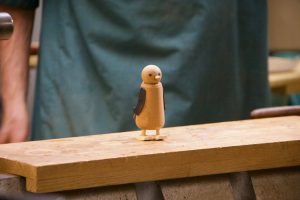
Phread had pre-made the legs, feet, beak and wings and discussed how he made the parts, then fitted them and assembled his Penguin. When completed correctly Phread assures us the Penguin will walk. With a little humour he acknowledged the beak was a little long (about 800mm) but the real thing needed to be shaped and a whole lot smaller.

Thanks Phread for another very entertaining demonstration.

Note – Phread acknowledges that he should have reduced the lathe speed when doing the internal boring of the penguin. It is good practise to do so and he will endeavour to do so in any future demonstrations.

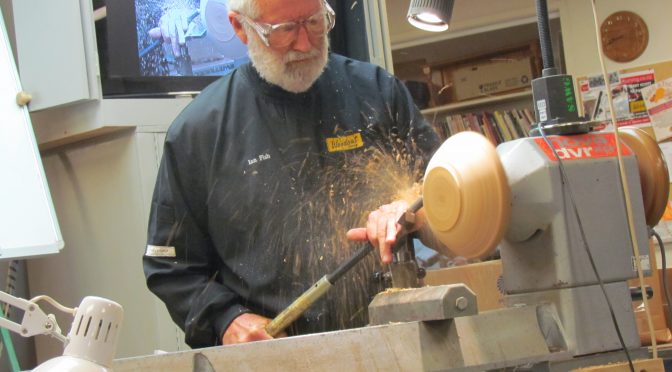
Something – Ian Fish

Club Meeting : 12 October 2016
Report By: Richard Johnstone​​​​

What a great evening with Ian Fish. I thoroughly enjoyed his presentation, beginning with his explanation of the part he played in the history of woodturning in New Zealand and then moving on to the more practical skills of using tools and turning wood.

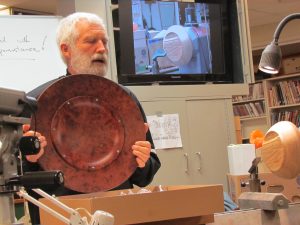
Ian brought along a number of boxes filled with examples of turnings he had produced over the years. He brought pieces out of the boxes and described the journey he took as his turning developed from turning basic bowls to being a recognised artist in New Zealand.

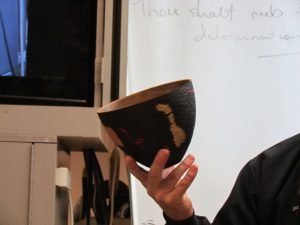
Most impressive was the thin wall turning. While we take it for granted today, this was something new and innovative in the turning and art world at the time. Ian said that he wanted people to be surprised by the light weight of the bowls when they picked them up. He thought that his pieces were “mostly useless as utensils, but are nice to look at”.

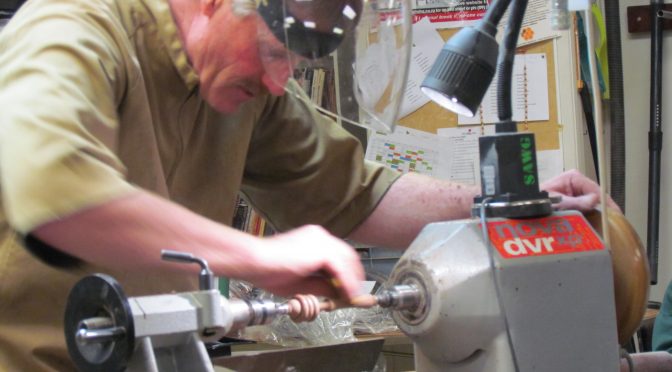
Ian had a little involvement in helping Nova with developing the DVR lathe. I especially enjoyed the story of testing out the gyro in the DVR. Ian took the headstock off the bed and while holding it in his arms, turned the lathe on at 3000 rpm. (Don’t try this at home) The gyro resisted his movement when he tried to walk. Ian said that it felt like walking in slow motion.

Ian completed the evening with a short turning demonstration which was full on verbal maxims and good advice. For example:

“Thou shalt rub the bevel with determination and persistence.”

“Good bowl gouge skills equal less sanding.”
Thanks Ian for a great evening of fun and learning.

Airbrush – Gordon Pembridge

Club Meeting: 21 September 2016
Report by Roger Wilson

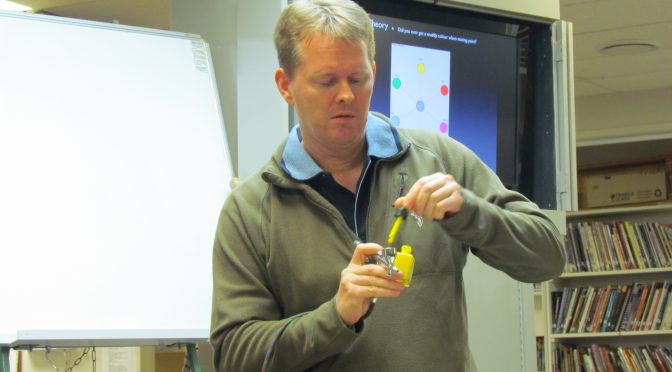
Gordon gave an interesting precise of the intricacies involved with the airbrushing art form.

He covered equipment and how it performed.  This included how to maintain the airbrush, the different needle configurations and subsequent results.

Safety in operating the equipment with regards to the various paints and solvents which include a quality mask and good ventilation as some paints could be carcinogenic.

img_0052

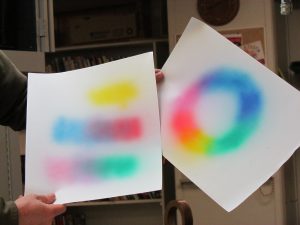
Colour theory and the art of colour mixing and Gordon demonstrated how with some experimenting there was no limit to the range and depth of colour that may be achieved.  Gordon emphasised that quality paints are important and in the long run much better value.

img_0066

Airbrushing opens up a vast range of embellishment however it is not forgiving if the surface to be painted is not finished to a high standard.

img_0067

Lots of questions were asked and answered and Gordon certainly generated interest in airbrushing as another way to be creative with woodturning.

Sandblasting – Dick Veitch

Club Meeting 14 September 2016
Report by Strett Nicolson

This week we were treated to a dual demo.

First came the mini safety lecture by Alistair on using hazardous chemical  materials such as resins. Fundamentally he reminded us that personal health responsibility lies with each individual. Read the labels on products you use, be aware of the chemical hazards of each product,  and use safety equipment to protect yourself. Thanks Alistair for the reminder.

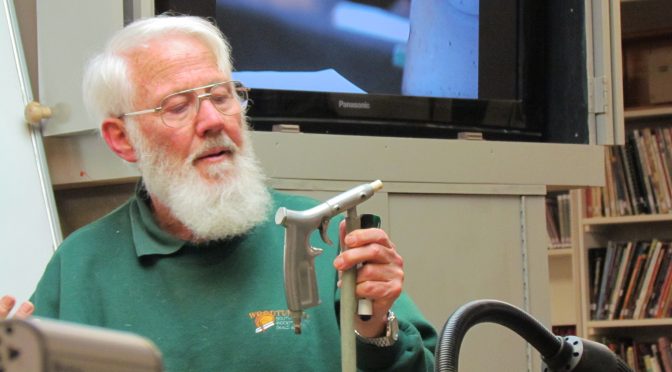
Dick followed up with a ‘Sand Blasting and Multi-Colouring for Dummies’   demo.  He outlined clearly the various components of a sandblasting cabinet and their particular function, he explained the basic mechanics of the sand blasting gun, all this amidst a few wise cracks from the floor. He explained the value of understanding which blasting medium to use to obtain the required affect   and demonstrated how to create patterns on a turned piece by making plastic templates and masking the pattern   onto the wood, using tape, before blasting. The results of colouring, masking   and blasting with various mediums were displayed through pre-prepared samples.
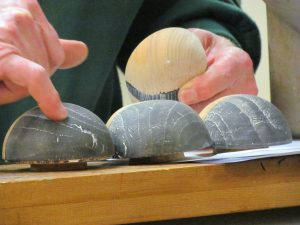
img_0140

A word of warning from Dick, “Do not sand blast wet wood, it does not work”.
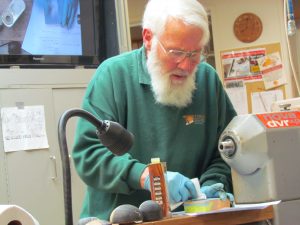
img_0135
Finally he demonstrated how one can use colouring and sanding with sand paper or bushing with a wire brush to   enhance or draw out the natural wood patterns and grains.  Again a word of warning from Dick, “ Go slowly, do a little at a time and check the result,  or you may find you sand or blast away too much material and colour and have to start over”

In response to the question,  ”Are there any native woods that lend themselves more than others to sand blasting?”, Dick replied, “Go and experiment.”
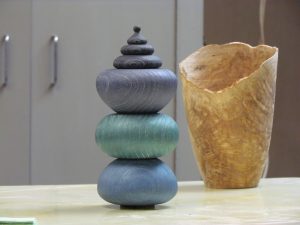
img_0136

Thanks Dick for an informative demo.