Club Meeting: 24th June 2026
Report by: Jacqui Oxenbridge
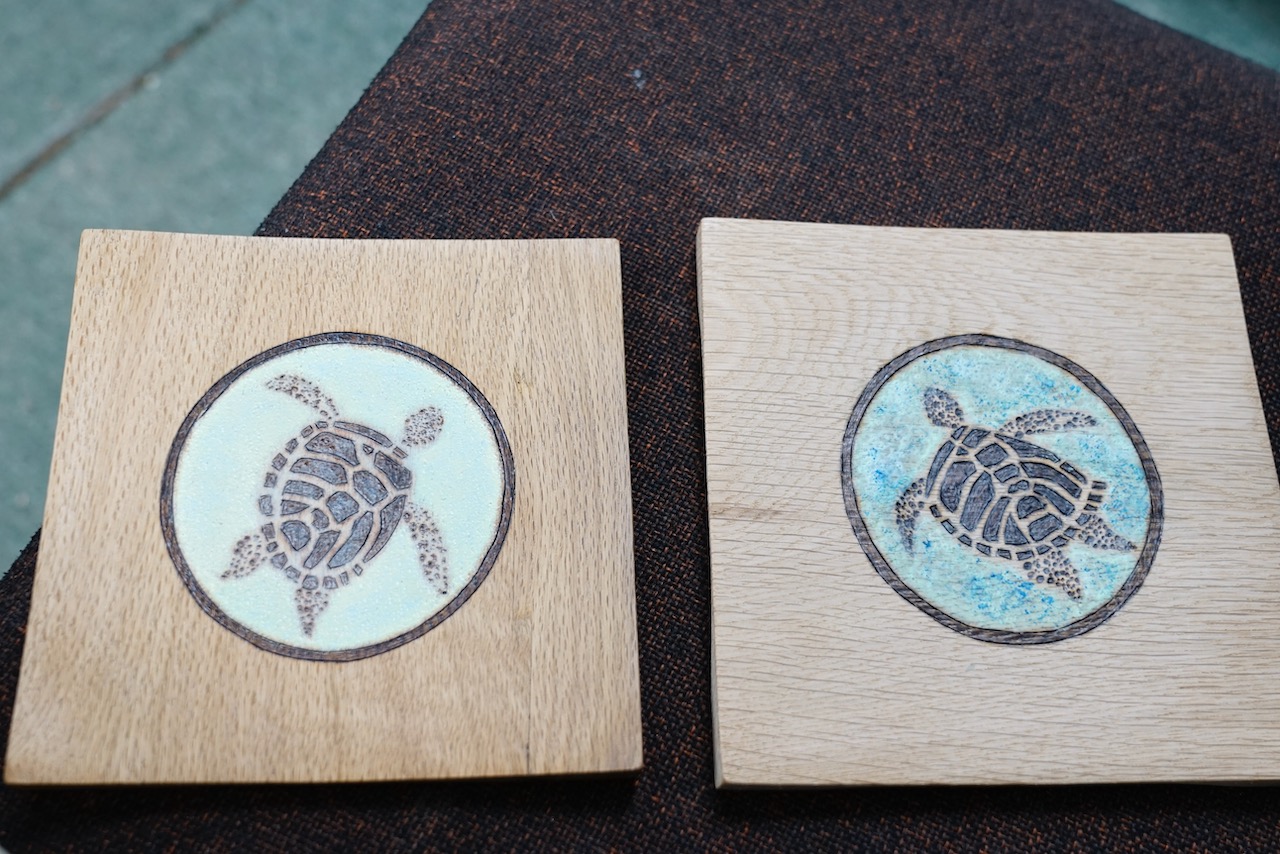
The plate has a lot of detail on the base, 4 feet on the corners and then the top can be embellished with pyrography, acrylic paints, pencils. A square or round border can be added to frame the art, or the art can extend outside part of the border.
The turning on the base varies depending on whether a tenon or recess is used. For a recess often use a 100mm chuck but 50mm also works.
All pieces have a lacquer finish.
Start at the table saw, cut squares from 20mm board approximately 170 x 170. Check for blemishes and decide top and bottom. Mark the centre on the bottom with an awl. Roughly sand the top to provide adhesion for the glue.
Mount a round glue block approximately 100mm diameter in a 50mm chuck. Face off the front of the glue block.
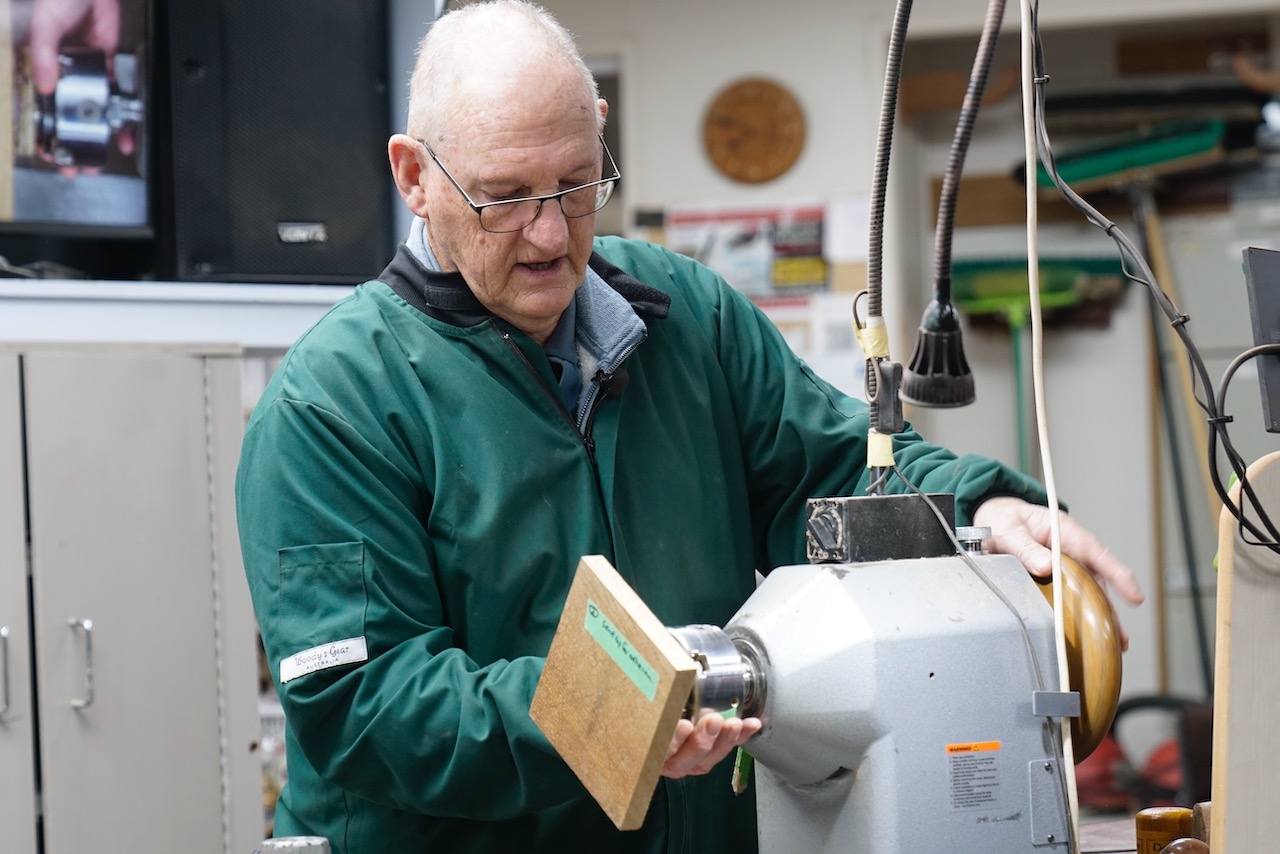
With the live centre in the previously marked centre hole on the base, bring up the tailstock to secure the board hard against the glue block.
With a hot glue gun hold the board in position with 5 large blobs of hot glue. For best results ensure the glue is very hot when applied and is allowed to cool thoroughly.
The tail stock is not required.
When the glue is dry, face off the bottom of the blank – use a draw cut to ensure the bottom is flat – particularly all 4 corners which will form the feet and must be flat. Tool rest is low, handle is low.
Now lift the tool rest to work on centre and make the base slightly concave so only the feet will sit on the table. Need to go from the very outside so need to eyeball the corner and push cut to the centre.
Use calipers to mark out for the recess – tool rest on centre, measure 97mm to fit 100mm chuck.
Mark the inside edge of the feet.
Grab a pencil and decide on the decorations for the base, mark the cut lines for domes and beads. If lines are to be erased later, use a soft lead like a 6B.
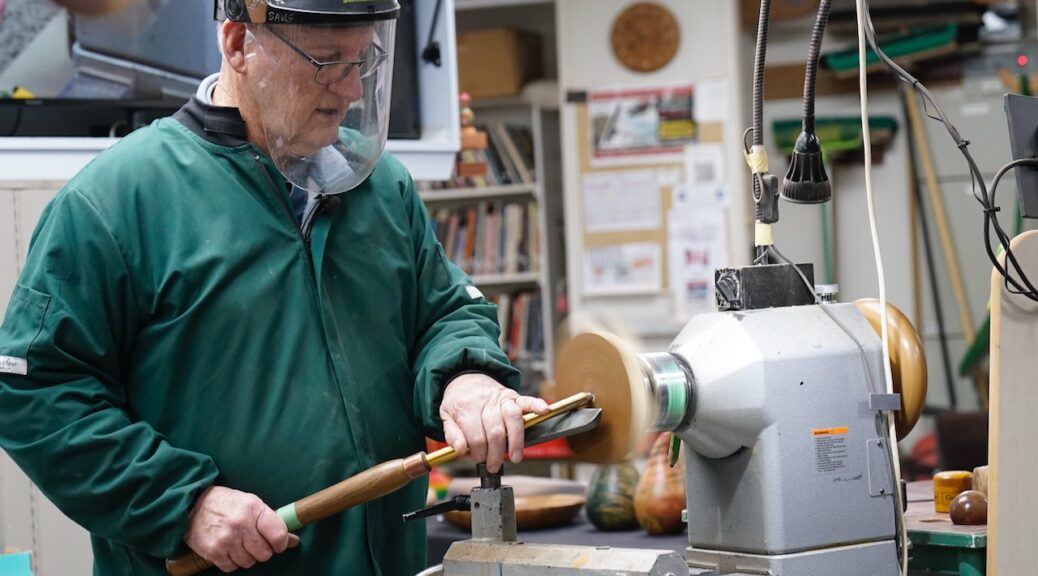
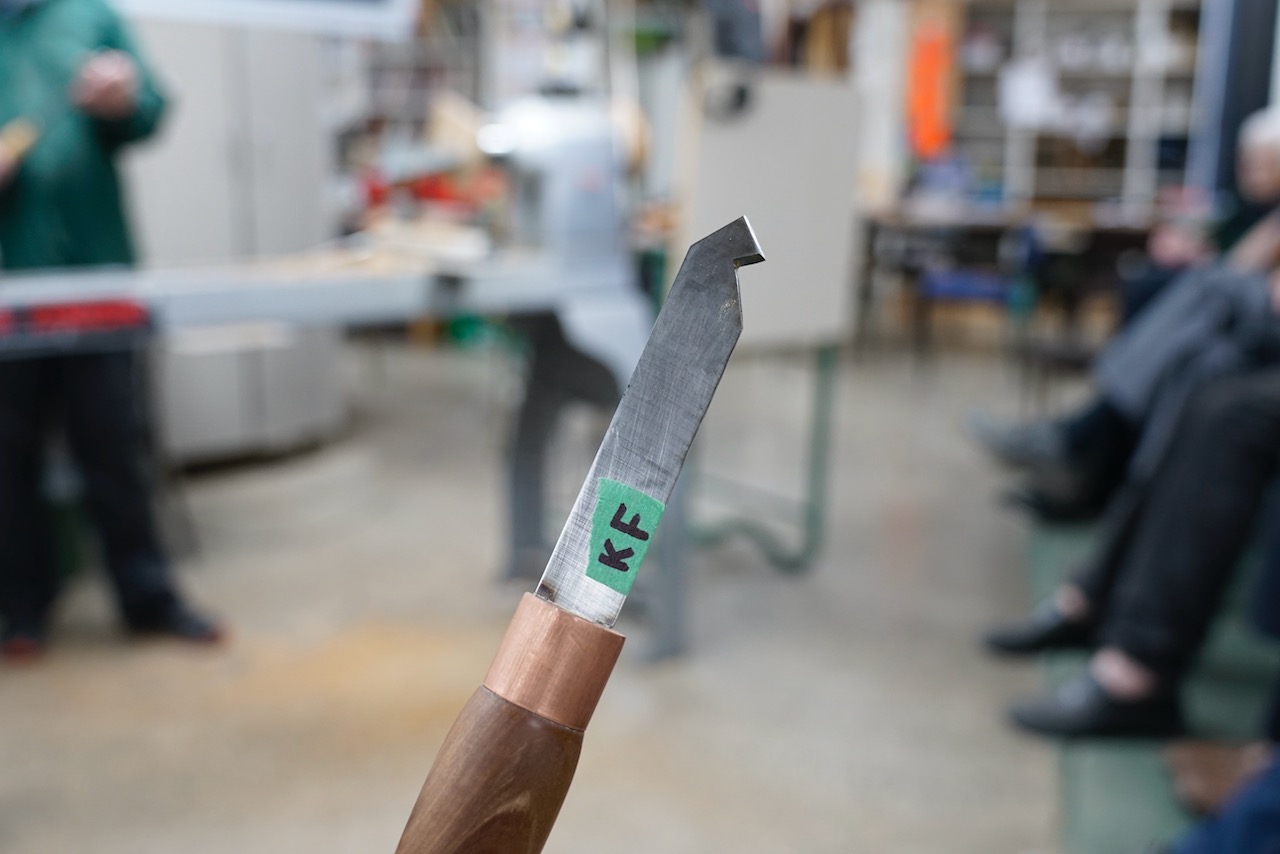
Drop the tool rest, cut the dovetail recess – initially with a parting tool – 2 to 2.5mm deep and approximately 10mm wide. Cut dovetail with homemade scraper tool – hold the handle slightly above horizontal to make the dovetail.
With a 35o bowl gouge, start at the centre shaping domes and beads across the centre of the plate. Width and position can be quite random.
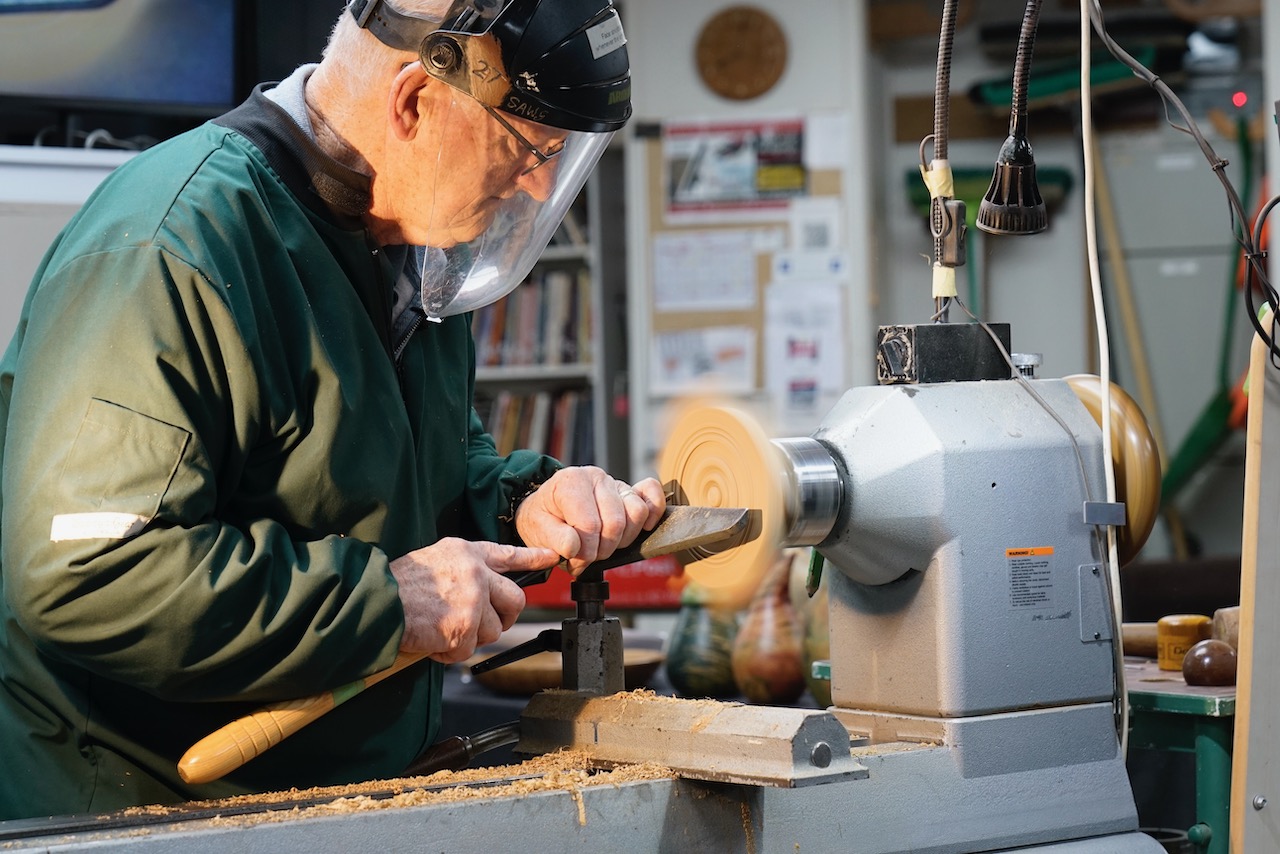
Outside this embellishment need to cut away any excess timber to form the 4 feet which must be proud – check this before proceeding.
Now use a round nose scraper to refine the concave area working towards the outside of the base.
Sand this area (hand sand on lathe). Note that oak is quite coarse, so you do not need to be so fussy with grain.
Use a heat gun to soften the hot glue and remove the waste block from the plate. Remove glue from the glue block so can reuse it.
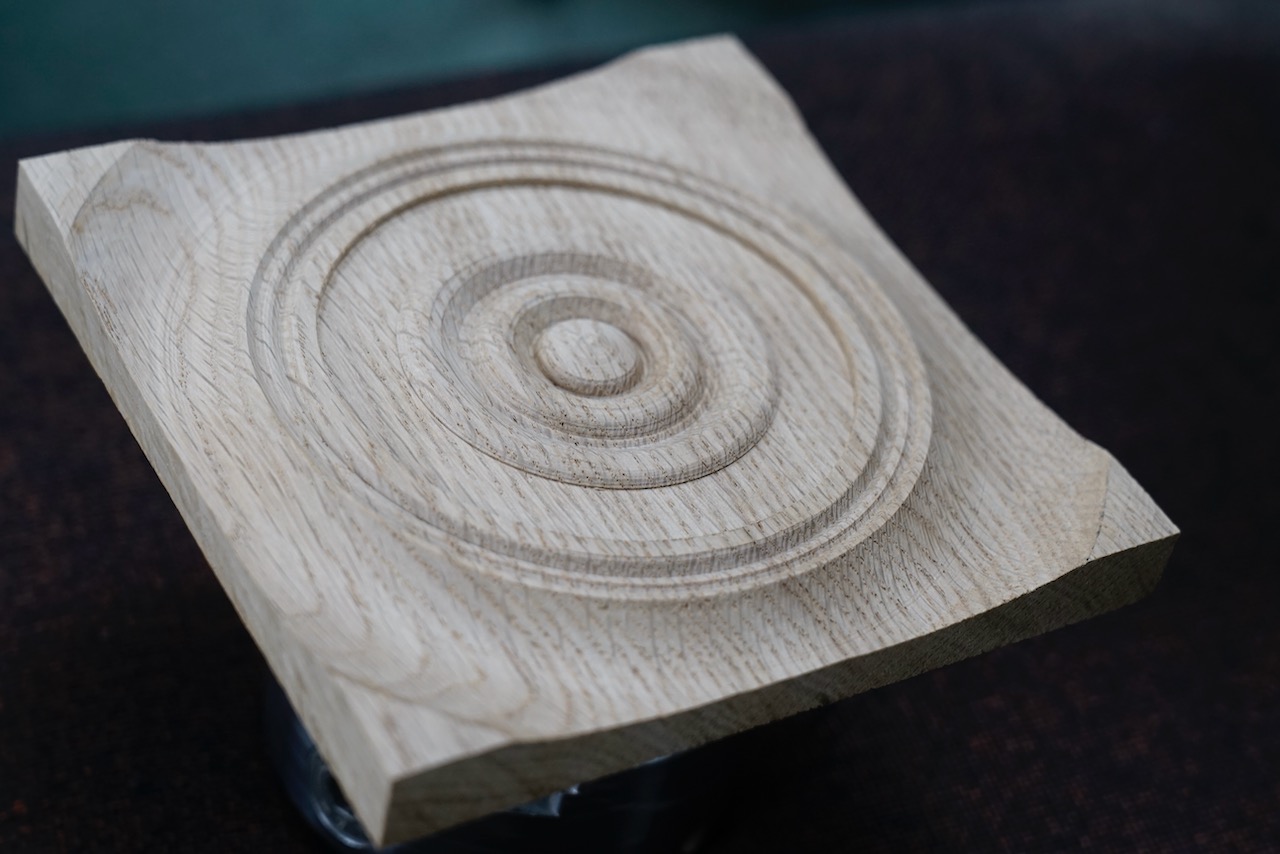
Remount the piece on a 100mm chuck using the recess on the bottom.
Note: if using a recess this can weaken the piece so care when removing wood around it.
Check the front is flat – it is important that each corner is at the same height. Use a draw cut to make the front true if required.
Carefully start at the corner, cut a concave shape with a bowl gouge. If you leave the centre in this gives a visual guide as to how thick you are getting at the edges. Aim for 4mm thickness between the feet.
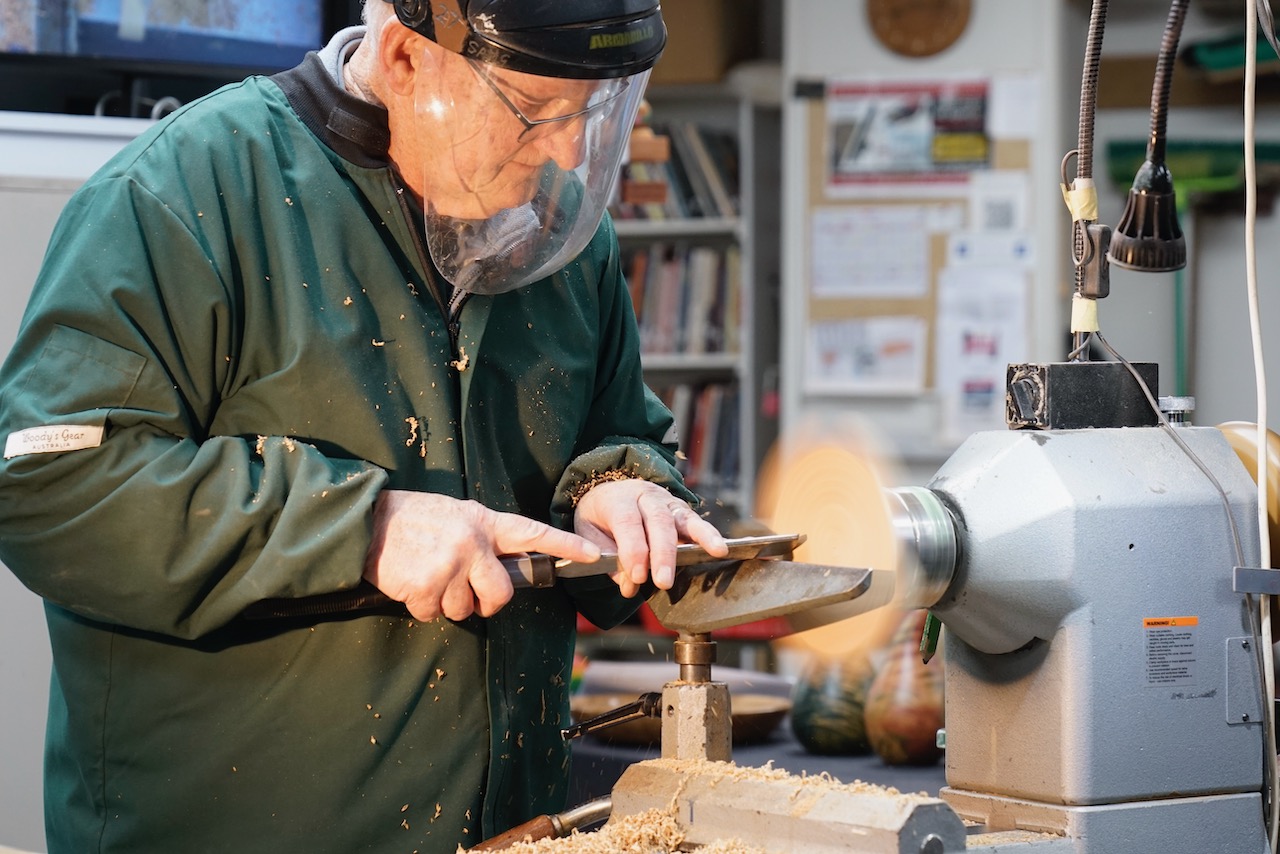
Remove the centre excess, clean up the surface with a scraper.
Sand – either with an electric drill and mandrel with lathe turning or it may be necessary to sand with the lathe stationary. Recommended to sand to 240 then a light touch with 320 grit before pyrography to make it easier to apply burn patterns.
If you want a round frame for the art, draw this in now with pencil using the lathe. For a square frame place plate flat and eyeball with a ruler and pencil.
Remove from the chuck and sand the edges.
The detail on the back is the first embellishment, the second is the drawing.
Choose your image. If it is a photo it can be helpful to divide the image into quadrants so when you draw on your plate you can retain perspective.
Mark the quadrants on the plate (within the frame) then draw the shape with soft lead pencil.
Using a pyrography pen, follow the pencil lines.
Kieran uses a Razertip burner which doesn’t burn as hot as the Burnmaster but is suitable for finer art. Can use a rice bag to stabilize the piece. For straight lines uses a medium size rounded skew or rounded knife point nib.
Pyrography lines do not need to be exact.
Draw the burner nib in towards your hand.
Hot tip is cutting in to the wood which helps stop the shading nib from going over the line in a later step.
Change to a writing or drawing nib and make a series of dots moving along the pencil line initially then fill in the centre.
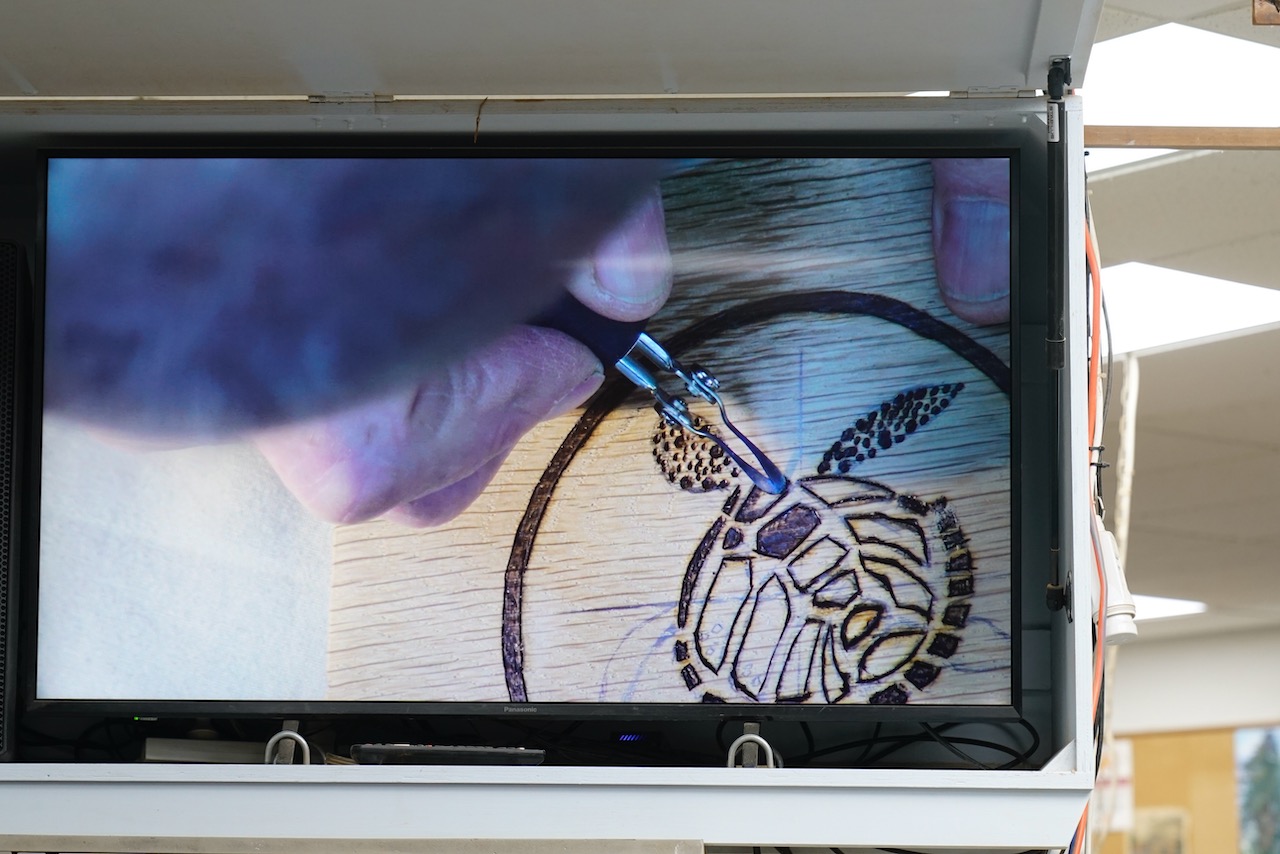
Change to a spoon shader nib to fill in shapes – can use a swirling motion or dab the nib. To darken, just go over the area again.
Any overburn can either be sanded away or removed with nail polish remover.
Rub out any pencil markings and bush the rubbings away before colouring.
For the sea Kieran used 2 colours of acrylic paint (purchased from $2 shop) cream and teal. Blend the colours to get the shade you want, apply with a damp sponge – this gives a texture to the finish. If there is excess paint, over lines etc, remove with a damp cotton bud. Dry (to speed up process can use a heat gun). If the cover is splotchy, recoat when dry.
For the turtle body make a white wash with white paint and add water from a spray bottle to get very dilute paint. Using a clean sponge, dab it over the turtle to have an overall painted look while retaining the “character” of the turtle. Dry the white wash.
Now can dab on another colour over the water section – Kieran used deep blue mixed with white to subdue the intensity. Dab on with a damp sponge, spread the colour around to make it look like water.
Coat with 30% gloss lacquer.
Once piece is lacquered and dry you can go over the surface with 0000 steel wool but NOT on any coloured areas.