Club Meeting: 17 June 2020
Report by: John Young
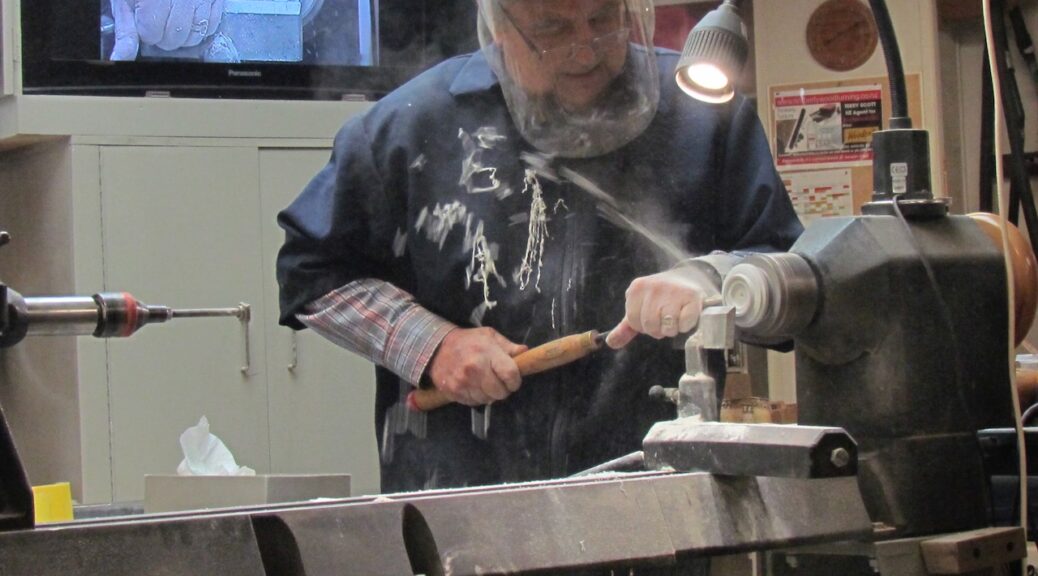
Another fascinating demo by Warwick, choosing this time to make a lidded box from stone.
Inspired by a small Malachite bowl he had picked up on his travels through Russia, Warwick had made a few small boxes with stone inserts in the tops. Not fully satisfied, he decided to make a box entirely from stone.
Hence his demo of a lidded box from Oamaru stone, with resin/stone lid, finial and base.
Oamaru stone is a very soft, creamy white stone, with a hardness of 2 on the Mohs hardness scale. (Diamonds by comparison, have a hardness of 9, while fingernails have a hardness of 2.5).
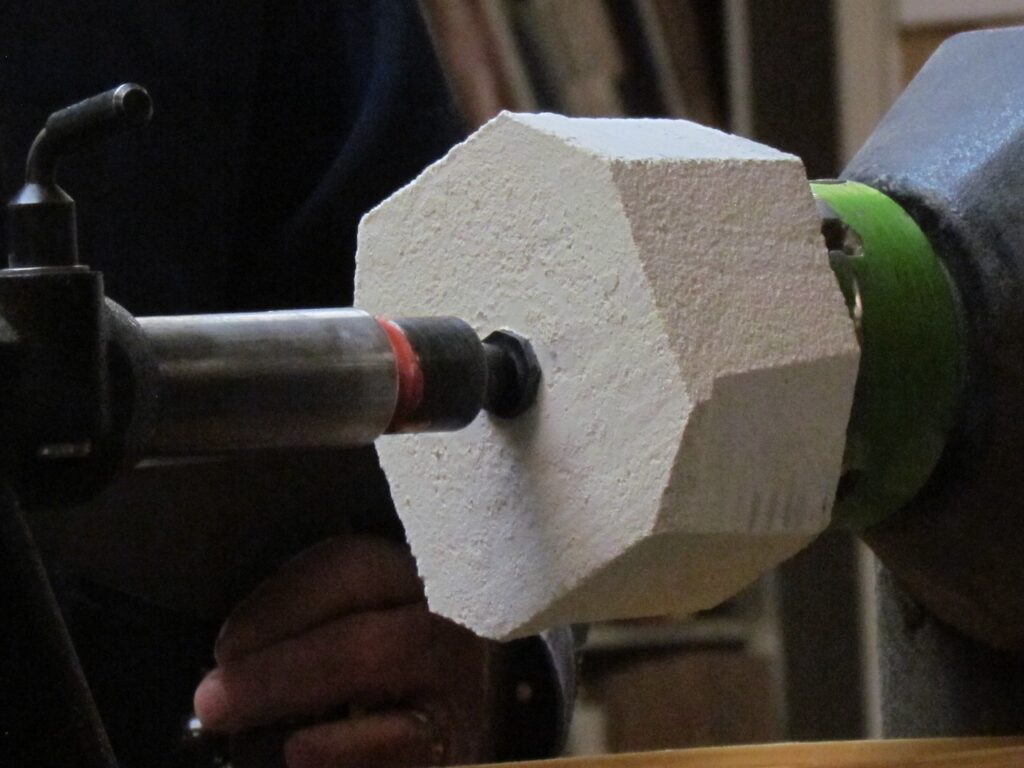
Warwick started with a square blank of the white stone. The corners were chopped off with a cheap saw from Bunnings. A hole was drilled in the top, so it could be mounted onto a set of pin jaws. The outside of the box would be shaped first.
A cup chuck was used on the tail stock to help steady the piece. (A steb centre or piece of wood could also be used as an alternative, to help hold it in place)
Thin pieces of rubber were used on both sides of the stone, to help hold the slippery stone in place. Foam rubber can also be used in the jaws to help prevent cracking.
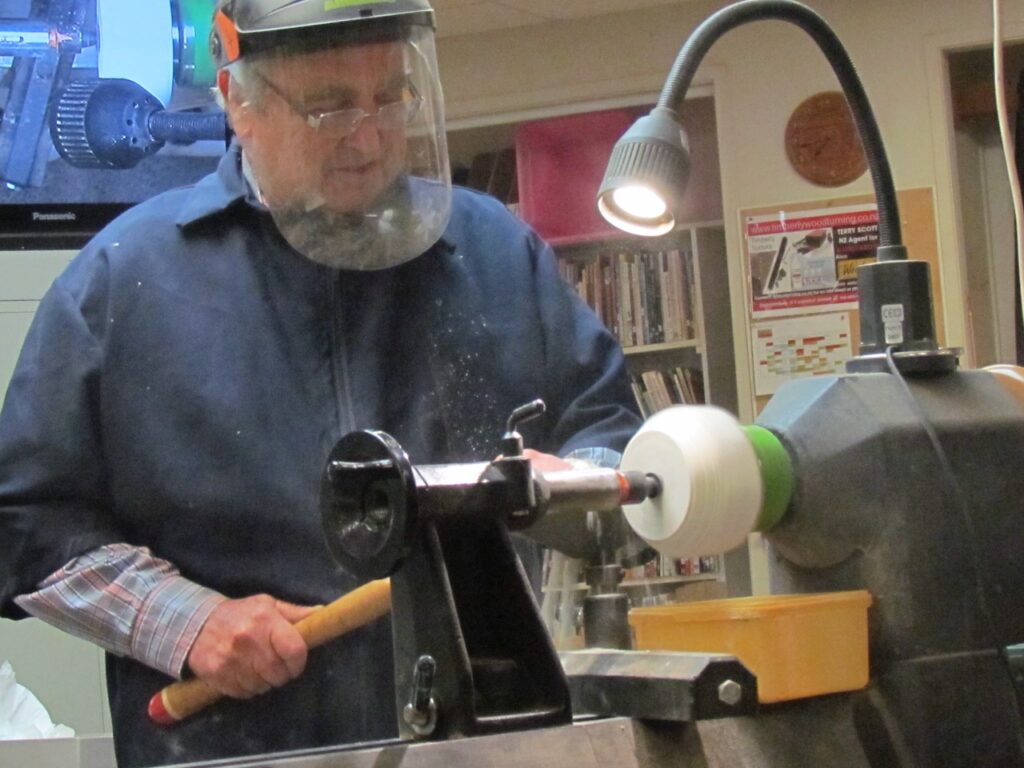
The stone was turned at a slow speed, and normal woodturning gouges were used. Containers were placed under the lathe to collect the dust, which would be used later for the lid.
Large plumes of dust were created, which according to Warwick is “good to breathe in” (???). He went on to claim returning soldiers from WWI (Or WWII?) would be sent to work in the Oamaru mines, and the dust would help “neutralise the poison in their lungs”. Some interesting history from Warwick…
Once the outside shape was achieved, a light sand of 100 grit paper was enough to smoothe it out. Before turning it around, a forstner bit was used in the tail stock to drill a hole in the bottom of the box.
The box was turned around and remounted. A long thin centre of Warwicks own creation was brought up in the tail stock for additional support. The top rim was then shaped to receive a lid and the inside hollowed out.
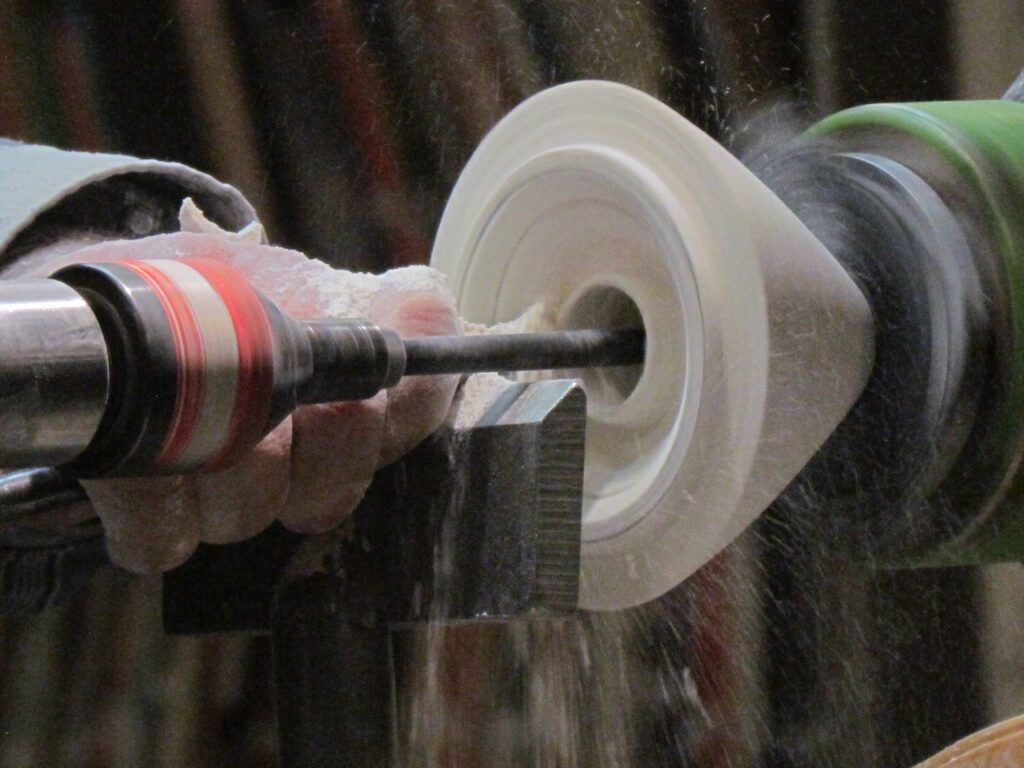
Tile grout sealer was sprayed on the outside to seal the stone, preventing dust from coming off and to avoid staining the white surface.
For the top, a kitchen sieve was used to sift out the fine powder. To this was added colouring (artificial rock), and then clear resin. Three separate batches of the coloured rock/resin mixes were made. One for the top. A second for the finial, and a third for the base.
These were set in a shallow bath of ice water to keep them cool while the resin set. As these would normally take many hours to set, Warwick had some of these pre-prepared blanks made in advance.
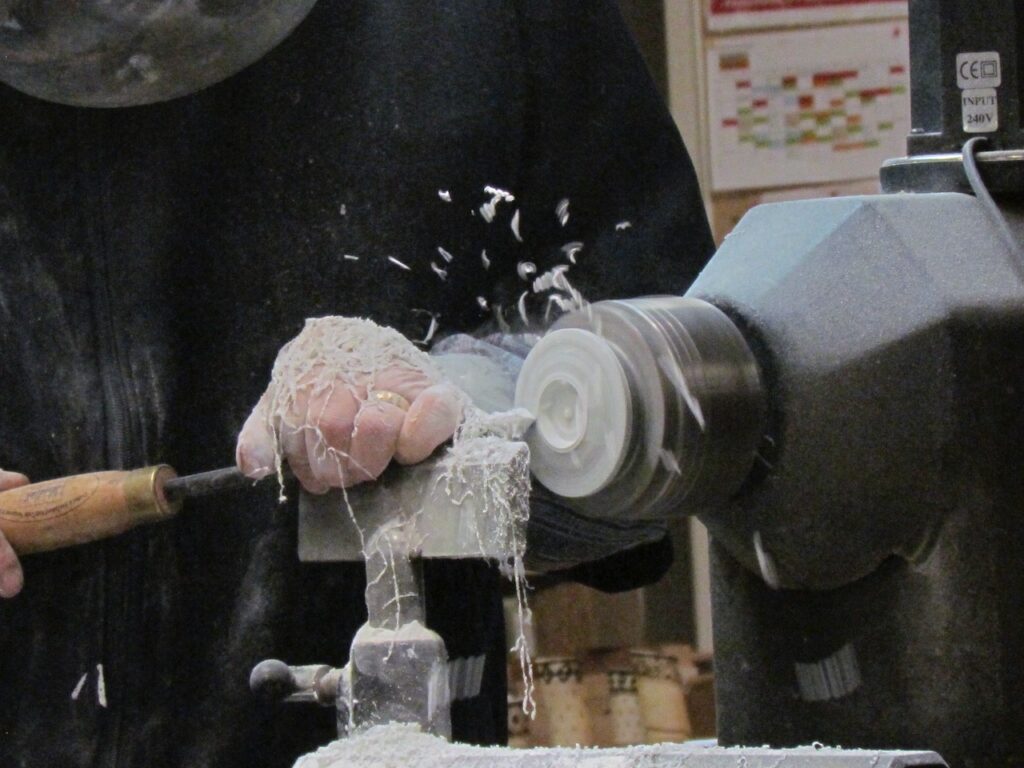
The lid was mounted in a 50mm chuck. This was an easier material to work with, although the sanding resin can be harmful to your health. Warwick had an answer to this, which was to use wet sandpaper to prevent dust, creating a better finish and to help cool it down. After he had turned the shape he wanted, he began the long sanding process. From 120 grit up to 600, then micro mesh pads up to 2000 grit. EEE was used, followed by carwax polish.
The bottom is created in the same way, and both are affixed to the stone with clear silicone glue.
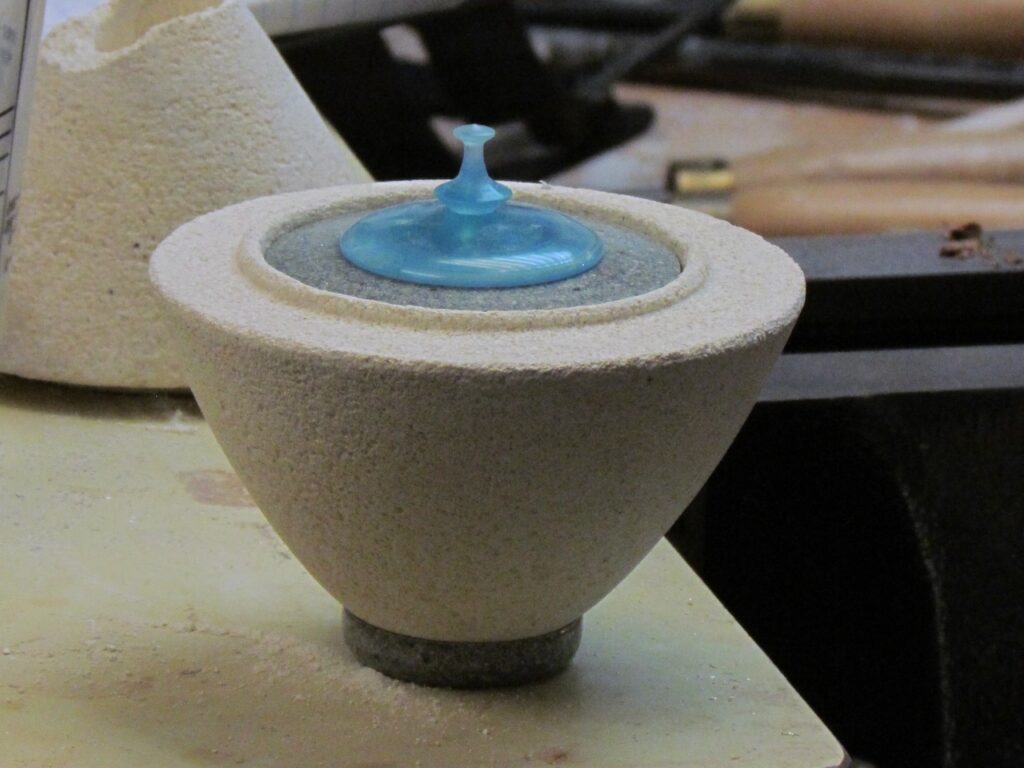
The final product was very impressive, as were his previous efforts which he displayed.
Warwick did a further brief demo in turning a “greenstone” lid. For this he mixed some Jade powder he had purchased, with resin in a 50:50 mix. If there is not enough resin in it, it becomes too hard to turn. While this material is tough on the chisels, it scrapes well. Sanding is done with Carborundum sandpaper, which has a hardness factor of 8. Slightly higher than the greenstone hardness, which is seven.
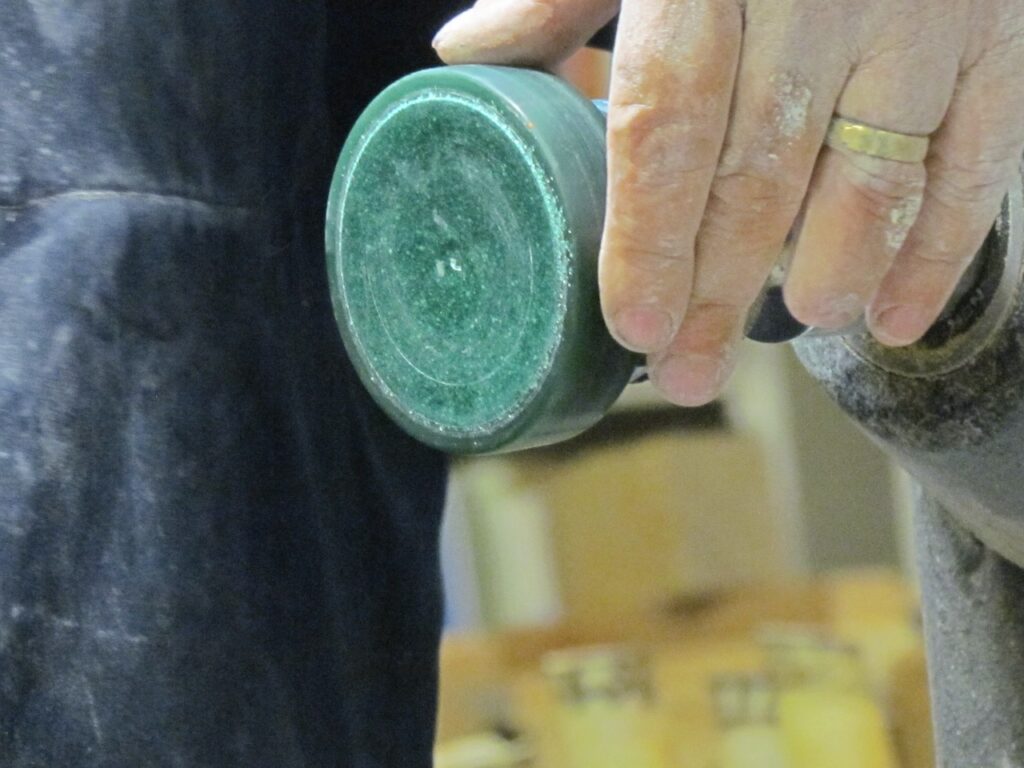
He exhibited an impressive lidded box he had made with it, with a brass insert and malachite pebbles inlaid.
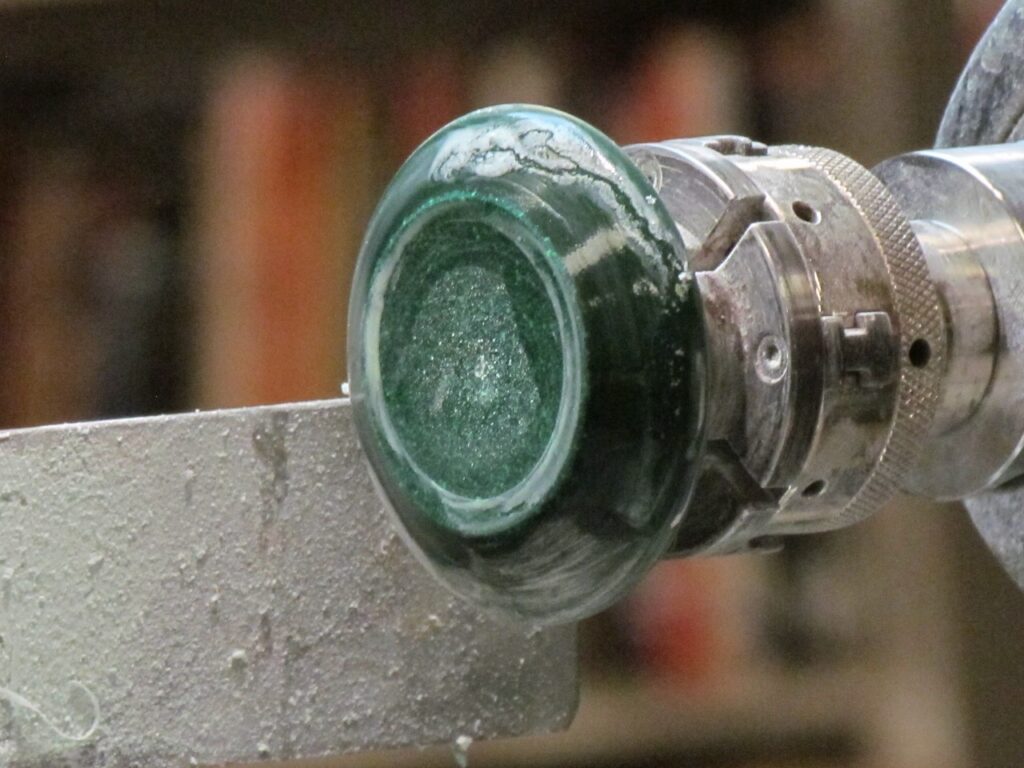
Some in the crowd were disappointed it wasn’t a hunk of pure greenstone, but Warwick told them he would need diamond edged chisels for that!
Thank you Warwick for another fantastic demo!
