Club Meeting: 3 Feb 2016
Author of Article: Wim Nijmeijer
Terry woke up in the middle of the night, thinking about this demonstration!
The following morning he started the preparation and found that the blades on his thicknesser were blunt. He sharpened the blades and then proceeded to fit the blades in the setting blocks and managed to strip the threads in the process! Not a good start, but as luck would have it, Cam Cosford happened to be on hand at the right time and “offered” to prepare the blanks for the demo. Terry supplied the wood, however it was not clear what happened to the (supplied?) ebony, as it was never used in the blanks!
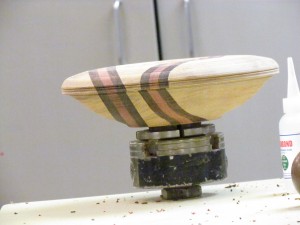
The blanks were made up using Teak, Bubinga and Wenge, cut with a drop saw and bonded together using Titebond PVA glue.

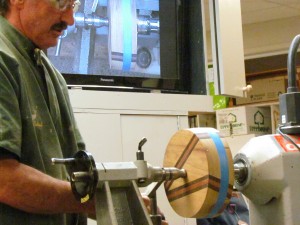
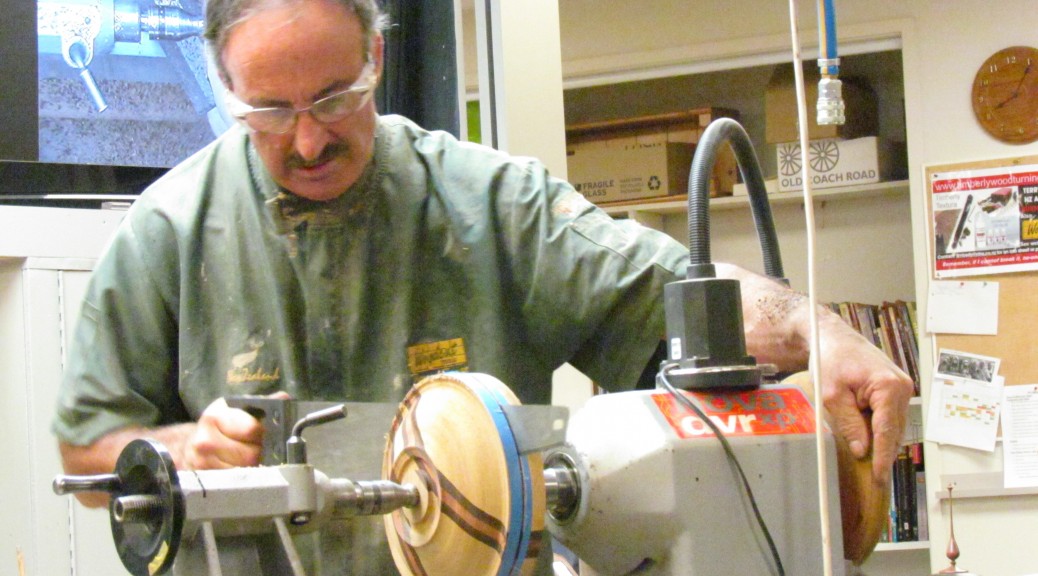
The first blank (outside of bowl and spigot already roughed out) was mounted on the lathe, using a screw chuck. Terry then proceeded by finishing the outside of the bowl, using a 10mm fingernail grind chisel. Turning speed approx. 1800rpm and slow travel of the chisel in order to get a smooth surface. Finally a skew chisel was used as a scraper to finish the outside. The use of a glue stick was explained for checking the outside curve of the bowl for any irregularities.
Adding 2 beads finished the foot of the bowl, and a recess was added for the insertion of a coin. (As an example.)
Power sanding (not fully demonstrated) followed using a 3″ dia mandrel.
Terry then progressed by turning a series of beads using a bead forming tool, followed by light sanding and then applied sanding sealer to the outside of the bowl. The bowl was then removed from the lathe.

The inside of the bowl will be hollowed out at a later stage, however 2 small holes (approx. 3mm) were drilled and copper nails inserted, and also some holes for a Paua insert, just to demonstrate various means of embellishments.
The second blank (similar to the first) was then attached to the lathe, using a screw chuck. A spigot was turned (48mm dia) plus a larger “bead” for forming 3 small feet at a later stage. The final outside shape was then completed. As this was going to be a lidded box, a section for the lid was parted off using a 3mm parting tool and a hand saw for the final part. (Note that the screw chuck was still in place for later remounting of the lid)
The bottom of the box was then reverse mounted. Next the edge of the box was shaped, and a “lip” turned to locate the lid at a later stage.
The inside of the box was then completed by using a 55degree bowl gouge, followed by using a negative rake scraper presented flat on the tool rest and rotated to follow the inner contour. The box was then reverse mounted in the tailstock.
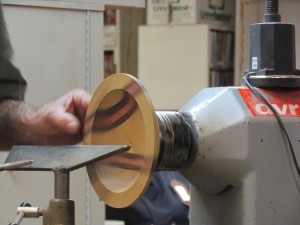
The lid was then remounted in the headstock, and a rebate was turned to match the lip of the box. Next the box was butted up against the lid so that the circumference of the box and the lid could be turned and finished as an assembly.
It was noted that the laminations lined up nicely since only a 3mm parting tool was used.
A further bead was then applied to the box, and the inside of the lid was then finished and embellished using Terry’s ten-dollar tool.
Next the box was remounted in the headstock, and the lid was “jam chucked” onto it. With the tailstock in place the outside of the lid could now be completed.

More beads and knurling added further embellishment to the lid.
Terry mounted some African Blackwood and proceeded to turn a knob and a small spigot to locate the knob to the lid.
The size of the small spigot was marked on the lid by holding the center of the lid (screw chuck hole) against the rotating spigot of the knob. This left a visible mark on the lid, identifying the size of the spigot!) A good trick to quickly establish the required size of the hole for the spigot)
Finally the box was remounted again and the lid was taped to the box for security. The hole was opened up to accept the spigot of the knob. The knob was then offered up to the lid and its final shape completed.
All in all a very interesting demo with plenty of little tricks to remember, including the expert tool control and execution.
Thank you Terry for the demo.
Also a thank you to Cam, for the preparation of the segmented blanks.
