Date: 10th April 2019
Report Author: Emma James-Ries
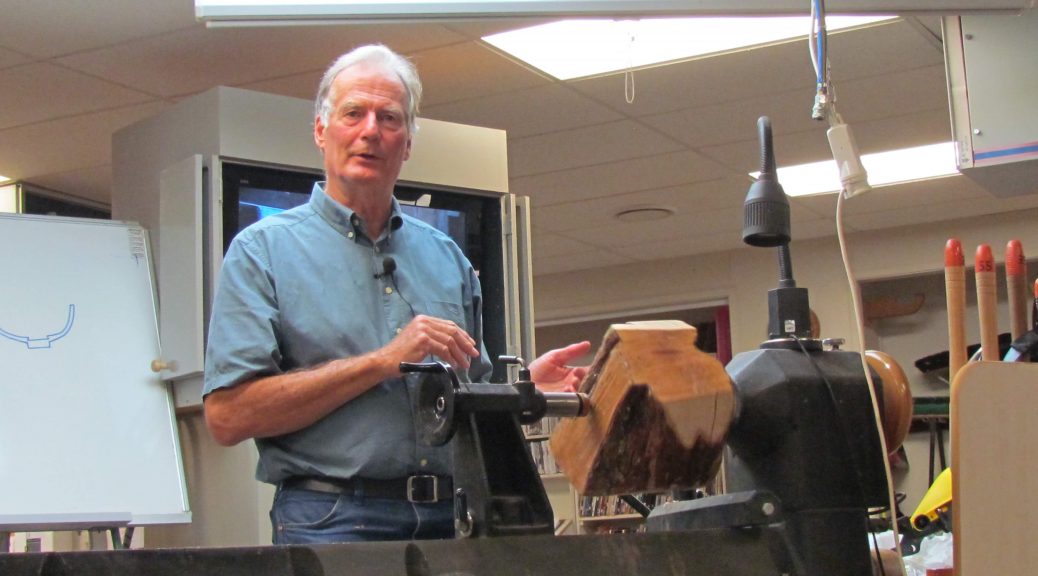
This demonstration by John was complimentary to Richard Johnstons’ demo on wet turning earlier this year. John started by giving us an over view of why one might want to turn wet wood and the different qualities it possesses.
Some positive reasons to wet turn: For Woodturners it can be a feast or famine situation when it comes to acquiring timber and we’re more likely to be offered green wood. Wet wood gives the opportunity to turn very thin work, allowing it to distort and create interesting shapes. Green wood often come with the bark still attached, granting occasion for a natural edge bowl. Additionally cutting of wet wood creates very little dust, it is easier on your tools and creates very little dust. Drying of a green cut bowl will only take a year to dry, as opposed to a raw lump needing several years to properly dry. John reminded us of the very important point of striving for domestic bliss, as turned wet wood creates less storage and clutter within the household.
Some negatives to recognise would be that some timber can distort badly, particularly fruit trees. John told us of an incredible situation where a turned wet bowl of apricot had completely turned inside out whilst drying! Other points would be the possibility of wood going mouldy and to always be aware of irritant or toxic sap when turning wet, best to keep forearms covered.

John went on to demonstrate how one would mount and turn a conventional wet half log. He covered briefly how to cut bowl blanks to get different grain patterns within the bowl, butterfly or oval rings etc. John then used a faceplate to attach his large Rewarewa log to the lathe. He prefers to use passivated Tek screws over galvanised, as they are less likely to shear and they come in a great size range.
John then engaged the tailstock for security and to find the live centre. When turning a wet log into a rough cut bowl, a rule of thumb would be to keep a wall thickness of 20-25mm. The base is to be similar, however the spigot will determine this, as an internal spigot or dovetail recess is suggested to allow for remounting options once dried. John reminded us that we would need to guess the amount of distortion with the wood type, to allow enough timber to re-cut both sides of the bowl.
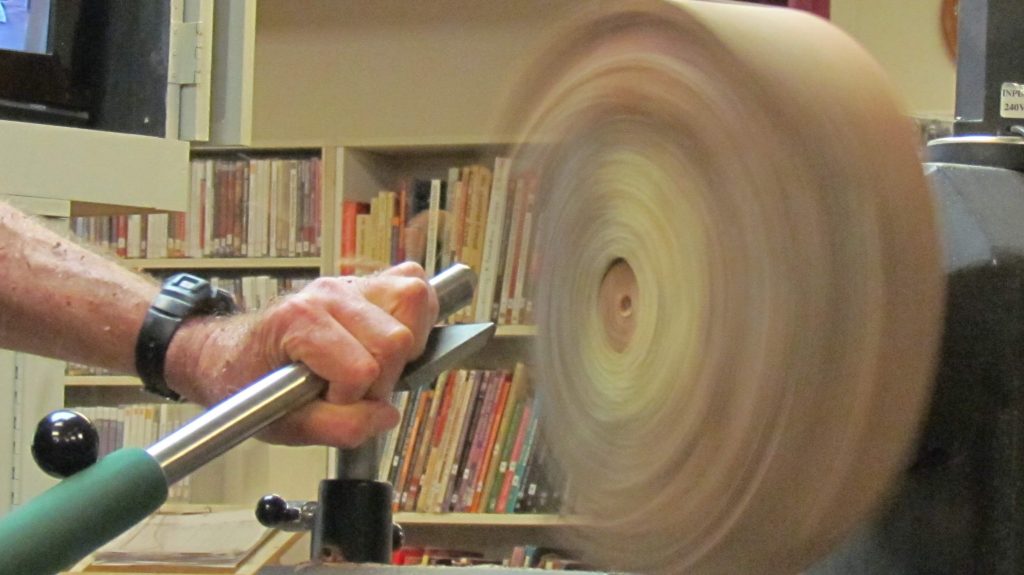
When moving onto the actual cutting process of the wood, John talked about different tool options. Until recently he used a Texas style Hamlet bowl gauge. However when turning rough, out of balance wood, it creates a bad thumping on the bevel. John found to alleviate this irritation somewhat, he uses large Easy Wood tools with carbide tips, tucked underarm for extra leverage and support.
John also recommends using a Chainsaw helmet for this type of turning as it reduces fogging and allows for ear protection. He went on to demonstrate the impressive carbide tools, cutting on centre.
John then let us imagine a scenario where the faceplate had been jammed on to the lathe by the huge amount of torque created when rough turning. While some people use leather washers to alleviate this problem, most do not and they are hard to find.
John showed us his spanner range that he would use to first undo the Tek screws holding the faceplate and remove the wood. He recommends the Gear Spanner from Trade Tools in Ellerslie. Once the wood has been removed, one can then find an appropriate leverage option (in Johns’ case this was a lump of metal acquired from a concrete power pole!) to lever the faceplate from the lathe.

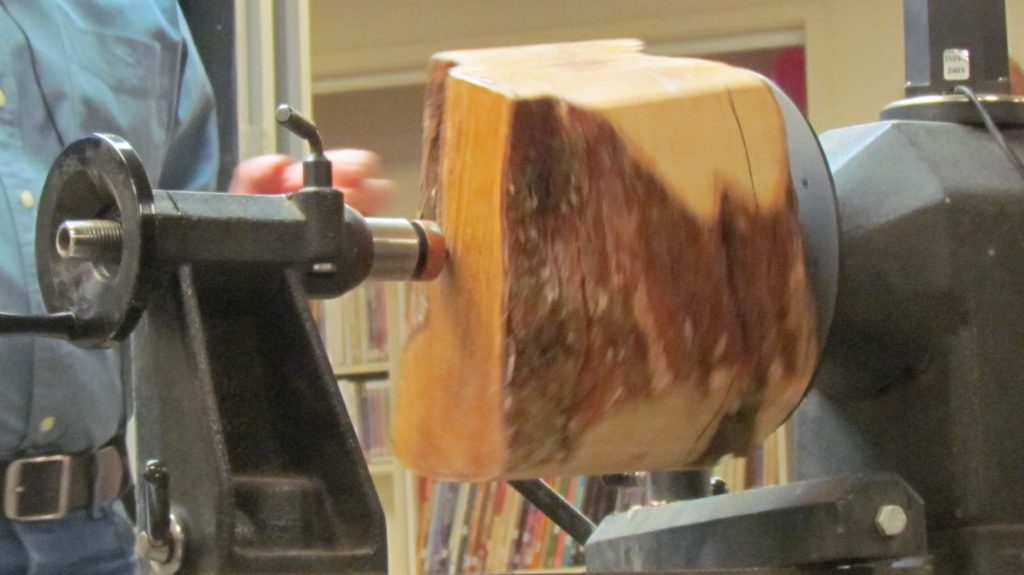
Next John moved on to show us how to mount a rough block, with no practical flat face, to the lathe. His choice of wood was a 10kg uneven lump of Feijoa. He mounted the block between the centres to adjust the balance on the Steb centre. The problem with such a large unruly piece of timber, is that using a Steb or Spur to drive the wood will result in it boring into the green wood. This will also be the case with a screw chuck. The weight of the timber also rules out boring for a small faceplate or expanding jaws.

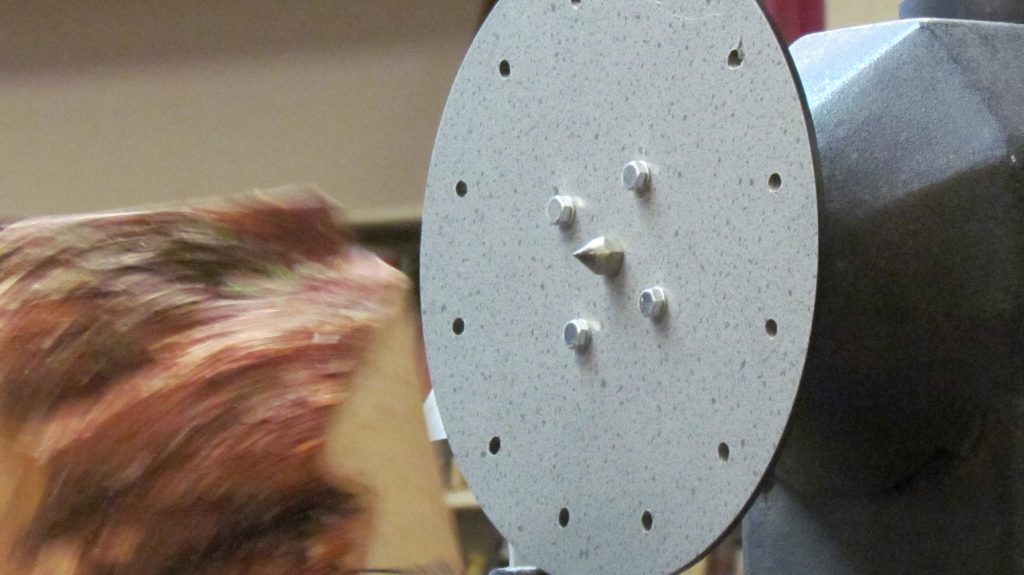
Johns solution to this was to create a large custom faceplate, with multiple holes that direct long screws angularly into the wood. This faceplate was a personal development of an earlier prototype that he passed around, very clever. One could either pilot drill or use a guide to direct the screws in if the wood is hard. John then demonstrated making some cuts, once the faceplate had been mounted. He proved that his mount ran true, as there was no evidence of a wobble in the live centre once the tailstock was removed.
To wrap up the demonstration, John let anyone who was interested in trying out his carbide tools, tackle the Feijoa. An offer that Richard Johnston took up eagerly! A very knowledgeable and interesting demo, thank you John.
