Club Meeting: 23 March 2016
Report by: Richard Johnstone
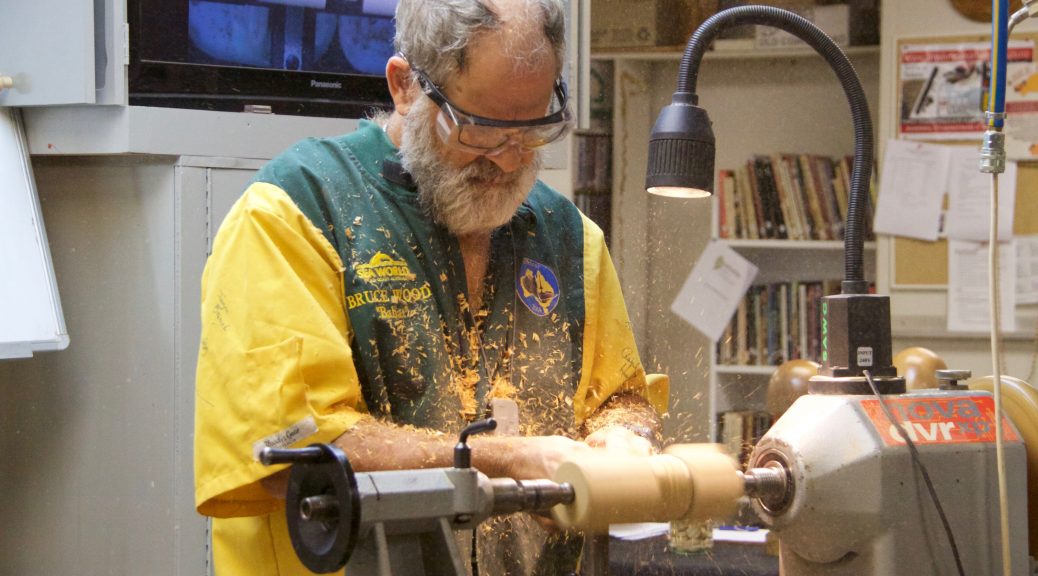
Bruce began his demonstration by showing us some pre-prepared examples of his work. Each was hollow with different shapes cut out of the walls. His demonstration example was hollow with a tree in the centre.
He began with four identical pieces of wood. 33mm square by 220mm long. Each piece had been carefully prepared so that each surface was clean, flat and square. These are glued together on the long sides to get them ready for putting on the lathe
Tip: Bruce doesn’t use a Paper join and explains that his way is easier to separate. All that is required is a small dot of Titebond glue at each end of the pieces to be joined. These are then clamped to ensure a firm hold. After the first turning has been completed, the ends can be cut off and the four pieces will either just come apart or are easily separated.
The glued pieces are put between centers using Steb centers. These are better than single point centers as they reduce the pressure in the middle and lessen the risk of the glued pieces separating.
Bruce carefully marked out the block and then began cutting the first hollow. He uses a cardboard cutout as a template to ensure accuracy. He then changed to using a 55 degree gouge for the bottom of the hollow because as he said, “it’s not so sharp on the point”.
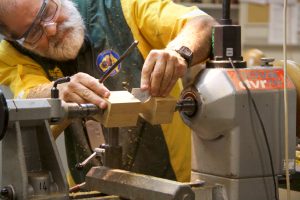
After completing the “inside” turning, Bruce cut off the ends and used a kitchen knife to split the pieces. They did come apart reasonably easily, but he may have used a bit more glue than necessary because he knew that it was going to be used for the demonstration and he didn’t want it to fly apart.
The pieces are then turned around and re-glued in pairs ready to have a Christmas tree inserted.
The tree was made from a 40mm long and 28mm diameter piece of Kauri. It was held between centers and had the tree shape made then grooved and sanded lightly. He then turned off the ends and power sanded the rough ends. The tree was painted appropriate colours with water based dye.
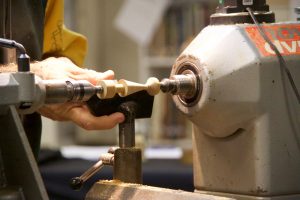
With the tree complete it was now time to return to the two glued pieces. Bruce used a Dremel with a 5mm round bit to cut a groove in each side for the tree to fit. Trial and error soon had the grooves the correct size and the tree could be fitted and the pieces glued together and clamped. The effect was a brightly coloured Christmas tree inside a hollow cavity.
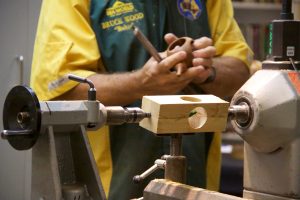
Using a piece which he had prepared earlier, Bruce put it back on the lathe to shape the outside. He told us that he aimed to get an even thickness around the hollowed area without getting too thin. We all watched as he perfected the shape around the hollow and the walls continued to get thinner with each cut. But, he did it successfully and stopped before the fatal “final cut”.
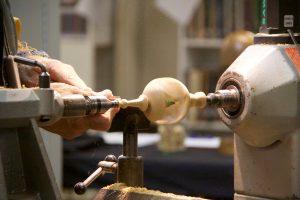
To finish, Bruce turned a small ball on the top and a finial on the bottom. He sanded it before the ends got too thin and then turned both ends thinly until nearly through. The final job was to cut off the ends and give a light sanding.
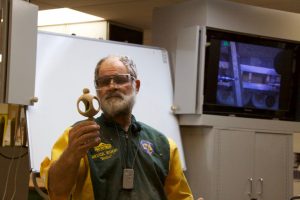
It was a very good demonstration. Thank you to Bruce for all the time and effort to prepare and present his ideas.
