Club Meeting: 21 October 2026
Report: AI, edited by Jacqui Oxenbridge
Overview
Strett demonstrated how he turns a Pinard stethoscope or horn, the traditional wooden foetal stethoscope used by midwives to listen to an unborn baby’s heartbeat. Originally invented by Pinard (a French doctor) around 1860 it continues to be used today by midwives looking for a more natural stethoscope device.
Strett has made around 250 of them over the past few years, most for one regular customer who purchases 50 at a time. Strett has refined the process into a repeatable batch routine (usually about ten at a time) which reduces the time taken when drilling and shaping by avoiding the need to keep changing tools.
The demonstration also covered skew chisel practice, drilling a through-hole from both ends, shaping the bell and hearing end, and a bonus variation: a wooden amplifier for a mobile phone.
Tools & Materials
| Item | Details |
| Timber | Spindle blanks approximately 180mm long, 65mm square. This demo used a piece of kauri gifted by Colin Mitchell. Strett uses NZ native timbers and individually decorates each Pinard so when the batch is delivered, no two are the same. |
| Lathe & chuck | Between centres to start, then a chuck gripping the spigot. |
| Roughing tools | Skew chisel (used here for roughing and for cutting spigots); roughing gouge is the usual alternative. Parting tool is the normal way to cut spigots, but a skew can also be used. |
| Measuring | Vernier calipers were used to measure the spigot and the diameter of the bell end. (Note: metal calipers should be used as a plastic pair was once melted by the heat of a spinning blank). |
| Drilling | 10 mm drill in a Jacobs chuck, with a little wax melted onto the end as lubricant. Forstner bit is a possible alternative. |
| Shaping | 30-degree spindle gouge; a hollowing tool for tidying the bottom of the bell. |
| Finishing | Sandpaper, an 8 mm dowel with sandpaper for the hole, sanding sealer, then spray lacquer. |
| Other | Tailstock with live centre, wax for lubrication of the drill, compressed air or a small air pump for clearing dust. |
Key Settings & Measurements
| Item | Value | Reason |
| Turning speed | About 2000 RPM | Roughing and shaping |
| Drilling speed | About 750 RPM | Slower speed for the long 10 mm hole. |
| Hearing-end spigot | 46 mm diameter | Fits the 50 mm chuck jaws. |
| Bell-end spigot | 55 mm diameter (55.5 mm achieved) | Same size every time, so one jam chuck fits every Pinard. |
| Through-hole | 10 mm, drilled from both ends | Must meet in the middle and go fully through. |
| Hearing end thickness | About 1 mm heavier than looks neatest | Stops the earpiece breaking if dropped. |
Step-by-Step Process
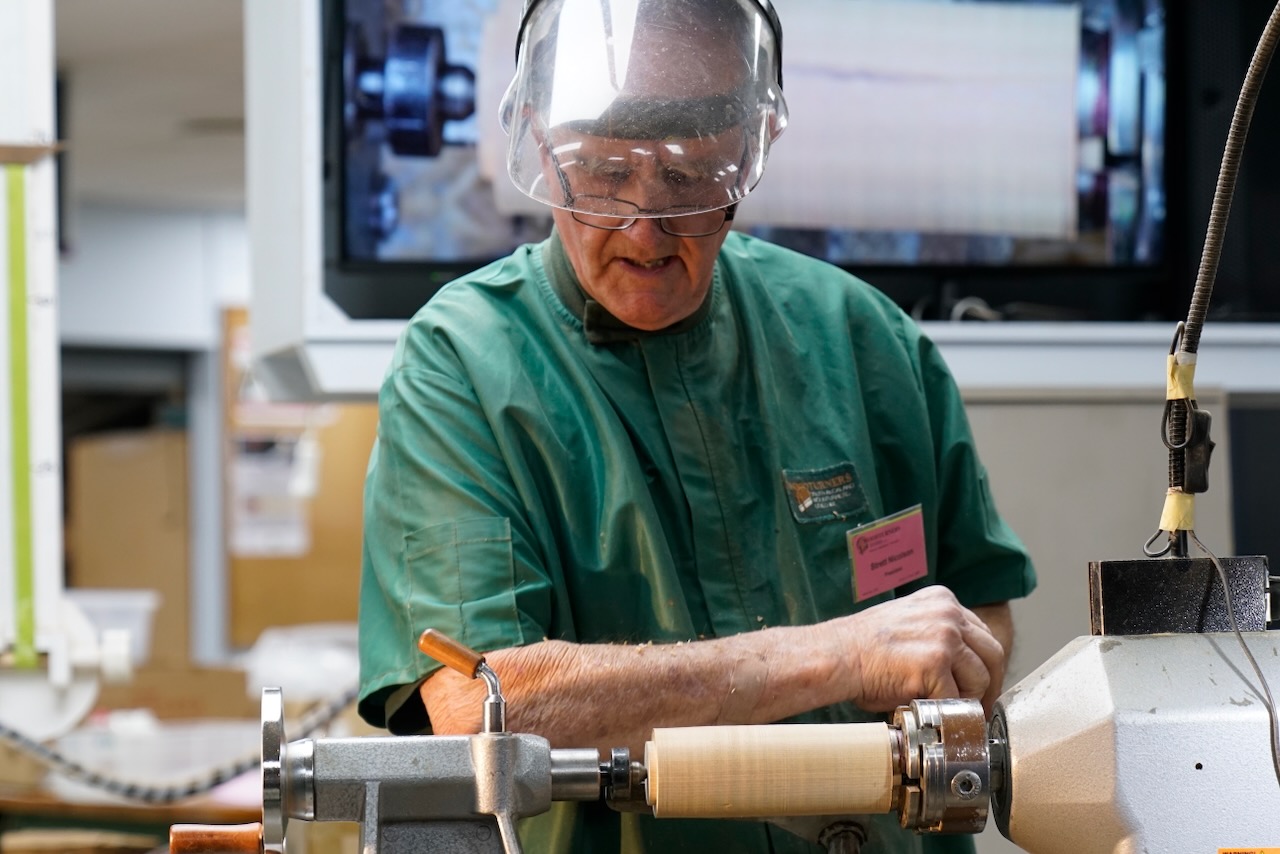
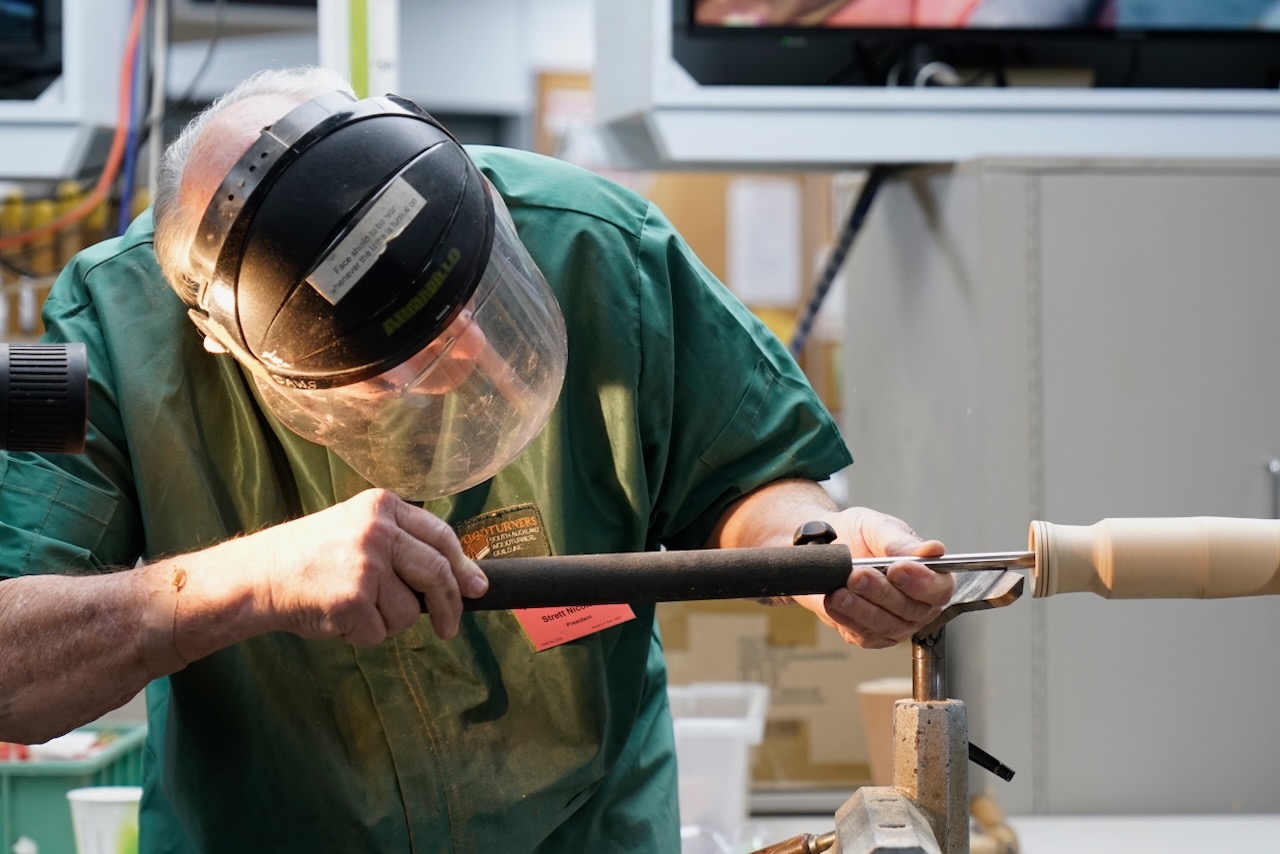
- Mount and round the blank. Mount a spindle blank between centres, find the centre and make a mark for the drive centre. Check the blank spins freely and everything is clear. Wear a face shield and start at about 2000 RPM once it is firm and tight.
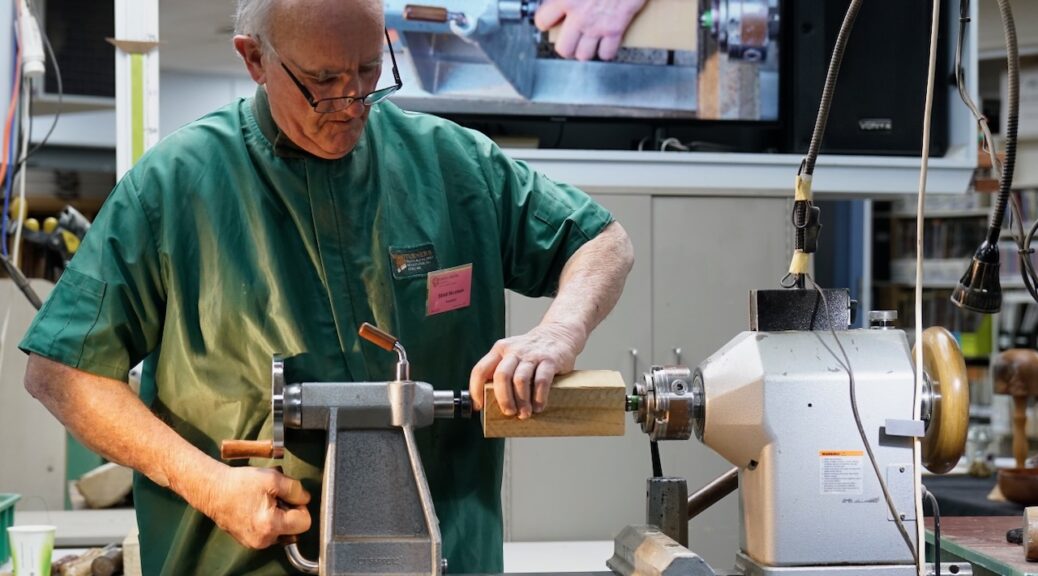
- Take off the corners. Strett used a skew chisel rather than a roughing gouge. Rub the bevel and work from the heel into the cut; if the bevel is rubbing, a catch is unlikely. He also demonstrated cutting backwards with the skew, using the bevel to support the fibres. Set the tool rest at the right height first.
- Cut both spigots. Cut a 46 mm spigot at the hearing end and a 55 mm spigot at the bell end, using the skew or a parting tool. Check with vernier calipers.
- Mount in the chuck. Grip the bell-end spigot in the chuck. Check the blank runs true, tighten, and take a little material off the hearing end, but leave enough of the face to work from when the piece is turned around.
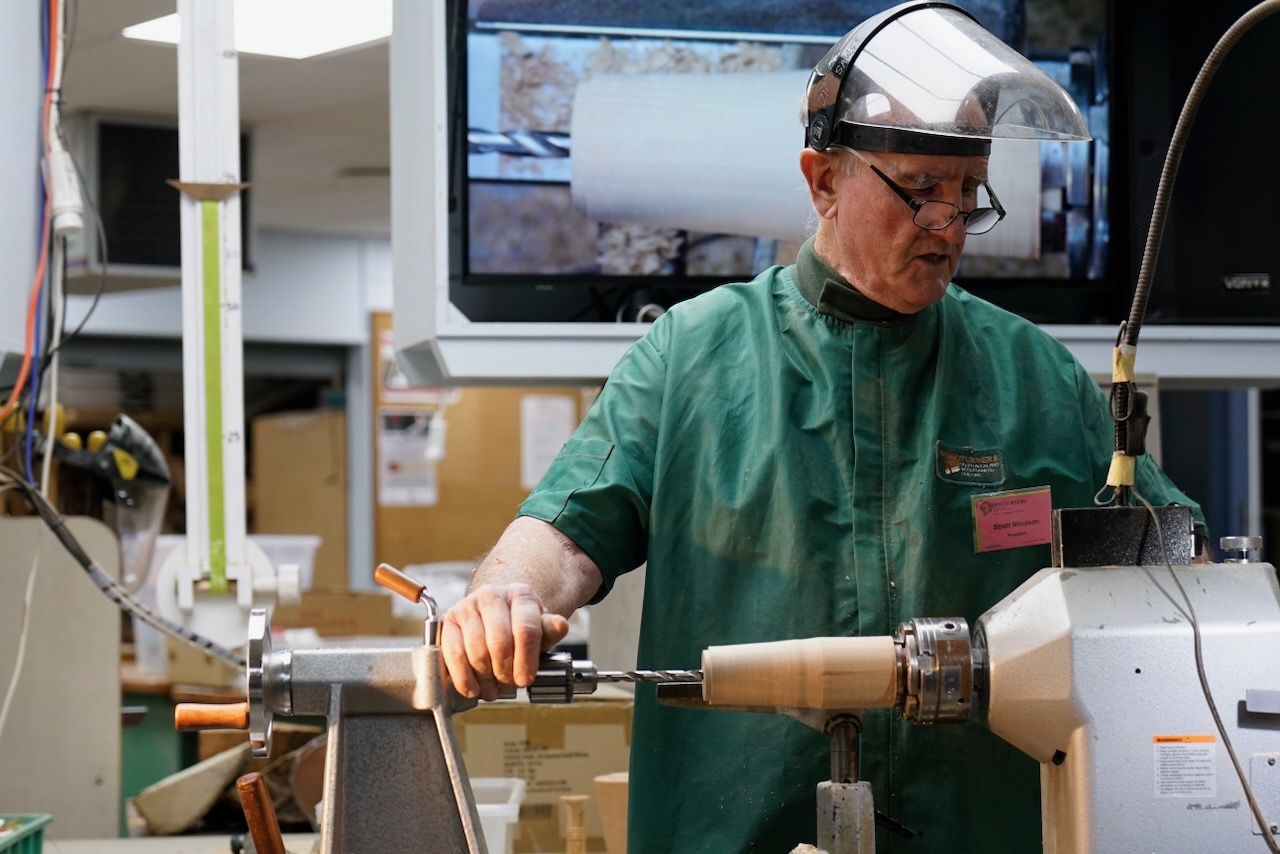
- Drill the first hole. With the lathe at about 750 RPM, drill the 10 mm hole from the hearing end. Wax the drill end to reduce heat and squeaking. Retract the drill often to clear shavings and do not extend the quill too far, or the drill can pop out.
- Shape the hearing end. Use the 30-degree spindle gouge to shape the earpiece. Start with the tailstock up, use two or three push cuts, then switch to a draw (pull) cut where the grain would otherwise be cut uphill. Sand lightly and apply sanding sealer.
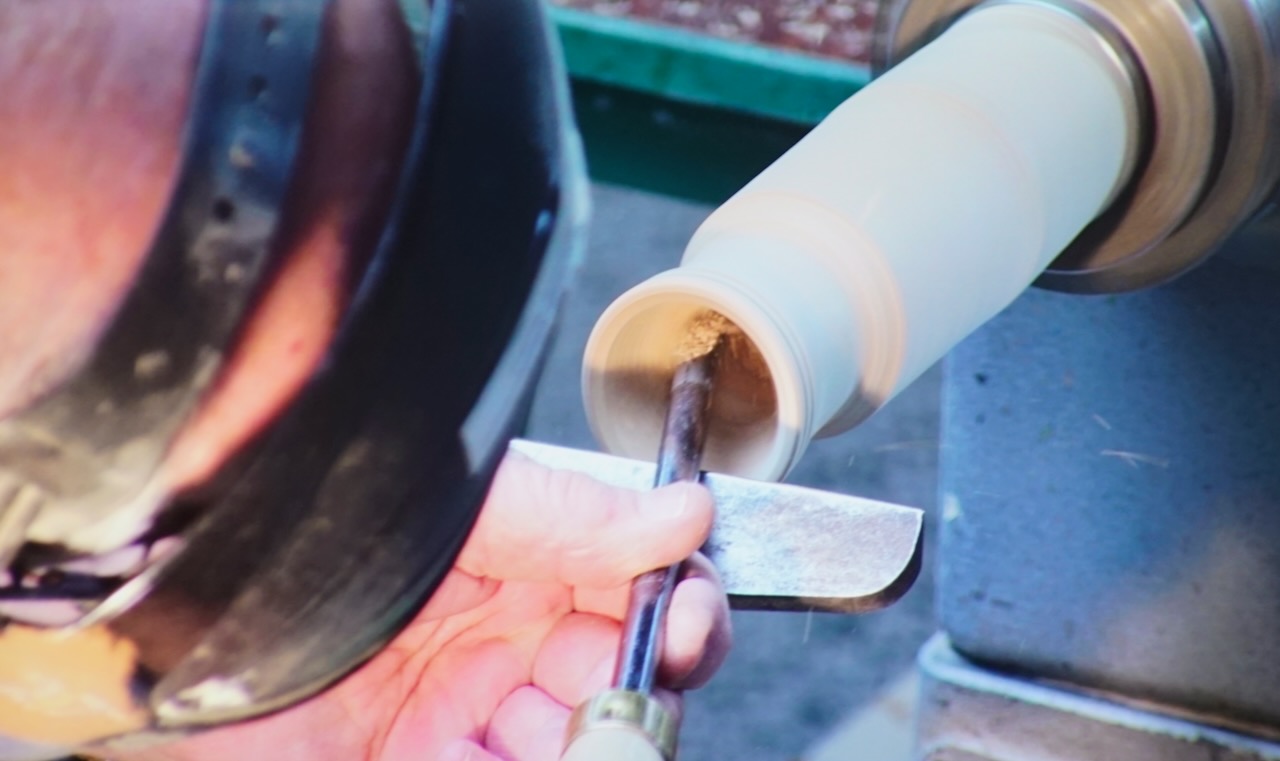
- Reverse and drill from the other end. Turn the piece around, centre it again with live centre, tighten, and then drill the hole from the other side at 750 RPM so the two holes meet. Do not assume it has gone through: check it. A puff of air that blows sawdust out the other end confirms it.
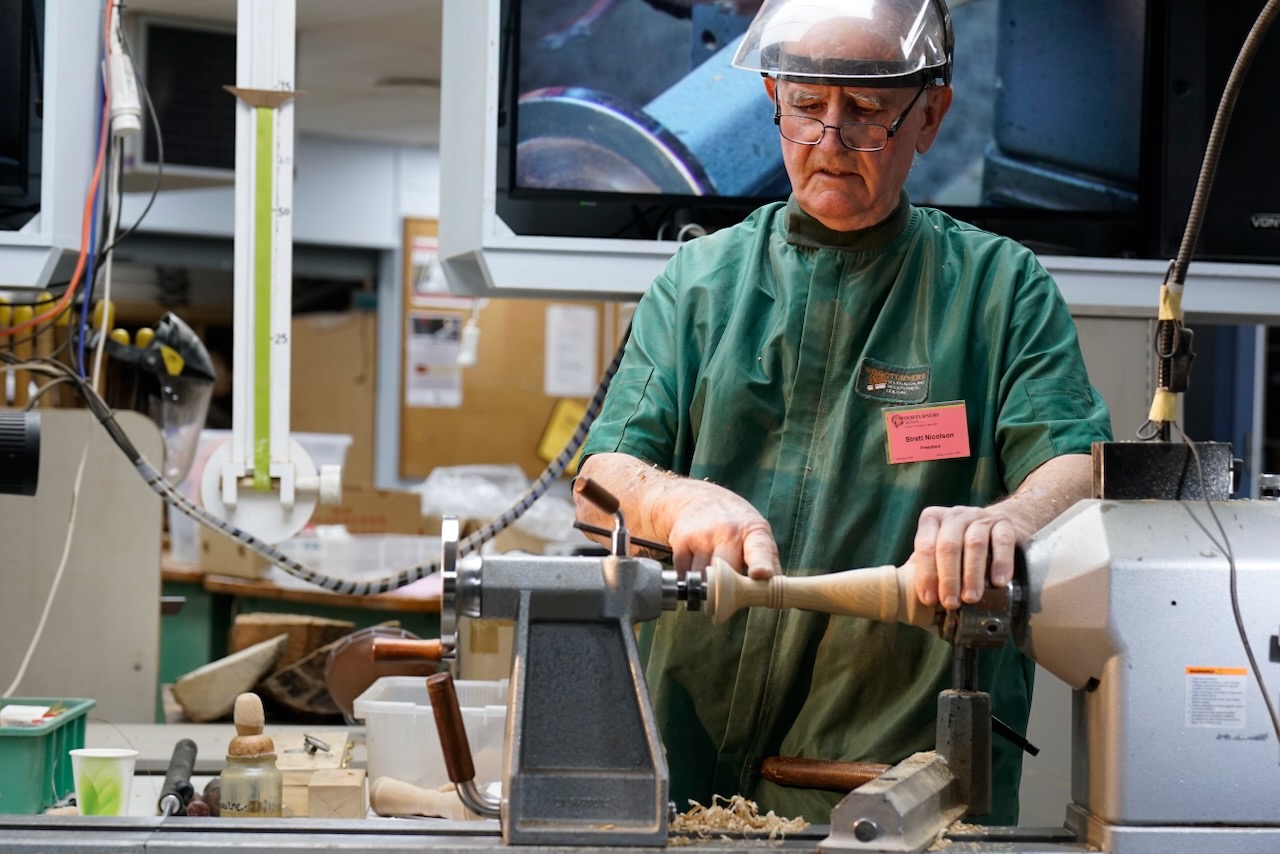
- Shape the bell. Back at 2000 RPM, shape the outside of the bell first, then hollow the cone with the 30-degree spindle gouge, working a section at a time and keeping timber at the centre for support. Do not go so deep that it rattles. A hollowing tool tidies the bottom more easily than the gouge. Go only as deep as a finger can still reach to sand it. Shape the outside of the bell end and move towards the earpiece.
- Finish the outside shaping of the earpiece. Remove from the chuck and turn around. Support the piece with the live centre (in the earpiece, tailstock end) and a jam chuck (in the bell at the headstock). By making the diameter of the horn the same each time the jam chuck can be reused. An alternative would be a small 10 mm dowel that fits the drill hole, so the Pinard does not wobble while shaping the outside. Complete the outside shaping, including any beading, burnt cuts etc. Leave the neck of the earpiece slightly thicker for strength, then sand the outside.
- Finish. Spray with lacquer which can be wiped with water or disinfectant.
Tips & Safety Notes
- Making about ten at a time avoids constantly swapping drill bits and live centres.
- Check that both the tailstock and the chuck are tightened.
- Demonstration reminder: Strett pointed out that going into end grain with a roughing gouge, or putting a finger inside a spinning piece, are things beginners are taught not to do. Demonstrators should model good habits, particularly with new turners present.
- Air for clearing dust is better than blowing by mouth.
Discussion & Questions
- Strett was asked about drilling just one deep hole with a long drill or using a Forstner bit to remove more wood from the bell end. He had not considered a single long drill and had only recently used a Forstner bit for the first time.
- Reading a vernier: look for the one line on the lower scale that lines up exactly with a line on the main scale; that gives the decimal part of the reading.
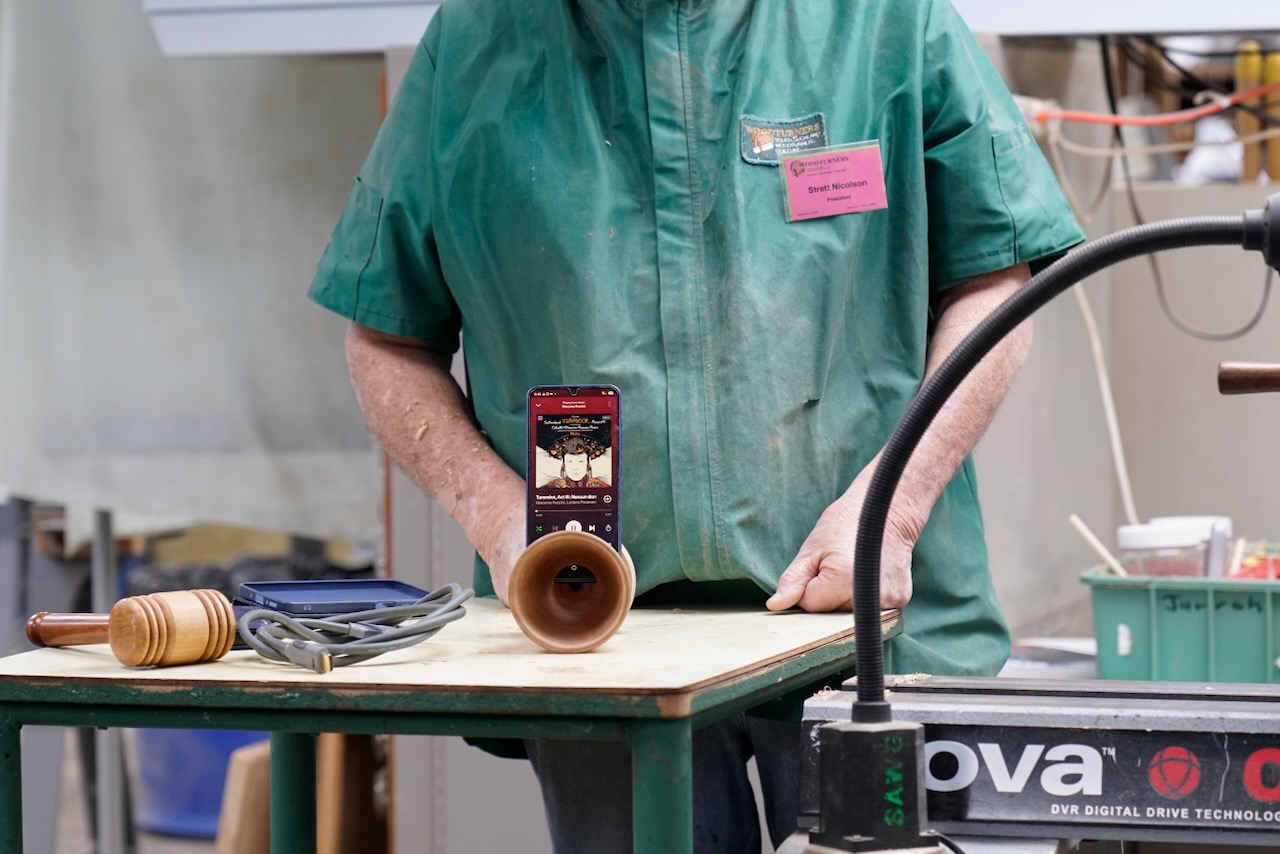
Bonus: Phone Amplifier
With a few minutes left, Strett showed a phone amplifier made by the same process, inspired by Rob’s earlier cell phone speaker. A Forstner bit was used for the larger cavity. He initially drilled the hole all the way through, then realised the sound should not escape out the back, so he added a small closing piece. A phone was placed in it for a quick sound test, with music played, and Dick felt it made a difference to the sound.