Club Meeting: 8 Mar 2023
Report: Kevin De Freitas
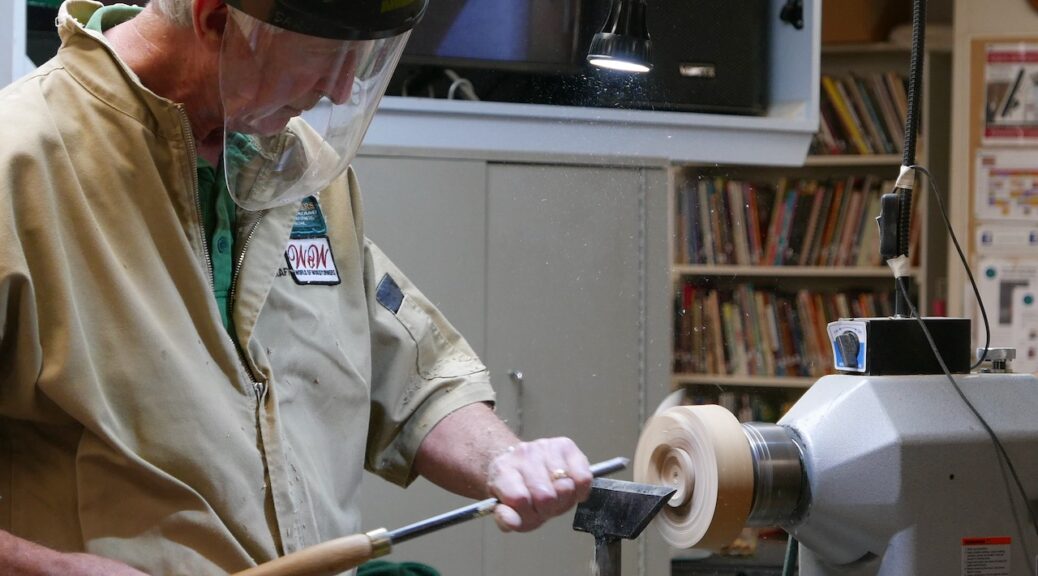
Tom saw Caddy Spoons demonstrated by Phil Irons at the 2014 Symposium. Phil had been making spoons for 25 years and had made over 13000 of them at that stage.
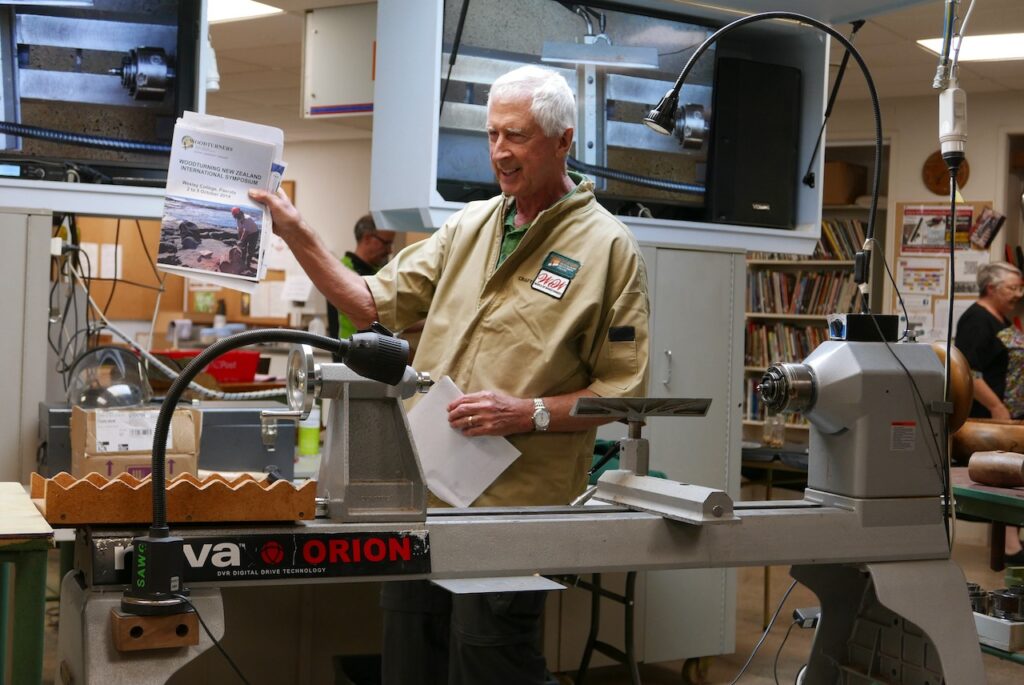
Phil recommended using 55x55x350mm blanks, but Tom was required to start with a cube due to the term theme. Tom had simply divided the cube into 4 equal blanks. Blank size is unimportant and is chosen to suit the size of the spoon required.
Tom handed around samples of some spoons he had made and also the handmade jigs required to complete a spoon. The first was a bandsaw jig for cutting the blank in two to form the two spoons. The second is a spoon chuck to hold the partly formed spoon while it is hollowed out.
Tom then ran through the process verbally while he showed pre-prepared spoons at the various stages of development.
Mark the centre on each end and mount between centres. Turn the blank round (this will produce 2 spoons at the end of the process).
Turn a spigot on the tailstock end of the blank to fit the chuck.
Mark off for a ball adjacent to the spigot leaving a small amount of waste to allow safe chucking from that end.
Turn the ball freehand to approx. 48mm diameter (to fit the spoon chuck).
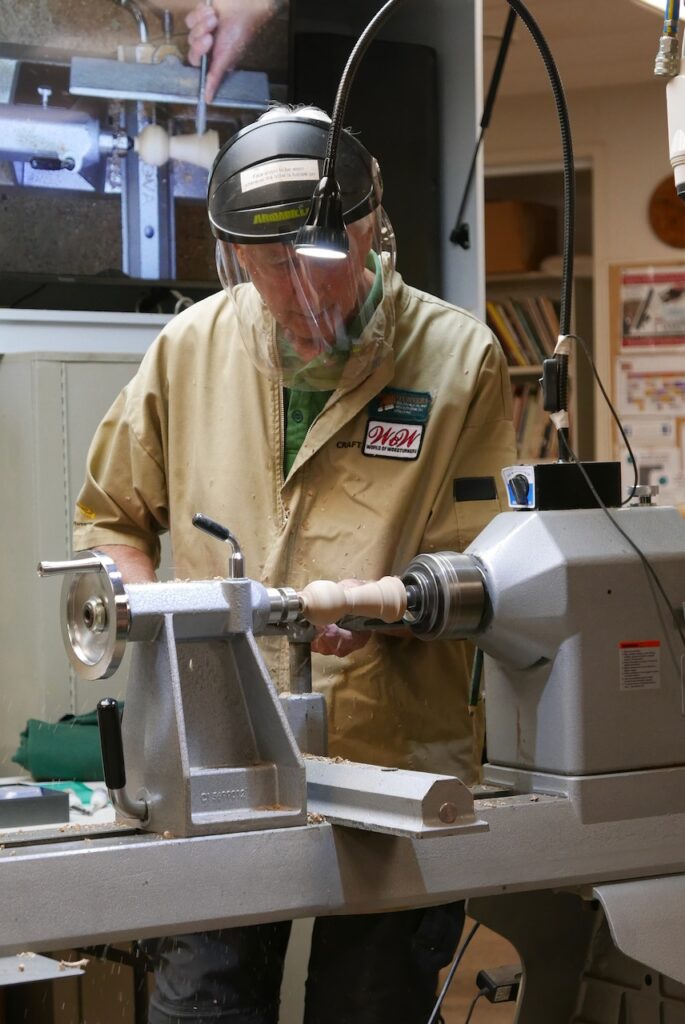
Mount the blank in a chuck with the previously turned spigot. Turn the cone end of the blank to form a ‘comet’ type shape i.e. a ball with a flared tail. The tail should be approx. 50-55mm long. Turn a spigot on this end also.
Reverse the blank to enable the refinement of the ball end. Turn off the spigot and round off the ball with a sharpened pipe or hole cutter with the teeth ground off [Bruce Wood has previously demonstrated the use of this handmade tool and described how to make them].
Sand the spoon at this stage. Tom uses sandpaper backed with a piece of old leather from a belt. This helps avoid heat build-up and protects fingers.
Cut the blank in two in the bandsaw jig, ensuring that the best grain orientation is chosen to give a balanced piece. This process should create a curved handle and cleans off the spigot on the handle end of each spoon in the process.
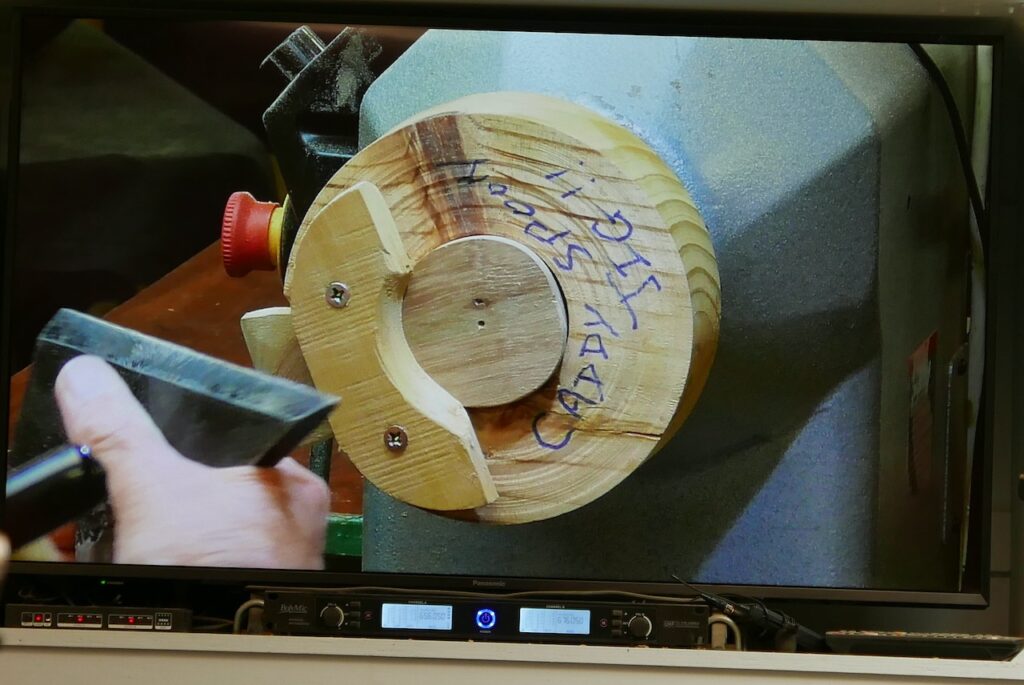
Mount one of the resulting spoons in the spoon chuck trying to get the centre of the ball end on the lathe centre – use the tailstock live centre to aide this. Tom used more pieces of the belt leather as packing to help position the blank and hold it firmly.
Hollow the spoon with a hollowing tool or gouge trying the get an even wall thickness.
[At this point Tom produced a nice tool holder that he placed on the bed of the lathe. It was a board with zig-zag uprights along two opposite sides. His gouge and other tools could then be safely put down in this holder and could not move or roll away.]
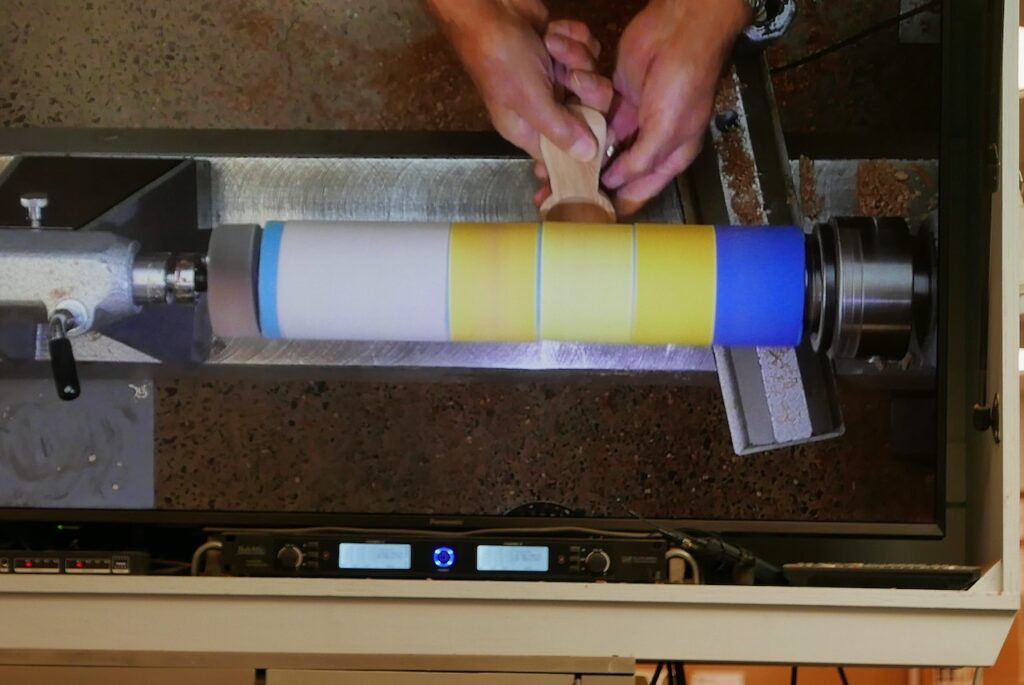
Tom then used homemade sanding mandrels made from automotive valve stems. He had attached sponge and hotmelt-glued sandpaper to them. He sanded the inside of the spoon.
Tom then mounted his homemade sanding mandrel in the lathe. This he used to do final shaping of the spoon handle. The handle is slightly cupped out or curved using the sanding mandrel.
The mandrel is a cylinder with foam glued to the outside. A slot is cut along the length. Sandpaper strips of increasing grit are attached using small wedges that are pressed into the slot. He had 5 or 6 grits and a flapper disk at the end.
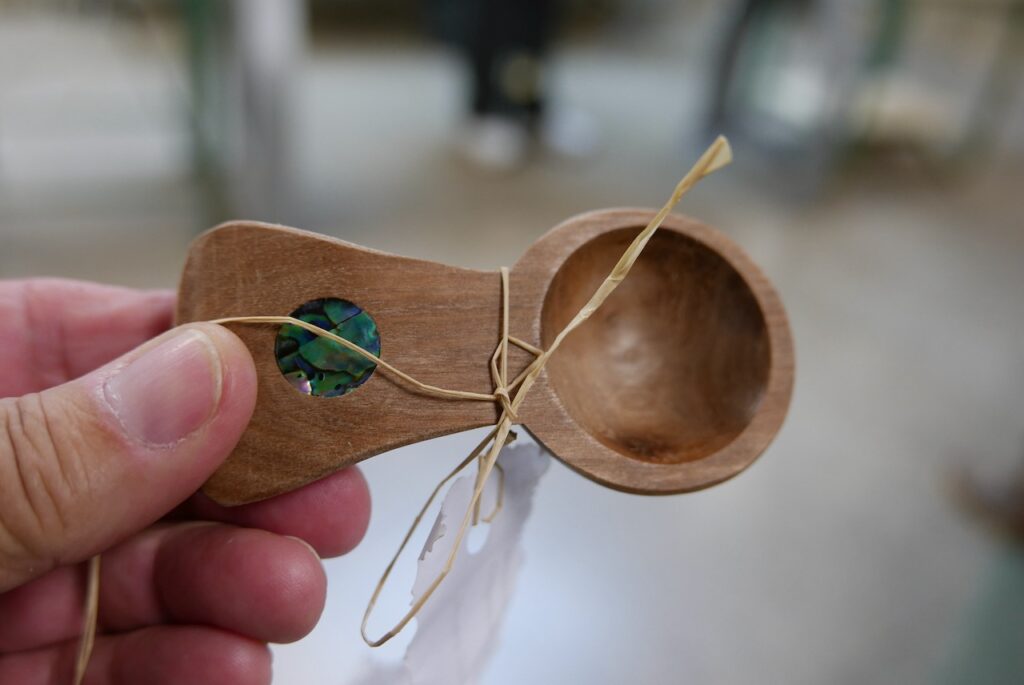
Tom will also drill a recess in the handle and add some sort of insert e.g. paua shell.
Tom finishes the spoons with Rice Bran Oil.
Tom also makes an olive spoon which is longer and has holes in the scoop. Tom recommends drilling the holes before hollowing. Drill from the back side so that any tear out is turned away in the hollowing process.
Tom commented that he was selling the spoons for $10 at the club Xmas shop and $20 in other places. He suspects that a 40% retail markup is added. Olive spoons are sold for $25.
Thanks Tom – it was a great demo and nice to see a finished product at the end.
