Club Meeting: 22 April 2015
Report by Tom Pearson
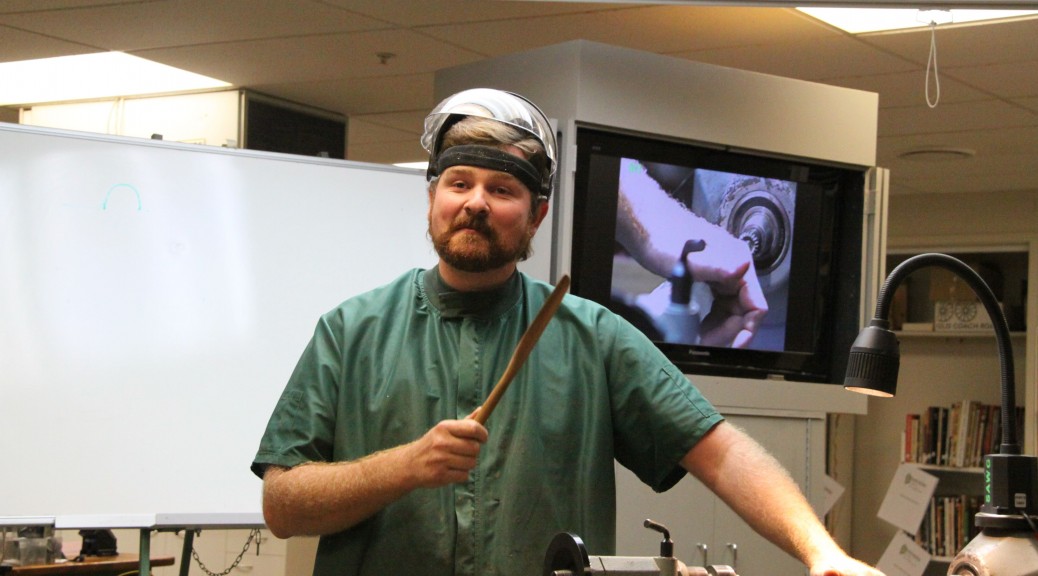
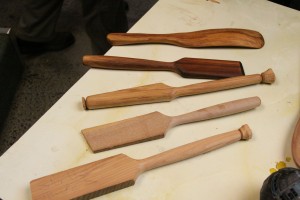
Dave started by showing several types of spoons, and a spurtle which he sells at markets. These are all made from 20 x 50mm blanks, held onto the lathe with Steb centres.
SPURTLE
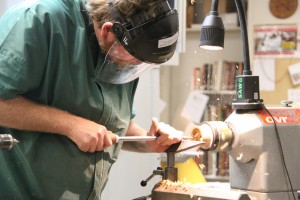
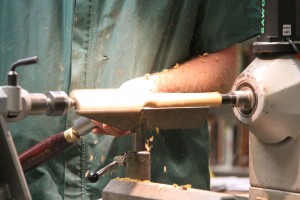
Dave turns the handle first, using approx 2/3rd of length. Almost exclusively uses a roughing gouge with swept back wings. To turn the business end of the spurtle he re-centres this approx 10 mm off the true centre. This results in a unique shape which stirs the jam or porridge more effectively than the traditional round model. He power sands at each step to 240 grit, then finishes each end with a spindle gouge and parts off the item.
All his utensils are coated with rice bran oil, soaked in a bin, then dried out before giving a final coat of ‘Bee Kind’ wax.
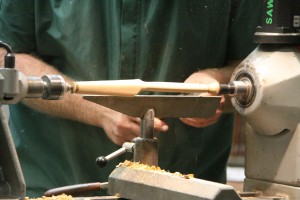 Other items made are a saucing spoon for stirring – basically a flat stirrer with handle and edge turned, then held on the belt sander for final shaping. Dave also makes a stirrer using bandsaw and belt sander, entitled the ‘Martha Stewart’ spoon, basically a flat, thin stirrer shaped into a long ‘S’ shape. No turning needed with this one.
Dave’s ‘carved’ stirring spoons are made in left or right handed choices. Shaped on the lathe, similar to the spurtle, then hollowed using a Pantorouter (see Matthias Wandel’s site) with the spoon held firmly on the bench with clamps.
MEASURING SPOON
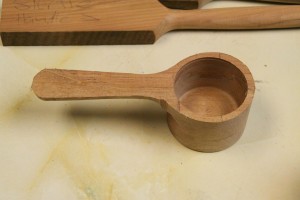
A new innovation for Dave is a measuring spoon made from two pieces of 50 x 50 x 200 mm blanks, held together using double sided tape, clamped together to ensure a good bond, then held between Steb centres to shape the handle. When handle is completed, the two pieces of timber are split apart.
Next step is to hot melt glue and screw the partially completed blank onto an MDF backing board which is held to the lathe with a face plate. At this stage, the ‘spoon’ section is square to enable a place for screws to attach from the back, through the MDF.
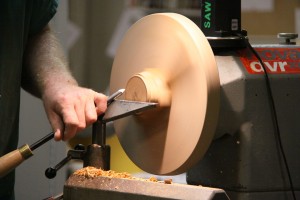 Then shape the outside of the spoon section as far as possible, without damaging the handle. Any difficult to turn spots at the joint will be corrected later using a dremel.
Then remove the partially finished spoon from the MDF, take to the bandsaw and cut off the square remnants from the edge of the spoon. Hold in a chuck which has been fitted with a custom made plastic insert. Dave makes these up from Warehouse chopping boards – they look like a plastic bracelet – very cunning.
Drill a pilot hole in the centre of the spoon to the required depth, then hollow with your favourite hollowing tool. Dave uses a Soren Berger box tool, but any hollowing tool or scraper could do this task. Sand and finish.
The items produced look most attractive and sell readily. Any of these, adapted to our own preferences could prove useful items for our next December sale. Try some out for entry into our end of term judging for ‘Domestic Items.’
