Club Meeting: October 30 2019
Report by: Grant Miles
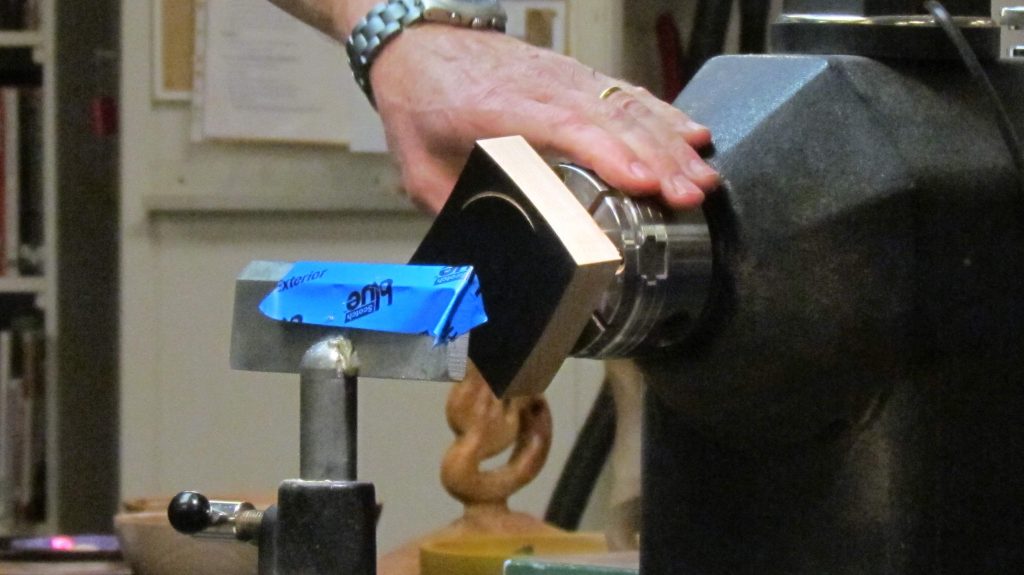
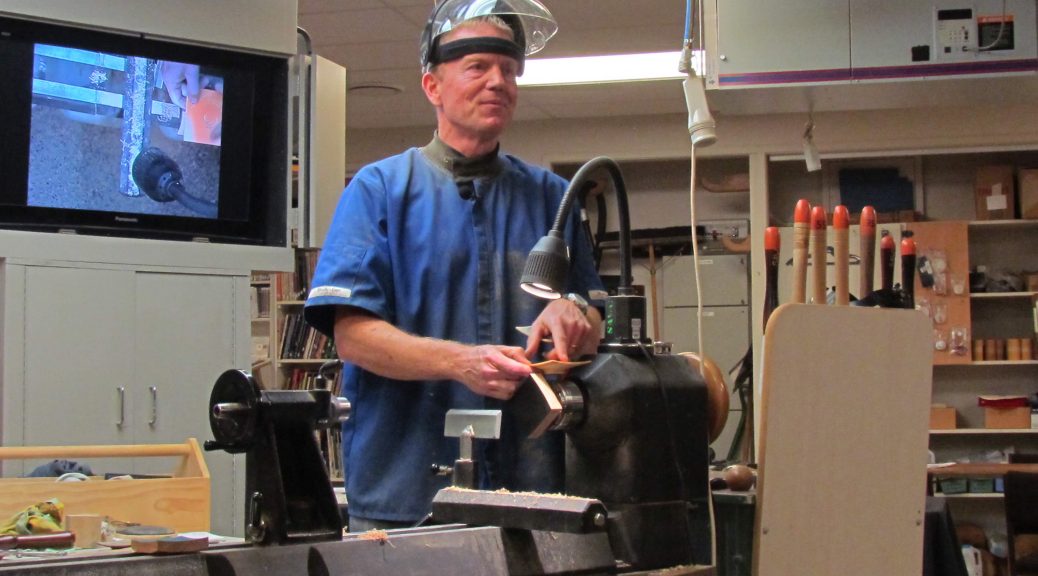
Demonstrations by Holm are always well thought out and planned and this one was no exception. Holm began with a square block with 100mm sides and about 35mm thick. The centres of the block faces were found and the block was mounted between the chuck and the tailstock centre. The chuck jaws being used as a faceplate and the pressure from the centre in the tailstock holding the work in place.
A spigot of approx. 32-35mm was turned on the tailstock end of the block. It was turned with parallel sides and no chuck jaw recess as we would normally do. This is to allow for the work to be offset in the chuck jaws later in the process. The work is then turned around and mounted in the 35mm chuck. A shallow bowl is then hollowed out and the radius checked against a 230mm radius template cut out of card. Finish cuts were made outside in to ensure a good fit with the template. The bowl is then finished by hand sanding (the wings make it difficult to power sand). Holm used a piece of foam with the sandpaper over it to help follow the curved surface while sanding. He also noted that it can help improve the sanded surface if the wood is damped as it makes the timber fibres stand up and leads to a smoother finish.

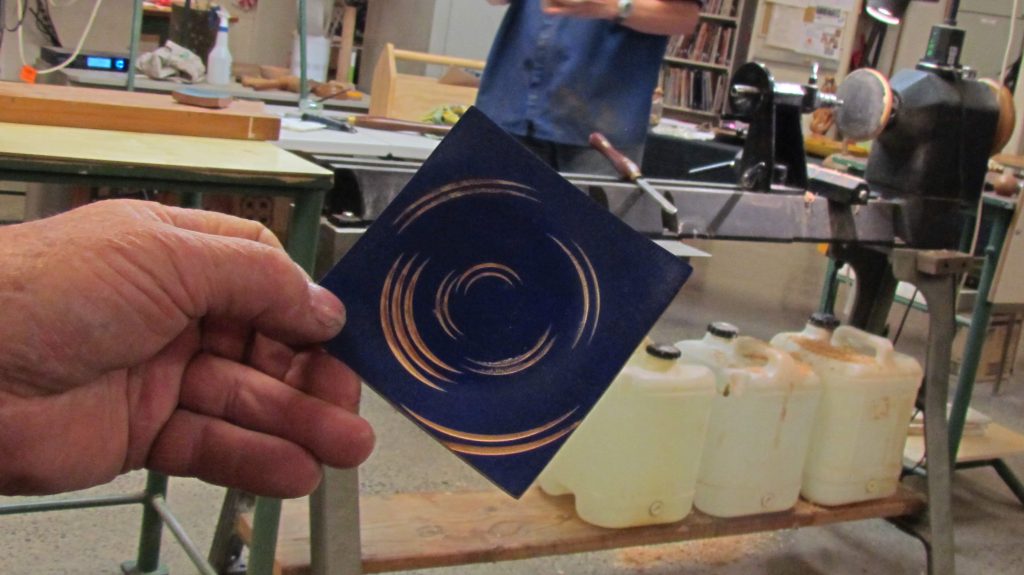
The sanded bowl was then painted with Reeves acrylic paint. Black was used in the demo but any colour can be used. The front face only was painted using an artists brush. Care needs to be taken not to get paint on the sides of the wings. Once the paint was dry Holm at sanded at 45 degrees to the edge along the edge of the bowl to produce a definite line which helped sharpen the edge of the painted face. Holm shared some designs of bowls he had decorated previously. All of the designs were achieved by offsetting the bowl in the chuck. With care Holm showed us how to achieve the spiral design. First a corner is offset and a cut made. Next the bowl is offset to the middle of an adjacent side, a cut taken, then the next corner is offset and so on, continuing in the same direction, until the spiral ends near the centre of the bowl. Because of the bowls shape the cuts get shallower and shorter as you move towards the centre of the bowl. A piece of tape was stuck on the tools rest to enable the cutting tool to be located and to allow cuts to be repeated. The cuts in the bowl were made using a Glenn Lucas spigot(dovetail) tool.

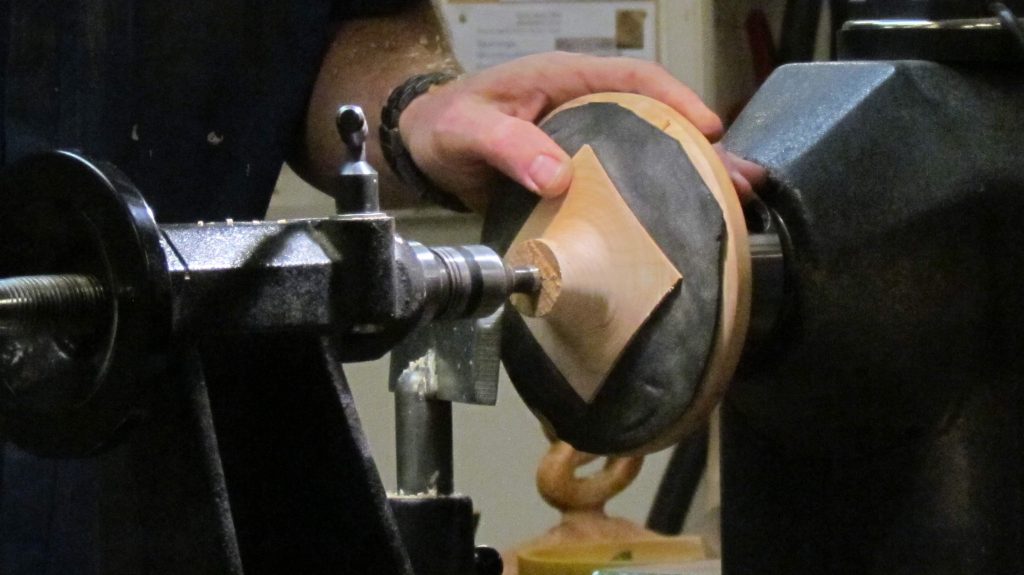
Once the spiral was complete the square was reversed and mounted on a face plate with a centre holding it in place. The face place was a foam covered dome which was turned to a radius of 230mm. This matched the inside of the four-sided bowl allowing it to be held firmly and safely. The foot was turned down to approx. 30mm dia. The outside of the bowl was then turned down to a wall thickness of about 3mm at the outer edge. As part of this the foot was shaped. The bulk of material was removed with the centre in place. The work piece was then taped to the faceplate and the last of the foot was removed and turned to its finished shape. The bowl was removed from the face plate and given a hand sand to complete. A number of bowls with different designs had been circulating as part of the demo and the different effects made for very attractive finished bowls.

Thank you, Holm for an interesting demo. I for one learnt something new and I now have an idea I want to go away and try.
