Club Meeting: 13 Septembet 2023
Report by: Roger Pye
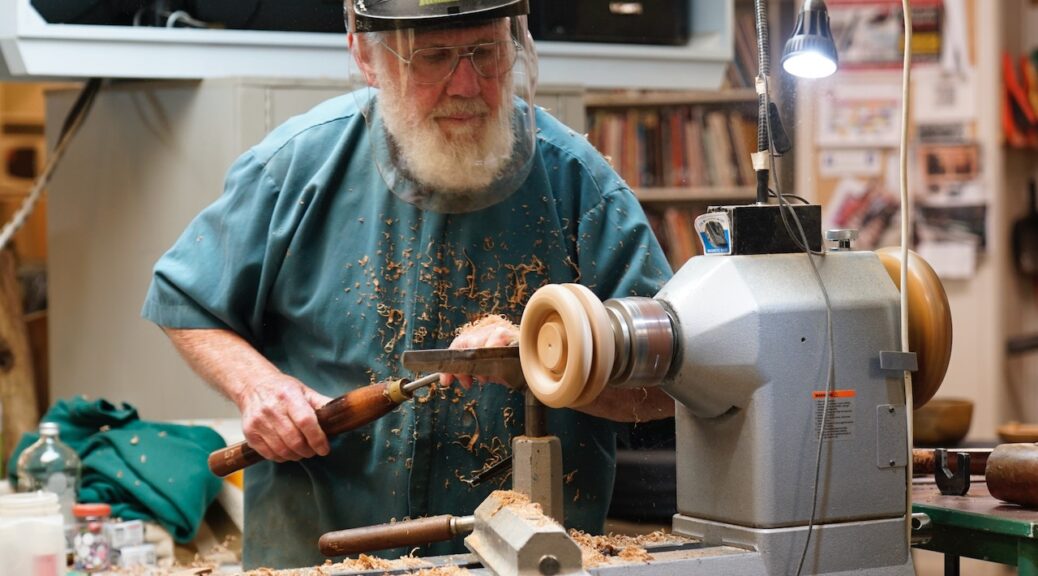
Once again Dick was in his element showing us how to make something. While looking complicated it is really quite straightforward. In true fashion Dick arrived with a “Christmas Box” loaded with parts of his ongoing demo completed and ready to display at the appropriate time.
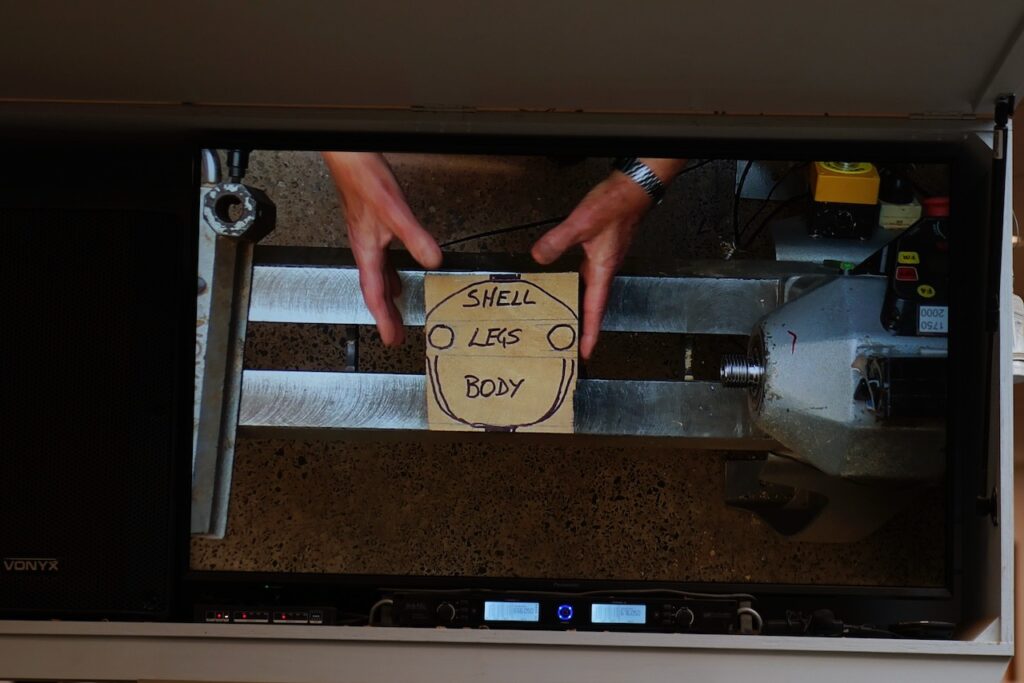
Select a nice piece of wood without shakes or knots about 150 x 150 x 75 mm. Drill a centre hole in which to mount an expanding 50mm chuck. Mount onto the chuck and form a mounting spigot. Round out in the shape of a tortoise shell, leaving the outside face flat for a least 40mm.
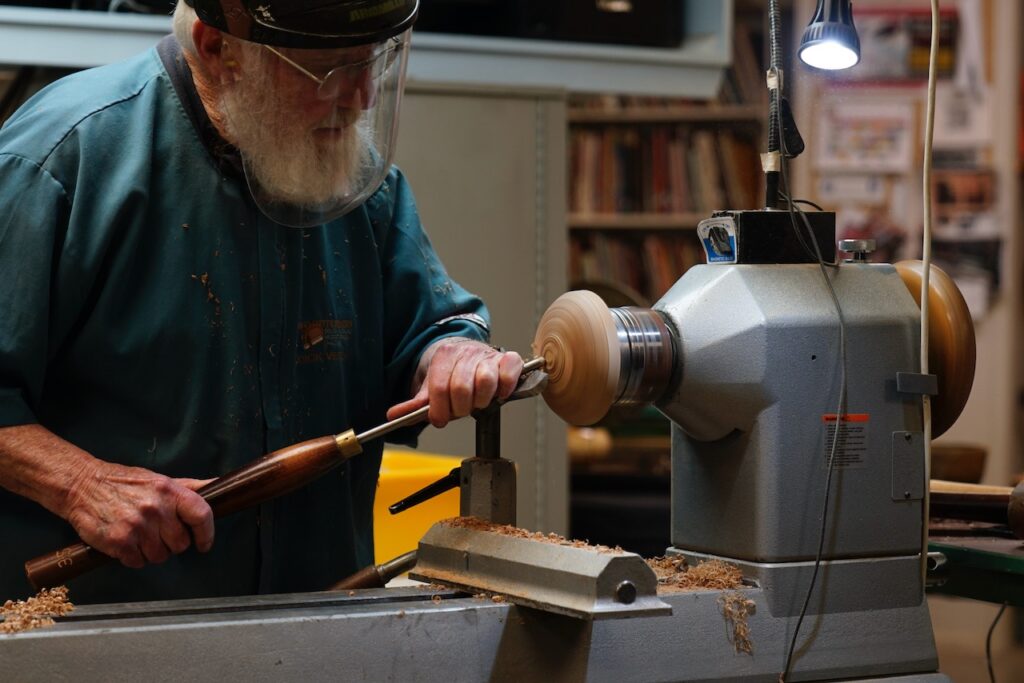
Reverse mount onto your spiggot. Then cut a full diameter ring which you will cut into five equal lengths, four legs and one neck. Three quarters of this ring can be completed by working the outside top corner of of your mounted wood. Cut 25mm below the top edge on the face and 25mm along the top outer face. Do not let this second cut intersect with the first cut. Then proceed with the use of a 25mm round template to cut and shape a neat ring. The inner attached section will be treated later. Sand as needed. Cut ring off the main mounted body taking care to avoid damaging when it falls free.
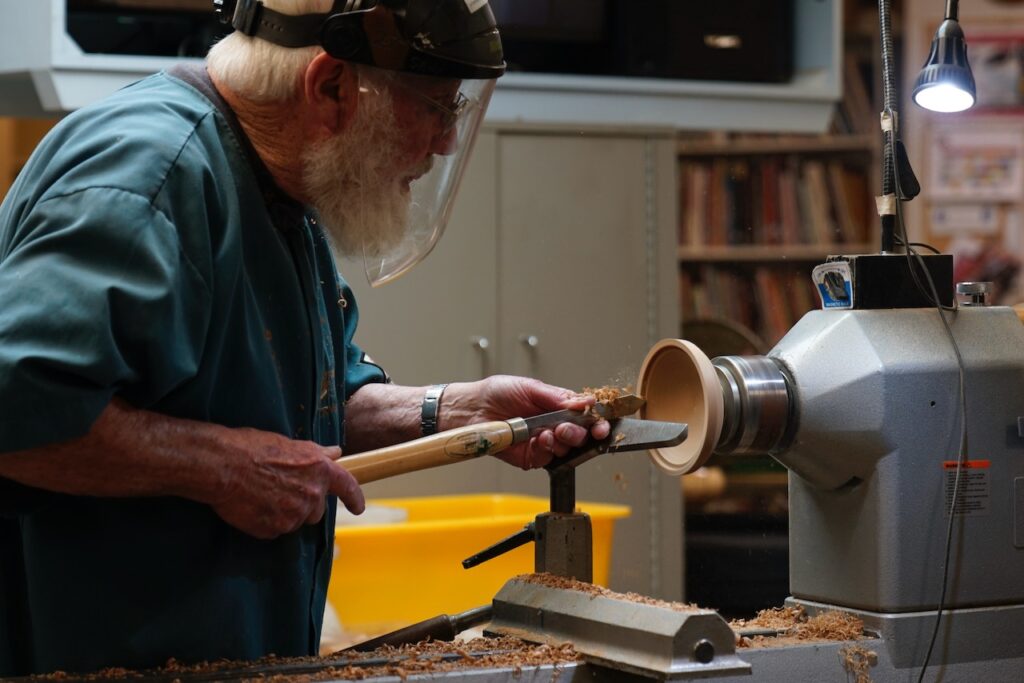
Reverse the ring and glue with hot melt back onto the lathe from where it was removed. Proceed to complete the ring to size and sand.
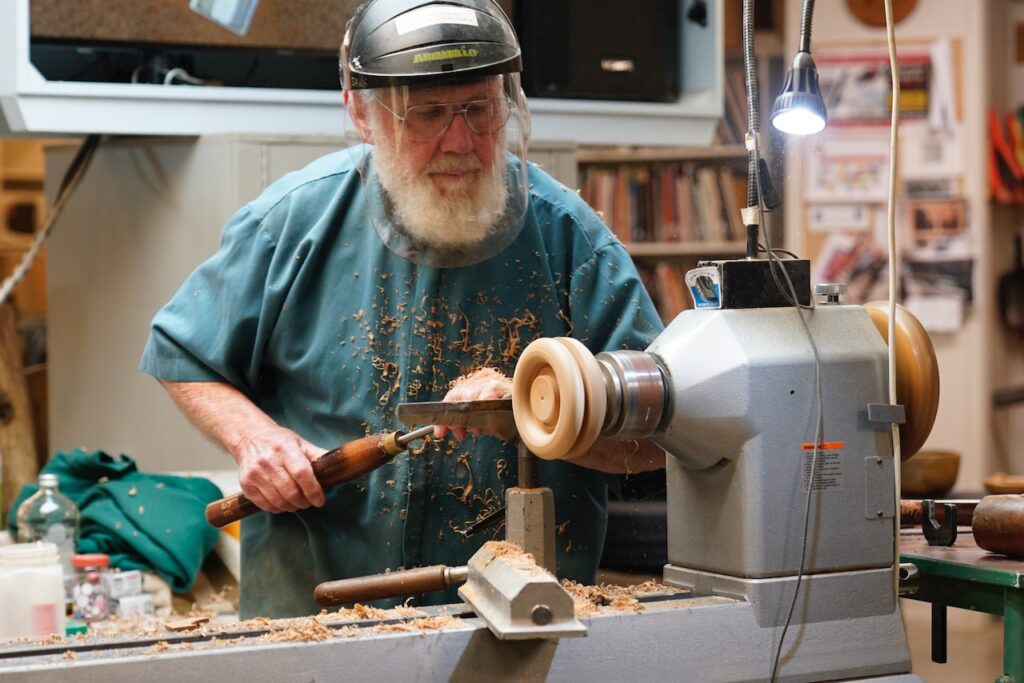
The completed ring is ready to cut into five equal sections. (3.143 X the outside diameter divided by 5). Mark outside edge and cut five pieces.
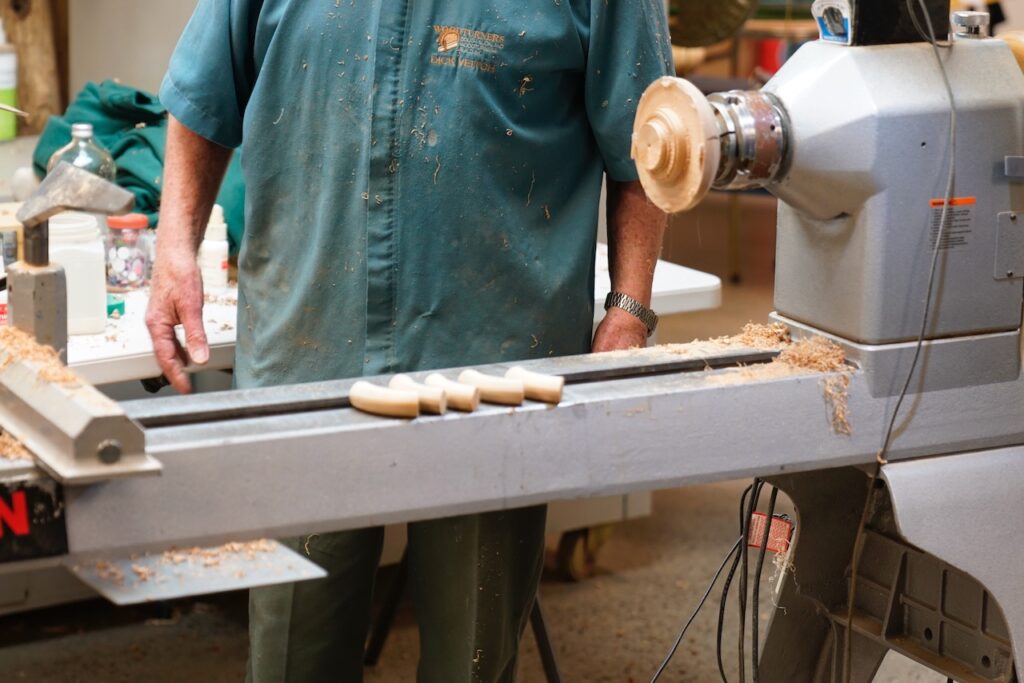
Finish the remaining wood still mounted to be a hollow tortoise shell lid for the completed tortoise. That is, hollow the inside to fit over the body still to be turned. Include a mounting ring yet to be matched on the body section and several decorative rings inside. Reverse with the use of an expanding 100mm chuck. Remove 50mm mounting spigot a carefully finish the whole outer face of the shell.
The outer shell will be more realistic if the scutes markings can be drawn on the outer face of the shell and finished with pyrography.
Mount another block of similar wood to shape for the body. Should be about 140 x 140 x 80mm and have a predrilled hole suitable for a 50mm expanding chuck. Prepare as for tortoise shell above but top edge must fit the previously prepared mounting ring on the shell/lid. Keep the wall thicknes at least 18mm to allow for mounting holes to be used for legs and the neck plus the tail.
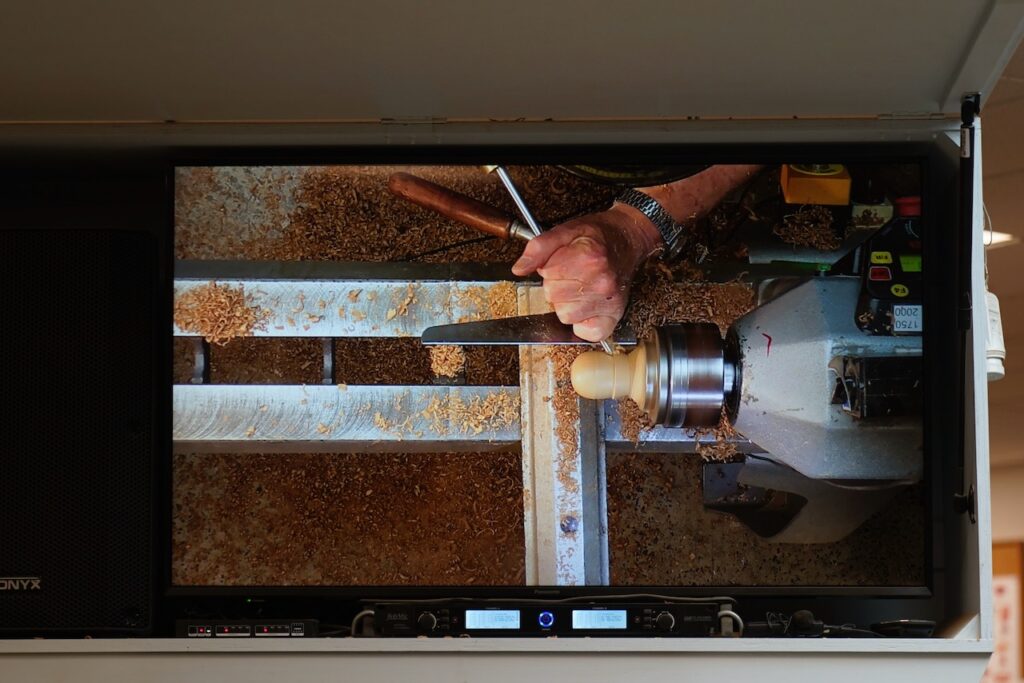
Another block of wood 45 x 45 x 150mm is mounted in the open jaws of a 50mm chuck to make a head and tail. Cut a suitable tail including a 12mm mounting spiggot. Then make a head into which you can drill a 25mm hole for mounting. Be sure to shape with one end tapered for the head and mouth.
The body is marked out to drill 25mm leg holes and a neck hole higher than the leg mounting position. Drill all mounting holes in a drill press including a 12mm hole for the tail. The head should have flats positioned for eyes and mouth marked out for finishing with pyrography.
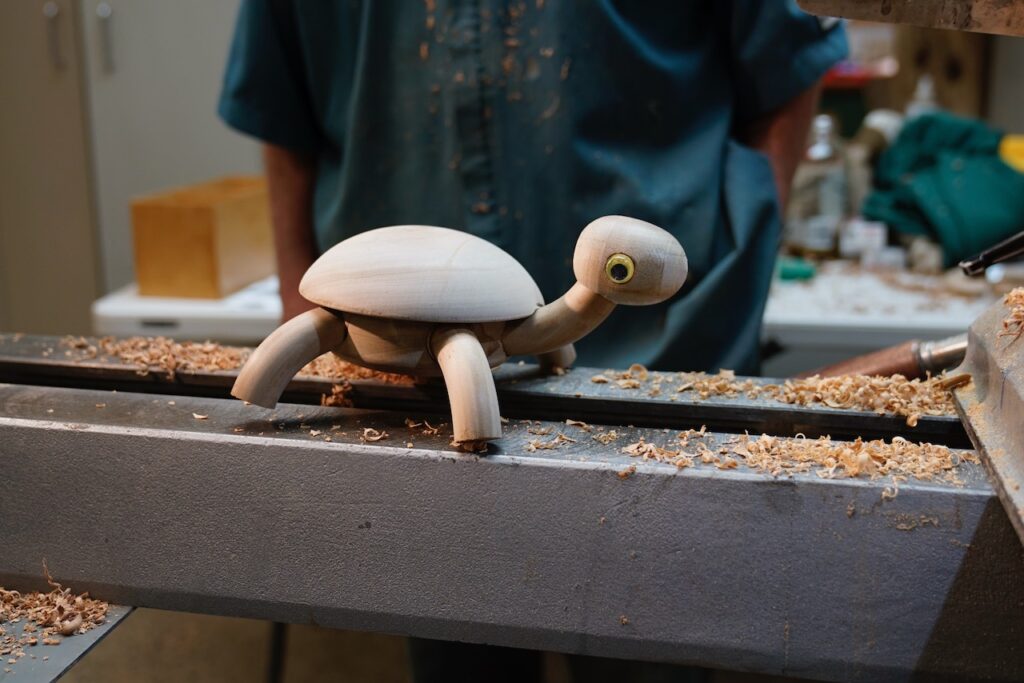
Assemble components with suitable glue. Fit eyes and define the mouth.
