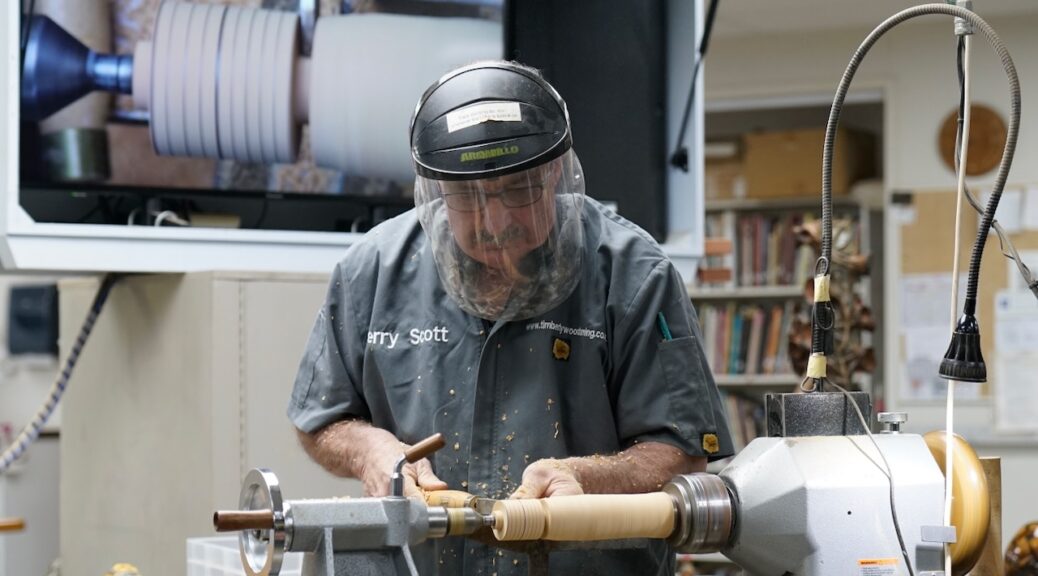
Club Meeting: 28th October 2026
Report by: Jacqui Oxenbridge
Demonstration used a macrocarpa blank, approximately 230mm long – but the length of the handle you want determines the length of the blank.
Must be large enough to round down to 51mm at the bowl end.
Examples provided included a variety of wood, including ebony, but the comment was made that black maire was not recommended as your first attempt as difficult to hollow out the bowl.
A tenon was made in the handle end and the blank placed in a chuck with the tailstock up for support.
Using a roughing gouge sharpened with a straight up the wings so it could be used like a skew, with the gouge held angled to the side, thumb on top of the tool and travelling over the work slowly so it cuts the entire surface Terry rounded approximately 60mm along the blank at one end down to 51mm diameter. When roughing down work from the centre out as if come in from the end it can splinter and end up in the palm of your hand.
If making a lot of spoons would get them all to this stage to avoid taking the piece in and out of the chuck.
Making the sphere.
Part in at the tailstock end to allow room for shaping the sphere. The parting tool was used again at 50mm towards the headstock (same distance as the diameter of the sphere when turned) cutting down to the same depth. Using a spindle gouge the handle end was rounded down to the level the blank was parted to providing more working space for shaping the sphere.
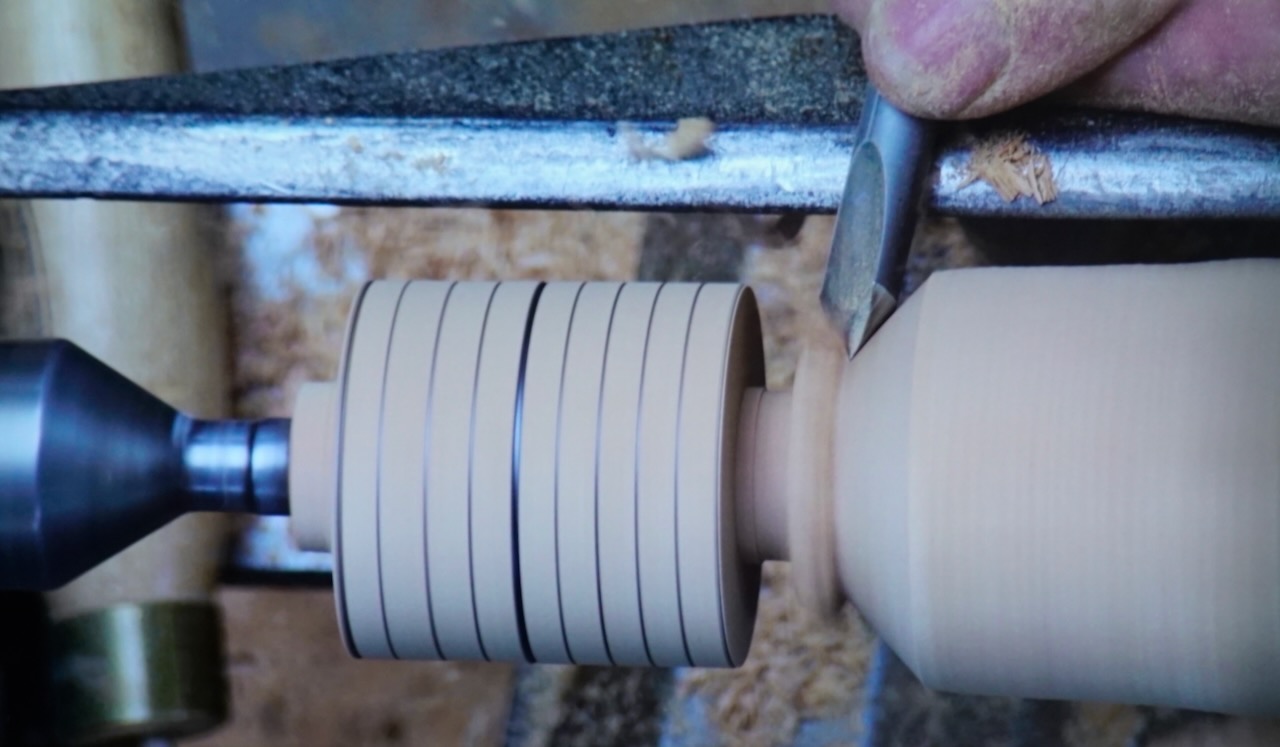
The 50mm section was then marked with a pencil at halfway and then a further 4, equally spaced lines, were marked either side of the centre mark.
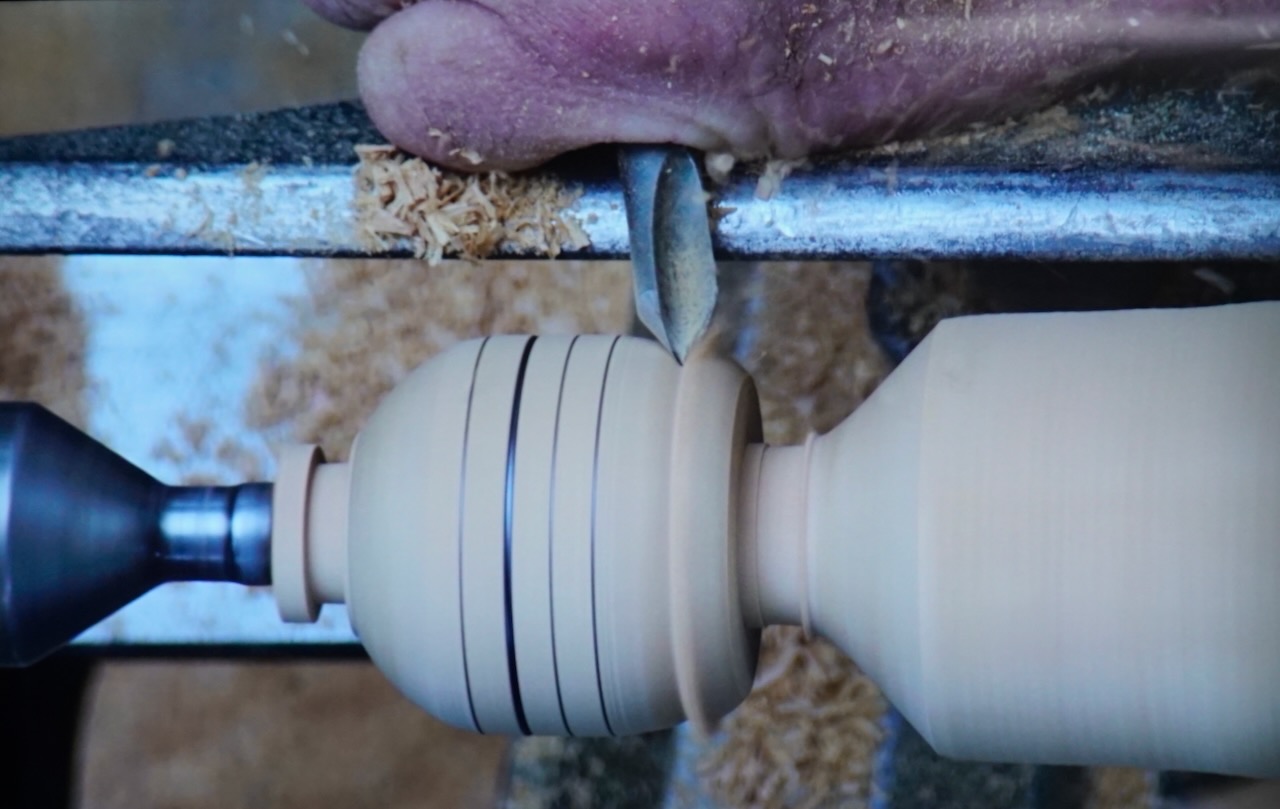
A sphere is a series of flats so using a spindle gouge Terry shaped between the lines – moving from right of the centre to left of the centre – to shape the sphere cutting between the marked lines – start with the tip high, lift the handle to cut, roll the tool and lift at the end.
Once close to a spherical shape a “tool” was used. This tool was a piece of 50mm ID aluminium exhaust pipe from Mr Muffler attached to the end of a 50mm(ish) diameter dowel. A burr was raised on the end of the aluminium with a belt sander and this was moved around the wooden sphere with the lathe running.
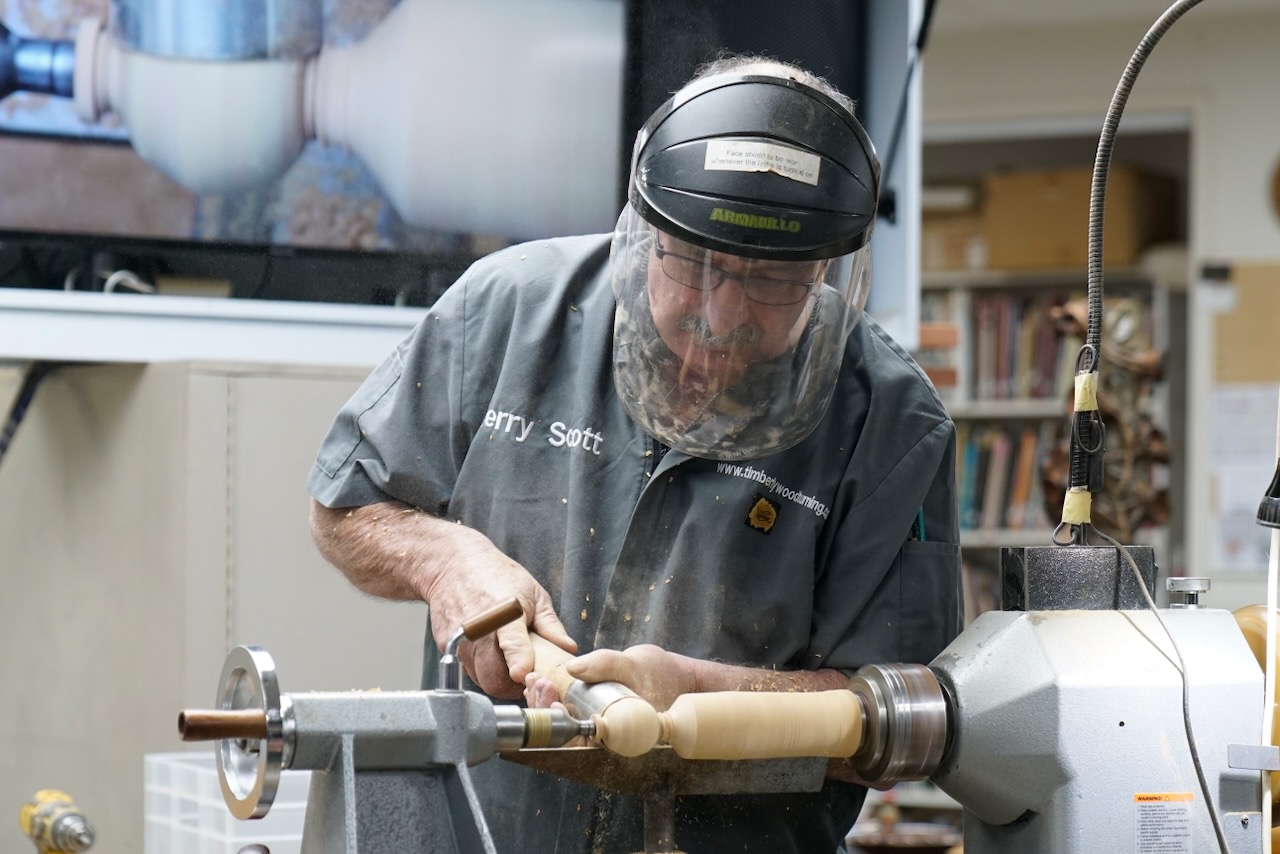
Next Terry added a bead at the headstock end and commenced with the roughing gouge and skew to cut the handle down to 12mm diameter.
With the skew he was only using about 3mm of the heel of the tool, slow travel speed to avoid cutting a spiral which leads to chatter and noted that it is important not to push hard on the tool.
At the headstock end of the blank he used the toe of the skew to make a V cut and then used a spindle gouge to shape the end.
Making the spiral on the handle.
Using the indexing on the lathe (and a jig if you have one or the tool rest set to the centre of the handle) mark a series of evenly spaced lines along the length of the handle. Terry used every second click. Used a soft lead pencil to draw the line and suggested that should aim to keep the lines tidy.
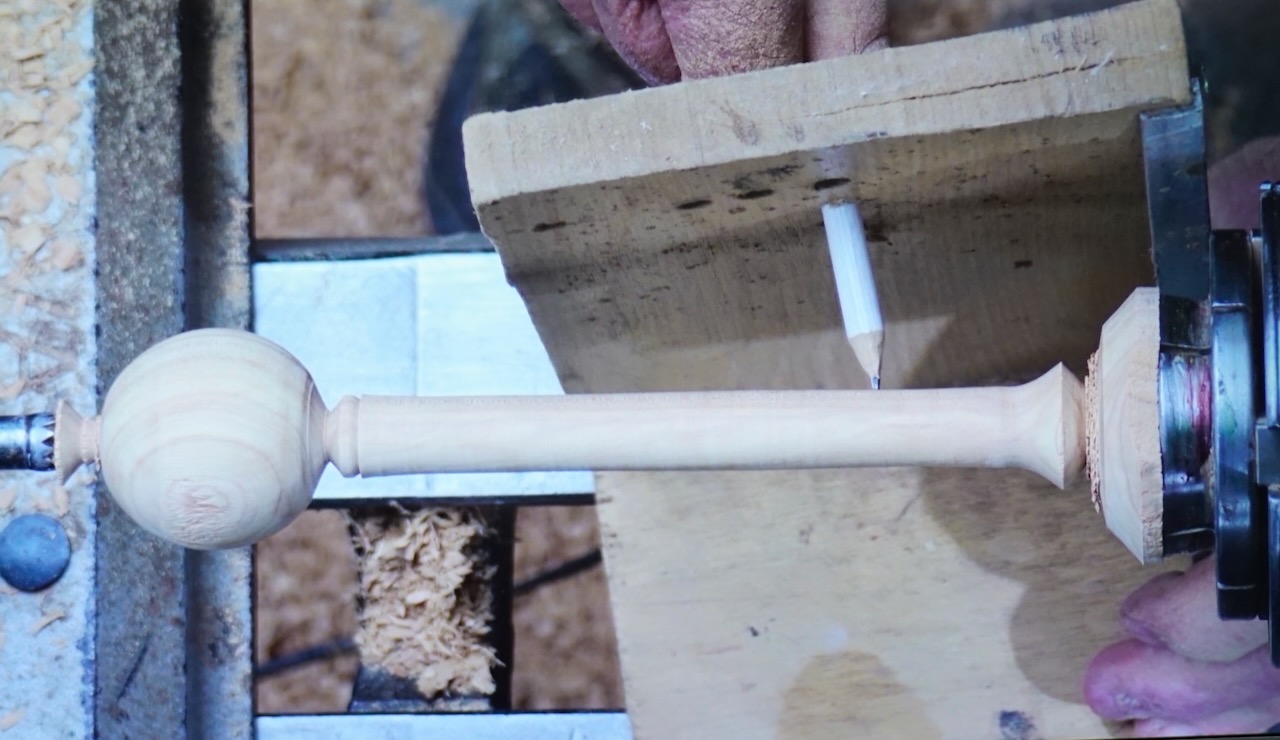
The tighter you get the lines, the closer you get the spiral.
Next add vertical lines, same spacing, evenly along the length of the handle so have a series of squares.
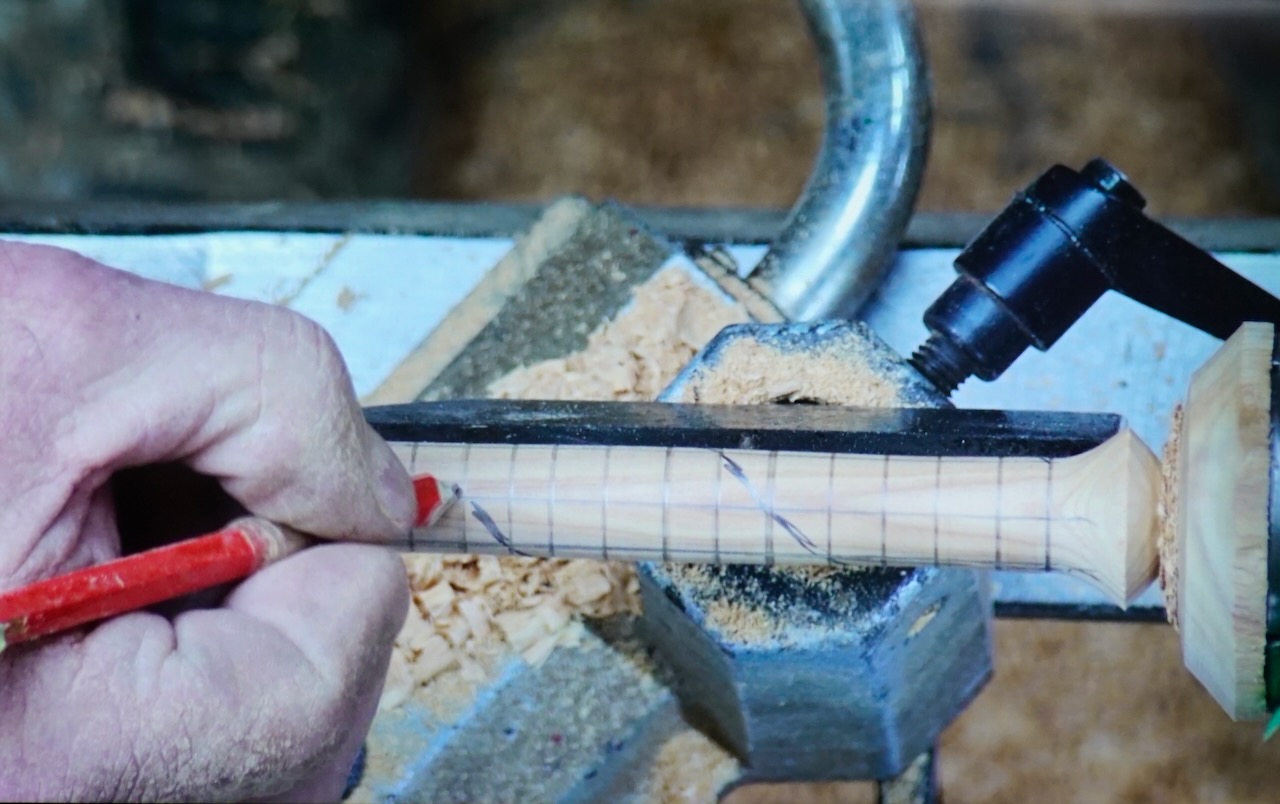
Now, joining corner to corner on adjacent squares draw a spiral line – turn the piece in the lathe – should look like a barber shop post.
Now can begin to make the spiral. A tip – using thin masking tape mark out the first spiral that you are going to cut to avoid crossing by accident to another spiral.
Add some tape on your Japanese saw to the depth you want to cut and begin cutting along the line you have highlighted with the tape.
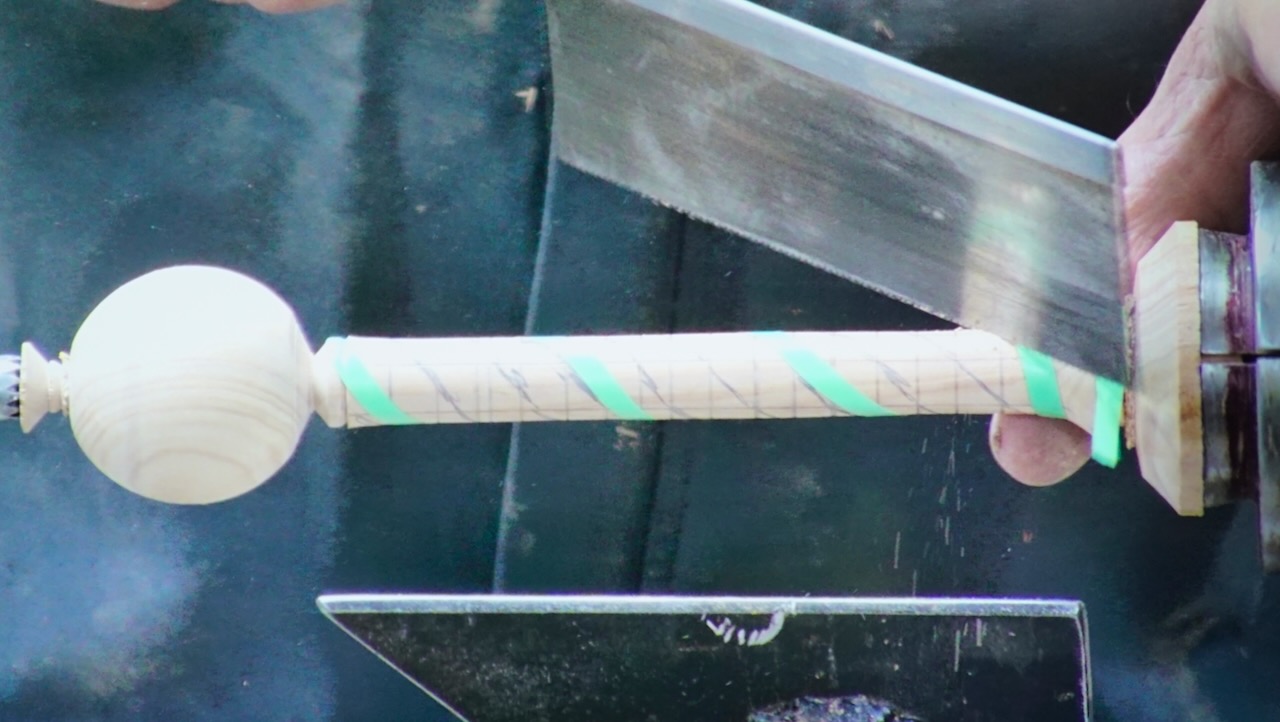
Once one spiral is complete move on to the next spiral line until all are cut.
Next use a round diamond file (Terry used a 5mm diameter file) to make an indentation along the cut line. Again, turn the piece as you file.
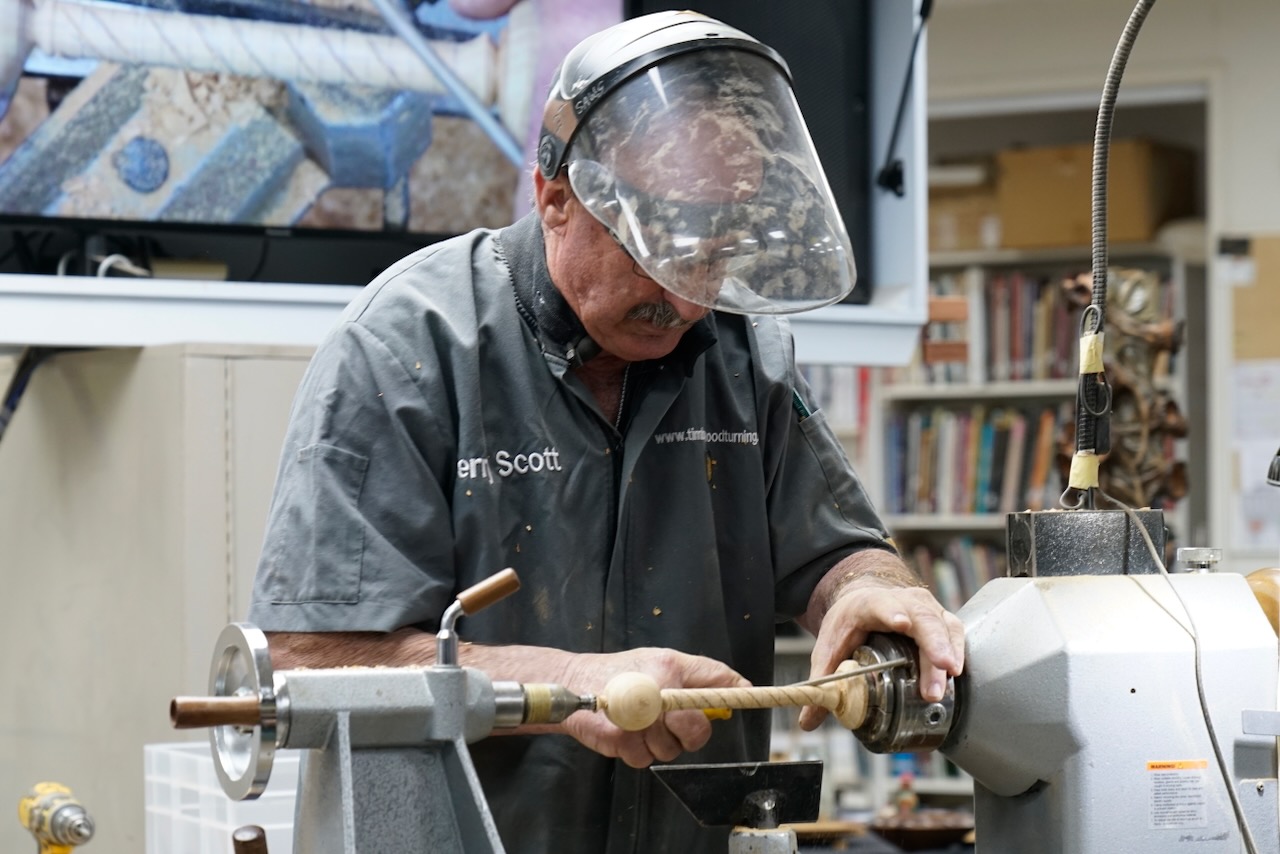
Tip – to avoid mixing the spirals can colour them eg black, blue, red etc.
Once filed to your satisfaction to tidy the spirals can wrap sandpaper around the file. Also round off the tops of the spirals.
The spoon was now parted from the blank. – Using a spindle gouge, handle down, slice down and remove the bulk at the headstock end leaving a small diameter joining to the waste wood. Repeat at the tailstock.
Hollowing the spoon.
Make a jam chuck. The opening needs to tightly fit the 50mm sphere. The inside of the recess of the jam chuck was undercut to allow the sphere to seat well. Make sure the jam chuck is hollowed sufficiently that there is a void below the sphere when in position. Terry also recommended drilling a hole through the base of the jam chuck so that if the spoon got stuck then can use an air compressor through the headstock to assist removal.
Positioning the sphere needs a little thought – as we do not want to be cutting into end grain it should be lined up so cutting into side grain. For the demo the handle was positioned vertically. It can be placed at an angle and that adjusts the shape of the connection between the handle and the bowl – but does mean you have the handle spinning around further out and so that needs to be taken into consideration with placement of the tool rest and your hands.
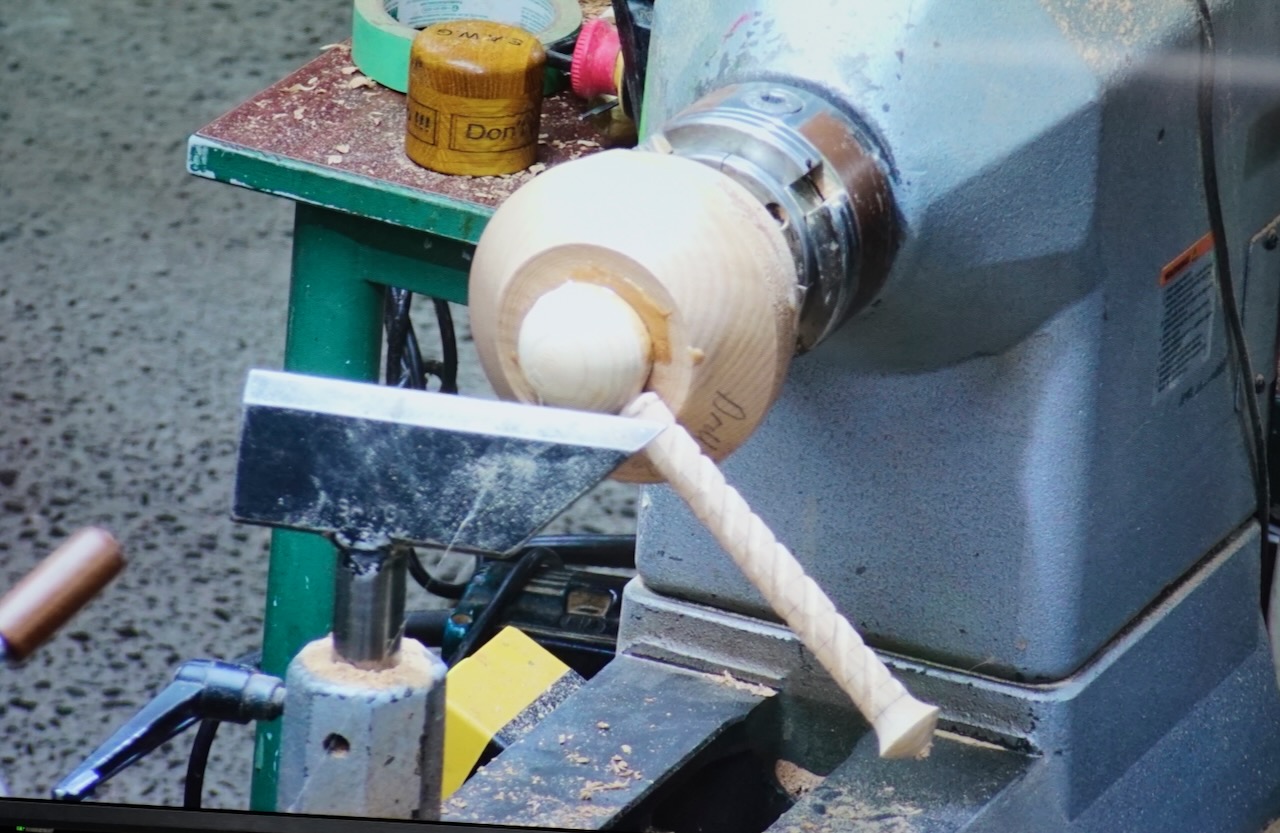
The jam chuck can have a recess for the handle and then you can get it more or less level but a 10-degree rake is good. To be extra safe can also hot glue the spoon into the jam chuck.
With a spindle gouge, bevel always rubbing and pushing the bowl in to the jam chuck, hollow the bowl (outside to inside). Remember to always rub the bevel. Treat the end of the sphere like the edge of a thin bowl, drop the handle right down and slice in with the bevel rubbing rather than going straight in. The tool can then enter end rain without a dig-in.
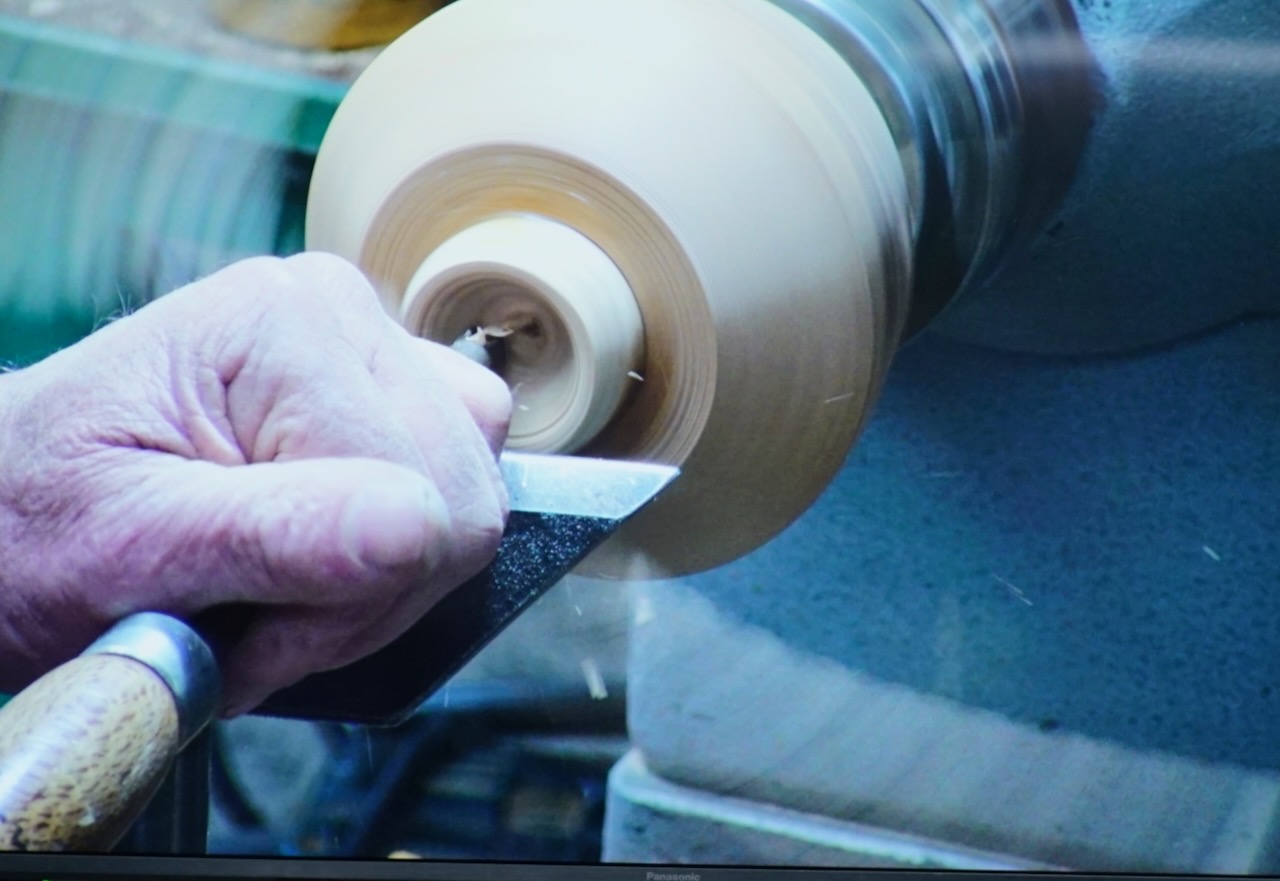
If going to add a lid – put a straight rebate in at the edge of the bowl. This can also help when you are hollowing it if you have a dig in the bevel will come against the rebate and chuck the tool clear.
The sphere is 50mm in diameter. To make a spoon bowl shape it is necessary to true up the face and remove the top 10 – 15mm so now have a remaining depth of 35-40mm. Drill in to the required depth for hollowing – but if you go through it is an olive spoon!
If the handle of the spoon is at more of an angle, then it is possible to cut into the handle and get a nice bit of definition.
Keep your hand behind the tool rest, hand and wrist well anchored to ensure you do not get hit by the handle.
Finish the bowl with a negative rake scraper (sharpen bottom bevel last to raise a burr). Follow the radius of the bowl – do not pull the scraper straight out of the bowl.
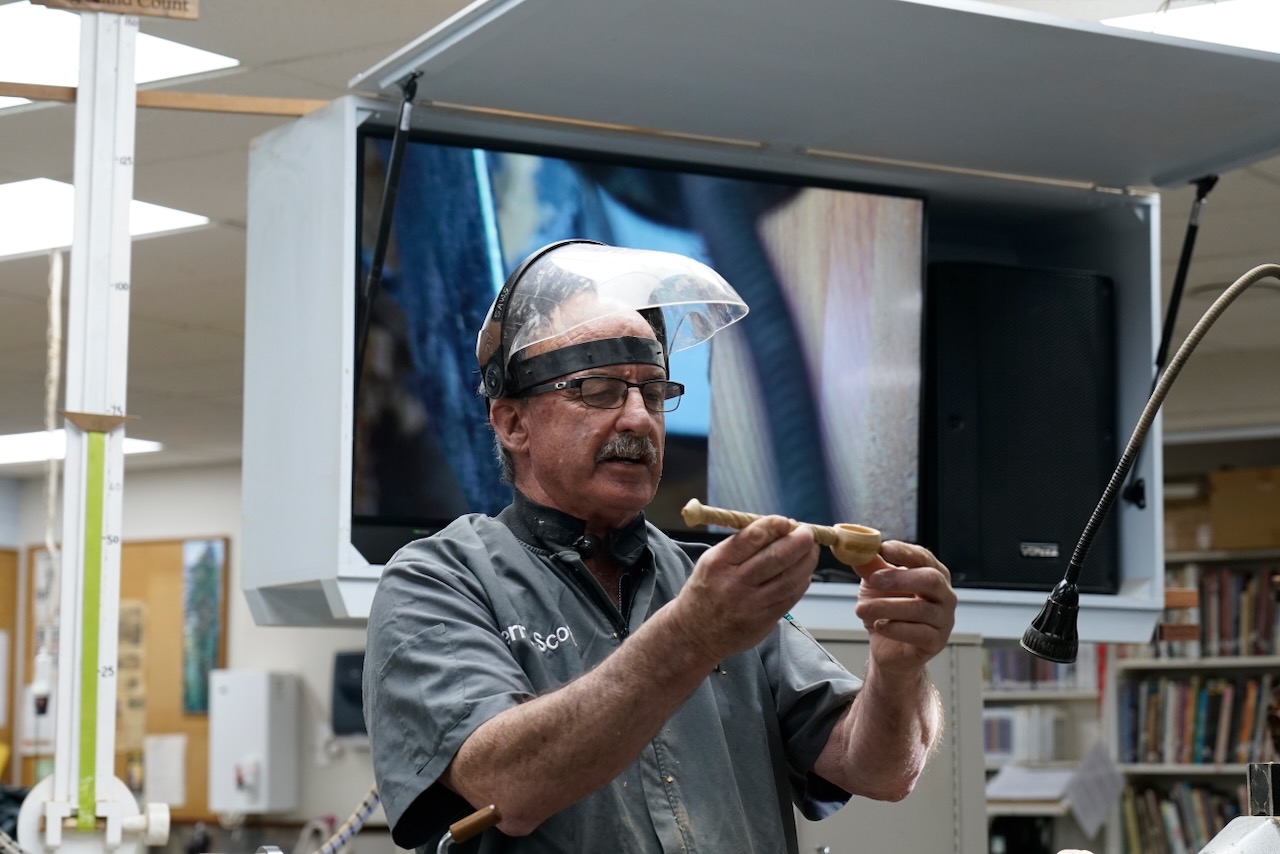
If you get a different noise – stop and look – the spoon might have moved in the jam chuck, or you are not rubbing the bevel or there could be a crack.
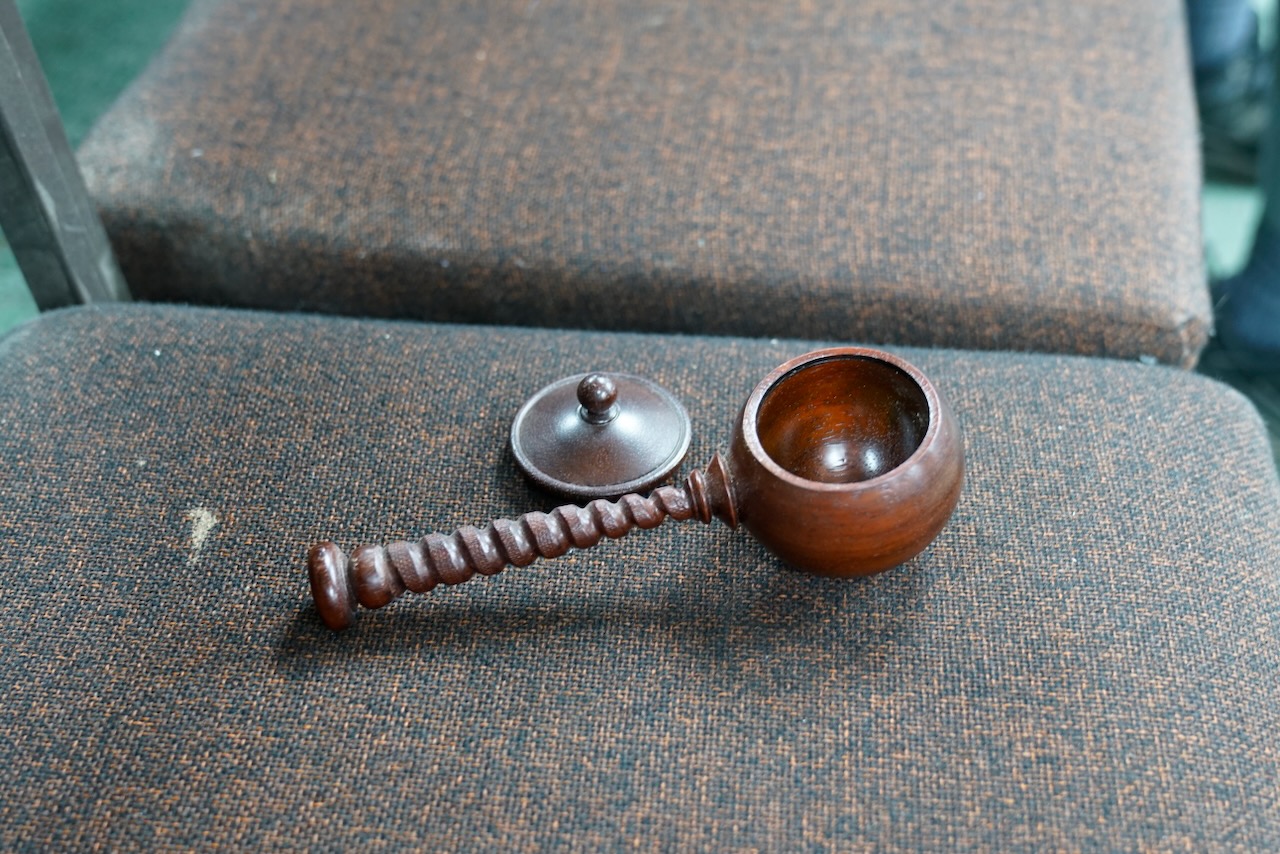
Kava Bowl
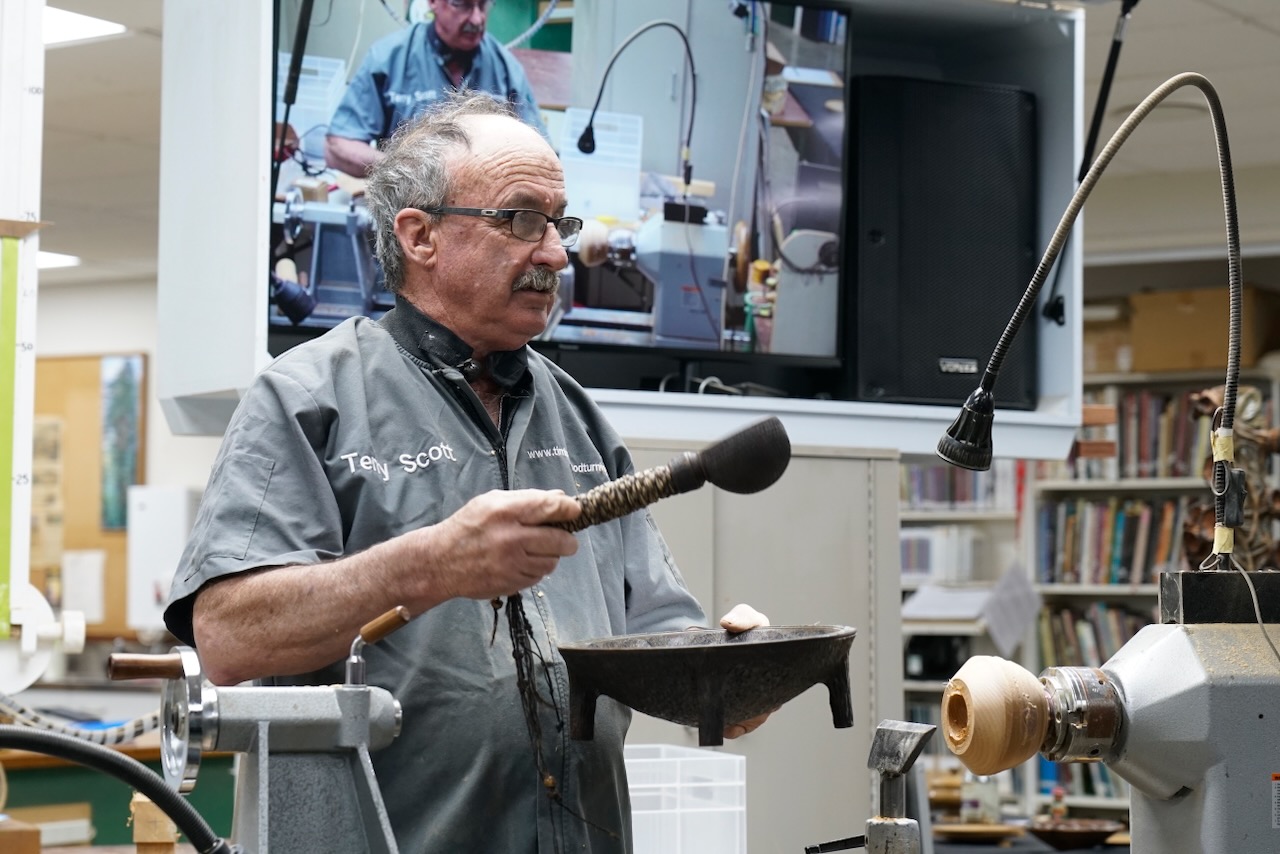
The spoon can be made to use with a Kava Bowl. Terry had an example of a decorated bowl and briefly showed the stages to make one.
Shape the outside of the bowl leaving a very large spigot from which a ring can be made. The feet will be cut out of the ring. Use a parting tool inside the ring and cut a 90mm spigot. The wood between the outside of the spigot and the outside of the ring for the feet should be shaped so that it flows from the outside of the bowl.
Measure with a vernier the depth either side of the ring that the feet are going to be made from as want the bowl to flow through the feet. The depth on the outside should be about 4mm more than the inside. To test if have removed enough wood inside the “feet ring” can use a carver to remove a small portion of the ring to see if the two sides line up.
Mark out where the feet will be placed – 4 in this case but can be up to 10 or 12 feet. Note – the feet on a kava bowl tend to be round, not splayed.
Put a chuck on the spigot, using the faceplate with screw and an adapter in the tailstock, ensure that the bowl is trued up. Remove the faceplate, remove the sharp edge of the bowl.
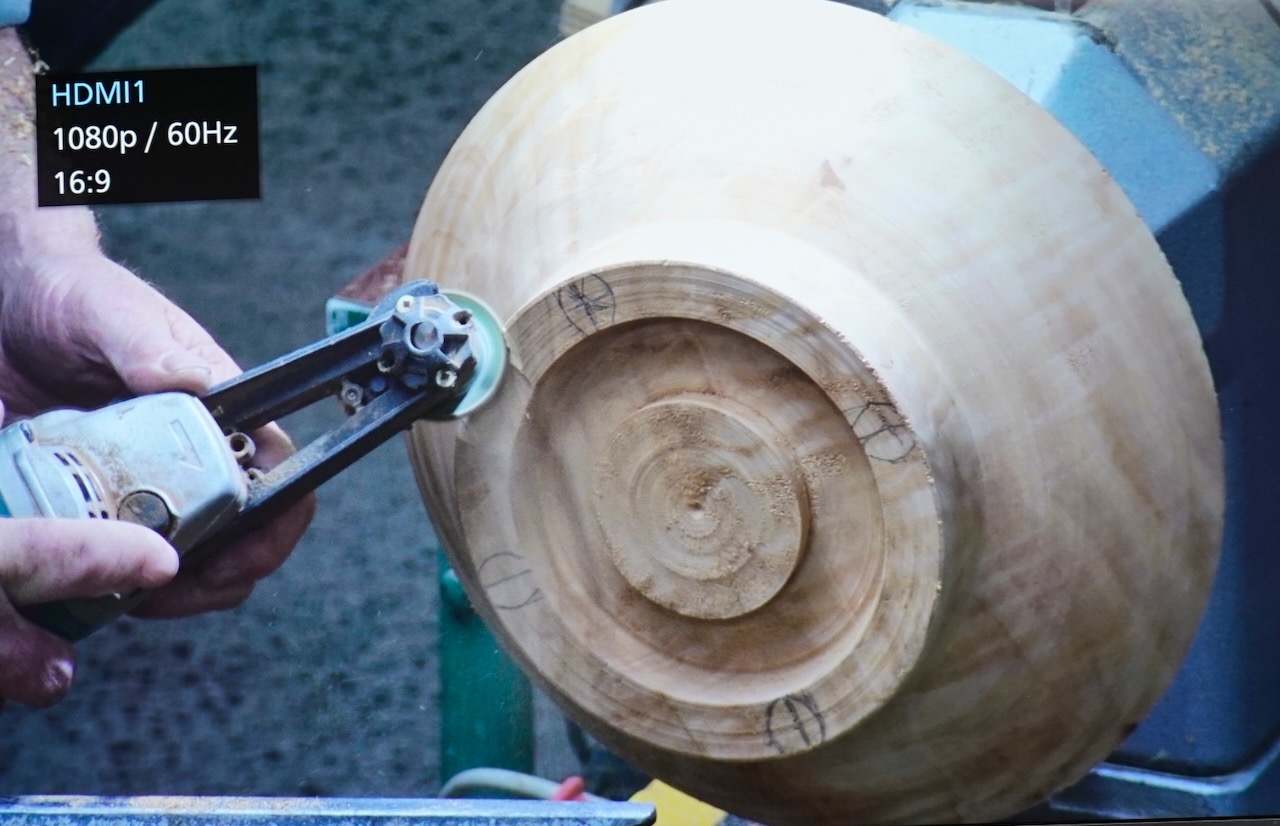
True up the outside rim. Using indexing mark out 24 sections on the rim. Remove from the lathe.
Add a decorative pattern – Terry placed crosses between the indexed lines then he drilled out every 2nd centre of the cross and added a paua dot. In the islands they tend to use Mother of Pearl for decoration or possibly tapa cloth.
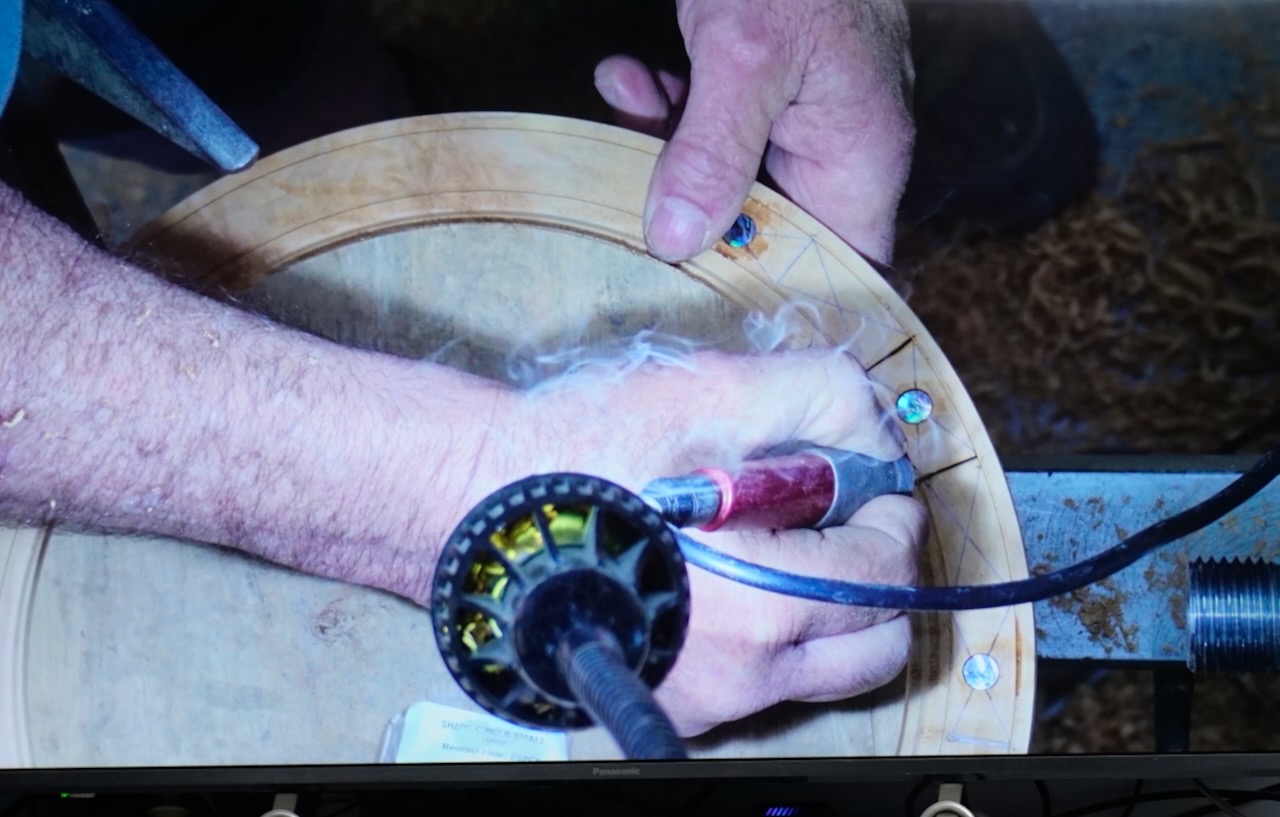
Terry then burnt in lines in each of the four triangle sections of the 24 marked rectangular sections. The lines can have cultural significance or make a pattern up. It is like a canvas to tell a story.