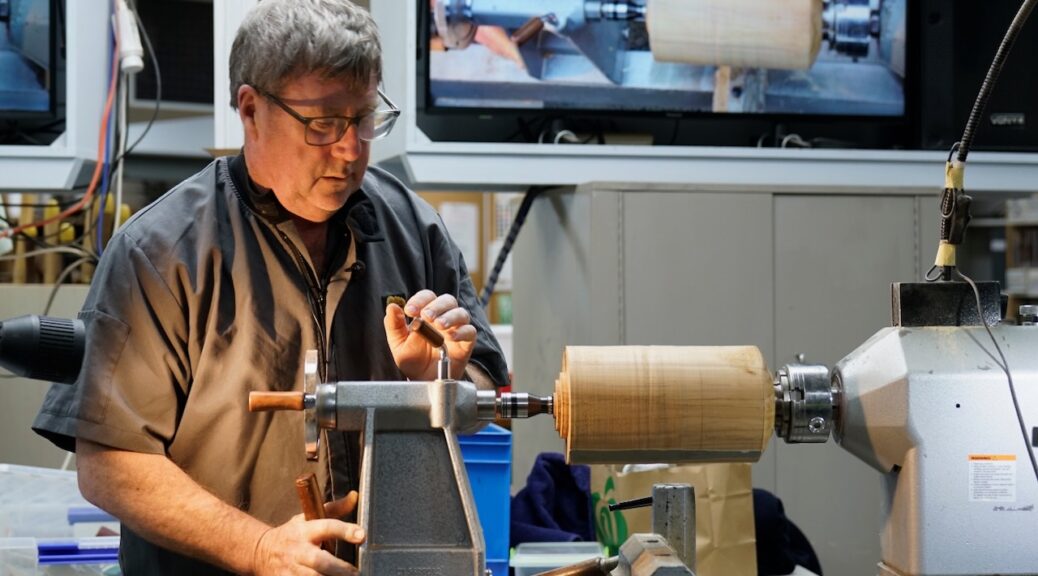
Club Meeting: 23 September 2026
Report by: Kevin and his AI Helper
Overview
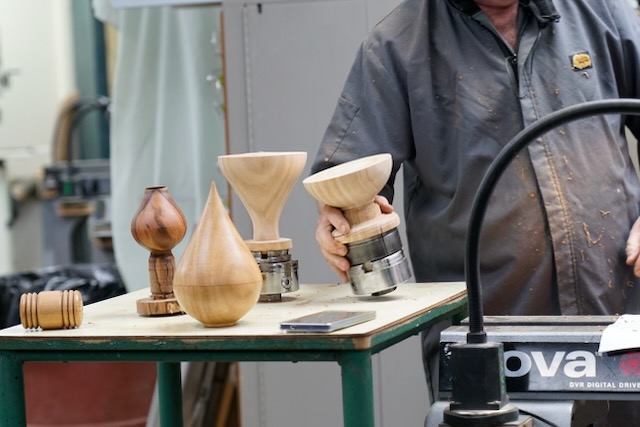
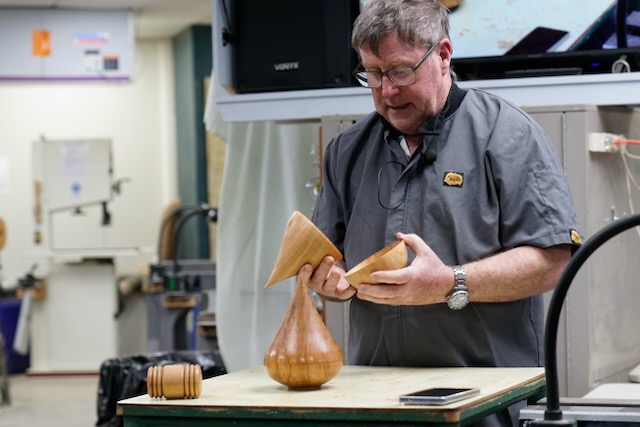
Kevin’s first demo for the club covered turning a two-piece, lidded box in a teardrop (or “onion”) profile, turned long-grain from a single blank and split apart partway through so the grain continues to match across the lid and base once reassembled. He brought along several earlier practice pieces — including one in Rimu and one in an unknown wood — to show the shape at different stages and discuss what had gone wrong along the way, before demonstrating the process live on a fresh blank. Time ran short, as is common for a first demo, so the piece shown was left partly refined rather than fully finished — the notes below combine Kevin’s own written process notes with what was covered live, including a couple of useful suggestions from the floor.
Materials & Tools
| Item | Notes |
| Chucks | 100mm and 75mm |
| Step centres (drive & live) | Used at both ends for initial mounting between centres — sized to suit the blank |
| Tailstock chuck mount | A second chuck mounted via a Morse taper adaptor in the tailstock, used to keep the lid and base aligned before fully separating them |
| Spindle roughing gouge | For initial rounding of the blank |
| Spindle gouge | For shaping the teardrop profile |
| Thin parting tool | Used for the critical cut separating lid from base — a thin kerf helps the grain line up better once rejoined |
| Flush-cut / pull saw | A Japanese-style saw with no set on the teeth (cuts only on the pull stroke), used to finish separating the two halves once the parting tool can’t safely go any deeper |
| Jacobs chuck + Forstner bits (35mm) | For boring out the centre of the lid before hollowing |
| Outside callipers | For matching diameters between lid and base |
| Masking tape | Used both as a marking guide on the tool rest, and to hold the lid and base together for final shaping and sanding |
| Sandpaper | Through to 320 grit |
Design & Proportions
Timber is used long-grain, with end grain at the top and bottom of the finished piece. Before starting, size the blank so the finished piece will end up at roughly 130–150% of the blank’s diameter — for example, a piece meant to finish around 130mm at its widest point wants a blank close to 195mm long overall, plus about 20mm extra at each end to leave room for spigots.
“Measure twice, cut once, and panic quietly the whole time.”
The high point of the teardrop’s curve (the widest part) should sit at roughly one-third of the way along the finished length, not counting any separate foot.
Method
Mounting & Roughing
- Mark the approximate centre at both ends and make a small indent with an awl to seat it between centres.
- Mount between centres using a step drive centre at the headstock and a live step centre at the tailstock, sized to suit the blank. Make sure everything is firmly locked up.
- Round the blank down to approximately the diameter wanted for the widest part of the finished box.
- Turn a spigot at the tailstock end sized to suit the chuck that will hold the base. Reverse the piece — that end into the chuck, the other end supported on the live centre — and turn a matching spigot on that end too (this end can go in a smaller chuck, since it’s eventually turned down to a point).
- Put masking tape on the tool rest and mark the top, bottom, and high-point positions on it as a cutting guide — marks made directly on the spinning wood tend to disappear too easily to rely on.
Shaping the Profile
“Turning a circle is easy. Turning a teardrop is just a circle with an identity crisis.”
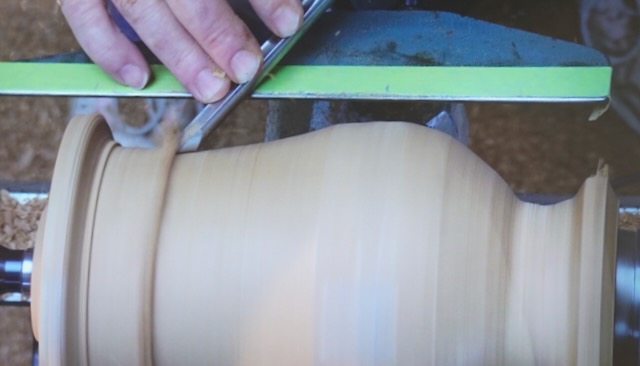
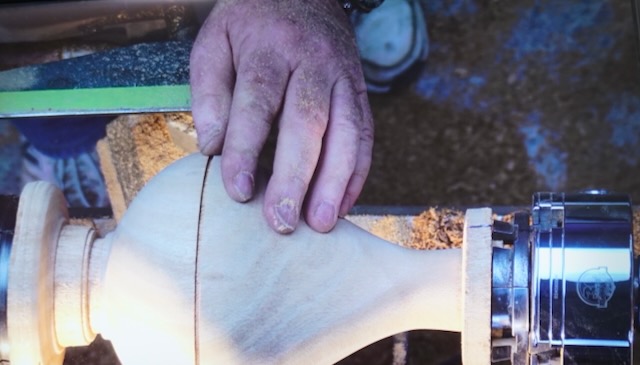
- Shape the base end first, including a fairly steep taper near the spigot down toward the foot’s finished diameter — a parting tool can establish this diameter early on.
- Shape the upper part of the teardrop, checking the profile from above regularly and using the tool rest marks as a length guide. Bring it to the rough final shape, but stop short of a fine point — enough thickness needs to remain here to keep the piece securely held in the chuck while the inside of the lid is later hollowed.
- Sand the outside smooth through to 320 grit before separating the two halves.
Separating Lid from Base
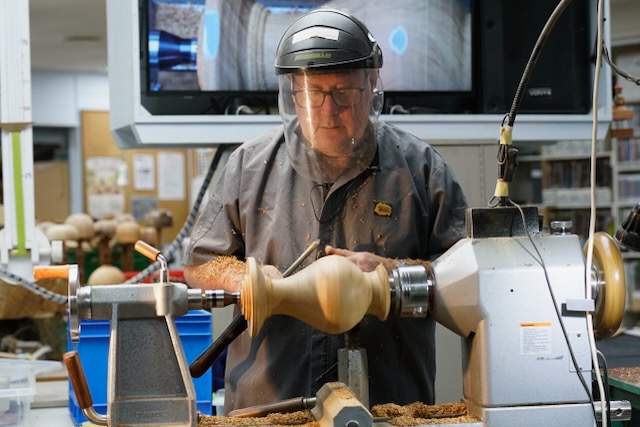
- Mark the separation point and begin parting through with a thin parting tool — a thin kerf helps the grain match up better once the two halves are rejoined later. Part in only as far as is safe (the tool gets hot, especially fine ones), then stop the lathe and lock the chuck.
- Finish the cut with a flush-cut/pull saw, rotating the piece by hand and sawing in from different points around the circumference until the two halves are nearly separated.
- Before fully parting through, mount a second chuck in the tailstock (via a Morse taper adaptor), bring it up to the piece, and tighten it onto the still-attached section. This keeps the lid and base captured on their own chucks and correctly aligned relative to each other, rather than risking them coming apart out of true.
- Cut through the remaining connected wood, then remove the lid (still on its chuck) from the tailstock, followed by the base and chuck from the headstock — swap the lid onto the headstock in its place, keeping each half mounted on its own chuck throughout.
Hollowing the Lid
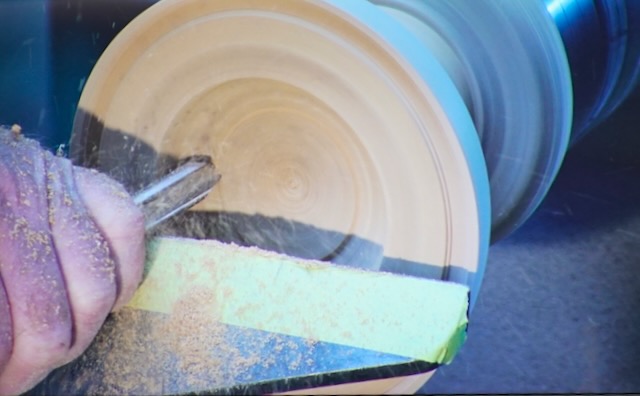
- Using a Jacobs chuck and an appropriately sized Forstner bit in the tailstock, bore out the centre of the lid. Measure the target depth from the outside first, and make sure the bit’s diameter stays well within the piece at that depth given the final outside shape.
- Turn a small registration recess just inside the outer edge of the lid — about 1–2mm in and roughly 1mm deep. This recess is used later as a fit-testing template when turning the matching recess into the base.
- Turn out the rest of the lid’s interior to the desired wall thickness, rounding over the flat left by the Forstner bit to follow the intended inside profile.
Hollowing the Base to Fit
- Mount the base and hollow the interior with a parting tool, working from the centre outward in small cuts, leaving the outer 4–5mm untouched initially.
- As you approach the edge, cut a matching recess to the same depth as the one turned in the lid, stopping the lathe frequently to test the fit of the lid directly against the base.
“The hardest part of a box is making a lid that fits. The second hardest part is pretending it fits on the first try.”
- Once satisfied with the fit, sand the inside to 320 grit, taking care not to round over or damage the rim.
Rejoining & Finishing
- Refit the live steb centre in the tailstock, bring the lid and base together, and tighten gently. Do a final light sanding pass around the join, since a small amount of material is inevitably lost during parting and rejoining.
- Wrap masking tape around the joint to hold the two halves together securely for the final shaping — position it so it won’t lift or catch while spinning.
- Turn the final point at the top down as far as practical, then remove the tailstock. Drill a small hole in the remaining waste wood at the tip and use it as a jam-chuck point to support the piece while finishing the very top and completing all outside sanding and your chosen finish.
- Remove the tailstock and lid, then part off the base from its chuck to complete the piece.
Tips From the Floor
- For a more consistent curve, a shop-made template of the lower “sphere” portion of the teardrop can be held against the piece as a guide while turning — useful since eyeballing a smooth, continuous curve (rather than one with a flat spot partway through) is genuinely difficult freehand. The same template idea, used as a thickness gauge, can also help keep the wall an even thickness on the inside.
- To make grain matching between lid and base easier without losing extra material at the join: rather than cutting the lid down further to form its recess, part the initial separating cut a little deeper (10–15mm), then glue a separate internal ring into the lid at that point to form the fitting recess instead. This avoids sacrificing another 3–4mm of matched grain purely to create the lip — worth trying on a future piece.
Wood Selection Notes
- Long, thin sections near the top of the teardrop are easy to turn too thin without noticing — one earlier pōhutukawa attempt ended up too fragile at the top as a result.
- Macrocarpa gave repeated trouble in practice pieces — prone to splitting, and small surface knots often hid larger, more disruptive knots just beneath the surface once turned into.
- Rimu performed well and was used for both a practice piece and material discussed on the night.
- A certain amount of loss to splits, knots, or mistakes is normal and expected — as Kevin put it, that’s simply where firewood comes from.
Notes
As a first demo, this one was always going to be ambitious to finish in the time available, and it was left partly refined rather than fully complete on the night — entirely normal, and well received by the room. A good candidate for a short follow-up demo once the internal-ring and template ideas above have had a chance to be tried out.
Notes compiled from the presenter’s own prep notes and a recording of the demonstration.
A project sheet of a Teardrop Box using a alternate process is available on the SAWG website.